Create a Body Positivity Watercolour Illustration | Fio Ortecho | Skillshare
Search

Playback Speed


1.0x


  • 0.5x
  • 0.75x
  • 1x (Normal)
  • 1.25x
  • 1.5x
  • 1.75x
  • 2x

Create a Body Positivity Watercolour Illustration

teacher avatar Fio Ortecho, Artist and Illustrator

Watch this class and thousands more

Get unlimited access to every class
Taught by industry leaders & working professionals
Topics include illustration, design, photography, and more

Watch this class and thousands more

Get unlimited access to every class
Taught by industry leaders & working professionals
Topics include illustration, design, photography, and more

Lessons in This Class

    • 1.

      Welcome!

      2:14

    • 2.

      Your Project

      1:14

    • 3.

      Materials

      1:32

    • 4.

      Warm Up Watercolour Exercises

      5:53

    • 5.

      Understanding the Colour Wheel

      5:22

    • 6.

      Analogous Colours & Brush Control

      5:17

    • 7.

      Complementary Colours & Wet on Wet

      6:21

    • 8.

      Splatter and Metallic Watercolours

      5:36

    • 9.

      Body Positive: Analogous Colours

      10:59

    • 10.

      Body Positive: Complementary Colours

      6:26

    • 11.

      Body Positive: Tracing Sketch

      7:54

    • 12.

      Final Thoughts

      1:28

  • --
  • Beginner level
  • Intermediate level
  • Advanced level
  • All levels

Community Generated

The level is determined by a majority opinion of students who have reviewed this class. The teacher's recommendation is shown until at least 5 student responses are collected.

64

Students

8

Projects

About This Class

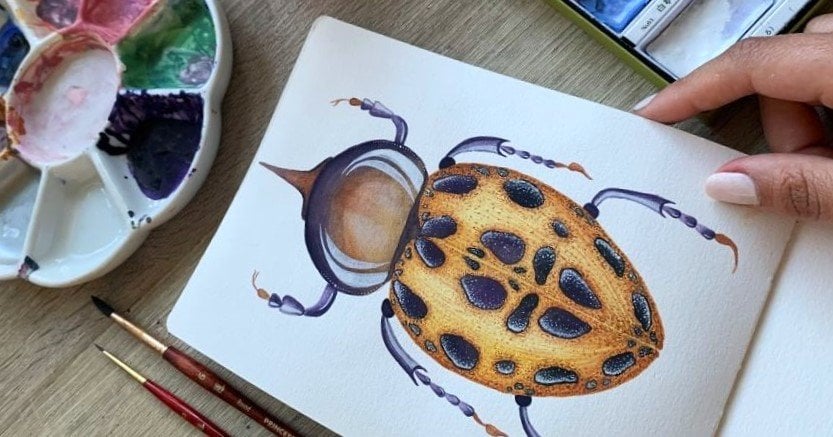
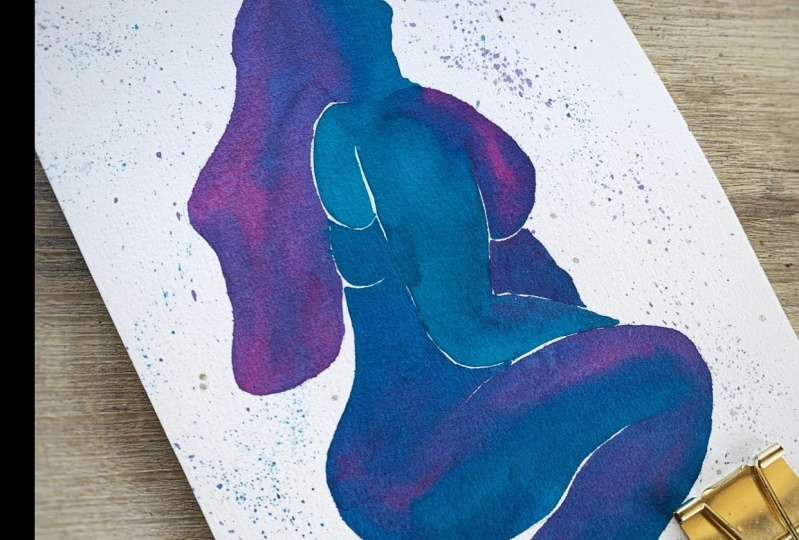
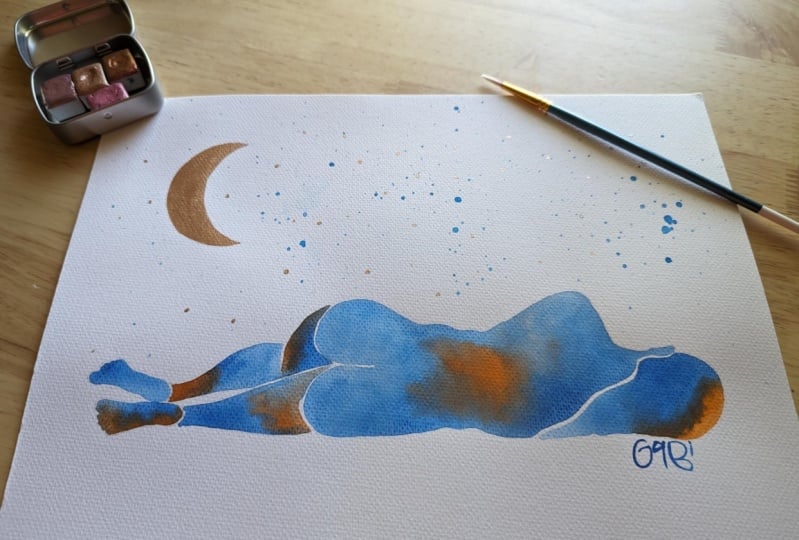
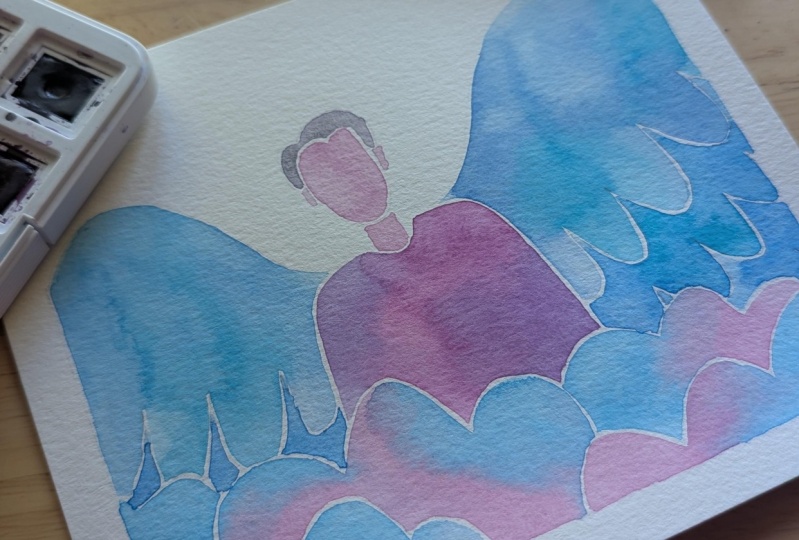
In this class, I'm going to show you how to embrace those watercolour imperfections, focused on the love of all bodies, regardless of size, shape and skin tone. 

Off course, I'm also sharing watercolour techniques that will definitely bring your paintings to the next level.

 We're also going to talk about how to choose your colours before start your painting, how to add some unique effects and final details to actually create amazing and compelling watercolour illustrations that actually tell a story or send a body positive message to your audience.

Who is this class for? It could be a complete beginner (you don't need much experience for this class) or maybe you have some experience with watercolour but you want to try out a body positive painting for the first time. Wherever you are in your art journey, I guarantee you that after this class you're going to be more confident with watercolours than when you started.

In this class you will:

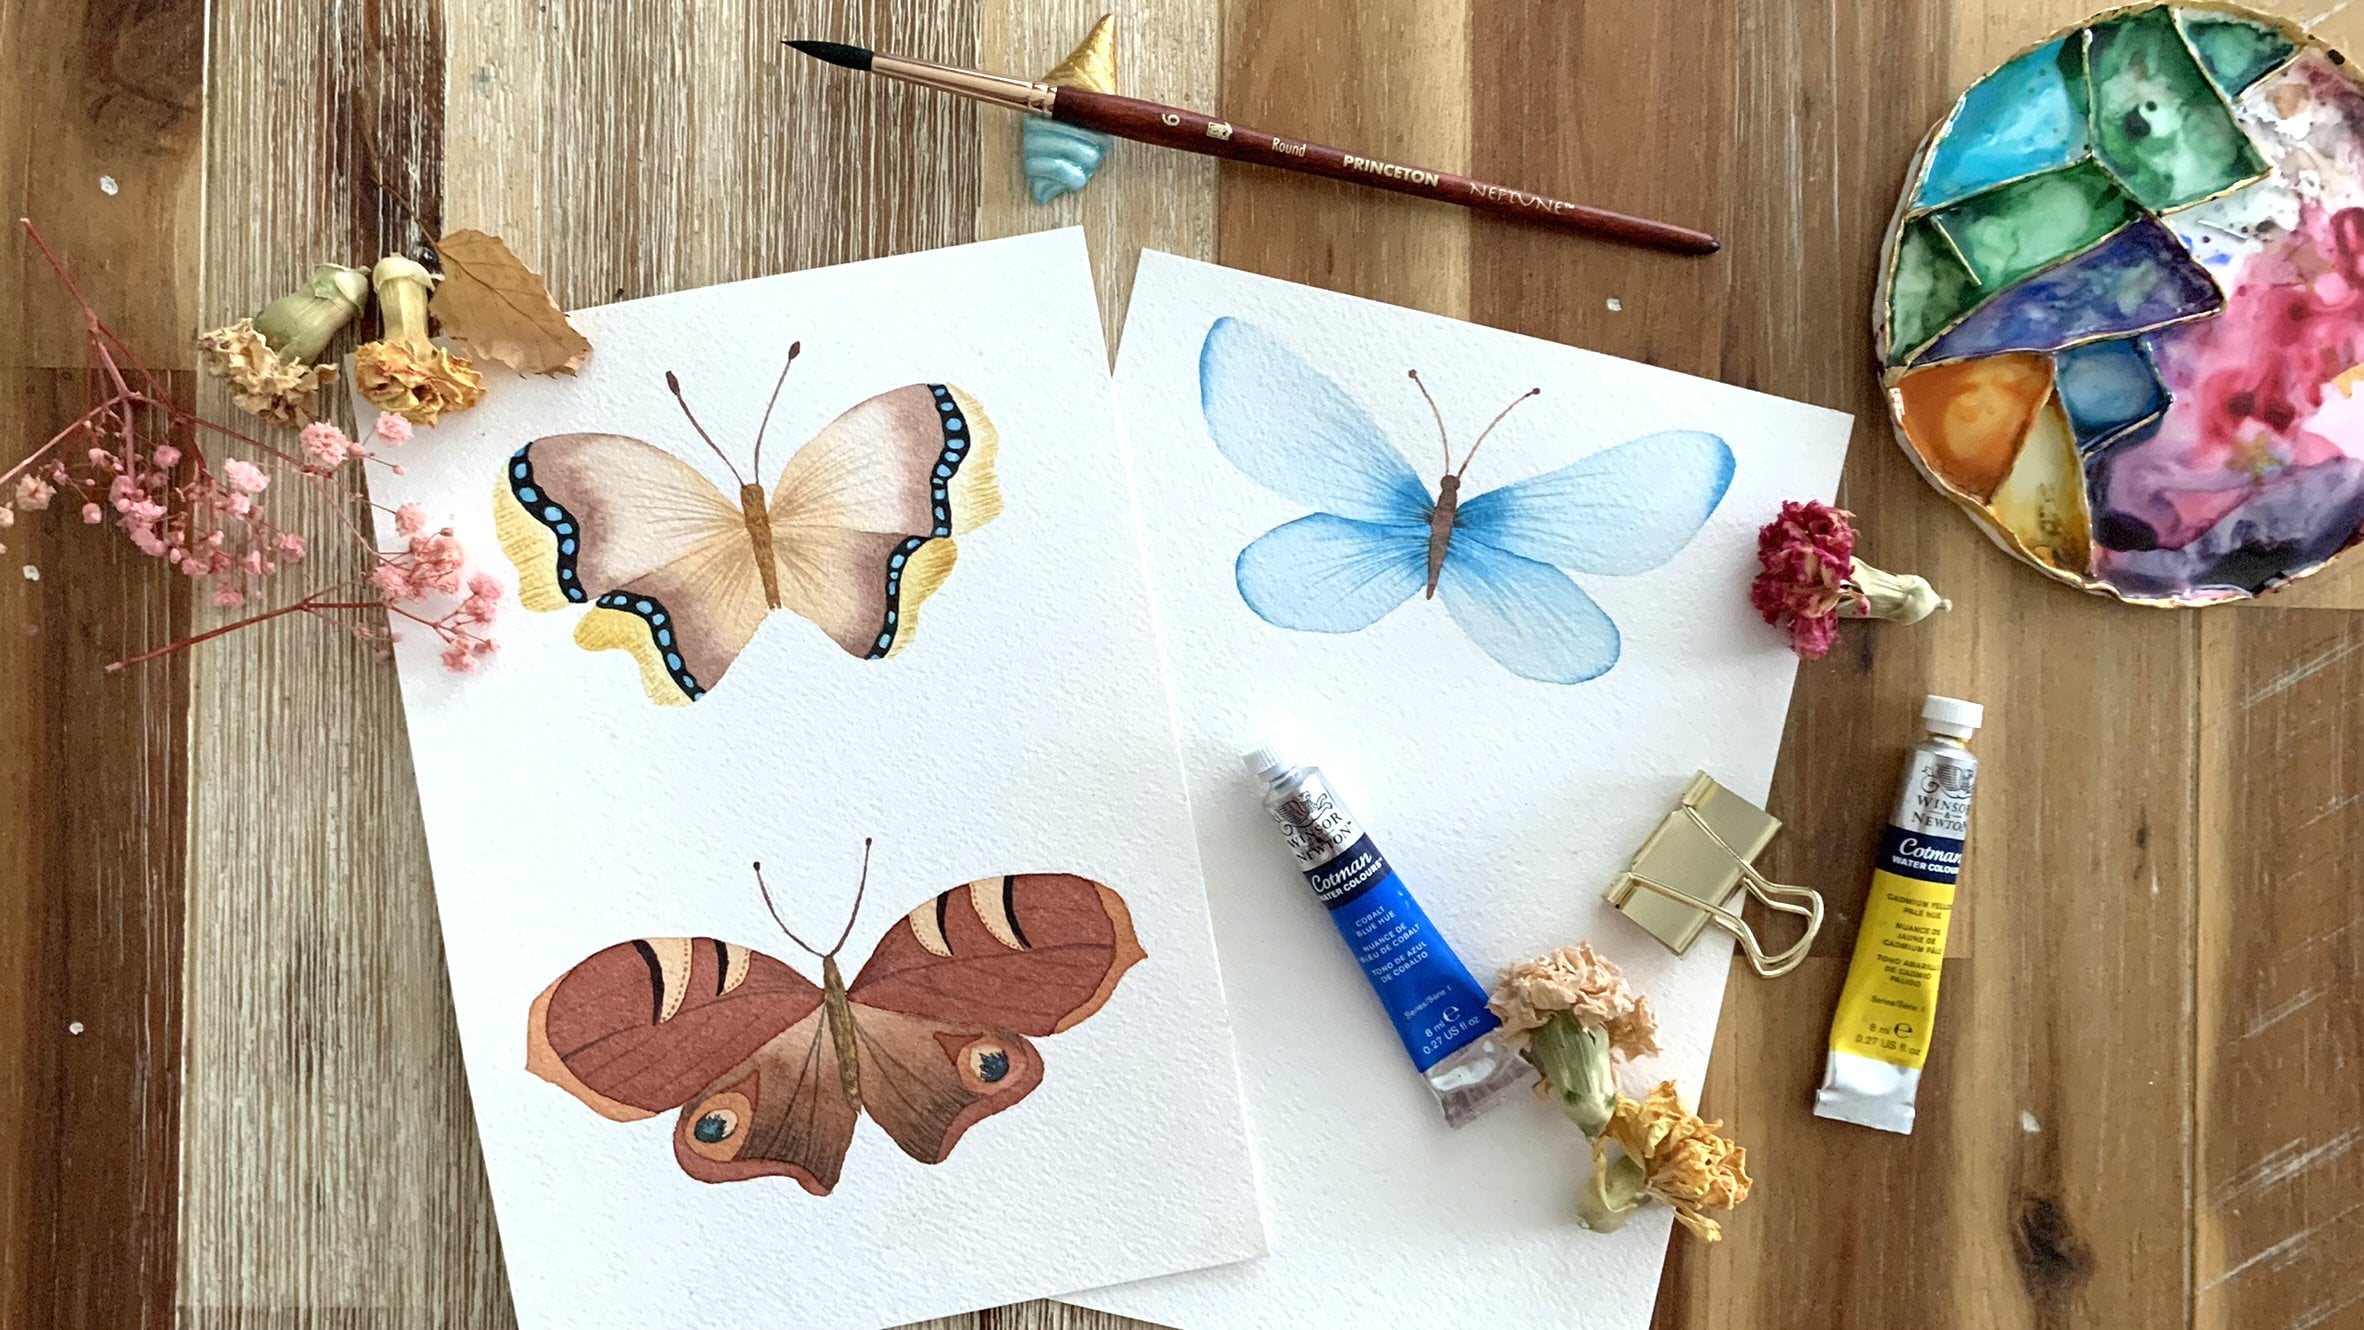
  • Learn the basic techinques of watercolour
  • Explore how to embrace those watercolour imperfections.
  • Admire the female body.
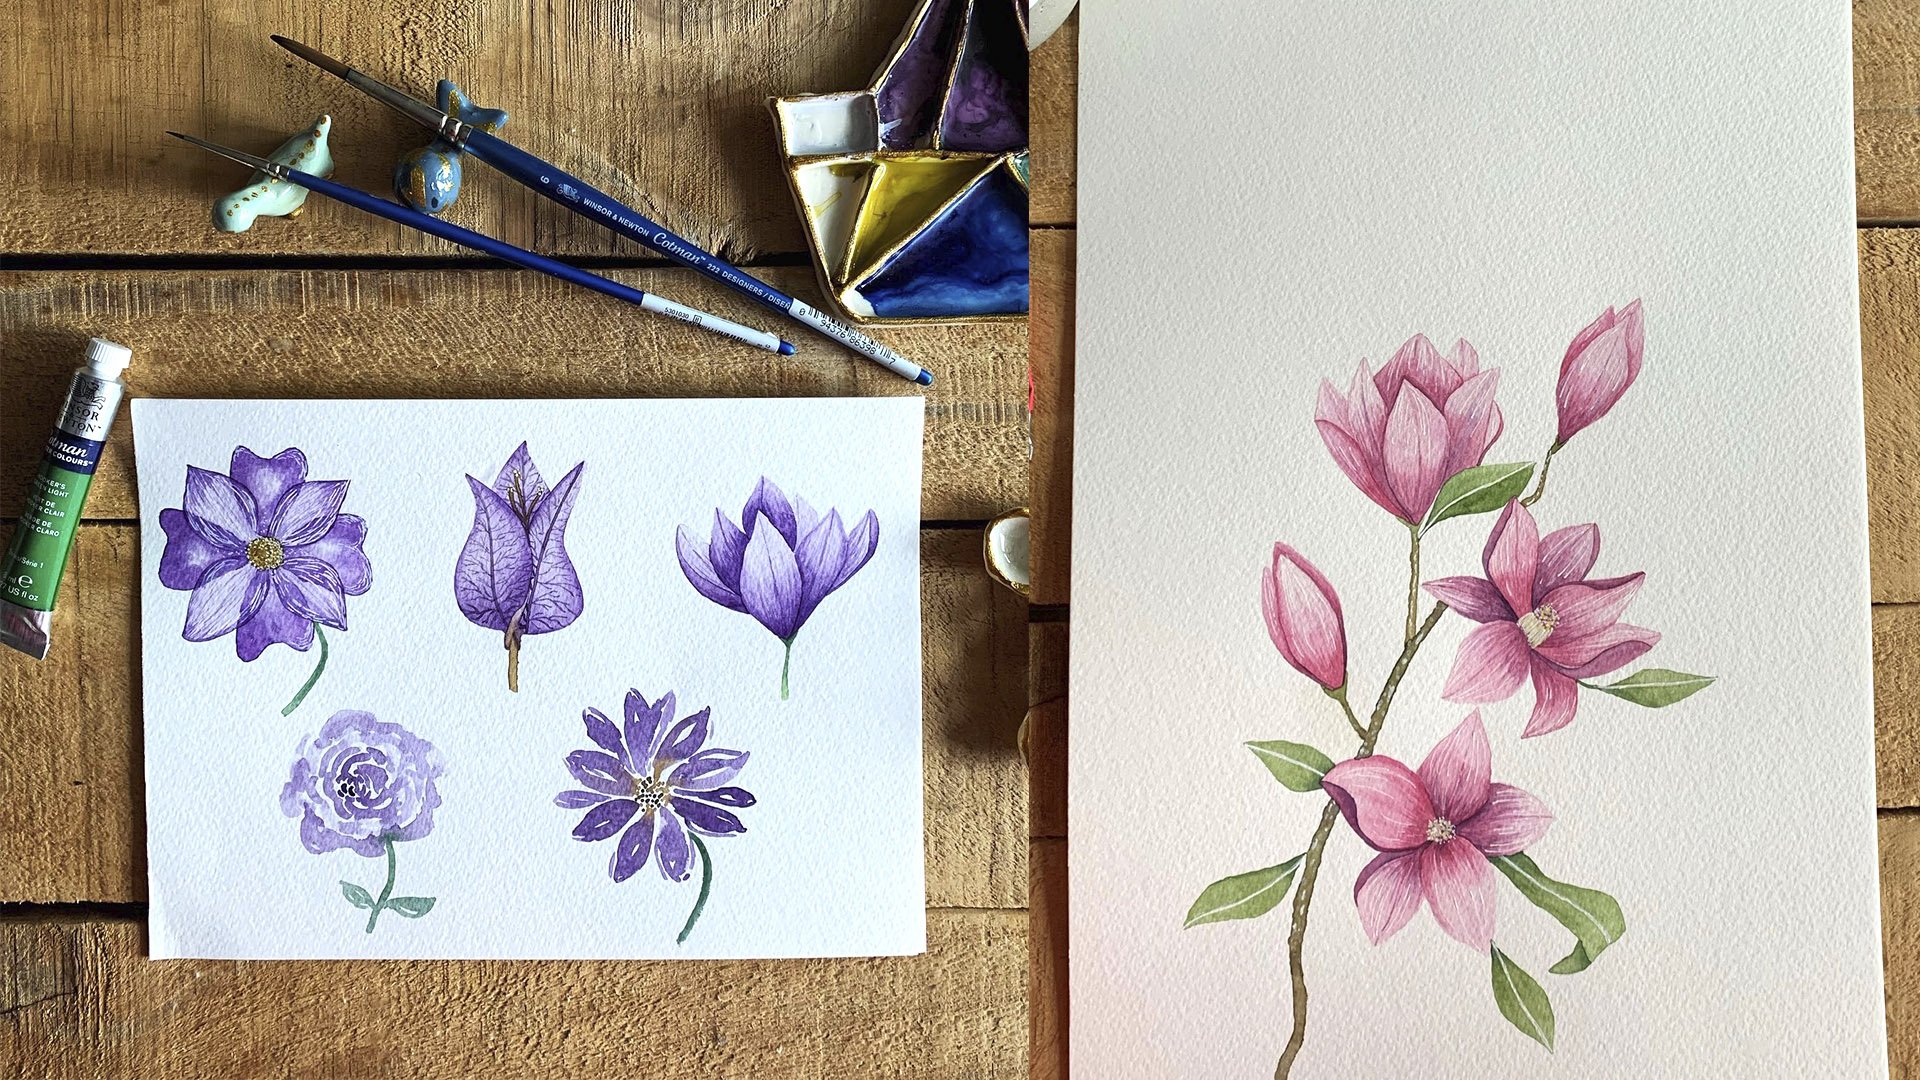
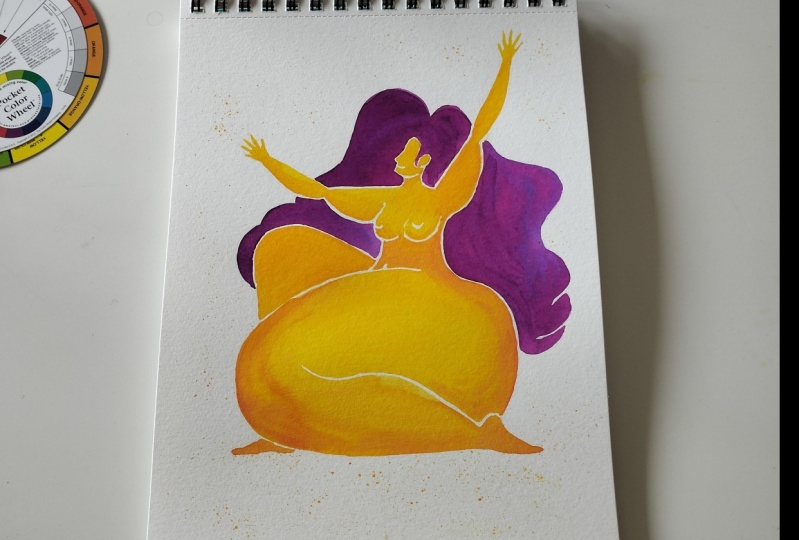
  • Create a beginner friendly colour palette using the colour wheel.
  • Do exercises of brush control and precision with watercolours.
  • Do practical examples to create your very own Body Positive Watercolour Illustration

For this class you’ll need:

  • Watercolour paper 
  • Watercolours
  • Water (2 jars)
  • Brushes for watercolour (yes, with soft bristles)
  • A pencil and an eraser
  • Paper towel
  • Colour Wheel 
  • Optional: metallic watercolour

Ready? See you in the class!
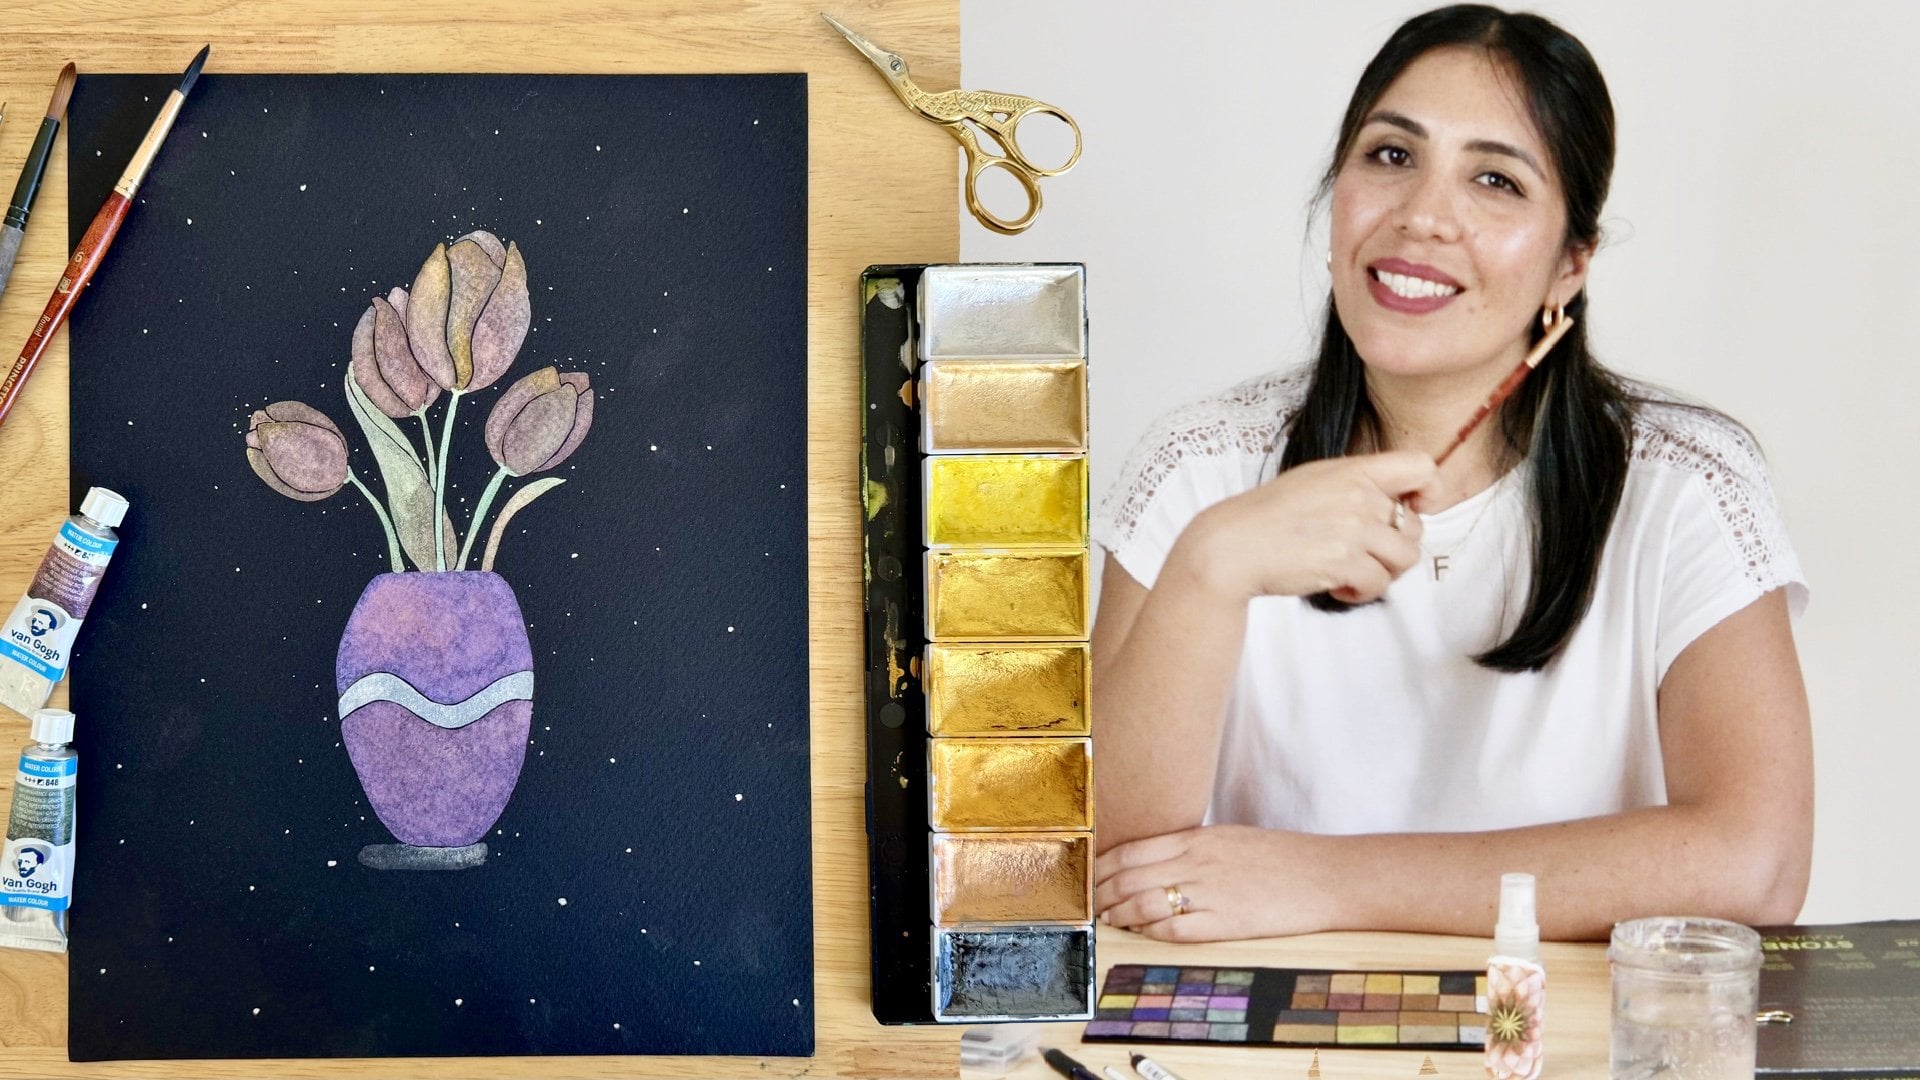
 

Meet Your Teacher

Teacher Profile Image

Fio Ortecho

Artist and Illustrator

Teacher

I'm Fio Ortecho. Artist based in New Zealand. I have always been an artistic soul, but life took me another way and I studied Industrial Engineering, career that I practiced for almost 10 years. It was not until mid-2019, when I started drawing and painting with watercolour and I fell in love with this medium. Since then, I paint almost every day and lots of opportunities appear.

I was raised in Peru, surrounded by the bright colours founding in the latin and pre-inca culture, which inspired my style. My main subjects are culture, symbolism, botanical and feminine power.

I sell my art online, in local markets in New Zealand and I had my very first solo exhibition and shop in March this 2023.
I also teach in person workshops that help me to know the most common doubts o... See full profile

Level: Beginner

Class Ratings

Expectations Met?
    Exceeded!
  • 0%
  • Yes
  • 0%
  • Somewhat
  • 0%
  • Not really
  • 0%

Why Join Skillshare?

Take award-winning Skillshare Original Classes

Each class has short lessons, hands-on projects

Your membership supports Skillshare teachers

Learn From Anywhere

Take classes on the go with the Skillshare app. Stream or download to watch on the plane, the subway, or wherever you learn best.

Transcripts

1. Welcome!: You want to learn how to paint with watercolours? Well, welcome to my Body Positive Watercolour class. The thing is that this is not your average Watercolor class. In this class, I will show you how to embrace those watercolour imperfections. Focused on the love of all type of bodies, regardless the size, the shape, and skin tone. Of course, I'm also sharing watercolour techniques that will bring your paintings to the next level. We are also going to talk about how to choose your colours before start painting. How to add some unique effects and final details to actually create amazing and compelling watercolour illustrations that actually tell a story or send a body positive message to your audience. Who is this class for? Good question, it could be a complete beginner, just starting in this Watercolour world. Or you have some experience painting with watercolors, but want to try body positive painting for the first time. Welcome. This class is for you wherever you are in your journey. I guarantee you that after taking this class, you will feel more confident about painting with watercolours than when you started. Before we start. Don't forget to follow me here on Skillshare, just clicking the Follow button up here and we can become excretion friends. So you won't miss any of my next classes or give away. Okay, enough with a talking. Let's grab your materials and start the class 4. Warm Up Watercolour Exercises: Use the spray to activate the watercolours. I like to activate all of them. Even when I know that I going to use only two or three colors. But it has me when I want to change the original color from the pan set. For this class, I want to use complimentary colors from the colour wheel. For example, green and red, blue and orange, or violet and yellow. You can play with your Colour Wheel and choose your own combination and start making your colours. I will use violet and yellow for this practice sheet. But as I said before, I like to mix a bit the Colours from the bank with other colors to create my very own variation of Colours, take your time to do this as it is, relaxing to spend some time here and enjoy the process of creating your own color palette. Remember to clean your brush before create a different color. That is the reason why I like to keep two glasses of water nearby. Because I use one glass for only clean my brushes and I tried to keep it as clear as possible. Once we have our Colours ready, we can start with a first technique that is Wet on Dry. And it is as simple as just paint on the dry paper. Remember to use Watercolor paper. You can paint a circle as I'm doing here, or any shape that you want. The second technique is Wet on Wet. So for that, clean your brush really well. And Paint only with clean water from your clean water glass. So Paint the shape that you want, but without colour. Only use water to wet the pipe. After that, you can add color. Now, try the same but two different colors on the same shape. So wet the paper first and then add one color and then on the same shape at the second colour, you will notice how these colors blend and you can't control it much. That is how we want to use to paint our bodies. And that's why I said that we're going to embrace those watercolour imperfections. Our third exercise is about brush control. Paint some rectangles and then another rectangle very close to the first one. Continue this and practice as much as you can. Even with different shapes. These are still drying, so I will continue brush control as well with this light that is way rather than before. Sorry for that guys, I've just realized about eight. The goal for this exercise is add the following shape, as close as the previous one, but without touching it. If you touch the previous one, just carry on is not the end of the war. Only remember to practice as we will use these a lot of our final projects. Painting with watercolors is a very relaxing way to disconnect yourself from other activities. It is good for being present in this moment. Get used to your brushes and pay attention when you need to use all the body of your brush. And when did you only need to use the tip of it? Try also at different brush size. So you can know which flashed to use depending on the size of your painting section. When you feel confident with rectangles, you can add some difficulty to your practice and paint some wave and do the same. Paint the next waves as close as you can of the previous one, and continue. Sometimes you need to hold your breath to continue painting here. That's why I said that it is a very meditative practice. Remember that you can practice more. If you can practice on a second sheet, delete. If you already feel confident, then see you in the next lesson where we're going to dive into the Colour Wheel 7. Complementary Colours & Wet on Wet: For this lesson, we need to draw lines as we did in the previous one, and choose a couple of complimentary colors. This time. We use red and green. They are opposite in the Colour Wheel. Again, at this point, I encourage you to create your very own Colours. Then, from the next lesson, when we will start painting our final projects, you can choose any color from your watercolor set. But for now, let's practice mixing primary colors. When we get our colors ready, we will start painting. But this time we will try something different. Apart from using complimentary colors, we will also mix the colors on the same area or section. This is an option of wet on wet technique. Just instead of wet the paper only with clean water. Before this time, we will paint an area with one color and then add the second colour when the first one is still wet. So we will create a unique effects that we can't control much. That's why I say that this class is about embrace those watercolour imperfections. You can start with one color and then without cleaning your brush, finish with a second colour. Play with your to Complementary Colours. Just add one color on top of the first one while this is still wet and light that you can add, some dots are paying half of one section with one color and the other half with its complimentary color. They will blend in an organic way. When the painting is completely dry, I remove the washi tape and delete that pencil marks. You can repeat this exercise on another paper sheet if you want or if you feel you need to practice more about color mixing or brush control. If you feel ready, let us plot Metallic Watercolours and the splatter technique in the next lesson. See you then? 10. Body Positive: Complementary Colours: Again, in the Resources section, you can find samples. Feel free to use any of them or your very own reference. A Sketch it without much pressure on the pencil. Remember that if it's too challenging for you to draw, you're more than welcome to trace it. This class is about watercolour painting, not drawing. A tip here is to pay a lot of attention in the proportions. If you need to draw it again, just do it. Sometimes I recommend drawing first on a different paper, not the Watercolour paper, and then draw on your final Watercolor paper. In any case, you can use your eraser at anytime. When you finish your drawing. Let's choose your colours for these battery. For the previous body, I used analogous Colours. This time I would try complimentary colors, which means two colors that are directly opposite each other on the colour wheel, like orange and blue. So let's start preparing our Colours. Remember to make enough paying on your palette, because when painting with watercolors, it is important to don't stop. Because if we waste time preparing again more color in the middle of our painting process, then the sections that we already painted will start drying. And it will look very different if we add fresh Watercolour on that. Plus that is very likely that we won't get the same color that we got before. Before start painting. Remove any pencil mark that you don't want. Keep only the ones that you will use as negative spaces, which means the lines that you want Paint. Let's start painting. In this case, I'm using a number six round brush because I already know how to work with this one. But feel free to use any size that you want. Observe, I'm Paint by sections. Try to train your brain to make the decisions on which section Paint first. Make a plan before painting. I know it can be tedious, but it will help you a lot when you are in the middle of the painting process. Painting, a Body Positive Illustration with watercolour is a lot about focus. Focus you are, the modular Illustration will connect with you. And the decision of when to add the second colour, or just water will come by itself. Plus obviously, you will, we pay more attention on leave the pencil lines without Paint. And actually, that is what gives the shape of a Body. At your final details. Again, mix a new colour if the first shade of we call them Watercolour doesn't go with this new Colours. The difference maybe not huge, but I completely understand when For us it is a difference. And we want to create another hue of Walden Watercolour for this month. For this illustration, I also with add little golden stars to give it an extra shimmer. When you're illustration is totally dried, possibly after an hour or even more. You can delete the pencil marks and voila, it is ready to frame. See you in the next lesson when we will paint the final Body Positive Illustration 12. Final Thoughts: Thank you so much for taking this class. You can share your final project on the student's project gallery. And I can give you some feedback. Remember that you can inspire others. Feel free to come and below in a class discussion if you have any questions. Also follow me on Instagram, fio dot are Jonah. And if you want to share your final project there, you can also tag me. Don't forget that if you also speak Spanish, you can follow my YouTube channel as well. See you guys next time. Bye.