Transcripts
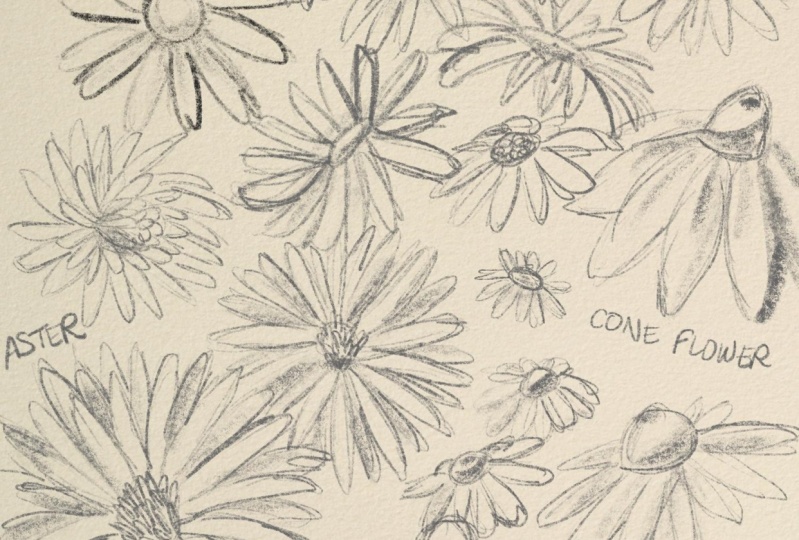
1. Intro: Don't you love sketching on your iPad? Me too. But sometimes, drawings can tend to look a little bit flat and lifeless. There is nothing that beats a good ol' sketchbook, or is there? Well, in this class I'm going to teach you a technique that is super close looking to the actual thing, minus the messiness and with the addition of the Undo button. At the end of the class, you'll be the judge of which one you prefer. My name is María Fe and I am an artist based in Perú. I've been drawing ever since I can remember, and have worked with all kinds of mediums while studying art. I have over eight years of experience with digital drawing. I know that Procreate can be a little confusing at first. But with the help of this class, you'll see how you can easily create this sketchbook effect in just a few steps. People will think twice about what medium you've used when seeing the results. This class is great for everyone that wants to opt for a digital paperless option. For when a sketchbook is not available, or just to learn a new technique on Procreate. I'll share with you all of my tips and tricks for achieving a sketchbook look. I've also included a brush set and a paper bundle download for easier access. All you need for this class is: an iPad, an Apple pencil or stylus. For your project, you'll create your own schedule page and drawing of your choice. I'm excited to see what you come up with! By the end of this class, you have an unlimited supply of digital sketchbooks. That will make you want to draw without the pressure that paper can sometimes give. This class is suitable for all skill levels. Just bring your urge to sketch. Are you up for the challenge? Then let's get started.
2. Class Project: Your class project will consist of making a sketch or final drawing of your choice following the steps shown in class. You will learn everything from creating your own paper texture or using one from the downloads, how to set up your canvas, importing and adjusting paper with curves, using layers and blending modes, my favorite brushes for this technique, and last but certainly not least, making a sketch or final drawing and sharing it in the project gallery with the class. I'll be checking your projects and giving you my feedback. Can't wait to see what you create. I will also share a time-lapse drawing on my digital sketchbook so you can see my process and inspire you to draw. For the next lesson, you'll need some sketchbooks or papers that you will like to transform into digital sketchbooks. I recommend looking for those that have texture, a design, or a color that you like. If you don't have any, then don't worry, you can always use the ones that I will be providing as downloads. See you in the next class.
3. Downloads + Resources: Both of my downloads can be found under the "Project and Resources" tab right below this video. All of the brushes we are using are on Procreate. But for the purpose of this class, I've created this set for anyone that has trouble finding them. As for the paper bundle these were all created, especially for this class from my own set of sketchbooks. Feel free to use the paper bundle for your class project if you can't make your own. But please do not share the files. To download the files, use your iPad and click on each file under the Resources tab. They should automatically start downloading. By default, they should be stored under Downloads on the Files app. To open the zip file simply click on it. A new folder will appear, allowing you to access all of the papers. To install the brush set, all you have to do is click on it and it will automatically open in Procreate. Look at the top of your Brush Library list, and you should be able to find the brush set. I also want to mention the Procreate Folio website as an alternate resource. You can access their resources by searching Procreate Folio on Google and clicking on the Resources link. This site is great to find brush sets, backgrounds, and more. Most of them are free. I want to recommend this post called 20 free paper and canvas textures by the user "Saachi Singh". As an alternate resource on finding paper and canvas textures. You can either use the ones on this website, my downloads, or choose to create your own following the steps in the next class.
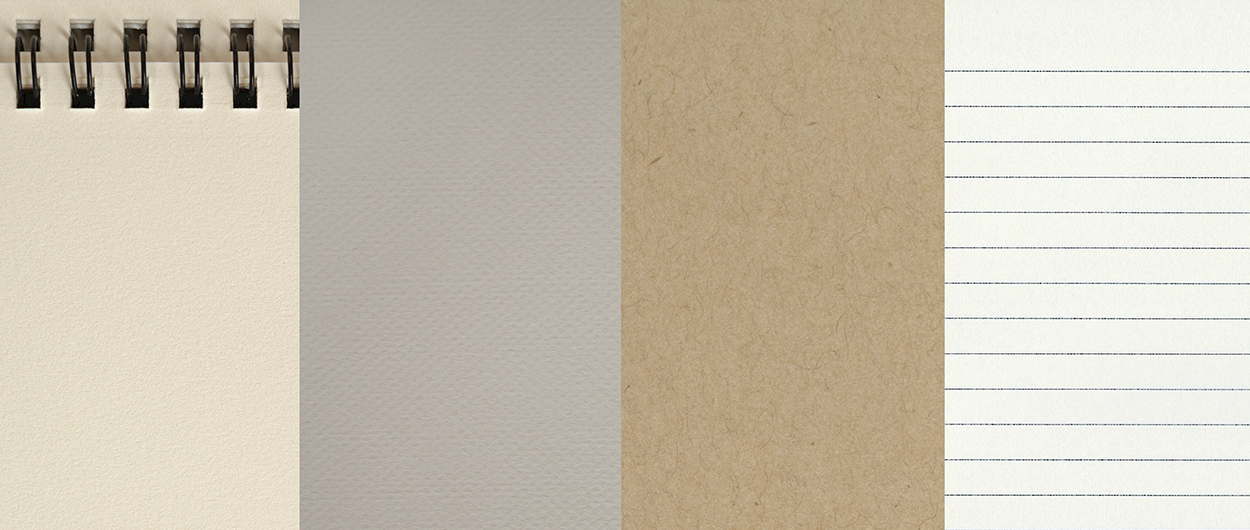
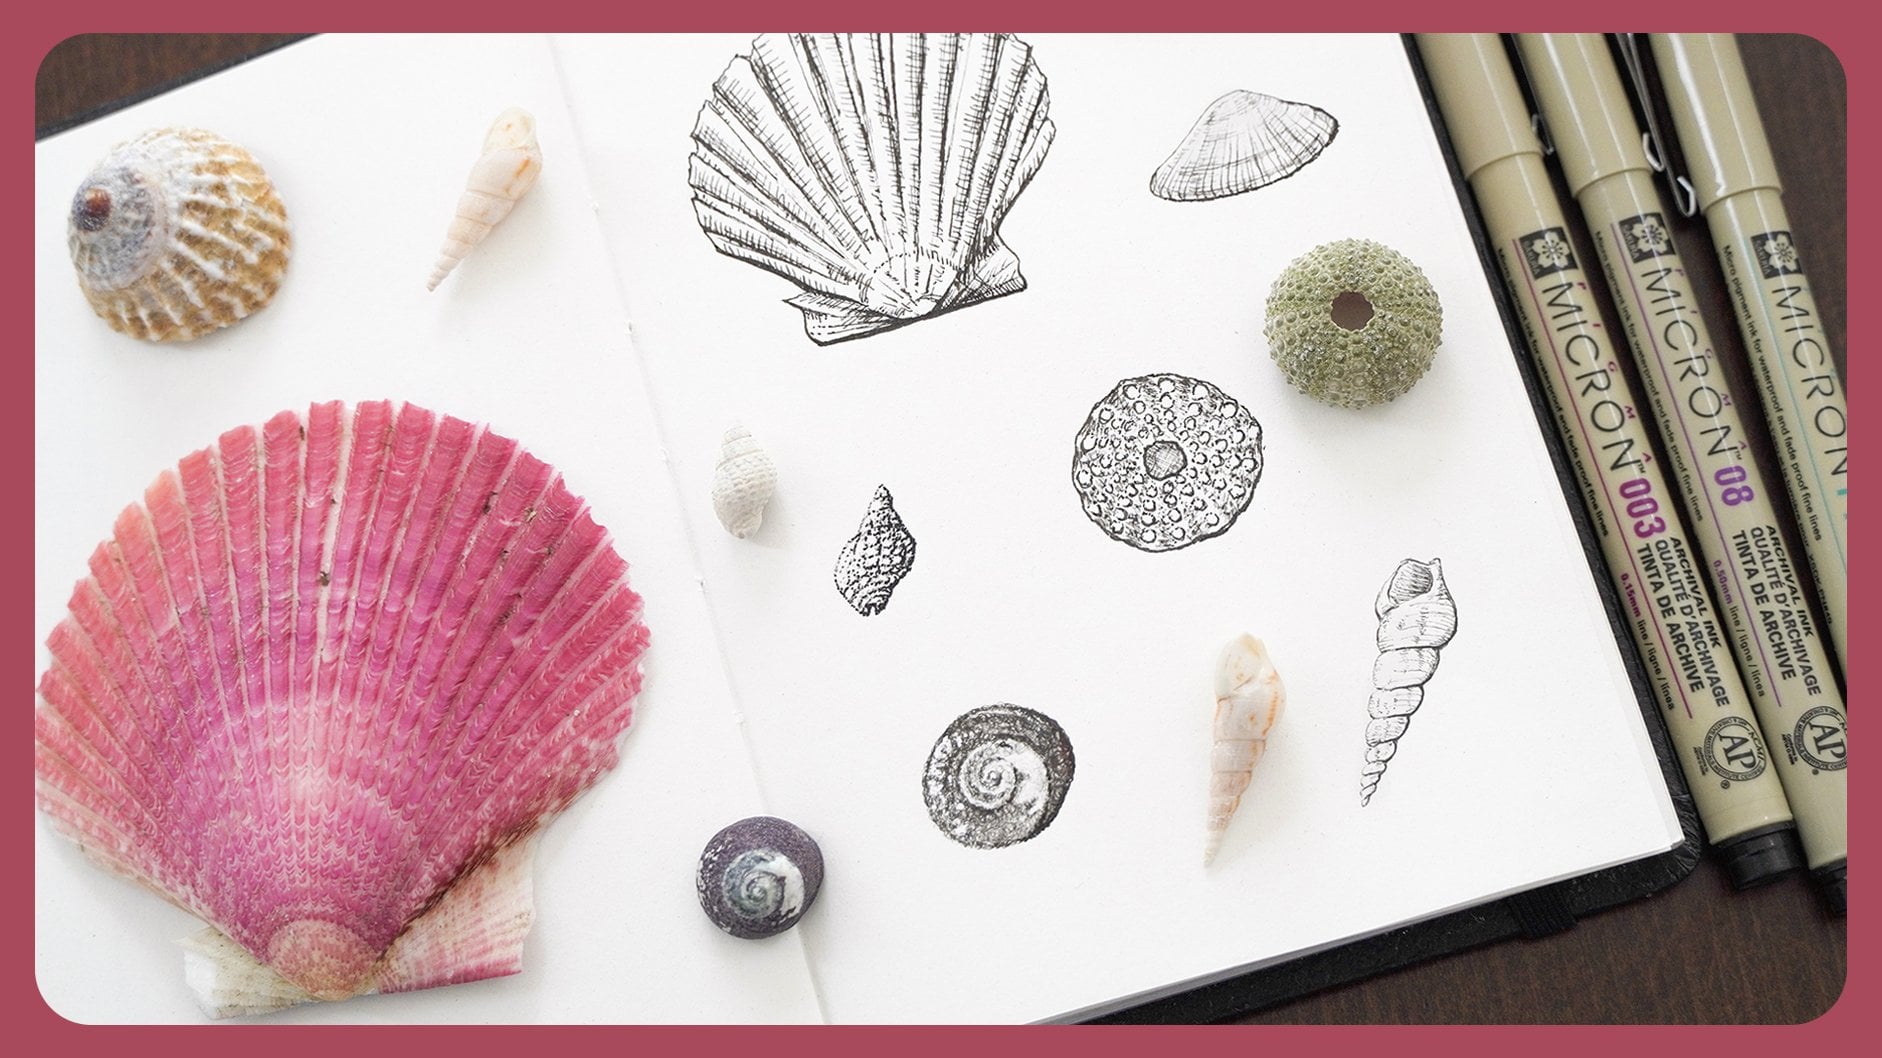
4. Paper texture techniques: It is finally time to use your sketchbooks. To capture our paper we are going to use either a scanner, a camera or your phone. I recommend choosing paper that has texture, color or a design that you like. When using a scanner, make sure to set it in the highest resolution and dpi available. Then, start scanning. I am using the HP Smart app. It allows me to crop the image, adjust the brightness, saturation, contrast, and more. Finally, save your scan in PNG and the largest size available for best results. When using your camera or phone, make sure to set up your sketchbook in natural light avoiding harsh shadows or highlights. Use a tripod to avoid shakiness, if you have one. If you know how to shoot in RAW on a DSLR camera for a bigger resolution, you can also do so. I recommend using Photoshop or Lightroom to adjust the image to your liking. If you are using your phone camera, you can adjust and crop your images all within the photo. Modify the contrast, brightness, and color, all to your liking. Finally, send the scans or images to your iPad either by using AirDrop or email to avoid losing resolution. Now, we are ready to open Procreate for the next lesson. See you there!
5. Setting up a canvas: For reference, I will be working with the newest Procreate update called 5X. I recommend updating, if you haven't done so before starting. It has a lot of cool new features that will make everything easier. To set up your canvas, keep in mind the final use that you are going to give to your drawing. Meaning, if you are planning on printing it, in what dimensions and so on. To create a canvas, click on the plus icon. You will see various options, but I prefer creating custom sizes depending on what I'm working on. Click here to set up a Custom Canvas. Here, you can change the name of your canvas. Procreate allows to select various options to size up your canvas. You can use millimeters, centimeters, inches, or pixels. I like to use pixels because it tends to give a better resolution, plus, most of the times I like to match my canvas according to the size of my background to avoid distortion. Here are the dimensions of the paper downloads in pixels, you can use it as a guide to set up your canvas. Remember that you can always make a canvas smaller, but not bigger. You will lose resolution if you did, and your drawing wouldn't look as crisp. I will be using the Beige Sketchbook, so I will set up my canvas with those measurements. Here you can see the maximum layers available. This will depend on your iPad model and capacity. Adjusting the size of your canvas will make this number change. The bigger the canvas, the less layers you will have. Now, let's talk DPI. DPI means dots per inch. It is a measurement of the resolution of a printed document or digital scan. So basically, this will affect the drawing only when printing it. I will set mine to 300 DPI. A bigger DPI will only make a difference in a professional printer that has the ability to work with a higher number. Now that we know more about DPI and canvas sizes, it is time that you make your decision and create yours. There are other options on the sidebar that you can check out, if you want. But I will be leaving those as default for this class. When you're done with your selections, click on "Create." Your new canvas is now ready to be used. See you in the next lesson.
6. Importing and applying: To import your paper image, click on the Tool icon next to the Gallery. If you have the paper images that you've created in your photos, then select Insert a Photo. Since I will be using my downloads, I'll select "Insert a File" as I have them on the Files app. I will be selecting the Beige Sketchbook. Then wait for it to import. Now, use the Rotate to 45 Degrees option, and rotate the image to your liking. Since my canvas is the same size as my image, I can click on the Fit to Screen option, and it will automatically adjust to fit my canvas. If you have a paper that doesn't quite fit your canvas, you can fix this by using the Freeform function. Make sure to also have the Snapping option on. Select "Freeform", and stretch the size of the canvas until you see the orange lines. These lines indicate that you've snapped your paper to the borders of the canvas. Don't forget to click on the arrow to save your changes. If you don't like the rings on the sketchbook, you can also use the Freeform option to expand the canvas to the left, and that way, cut them off. Now, we are ready to work with layers and blending modes. See ya!
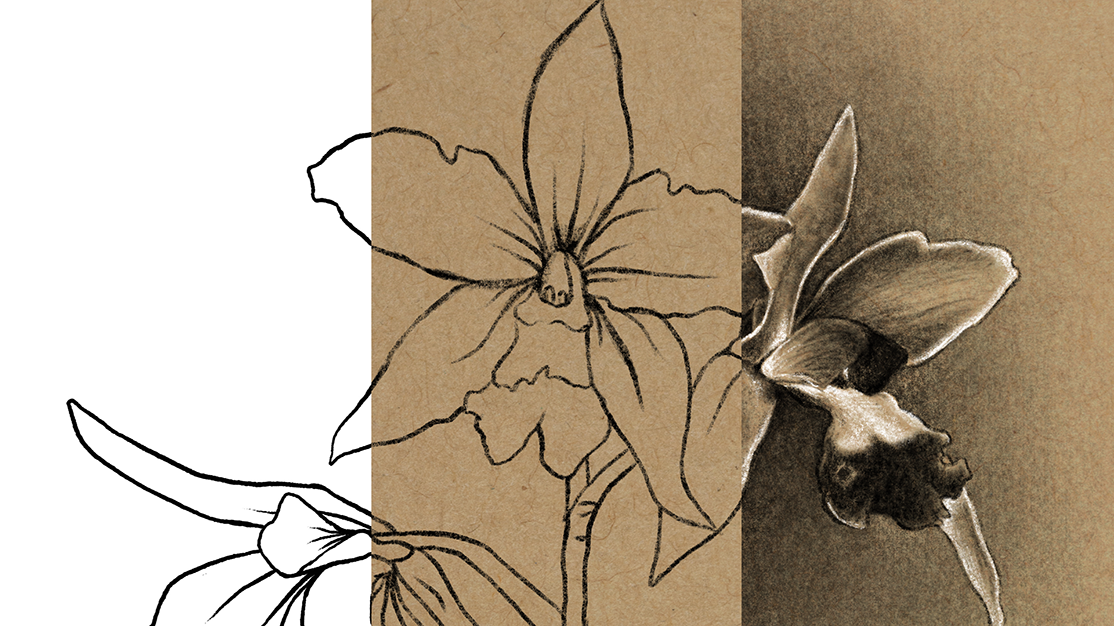
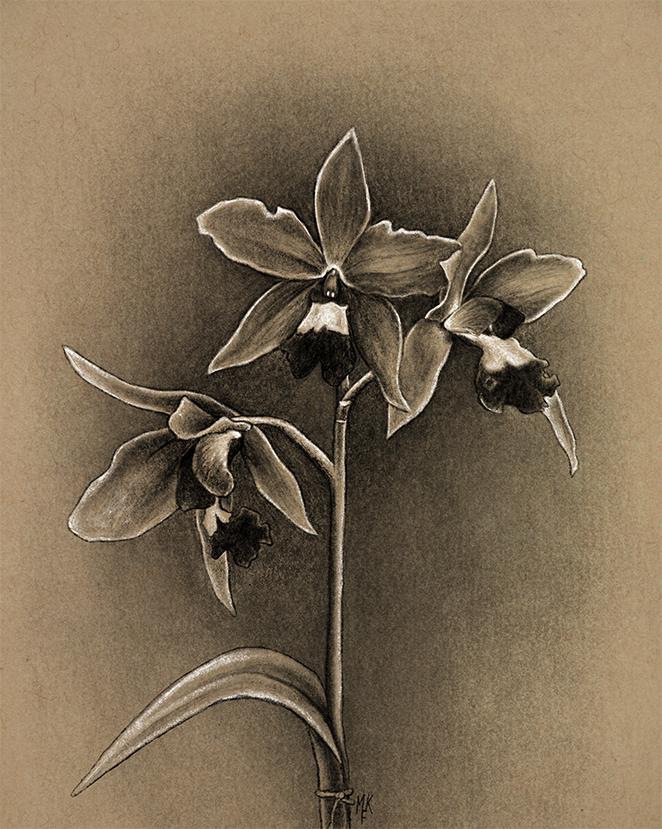
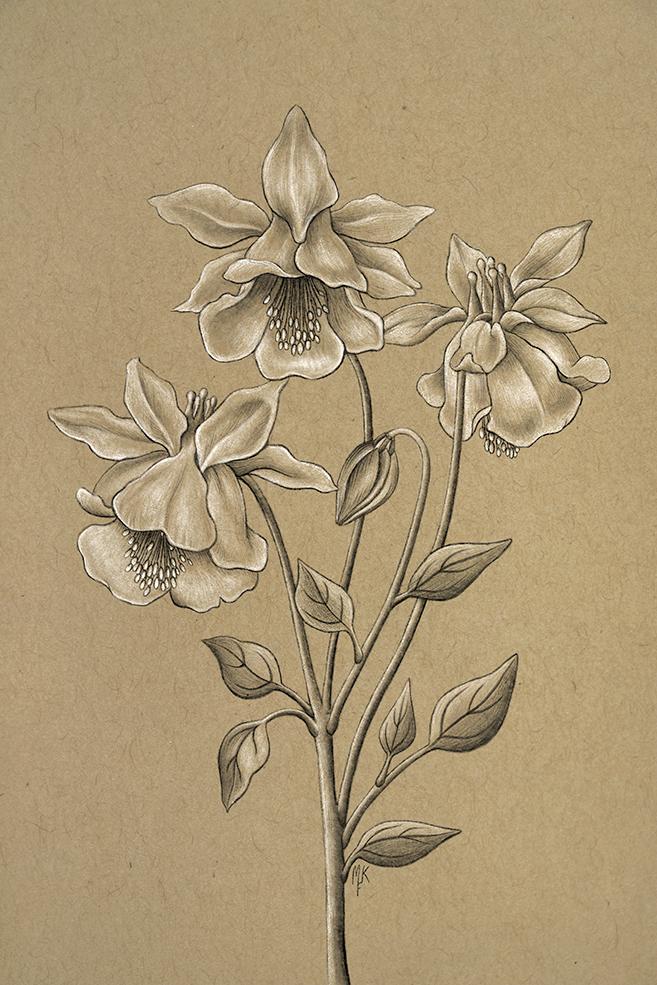
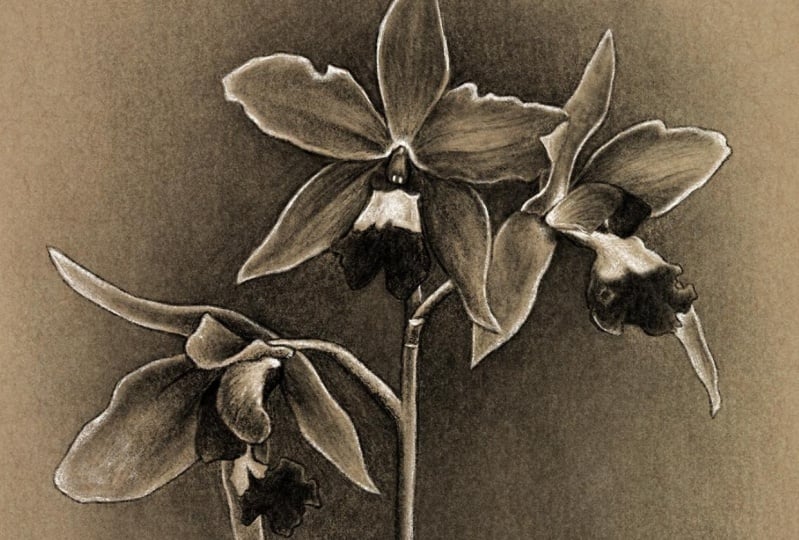
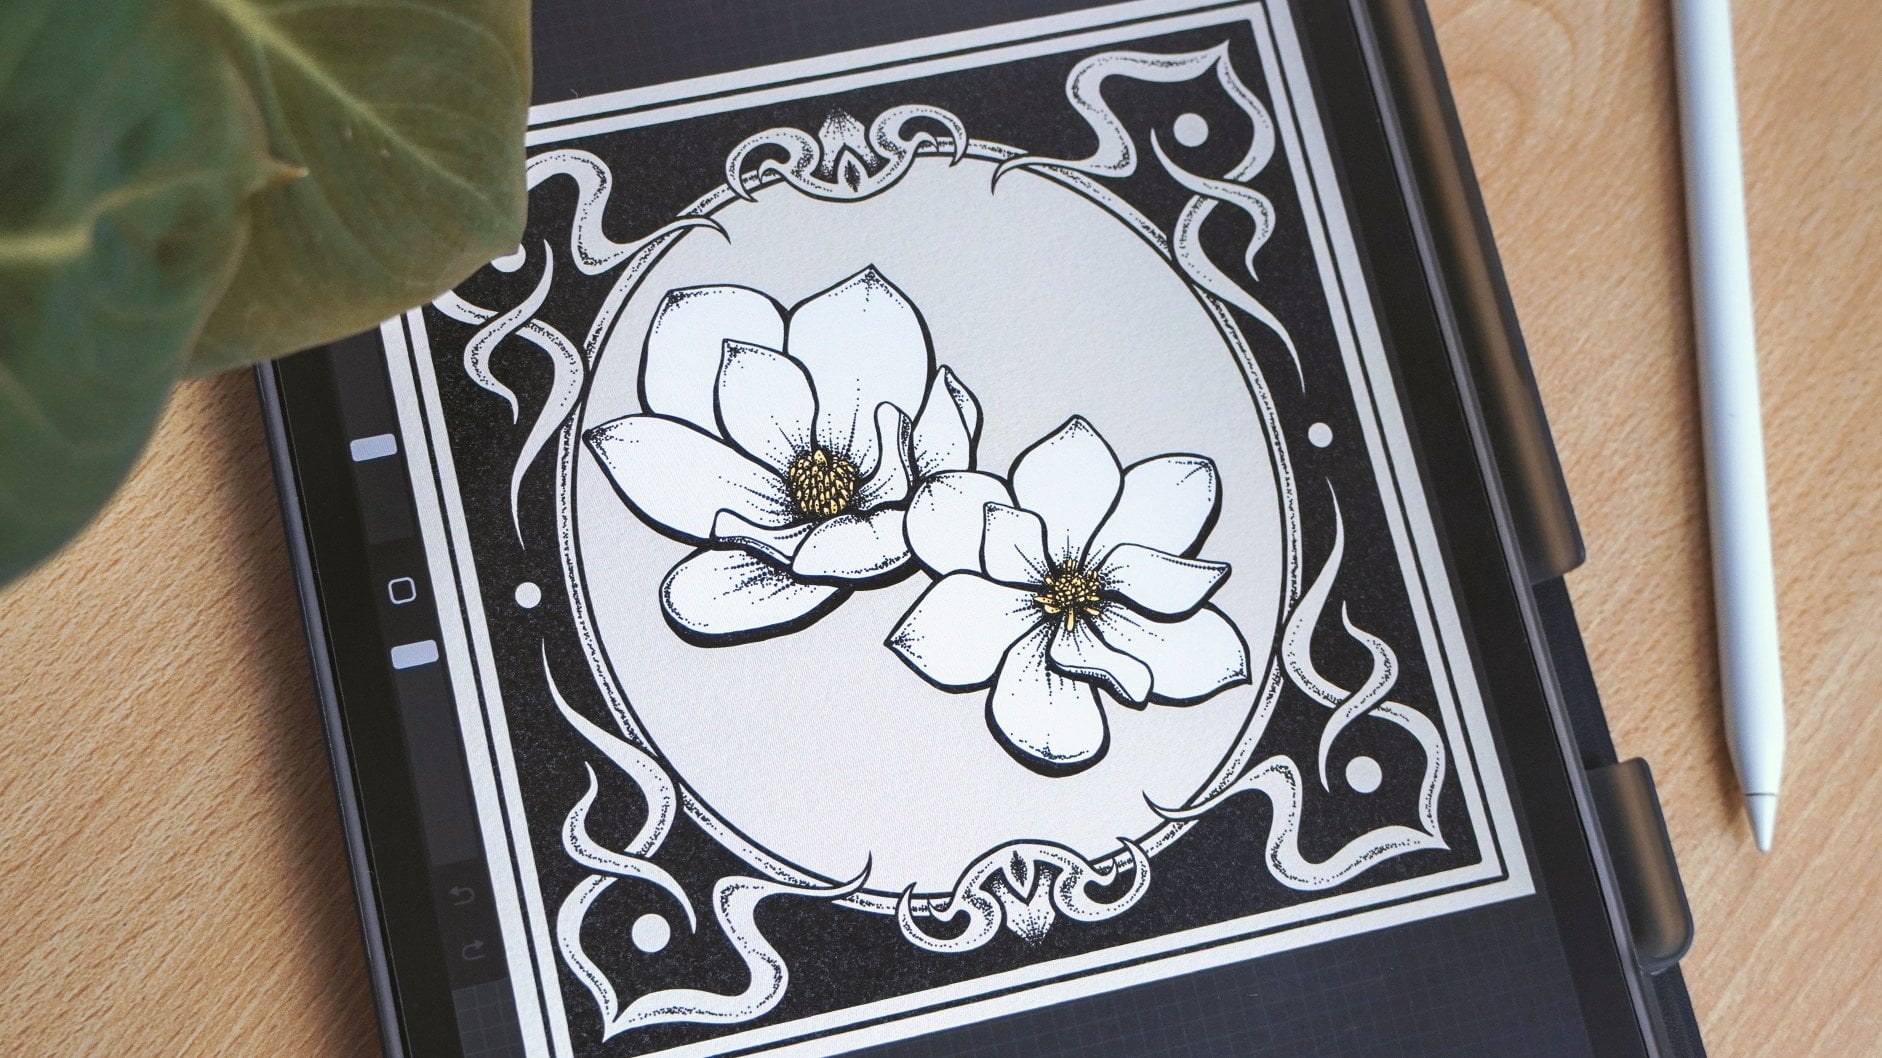
7. Layers + blending modes: When drawing digitally, layers are a must. They help keep things organized, separating parts of your drawings and even applying different blending modes. For a sketchbook effect, I like to have my paper with two blending modes. The base layer set to "Normal" and the other set to "Multiply". To do this, duplicate the base layer by swiping left and clicking on "Duplicate." Then click on the "N" which stands for Normal. Now, lots of different blending modes will appear. Feel free to scroll through and try them out. I am going to scroll upwards and select "Multiply." As you can see, the effect is too strong. You can change the opacity by clicking on the "M". Just drag this dot to the left to reduce the opacity. Most of the time, I change the opacity between 18-60 percent. I base my decision on the paper I'm using and personal preference. So just play around with the opacity and see what works best for you. As you can see, this effect will make the paper look more grainy, dark, and dimensional. This will help achieve a sketchbook look. Here is an example of the multiply effect on one of my drawings so you can see it in action. Which one do you prefer? Now onto working with layers. To add a layer, click on the plus icon. A layer will automatically be added. To change its name, tap on it and click on "Rename." I will name mine "Drawing". You can now use this canvas as a template. What I like to do is, go back to my gallery, swipe left, and duplicate my canvas a couple of times. That the way, you will have everything ready for the next time you want to use that same background. I want to show you how I work with layers on an actual drawing. As you may have noticed, I like to keep things organized, and layers are a huge help. I have my drawing divided into several layers. I also have the base sketch, which is in a group and no longer visible. To group layers, just select one of them and swipe the rest to the right. A group option will appear. Just click on it and the layers will be grouped. To hide them, just uncheck this box. The rest of my layers are: the linear drawing, texture, shadows, highlights, the pistils, and finally my signature. You can separate your drawings however you like, but I like to do mine with the opacity function in mind. If you'd like to lower the opacity or multiply a layer to achieve a higher or lower contrast, then, how will you separate your layers? This is something that helps me decide how to separate mine. Having everything in layers allows me to alter only parts of the drawing without having to erase a whole chunk like you would on actual paper. So I strongly recommend using this function in your favor. That is all for this lesson. See you in the next class.
8. Tweaking paper with curves: This step is optional but it will help accentuate the color of the paper you're using especially if you have one that looks too flat or that lacks contrast. To start, click on the magic wand icon on the top-left corner. Under Adjustments, search for Curves, and click on it. Choose Layer to apply the effect to all of the canvas. If you were to select the Pencil option, the effect will be applied as a brush. I'm going to select "Layer". Basically, curves is a way to manage the color, and tone out balance of the canvas. Adjusting it will result in decreasing or increasing color in both highlights and shadows, giving the paper a more realistic color if needed. To use it, click on the line and drag it downwards or upwards very slightly. Going up will make the paper lighter while going down will darken it. How far you wanna go is up to you. I like to tweak it just a little bit. To undo one of the changes, just tap the screen with two fingers as you will normally do while drawing. To see the before and after, double-click the screen with one finger. A menu will appear. Tap on Preview. Now, you can see how the effect looks. You can also opt to duplicate a layer before applying curves. That way, you could change the opacity of the effect if you like. To save the changes while in the menu, click Apply or click on the magic wand twice. Now, it's finally time to draw. Follow along in the next class.
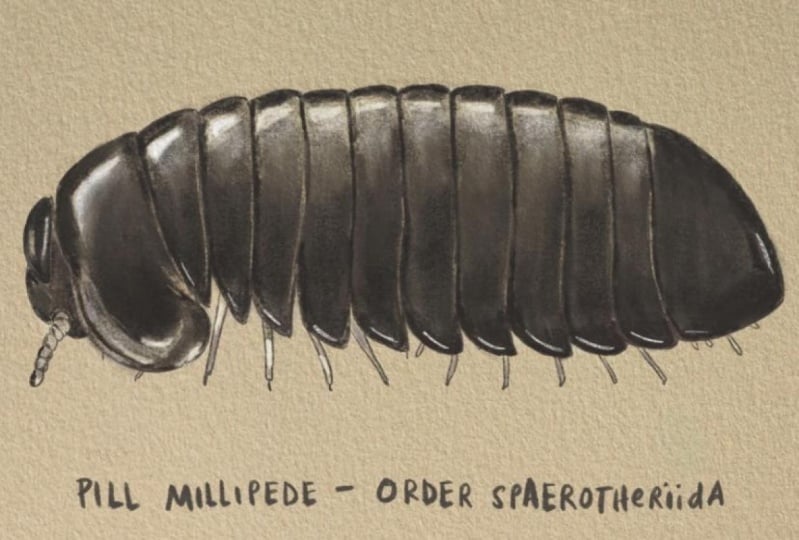
9. Favorite brushes + techniques: Now I am going to show you my favorite brushes for this technique. As I said before these are all in Procreate, but I have grouped them as a set in my download for easier access. So make sure to install them if you haven't. If you already imported my brushes then, you should be able to find them at the top of your Brush Library under the name Sketchbook. All of these brushes have pressure sensitivity when being used with an Apple Pencil. As you can see, they will react differently if used tilted or not, just like a real pencil would. If you're using a regular stylus, unfortunately, pressure sensitivity won't work, but you can make it "work" by adjusting the opacity with the sidebar. My previous iPad was actually an iPad Mini 1 and even though it was harder to draw with no pressure sensitivity and no Apple Pencil, I didn't let that stop me and tried anyways, and believe me, good results can come out. So go ahead and give it a try. You can do it! All of these drawings were made with the 6B pencil on my iPad Mini 1. Now, let's swatch these brushes, I will be using my Apple Pencil. The first one is the 6B pencil. This one is awesome for everything, sketching, shading, you name it. That is probably why it is my favorite on the set. I like to use it for both my initial and final lines especially if I want a more sketchy feel. The second one is also the 6B pencil. The only difference is that I have made it bigger for easier shading in larger areas. Next one is Chalk. This one is great to add highlights or shading with a low opacity and when using it at the highest opacity it has a unique organic texture. Then, we have the Shale brush. This one is very fun to use with pressure sensitivity. Use it for shading to achieve a cool texture. Vine charcoal is the one you wanna reach for a soft shading. This is the one I reach for when I want to create soft diffused shadows while maintaining a charcoal effect. Willow is also great for shading. The only difference is that this one has some more prominent charcoal texture. And last but not least, we have the Charcoal Block. I like to use it as an accent or for dark backgrounds. This one is great for as its name says it, a block effect full of that charcoal texture. Procreate also has a smudging tool. To access it, just click on the finger icon at the top. Click it one more time to choose whatever brush you like and start smudging. A trick that I always use is pressing the tool for a second or so to change the brush to the latest one you were using. For the next class, I'm going to put these brushes to the test and draw a quick sketch. See you there.
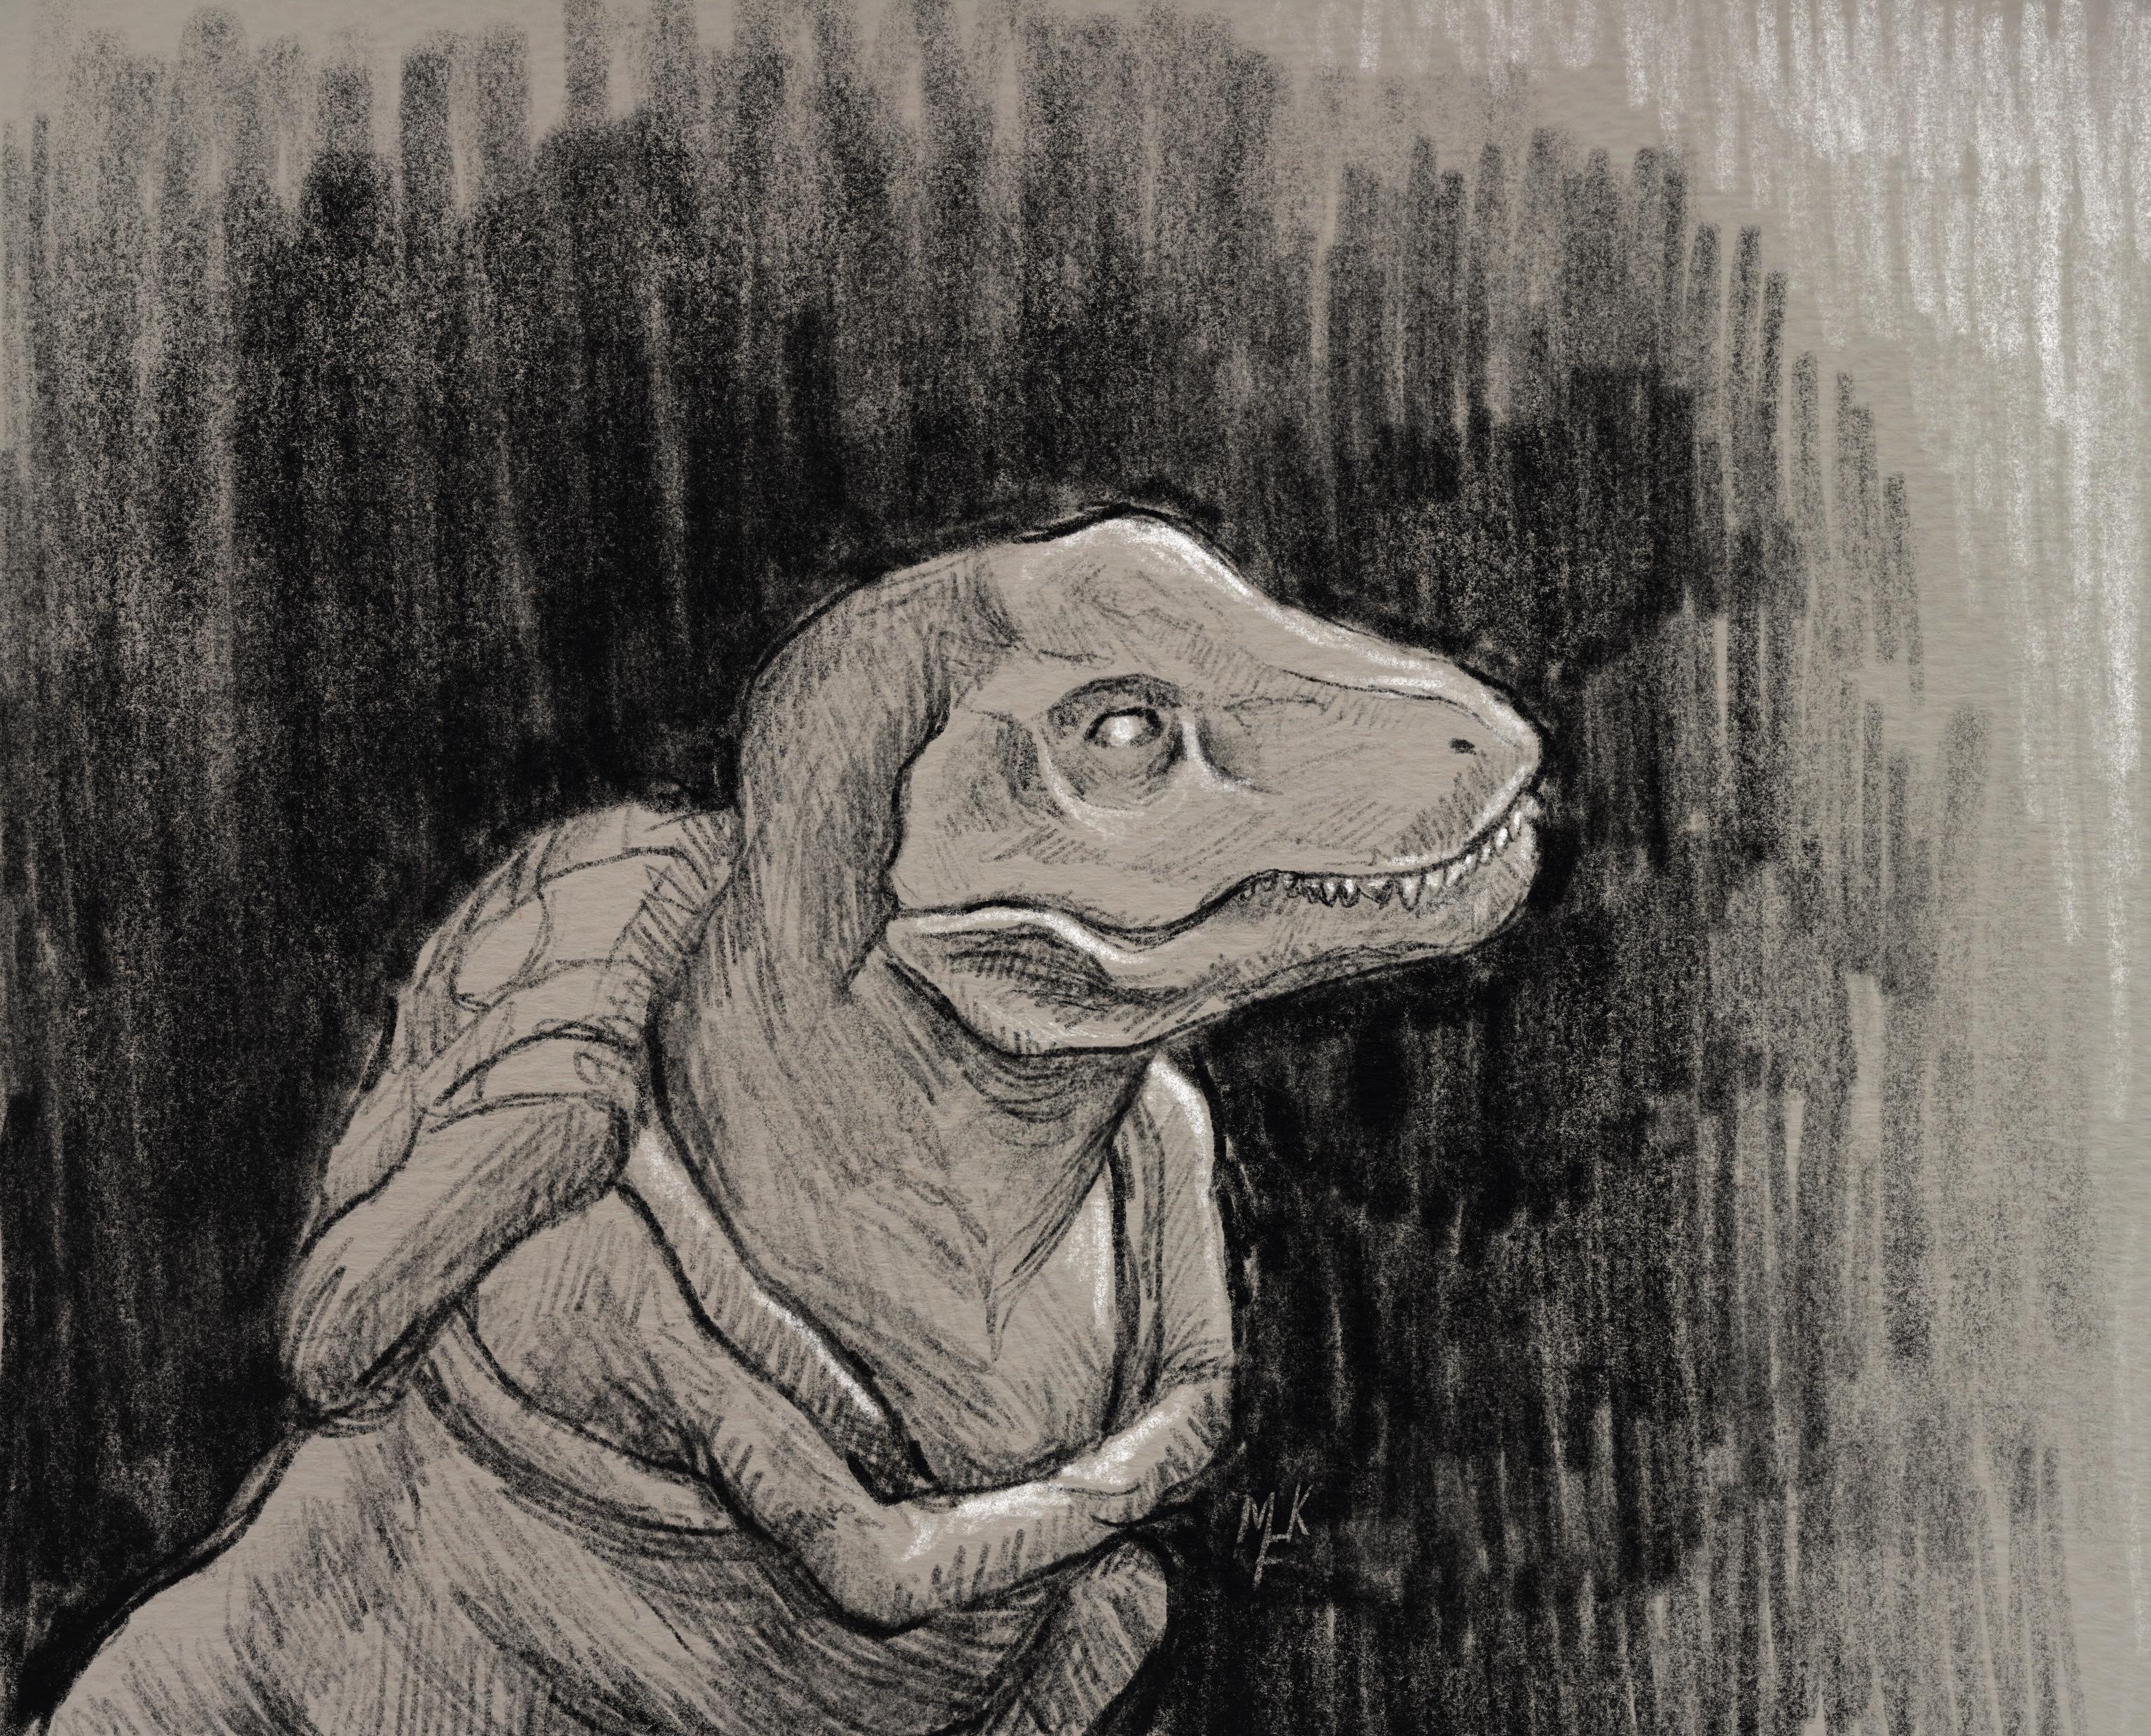
10. Sketching + adding texture: For this class, I encourage you to follow along and draw whatever comes to mind. Something you have near, or search for a copyright-free image in places such as Flickr The Commons, or Splash.com. If you're on Flickr, make sure that the image you choose doesn't have any copyright restrictions. I have a T-Rex highlighter near me. So that is what I will be sketching. Feel free to take a screenshot if you also want to draw it. To start, I am going to set my canvas, with all the steps from the previous lessons. For the initial sketch I am using the 6B pencil. I start by doing a rough sketch focusing in getting everything in place avoiding diving into detail. Now that I have my sketch done I reposition my drawing if needed and reduce the opacity to use it as a guide. I then add a new layer, which is where I will be doing my final drawing. I am also using the 6B pencil for this step. I start by defining my lines and slowly adding shadows. For the background, I'm aiming for something very loose. I tried the Charcoal Block, but it was too dark for my liking. I am now using the Liquify tool to correct some of my proportions. I ended up using the large 6B pencil. Yes, it is my favorite brush. I continued to complete my drawing and adjust proportions. I then thought that my composition was looking rather weird. So I decided to crop my canvas. After adding some more details, I added some highlights with white and yes, I am still using the 6B brush. This step works wonders for making everything pop, don't you think? I am now done with my sketch. If you feel that your drawing is lacking texture then, I have a tip for you. Start by deactivating all of your layers. Now, duplicate the background paper that is set to Normal, and place it at the top. Adjust the layers with Curves in a way the texture really stands out. Then tap on the layer and click on Invert. Head over to Adjustments, and click on the Hue, Saturation and Brightness option. Decrease the Brightness to your liking, and the Saturation at around 10 percent. Change the layer Blending Mode to Screen. Finally, reduce the opacity in between 10 to 20 percent. Now, start activating your layers. As you can see the texture we just created now shows on top of our drawing, especially in the darker areas. If your drawing is looking too blue, just reduce more of the saturation. Now, keep in mind that this effect only works on papers that have some sort of texture. For example, on my Kraft paper, it doesn't work. I mean, it does, but not as you would expect. In this case, I think it looks better without it. Here is the before and after on the T-Rex. Will you be using this effect for your drawings? To save your drawing as in image, click on the tool icon. Then click on Share. Then select a format. I recommend selecting JPEG. The file size won't be huge, and you can easily share it with the class, or in social media. Click on Save Image, and it will now be stored in your camera roll. Would love to see your sketches! Remember to share them with the class and help inspire others.
11. Final conclusions: Congratulations on your progress you've reached the end of the class. Keep up the great work! Here are the steps that we've already followed. Making your own sketchbook paper or using one from the downloads, Setting up a canvas, Importing paper to Procreate, Working with layers and some blending modes, Adjusting paper with curves, The best brushes and techniques for this effect, Making a sketch, How to texturize your drawing, and Saving your canvas as an image on your camera roll. Feel free to screenshot the steps as a future reminder. Finally, make sure to share your drawings in the Project Gallery. Even if they are just swatches, a sketch or a work in progress. Remember that you can always update your project and upload your images later on. I would love to see your creations. Also, share your drawings on social media. If you're on Instagram, you can use the #FromDigitalToAnalog, and tag me @MFK_draws. I think this is a fun post to share, and see if anyone realizes that the drawing they are looking at is actually digital, and not made on a sketchbook. Thank you for joining me in my first-ever Skillshare class. I hope you've learned something new today. If you enjoyed this class, don't forget to follow me here to be the first to know when the next lesson drops. Hope to see you soon, bye.
12. Bonus: Time-lapse: [Background music playing] [Background music playing] [Background music playing] [Background music playing] [Background music playing] [Background music playing] [Background music playing] [Background music playing] [Background music playing] [Background music playing] [Background music playing] [Background music playing] [Background music playing] [Background music playing] [Background music playing] [Background music playing] [Background music playing] [Background music playing] [Background music playing] [Background music playing] [Background music playing] [Background music playing] [Background music playing] [Background music playing] [Background music playing] [Background music playing] [Background music playing] [Background music playing]
 María Fe K., Artist | @MFK_draws