Transcripts
1. Introduction: What if you could create stunning intricate
quilt patterns without ever picking up
a needle and thread. Hi am WiaKmorson. I'm an illustrator and surface pattern designer based in India. I welcome you to this class on creating quilt patchwork
patterns on Procreate. I love creating patterns of different styles in Procreate
and exploring playful, creative ways to build
seamless designs. In this class, I will walk
you step by step through designing different
patchwork blocks and turning them into beautiful, cohesive quilt style you
will learn how to use Procreate's radial
symmetry tool to your advantage to build quilt motives quickly
and with confidence. By the end of this class, you will have your own
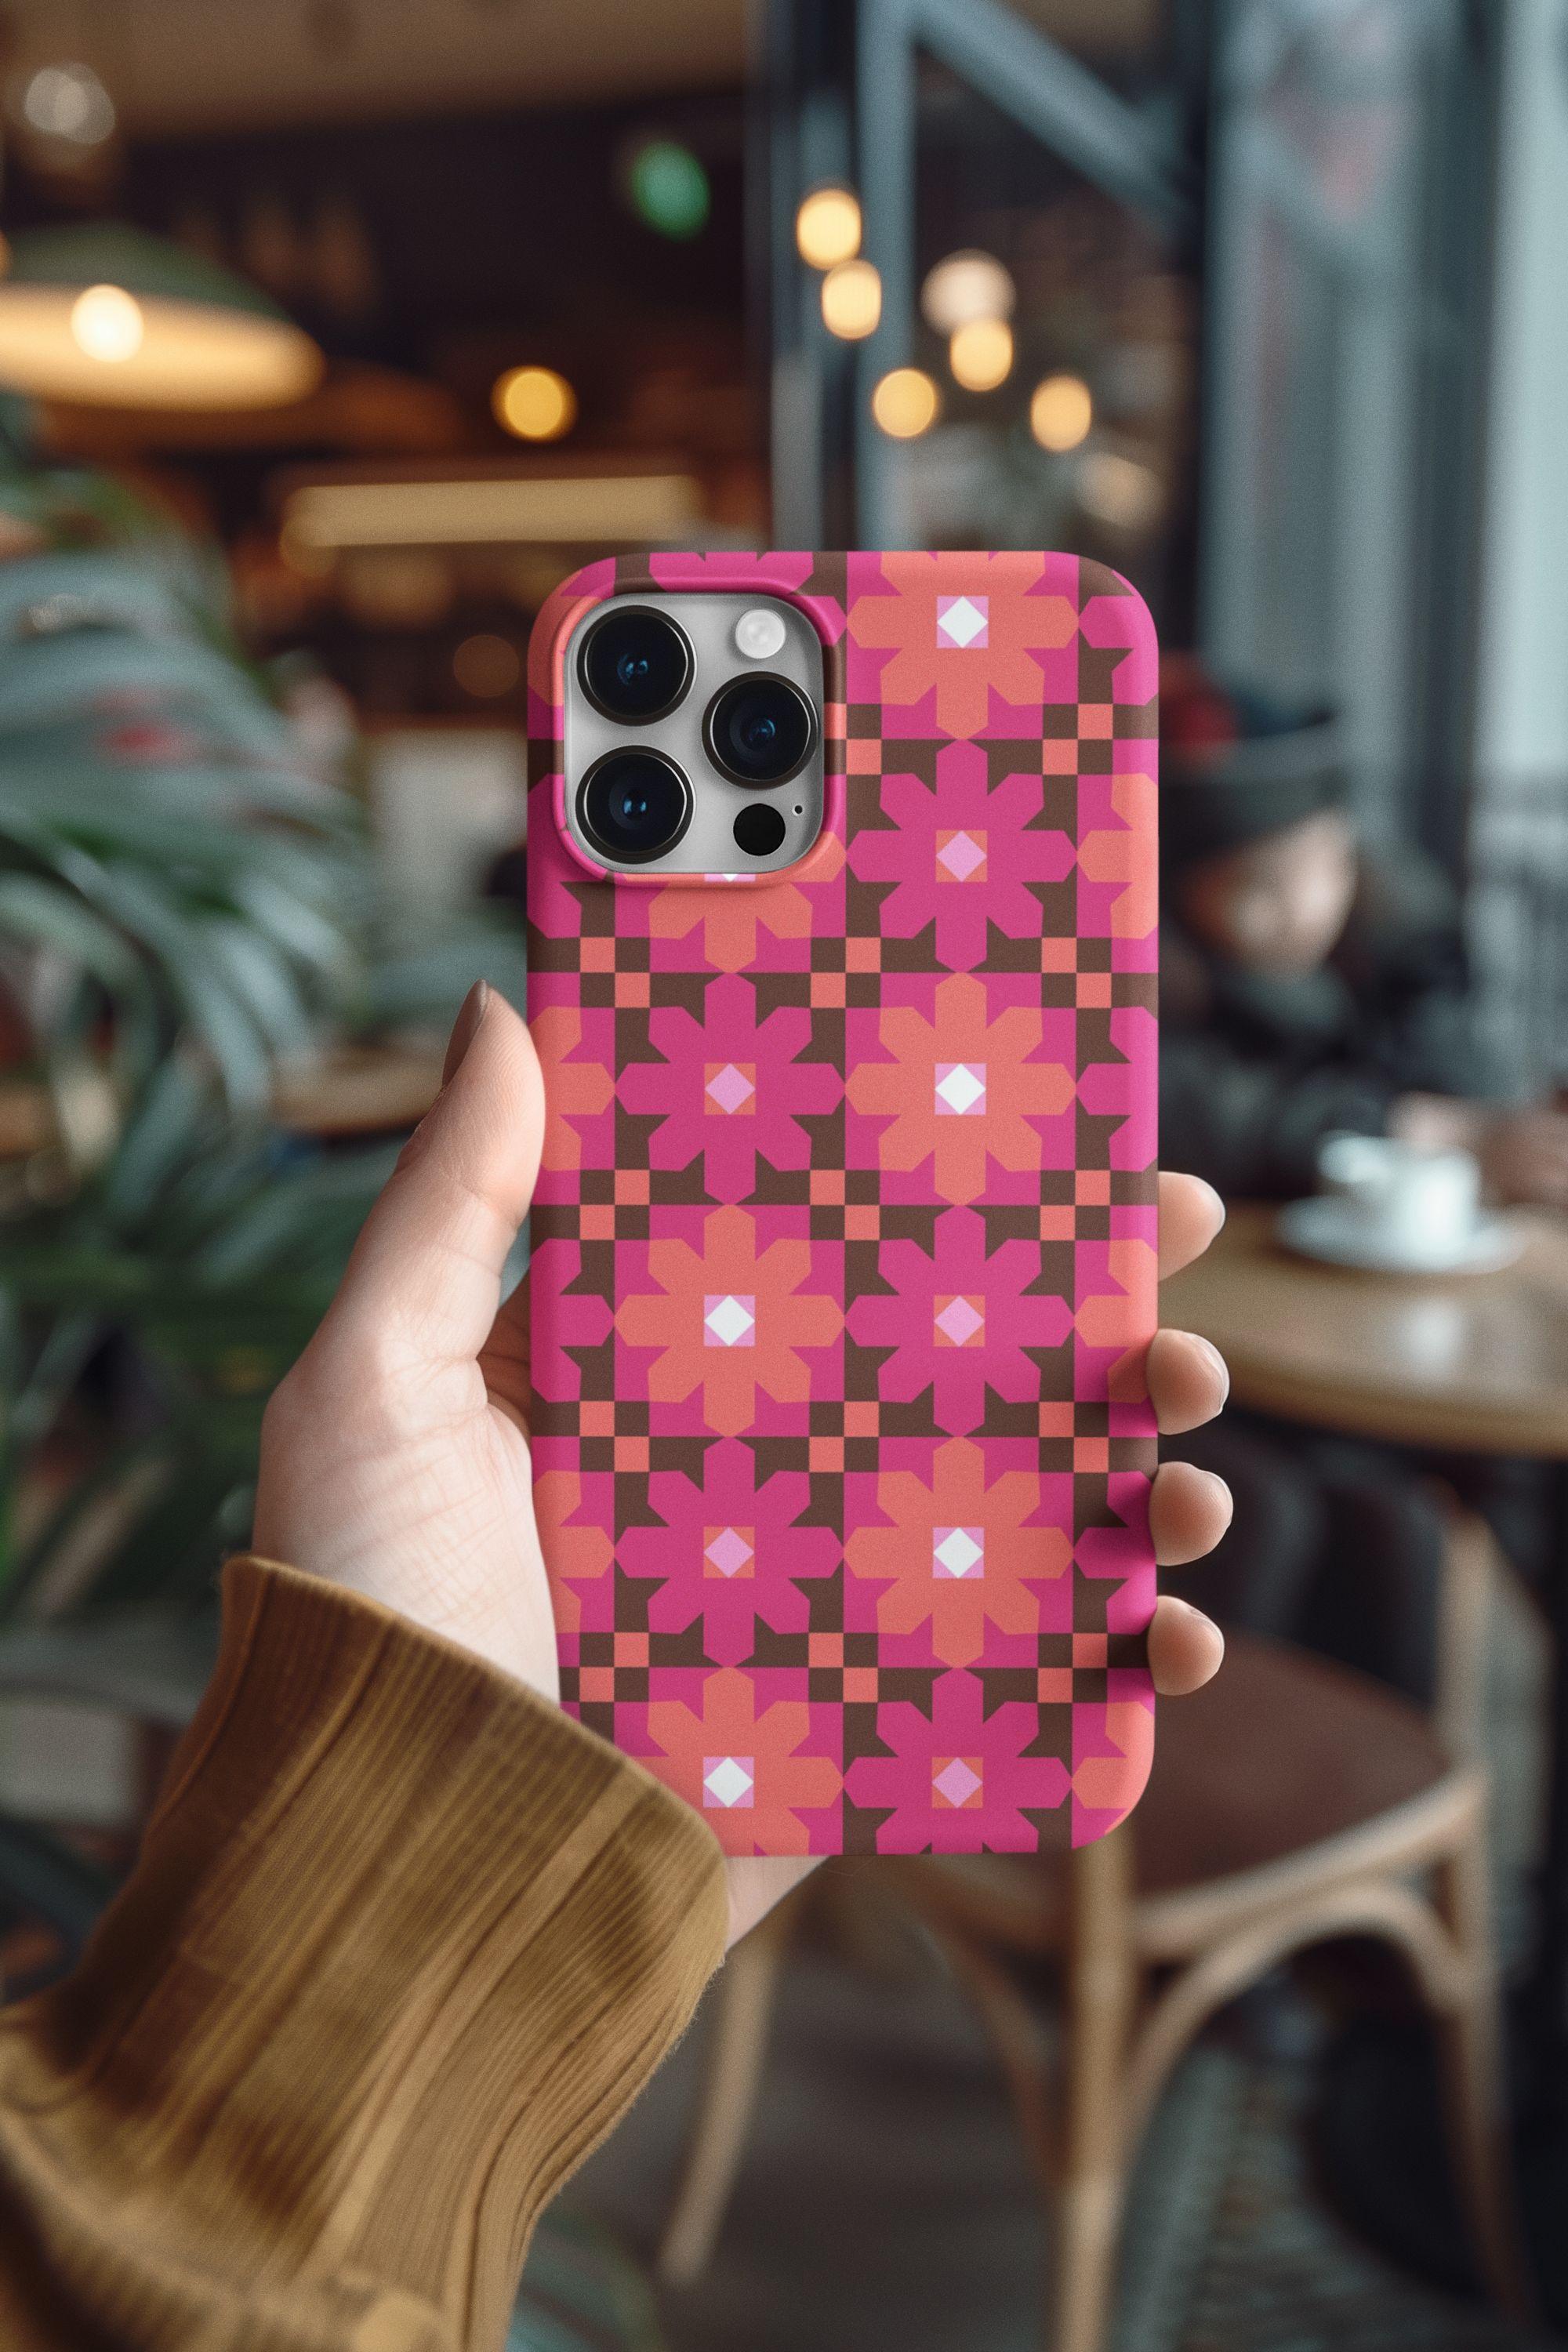
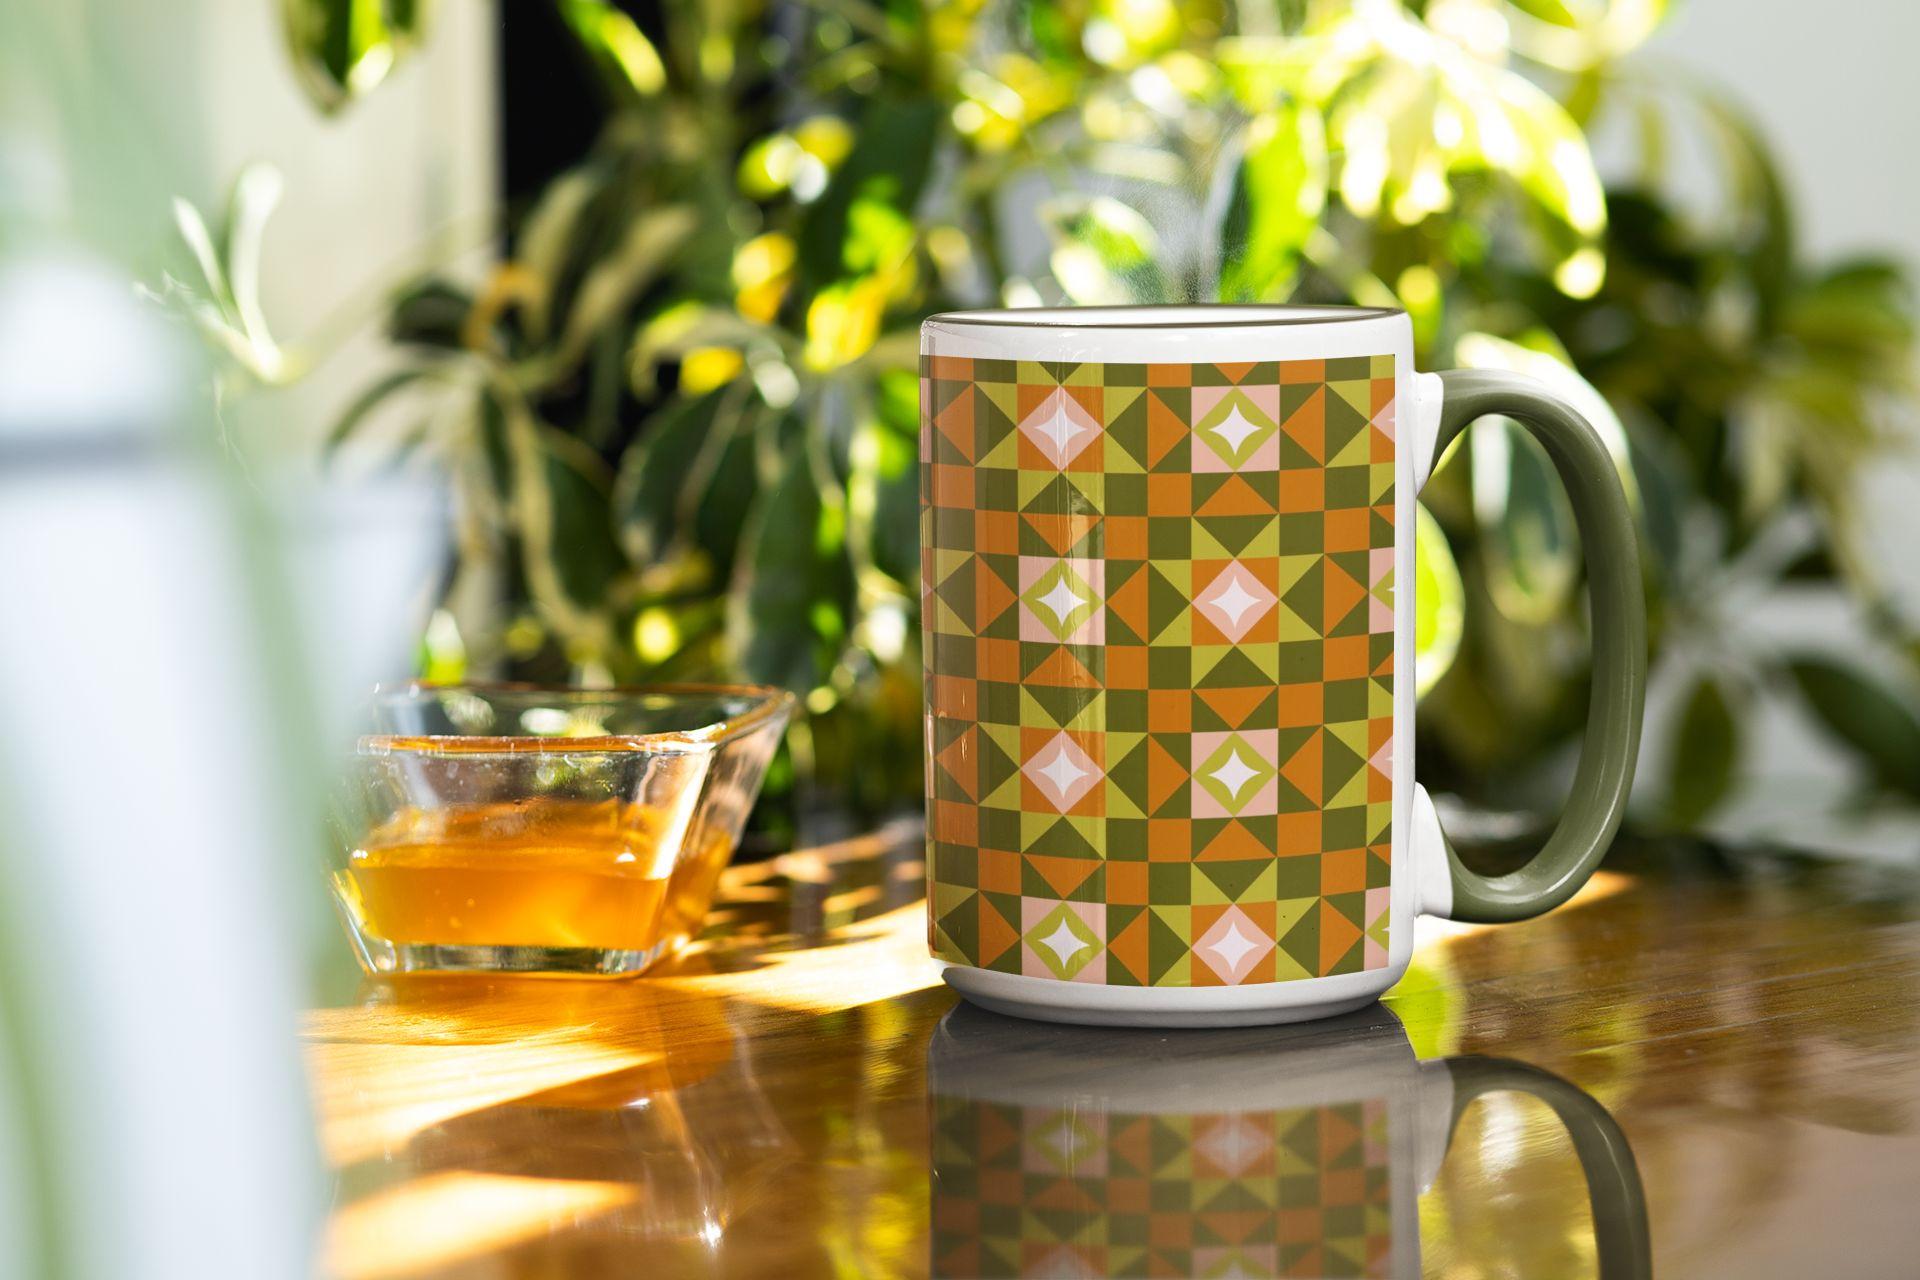
quilt patchwork patterns that you can upload to
platforms like Spoonflower, add your portfolio, or apply to products
and client projects. If you're excited to
bring the charm of handmade quilts into your
digital pattern work, then this class is for you. So let's get started.
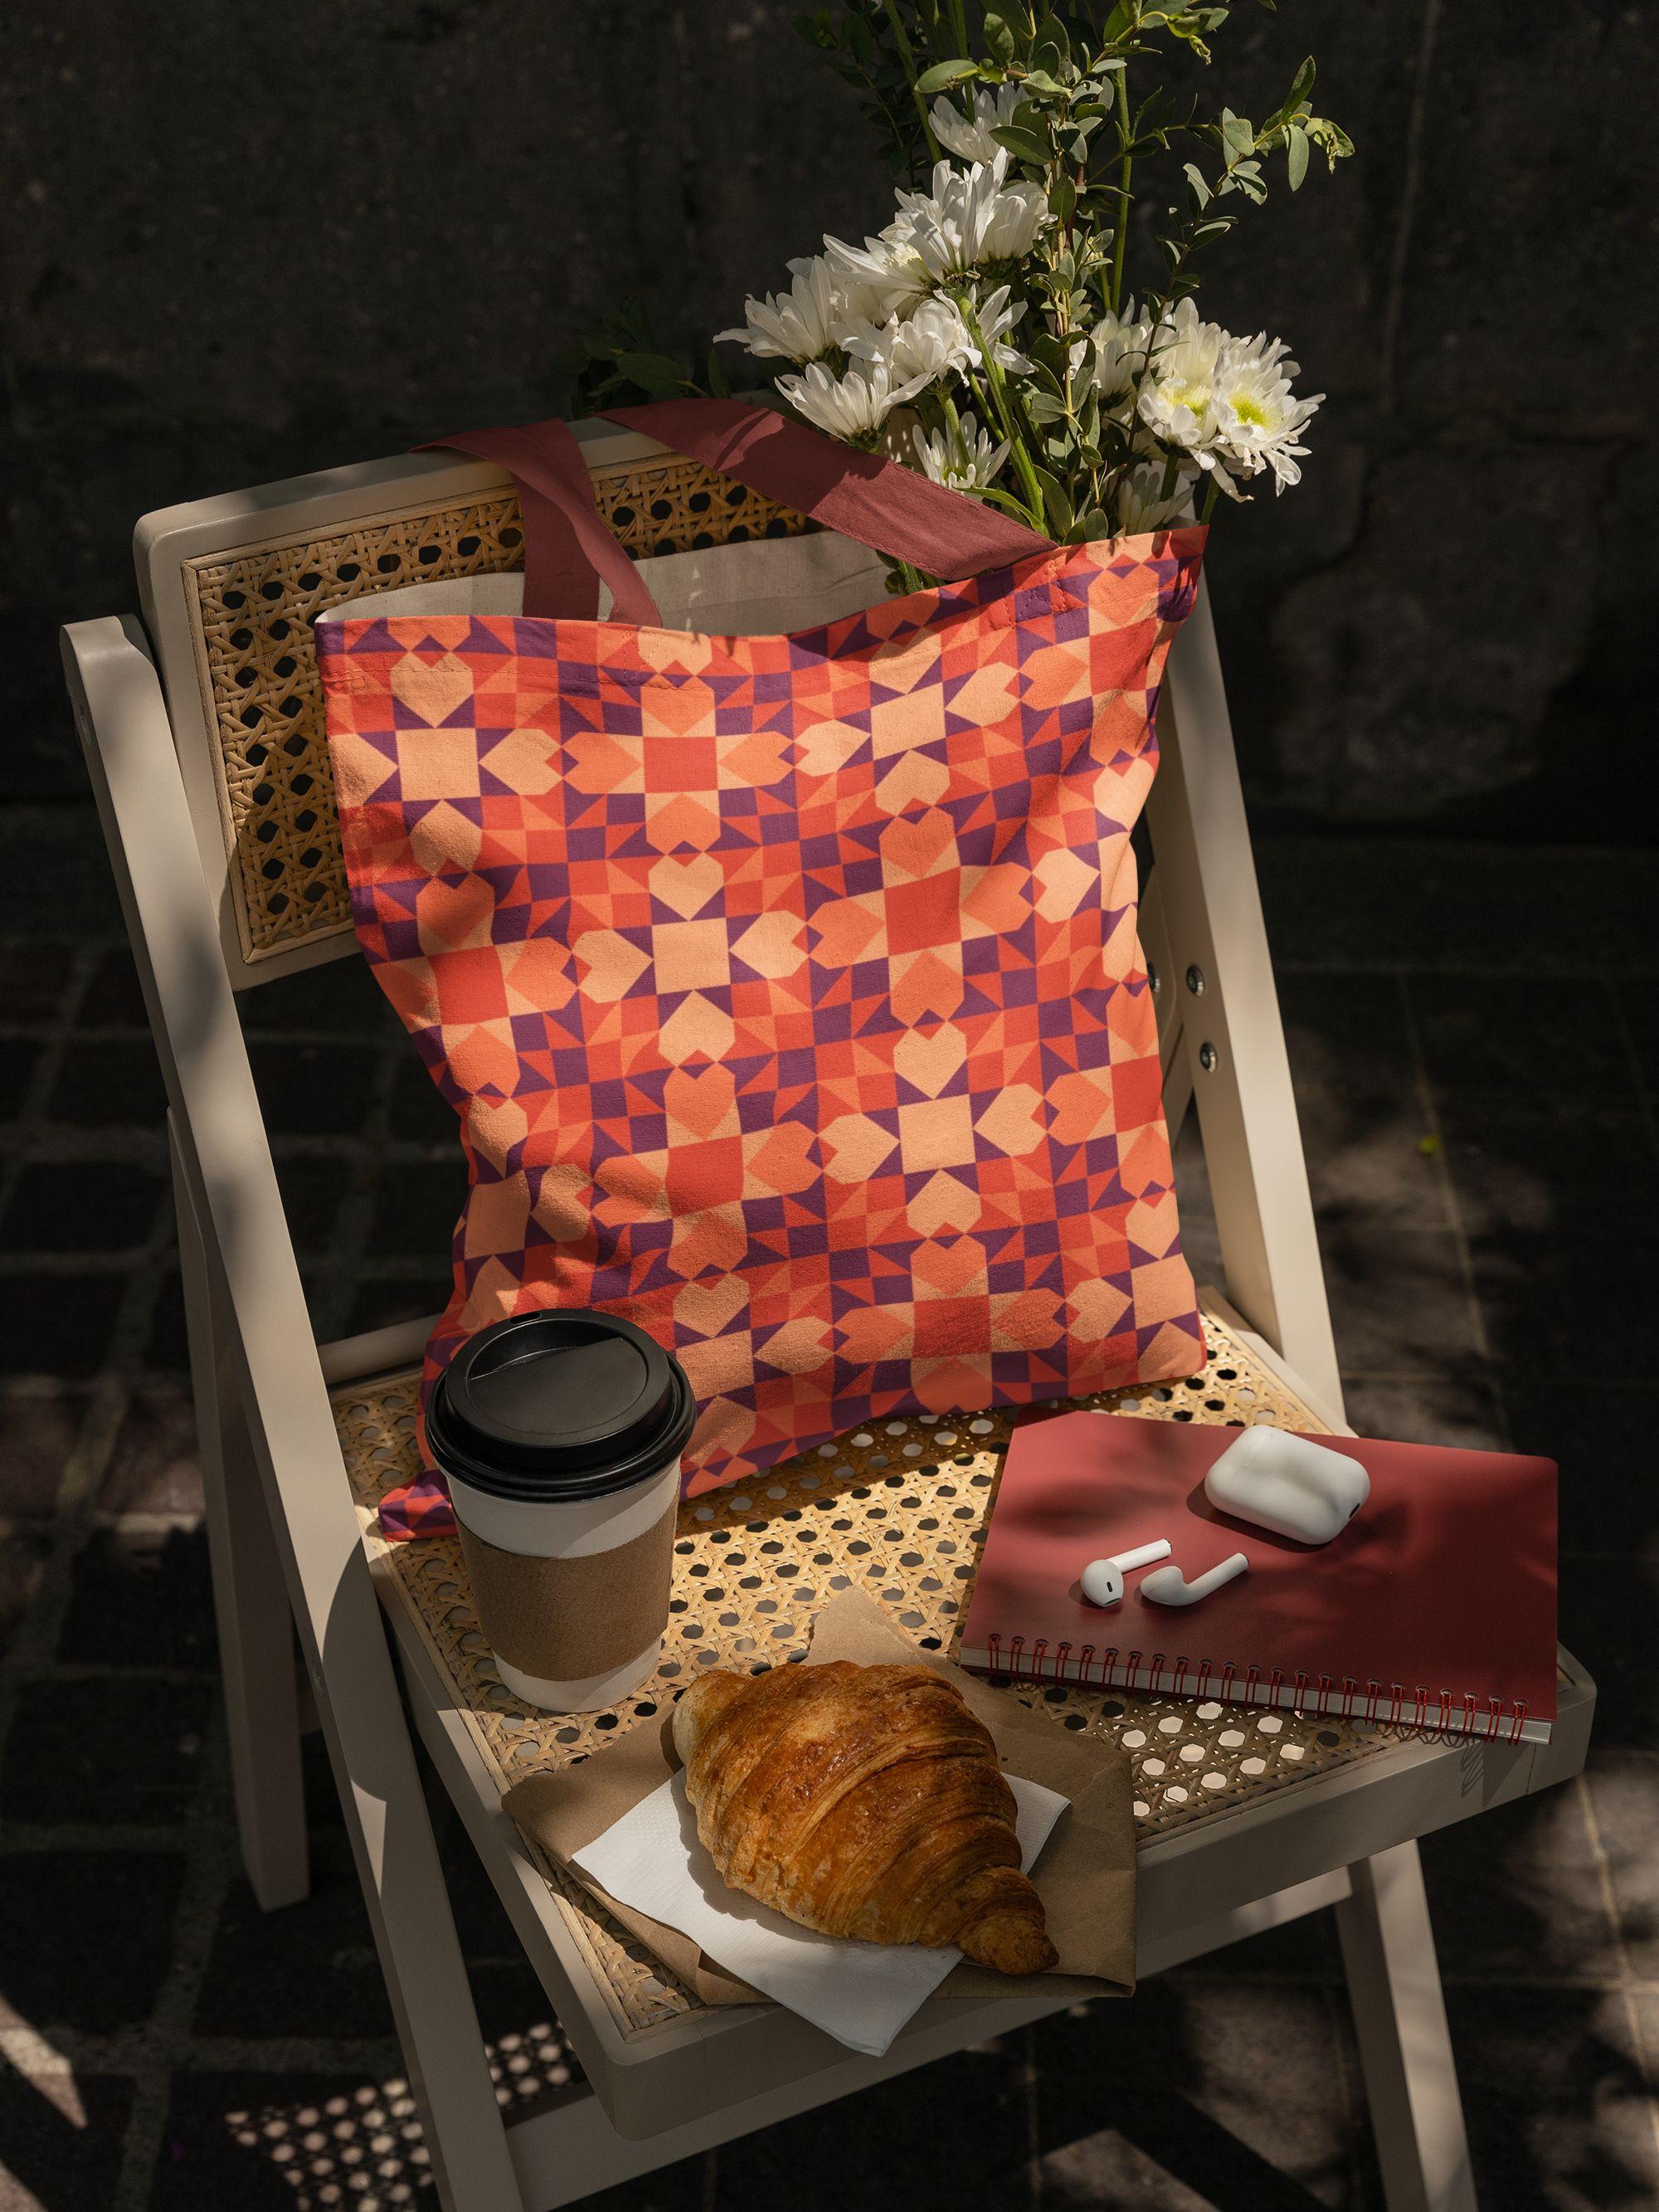
2. Class project: For your class project, you will be creating not just one but three different
quilt patchwork patterns using the radial
symmetry on Procreate. To make the learning
process easier, I have included downloadable
resources for you, pattern templates and
coordinating color palettes, so you can jump right
in and start creating. Please share your
finished projects in the project gallery. I would love to see
what you create.
3. Class Materials: Before we begin, let's make sure you have everything that
you need for this class. An iPad with Procreate
app installed, an Apple pencil or any
compatible stylus. That's it. Now that you're
all set, let's dive in.
4. Quilt Patterns: Why quilt patterns?
You might ask. Well, quilt patchwork holds a special place in
the crafting world. For centuries,
quilters have pieced together fabric scraps to
create functional art, transforming simple
geometric shapes into intricate designs that tell stories and preserve traditions. In the crafting community today, quilt patterns are still
considered quite popular. They evoke comfort, nostalgia, and the beauty of handmade whether it's on fabric, home decor, stationery,
or digital products, quilt inspired designs
have a timeless appeal that connects people who appreciate craftsmanship
and heritage. By learning to create quilt
patchwork patterns digitally, you're not only honoring this traditional art
form while making it accessible and marketable for modern surface pattern design. I'll see you in the next lesson.
5. First Pattern: So now we'll start
by clicking on the plus icon to
create a new Canvas, and then we'll click on
the new Canvas icon. And for the width,
I'm going to enter 3,000 pixel and for the height
as well as 3,000 pixel. Now you can go for
something higher as well, but the default size is
usually 3,000 by 3,000, which translates to
more like ten by 10 ", and then you can even
go for 12 by 12 " or 14 by 14 " depending on the
model of iPad that you have. For the DPI, I'm going to
set it to 300 DPI or higher, but never less than 300 DPI if you're planning to
print your pattern. Next, for the color profile, I'll be choosing the
display P three under RGB. And that's it, we
are going to hit Okay and create a new Canvas. Now, once inside the canvas, I'm going to click
on the wrench tool, and then I'm going to go into the canvas and turn
on the drawing guide. And then I'm going to hit
on the edit drawing guide. So right now it's at two D grid. I'm going to make it to
symmetry and under options, I'm going to go
ahead with radial. Now, make sure that the
rotational symmetry is turned off. We don't want it to be
turned on. That's it. You can hit on D. Next, I'm going to go ahead and choose black on my color wheel over here and also make sure that your layer one has the drawing
assist turned on. It's usually turned on in
case where if you go into the wrench tool and click on Edit Drawing Guide and
then into options, you would notice that assisted
drawing is turned on. And that's why our layer has the assisted
turned on already. If the assisted
is not turned on, you can simply turn
it on by clicking on the thumb nail and clicking
on drawing assist. So for now, the drawing
assist is already turned on and hence you see
this tick mark next to it. If it was turned off, you would not see the
tick mark next to it. So now I'm just going
to turn it on again. And you would notice that
assisted has appeared again. You will be doing this for
every other layer manually. For example, if I just go ahead and click on
plus over here, you would notice that again, you don't see the assisted. So we will go into the
thumbnail, click on it, and make sure to turn
on the drawing assist. So now I'm just going
to tell it this layer. And with layer one activated and drawing assist turned on, I'm going to go ahead and choose the monoline brush
under caigraphy. I'm just going to
quickly check the size. I'm going to make it
slightly bigger to somewhat maybe three or
4%. Yes, that should work. So the next step
would be to bring in the template that has been
provided with this class. So you can go into
the wrench tube, go to add and there's something
called Insert a photo. Now, you can click
this right away and input the photo into
your Procreate. But if you want the
photo to be hidden so that when you are creating
your time laps video, you don't want to see the
template in that video. In that case, you can
just simply swipe towards your left and you see something called Insert
a private photo. Now, you can just click on
this and you can just click on your template and make sure
to click on Fit to Canvas. And you have now
imported the template. Though you see the template
right now on the screen, but it will not be visible on your time laps video, right? So this will be only the
case when you're using Insert a photo as
insert a private photo. But if you're using it as
it is like Insert a photo, then your template will be visible in your time laps video. Okay, so now I'm going to
go into my layers panel, and I'm just going to drag this all the way to the bottom, and I'm also going to
rename it as template. You would also notice
that now it says private, which means that this image has been inserted in a private mode. Like I said, it will not be
seen in your time laps video. Next, we are going to go ahead and before we lock it, sorry, we'll go ahead and click on the N and just slightly
reduce the opacity. You can keep it to 50% or 40 depending on what
is convenient for you. And then you can go ahead
and swipe towards your left and lock that particular
layer. All right. So this is how you would
bring in your template, and you would start
drawing your pattern. But for now, just for
this particular pattern, I'm going to turn
off the template, and I'm going to show you
how to create this template. I'm going to click on
layer one over here. And I'm going to
zoom into my canvas. And since the radial symmetry
is already turned on, I'm just going to
simply make a line. A very straight line, just click and hold, if not tap on your screen, and you would get a perfect
straight line like this. Now I'm going to
click on the MV tool, and I'm just going to
make it slightly smaller. And to make sure that it is perfectly aligned to the center, I'm just going to make sure that my snapping is turned on, that's magnetics and
snapping is turned on, and I'm just going to make sure that it snaps perfectly
at the center. So you see this yellow line both horizontally
and vertically. Yeah. Oops. This means that it has snapped
perfectly at the scent. Next, on the very same layer, I'm going to draw
a few other lines. Now, if you notice,
when I did try drawing, I had these gaps in
between the lines happen. I'm just going to
quickly undo it. And I'm going to make sure
that it doesn't happen. So So this way, we are just going
to keep building our lines the way we want, based on the pattern that is the quilt patchwork block
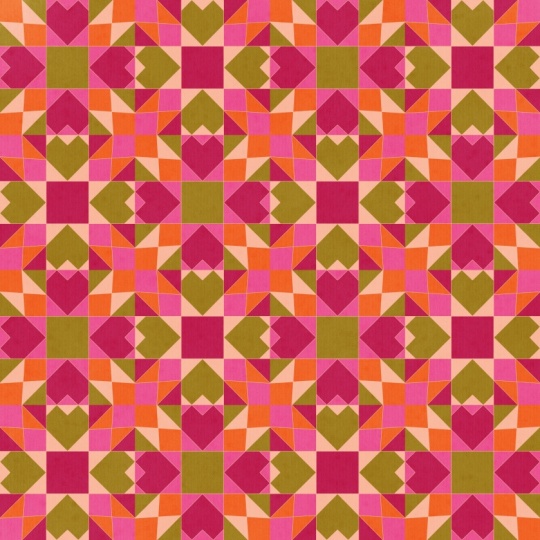
design that we are looking for. So right now, I want to create
something that's usually called a star pattern in
your quilt patchwork, traditional quilt
patchwork making. So this is just your sketch, so you don't have to
worry too much if you end up making any mistakes. Again, this doesn't
have to be perfect because we are going to
color on this anyways. Right? So to get your lines perfectly straight, just draw your line,
hold your pencil, and then tap on the screen
with your index finger, right? So right now we have
something like this. So I would like to just undo and increase
the shape of this, sorry, increase the size
of this a little bit. Yeah, something like this. Again, make sure that it's snapped perfectly at the center. And then I'm going to
repeat the same process, so I'm just going to go ahead
and draw straight lines, tap, and then this time. When I actually tap, it's going slightly away. So I'm going to try again. Yeah. Now that we have
created the template, next step is to
start coloring it. We'll go into the layers and we'll rename
this as template. And I'm just going to reduce the opacity and I'm going
to lock this layer. Next, I'm going to create a new layer and I'm going to bring it below the
template layer. Now you can click on
your color wheel and you can choose any of these
provided color palettes. I'm going to go ahead with
this one that you see here, that's the bottom row for
this particular quilt block. And I'm going to be using
the same monoline brush. So first, I'm going
to go ahead with the white shade
that you see here, that's the very last color
on the color palette. Right now, you might not
be able to see it because the background color
is also white. So what I'm going to do is
I'm just going to change the background color for
now to probably green, and then I'm going to go ahead on the layer
two that we created. Make sure to turn on
the drawing assist and just start tracing
on top of your design. I do feel like the
background, sorry, the template is still
quite dark for me, so I'm going to reduce the opacity further
and then lock it. And you can drag
and drop the color. Next, I'm going to create another new layer and I'm going to bring this layer below
the previous layer. So as we keep
creating new layers, we are just going
to drag it below. So the white layer, that is the white star layer
is going to be on the top, and every other layer is
going to be below it. Next, I'm going to choose
a different color. So I'm going to go with
this second last color in the palette and again, make sure that the
drawing as is turned on. So zoom in as much as possible so that you
don't end up with any caps and then
dragon, drop the color. Next, again, I'm going
to create a new layer, drag it below, turn on
the drawing assist. Choose a different color, so I'm choosing the
third color that's in the middle. Again, Zoom in drag and drop the color. You're going to repeat this for every other shape that
you see on the screen. We're going to again
create a new layer, drag it pillow, turn on the drawing assist,
choose a shade. Sorry. I'm going to go with the very first
color on the palette. And you can drag and drop
the color. All right. So now I'll go into
my layers panel, and I'll just turn off
the template layer, and your very first
patchwork block would look something like this. So we'll go into
our layers panel, and we will quickly select
all of these layers. So we'll just click on one of these layers and
then we'll swipe towards our right and we will select all
the other layers, and we will hit on Now, we are going to
duplicate this group. So to do that, we are
going to swipe towards our left and hit on duplicate. Now we have two
different versions of the same color pattern block. So what I'm going to do
is I'm going to turn off the one that
is at the bottom, and I'm going to open this
particular new group, and I'm going to
change the color of the elements that you
see inside this group. So now I'm going to leave
this white as it is. And for the layer three, I'm going to change the color. So I'm going to go ahead with this green
that you see here, and we're going to drag and
drop the color into it. And for the layer four, again, we are going
to change the color. So for this, I'm going to
go with the second color, second last color in the
palette and drag and drop it. And then for the layer five, we are going to go ahead with the green and
just drag and drop. So you might not be able
to see anything because our background color
is currently green. So we're going to change
the background color to the third color that
you see in the middle. Right. So we have two different
patchwork blocks now. And on your layers panel, you have two different groups. The next thing that
I'm going to do is I'm going to swipe down
with my three fingers, and I'm going to choose copy all and again swipe
down and hit paste. So you see there's an
inserted image, right? Next, I'm also going to go ahead and turn off this
particular group, turn off the inserted image, and I'm going to go back into the new group that we
have created here. I'm also going to go ahead and change the
background color to green that was set previously and now I'm
going to swipe down again, copy all, swipe down
again and hit on paste. So you have these two
different inserted images now. So what we are going
to do now is we are going to turn off this as well. So all the groups
have been turned off, and onely these two
inserted images have been sorry, are turned on. So the next thing that I'm
going to do is I'm going to duplicate each of these
layers just one time. So I'm going to click on
this and duplicate it once, and I'm going to click on
this and duplicate it once. So you have two versions
of the same layer, right? Same block print and the same as well as the
different color, right? So next, we are going to select
all of these four layers. Click on Move tool. And click on any one
of the corners of this blue dot that you see. And what we are going to do
is we are going to enter half of the dimension that we currently
see on the screen. So what I see is 3,000 pixels. So half of 3,000
pixel would be 1,500. Right. Now I'll go
into my layers panel, and I'll also go
ahead and change the background color to white. All right. So next, I'll click on any one of
these green color blocks that I see and click on the move tool and make sure
with the snapping turned on, I'm going to move
it to my right, and then I'm going to
move it to the bottom. So I'm going to place it in a
diagonal fashion like this. Next, I'm going to click on the other color version
that is for me, sorry, for me, it
is the third layer. I'm going to click
on the Move tool and I'm going to drag
it to the bottom. Again, go to the layers panel, click on the last
layer that you have. That is the last inserted
image layer that you have. You're going to just
drag it to your right. So your final pattern tile should look something like this. Okay. So once you're
done with that, that's it. You're almost done. We just have one last step, which would be to add a texture. But before that, I just want to see how this looks as a repeat. Again, I'm going to swipe
down with my three fingers, copy all, again, hit paste. Unfortunately this got
created in the middle, so I'm just going to drag
it all the way to the top. So now I'm going to turn
off all the other layers, everything except the new
copy that we have, right? And I'm going to
duplicate it three times. Now, you're going
to select all of these four layers together. Click on the Move tool, click on the Blue Dot, again, enter half
of the dimension. And then you can just
choose any one of these and drag it the way how you would usually do
with a regular pattern. That is your full drop pattern. That's it. You have your full quilt
patchwork pattern ready. But I would also now like to add a little bit of
texture on top of it. I'm going to go into
my layers panel. I'm going to click on
the very top layer and just hit on this Bless
and create a new layer. In my brush, I'm
going to go into the textures and I'm going to go and choose this
brush called Tarkin, and I'm going to choose black color or it could be
somewhat grayish as well. And you're just
going to fill it. Now, if you apply too much
pressure, it'll get darker. So it is purely based on the pressure sensitivity of your stylus or
your Apple pencil. Okay. So once you have
done it, right now, you'll not be able
to see it clearly, but we're going to go
into our layers panel. You're going to click
on the N and we're going to change the
blending mode to multiply. And now, if you zoom in, you would be able to
see this nice texture which almost looks like the texture that you
see on your clothes, right on any fabric. So this is very optional if
you like adding this texture, sorry, if you like
adding this texture, then go ahead with it. If not, you can
just turn it off. Right? So we are done with
our very first pattern. I'll see you in the next lesson.
6. Second Pattern: So moving on to a
second pattern. I've chosen the same 3,000
by 3,000 pixel canvas size, and now I'm going to go
into the wrench tool again, insert a photo and swipe towards my left and insert
a private photo, and I'm going to bring
in the second template. By now, you must be
aware of how to create your very own templates
using the radial symmetry. Again, I'll also go
into the wrench tool Canvas and turn on the drawing guide and hit on symmetry and
choose the radial. Now I'll go into
the layers panel, and I'll rename
this as template. And I'm going to also reduce
the opacity of this one. And I'm going to just
drag it to the bottom now and I'm going to lock it. Now we'll choose the layer one, turn on the drawing assist
and go to your brush. I'm choosing the monoline
brush which is under cigraphy and I'm going to go ahead with this color palette
that you see on the top. For the very first one, I'm going to go ahead
with the white. But since we can't
see it, so first, I'll go ahead with
this pink color that is the second
last in the palette. And again, zoom in and
just draw on one side, and it's going to just
replicate on every other side. Tap to get a very straight line and drag and drop the color. Next, I'm going to create a new layer about this
pink color layer. Click on it and turn
on the drawing assist. Now I'll go ahead
with a white color and create the center part. Again, we are going to
create a new layer, and we're going to drag
this below the layer one, or in this case, below the pink layer. Again, now you're going to
choose a different color. So for now, I'm
going to go ahead with the second color
from the top palette. And yeah, make sure that you have
turned on the drawing assist. You can drag and drop
the color into that. Now on the very same layer, I'm also going to draw
this shape as well. Okay. Sorry, I might need to
create a new layer for that. Again, I'm going to
click on the new layer. I'm going to drag it below. Now I'm going to turn off
this layer, layer four. I can clearly see the layer that is below it
while I'm drawing. Again, turn on the
drawing assist and you're drawing this part. Y and drag and drop the color. Now you can turn
on the layer four. I should look
something like this. Then again, I'm going to create a new layer and
then drag it below. And now I am going to
choose another color, probably I'll go with pink
that you see in the middle. Again, turn on the
drawing assist. And just drag and drop
the color into it. And finally, I'm going
to create a new layer. Again, drag and drop it to the last or below
the previous layer, and we choose another color. So in this case,
I'm choosing brown, and you're just going
to drag and drop. You're not going
to draw anything, you're just going to
drag and drop, right? So now we have our very
first patchwork block ready. So the next step is to
group them together. So we just group them
together and hit on group. I'm sorry, so we'll select
them all and hit on group. Now I'm going to
duplicate this group. Swipe towards your left
and head on duplicate. Again, I'm going to turn
off all the other layers, and now we're just
going to change the color of all these elements. I'm going to leave the
white one as it is. Or maybe I'll just change
it to pink this time. So just drag and drop the color and then I'll
click on the next layer and probably make it off
a different color. So I'll choose
this second color, drag and drop into it, and then I'll choose
the next layer. This I'm going to make it pink. Inheim might not be able to
see it, but that's okay. Just trust the process. Click on this as well
and turn it to pink. Click on next layer, and we'll probably
change it to brown. Drag and drop the color. And then the final layer, you can choose the one
color that is left out. Right. So we also have our
second patchwork block ready. So the next step is
to duplicate them. Now I'm going to just
turn this off, right? Turn on the first
group that we created, and then you're going
to swipe towards your left and you're
going to hit Duplicate. And on the duplicated version, you're going to click
on the thumbnail and you're going to hit on flat. Right? We're going to repeat the same for the other
group as well. So we'll click on this
group, turn it on, swipe towards your left, hit on duplicate, and then
just click on flatten. All right. So we have two
different blocks ready now. So the next thing
I'm going to do is I'm going to
click on this one, and I'm going to drag it
to the top over here. Right? So we're going to turn
off all the other groups. So only these two
layers, in this case, layer seven and layer seven
because it's got duplicated, we're going to just keep
them turned on. Okay. So I'm going to again
duplicate these two. So we'll click on this one that is one that's
currently highlighted, and we'll duplicate that. And we'll click on the
one that is at the top, and we'll duplicate
that as well. So you have two copies of the different colored
patch blocks over here. Next, I'm going to
select all the four. Click on Move Tool, click on the blue dot, again, enter half the dimension. Right. Now we're going to
move any one of these. Make sure that the snapping
tool is turned on and just drag towards your right
and then to the bottom. Again, we'll turn sorry, we'll just click on any
one of these layers. It's a different
colored patch block, drag it to the right and then drag this
towards the bottom. So another patchwork
block is ready. So you know the next step, which is you can
merge all these four together and then
duplicate them four times, in this case, three
times, sorry. So you have four
layers in total. Again, select all
these four together. Click on the move tool, click on the blue dot, enter half of the dimension. That's it. So now
you're going to just move them like
how you would do in a full drop repeat. So that's it. If you want to add the texture, you can go ahead and
create a new layer and add the texture and then make sure to change the blending
mode to multiply. If not, you can
leave it as it is. So we are done with
our second pattern. I'll see you in the next lesson.
7. Third Pattern: So for our third and
final pattern, again, we are going to go
into the wrench tool, turn on the drawing guide, change it to radial. Go to the wrench tool, bring in your template. And now go to your layers, rename it, bring
it to the bottom. And now we'll just reduce
the opacity slightly. And once done,
we'll just lock it. Now on layer one, making sure that the drawing
assist is turned on, we can start coloring. So for this, I'm going
to go ahead with this color palette that I
see here at the bottom. The very first color I'm
going to go ahead with is the first one in the palette. And again, I'm choosing
the same monoline brush, and we'll zoom in
and start drawing. Create a new layer, bring it below the layer one, turn on the drawing assist, and now we change the color. Now, again, create a new layer, bring it below, turn
on the drawing assist. Again, I'm going to go ahead with the third color
on the palette. For this, start from the bottom. I'm just going to undo and
maybe start from here. Draw and hold. And don't forget to close this. Then drag and drop the color. Next, I'm going to
create a new layer, drag it to the bottom, turn on the drawing assist, we choose this last color. So sometimes when you
are drawing the line, and then if you tap,
this might happen. So don't tap, try
to keep the line as straight as possible
and just leave it. Drag and drop the color. I'm sorry, I just changed
the color for this one. I'm going to go ahead and
choose the first color, and I'm going to use that. Yeah. And next, I'm just
going to go ahead, create a new layer, drag it to the bottom, and I choose this purple, and I'm just going to drag
and drop the color into it. Right. So we already have one of the
patchwork block ready. So the next step is the same to just select them all and
group them together. We'll do that and
then hit on group, and now we'll just
create a duplicate of this group and we'll
turn off the original, open this, and now we
will change the color. Right. So now we have both
the blocks ready. So we're going to repeat the same steps that we did
for a previous pattern. You're going to duplicate
this group again, and we're going to
hit on flatten, click on the other group, turn it on, duplicate
it, and flatten. Now we just bring
this to the top. You can turn off the template
and also the other groups. And next, we're just going
to duplicate this ones, and this one as well. Now, select all the four layers, click on the move tool, and on the blue dot and
enter half of the dimension. And now we'll just move one of these blocks diagonally and the other one to
the left and right. And next, you're
going to merge them all together and then duplicate them three times and
select them all, hit on the move tool
and then again, enter half of the dimension, and then just drag them
to each of the quadrants, like how you would do
with a full drop pattern. Now, again, you can add
texture or leave it as it is. That's it. A third
pattern is ready. I'll see you in the next lesson.
8. Color adjustments: So now that we are done with
all the three patterns, I also wanted to show
you a way in which you can change the color
of your overall pattern. We already have
added the color and you are happy with it,
then well and good. But if you want to also see a few other color variations
within the same tone, then we just go into
the layers and we just merge all these four layers together that you
see on the screen, and all the other layers
can be turned off. And let's rename this as final. Okay. And with that
layer selected, we'll click on the adjustments, and you can click on hue
saturation brightness. You can just play with the hue to see how the color changes. As you keep dragging
towards the left and right. So at 50%, it is at
the original color. But if you keep dragging
towards your right or left, you get to see different
color variation. Now, this is one fascinating way of changing the color
of the entire pattern, and also it could be
a great addition to your portfolio
where you can show different color variations
of the same pattern. Now, this being one way, I also wanted to show
you the other one, so I'm just going to go
back to the original color. You're going to again, click on the adjustments and there's something called color balance. Now you can also
individually change the color based on the colors, that is the color names
that you see here. If I just drag it
towards the green, you would see all the
greens that were there on my original pattern
color. They are changing. Again, you can go ahead
and drag and play with these options to get an entirely different output
when it comes to the color. I do like this one. Sort of
gives a nice Christmas vibe. So like I said, just go into these options under
adjustment and just keep playing around with these
options that you have that is the hue saturation
and the color balance. I'm pretty sure you
would be coming up with different color variations
of the same pattern. I'll see you in the next lesson.
9. Final thoughts: Congratulations. You have now completed this class and have the skills to create beautiful quilt patchwork
patterns on Procreate. I hope you feel inspired
and confident to keep experimenting with
different blog styles and color combinations. I would absolutely love
to see what you create. Do upload your finished projects into the class project gallery. Sharing your designs not only
inspires other students, but also helps you build a creative community and get
feedback on your designs. If you enjoyed this class
and found it helpful, I would be grateful if
you could leave a review. Your feedback helps
me understand what's working and helps
me serve you better. Thank you so much for joining me on this creative journey. I can't wait to see your beautiful quilt
patterns come to life. Until next time, keep creating
happy pattern making.
 Vidya Kumaresan, Illustrator