Quick sketch drawing practices with blind contour technique and a touch of fashion art illustration
 Melissa Conde, Melissa
Watch this class and thousands more
Watch this class and thousands more
Lessons in This Class
-
-
1.
Hello!
1:00
-
2.
Material for class
1:00
-
3.
Warm up practice
3:40
-
4.
Gathering inspiration
1:42
-
5.
Blind contour whats that about
1:55
-
6.
Blind contour a simple object
1:30
-
7.
pencil_sketch
1:57
-
8.
Sketch Ink over pencil
3:08
-
9.
Advanced quick sketch
4:53
-
10.
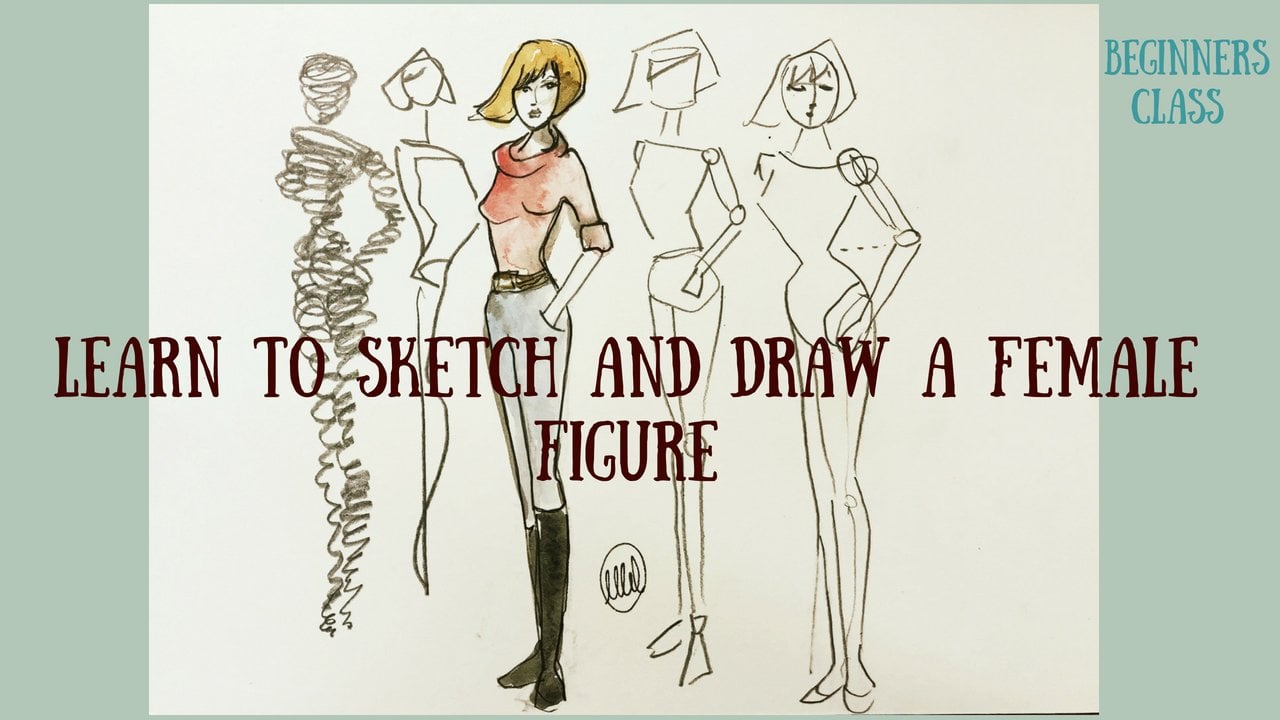
Fashion illustration blind sketch
2:43
-
11.
Congratulations!
0:44
-
12.
Uploading your project
2:13
-
13.
Class Project
2:40
-
-
- --
- Beginner level
- Intermediate level
- Advanced level
- All levels
Community Generated
The level is determined by a majority opinion of students who have reviewed this class. The teacher's recommendation is shown until at least 5 student responses are collected.
54
Students
2
Projects
About This Class
level up your drawing skills.
This is a sketch and drawing class with a few tips and exercises to enhance your artistic skills and activate your creativity.
We´ll start by trying out our materials and warm up by making some marks with all of them.
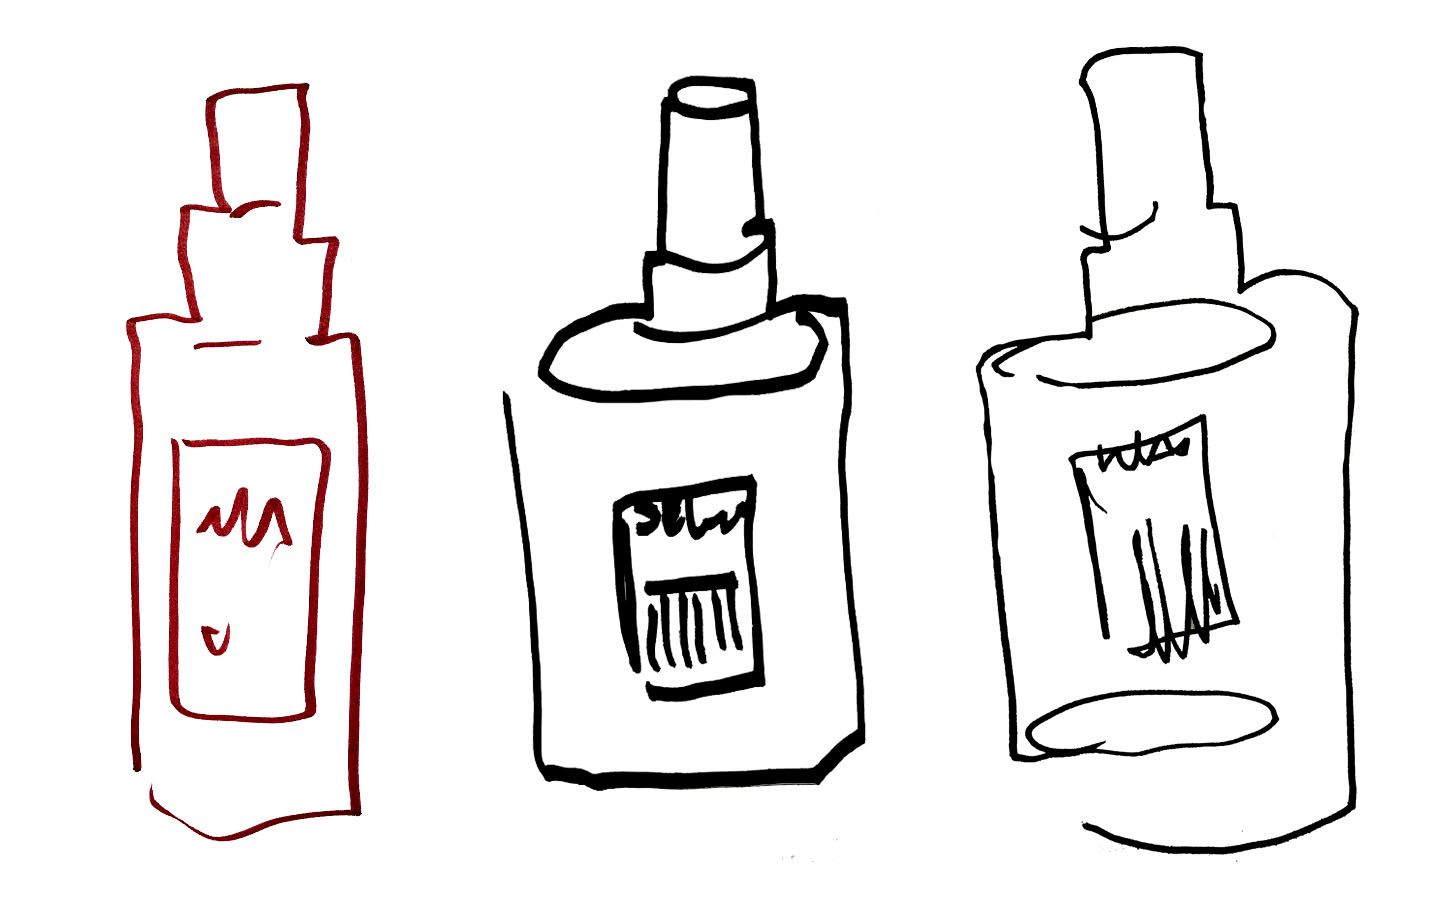
after that we´ll have a quick over view about blind contour drawing and move on to drawing simple objects like a water bottle or a mug

Blind contour drawing is a drawing technique used by artists to improve their observational skills and create expressive, uninhibited sketches. It involves drawing a subject without looking at the paper while maintaining an unbroken line, hence the term "blind" contour. The purpose of this exercise is to encourage the artist to focus solely on the subject's outlines and details, rather than the final result, leading to more accurate and intuitive depictions.
Here's how the blind contour drawing technique works:
Choose a Subject: Select an object or a person as your subject. Anything can be used, such as a still life arrangement, a potted plant, a picture an image or even a friend posing for you.
Prepare Your Drawing Tools: Use a pen, pencil, or any drawing tool that allows you to make continuous lines without lifting it off the paper. The line should be continuous and unbroken, even if it becomes messy.
Position Yourself: Sit or stand comfortably in front of the subject, ensuring that you have a clear view of its outlines and details.
Begin Drawing: Before you start drawing, take a moment to concentrate on the subject and mentally map out its contours. Once you're ready, place your drawing tool on the paper and begin drawing the outlines of the subject. Crucially, keep your eyes focused on the subject and avoid looking at the paper while drawing.
Don't Lift Your Pen: As you draw, follow the edges and details of the subject without lifting your pen or looking down at your drawing. This is what makes it "blind."
Embrace Imperfections: Expect the drawing to look messy and distorted. Blind contour drawings often appear abstract and distorted because of the continuous line and lack of visual feedback. This is perfectly normal and part of the process.
Know When to Stop: Once you feel like you've captured enough of the subject or completed your contour drawing exercise, you can stop and look at the finished result.
The goal of blind contour drawing is not to create a finished masterpiece but to refine your observational skills, hand-eye coordination, and drawing technique. It helps artists become more in tune with their subjects and improves their ability to translate what they see onto paper. Additionally, blind contour drawing can be a fun and meditative exercise, as it allows artists to let go of perfectionism and embrace the imperfections in their art.
following to gathering inspiration online or from magazines even pictures you have from back in the day.
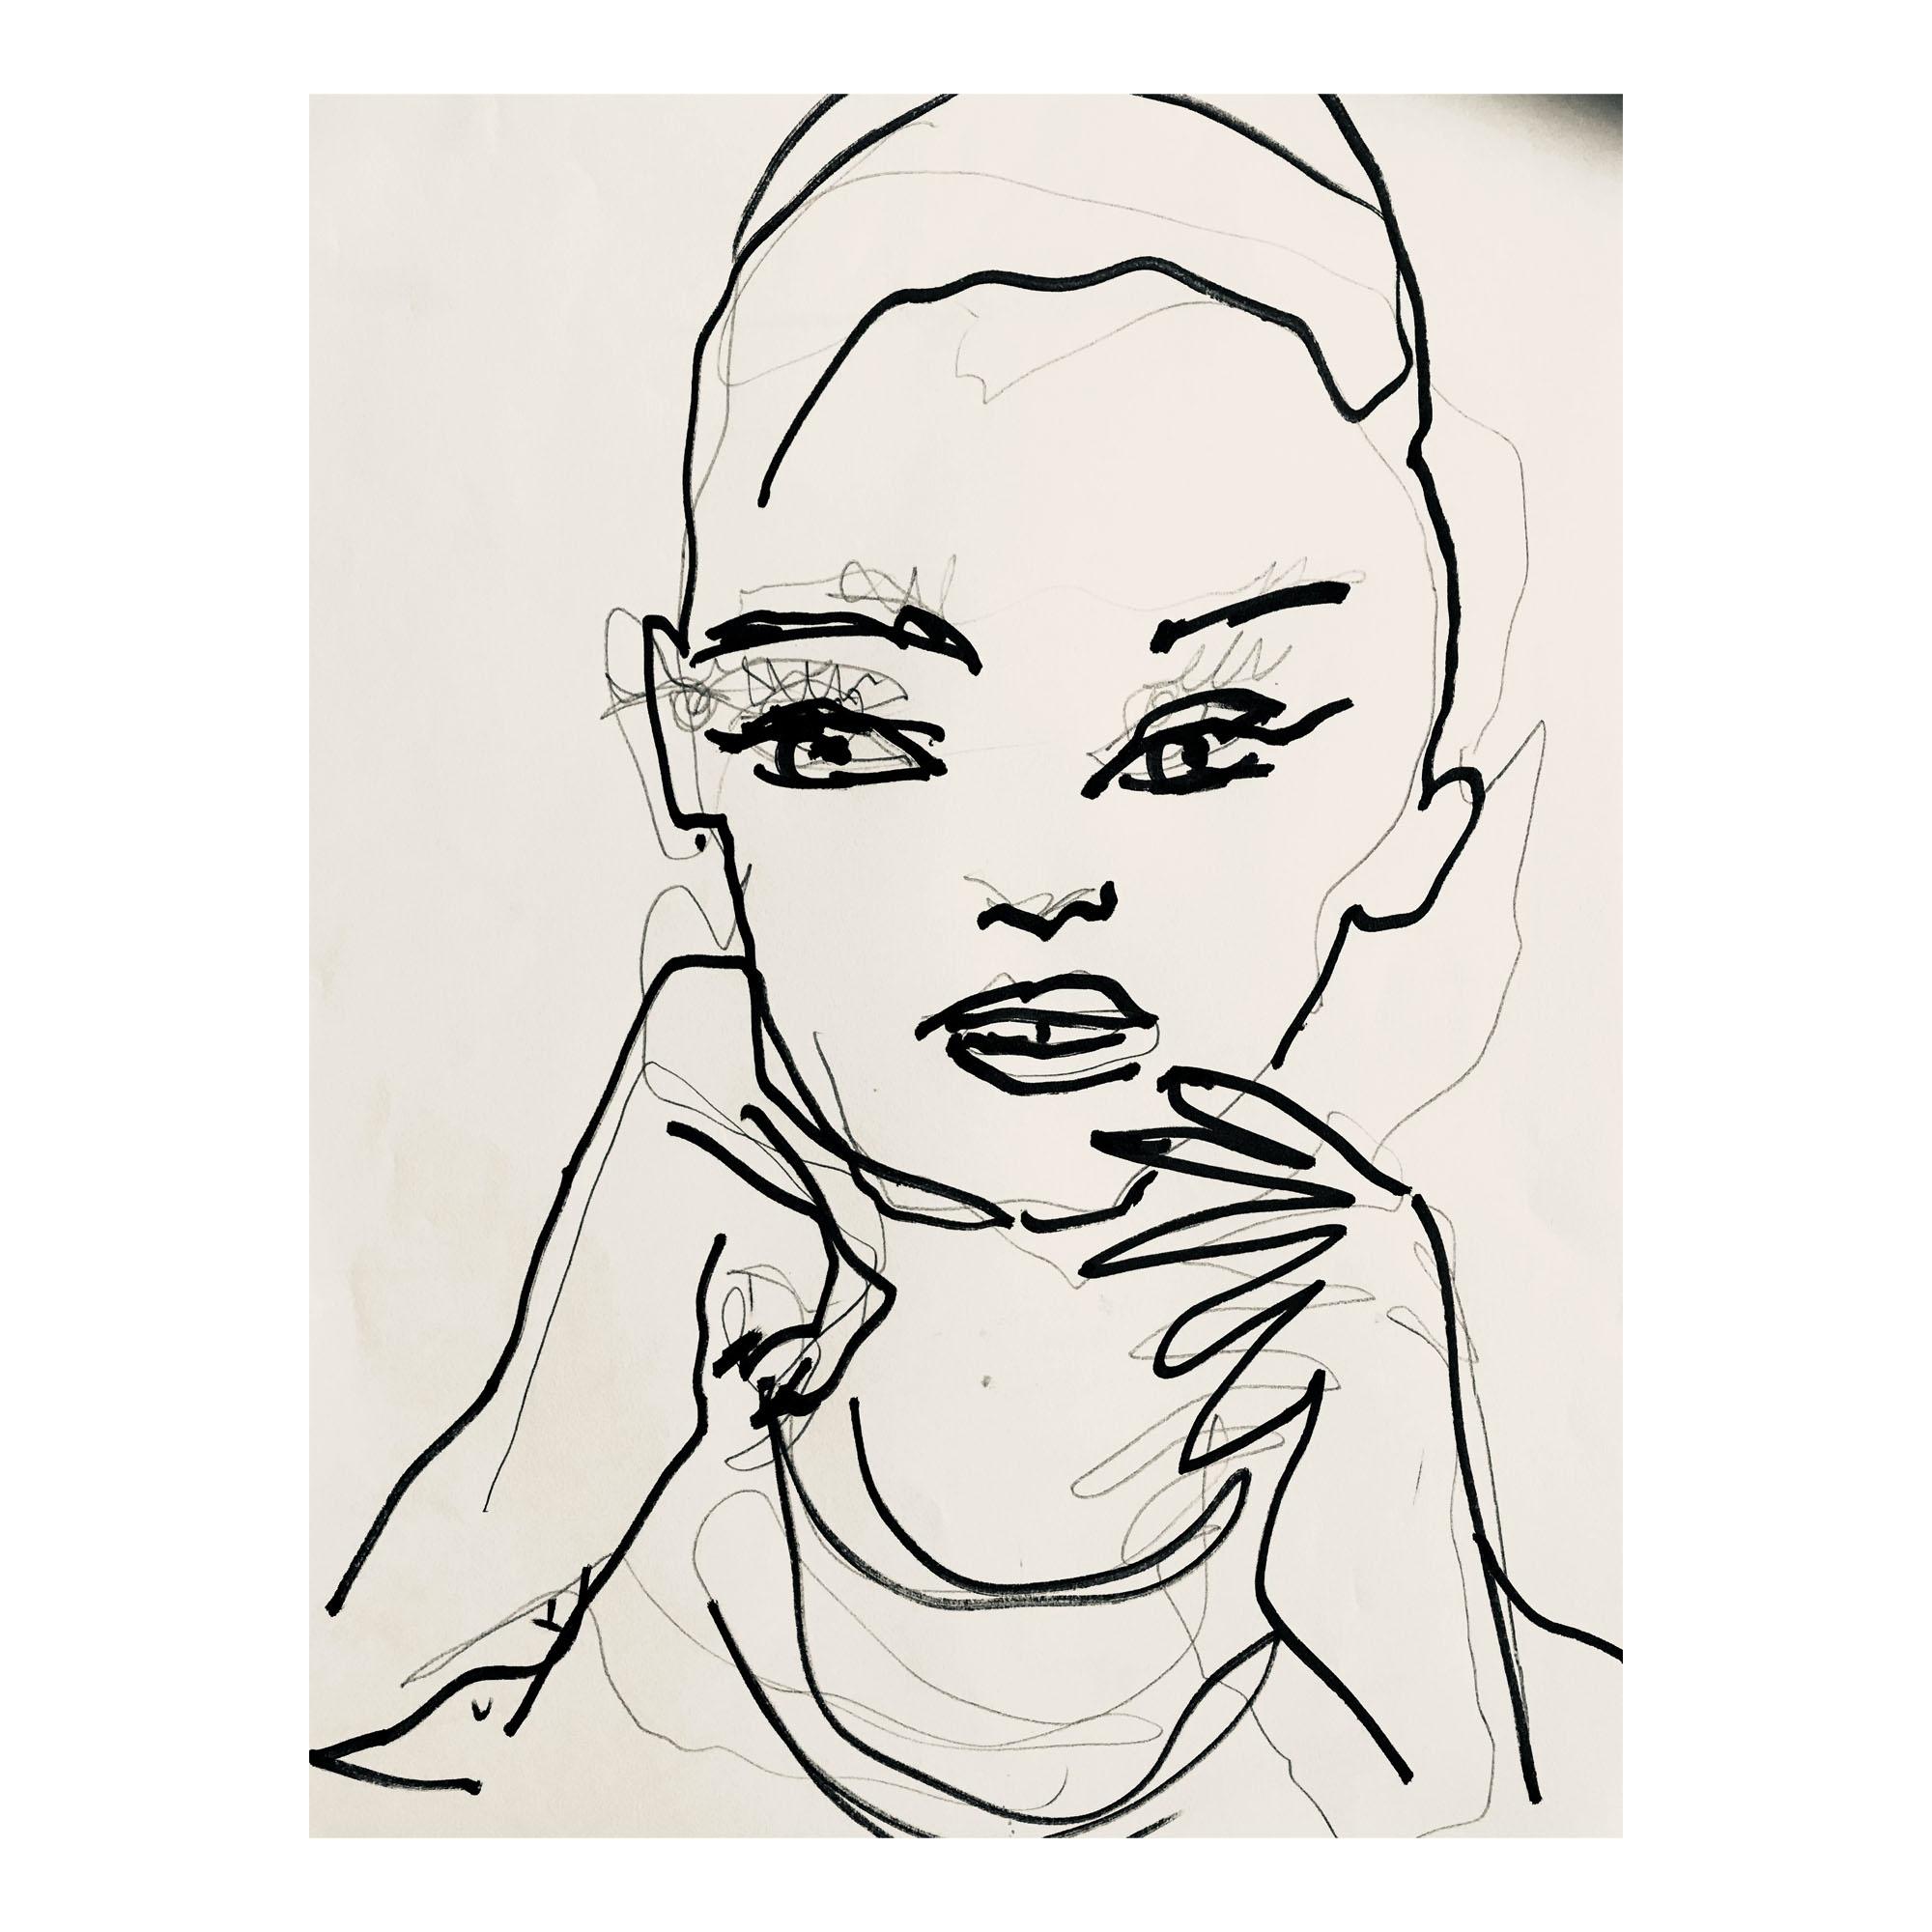
now you are ready to start making blind contour fashion illustration sketches (low expectations on these ones) with the images we have pre selected earlyer.
after making a few of those we go on to our class project which is to combine blind contour as the base of or art work and finish it up with mixed media details
this is a class to relax and have some fun letting go of perfection while training our eyes and hands to work together.


Hands-on Class Project
For the class project, I'd love to see your drawings. However more important is to encourage you to come up with a drawing of an image and an object of some kind.
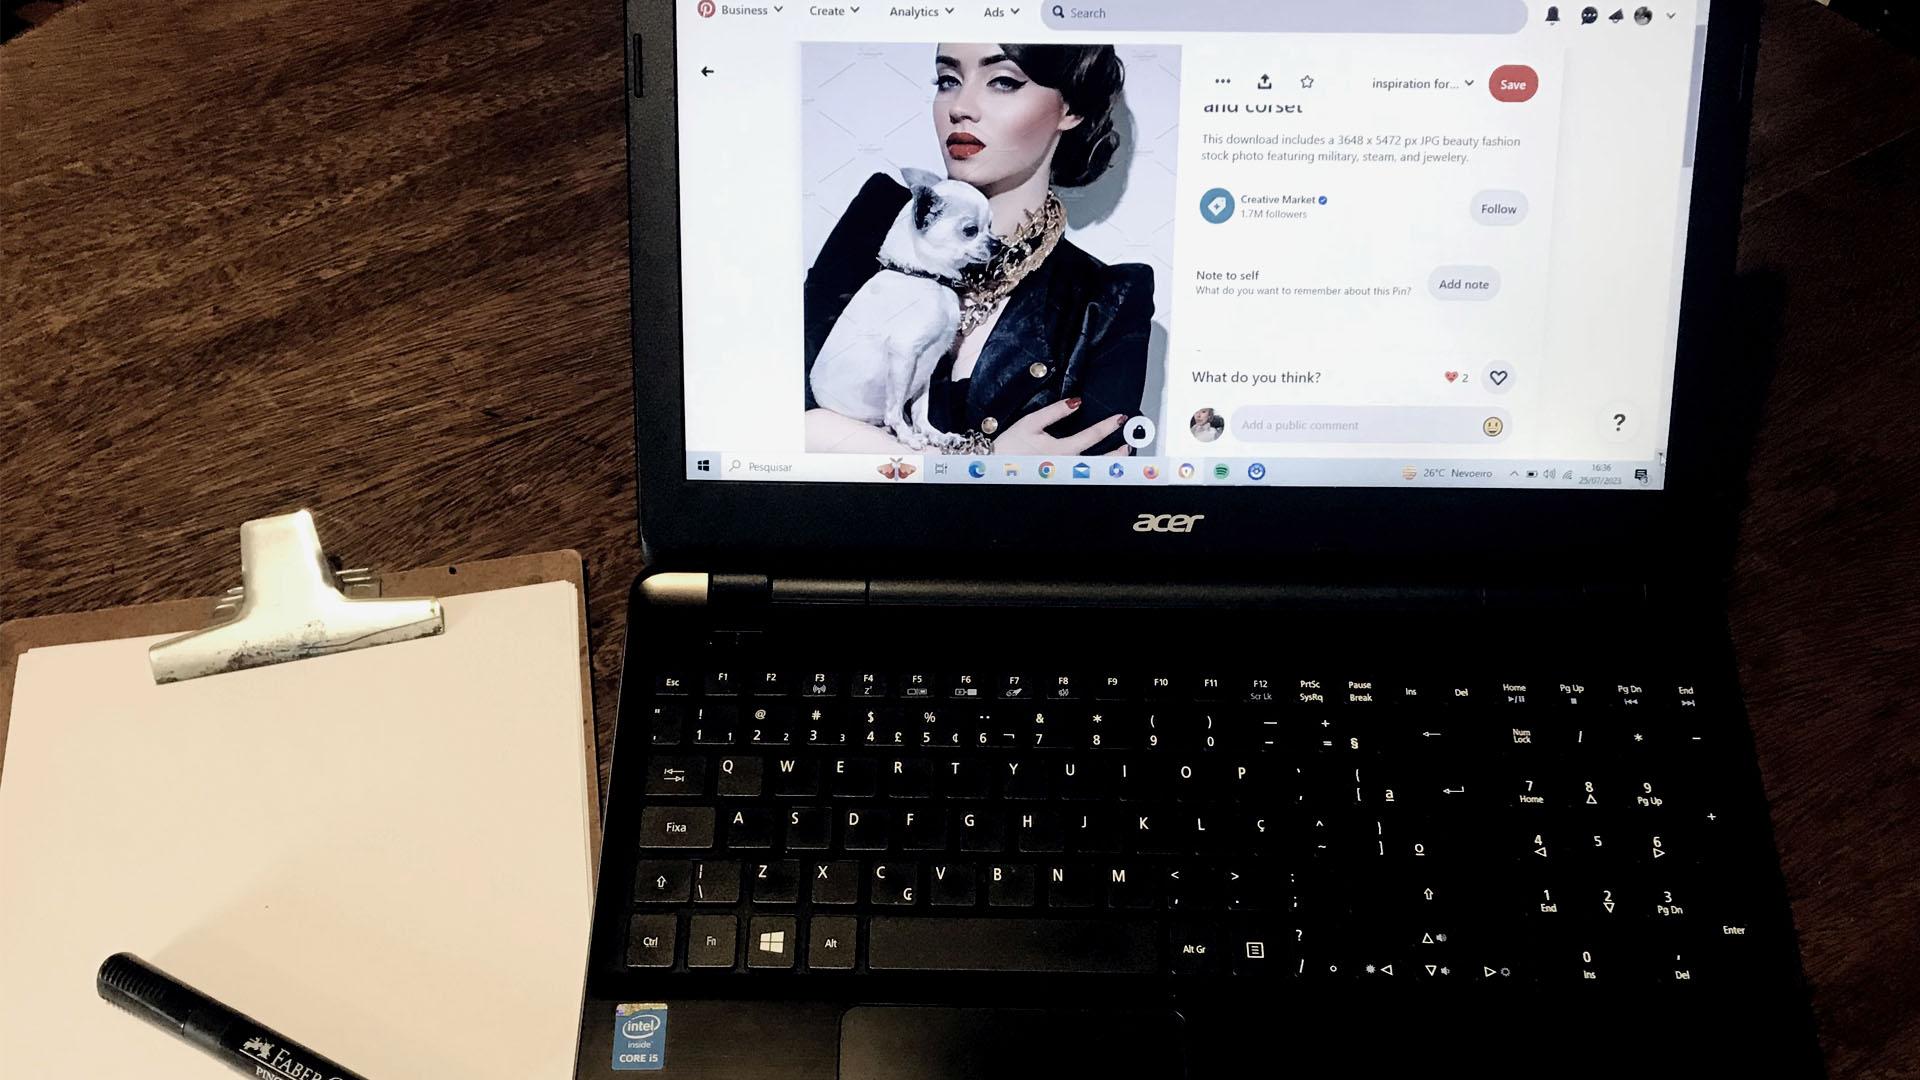
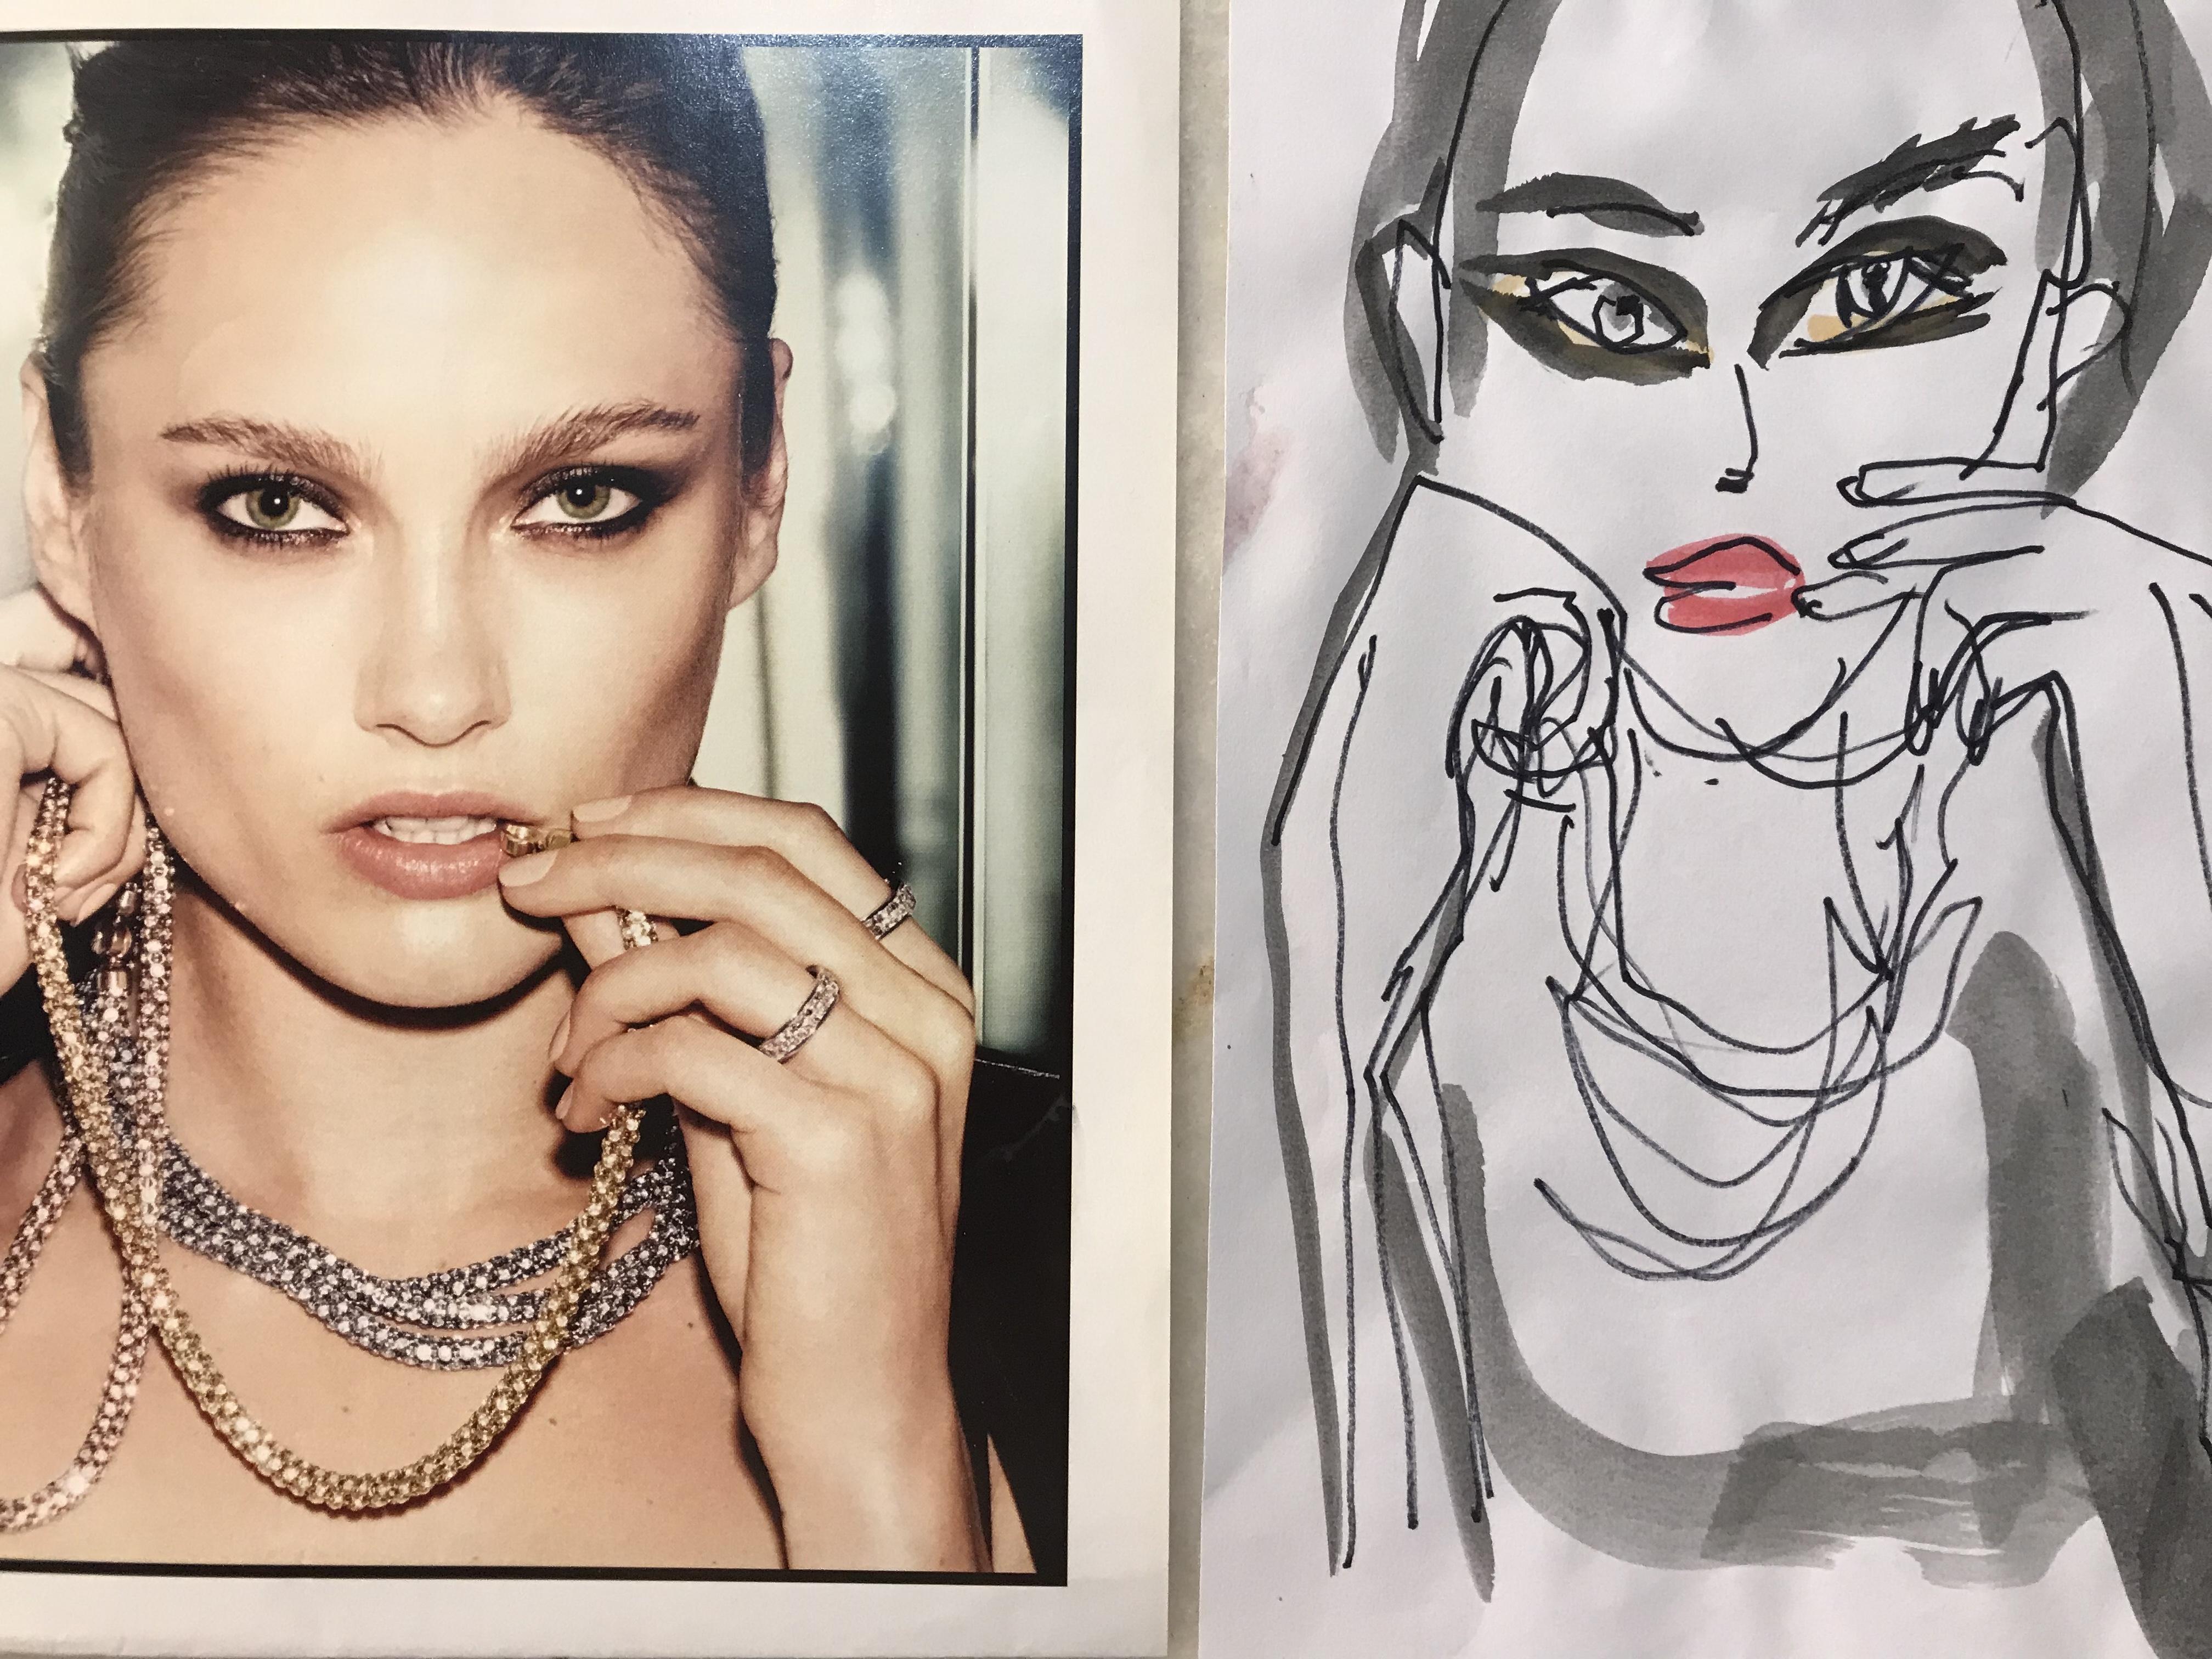
For example here I feature a fashion magazine model a close up of her face and hands holding her necklace, you can choose such images if you are a fan of figure and fashion drawing.
If not you can absolutely draw from an object. Since what really matters is the process and what you will practice reallly is learn t look at things in what I call a "drawing way" to see averithing as if you where already drawing with your eyes.
e you´ve learned in this class, a water bottle or any other kind of bottle are simple and I have had interesting results, Perfumes often have interesting shapes, Plants, If your pet is asleep you can try that as well. Basically whatever you have around the house after all this is about practice and fun.
Please let go of perfection and high expectations.
There are only 3 steps to complete this project
Choose an image to draw from.

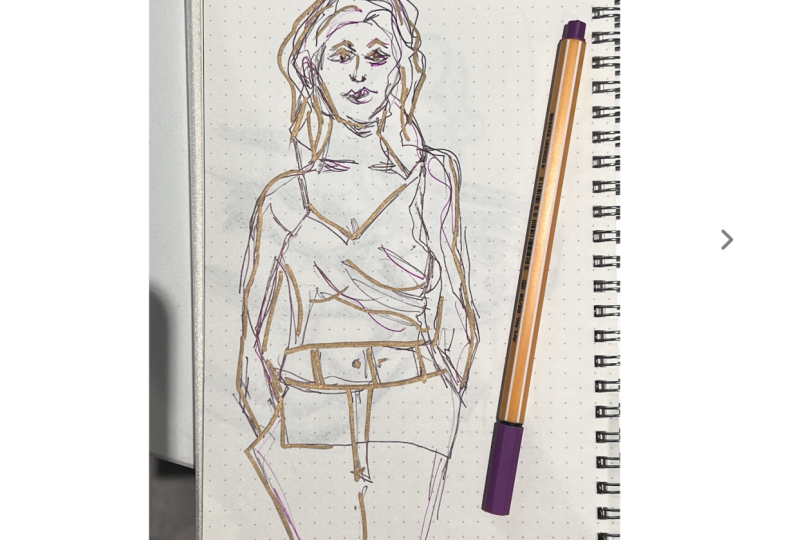
Draw directly with a pen or ink pen to practice blind contour do it on cheap print sheet paper so you don´t feel the "good paper preassure"
Here´s a quick demo
draw a few objects several times using this technique.
Step 3
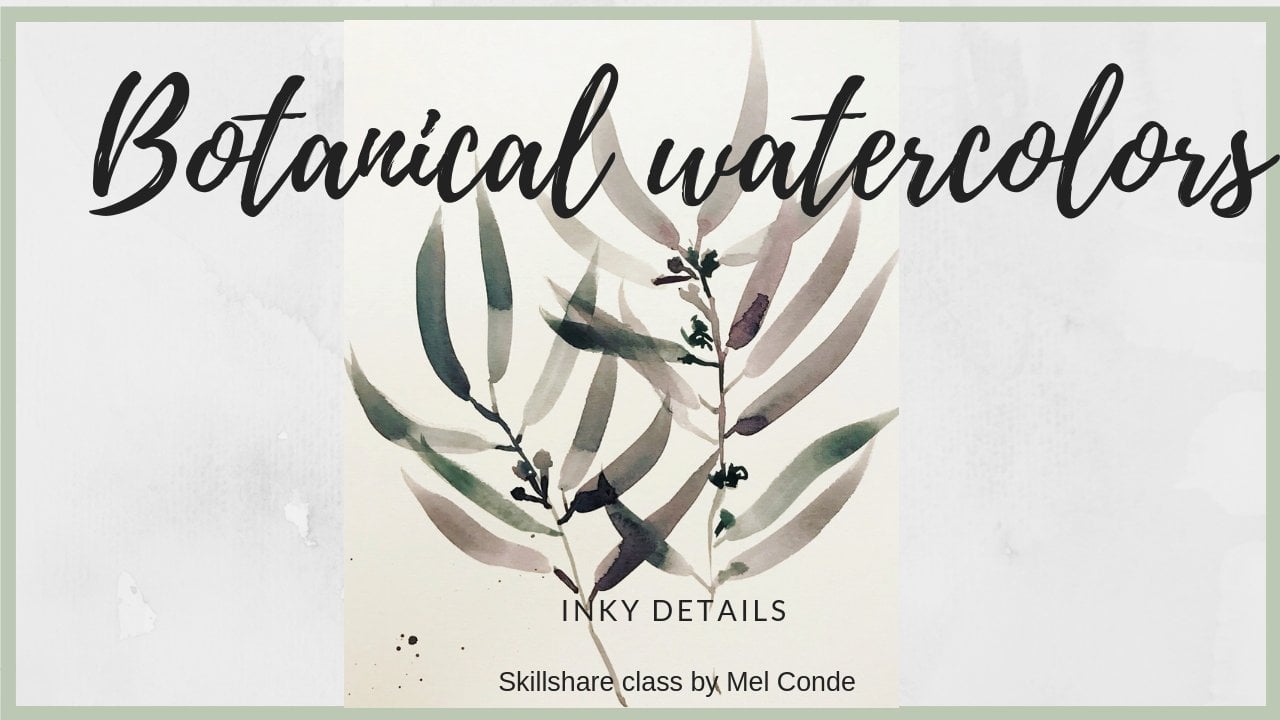
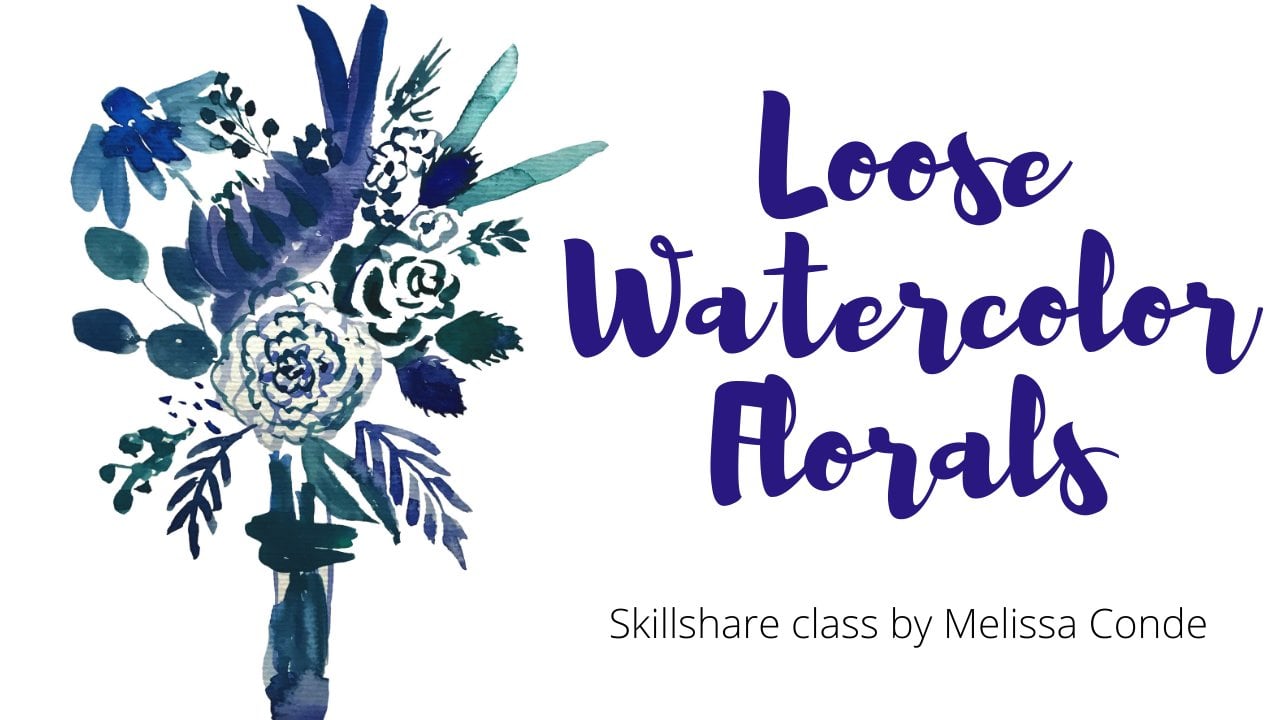
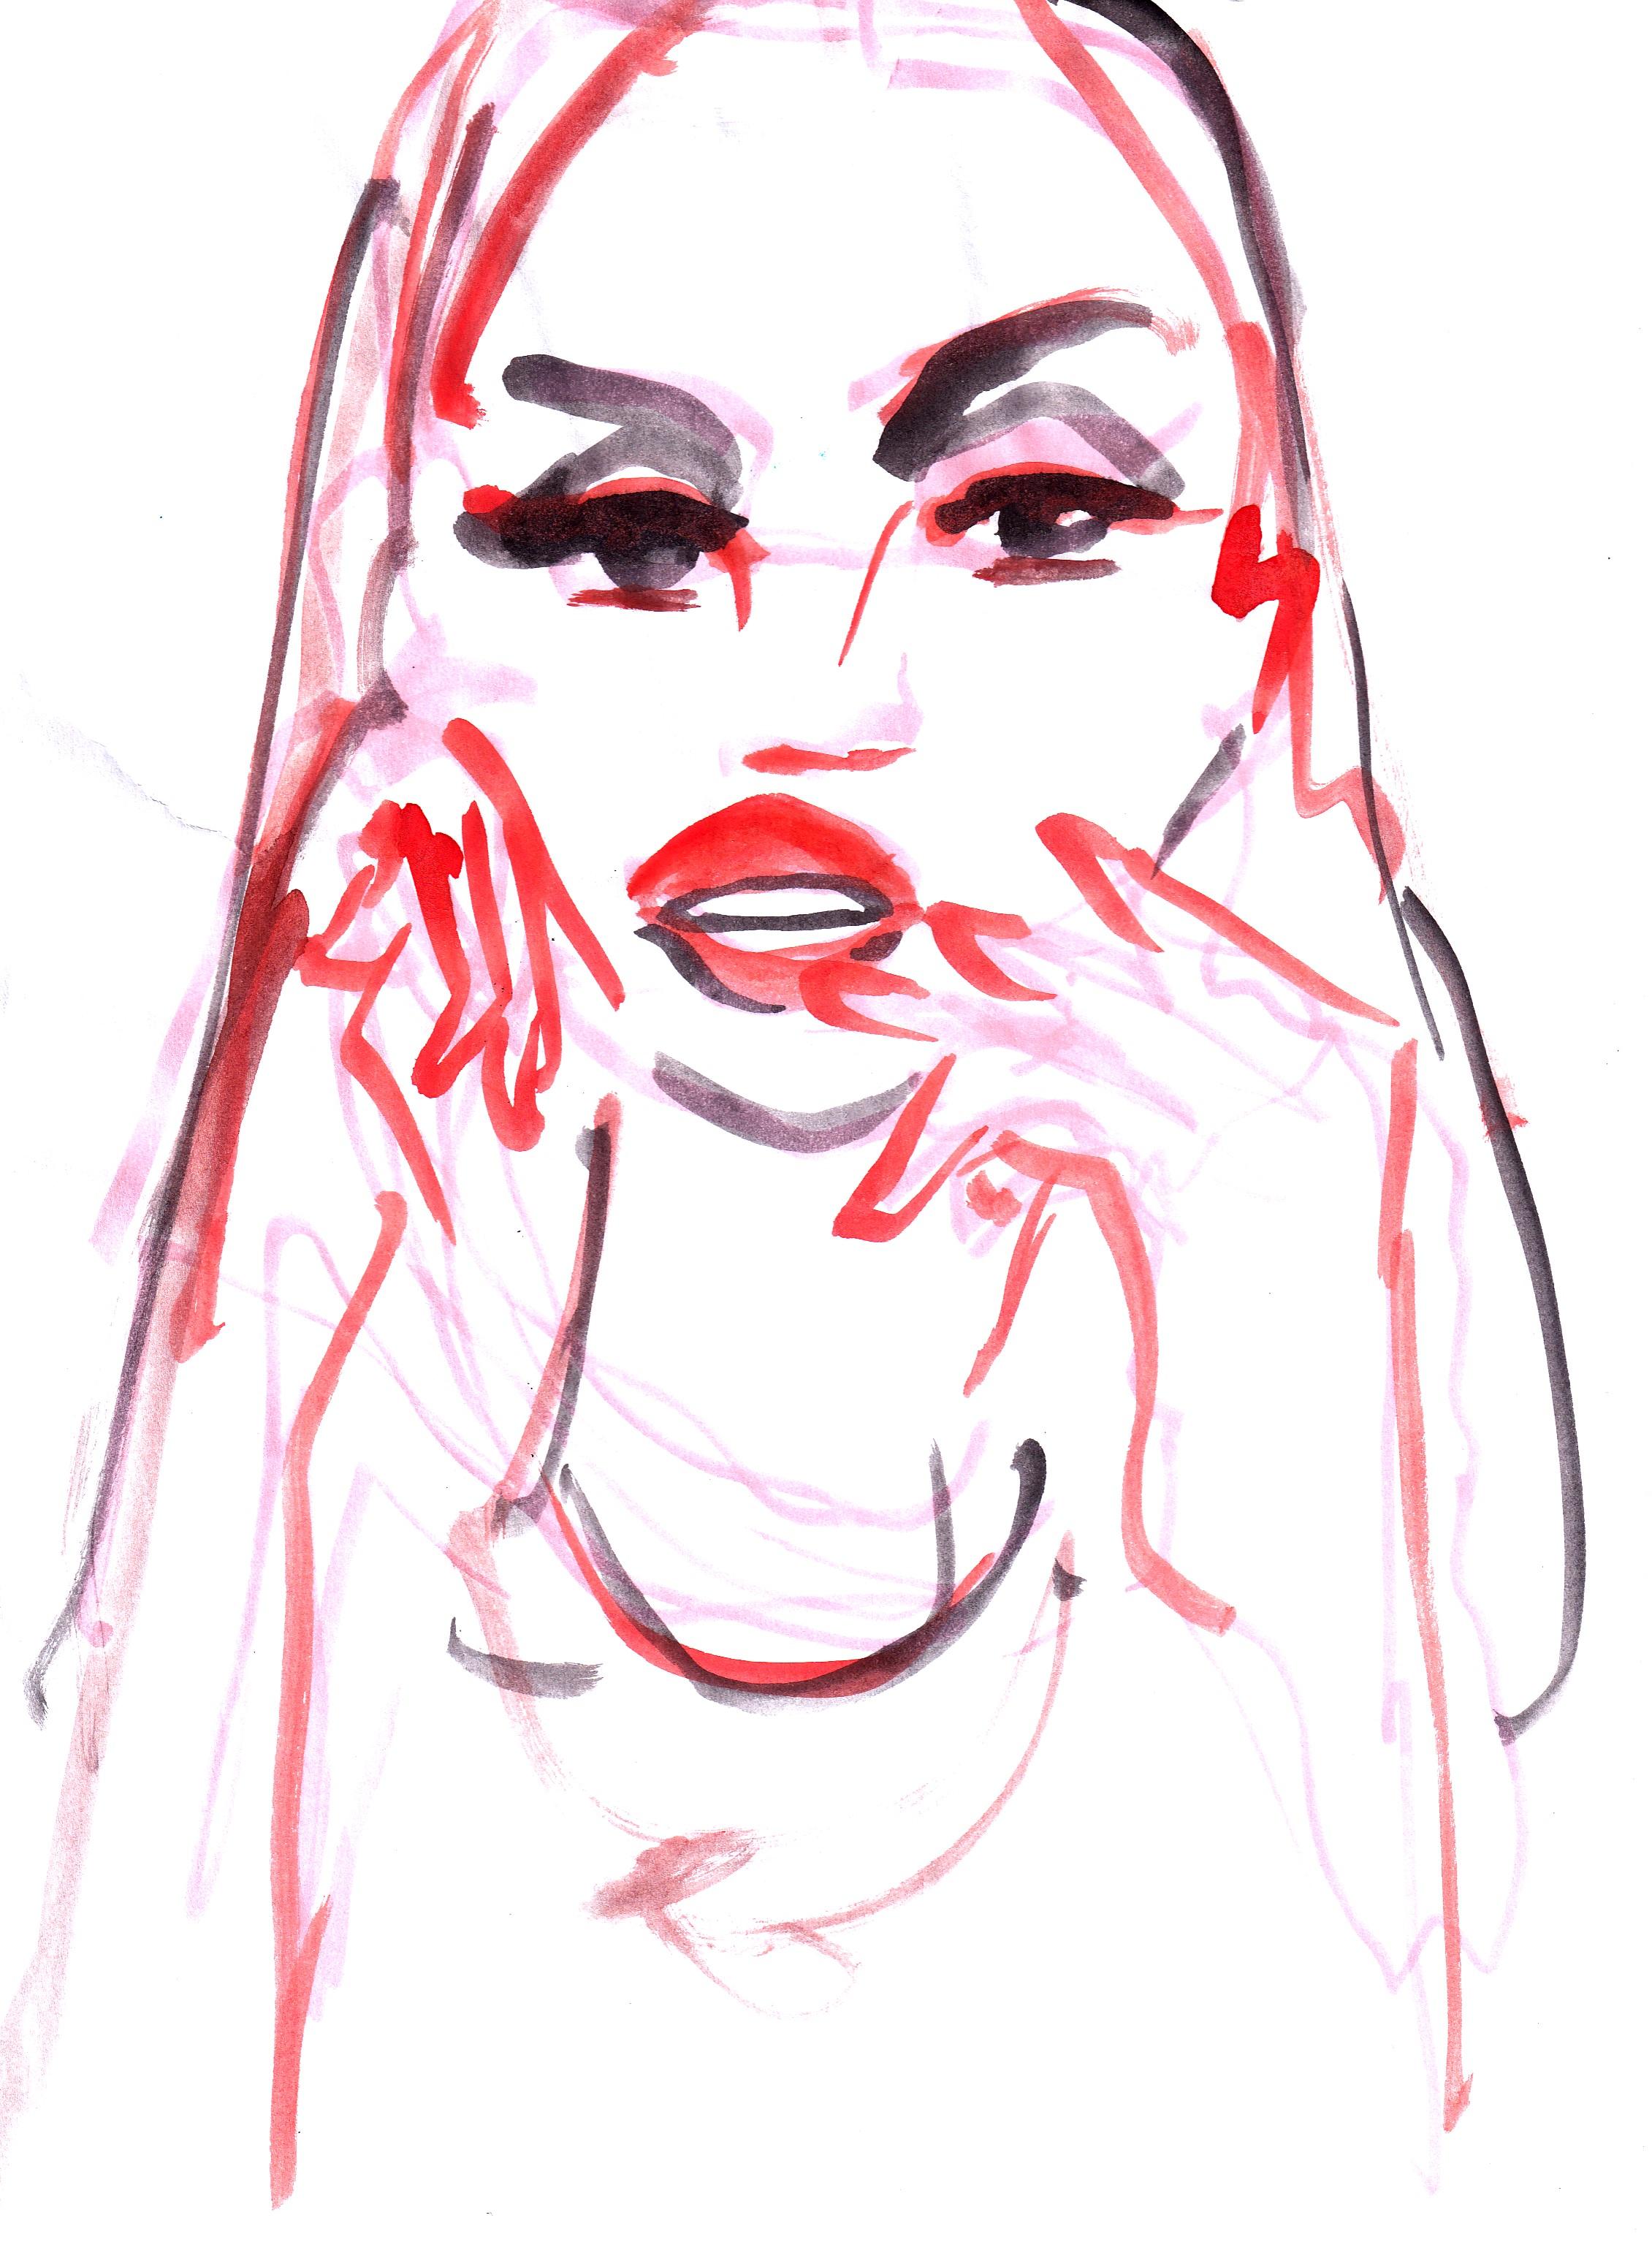
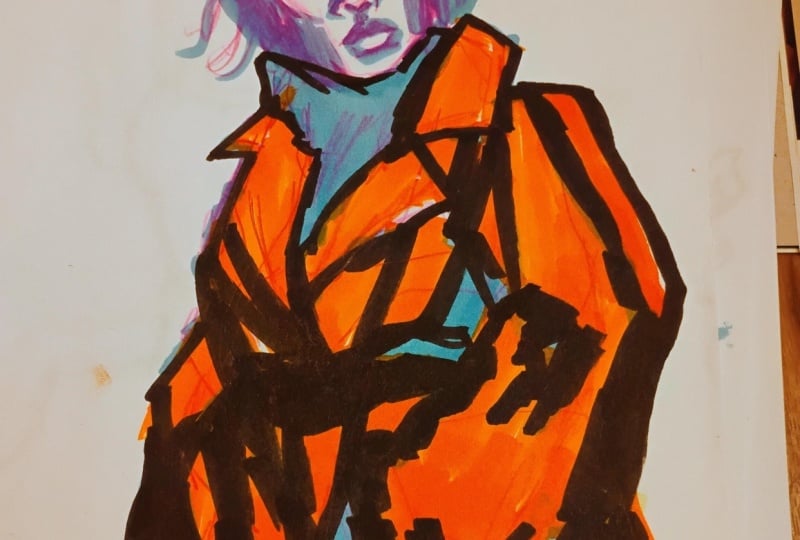
Finalize the drawing with a bit of color or ink, watercolor , whatever you choose to highlight the lines or features you liked best.
here´s a step by step with pictures of how to make your class project
Your first layer has to be all blind contour sketch and it should look something like this.

Go over it with a marker or pen and this time looking at the object and the paper.
If you like the way it turned out and want to stop here, that´s fine go ahead and post it in our project section
would be great if you added sketches as well.
If you would like to add some color
keep going like so

As you may see I have made a few artworks from this image
I suggest you do the same not worrying overthinking or spending tooo much time.
Class Ratings
Why Join Skillshare?
Take award-winning Skillshare Original Classes
Each class has short lessons, hands-on projects
Your membership supports Skillshare teachers
Learn From Anywhere
Take classes on the go with the Skillshare app. Stream or download to watch on the plane, the subway, or wherever you learn best.