Transcripts
1. Introduction: Hi, there, pretzels. My name is Shannan. I'm a hand lighter
and artist from the beautiful Sunny
Island of Barbados. In this class, I will
teach you how to paint a juicy watermelon slice,
a delectable popsicle, a playful beach ball,
a stylish bikini, a pair of trendy flip flops, and some chic sunglasses
all inpropriate. But that's not all.
As an added bonus, you will learn how to
create some simple yet beautiful watercolor
lettering as well. Throughout this
class, you will learn the basics of incorporating various watercolor techniques
such as blending, bleeds, layering and splatters, which
will help you to achieve that realistic
watercolor effect and add an extra touch of magic to your digital
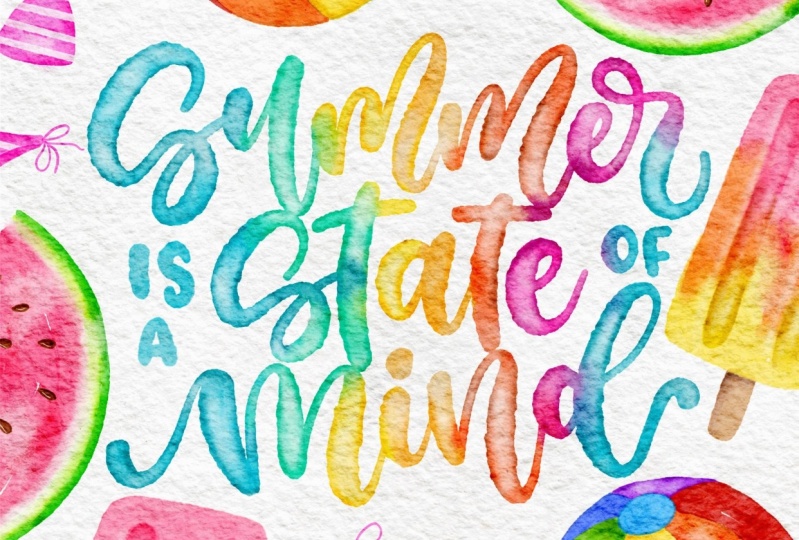
illustrations. Then we'll wrap up with a quick class project
where you will arrange your beautiful
illustrations around your
watercolor lettering. Create a composition
that perfectly captures the essence of the summer
season. And don't worry. All the brushes and textures
that you will need are provided for you in the
project section of this class. So grab your iPad and
your Apple pencil, and I'll see you in
the first lesson.
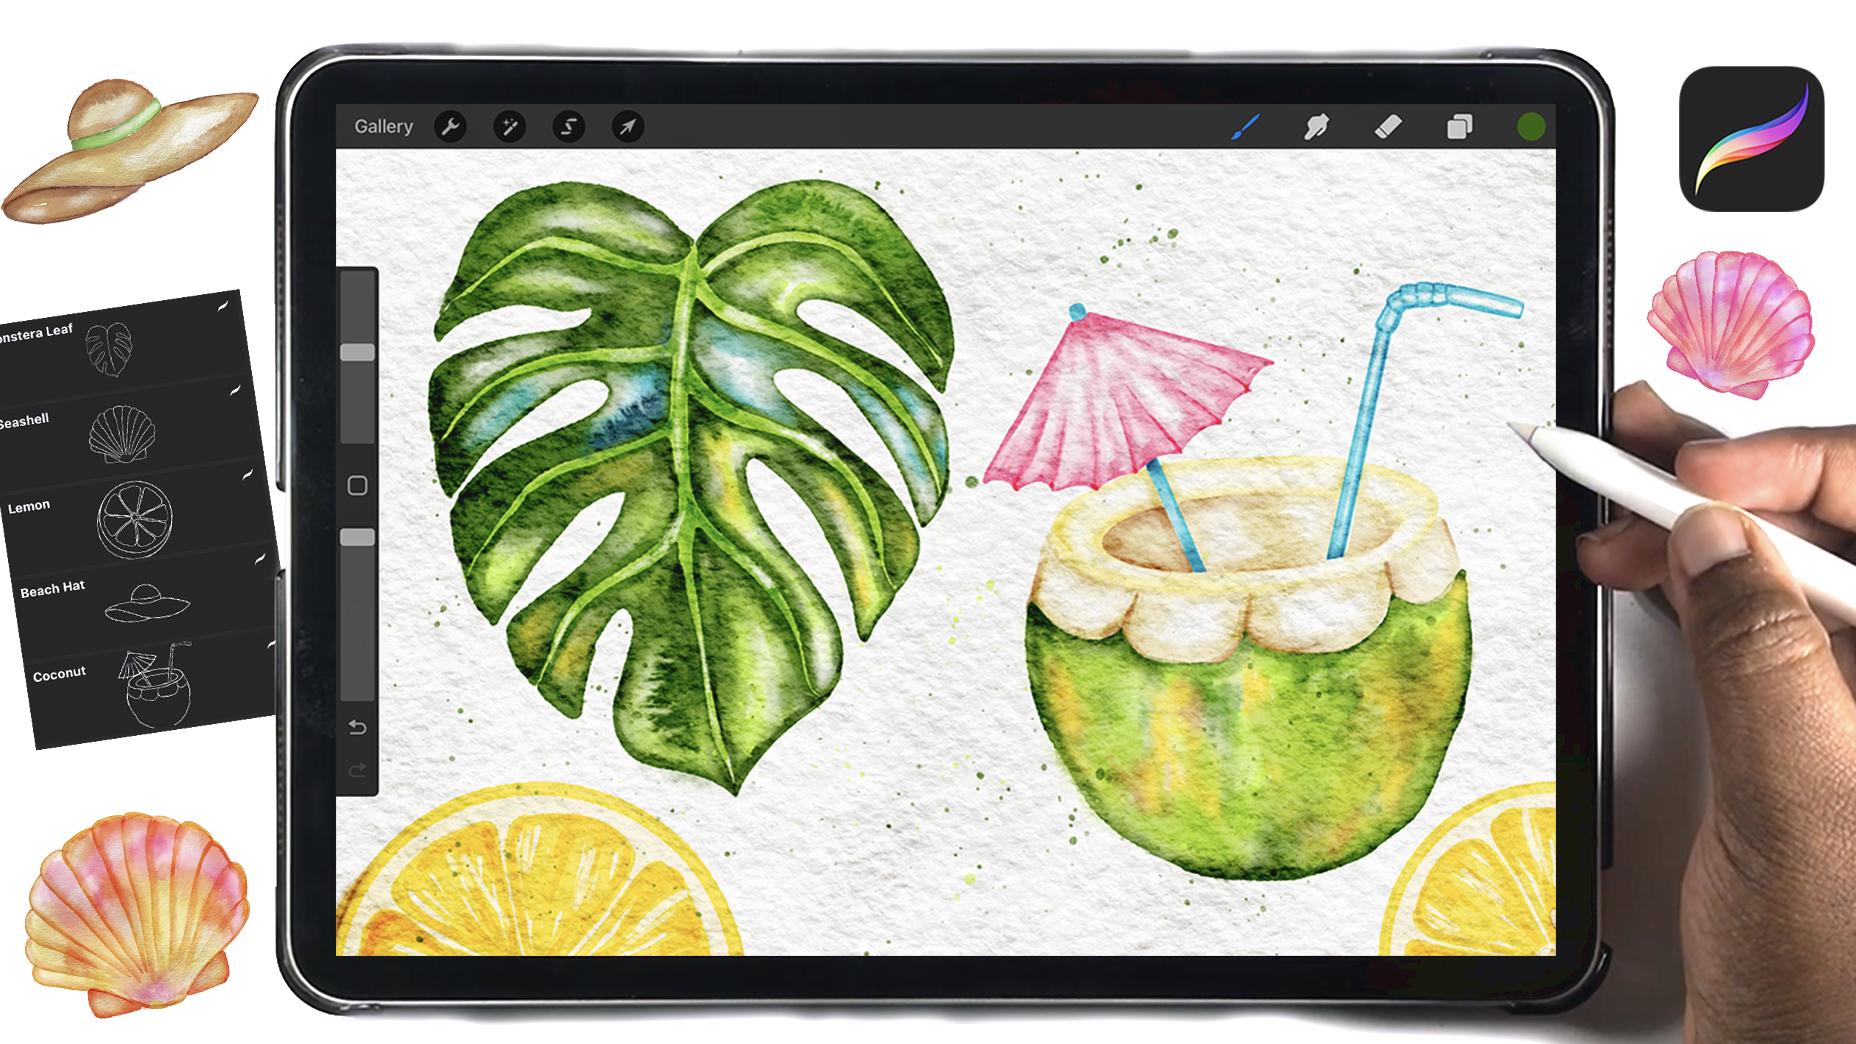
2. Supplies & Set Up: For this lesson, you'll need an iPad and is
compatible Apple pencil. You'll also need the
Procreate app as well as the freebie that
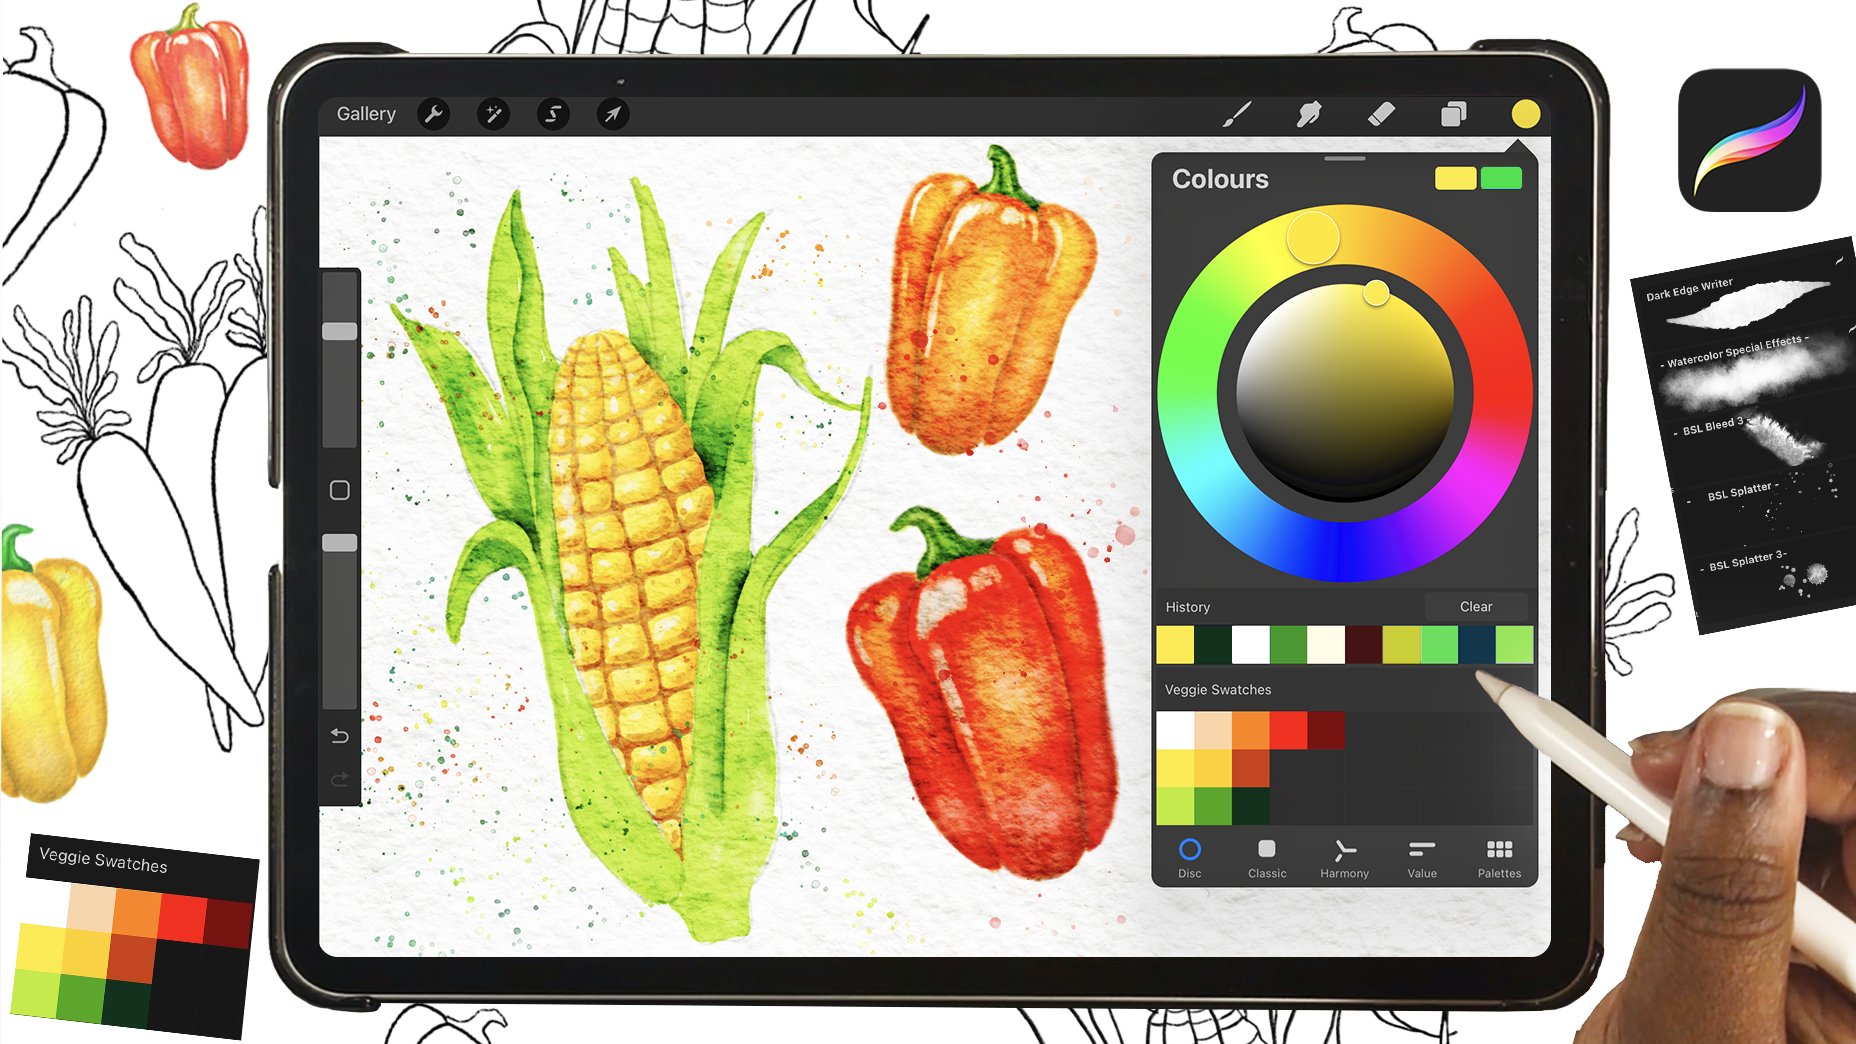
I've provided for you. It will include the brushes, texture, swatches for
you to follow along. You can also use my watercolor lettering
kit if you haven't. The class freebie
includes before brushes from that
watercolor lettering kid. The dark edge radar, which can be used for
lettering and join. The tone wash brush
for adding color. The Watercolors, special
effects brushes, smudge and erase, as well as
to later and darken areas. Then the bleed three brushes for adding a realistic effect. These are the main brushes
that I'll be using. If you have my full
watercolor kit, you can use whichever ones in
that set that you've like. Along with those main Brushes, I'm included ten other Brushes. Three of them are for adding
more texture to your pieces, while the others are going to be used for the sketches for
what we're painting today. So important, your supplies, open your Canvas and it's time to start building your
first Illustration.
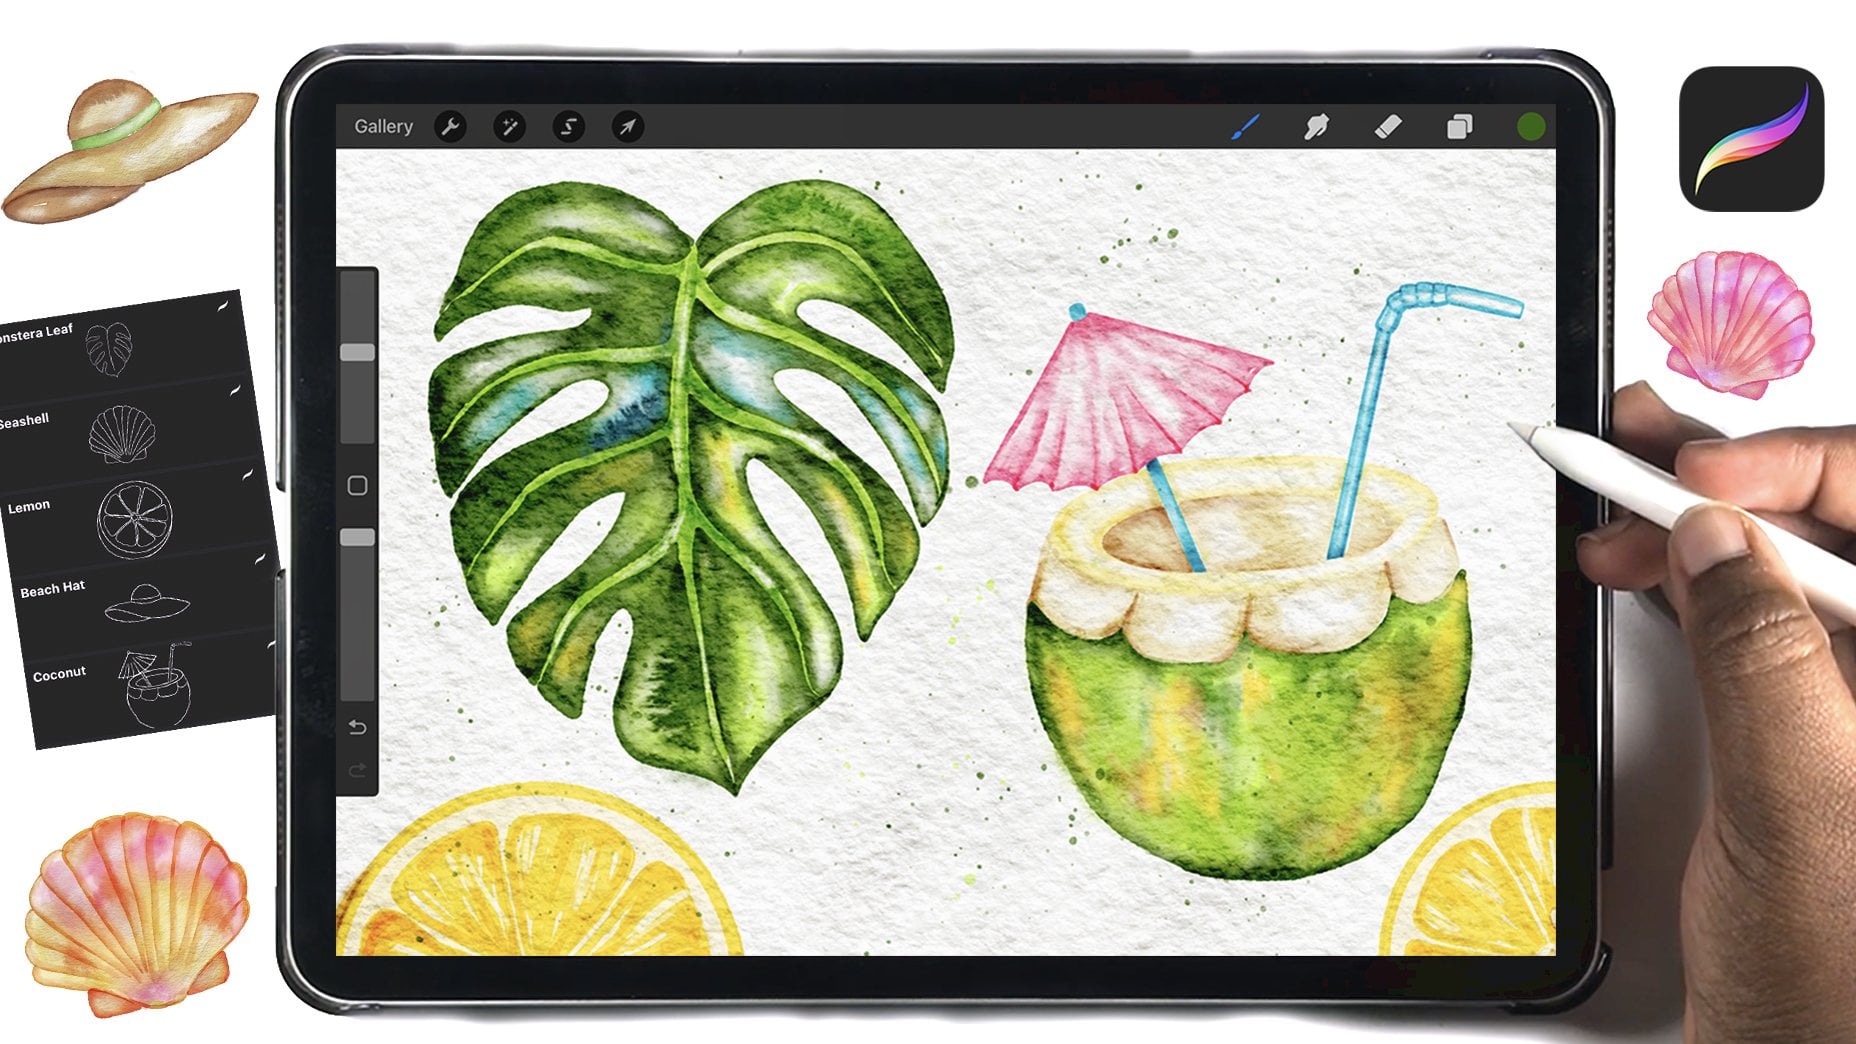
3. Mouthwatering Watermelon Slice : Once you have everything imported and Set
up in Procreate, we're going to start off simple
with a Watermelon Slice. Select the Watermelon
brush and stamp it onto the layer underneath
the paper texture group. You can rotate and
resize the sketch until you get it into
position that you want. Then add a layer underneath the sketch and lower the
opacity of the sketch a bit. You can also set the
blend mode to Multiply. And that way you'll
be able to see the sketch as you
draw underneath. We're going to start
by painting the skin. You can choose. The
first green in a swatch, and the dark
edge-weighted brush, and start painting along
the edge of the sketch. Then use the lighter green to paint along the inner
edge of the firstName. We're going to choose
the reddish pink and paint in the
remaining color. As I'm painting, I'm leaving some white spaces rather than
fill the complete shape. Also made sure that you leave some space between the
pink and the green. Don't be afraid to leave
your Apple pencil from the screen as you paint
or go over areas. This will help to
darken the color and create an even more
realistic watercolor effect. Chooses special effects
brushes, the Watermelon there. Then we're going to blend
in the darker areas. Once you've finished, you can move on to blending
in the green part. You're gonna do this by
simply dragging your pen along the edge where
the two colors meet. Then turn off this selection for that layer and blend the
pink and green together. Lately by tapping along
the edge of both colors. Create a new layer above the watermelon and
use a white and the color drop brush to tap
in some spots, a few areas. To finish up. We're going to ask them
seeds on a new layer. Choose a light brown and the dark edge-weighted brush to draw in some teardrops
shapes for the seed. Then I added a small shadow
by simply join a line to the right of each scene
using the same color. A new layer. I'm also going to add some highlights using white. And I'm gonna put that on
the left side of each seed. Now you have completed
your watermelon. But before we move on to
the next Illustration, you need to group
those layers and you can rename them and
then hide that group
4. Delightful Popsicle: Stamp your sketch onto
the layer in-between the, the paper attached your group. I'm the group that we just
created by the watermelon. I'm using a lighter color than the one I used for
the watermelon and the dark edge writer brush to paint the top part
of the possible. Then I'm going to use
a bright orange for the middle and a bright
yellow for the bottom. Once you have your colors down, you can use the
special effects brush to blend them where they meet. On a new layer set to multiply, I'm using the dark edge, right? Your brush to darken the middle
section of the popsicle. At first I used the same colors that I use for the popsicles, but then I went back in with a darker shade of each color. And then I use the
special effects brush to blend those colors into
the background color. To add even more dimension, I'm using the special
effects brush to add in some white highlights. Then to add some texture, I'm using the color drop brush
to add some white spots. Then I'm going to stop the
bleed three brush onto the canvas and arrange it to align with the white part
that I just painted. And then you can use the
special effects first to erase the part of the bleeds
that you don't want visible. To finish the popsicle
wavelength to add the stick on a new layer underneath
everything that we just drew. A light brown color and the dark edge-weighted brush to draw in the shape of the state. Then added a small
shadow and then a blend everything together with a
special effects brushes. Before you move on, you're
just going to group these layers and get ready
for the next Illustration.
5. Playful Beach Ball: Stamp your Beach
Ball outline onto the canvas and
adjust the opacity. Then on a new layer you're
going to add your color. I'm starting with yellow. And I using the dark
at greater brush to add yellow into
my first section. I'm adding this color around the outline of this
section on the ball. And I'm going to leave a
little bit of whitespace in the middle just to create
that watercolor effect. Then I'm using the
special effects brush to blend as much some of that
yellow into the whitespace. Then to add a little bit
more depth and texture, I went back in and added some more yellow to the outside of this section and then blended
it into the lighter yellow. And to ensure that when I blend, the color doesn't go
out of that section. I selected the layer and
then started to blame done about it, my texture
on the moon layer. And then when I'm done, I'm going to merge those
two layers together. I'm going to move on to the next section,
which is orange. I filled in the color and then use a special effects
brush to blend the color. Bright section. I'm going
to repeat those same steps, but I'm just going
to change the color. So this one, I'm using red. Then I did purple, blue, and green as these
sections rather, but I didn't worry too
much about adding texture. So far, this green section, I'm going to use the
bleed dry brush. So I've just selected
a darker green. I'm just gonna draw the shape of the bleed
that I want to Create. Then I'm going to
finish this ball by painting in the top part. And unlike blue, that I'm going to group
these layers together. Rename this group. I get ready for the
next Illustration.
6. Stylish Bikini: Bikini. I'm painting
the main areas without lifting my pencil, I can create a flat
even wash of color. Then for the back of the Bikini, I want it to be a little
bit darker than a friend. Linda go over these areas a few times just so that I can
get a darker shade of pink. I'm going to draw
in this string. Then to blend the darker
parts of the Bikini. I just selected the
layer and then use the special effects brush to blend the color a little bit. Now, I am just going
to use the dark edge, wider brush and white. And I'm going to
draw some stripes across the bikini
on a new layer. After I'm finished,
I'm going to use the dark edge writer
brush to erase any parts of the stripes
that I don't want visible. To add dimension, I just use the color drop brush to
add a few white spots. Then the special
effects brush to darken the edges around the bikini and around some of the stripes. When the bikini is done, you can group your
layers together and get ready for the
next Illustration.
7. Colorful Slippers & Chic Sunglassess: Stop your Slippers, catch
onto your account list. On a new layer, you're going to use the dark
edge weight your brush, and a light blue to paint
the bottom of the slipper. Then on a new layer, we're going to paint some bread into the top part of those
struggles, the slipper. And then for the inner part of that strap B are
going to use yellow. This is also done
on a new layer. Then add a new layer. I'm going to stop in some
leaves to the soul of the shoe. Once I'm happy and
when a group those layers together
and duplicate it, that I'm going to flip that slipper to
create the other one. And I'm just gonna
go in and just move the bleeds alone
on one of them. Just so that it looks
like a different shoe. For the sunglasses. You're going to
stop your sketch on a new layer and then add
some color to the frame. I'm using a light yellow for the lens and
using a light blue. And in doing this
on a new layer, I'm leaving a little bit
of my space in the middle, and I'm also going
over the outer edge of the lens that I want to use the special
effects brush to lightly blend those colors together and into the white part of the. Let's then I added a little bit of a shadow
into the frame by going over the bottom
part with yellow. And then to add some highlights, I'm using white on a new layer. And I'm adding my highlights
to the top corner. Frames and the last
and then along the bottom part of the
frame and the lens as well. And that is it for
our illustrations. And I'll see you in
the next lesson where we do a little bit of
watercolor lettering
8. Let's Create Some Lettering!: Now we're onto lettering. I'm just going to stamp out
the sketch on a new layer and then lower the opacity
and use the dark edge, brush and black to red. Oh, my phrase. If you're not
handling an artist, you can use a font and type
out your fries in black. If you are lettering this book, don't feel as though you
need to stick to the sketch. You can write whatever word you want in whatever style you want. Once you're finished
adding a quote, we're going to add color, go to the adjustments tab and take the brightness of the
letters you about 90 to 95%. We want it to be as
late as possible so that the texture and the
colors show through. And I'm not taking it all the way to 100
because I want to still be able to see the
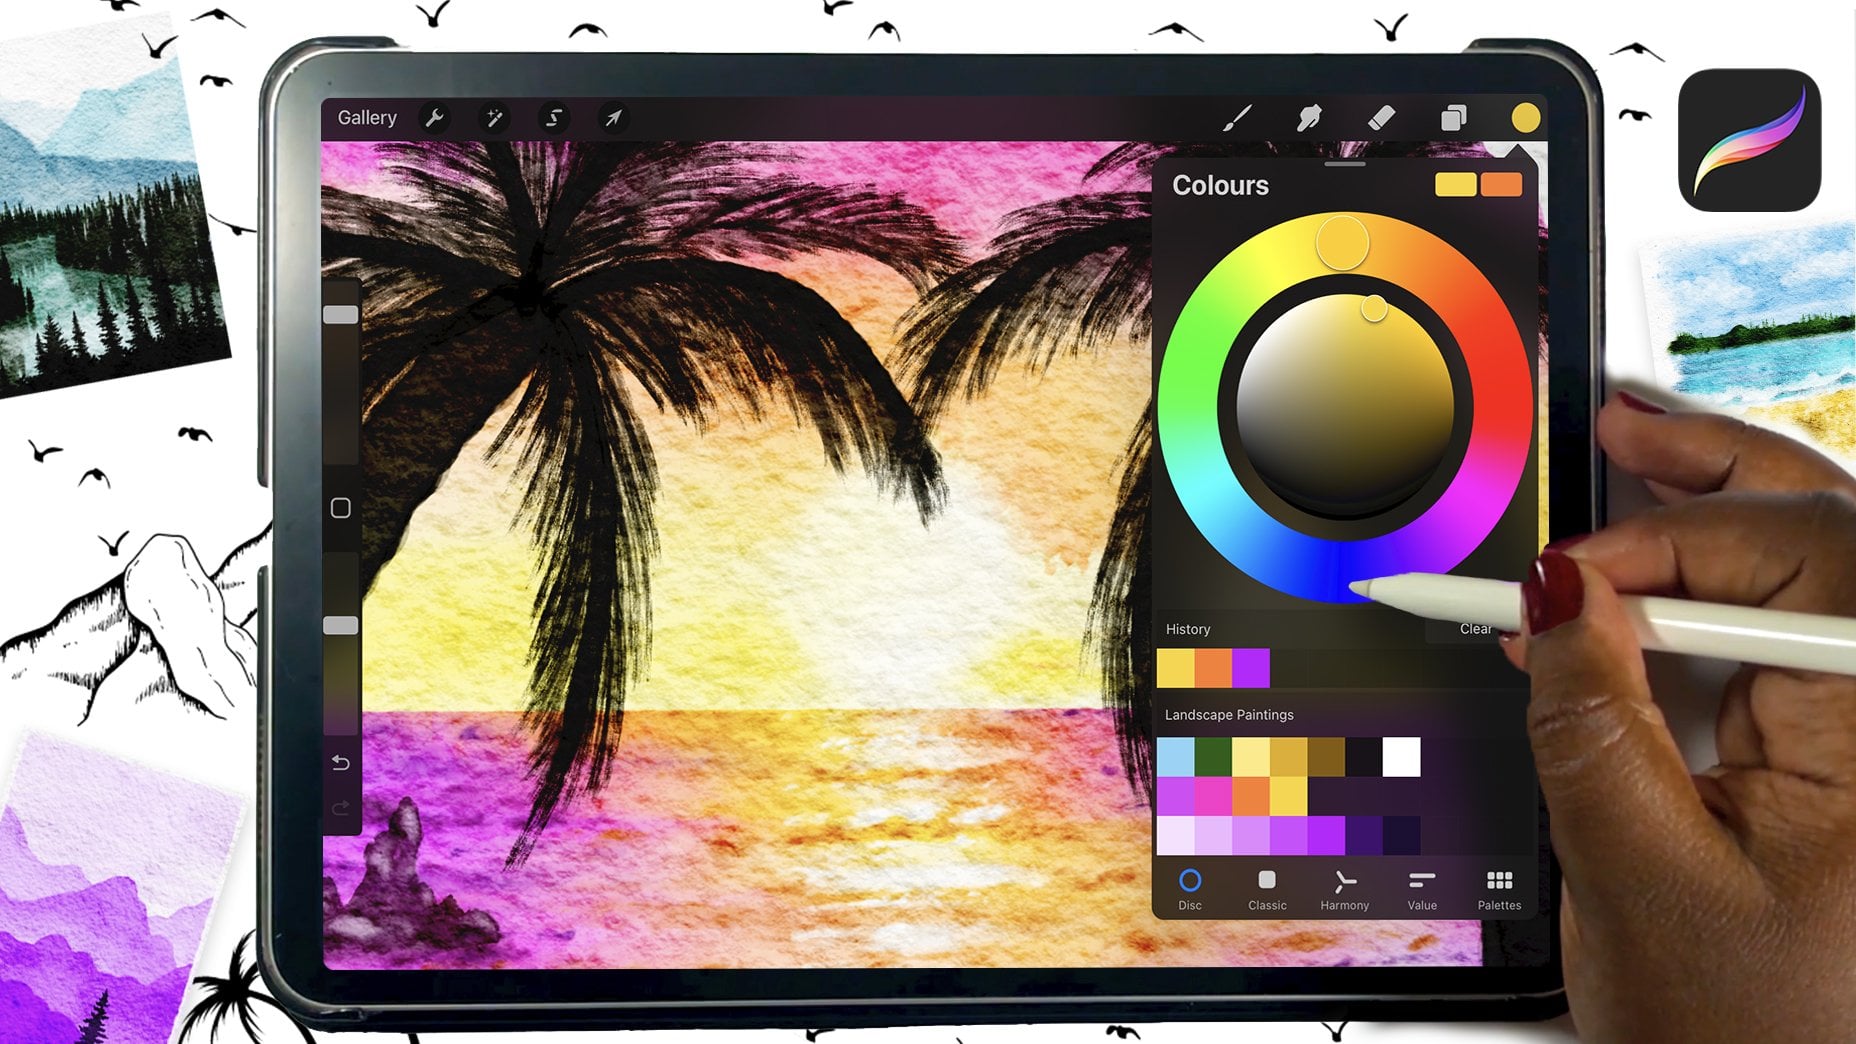
letters as they add the color. Next, we're going to
create and clip in new layer above the
letters there Museum, the total wash brush
to add my colors. You can keep it very
simple and use one color. Or you can go a
bit overboard like me and use lots of
different colors. Once I've finished
adding the color, I use the special effects brush to add some white
inside of the letters. Make sure that you do
this on a new layer. Once you've finished this step, you can add your
textures and bleeds. However you'd like. Happy with your lettering. You can group all those there's
together and then it is time for us to arrange
our final piece.
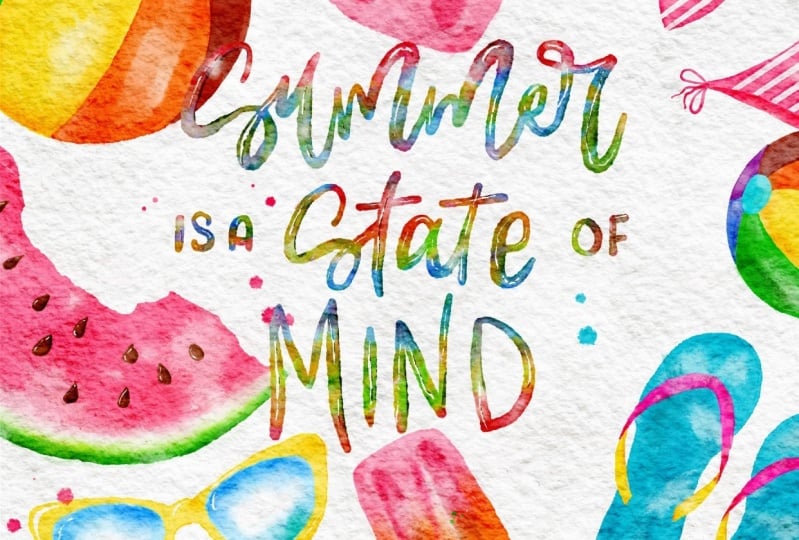
9. Class Project: Now we're onto our
class project. And to get started, we're going to head to the
Layers panel and start by selecting all of the groups of the illustrations
on the lettering. And then we're going to
group them altogether. Then duplicate that group and flatten each
individual group. I'm only including four of the illustrations that we
did in my final project. You're free to use how
many you want in yours. So make sure that you duplicate everything before
you start arranging. You're going to arrange the illustrations
around the letters. You are free to arrange
them however you'd like. Just remember that if you move something
off of the canvas, it will be cut off. So if you go to resize it, you won't have that piece
of the illustration. So having them duplicate it
will pick it much easier. Then when you're happy
with the layout, you can leave it as it is far. They get one step
further and use the splatter brush to
add some splatters
10. Wrap Up: Congratulations, You've made
it to the end of this class. We were able to learn some new digital
watercolor techniques that you can incorporate in your own artwork in the future. I'm so excited to see your
digital watercolor Art. So be sure to head the Projects and Resources tab of this class. Then tap the create
project button, upload your image along with any other relevant information
about your project, like the title or description. Then click the Publish button. If you share your
project on Instagram, you can take me out
by Shannon Layne and don't forget to leave
a review and follow me on my Skillshare
page so that you can be notified about any new
classes in the future. That is most often times
class. I'll see you soon.
 Shannon Layne, Lettering, Procreate & Art