Transcripts
1. Introduction: Hi there creative. I'm Shannon, a handler and procreate artist from the beautiful
Island of Barbados, and I'm so excited to
bring you volume two of quick and easy watercolor summer illustrations
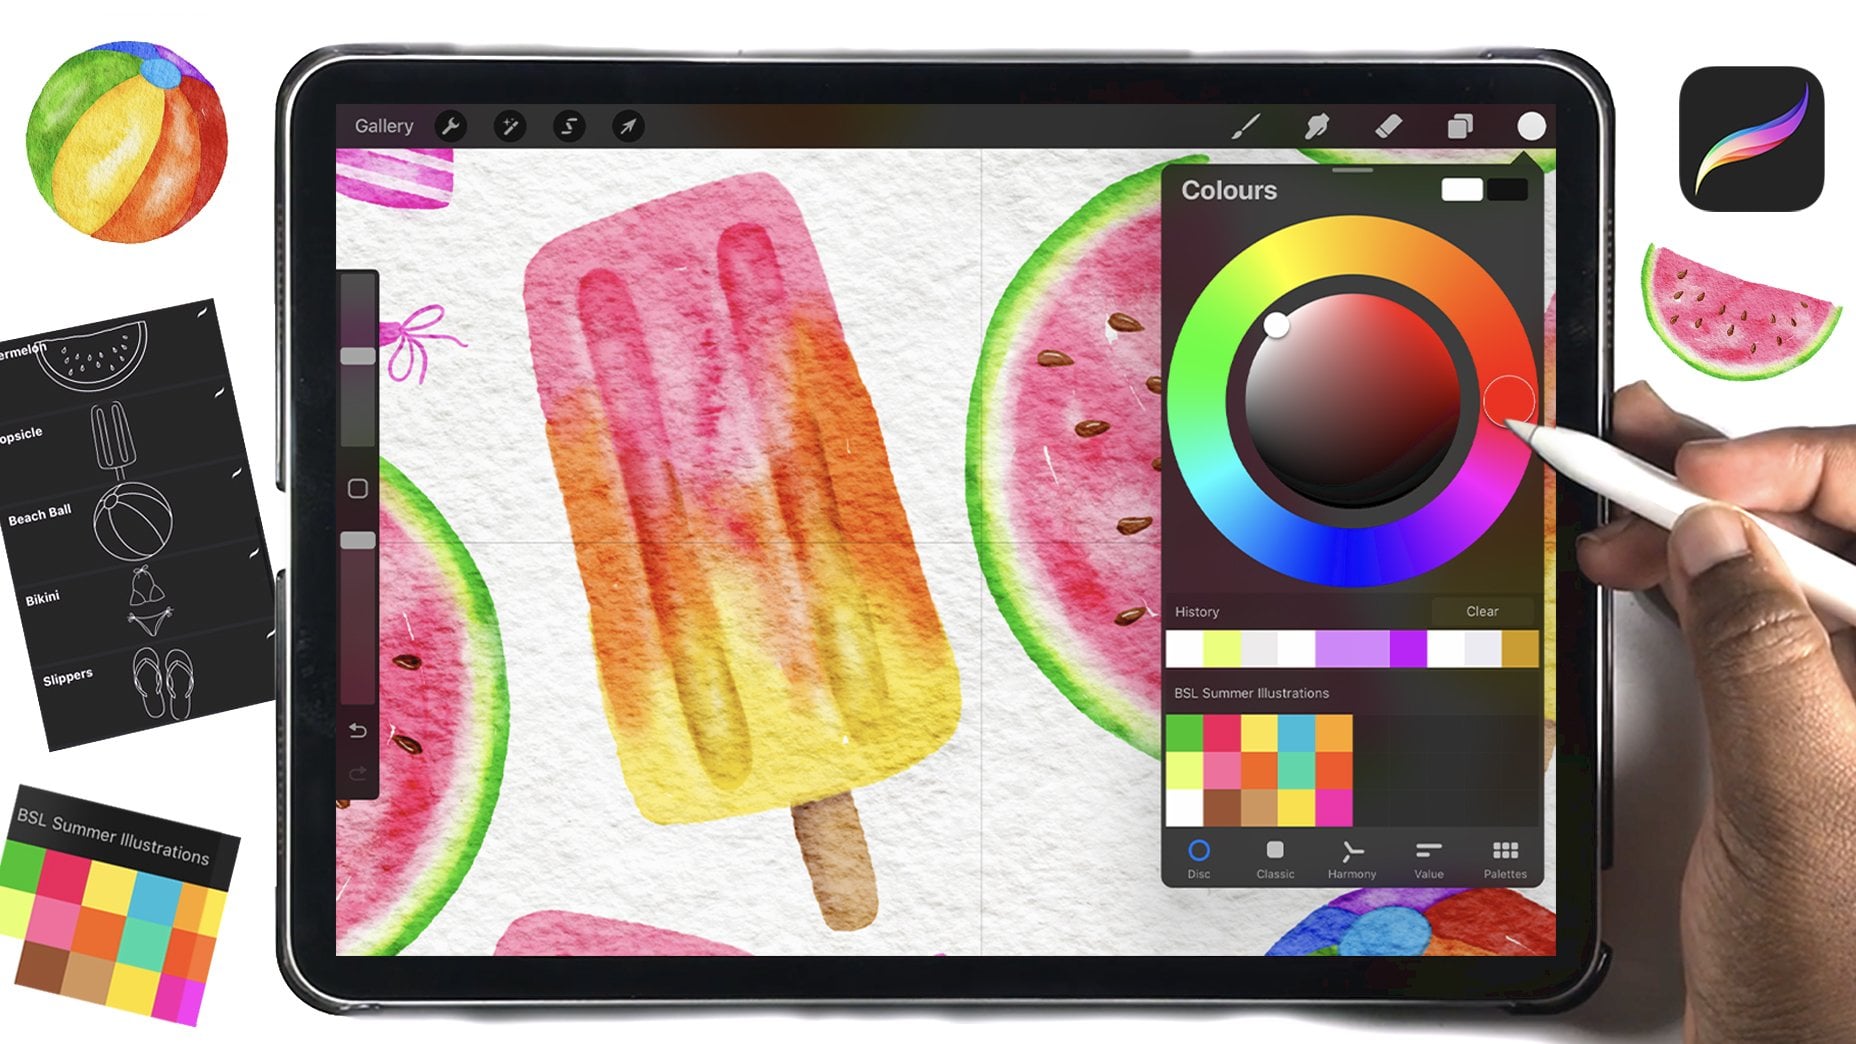
in Procreate. In the first class, we painted six fun and iconic summer
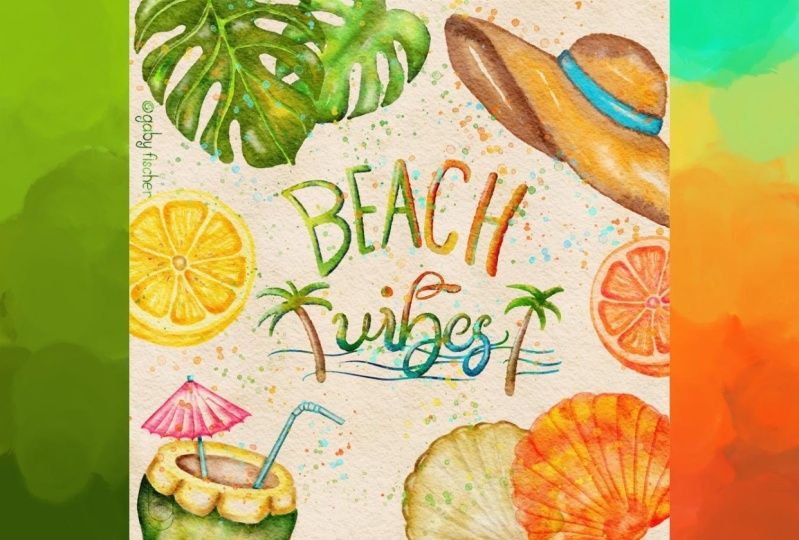
items like a watermelon slice, a popsicle, and some flip flops. And in this class, we're keeping the sunny vibes going by
creating five more illustrations that you can mix and match with the previous ones or create
a brand new class project. Together, we'll
paint a lemon slice, a beach hat, a seashell,
a mastera leaf, and a refreshing
coconut drink all using some of my custom
watercolor brushes and textures that
will be included in the projects and resources
section of this class. This class is perfect
if you've taken Volume one and want to build
on what you've learned, but it's completely beginner
friendly to start here. So if you're ready
to start painting some quick and easy summer
illustrations in procreate, grab your iPad and Apple Pencil, and I'll see you in class.
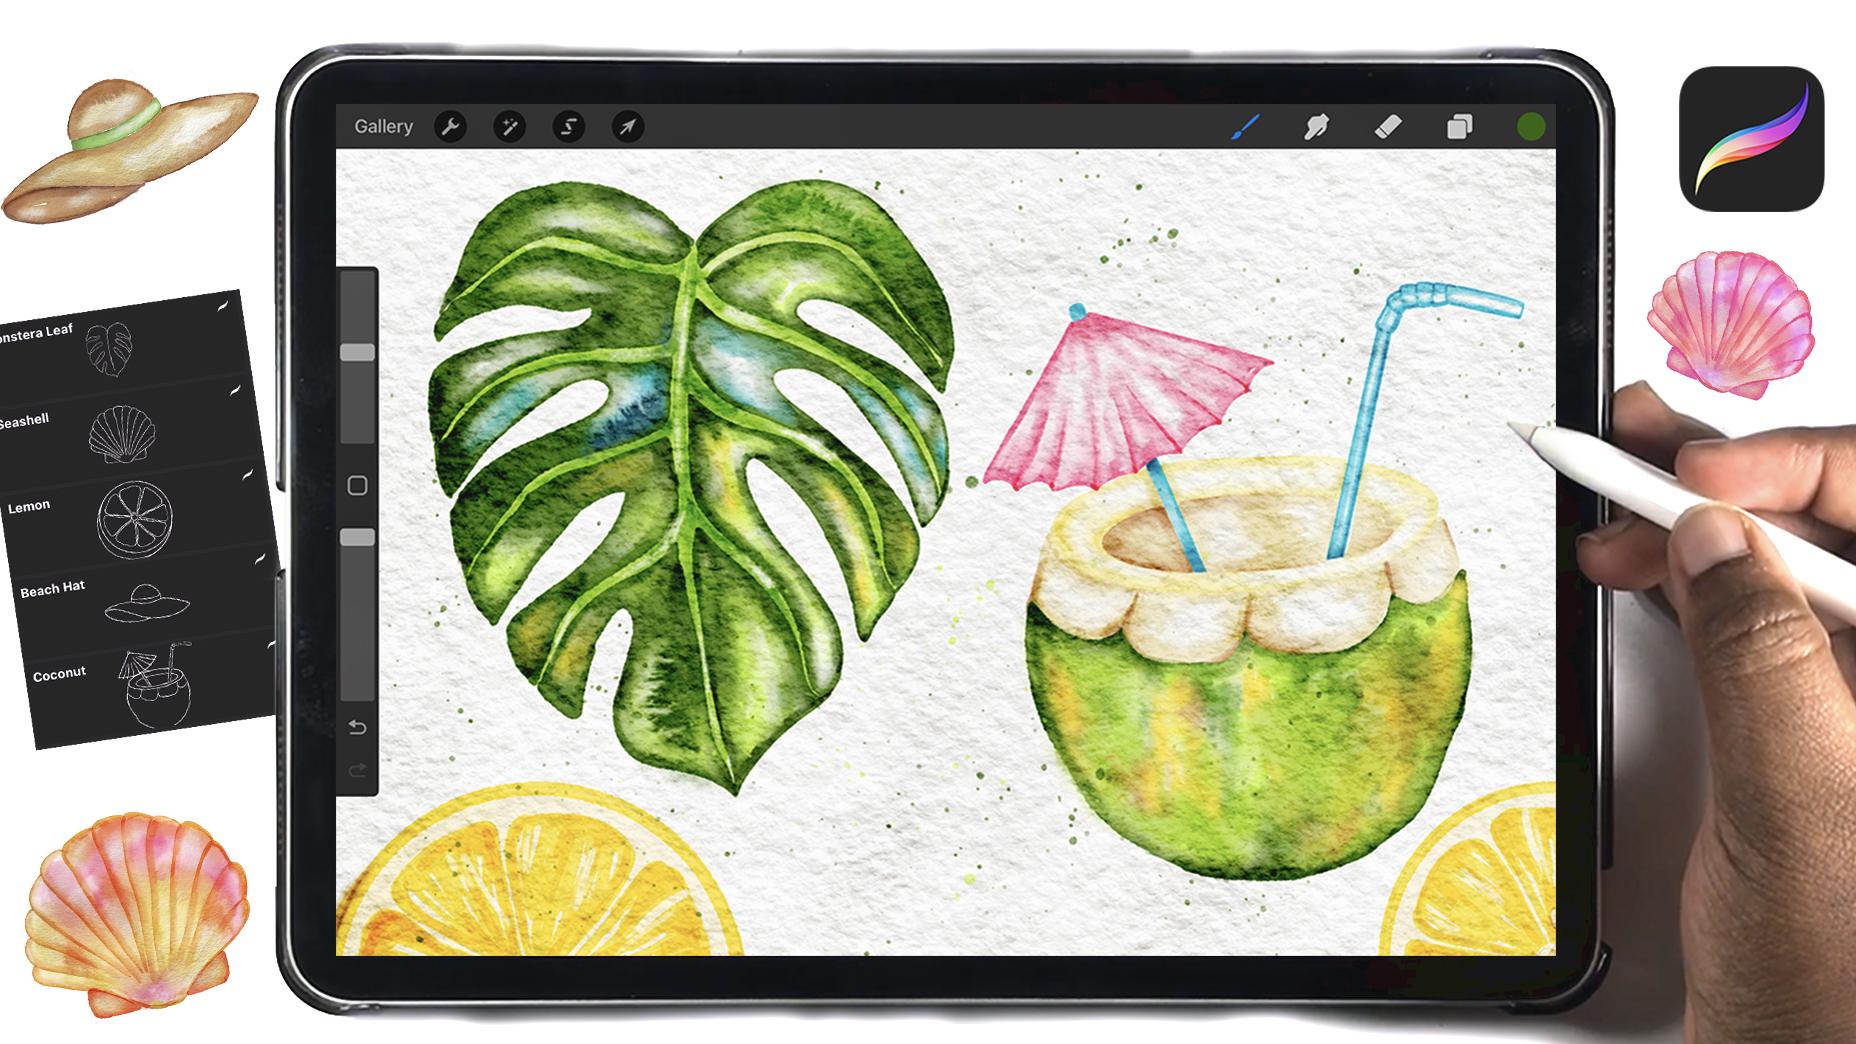
2. Class Resources: Before you can start painting, you'll need to head
to the projects and resources section of this class
to download the brushing, canvas, and color palette
that we're going to use. Then you're going to import
them into Procreate. The brush set
includes a sample of watercolor brushes from my
full watercolor etern kit, and it also includes
the brushes for the sketches of what we're
going to be painting today. The watercolor canvas includes the paper texture that will give our illustrations
that watercolor feel, and it also includes five
different groups so that we can paint each illustration in its own group to
avoid any confusion.
3. Lush Monstera Leaf: To get started, you're
going to select light green and the
dark edge whiter brush, and you're going to draw
the spine of the leaf, as well as the veins
that are coming out from the center
and to the edge. And as you get to the edge, you're going to slowly
release pressure so that you get a nice tapered line
from thick to thin. You can also go over any areas that you want to darken
with the same color and the same brush just to create a little bit of variety in
the color of the veins. And if needed, you can then select the special effects brush to blend the colors together so that you don't
have any harsh lines. On a new layer
above those veins, you're then going to
use dark green to add an outline all around the vein and on the
outer part of the leaf. Then I'm going to use some of that same light green to just
fill in the white spaces. Then you're going to use the special effects brush to blend those two
colors together, and you're going to
avoid blending the line for the vein because we want the vein to be very
clearly defined. You're blending
the inner edge of the dark line rather than the one that is right
next to the vein. So you're going
to continue using the dark color to outline the vein and
the rest of the leaf. And for the color that you use to fill in the white space, you can switch it up and
use some other colors from the palette to create a
little bit of variety. Once you're finished adding in your colors, you can take a
look at your leaf. If it looks a little too dark, you can always lower
the opacity so now we are going to add a little bit more
texture to this leaf, create a new layer on top
of what we've just painted, and then you're going to use white and the watercolor
special effects brush to just lightly add some
white to some of the areas that you think may need to be lightened
a little bit more, just to get that
contrasting look that is unique to watercolor, where you have light
and dark patches of color to create
the overall effect. And then the final touch, you're going to select
the bleed three brush. And one of the colors
that you've used, I'm using my darker green, and you're going to stamp it on a new layer above,
and, of course, you can warp and adjust it, and then you're going to use the special effects brush as an eraser to just get rid
of any unwanted areas. So you can continue stamping
this all across the leaf to areas where you
think you would like to have that watercolor texture. And that is it for
your monster leaf. I will see you in the next
lesson where we create a really beautiful seashell.
4. Delicate Seashell: To get started with
this sea shell, you're going to use orange and the dark edge writer
brush to start outlining the different
sections of the sea sheell. Then on a new layer below, I am going to start adding
the colors that I want to use for my seashell, and that is going to be
yellow and pink because I know that these work
really well with orange. And I add this color using
the toned wash brush. Then I'm going back to the special effects brush and to the layer
with the outline. And I'm going to blend
in the right side of each line so that it fades into the color on the
layer underneath, while the other side of the line is sharp and will
separate each section. And if needed, you can use the same special effect
sprush on the layer underneath just to get
rid of any harsh edges. I had quite a few where my
colors were transitioning. So this just helps to make everything look a
little bit smoother. And at first, I
was going to leave those white spaces at
the top for a highlight, but I didn't quite like the
effect that it was having. So back on that
layer underneath, I just added a little bit
of orange to the top and then blended it into the
pink color next to it. So then I'm going to go back to the layer with the outline and continue blending it
into the color underneath. Then head to the layers panel, and you're going to change the blind mode of this outline. I have switched to linear
burn, but you can, of course, play around with different
blind modes until you get the one that you like. Then we're going on a new
layer underneath the shell, and we're going to use a dark pink to outline
the back part of the shell and then add a little bit of
yellow to the inside. And, of course, you're
going to blend those colors together with the watercolor
special effects brush. Then to add a little
bit of contrast, I've created a new layer
and I'm using white and a special effects brush just
to lighten a few areas. You can also use
the colour brush on a new layer to drop in some colors and add a
little bit more texture. And then your
seashell is complete.
5. Beautiful Beach hat: So you're going to head to
the beach hat group and stamp your outline on a
layer inside of that group. Then you're going to use dark brown to outline the top
and the bottom of the hot, and you're also going
to add your later yellowish brown to the center
of those sections as well. Then you're going to switch to the special effects brush and blend those two colors together. Feel free to leave
any white spaces to create that watercolor
contrasting effect. Then we're going to
create a new layer, and this is where
we're going to add our darker brown to the
inner part of the hat. So I'm outlining this section
with that darker brown, and then I'm using
the brown that I outline the top in to
fill in that white space. Then you're going to lightly blend those
two colors together. On a new layer, you're going
to choose whatever color you want and add it to
the band of the hot. I'm using green, and I'm
leaving a little bit of white space in the
middle and then blending those two together. On a new layer clipped above
the brown part of the hot, I am then going to use
the bleed draw brush to add a dark outline
all around the hot. Then we're going to use
the bleed three brush on a new layer to stump
in some texture. I'm also going to
use a darker green and the bleed draw brush to darken the outer edges of
the green part of the hot. And then on a new layer, I went back in with white and the special
effects brush just to lighten a few
areas across the hat. Once you're finished
adding this white, your hat is complete.
6. Juicy Lemon : So you're going to use the dark edge whiter
and the light yellow in the palette to draw an outline all around
the lemon slice, and then you can drag
and drop in some color. You can also use the same
brush to fill in that shape, but the drag and
drop is just easier. Then on a new layer,
you're going to select the darker yellow and then start to add color
to each section of the lemon. And as you paint,
you want to leave some white areas just so that we will have a
little bit of variety. You can also let some
of the color overlap, so you can have some areas
of that darker color. In fact, you're going to go
over some of those areas intentionally just to create
a little bit of contrast. But we don't want too much of that darkness because
then it can start to look more like an orange
slice rather than a lemon. If needed, you can use the watercolor
special effects brush to just blend out some
of the harsh edges. And you're just going to
continue adding that color to all of the sections of the lemon and building up
colour in the same way. And again, leaving
out some white areas. When you're finished adding
the color to the lemon slice, you can then draw a circle outline all around
the outer part of the slice. Then you can draw another
line for the skin of the lemon and then
fill in your color. And it doesn't matter
if it is darker. In fact, you do want some
of that variation in color just to separate this part of the lemon
from the inner part. Going to switch to a darker
yellow just to outline the skin a little bit more and create a little
bit more contrast. And, of course, switch to the special effects brush to just blend all of
those colors together. And to add our final details, I am using that darker yellow to add in the center of the
slice and blending it in. If it is too dark, you can use
a special effects brush as an eraser to get rid of some
of the color in the center. Then you're going to add your seeds on a new layer
using that same color, and you can go over certain
areas to make it darker. Then on a new layer above, I am using the same light yellow to just add in the
top of the seed, and I'm also going over the different sections of the lemon slice to add
in a few extra lines. And that is it for
the lemon slice. In the next lesson, we are going to start painting our beach hat.
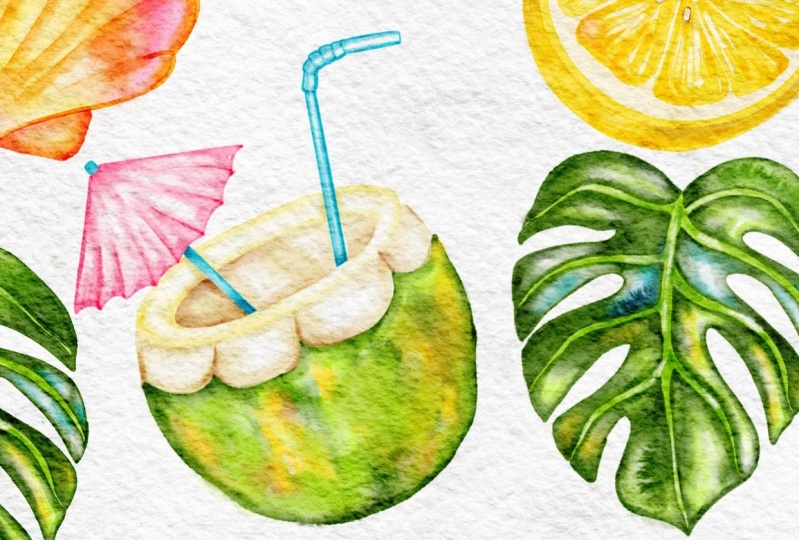
7. Refreshing Coconut Drink: So you're going to stamp your sketch onto
the layer inside of the coconut drink
group and then use your dark green to start outlining the bottom
of the coconut. And I'm using the dark
edge waiter to do this. Then you're going to
go back in and add a few vertical lines starting at the top of
that section you've outlined and some
starting from the bottom. And then you can use a lighter shade of
green as well as some yellow and a little bit of brown to fill in the
rest of this section. Then you're going to use the watercolor
special effects brush to blend everything together. And if you want to make sure that your color does
not go outside of the layer, you can head to
the layers panel, tap on that layer and
select and invert, and then continue blending, and this will allow you to stay within the confines
of your outline. And as you're blending, you're not trying to create a completely smooth
transition of color. You do want to still be able
to see some of those lines. And for me, this ended up
being a little too saturated. So I went on a new
layer and used some white to paint over some of the color that
I wanted to lighten. So you can just continue
adjusting your colors until you're happy with how the bottom of this
coconut looks. Thank then we're going to start painting in the top. So you're going to select your light yellow
and start to add an outline to each of these carved out sections
of the coconut. Then get your darker brown and add a little bit of shadowing
to each of these sections. Then you're going to switch to the special effects brush to just blend those
colors together, and you do want to
leave some of that area white to give this
some contrast. Once you're finished, you
can switch to yellow and then add color to the
top of the coconut. Again, leaving some white
space in the middle and using the special effects brush to just blend everything in. Next, we're going to paint
the inside of the coconut, and I've switched
to a darker brown. And I'm going to just
add that colour on the left side to create sort
of the effect of a shadow. And then I'm using
the lighter brown to fill in the middle. Then switch back to the special effects brush to blend those two colors together. If needed, you can
go back in with that darker brown to darken any more areas on the left side, which is going to be the
shadow side of this coconut. You can also erase
away this color from the umbrella and the straw so that when we add
color to those areas, it is not going to be
overlapping this brown color. So then on a new layer, I'm going to start
painting the straw, and I'm starting with my blue, and I'm going to just
add an outline to the entire straw and then add a shadow on the right
side of each section. Then I've switched
to the lighter blue, and I'm going to add that color on the opposite
side of the straw, leaving a white
highlight in the middle. Then I'm going to use the special effects brush to lightly blend
everything together, and I do want to keep that lighter highlight
showing on this straw. I'm going to add a shadow to the bottom of
the straw by going over that area a few
times to build up color and then lightly blend it into the
rest of the straw. The next thing we're going
to do is paint the umbrella. So I have switched to pink, and I am on a new layer, and I'm going to
outline the umbrella, as well as to add some lines
for the inner separation and just a few vertical lines from the top and the
bottom of the umbrella. Then I'm going to switch to
the special effects brush to just blend out
some of that color. And I do want those
sections to remain darker in comparison to the
later center of each section. I needed, you can go over
the separations with the same pink to build up color and then lightly
blend in that line. The final thing I'm
going to do is use the same blue that I
used for the straw to outline the stick
of the umbrella and then blend the
two colors together, and then add some shadowing. And the last step is
going to be to add some shadows to the
inside of the coconut. So I've switched back to brown, and I'm going to just
create a shadow behind the umbrella and behind the straw and blend them
into the background. And that is it for
our coconut drink.
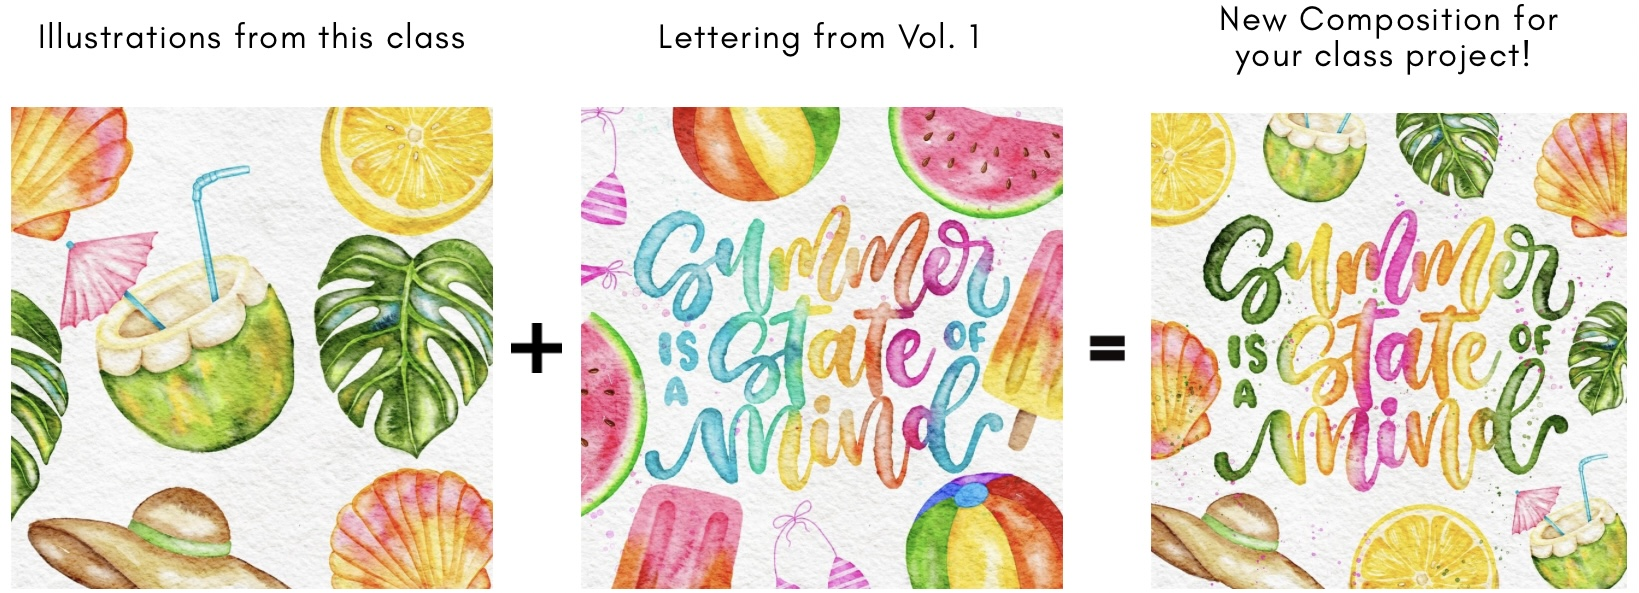
8. Wrap Up: Congratulations on making it
to the end of this class. For your class
project, simply share your five summer illustrations
in the project gallery. But if you want to take
it to the next level, you can mix your
favorite illustrations from both this class and the ones from volume one to create different summer
theme compositions. And before you go, make
sure to leave a review, sharing your thoughts on the
class so that others who are interested in digital
watercolor painting can know what to expect. You can also follow me on my Skillshare page to be
updated on any future classes. Thank you so much for joining me today and I'll see you soon.
 Shannon Layne, Lettering, Procreate & Art