Transcripts
1. Introduction: Muhammad said, "Taking pictures is savoring light intensity." But how can you do that? How can you take
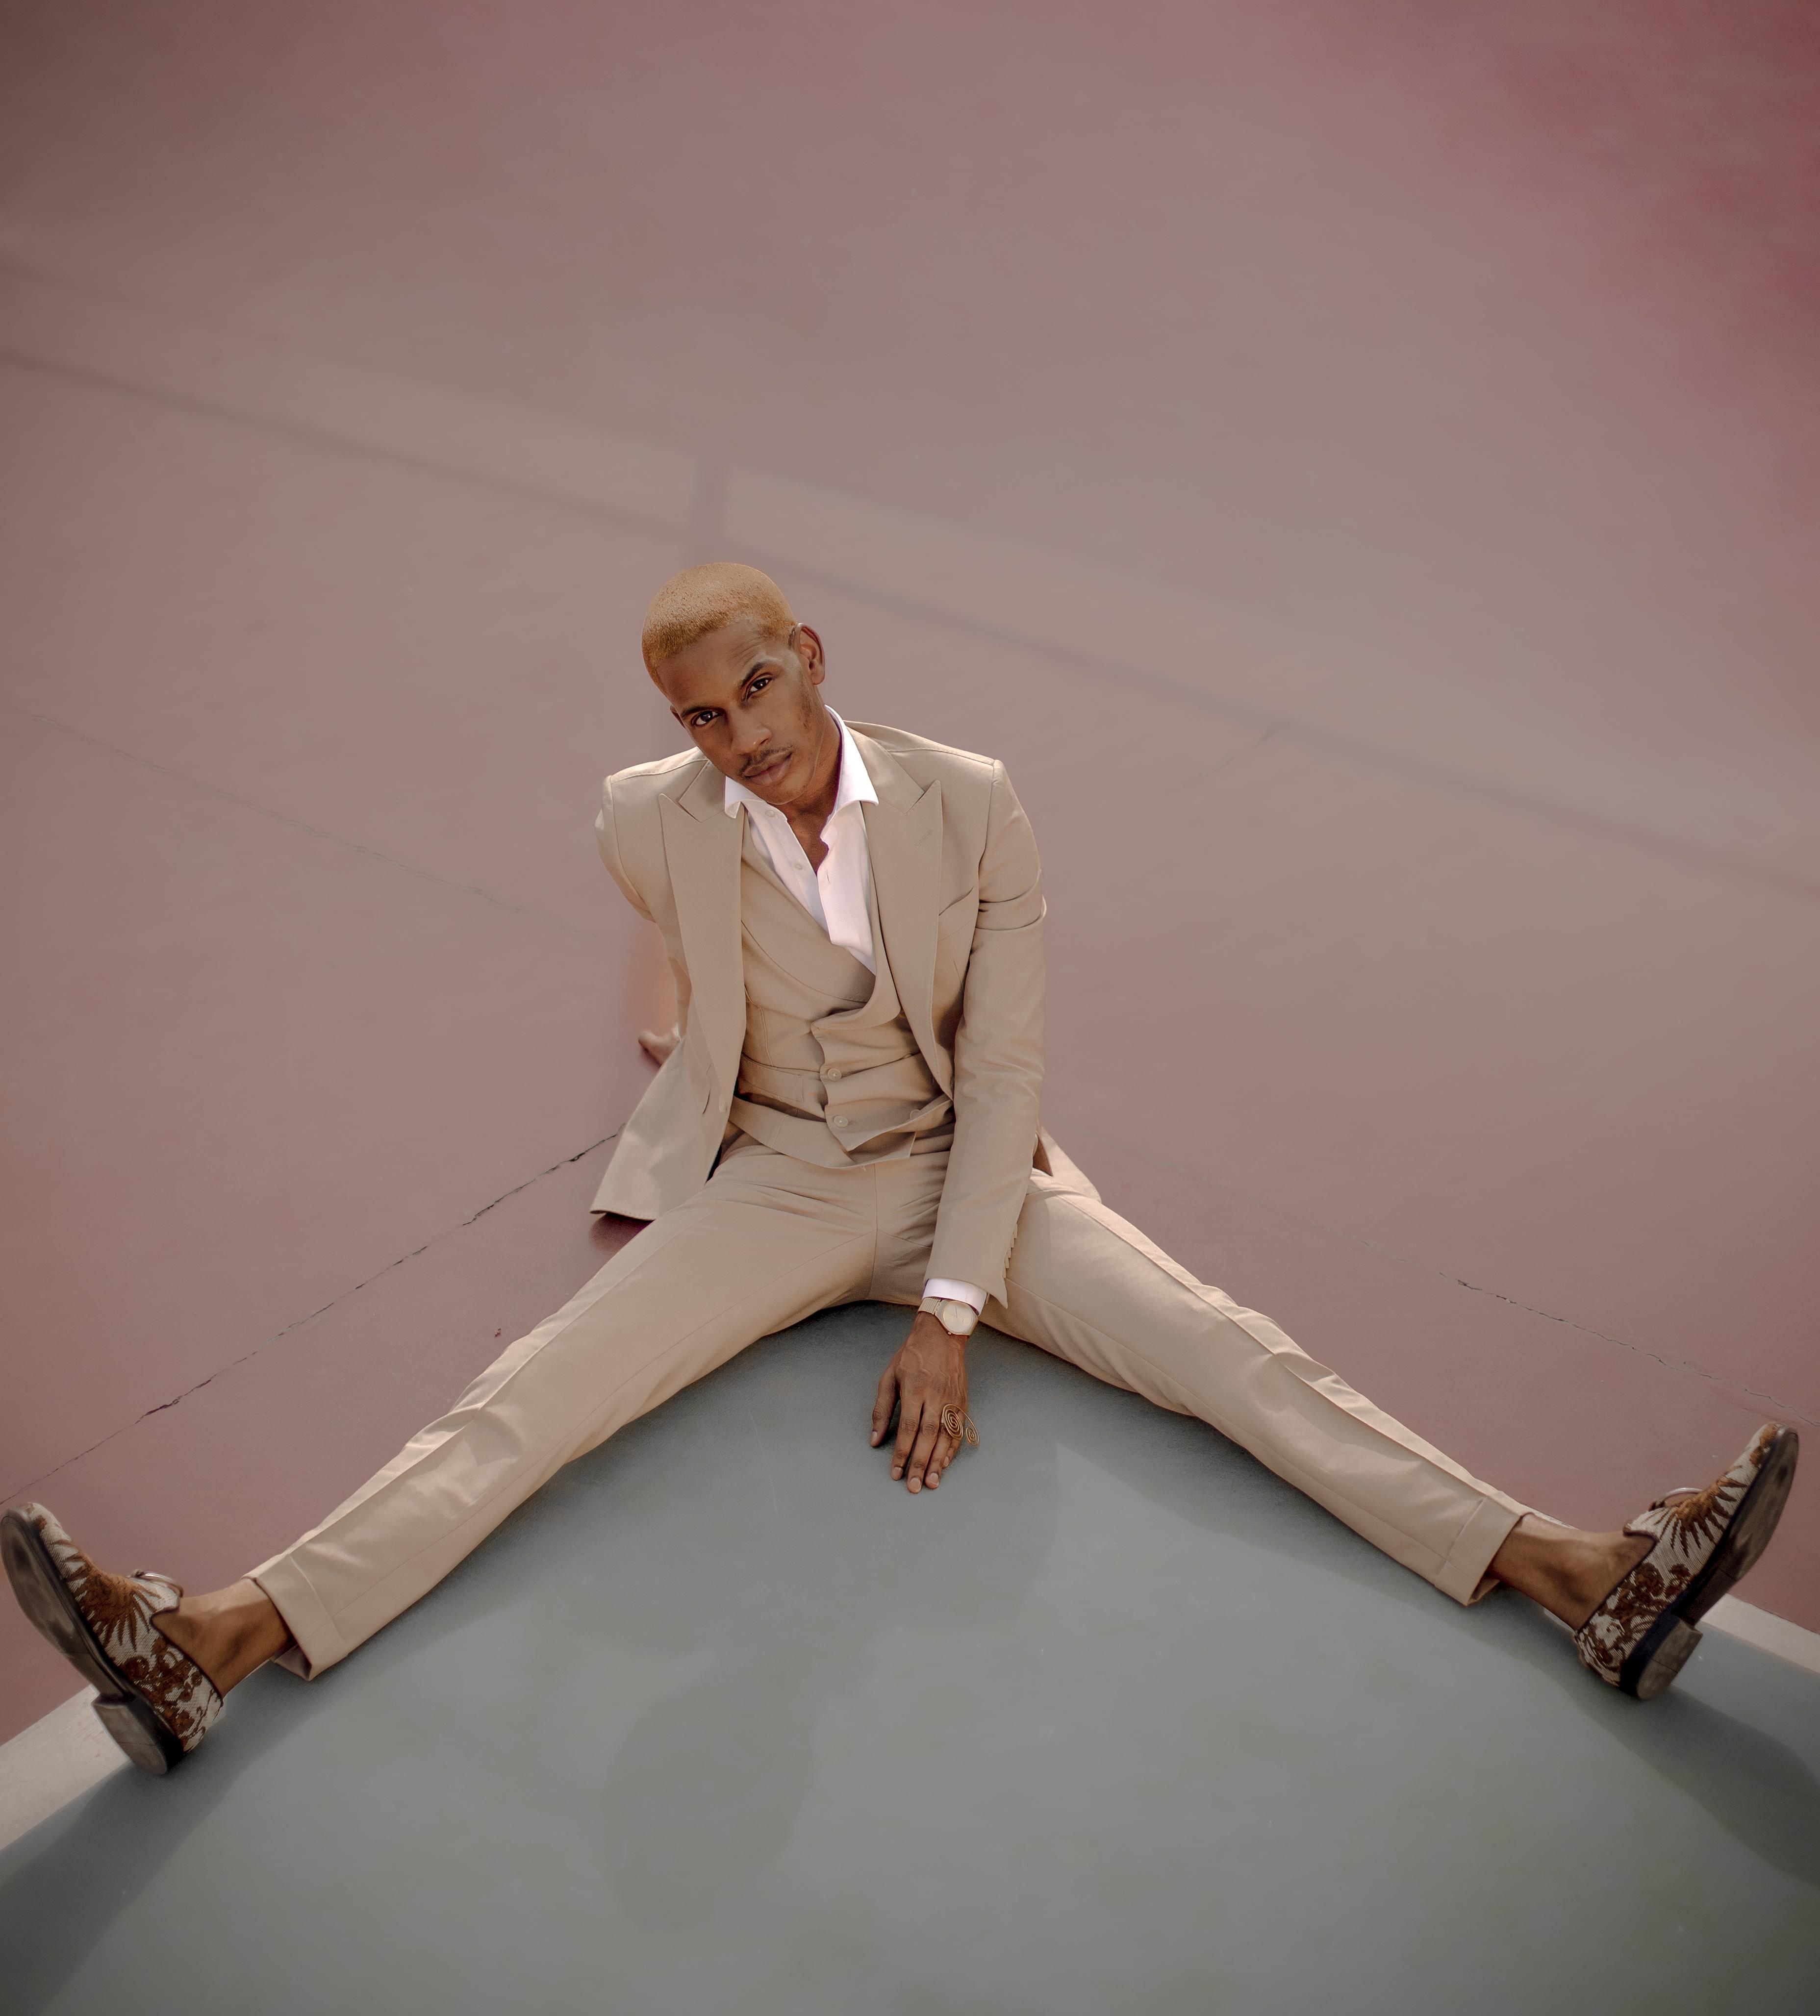
mind-blowing images with not so good gear? Hi, my name is Ebuka Mordi. Ebuka Mordi. I knew he was going to say that. Ebuka Mordi. My name is Ebuka Mordi and I'm a Nigerian fashion and
portrait photographer. I have been featured on both Italia and a couple
of other magazines. I've also been featured on
Mango Street YouTube page, I've worked with Adobe
Lightroom as a resident. I found the startup
era of my career, particularly difficult
because I had to pull through
without good gear. So having so many
limiting factors pushed me towards being more creative with what I
could put out there. With little money
coming in at that time, I learned to set aside
my finances towards getting better gear or improving myself in my career
as a photographer. I'll walk you through the various techniques that
helped me in my career and teach you how to use what you have to
get what you want. I'll show you how to utilize Photoshop and Lightroom through your social media and build
a repetition in your craft. These abilities
will prepare you in your photographic career by providing with the
knowledge you need to grow. Yes. How to use your
available resources to create what you want to create and how to overcome the challenges you
face with limiting gear, this will help you save up to
get better gear eventually. This course is useful for
startup photographers. Prospective photographers Yeah. I'm really looking forward
to teaching this course. We are. Because these methods and techniques really helped me
in my photography career. It helped me grow a brand, it helped me grow a reputation. Yeah I'm really excited to teach this course and I can't
wait to see you in class. So he didn't mention that
this class will teach you how to edit like a
pro photographer, color grade like a
pro photographer and also manipulate your photos
like a pro photographer. I hope to see you
in class, see you.
2. Class orientation: Waiting, you should be out shooting. Go out
and get shooting. I'm kidding, well,
I'm not kidding. Our class project for today is to get
shooting or get familiar with the photos you
want to be taking. I chose this project because
it's important to know what drives your passion in photography and how you
choose to express it. This class will compliment what is already existing in you, which is your passion. In shooting, we will take
note of composition, natural lighting, and the basics of whatever
camera you're using. The hardest part of
photography for me, is going out to shoot. Once you can constantly
gain a momentum to grab your gear, get your keys, make a few calls, get your location, and
drive out and shoot, I feel like you've overcome the major obstacle in learning how to become a
professional photographer. For this project,
you're going to either need a digital camera or a phone camera and a
diffuser or a reflector, depending on the time you're
going to be shooting at. While shooting, you should
take note of the composition, your model expressions,
your lighting, and your camera settings. If for some reason you
can't go out and shoot, I'm going to link
a few photos to this class that you can use to follow up as
we edit our images. Throughout the course,
we're going to be utilizing Adobe Lightroom and Photoshop. These apps are useful in understanding and following
up throughout this class. This class is not a tense
class as I plan to take you along with me in the most
natural way way possible, so relax and follow up with
me as I go do this class. I'll share my experiences and things I've been
through in my career. Also, feel free to
share your progress, so that you can keep track
of how far you've come towards realizing your dream as a professional photographer. Are you ready? Let's go
learn some cool stuff.
3. Photo correction: Hello. In this lesson, you will learn the basics of photo correction and how you can make your photo stand out. Great job going out to shoot. I'm proud to let you know you've done 50 percent of the work involved in becoming a professional, outstanding
photographer. If you couldn't go out to shoot, don't worry, we've
got you covered. You have sample
images you can pick from to follow up as
we edit these images. I'll show you how
to fix your photos, remove distractions, add that background
blur that you've always wanted but
you couldn't afford because you couldn't just get that 85 mm lens or zoom
lens to achieve it. We'll do that in Photoshop. The number 1 tool
that we're going to look at is the patch tool. This tool basically replaces
wherever you select with a points in the photo
that you drag it towards. You can see it replaced
that particular selection. The patch tool can
be easily used to just clean up dirt or
things that you don't, like maybe scopes are marks on the floor or even a shadow
that you don't want seen, you can just use the
patch tool to do that. That's the number 1 tool
that you need to know. The number 2 tool that you also need to
know is called the quick selection tool or the object selection tool
as the update has made it. The object selection
tool is used to select any objects in your
photo that you wish to modify or pull out. For me, it's going to
be the subjects here. Why this tool is very special to me is because you
can easily select your subject and draw him out of the background
in order to edit to the background and clean up stuff in the background,
you understand. How I use the patch tool and the selection tool
is quite easy. I just drag the selection
tool over my model or anything I want to get
out of the background. Then I click on Control J to select the selection out of
the background. There you go. We have the model separates
from the background. The next step I do is to click on the background
click "Control J" to duplicate that
background layer, and then I select
the model again. This time around I go to
Select and I go to Modify, and I go to Expand, and I click "Okay". This is just to
expand my selection, to cover all the places plus
points outside my selection. Then I right-click
on the Selection, I go to Fill and I
go to Content Aware. In content aware, we just select content
aware and click "Okay", and all that does is get our
selection out of the way. You can see now that we
don't have our model again. The next tool we use is
the patch tool to just patch up a few things
in the background without interrupting
our model's place in the background as well. We use the patch tool to
just drag all this stuff and clean up the background without our model being there. As you can have it,
we're now going to bring back our model
into the picture. You have layers looking like this and like this and all we used was the selection
tool and the patch tool. Those tools are really
important to me because they can help you fix
a lot in your background. The next tool is going
to be inside our filter, it's going to be our blur tool. Now that we have our background, which is our plain
background, this one, we're going to use our
plain background to manipulate the image to
add depth into the image. While making sure
that background is actually selected, we're
going to go to Filter, we're going to go
to Blur Gallery, we're going to go to Tilt Shift. Now the tilt shift
gives the depth. You just place the
middle parts where you want your focus
to be and then these little ones
here help you to adjust how soft
the focus is gone. Then we're just going to
increase this a little bit. There you go. We have our tilt
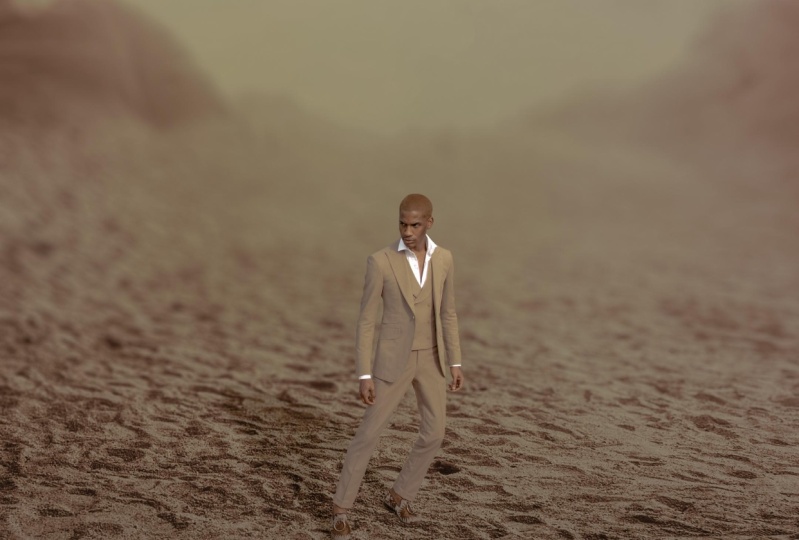
shift which just helped us create a blur. It makes that feel like we had an 85 millimeter lens to shoot
this particular picture. That's the second
tool, tilt shift blur. It help give you a photos that particular depth
you need to get. Remember guys, the first step into changing your
background or adding some background blow
or depth is to select your model which is through
the object selection tool. When you've selected your model, sometimes it might
not be accurate, so you just need
to change it over to quick selection and just select the portion
you want manually. On select, you press your
Alt key and just brush gently over that point,
and there you go. The next step is to press Control J to
duplicate that layer. Then click on your background
layer and also press Control J to duplicate
the background layer. The next step now is to
re-select your model. I would advise going back to Layer 1 and just
making your brush big and just swiping
because that's already the selected
model layer. Then you click on
background copy layer and then we go to Select, Modify, and expand by 10 pixels. Then you right-click on the photo and you go
to Fill and go to Content Aware and you have your model automatically scrapped out of the background. Here we go. This is what
is left of the background. Now, what you're left
to do is just to smoothen up the background
by getting rid of some things and just
using your patch tool to correct a few things that are already missing
in the background. We're just going to use our
patch tool to get rid of all these minor destructions and then we have our background. The next step now is to put your model in so that
you can erase the blur. While background is selected, you go to Filter, you go to Blur, depending on what's situation or angle you shot your model at. If you shot your model in
a point where you need to differentiate focus
and the background, then you use the tilt shift. If there is no particular
flow level to that, you can easily use
the Gaussian blur. In using the Gaussian blur, you can see the background
keeps blurring. You can add it,
you can reduce it. We're just going to leave
it somewhere around here. This is okay for
us. There you go. You can easily add that depth to your photos regardless
of what lens you used. This particular lesson is going to build your confidence whenever you should
because you know that nothing restricts you. You can always correct
what you've shot. You can change your background, you can blur your background, you can get rid
of destruction so you're not limited
whenever you're shooting. Now, with all of these, try and make sure
when you're shooting, your set is somehow
still near perfect because it reduces the amount of work you have to
do in Photoshop. It's just reasonable to make your set as smooth
as you can be. Remove out that trash, remove out that
protruder in your shot, remove any extra
dirt on the street. Try and get your ankles
right because you can't really correct
everything in Photoshop. Even if you can, it's
going to be stressful, so as much as you can do, if you're able to do it, just get rid of all
those distractions from your set before shooting, it makes you work a
lot easier, trust me. Before moving on to
the next lesson, make sure you use these
techniques on your photos and see how it changes the look, see how it affects what
you originally shot. It's fun, you should try it out. You will learn above
photo manipulation in the upcoming class as well as getting your creative
juices flowing. I was meant to have
a juice box here to give an inward point. You're going to learn how to get the creative
juices flowing. See you in the next class. Yes, I removed it. I know it bothered
you throughout the whole class and you're like, get rid of it, scratch your face,
I got rid of it. But I'm not deleting
those videos, they are going to
stay because we're human and you're going to watch them and you're going
to like my whiskers. Now, I'm going to see
you in next class. Bye.
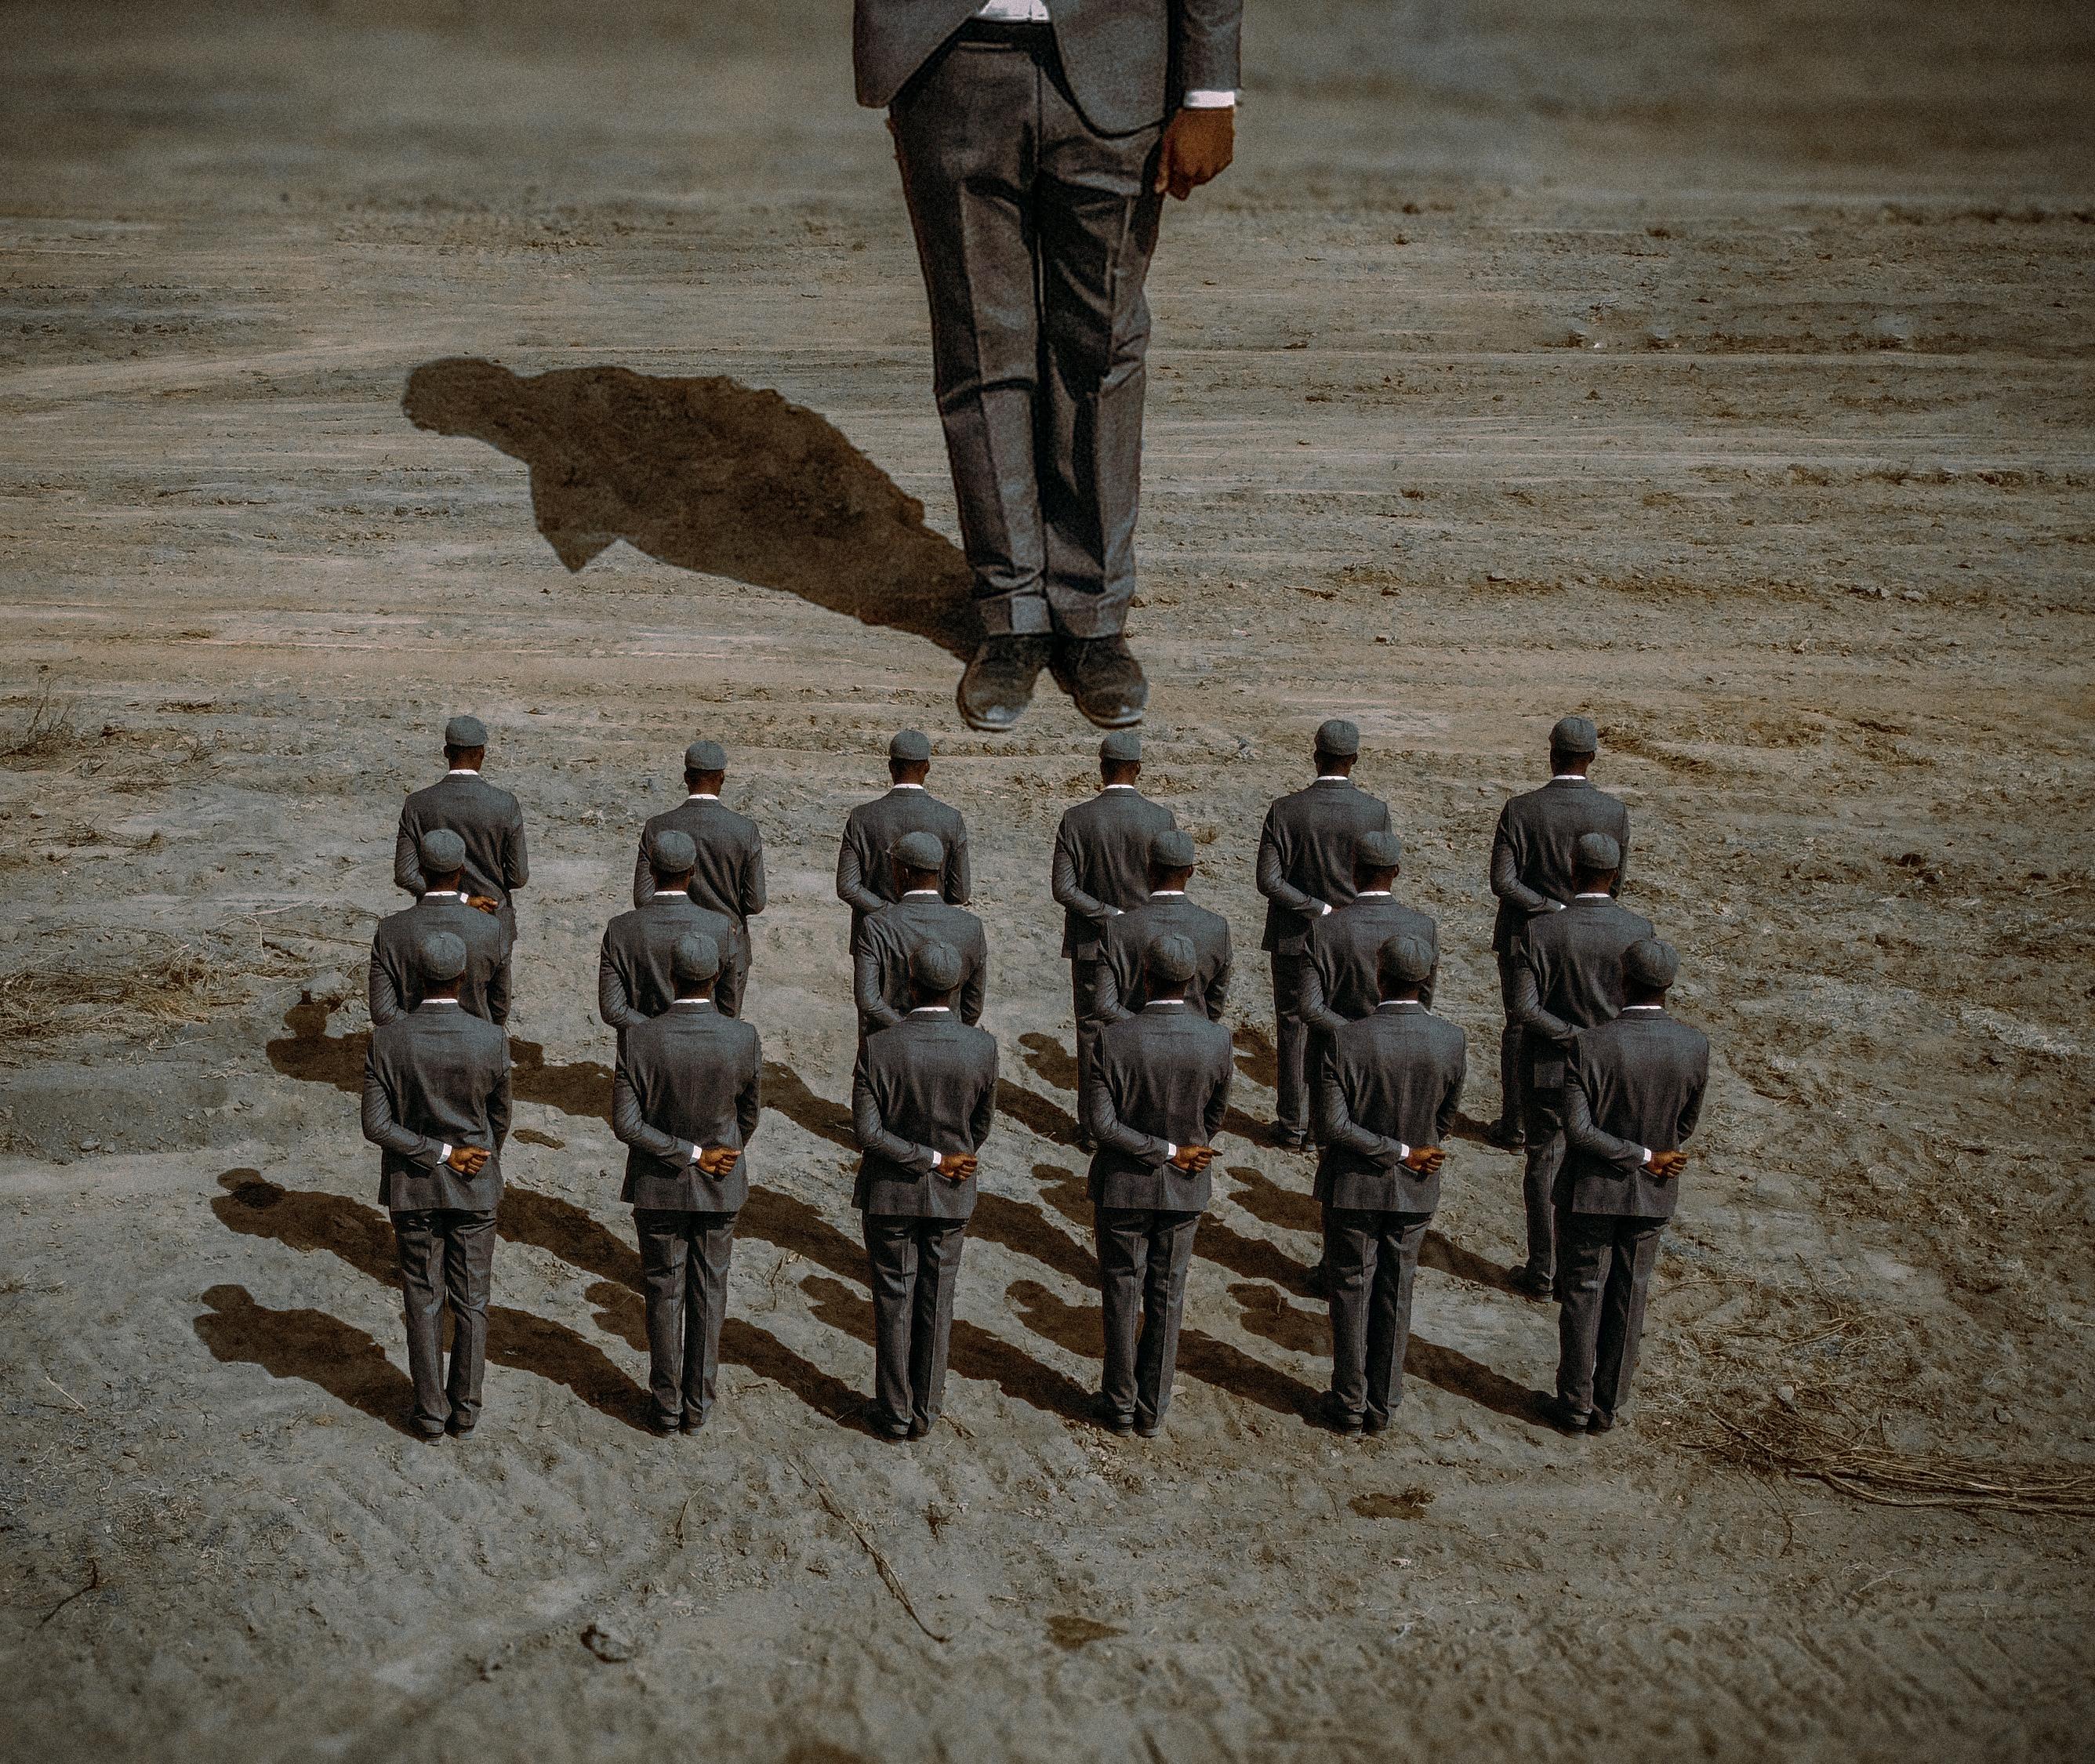
4. Photo manipulation: [MUSIC] Hey guys. What's up? Today, I'll be teaching
photo manipulation. I consider this the chemical X to the stand out
recipe for me. I'II be demonstrating the use of some Photoshop tools and
techniques that you can use on your images when manipulating them for
them to stand out. Hi. The first tool we will be learning is
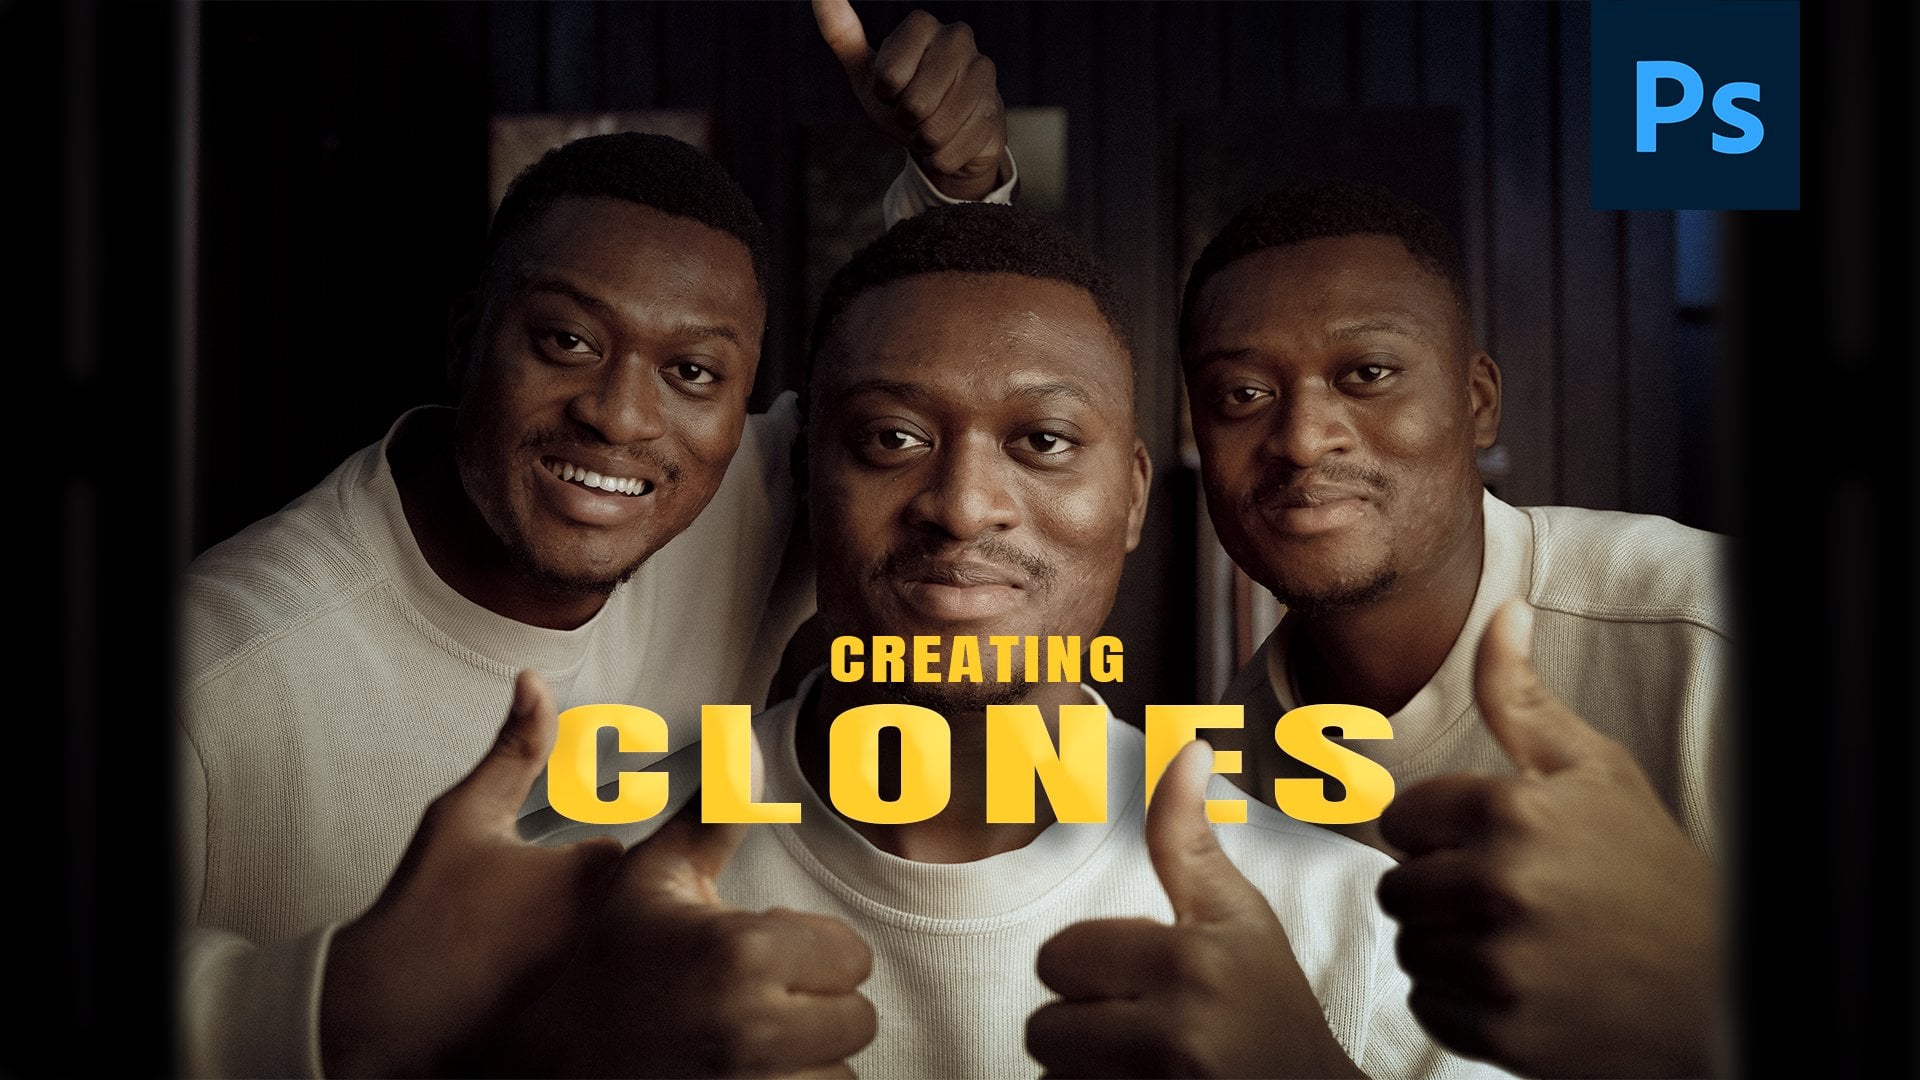
cloning your shots. Or the first methods we will be learning is
cloning your shots. We're going to use the object selection tool to get that done. The first thing you do is
to get your selection made. That's by selecting
your model or subjects and clicking "Ctrl+j" to duplicate the
model or subject. Then the next thing
we're going to do is we're going to duplicate our background layout and
select our subject again. This time I'm going to select, go to modify, and expand. When that is done, you
click on the "Selection", you go to fill and
go to content aware, and you fill it up so that
you have a plain background. The next thing you do is to go to the image you want
to drag onto that photo. You select your subject
out of that image and pull this down and hold
onto "Control", and drag it. There you go. You have this image
in that image. The next step we're
going to take is to make it a little
bit more realistic now, which is why maybe
reducing the size of this and putting it on the layer tool so
that it comes up as if it's behind the model. The next step is to reverse
this or rather flip it. There we go. Perfect. We have something
that looks like this. In cloning your shots, the next step also is to
clean up a little bit. You have your layer
tool selected. You make it a layer mask
or you add a layer mask. Then you zoom in
to where you have little interaction with
the other background. You pick your paintbrush, you make sure it's all white. You increase your opacity. You increase your blur to 100. The next thing you do is to
just carefully paint across these edges just to make it smooth to get rid of that white highlighted part of the
model that gives it away. Yes. Just like that. We're good. That's an easy way
to clone your shots. The next one we're going
to do is we're going to check the zoom blur effect, and to do that we're going
to still use the same image. I'm just going to move
this a little bit. Then duplicate by
pressing "Ctrl+ j" and "Ctrl+t" to resize. This is perfect. Then we're just going to
flip it horizontally. Perfect. The zoom blur effect is just to give your
followers or rather your viewers the
feeling that focuses on your subject while
zooming so that they feel like they're moving and
focuses on your subject. It's a good way to
get people to focus on your subject rather fast. What we're going to
do is we're going to merge all these layers together into layer 2. We're going to press
"Ctrl+j" to duplicate it. We're going to go to filter, we're going to go to blur, we're going to go
to radial blur. In radial blur, we're going to click "Zoom" and we're going to click "Best". Then you position your
blur center on where your focus is going to be, which is a little bit
down here for me. Then you click "Okay". As you can see, the next
step is to click on layer 2 copy and add a layer mask. Then go to your brush tool. Zoom in to your
subject or your focus, and carefully brush
your focus out of it. Amazing. Now we have a little
problem, which is her legs. So we're just going to
reduce our brush size and brush over with a
reduced opacity. Just going to brush over
her leg to make sure it doesn't come off
as a distraction. Perfect. That's the zoom blur, makes you feel like
you're moving in. You have your subject. The next effect we're going
to learn is light flares. In light flares,
I want you to see how beautiful your images
can be with this effect. We're just going to add
a little crop here. The next step is "Ctrl+j"
to duplicate our layer, you always do this
so that you can always have a
background to go to. We're going to go to
gradient and just drag it making sure your
gradient is on circular. We're just going to
crop it a little bit. We're going to click
"Elliptical Marquee Tool" and hold "Shift" to make
it a perfect circle. Then we're going to
click on "Layer Mask". We're going to change
this to screen. We're just going to
drag it to wherever we see fit on the photo. Then you press "Ctrl+j" to duplicate it and drag
the points to wherever you see fit on the
photo and then "Ctrl+j" to duplicate
that and drag this. You can increase the
sizes of each of them. The next step is to shape
them however you want to. You hold "Ctrl+down"
and then you can click on this
to just give it that shape you want it to have. This looks good as it's there. Then the next one is
this guy over here. We're just going to shape him
up a little bit this way. Perfect. This can remain a circle. The next step now is going to be you click on your layer 1, which is the first one here. Then you go to filter, you go to blur, you go to Gaussian blur. Then you can fit it
off a little bit. As you can see. Perfect. The next step is the same thing. You go to filter,
you go to blur, you go to Gaussian blur, and then you fit it
as much as you want. This is perfect for that one. The next one, the
same thing, blur, Gaussian blur, and then you fit it up however
you want it to be. I think this is perfect. After this, we're going
to change their colors. You click on "Layer 1",
you click on "Ctrl+u" to bring out your hue and saturation tab for
that particular layer. Then you can change
its saturation, you can change its
color like its hue. Just a little bit
here, That's perfect. Then we go to layer 1 copy. We do the same thing. We just maybe change this
to a little bit of blue. I think that's good. Let me desaturate it
just a little bit. Then we do the same thing with layer 1 copy too, ctrl+ u. For this, we're just
going to desaturate it because I think I
like it as orange. There you go. You've
added light flares. This give these
[inaudible] of foreground that your viewers can look at and to see your model in focus. [MUSIC] Here's a tip for today. Except you want to go wild, keep your manipulation
as simple as possible to avoid distractions or your image or
your final products being too cluttered
for anyone to focus on what you want
them to focus on. Get crazy and go wild with the various techniques
you've learned here. In the next class, I'm
going to be teaching you the eye-catcher color
grading. I'll see you there.
5. Color grading: Hello everyone. In this lesson, we're going to go through basic collaborating
steps that you can use to create a unique
view on your photos, and how to portray moods
through color grading. Three different types
of photos will be color graded in three different
types of unique ways, to show you how
color grading can change an entire
look of a photo. You can have one photo and
you can color grade it three different times
and the mood will change in those three
different times. That's how powerful
color grading is folks. The first thing you do when you are about to color grade, is to import your
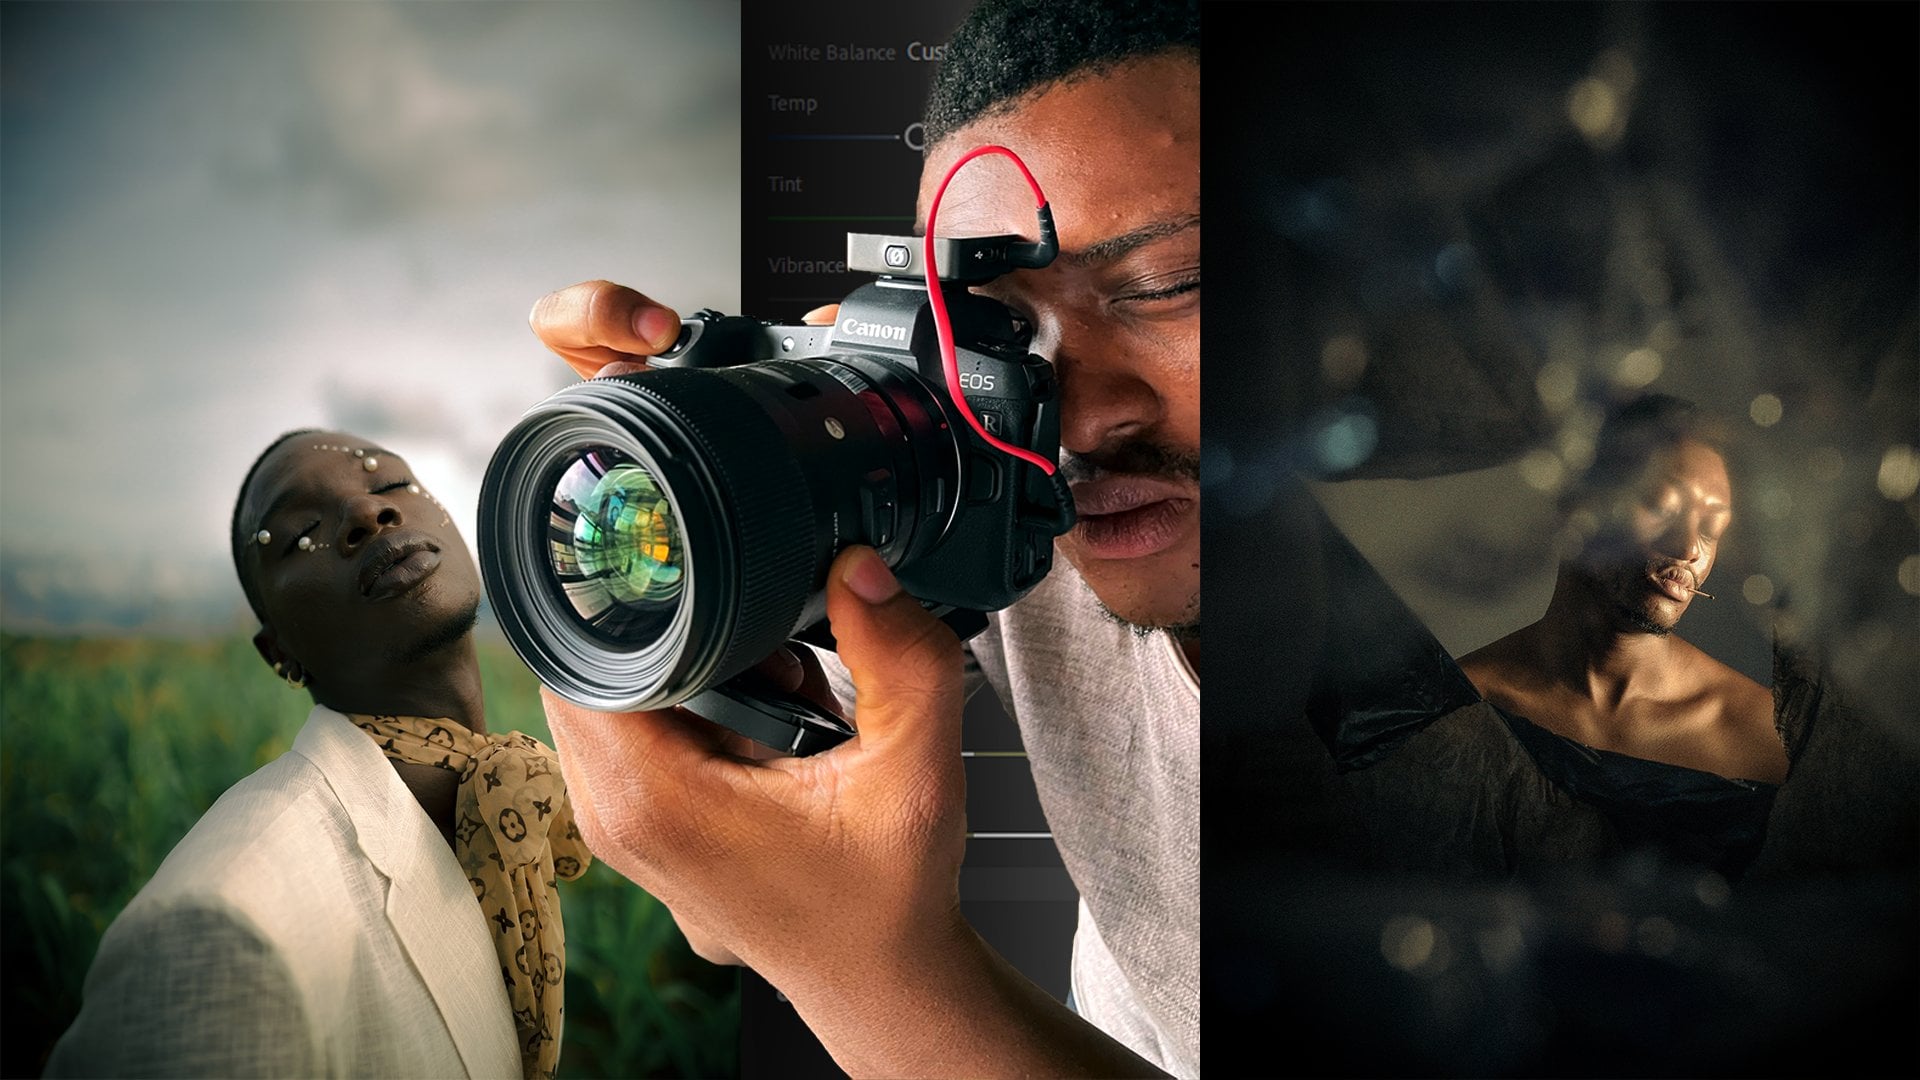
photos into light room. I'm using this photo
that we had the light plays in because
I really loved it. Then you click on this tab
and you start working. The first thing I
do is I go through everything when
I'm color grading, everything from the first to the last and
see if I need it. I normally play around, it actually helps you understand color grading more
when you play around. Let's see, exposure
on this image. I think I would like
my exposure like this, then the contrast in this image. Now it depends on the look. We're going to edit
a particular look on these images,
which is the tall. I'm just going to reduce
my contrast like this. My highlights, I'm
going to increase them. Shadows, reduce them. My wides, I think
my wides are okay. The blacks reduce
them a little bit. Then we have the point called. I'm just going to do this. If you wants to
crush your blacks, you can do this,
where if your photo has this particular look. If you want to crush your
whites, you can do this, so I think we're just going
to leave everything as it is. The next is the color. Most of the time I use a higher
or a warmer temperature. But for this, I think
we can stick to, warm temperature
doesn't look that bad. Then we can increase our
vibrance and then reduce our saturation a little bit. The next is the color mixer. In the color mixer, you can choose to
change your hues. See how that was or you can increase or
reduce the saturation, so I think I'm just
going to increase the saturation because
her skin is orange and then I'm just going
to reduce luminance. Perfect. The next is yellows. I normally take out
yellows from my images. But as you can see, one of the flares is yellow, so we have to be
careful about that. We're just going to increase
the luminance of yellow, so even if I reduce the
saturation a little bit, it's not like hers if see. The next is green. We have a lot of greens in
the background. We're just going to reduce the saturation or increase it, we'll reduce it and
decrease the luminance. You can just be testing
out a few things. I think I would leave the hue as this unlike what is given. Then blues, let me see. Is there anything you want
to do with the blues? We just reduce the
saturation a little bit increased luminance
then we're good. I think that's about it really. The next is our color grading. You can decide to use this. You can decide to not use this, but I use it
sometimes whenever I want to give it a
cinematic look, you can see what it
does to the photo. I'm just going to leave it at
green and then my shadows, I'm going to play
around and see what works best for my shadows. I'm thinking, this works in my highlights needs
to be something else. This is not bad
for my highlights. Just blend a little bit and then we try and balance it by this. The next effect is texture. Do we want to reduce the
texture or do we want to increase the texture
of the image? It depends on whatever feel
you're trying to go for. As you can see, my model, her face is a little bit rough, so I'm just going to reduce the texture a little bit
to give that dreamy vibe. I can go with the dreamy
vibe and then clarity. But at the same time,
I don't want to lose so much detail like the
head detail on everything. I'm just going to leave
that for my brush tool. Then we're just going to add
a little bit of vignette, we're going to feather it in. Then we're going to add
a little bit of green. We're going to
reduce the size and increase the roughness
of the green. Let's see, it seems that
there's more green. This is perfect. The
next step is sharpening. We're going to sharpen our image a little bit and you
can just enable this, it helps you correct
whatever your camera does. That's chromatic aberration
and lens corrections. The geometric helps you position your images in case
it wasn't positioned or if you want to give you
a wide-angle view or whatever, you have that. We're good for now. The next step is your crop. In crop, I normally
decided to maybe mirror horizontally just to
change the view and I like how it's changed everything
when I just did that. Rather than edit the
photo like this, I'm going to edit the photo like this and leave it
like this, I love it. The next is healing. You can choose to
clean up a photo just by tapping on whatever you want to
clean up from the photo. I don't do much with
healing because I like the skin detail
most of the time. The next is masking. In masking, we're going
to click on "Brush", and we're going to
carefully brush over the points we need to
remove some texture from, which is this point. Then we go to texture and then we just
reduced the texture, and maybe the clarity
of that point. Perfect. The next is, we're going to add
another brush layer and then we're just going
to brush over her eyes. Then we're going
to, first of all, go saturate and desaturate a little bit so that
the whites pops out. Then we're going to add
sharpness to make it very sharp. Our next step is also
to go again to brush, and then this time we're
just going to carefully brush over the highlighted
parts of her face. The part that you think
you would give depth and reality to her presence. I like to think of it that way. Then we're just
going to do this, it's a little bit of
this a lot on her neck. That is really perfect. Now we're just going to increase her highlights on those parts. As you can see, it gives it
that traumatic vibe, really. Next, we're going
to just go here, we're going to pick
linear gradients, and we're going to drag
it down a little bit. We're going to subtract and select subjects so that it
doesn't affect our subject. Then we're just
going to increase our exposure or
reduce our exposure, really however you
want it to be. But I think in this point I
will increase exposure and decrease contrast and maybe decrease blacks so that it
doesn't affect anything. Then we're good to go. The
second field would be, so just let's see
how we can do this. We're going to make it
a little bit punchier. We're just going to
increase our saturation, reduce our highlights
a little bit, increase our shadows
and reduce the whites, and then we're just
going to make this a little bit here, I think this is okay. Then we reduce our
saturation here or vibrance so that it
doesn't affect the model. Then for our orange, we're just going to take
it down a little bit. The next step is to, we're making everything
punchy which includes our blues and then
our yellows as well. Then our greens not so much, but let's keep the
greens in there also. The next thing we're
going to look at is just getting our midterms rights to give that punchy vibe. Be around yellow, then our
shadows will be around. Let's see what works
best, say blue. This is nice, it gives
a vintage vibe really. Just going to blend
that a little bit and balanced it up a little bit. This is how I have fun
with color grading really. When you check
different things and you know what a
particular tool does, you can always play
around and you have a different entire look
from something else. Oh my God, look at this, he
made the sun pop. It's giving her this
silhouette vibe and I love how it looks. All you need to do
in this photo is just to perfect it
with the brush. You just brush over parts of her face that should be
highlighted, I guess. That's so beautiful. Let's see what it does. Just increase our highlight a little bit and there, perfect. I love this image. The next thing is, if you want to make a
black and white photo, I think your black and white
photos need to be centered on your highlights, so we're just going to reduce
the vibrance a little bit. As you can see, we already
have this sepia tone, and that's because of
our color grading. If we remove color grading, it gives this other vibe, then we leave color
grading and it gives this vibe, lovely. I love what this does, really. All we did was just reduce our vibrance and then
we're messing with the other stuff here [NOISE]. Let's start about
color grading, really. Just experiment to look through, you know what every
tab is about, and you could scroll you've
made to become the star. That's color grading when you know what you want
and you get it. [MUSIC] Here is the tip, make your color grading
subtle and easy to look at. That it shouldn't be too shouty, too loud or too
dull for the eyes, depending on what
style works for you and how well you can
keep to that style and perfect what you want to show through that style
of color grading. Now you're ready to go into marketing and social
media branding. This is where most of the work comes in when it
comes to building your repetition as a
photographer, I'll see you there.
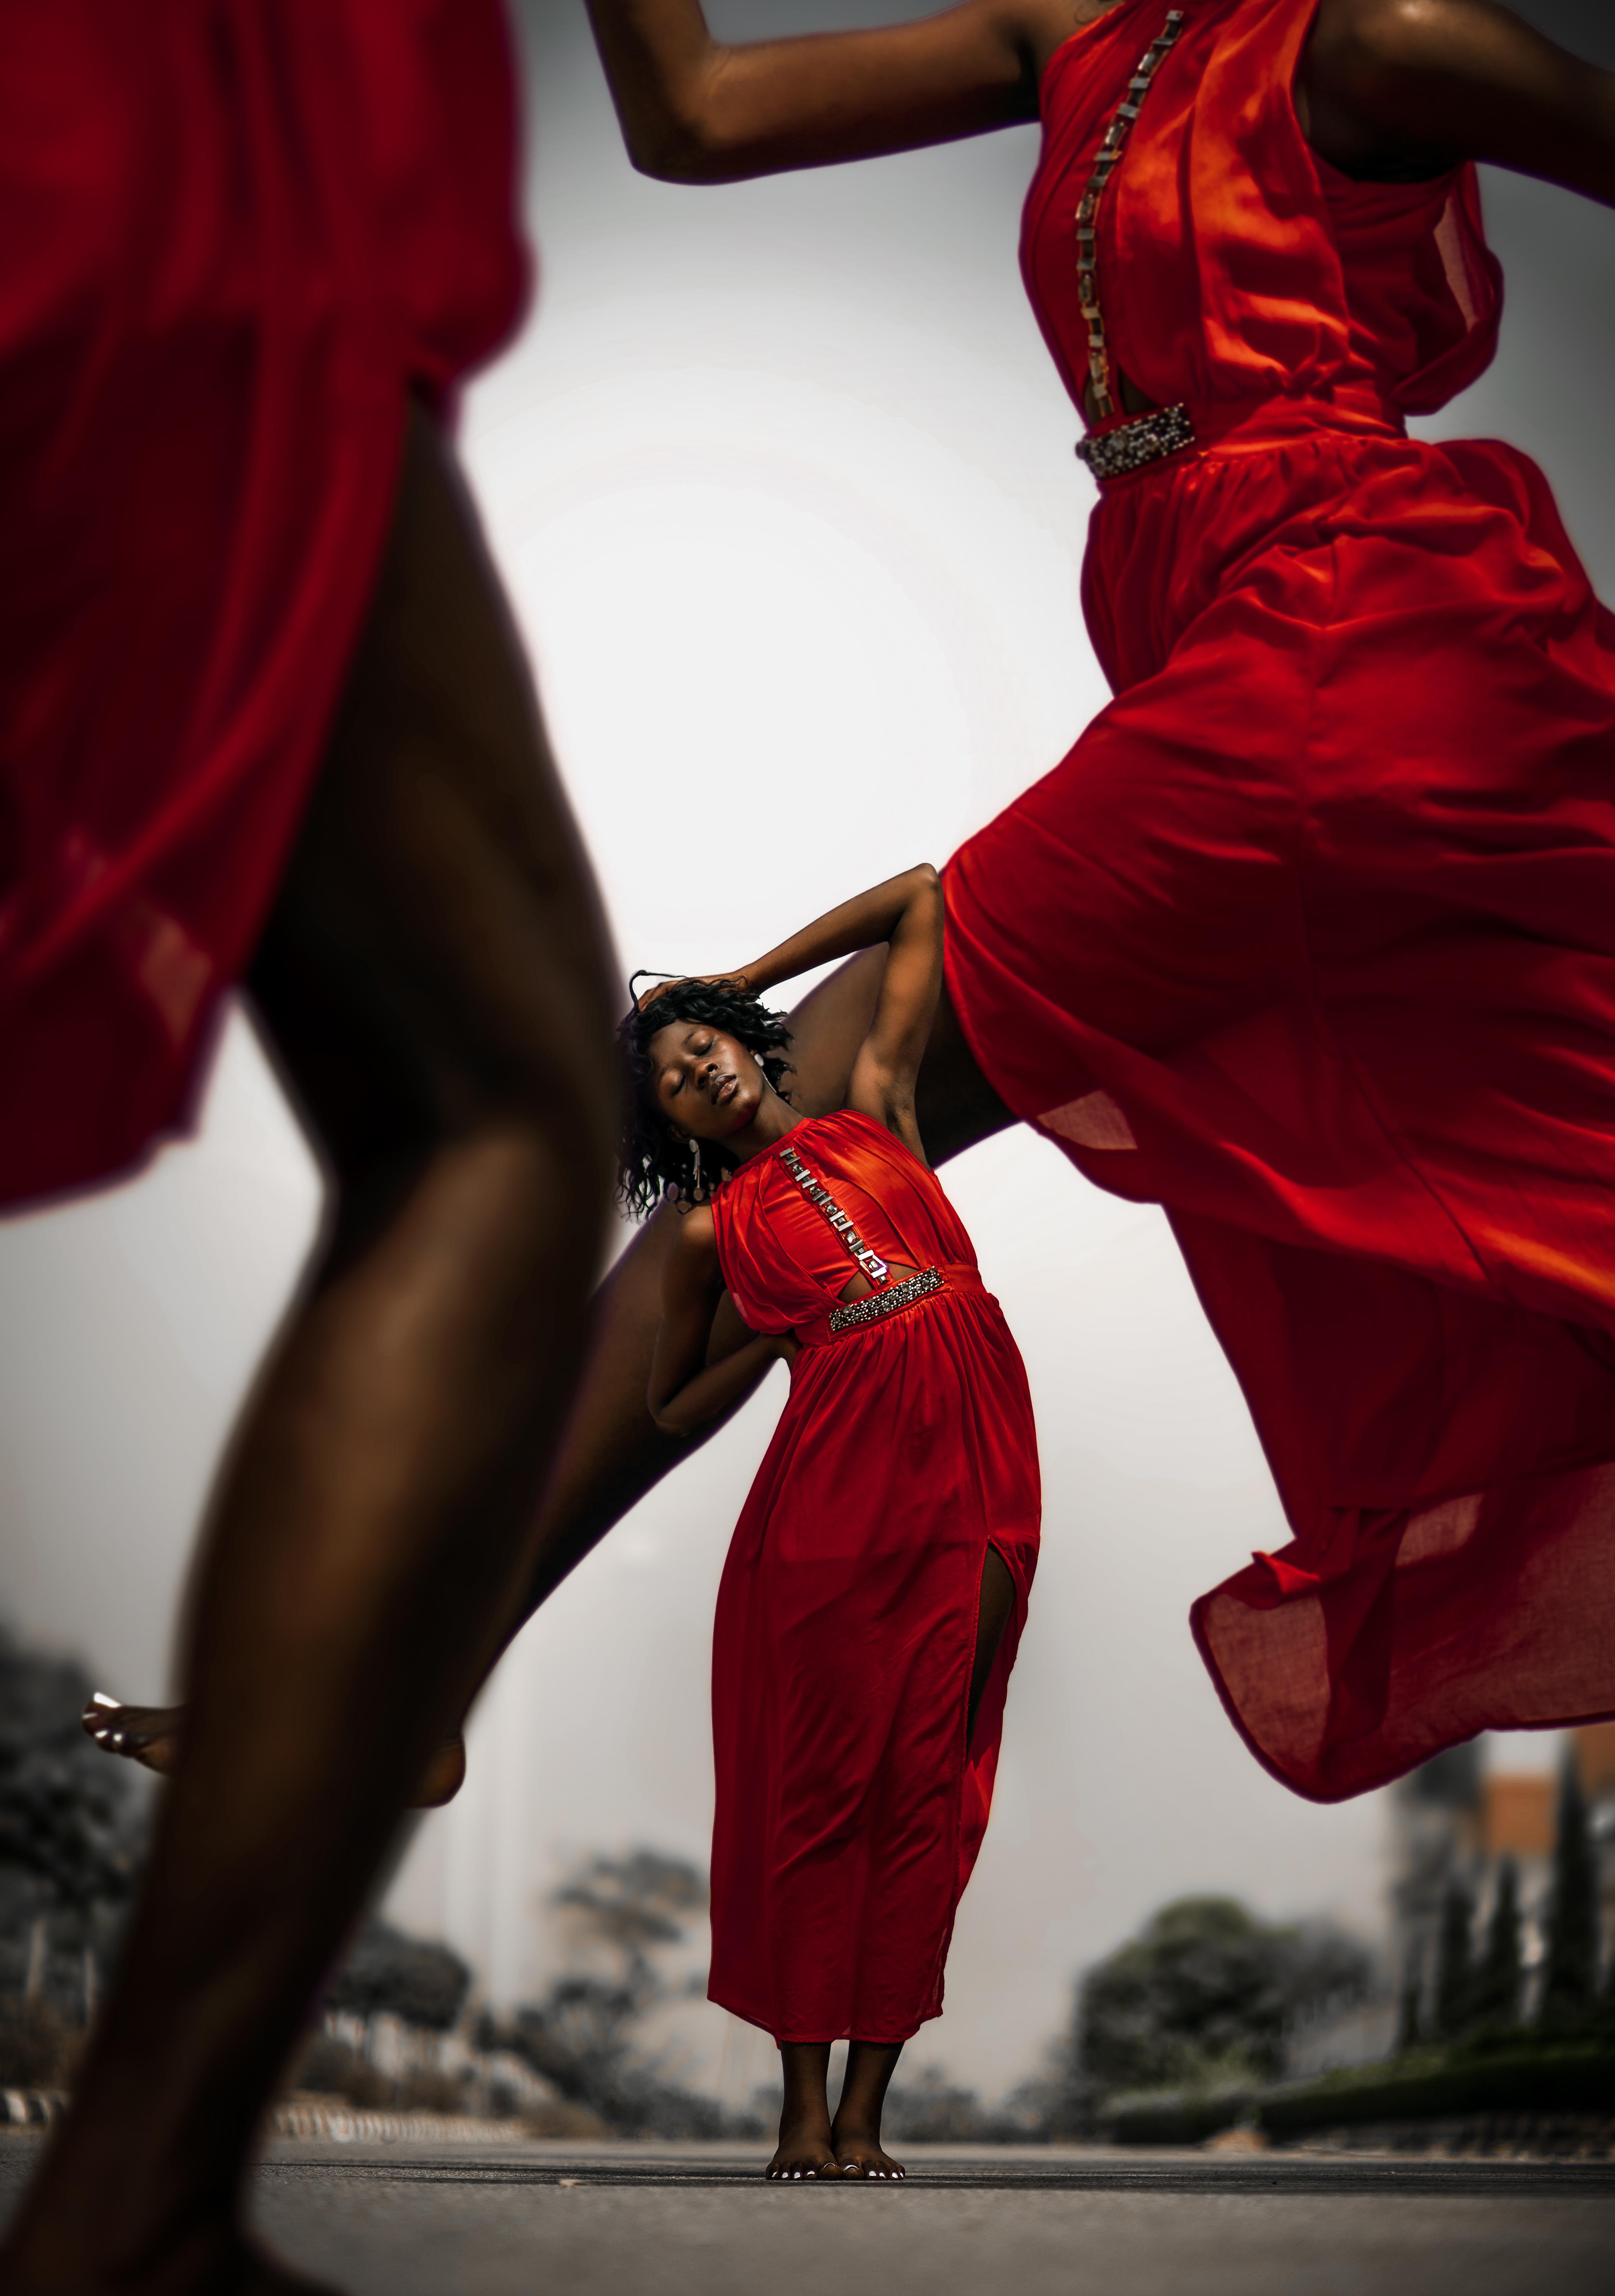
6. Marketing & Social Media: Hello everyone. In this
class, we'll be talking about social media
and how to grow your reputation and your
social media brand. Your three social medias are
used and that is Instagram, Twitter, and TikTok. You can use these
particular applications to grow your brand, and to grow yourself as a professional photographer to your community and
to other people. First one we're going to
look at is Instagram. Instagram is a photo-based app that is turning into
a video-based app. Well, Instagram has a very
simple strategy which I use, I call it the hook strategy, where I try to make my page
as attractive as possible so that once anyone steps into
my page, they are hooked. What I do now is I interact positively
with the community. I talk to people, I talk to fellow photographers and people who aren't
photographers. I just try to interact
positively with them and from doing that, they immediately go to my page and once
they go to my page, the color grading that
I use is like the hook because there's a
similar pattern and inconsistency in the
color grading pattern, they are immediately
hooked onto my page. Instagram gives you the
opportunity to use hashtags, to use stories and reels
to sell yourself video. Using the reel feature, you can easily post
like BTS videos, and maybe your edit
processes and all of that just through the
video application of reel. Then you can post
your photos like normal with your
color grading style, which we learned in the
previous classes and you're good to go
for Instagram just using the hashtags
and consistency, and positive community build and really or gaining
community building. Doing that consistently
grows your Instagram. Next, we're going
to move to TikTok. TikTok is a video application just like reels on Instagram, just that this whole
application is video-based. On TikTok, you can
sell yourself by just showing your before
and after photos, your BTS images, your processes, you can try and join trends
in a creative manner, showcasing your
photography using hashtags for your
page, for you page. Using photography hashtags using things that relates to the community you're trying
to build as a photographer. Remember to link them to your
website or your Instagram, which will have the hook
technique waiting for them. The next platform we're
going to move to is Twitter. Twitter is more of a community-based
application already, where you have to actively
build your community, you have to tweet, you have to respond, you have to join spaces, you have to interact with
the community one-on-one, or even on a larger scale, just to build that name. Just to get yourself out there. When people get to know who you are through these interactions, you're good to go
really on Twitter, you just remember put the link
to your other portfolios, your website, your Instagram
and you're good to go. The main thing in all these
applications is consistency. Once you're consistently posting good content on these platforms, you're consistently
posting videos, you're consistent with
your color grading or the quality of the
photos you put out. Once you're consistent
with these things, basically you have the world in your palms because your
community will grow fast. They see consistency, they see usual content, they see improvement also
in whatever you're doing. Once you're doing
these things and you're improving at your craft, you're going to flourish
in the social media game. Consistency not only helps you grow your brand
or your community, it also helps you as a
person because you're consistently doing something
over and over again. You're going to look for
ways to improve yourself. You are going to look for
ways to do it faster or better and you see
yourself growing now as a person and
a photographer also. Now in community-building, when it comes to your
immediate surrounding, that is off social media. You can take your camera out for family events,
friends hanging out. Just a couple of other things, you can just mention you're
a photographer to friends. If your friends are hanging out and you're hanging
out with them, you can just take
pictures randomly, send them over maybe a
family, wedding or something. You can just show them you are a photographer
and before you know it, you see them referring you to their friend and colleagues. They're like, I have a cousin
that is a photographer. My friend can
handle this easily. Then you have your
community building already just off social media. Doing this, you get
clients that now book you through the referral
they got to you. When you get these clients,
you definitely deliver well, you do a good job for them. You check on them from time
to time or you relate to them through
whatever avenue they gave you to take their photos. That's basically it
for social media and brand and reputation building. I can't wait to hear
your names pop-up when you're talking about
influencers in photography. Because I believe you
would do well with all these techniques that I just mentioned for
these platforms. There are other numerous
platforms that you can also explore and get to know that about social
media building, and I can't wait
to see what's that get's you. Have a good day.
7. Recap: Hello. Today we are going
to briefly go through the class and
recollect our lessons. We learned about
photo correction. In photo correction, there are three major tools
we pointed out, the crop tool, the patch tool, and the background blur. These tools will make your
images look more presentable. You can clear out dirt, you can clear out distractions
from your images, and you can add a
background blur to your images to give that effect
that a prime lens would. We also learned on
photo manipulation. The three tools or three techniques in photo
manipulation, we pointed out, cloning, light flares,
and motion blur. We covered color grading on Adobe Lightroom and we
went through every tool. We pointed out the
importance of this tool, what it plays on a photo, and how it affects a photo, how you can use it
to edit your images. We then covered marketing
and social media, where we talked about
Instagram, TikTok, and Twitter. We covered the techniques you can use on all these
social platforms, to grow your account
in an organic manner. We also highlighted that the
most important factor in your social media
growth is consistency. Be sure to post your
projects and let me know what parts of the
class you enjoyed the most. I'll be sure to
give you feedback on those projects
and I can't wait to see what you're able to create with these techniques. Cheers.
8. Conclusion: Congratulations. Let's celebrate
you reaching this far [MUSIC] in your
journey to become an amazing creative
human being person. I can't wait to see
you all conquer. It's informed this class
and I hope to take many other helpful
classes soon enough. I hope this class
motivates you to get shooting and gets more intentional about
building your career as a professional photographer. No one else does a
better job than you as taking control of your life
and becoming a success. Be sure to upload your projects so that I can check them out. I love you. I'll see you around.
 Ebuka Mordi, Nigerian portrait & fashion photographer