Procreate Tips for Animation Pre-production: Storyboard & Animatic | Giulia Martinelli | Skillshare

Playback Speed


1.0x


  • 0.5x
  • 0.75x
  • 1x (Normal)
  • 1.25x
  • 1.5x
  • 1.75x
  • 2x

Procreate Tips for Animation Pre-production: Storyboard & Animatic

teacher avatar Giulia Martinelli, Animation Director / Illustrator

Watch this class and thousands more

Get unlimited access to every class
Taught by industry leaders & working professionals
Topics include illustration, design, photography, and more

Watch this class and thousands more

Get unlimited access to every class
Taught by industry leaders & working professionals
Topics include illustration, design, photography, and more

Lessons in This Class

    • 1.

      Introduction

      0:48

    • 2.

      Procreate Tips for Animation Pre-production: Storyboard & Animatic

      5:59

  • --
  • Beginner level
  • Intermediate level
  • Advanced level
  • All levels

Community Generated

The level is determined by a majority opinion of students who have reviewed this class. The teacher's recommendation is shown until at least 5 student responses are collected.

202

Students

2

Projects

About This Class

Use the power of Procreate to streamline your animation pre-production with this bite-sized class on thumbnailing, storyboarding and animatic.

Whether you're working on a new animated film or just exploring the world of animation, this quick tutorial will guide you through the essentials of storyboarding in Procreate.
Learn how to create cohesive thumbnails, cleverly scale your drawings, and organize your storyboard for effective presentation.
Plus, discover how to add movement for the Animatic stage using Procreate Dreams.
Perfect for animators on the go, this class is designed to help you storyboard anytime, anywhere, with ease and efficiency.

The format:
SkillPills are quick, bite-sized lessons designed to deliver focused, actionable insights in just a few minutes. Perfect for boosting your skills on the go, they’re concentrated, effective, and easy-to-consume bits of knowledge—small like a pill.

In the Resources of this class, you will find a recap .pdf with extra material and more inputs.

Meet Your Teacher

Teacher Profile Image

Giulia Martinelli

Animation Director / Illustrator

Teacher


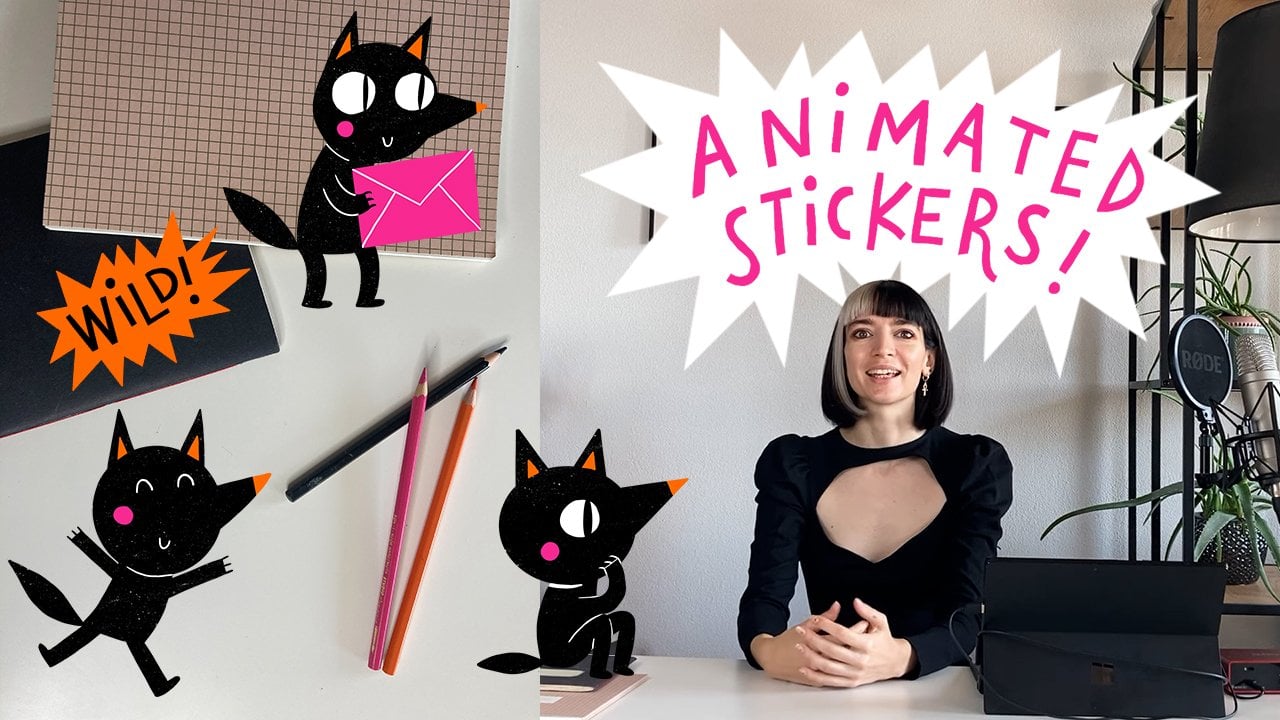
Hello, I'm Giulia, a full-time freelance animator, and illustrator.
After graduating from in Animation (Turin, Italy) with my animated film MERLOT, I started my journey as a freelance artist and I hopped around Europe for a while, before settling down in Zurich, Switzerland.

In my daily practice, I juggle client commissions, teaching, and personal projects.

If you want to stay in touch and receive a monthly newsletter from me, Creative Crave is the place where I share some behind-the-scenes and updates from my desk. You will also find me on Instagram and on YouTube.
See you in class :)

Giulia

Here are some of my favorite students' reviews:

See full profile

Level: Beginner

Class Ratings

Expectations Met?
    Exceeded!
  • 0%
  • Yes
  • 0%
  • Somewhat
  • 0%
  • Not really
  • 0%

Why Join Skillshare?

Take award-winning Skillshare Original Classes

Each class has short lessons, hands-on projects

Your membership supports Skillshare teachers

Learn From Anywhere

Take classes on the go with the Skillshare app. Stream or download to watch on the plane, the subway, or wherever you learn best.

Transcripts

1. Introduction: Hello, everyone. This is Julia. I'm a freelance animator and animation director. Today, I want to share with you some tips and tricks for the pre production phase of an animated film using Procreate. This is a new short format. I'm going to call it skill pills. They are quick and sweet classes, sharing some tricks I use in my day to day practice. Today's class is about using procreate in the preproduction phase of an independent animated film. I'm sharing some tips and tricks that I use in my professional practice, and in particular, we will talk today about to nailing, storyboarding, pitching and animatic. Let's jump into it. 2. Procreate Tips for Animation Pre-production: Storyboard & Animatic: First, a little bit of terminology for those who are new in the field of animation. Pre production is the initial planning and development phase where the foundation for the entire project is laid. This stage includes creating the story, developing characters, and planning out the storyboard and animatic. Tum nails in animation are small and rough sketches that represent the key moments or shots in a scene. They're called thumbnails because they're really small like a tub. These quick drawings are used during the early stages of preproduction to explore different ideas, compositions, and camera angles. Tum nails, help animators and directors to visualize the flow of a sequence before committing to a more detailed story port. A storyboard is a series of drawn panels, a little bit like a comic that visually outline the narrative, sequences, and key actions of an animated film. Finally, the animatic is an animated version of the storyboard or a storyboard on a timeline, where the drawn panels are sequenced with timing, basic motion, and often temporary sound effects. Awesome. Now that we have the terminology for the animation preproduction, I'm going to show you how I use procreate in my process. Tam nailing is great in procreate because the app keeps the freshness of sketching on paper. I love that. I sketch on a single Canvas and it doesn't matter the size at this point because they're rough sketches, and I make a bunch of small rough drawings of the scene I want to develop. Trying different options and shots for the same action. For instance, here we have a chasing scene, and our main character is running away. It is important for me in this stage to keep all the thumbnails together on one canvas for a cohesive overview of the scene. Next step for me is to choose my favorite thumbnails, the ones that better convey the action and clean them into a more defined storyboard. I'm going to choose those one and refine them. In order to refine them into storyboards, I'm going to create this time a new project for the storyboard, and this time is going to be 1920 by 80, which is the standard animation format. I create one procreate project for every panel of the storyboard. Now, a cool trick for scaling. When you scale some elements, you might have noticed in procreate that when you extend them beyond the Canvas boundaries, the element will be cut. Here's a workaround to keep the proportions right and make the repetitive process faster. Simply drag your sketch to the top left corner. Click out so it's not selected anymore, and then select again and drag to the bottom right corner. This ensures to keep the proportions right and fit your thumb nail perfectly. From this point, I simply go on and clean the storyboards with more defined lines and using the right character design. Next step is about a very cool feature of procreate, which is stacks. To create a stack, simply drag one procreate project on top of another one, and they will be merged into one stack, which is basically a folder, a group. This is great for storyboard. You can create a storyboard stack, putting all the panels together. I do this all the time, and I find it super useful for the storyboard phase. In fact, you can move the panels around, which is crucial in this phase to see what's the best timing, what's the best order of the scenes? Second, you can present the stock, for example, for a pitching, when you have to show your process to a collaborator or a producer. To do so simply when in a stack, go to the first panel, enlarge it with your finger and start to swipe through. A cool bonus for the stack is that if you have a small animation or a small if, this will also play in the presentation mode. Last but not least, as we said before after storyboard comes the animatic. You might want to test some movement or some timing. To add some movement to your panels, we can take advantage of procreate and procreate dreams easily talking to each other and be very compatible. In fact, you can simply drag and drop a storyboard panel into procreate dreams, and the layers will be ready separated, and you can then test your animation and movements and see if the timing is right. Now to put those tips into action, start creating your own short storyboard from Tamils to basic animatic movement and share it in the project section. I can't wait to see what you create. This is the end of this first skill pill. I hope it was useful and you like the short format. Talk to soon. Bye bye.