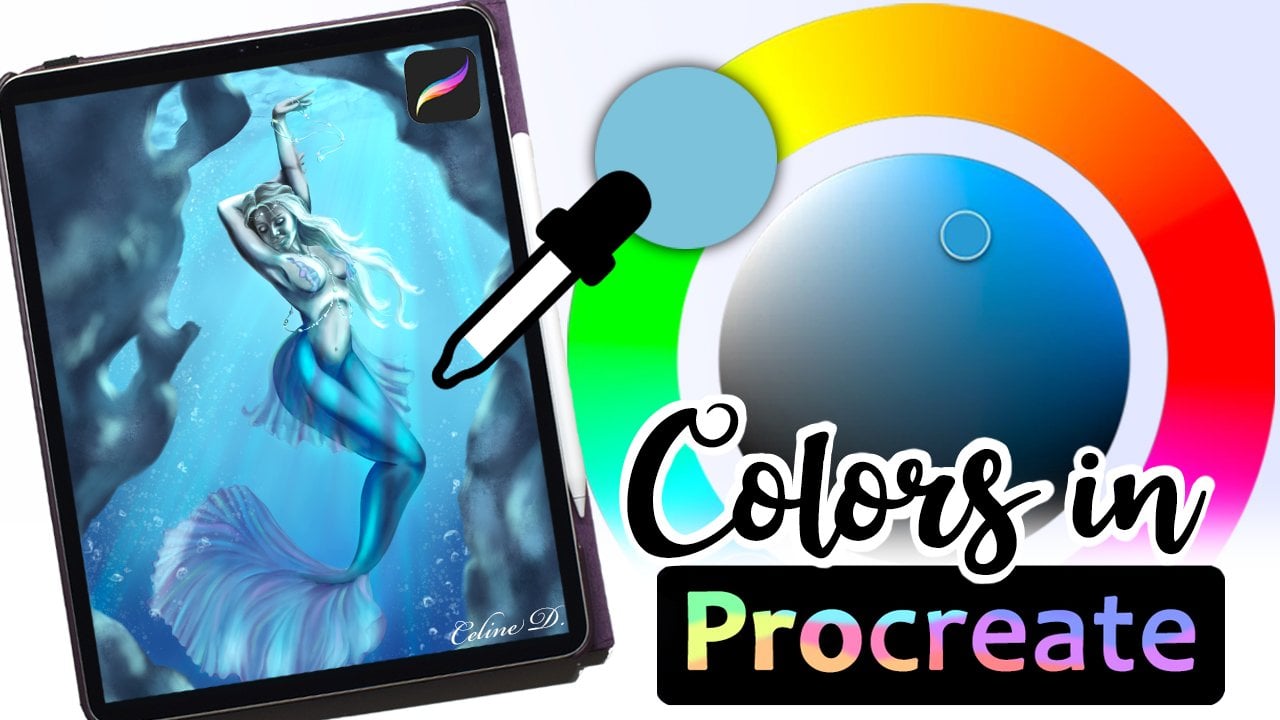
Transcripts
1. Introduction: Hi, my name is Lee, and I'm a digital fantasy
artists from Denmark. In this class, I'm
going to teach you my approach to drawing
and painting eyes. Something very useful
for getting starting with portraits or juice
in single studies. My style is somewhere
in-between realism and fantasy. So I'll be going
somewhat realistic. But you can stop
at whatever point suits your style and
make it your own. I have all the classes,
the complement, this one, like color mixing, how to paint gray scale portraits and
painting skin with blend modes. Are these. We'll go
into more detail about the individual topics. So stop by my profile
to have a look. So good at your iPad. Fire up, Procreate,
and let's get started.
2. Reference and Brush: When learning to draw, I find
using reference crucial. So for this class, we'll
be using this one. Sadly, finding
high-definition images only focused in on
eyes is difficult. So I had to zoom in on an image, thereby lowering
the quality a bit. But having a
reference focused on a specific feature can make it easier to focus. So
that's what we're doing. If you want some purchase on anatomy and theory
of how the I shaded, I'll refer you to my
Grayscale portrait class were made on anatomy
part of stored. For the entirety
of this project, I'll be using a single brush, my own blending brush, which will be in the
resources for you. You can also just use a regular round brush or textured one for
more painterly look. But I suggest using one with pressure
sensitivity enabled. I like this specific brush
since it blends nicely, but can also be
somewhat defined. But in the end, it's up to
you and your personal style. So choose whatever
feels right for you.
3. Sketching: Here we have a blank canvas and the reference opened on
the side in this href. Starting from the
middle. We know that the iris and pupils are circles. If you draw the best circle you can without lifting your pen, Procreate will automatically
correct the shape for you, which is very helpful. If you keep your
pen on the screen. You can also adjust the
size of the circle. If you've already
lifted your pen, just go to the arrow tab so you can move and adjust
the size further. You can repeat this process for the pupil to, or you
can freehand it. With the iris down.
You can see how much of it is covered by the
eyelids in the reference, the bottom lid barely
touches the iris, but the upper lid covers
the top part of the iris. So draw a curved line
through the top. Erase the top section
that we no longer need. Now pay attention
to the distance from the iris to
the inner corner. It's about half of the width and in line
with the bottom lid. So make it small dot here. Then connect the top and bottom of the iris with this point, adding a small triangle
in the inner corner. Repeat for the outer eye, noting how the eyelids
curves in the reference. We're trying to draw eyes like omens for all i's are different. Now that we have
the basic shape of the eye whites or lids down, you can use the
selection tool to adjust any areas that need it. I selected the iris and
shrunk it a little. This is one of the advantages
of sketching digitally. Next, I think the bottom line and edit another for
the lower lash line. This pink part is most
prominent at the outer corner, then gradually goes into the
line of the inner corner. A parallel line to the
tuplet defines decrease, as well as a line under
the eye to show fold. These features differ
from person to person, again, making
reference invaluable. The eyebrow starts from
the inner corner and extends add an anchor
from the outer corner. The arch and angle affects
the expression a lot. So play around with it
until it looks right. Since the person is
wearing eyeliner, I draw that on the sketch. So it's easier to see if the
resembles the reference. You don't have to follow the
reference to a T though, since it's just a
guide. After all. I choose to make a new layer
to sketching the eyelashes because the sketch
can get a little crowded and hard to
work with otherwise. This way, I can also flip the lashes of which
I find helpful. Make any other adjustments
you feel needed, and then the sketch is ready. Let's recap sketching eyes. Circles for the iris and pupil. Remove the part of the
iris covered by the lids. Note the distance
from the iris to inner and outer corner and
connect with curved lines. Draw parallel lines for
the lower lash line and start the eyebrow above the inner corner and finish
at an angle from the outer. Draw the lashes in
a separate layer.
4. Flat Colors and Tinting Sketch: Now we're going to lay down flat colors so we can
see it all in context. Making a new layer for the
skin under the sketch. I choose a fleshy color
and fill in a square. If it doesn't match the
reference when enough, simply choose a new
color and drop it in. The base tone depends on the
undertone of the person. When you're happy
with the color, erase what covers the
eye whites and pupils. In a new layer under the skin one lay down a light
tone for the highlights, but don't make them pure white. You don't have to be
careful in any way here, since the skin on top cars, anything outside
of the eye shape, on top of the white, but
still under the skin, make a new layer and lay
down a base for the iris. Make yet another layer for
the pupil going all black. Keeping these things in different layers makes it easier to make
adjustments later and also taking away any fear
of messing up the brow. Make a layer on top of the skin and fill it in
with the brown tone. In the reference.
The prow has been filled in and looks
fairly dense, and that's what we're going for. Now we have all the
bass tones down, which makes it easier to gauge
the value's going forward. Now for the sketch, whether
you keep the sketch as it is or deleted altogether is a matter of
personal preference. Keep some parts of it and tended to fit better
with the base colors. Do this by selecting
the sketch layer and setting it to Alpha Lock. Now we can't paint outside of pixels already
there and can color the sketch around
the iris or use a darker tone of the base and for the general lines
and make them brown. I'll either lashes in
the separate layer for now. Let's recap. Lay down base colors in
layers under the sketch. Keep the pupil and iris on separate layers for
easy adjustments. Set the sketch layer to alpha lock and tint the
parts you want to keep.
5. Rough Shading, Values and Lashes: Our next step is to get down some rough shading so we can adjust the values to each other. The skin is the biggest
part of the reference. So that's where we start making new layer on top of the skin and set it to Clipping Masks. Now we can paint away
without worrying about painting
outside of the area. I also set this clipping
mask to the Blend Mode, multiply with a
dark reddish brown. I'll lay down the
most basic shadows, like on the side of the nose and increase leading up
to the side of the face. Just put down the
color roughly in the right areas and use the
smudge tool to blend it out. We can always return
to this layer later. So don't worry too much. Now that we have something
to prepare our values too. Let's move on to the iris. Make a new clipping mask
on top of the iris and use a dark tone of the base to
darken the outside edges. One painting, irises
use small strokes, all pointing to the
center of the eye. Then choose a lighter green in a different hue and makes all
strokes around the pupil. Adding the right color
and pattern than she. Still in the same layer. I added a bit of an orange shade to one side of the pupil. Since the reference added, our pupils are different. So study a reference
to see where to go. To get a sense of
our lightest value. Make a new layer, and use an almost white tone to paint in the
highlight of the eye. In this case, it's
a squarish shape. And to add the reflection
of the lashes above, I use the eraser
to cover the shape is one of those things that can add a bit more
realism to your work. Onto the eye whites.
Clipping mask, choose a warm gray
and what this from the inner and outer
corners and plan to what the iris to the
round shape of the eye. The middle will catch
the most light, so we need to shade the
coordinates to convey that. The lashes may count
as a detail for some, I choose to paint them now, since that can help tremendously
encasing the values, since they tend to be so dark. This also helps us visualize
how much shading is meeting around the eye when the value of the lashes
is already down. Working in Procreate or any
other digital software. We can add them as
early as we want without missing
anything up underneath. Looking at the reference,
you can see how long and spread out the lashes
are and work from there. Just make sure to
work in curved lines. Let's recap. Lay down the rough shading for the skin in the Multiply blend mode, use drugs pointed at the
middle when painting the iris. At the highlight in
a separate layer, j, the i whites from the inner and outer corner grow the eyelashes
and curved lines.
6. Adding life to the skin: Going back to the
skin shading layer, use the same brown to make
some more defined shading. This time around, we're
paying more attention to the subtle differences
in the values. And we'll be relying
even further. And the reference, since we're in the
Multiply blend mode, the color looks
different when applied. So in order to find
the exact shape again, I use a blank layer on top of our project set to
normal bargains. Watch if you want to learn more about using the blend
modes for painting skin, referred back to my
prior class on that. The areas that tend
to be the time, It's the inner corner
next to the nose, on the outer edges of the crease and under the
outer corner of the eye. To add more life and
difference in the Hughes, make a new clipping mask
overlay and use a red tone. This will now affect the
shading we did previously, so we can build on the
work we've already done. This is the advantages
of blend boats. According to the reference, use the red to add warmth and blush to the
shading Whitney said. And if something doesn't
blend, how you want it, simply return to
the shading layer and use the same brown again. I also make a new mask
just above the skin base, just below the shading and add the color of the tear
duct and load line. Now the shading with you on
top will affect these colors. To add even deeper shadows, make a new mask on
top of the red layer and set it to multiply
to use a blue term. This will now multiply
with the shading under it, allowing us to
deepen the shadows, as well as add a blue tint to sample, just like on the eye. This also helps make it
all look more lively. The final step in
this section is to make a clipping mask
for the highlights. It's set to normal so
I can easily paint over and overrule any
shading beneath. Sure. I want to choose a light
tone based on the skin, but shifted towards
the yellow hue and add light to the
skin wherever needed. I went a little heavy on the
initial shading and places, but I can get this
by laying down the slider color would like
pleasure to blend it out. Let's recap. Defined the shading in the
initial multiply layer. In a new overlay mask, use red to add life to the skin. To deepen shadows, use a blue
tone in a multiply layer. Use a light tone to make
highlights in a normal layer.
7. Details and Adjustments: Depending on your
personal style, you can stop here or you
can add further details. Personally, I would
do another pass. So here we go. Going back to the eye whites, I add a new mask and tighten the shading at
the corner somewhere. In comparison to
everything else, the white looks a bit flat, meaning they needed some
correction and value. I also added some shading, just buy the bottom
of the iris and added some subtle highlights
by the tear duct. According to the reference, the eyeball is moist
and Shania for all. So pay attention for subtle signs of that
in the reference. Next, the iris itself
could be detailed more. Using a smaller brush size, I added light tones
in different hues. Still instructor's pointing
towards the middle. This is not a big change, but it does add a bit
more life to the eye. Since the brow is quite
dense in the reference, not much needs to be done to it. If you add both a
lighter and darker shade in strokes to look like hairs, you can get an effective result. Like the lashes a little denser. I copy and pasted the layer. This isn't easy way compared to working over the
individual lashes again. Finally, you can jump around in the different layers and make any adjustments you want this to work or keeping
separate layers, since everything can
be altered if needed. Just to go back to the
highlight layer and make some more prominent highlights
before calling it done. Let's recap. The shedding
of the eye whites. Detail the iris in thin strokes. Lighter and darker
strokes to the eyebrows. Duplicate loose layer
for tens a look. Make any final adjustments.
8. Final Thoughts and Class Project: Now we've gone through
how I go about painting eyes in Procreate.
So now it's your turn. The class project
for today is to draw an eye using the
steps I've shown you. If you'd like my
sketch to help you. It's available in
the resource section along with the reference
and appending brush. Don't forget to check out
the other classes on my page if you want more
classes and procreate and digital painting. Thank you so much for
taking this class. I hope it was helpful to you. If you want to see more
of my personal ad, you can follow me on Instagram. That's lead the digital art. So have fun creating
and private out.
 Celine D., Digital Fantasy Artist