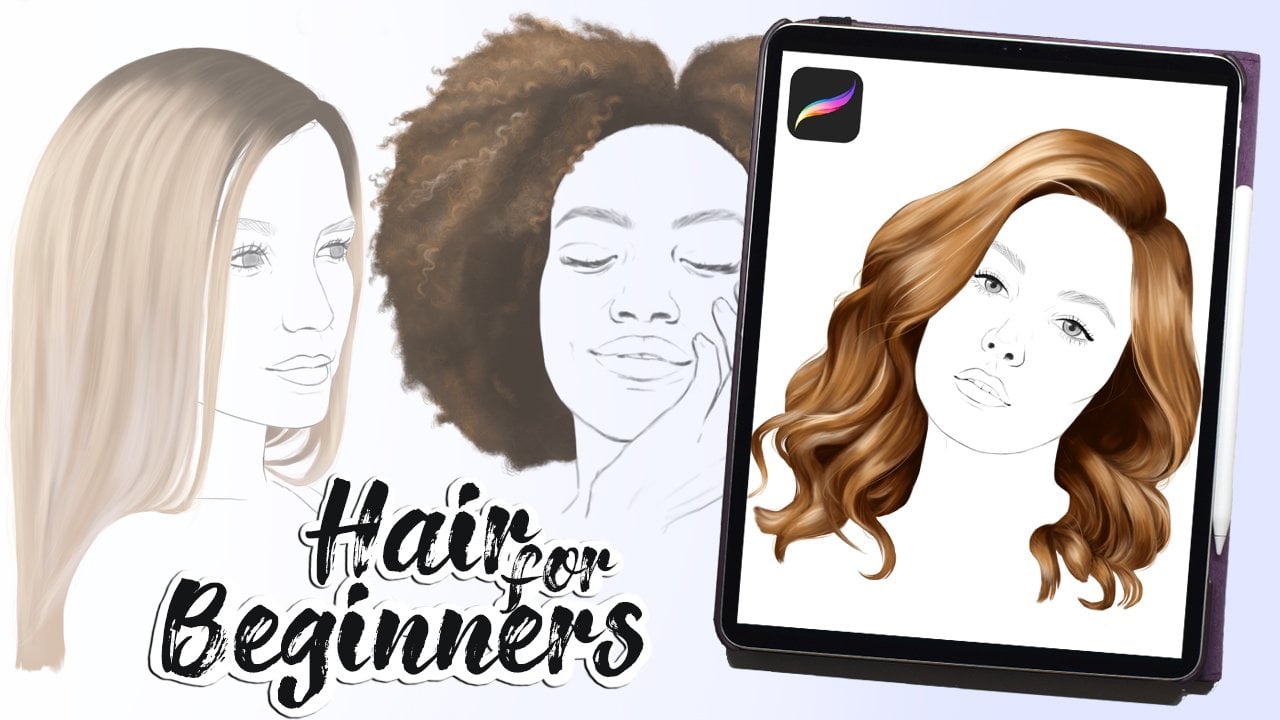
Transcripts
1. Introduction: You love mermaids and want to learn to draw them
in different styles, then you come to the right
place. I name is Selene. I'm a digital
fantasy artists from Denmark feature a lot
of moments in my art. And today I'll be
teaching you how to draw four different styles
of Miami tails, all inspired by real fish. Each section contains
the tail from start to finish with tips from
different aspects, like painting scales
from flowing fins, color and patterns, and
getting a transplant look. I'll also be going over
the references are used for different purposes
and how I translate them into mermaids are
the references plus my post sketches
are available in the resource section along
with my blending brush. I have other classes
on digital art, like painting portraits,
mixing colors, and how to use references
to great heights. So have a look if that tickles your fancy. Without further ado. Get at your iPad, fired up, Procreate. Let's get started.
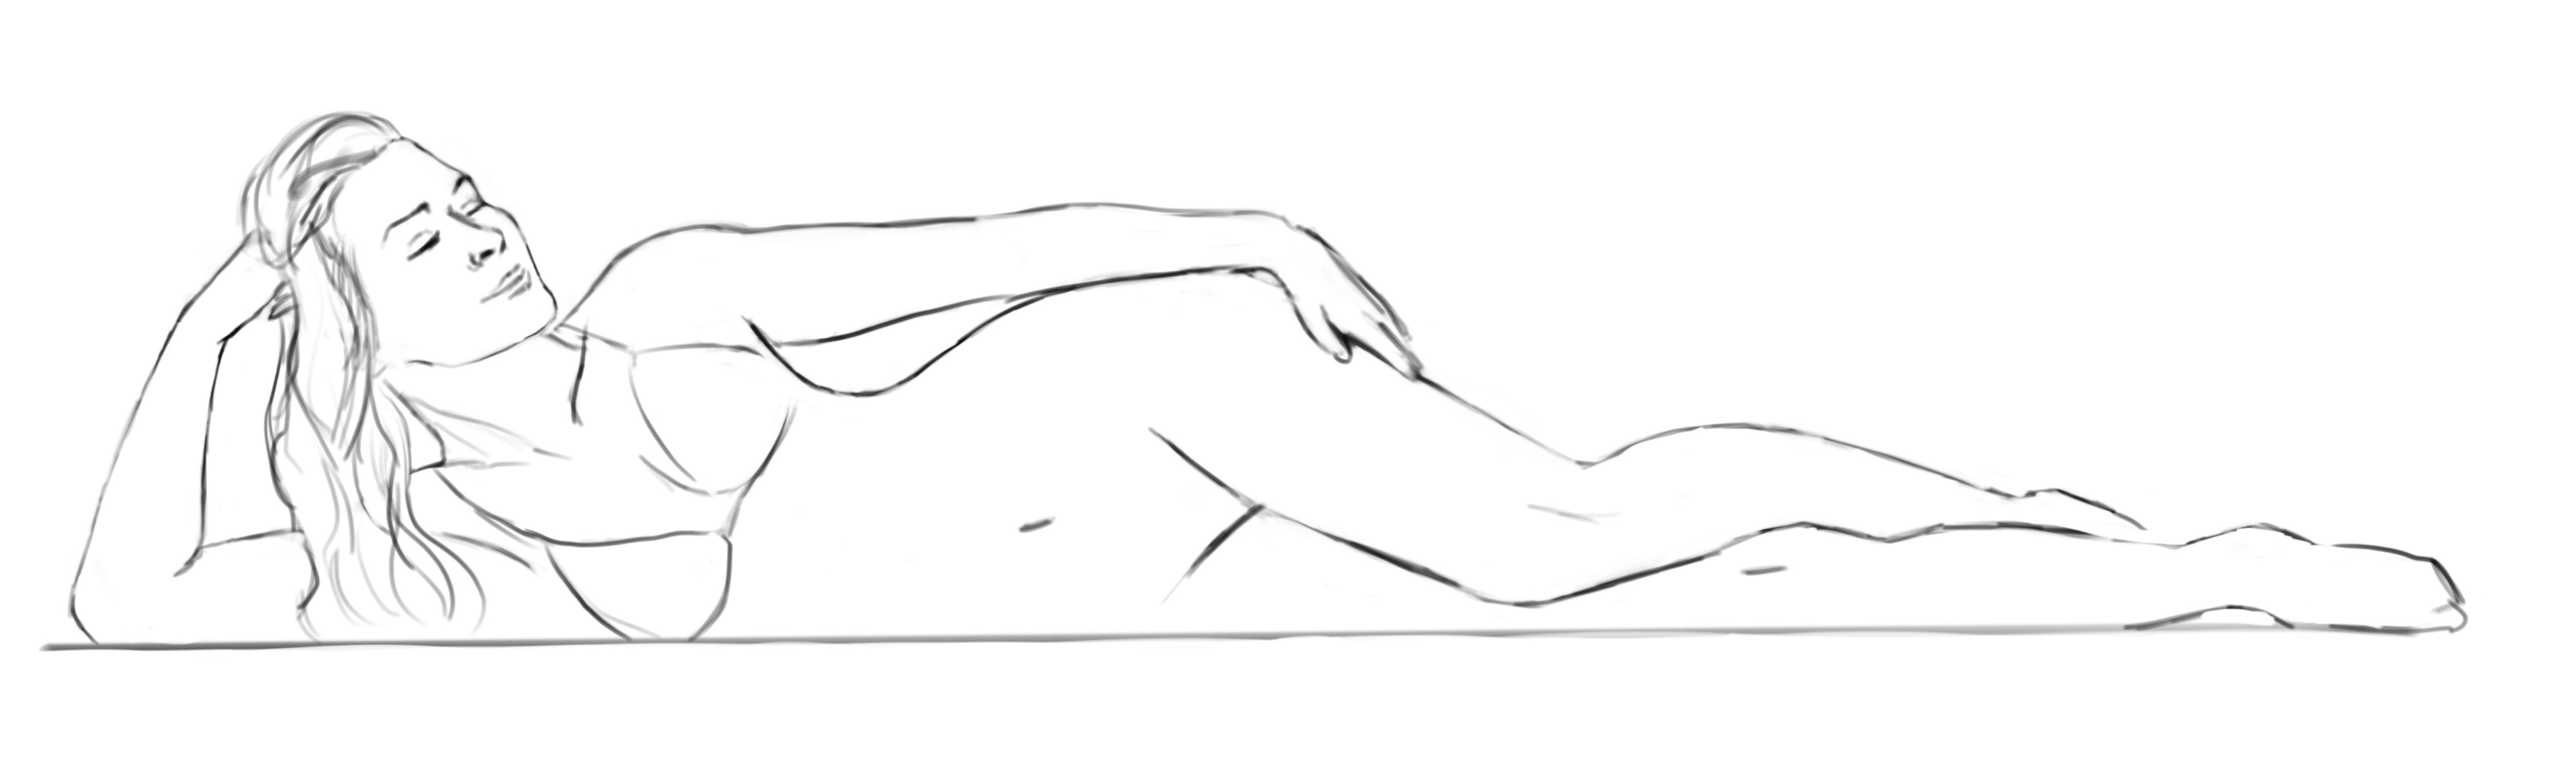
2. Reference and Poses: The references I'll be using for this class are all royalty-free, so I can give them to
you in the resources. I always use
references for my art. And even when drawing mermaids, I tried to find
full body images. As you can see here. I look for pictures that
makes sense for a male person either sitting on laying on land or swimming
in the water. Therefore, I often use beach photos or
pictures of dancers. The man in this selection
is doing aerial silks. I've simply rotated the image on the side to make it look like
he's going horizontally. The models on either side of standing butt imposes
that translate well to being an order imposed on the bottom is
the most straightforward, since the person
is simply laying down all these posters
will make good basis for mermaids or moment with some adjustments to translate
their legs and details. For each of the
projects in this class, I start by doing a sketch of the post legs included to
have a base to work on. I work in somewhat
realistic proportions, but you can draw the proportions according to your
personal style. For each of the projects, I chose a specific fish. So you can see how
to take inspiration and convert that to Miami tail. The most basic one would be
the goldfish That is the most reminiscent of the fin shape of Ariel, the Little Mermaid. Next is a better fish, which is the fish are
usually based my moments on, which has larger,
more flow events. For some diversity of style, I also chose a lionfish, which has very distinct
shapes and patterns. And finally, a jellyfish for completely different
side of Mermaid. In the end, you can
take inspiration from any fish or sea creature and create your own
unique mermaids. Now that you've seen what
we'll be working with, Let's get on with first project.
3. Gold Fish: First we get the base down. I start with the biggest shapes, sketching loosely before zooming in and defining everything. The face and hair
is an important since our focus is
the tail for today, but escapes new quickly just to make the base look like
a complete person. What you should focus on
however, is the hips. The angle and pose of the legs changed the
shape of the hips. So sketch them as best you can. Now, let's get onto
the actual tail. In a new layer, sketch
out the shape of the tail following the
curves of the hip and legs. When I get to the ankles
occurred the tail up and around to have the
fin flapping over the top. The tail fin, I draw in
its full shape to start. Although knowing it's going
to have to be flipping over with the legs still
showing this tail shape. Looks alright. But as soon as we block out the lakes,
something looks off. This is because our bones and
joints dictates the ankles. Ehrlich's can go, which make
us look very odd fish like when looking at goldfish or other slightly
longer fish like coy. They don't have such clear
joints like we do at our nice. They tend to move
in softer curves when they flap their tails. Many fish, also
short and choppy, where we tend to
illustrate mermaids with somewhat longer tails to
substitute our legs molecules. With this in mind, let's
modify the shape, tail, evening out the angles of the legs and leaving more
space in the tub where the upper leg would have been if it hadn't been
crossed over the lower leg. The thing, I once
again draw it in its full shape before
having one side flip over, corresponding to the tail
flipping around and over. Finding a clear
reference for this is difficult since we are drawing
a moment on land here. And fish fins only flow
properly in water. But we can make a small reference
ourselves to understand the movement and show how a fin might flip by using
paper and fabric. Keep in mind that the
actual tail won't be 2D. But otherwise, this
allows us to play around with the fin and get
a sense of how it could act. A lot of fantasy art is
made by imagination. So keep adjusting
the shape of tail and phi1 until you're
happy with the look. In the end, I
removed all sense of the knee joint and lead to
tell curl around softly. If you look at the
initial pulse, my tail now has a width that is close
to that of the next. Had they been parallel
and extended at the hip? How we can color it in? Sticking with a goldfish wipe, I chose a saturated orange and fill the whole shape of the
tail in a separate layer under the lines shade, you can work all in the same conveyor or you can make new clipping mask on top, which will keep us within
the initial shape. With the darker orange, I lay down some
simple shading to bring out the round
edges of the tail. If the lights are
coming from above, most shadows will be
closest to the ground. To make the lines match, I go to that layer and
set it to alpha lock. This way I can call it in the pixels already
in that layer. Back in this shading mask, Let's have a look at the fin. It shouldn't be shaded
like a flat surface since fins tend to have
tiny folds increases. When working in separate
layers like this, you can use the eraser to carve out the total
richness of the fin. In the base layer for the tail, which I switched, hello. I blend in lighter color
at the edge of the fin, like the goldfish has. I also call it a line
out accordingly. Returning to the shading layer, I use an even lighter tone to draw in the light lines
following the shape of the fin before adding
darker shading to the base to define
the folds of the fin. Getting anything to look 3D is about having a good
range of values, meaning both light
and dark colors. The same goes for the
rest of the tail. Would ever tone you choose
in this case should be very saturated since
Go Fish upright. Finished the shading
with the highlight in the areas that would
catch the light. Finally, let's add some scales. The very graphic way of drawing fish scales would be
something like this. When you look at a fish, you don't always see
the scales clearly, especially not from a distance. It's usually more glimpses
of them here and there. I never illustrate all the individual skills
and my moment tails, since it can look
a little chaotic. But I'm by no means
saying you can't. For this project, I'm going
to make a new layer and just give the sense of the
tail is made of scales, but without painting
them all, to do this, pick a color a shade darker than the area you're working on
and paint in small dots. Keep them soft and
enrolls like scales, but don't get too precise. I keep most of them on
the highlighted parts and only single sporadic
ones everywhere else. Use different
shapes depending on the placement and keep going
until you like the look. To finish up the effect, choose a darker
shade than the scale and gently define the bottom
edges of some of them. Then do the same with a
lighter color for highlight. And with that, this
project is done. This is a take on the very classic idea of a mermaid tail, very reminiscent of The Little Mermaid own
indifferent colour. You can of course,
choose whatever colors you want and use
the same approach.
4. Betta Fish: The base posts for this
one is standing one. But the angle of the torso makes it suitable for
swimming mermaid. When drawing the
shape of the tail, we need to follow the
curve of the body itself. I follow the line of her
stomach and just extend it. But on the back, I draw the behind a little
higher to capture the tail going sideways versus the models
lakes that are down. These are the kinds of
things to be mindful of when you change the angle
of some of the posts, we need to make
sure the rest fits. The shape of this tail is much the same as
the previous one. So we make it on
query and rounded. I imagined her swung
forward and up. So therefore, the very end
of the tail also kills up the fence or what sets the beneficial
apart from many others, since they have very
large and flow events, the shapes themselves
are very simple, just wide and rounded
by the edges. But then movement is
what's interesting. When drawing the tail fin. I think of it like a square that is gathered to fit the tail end, making it full and drape. Turning the reference
picture allows me to see how the tail fin folds and
draw something similar. The line should be uneven
in small curls with some bigger shapes that shows
the entire fin folding. This makes it look
more alive and real. Since these fish has
such dominant fence, I like to add some to the
sides of the tail to this or draw more like ruffles
since she's moving sideways. First drawing the line, I want them to connect
to down the tail. Then make a curvy line
crossing to each side of the initial line and connect
each curve to the fin. The other side fin only
poked out a little. With the line art down. We can fill in the
basic shape of a tails and fins separately. I like to fade the tails
into the skin of the hips, but you can cover this
transition with morphine. So if you want, I said the thin layer
to alpha lock to fade in some of
the tail color. So we get a two terms look
like in the reference. In a clipping mask on the tail, use a darker tone to shade at the deepest
shading on the bottom, but also a bit on the top edge to show the rounded
shape of the tail. Make a separate mask
for the fence and share using the same corner
on the purple parts. Think of how the fin folds
and shade inside these folds. Also change the color of the line article to me by setting the layer to alpha lock. Always refer to
your reference to get a sense of how
to shade the fin. Choose a lighter
tone and add this whatever the tail needs
to be highlighted. Then do the same to the
purple part of the fin, working this lighter shade on the top register
of all the phones. This will really help
define the shape. Next, we need a darker red to show in the remaining
part of the fence. The shading needs
to be consistent with what we've already done. So make sure to follow the purple shading highlight with a lighter red and fed it
into the purple highlight. Now we have three dimensional
looking flow events. Since we already went over the classic look of scales
in the first project, I'm going to show you a
more whimsical and easy way to get the look across, which I usually do
for my mermaids. Go into Procreate's
own Brush Library on the luminance and choose the
brush called broken lights. This brush makes
varying sizes of circles with a slight color variation to
whatever you choose, giving it an almost
magical shimmer effect. I picked a light green
to make it stand out. I made light strokes on the highlighted parts where
the scales would be visible. If anything looks too harsh,
you can always blend it out. I also add a bit of yellow and purple using the same brush. How little or how
much you want to add. This effect is up to
you to finish up, adjust any shading
that may be needed. Now, I made the
purple shading at tet darker both on
the fence and tail. And then this
project is finished. This is my preferred
style of mermaid tail, since I really liked how you can play with the movement
of the fence.
5. Lion Fish: The base for this
pose is a man doing aerial silks that are
turned on its side. So it looks like he's swimming. The arch of the back helps decide how we need
to angle the tail. Again, I stick to
the elongated tail to fit with the
models proportion, though the lionfish
itself is kinda short. The characteristics
of the lionfish is it spiky shape and striped
and dotted pattern? When there's so much going on, we can pick and choose
what we want to keep. I chose to make this side
fins smaller to show more of the stripes of the tail and keep the spikes
only to this fin. The end and other things will be very similar to the fish. Defense are fairly
straightforward to draw, keeping the edges
a little ragged. Lay them flat colors in separate layers for
the tail and fins. Keep the side fin and spikes
in a layer for themselves. Set the side Finn to Alpha Lock and fade-in and
lighter shade of purple. Do the same to the tail. Clipping mask on the tail, use an off-white to
draw in the stripes. Look at the reference to see the angle and spacing
between them. Also add stripes to the side fin and tweak the corner
of the line art. Making a mask on the back
fence for the pattern. It's like dots in lines. So make some faint
lines first as a guide before
painting in the dots. Pay attention to the spacing and direction of these lines. Next, we can add
some more variation to the colors of the patterns. In a new mask work in
the tail fin color in-between the stripes of the fin on the
side, on the tail. Light leak and let a lot
of the red strand through. Looking at the fish. Some of the dark areas
look to be part of the actual pattern
and somewhat more of shadows. And I add in both. In the striped clipping mask. I set it to alpha
lock so I can use the same dark color to shade this drives and sales on
the underside of the tail. This helps give dimension. In this picture, the fish has a large purple area
on the side fin. But since I chose
to shrink the fin, I go to the tail base layer and work in some
purple there too. Since it's under everything, both the shading and stripes
will affect this tint. Tint in large flat color areas like this helps bring more life. The same goes for the
dots and the tail fin, where I use a more
bluish purple to tint. Subtle changes like these. Pull it all together. Here's the finished tail
and interesting style, firmer person. I think.
6. Jelly Fish: The post for this final
project is a model standing with their arms
stretch over their head, which also works on
underwater pose. Jellyfish has a fluid and
transparent quality to them, which will take
inspiration from. The top bell is shaped
almost like a skirt. So that's how we'll approach it to convert it to a mermaid tail, scattered bell-shaped that is larger than the
hips. And the model. Then draw in the tentacles
and strange underneath. These should curve around
like they in water. Just the bell shaped to
fit the proportions of the post sketch and draw in small curves at
the bottom edge. For a more dynamic look. A tilde the whole jellyfish
till a little to the side. So it looks like it's
swaying and current. When defining the tentacles. I approached them like ruffles. Don't fret if you don't pay them exactly like the reference. We're going for the field here. With a lineup ready, fill in the bell and
tentacles in speech. The layer also tint
the line art to match. Said both color layers to Outlook and blend
in a light tone. To get something to
look transparent, you have to let whatever is
beneath Jen through bead, the light background or other parts of the
jellyfish itself. In a clipping mask of the belt, use orange and red to paint the patterns on top
and around the bottom. Tint the line art at
the button to fit. Returned to the
bell base layer and gently work in a light
orange shade to the center. Do it lightly. So it looks like the bell has an
orange center within. The same color into the base
and end of the tentacles. The very edges of the tentacles have some orange and
red like the bell. Work dosing with a light hand also tend to line
out accordingly. Since the background is white, wherever we need the tentacles
to look transparent, blend in a lighter shade. This will be where there's only one layer of
ruffle, so to speak. They're my friends has
some subtle highlights on the edge of the bell that I added before drawing in the thin strings in
their own layer. This concludes our
jellyfish mermaid tail, and a final project
for this class. I think this one is a fun
challenge to mix things up, even if it's not the
classic idea of a mermaid.
7. Final Thoughts and Class Project: Here's all the finished
mermaid tails. Now you see me
illustrate them all. Now it's your turn to predict for today is
to give either one or more Miami tells the driver or the pose and fish references are below in the
resources for you. You can also use my post
sketches if you want. Thank you so much
for taking my class. I hope it was helpful to you. Sure you want to
see more from me. You can check out my
other classes on my page. I've been creating
and bye for now.
 Celine D., Digital Fantasy Artist