Transcripts
1. Welcome to Google Drive Course: Hello students. My name is human shoe and I'm
going to be a trainer for this Google Drive to
what is Google Drive? Google Drive is a
product of Google, which is a part of
Google workspace. Actually, it is a backup
and storage services. We will be learning what is Google Drive in
detail in the videos. But before, let's understand what all the things that we
are going to learn over here. Now the best part about
this particular course is that it is completely
based on my experience. I have shared all the
methods which can be used to effectively
use this particular tool. What are the topics that
we're going to cover? Let's jump into that. First of all, you'll
be understanding what is Google Drive in detail. Also, we will learn three
modes of Google Drive. Once we will understand that, we will jump into
fewer recommendation, which will be provided
by me based on my experience on extinction
and field techniques. After that, we'll be learning
about what are the best way to use the action
buttons, Share and link. Also, we will get
complete understanding about how the desktop version
of Google Drive works. You will get my best
recommendation, trips and takes for that. And finally, we will be understanding few of the
search and other options. Let's talk about the methodology of this particular course. It's going to be
completely practical. And the best way to learn is
to practice side-by-side. Now, all the methods
which I have shown in this particular course is based on my experience. I've got more than four years of experience while using
this Google Drive. Unlike any other
storage facility, it has got many functionalities. One of the primary advantage of the methods which I've shown over here is that they are comprehensive and
absolutely to the point. Apart from this, there are many ways of doing
a similar task. So I have shown you all the ways through which you can reach
to your certain goal. Apart from this,
this is completely practical and as per the
current market norms. So let's begin our
Google Drive course. This is it for the video. Thank you for watching.
Have a nice day.
2. Understanding Google Drive and it's interface: Welcome back students.
So in this video, I'm going to describe you about the Google Drive
application. Now. Google, what is Google Drive? First of all, we
need to understand. So Google Drive
is a file storage and synchronization services
provided by Google. It has been launched in 2012. What it does, it
allow user to store files or less a folder
even in the cloud? By cloud, I mean,
Google servers. Now, first of all, there are three versions of it that needs
to be understand. The first version you
are right now doing, which is the web version of it. In order to access the
web version of it, you need to go to
drive.google.com. You will have to login with your Google account
or Gmail account, and you will have
the access of it. Now for your
information, you know, most of you are aware of also that Google
Drive comes with a pretty storage of 15
GB, which is free to use. After that, if you
are going to use, you will have to
pay extra money. Right now you can see over here, out of 15 dB, I have used almost 79 per cent. Okay? This is one aspect of it. The first version I
have told you about, which is the web version. Now the second version
is PC application. Now BC application can be downloaded from here,
this setting option. Let me go to the setting. Now here you will get to see the option which is
get dry for desktop. Click over here. Here you can see the
optional download dry or desktop click. And you can see it is
getting downloaded. It is up to 50 MB. It's going to take
around two minutes. In the meantime, let me tell
you the third version of it. The third version is
available in your movie. And if you have got an Android, then you will need to go
to google Play Store. And if you have got iOS, then again, it is available
in that particular store. Let's say here, in order to show you
it's Google Play Store. And here I'm searching
Google Drive. So this is the app I'm
talking about, Google Drive. So this is a one form of Google Drive app which is
available in your phone. Now combining all these three
versions, overall storage, you are going to get only 15 GV across all these platforms. Now, whatever you are
going to synchronize, Let's any files or folders, whatever you want
to synchronize or upload that will be accessible from all
these three platforms. Okay, Now let's come to the very important part which is how to upload any
file and folders. So there are various ways from your PC or let
say from your movie. Right now we are into this
web version of extra form. How to upload any
particular file and folder. Let
me show you that. One of the way is very easy. Let me minimize this
particular part, okay? Let's say here is this
file which is real data. I want to upload this
particular file over here. So simply I can drag and drop. And here you will be able to see that it has
getting uploaded. So this is one of
the way and here you can see the file
has been uploaded. Now similar to file, you can upload the folder
also in a similar manner. Another way of
uploading any files and folders is to go to
my Drive over here. Here you may go for this upload files or
upload folder option. Let me go to upload folder. Let me go to desktop. From here, let's say I want
to upload this, my folder. Sorry, let me select this
and click on Upload. And once the upload, now it is getting uploaded here. So it's getting uploaded. So here you can see
my folder is there. If I'm going to click, you will get to see the
files within that folder. Okay, so one of the
way I've told you, which is drag-and-drop and
other ways from My Drive, you can upload a file or you
can upload a folder both. Another way is to go to noon. Let me go to New. And from here also
you will get to see the option of uploading
the file or folder. These are the three ways. This is just an initial
video I've made you understand about the
environment of Google Drive. Does it for the video. Thank you for watching. Have a nice day.
3. Recommended Extension and Technique: Welcome back students. So in the previous video, we have seen there are three
modes of Google Drive. The mobile-based, deck,
Stock-Based, and web-based. Now, all these three modes
having their advantages. However, my personal
favorite is web-based. The reason is being here, there are many options of level. For example, let me tell you that how to
organize the folder. So what I'm going to do here, you can see few folders
like focus Qin, short poco pigs registration
form, human shoots. So these are the
folders actually. You need to right-click
on the folder. And after that you may
go for change color. From here, let's
say I'm going for this particular color options. I've marked that as a green. And for your understanding, it can be considered important. So whatever color schemes
you want to give, you can. And in this manner, it is very easy for you to
manage the folders. Here, I'm using the
browser which is Chrome, which is again the
product of Google. You can understand. Now under Chrome there are
many extension of level. As I told you, I will my
favorite extension for Google Drive is save to
Google Drive extension. For your understanding, I
have typed it over here and the first result that we are getting that is save
to Google Drive. You need to click over here. Once you will click over here, you will reach to this page. Now what is the advantage of
this particular extension? You can save whatever you want to save from
the web directly. For example, images, texts,
screenshots, videos, audios, whatever you want to,
what you need to do next, you need to click on Add to Chrome and click
on Add extension. Now here you can see adding to Chrome is this extension
is going to be added. Now that's the kind of
message you will get save to Google Drive has
been added to Chrome. Use this extension by
clicking on this icon. That's the icon they
are talking about, which was available over there. Let me click on extinction. And under this
tension you can see this extension we just
save to Google Drive. So that's the
extension you can use. Now, let me show you
the demonstration. So this is the
website I've opened, and here's the image
which I'm interested in. I want to save this directly
to my Google Drive. So what I'm going
to do when to do right-click and then go
to save to Google Drive. And then we'll click on
Save Image to Google Drive. This house getting downloaded, you can see 96% done, and now it has been downloaded. It is untitled image. Okay, Let me close it. Let me go to my drive. And over here, it
should be reflecting. Let me refresh it. Here you
can see untitled image, which I have just downloaded being save to Google
Drive directly. Now there are many
tips and tricks. There are many tools. My personal favorite,
which I'm going to recommend to you in
the further videos. Visit for the video.
Thank you for watching. Have a nice day.
4. How to take advantage of Action buttons in Google Drive: Welcome back students to
this Google Drive tutorial. Now, in this video, I'm going to explain few other options
that you are getting once you have selected any
particular file or folder. So these are the
list of files and folders which are available
in my Google Drive. Now, let's say I'm selecting this particular
phi like this. Once you will do this, you can see this action buttons. Now one-by-one. I'm going to explain
what are all these for? Now, the first option
is to get a link, because this particular file is in your Google drive only, you will be able to access this. Now, if you want someone else also to have an access
to this particular file, rather than you complete
Google Drive account. You can create a link to this. In order to do this, this is already selected, you
need to click on. Okay. So here you may
see this option of Gatling and this
is the link of it, simple, you can
click on opening. But before I do that, I want to show you few
options which are over here. So if I will go for
by default option, it is coming as a
restricted only people added can open with this link. Here. Let's say share with
people and groups. I'm coming over here. And here I'm mentioning
few of the e-mail IDs, or let's say contexts to whom I want to share this
particular file. If I've mentioned a few of the e-mail IDs or
let say contacts. Only. Those people will
be able to have access to this particular file
to the link also. Let's say I'm copying
this link, highway. If you don't want it
to be restricted, then you come here
and you can choose this option which is
anyone with the link. If you are going for
anyone with the link, this means anyone will be able to open this
particular file. Now here, this is
very important. Few options will come. The first option is viewer. Another option is commentator, and another option is editor. Now if you want that user who's being able to access
this particular file, we'll be able to do any changes
in this particular file. Then you may go
for editor option. Or otherwise you may go for commenter or let's
say viewer option. Now, the link has
been copied already. I'm just demonstrating to you, Let's say I'm doing
copy paste and enter. It may take a bit of time. And here you can see with the help of that
particular link, the file is now visible. Here. I'm trying
to make changes, but I'm not being able to. Because this is the
link for view only. You can see it. From here. I can just view, I'll not be able to
make any changes. So this is how this
get Link option works. Okay? Done. Now. The next option that
I'm going to make you understand is the share options. So let me click over here. Now here you can
mention the contact or the e-mail ID of the person you want to
share this file with. Let's say I'm selecting this. Now, this option is
checked by default. You can uncheck this also, which is to notify
people if you don't, one that you're
going to inject it, however I want that that particular person
should be notified. Then I'm selecting this
here also like length, you will get to
see the options of viewer, commenter and editor. Same thing that if you want that particular person
which is raised, in this case, HE, if you want that person to make changes in this
particular file, then you may go for
this editor option, which is the by default option. However, you may select
your option if you want that this particular
person should not be able to make any
changes in this fight. He just being able to view this. But surprisingly, in
this Share option, viewer doesn't mean that this person will be
able to view only. Viewer means he will be able to download that file as well. So let me go over here to
share with people setting. Now once I'm here you
will see this option. Editors can change
permissions and share. Okay, so he's not an editor, is just a viewer. So let's concentrate
on the second line, which is viewers and commenters can see the
option to download, print and copy this. They will not be able to
make changes instantly, but they will be able to
download the copy of it, which I don't want. So I'm going to uncheck this. Fine. Let me go back. And simply then I can click on the movement. I will do that. Then this particular
person will be notified. Right now. I'm not going to notify this particular person, so I'm clicking on cancer. Fine. Now let me come to this option which is
simply a preview option. This is selected and I
can click over here. You will be able to preview the file like this. Wonderful. Now, another important thing is when you have shared
this particular file, you can see here this
particular share option is coming or the shear symbol
is coming, which is good. Now here is this
option of delete. If you want to delete any files, let's say I want to delete this, so I'm going to select
this and delete. Now, delete is going
to be in the trash. Let me go to trash. And here it is
mentioned that items in Russia deleted
forever after 30 days. If you want to empty the trash, you can do that. Okay. Now, there are three doors. This means there are
even more options. So let me go over here. Now. First one option
is opened with which application
you want to use to open this because
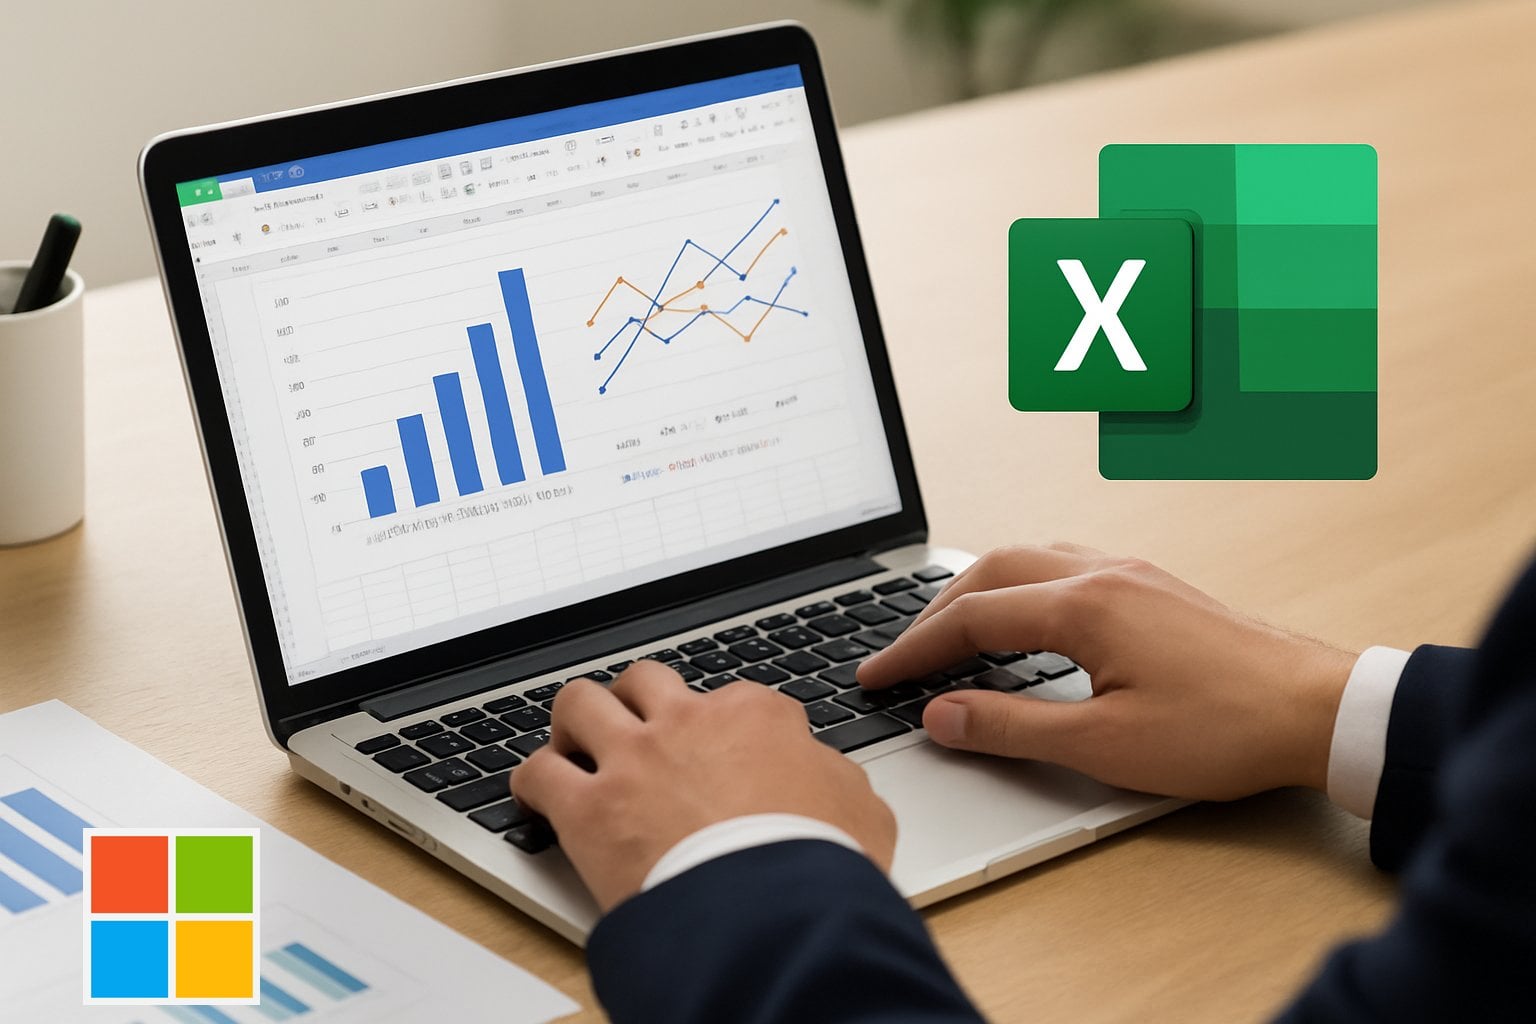
this is an XLS file, this means this
is an Excel file, which is of course a
Microsoft product. Now, if you want to open
that with the help of you can let say f sheet
also or Google sheets, the most appropriate
is going to be Google Sheet. By default. Also it is considering
Google sheet. However, you can control
with the open width, width which application you want to open that
particular file. Now, next option is
show file location. This file is not within
any particular folder. It's in MyDrive so that its location and that is
what it's going to show. Now this option of
add shortcut to drive is going to create
a shortcut of it. In this dry highway is not very important right now because I need not to
create a fur coat of it, because it is visible
to me right now. But it is useful and I
will show you the example. Next is moved to let
me go to move to. You can move this
particular file into my folder
which is over here. Or you can scroll down, you will get to see other
folder option also. Or you simply, you can
create a new folder and you can move this
particular file into that. Let's say I'm clicking
over here and I'm mentioning,
let's say practice. Now, move here. Now that particular
file has been moved to practice folder. Okay. Now few more option
that is at to start. If you're going to add to start, this particular file
is a doubly Audi. I'm going to add to start. Then here you will get to
see this tout option and this is going to be visible
over here also, like this. Fine. Apart from this, there is this option of rename. If you want to rename this
particular file. View details. Here you can see
the details of it. What is the size of it, where its location, whether it is an Excel
file or Google Sheets, you can see Google Sheet. Now there is one very
important aspect that is, if anything, is Google sheet, that's not going to
take any space at all, you can see in front of
it it's simply blank. However, if it's an Excel
file, let me open this. You can see in front
of it is 42 KV. If it's any other, let's say application file, then going to
consume fewer space. However, if you're
using Google Docs, Let's say Google Sheets or
Google Slides than did. Those are not going to
take any space at all. Fine. Okay, so that was about the View Details means the
information of it make a copy. Another copy of this particular
file is going to create. Now copy of our w r
is going to create. You can see that Quine, these are all in order to create a copy and this is
to download this. If we're going to
click over here, that particular file is
going to be downloaded. These are the options over here. We can see them as
action buttons. So this is it for the video. Thank you for watching.
Have a nice day.
5. How to work with Google Drive Desktop version: Welcome back students. In this video, we are
going to understand about the textbook
version of Google Drive. So that's the installer that we have downloaded in
the first video. And if you remember,
let me click over here. Now, here is this message which is add an application
shortcuts to your desktop. I want that at desktop. Shortcut to Google Docs, Sheets and Slides. I don't want. Fine. So let me click on Install. Once the installation
has been done, that's the kind of
message you will receive. Cooper arrives
successfully installed. Fine. Close it. Let me go to the desktop and here you will get to see
this Google Drive. Now. You can open this
by double-clicking. So that's the skin. You will get the design into Google Drive and sign
in with browser. Let me click over here. Let me sign in with
my G-mail account. And after that,
I'm going to show so I have signed in and there's a kind of message you will get, you have signing
into Google Drive to continue to close the window
and return to Google Drive. And here are a few suggestions and extensions are also coming. Hi, Well, I don't want to use them like no,
removed from grown. Google Drive is a
loading of pipe. Okay. So here you can see
mine dr is coming. And these are the files
and folders which are already there in
my Google Drive. Now let me show
you my PC as well. Apart from this
particular C Drive, you will get to see
this Google Drive. I told you that the
space which is of level in my Google Drive is 15 dB and that's
how it is showing. If you click over here. Now once you are over here, if you want to add any
files and folders, Domain, go to MyDrive. And over here also,
you can copy, paste any files and folders and that will be synchronized
across all the data. Let's say. I'm going to select
this particular fight, Alexa, this particular folder
which is Excel exercise. Let me copy this and let
me paste it over here. Now, once this particular folder is in this particular drive, then it's going to
synchronize automatically. Now, very important aspect
of it because of me. Take you to the DC once again, here you can see 15 GV is there and only three TVs left means to energy
storage has been used. And whatever you are
being able to see in this Google Drive that probably had been synchronized
from my old fizzy, maybe this DC or all those files which are
there in my Google Drive. It's comprises of Gmail and
other files and folders. However, you can set up your friends for
whether you want to synchronize a complete computer
or few selected folders. So in order to set
up preferences, you need to go to the icon. Here you can see
the Google Drive. Let me click over here. Now, from here you will have to go to Setting
option is this one. The first option is Preferences
and go to Preferences. Under Preferences, you can see already one folder is added, which is excellent exercise, which I have added. Now here you may go to
Add Folder and you can add as many folder as you want to or you
want a backup to. Let's say I want to add this
particular folder as well. So I've selected my folder. Let me click on Select Folder. Okay, now, the first option
is by default selected, which is sync with Google Drive. That's fine. Now, backup to Google Photos. No, I don't want that. Click on Done. Now, I have taken the backup
for two folders. Means this is the first folder, which is my folder, and another folder is this
one which is Excel exercise. Now whatever you are going to put under this
particular folders that will be automatically
synchronized in Google Drive means that
we'll have a backup. You can see the sizes. Well, let me click on Save. Okay, So it has been saved. Let me open the browser and
let me go to that computer. My laptop. And here you can see both
the folders are visible, and if you click over there, you will get to
see all the fines as well which are under
that particular folders. This how Google Drive
textbook version works. This is it for the video. Thank you for watching.
Have a nice day.
6. How to search in Google Drive and exploring other options: Welcome back students. So in this video, we're going to understand few more
features in Google, right? So first of all, let's understand
this search option. So like any other search
option here also you will, you can type whatever you are looking for any file or folder. In particular. You may select the type as well. You need not to do
anything extra, just you need to click
over here and you will get to see all
the file types. Let's say I'm looking for video. So let me click over here. And you will get to see all the videos which are
available over here. Again, let me click over here. And let's say I'm
looking for PDF file. So I've selected that. And you can see all the
PDF files are coming in. And you can type whatever
you want as well. Let's say I'm typing. Practice. Okay, and let me enter. And it's coming. Now, if I will click on
here and you will get to see few more research
related options. First of, first one is the dye. Here it is coming any, and you can select the
file type over here. When you're clicking over here, you will get to see the
final level of course, but these are the dominant ones. However, if you are not getting
the file types from here, you can come over here and you can select the file type
that you are looking for. Now here is the owner. Most of the time
you are going to be the owner of the
file and folders. However, you can select these
options like owned by me, not owned by me, or
specific person. Let's say if anyone has shared a file and folder with you, then you can select that. And here you can type their
name or email address. The next option is the location. By location of the
means where it is. It is in MyDrive that is in
your computer might drive, or whether that
particular file has been shared with you
from someone else. So those files you
want to access, let's say I'm selecting this one and select, let me search. Here. You will get to see all the options which has
been shared with you. Okay? Now, these are also the
options which are available, let's say in trash. However, you may go
directly over here. Also, you can do the
search based on approvals, date modified anytime today. Yesterday. And if it's not what
you are looking for, the date modified human
go for custom option. Here you can type the
date as per unit. Let's say I'm coming over here. And let's say I've selected
the date from this one. Let's say third of January 2022. Let me search. And here I've got the result. Fine. Now, it is based
on date modified, then again the item name. And here you can type
whatever you are looking for. Now. You can looking
for has the worst. Now how it's going to
search, look item name, let's say the filename
is Excel exercise. Okay, so that's, let's
say an Excel file name. So it's going to search
that now has the worst means that particular
file miss the Excel file. Within that file, there is a sentence or a word and that
what you are looking for, so you can type it over here. And if there is any result, you will get to see that. Now it is shared
to option means. You can simply share a file with anyone I showed you already. Now, you want to search any file based on whom
you have shared to. You can type it over here. So these are a few predominant
search related options. This is the reset option. If you have selected many options and if
you want to reset it, you can simply click over
here, is going to reset. This is all about how
you can do the search. Let me come in the
left-hand side and let me take you through the options which are
available over here. First one is the MyDrive, which is ice cream. Getting to see. The next option is computers. And we have already seen
that how this works. If you have got the PC
version of Google Drive and if you have got any
particular folders which are going to
be synchronized, then you will get
to see over here. So let me go to my
laptop and you'll get to see there are two
folders which is going to be synchronized
automatically if I'm going to put anything in
those particular folders. Next option is shared with me. Now here you will get to see all the files and folders which
has been shared with you. You can simply
come over here and view the file or the folder. Let's say every time you
don't want to come over here, so you can create a
shortcut of that. So in order to do
that, Let's say I want to create a shortcut of
this particular file, which is function data. So what I can do, I can simply right-click and we'll click
on Add shortcut to drive. And then add shortcut. Fine, let me go to my Drive. Now here you can see a function data and you
can see this symbol also, which is an indication of that this particular file has
been shared with me. And you can have and you can access that particular
file from here as well. Fine. Now, this is the recent tab. Now, which whichever
files and folder you have recently used that will
be displayed over here. Then this start option, if you start any of
these files and folder, I've already shown you
that how you can start anything rash also option
we have already seen. If you have deleted any
particular file and folder, you will get to see over here. These are the options. This is it for the video.
Thank you for watching. Have a nice day.
 Himanshu Dhar, MIS Trainer