Transcripts
1. Introduction: Hi, my name is Ella and I am a
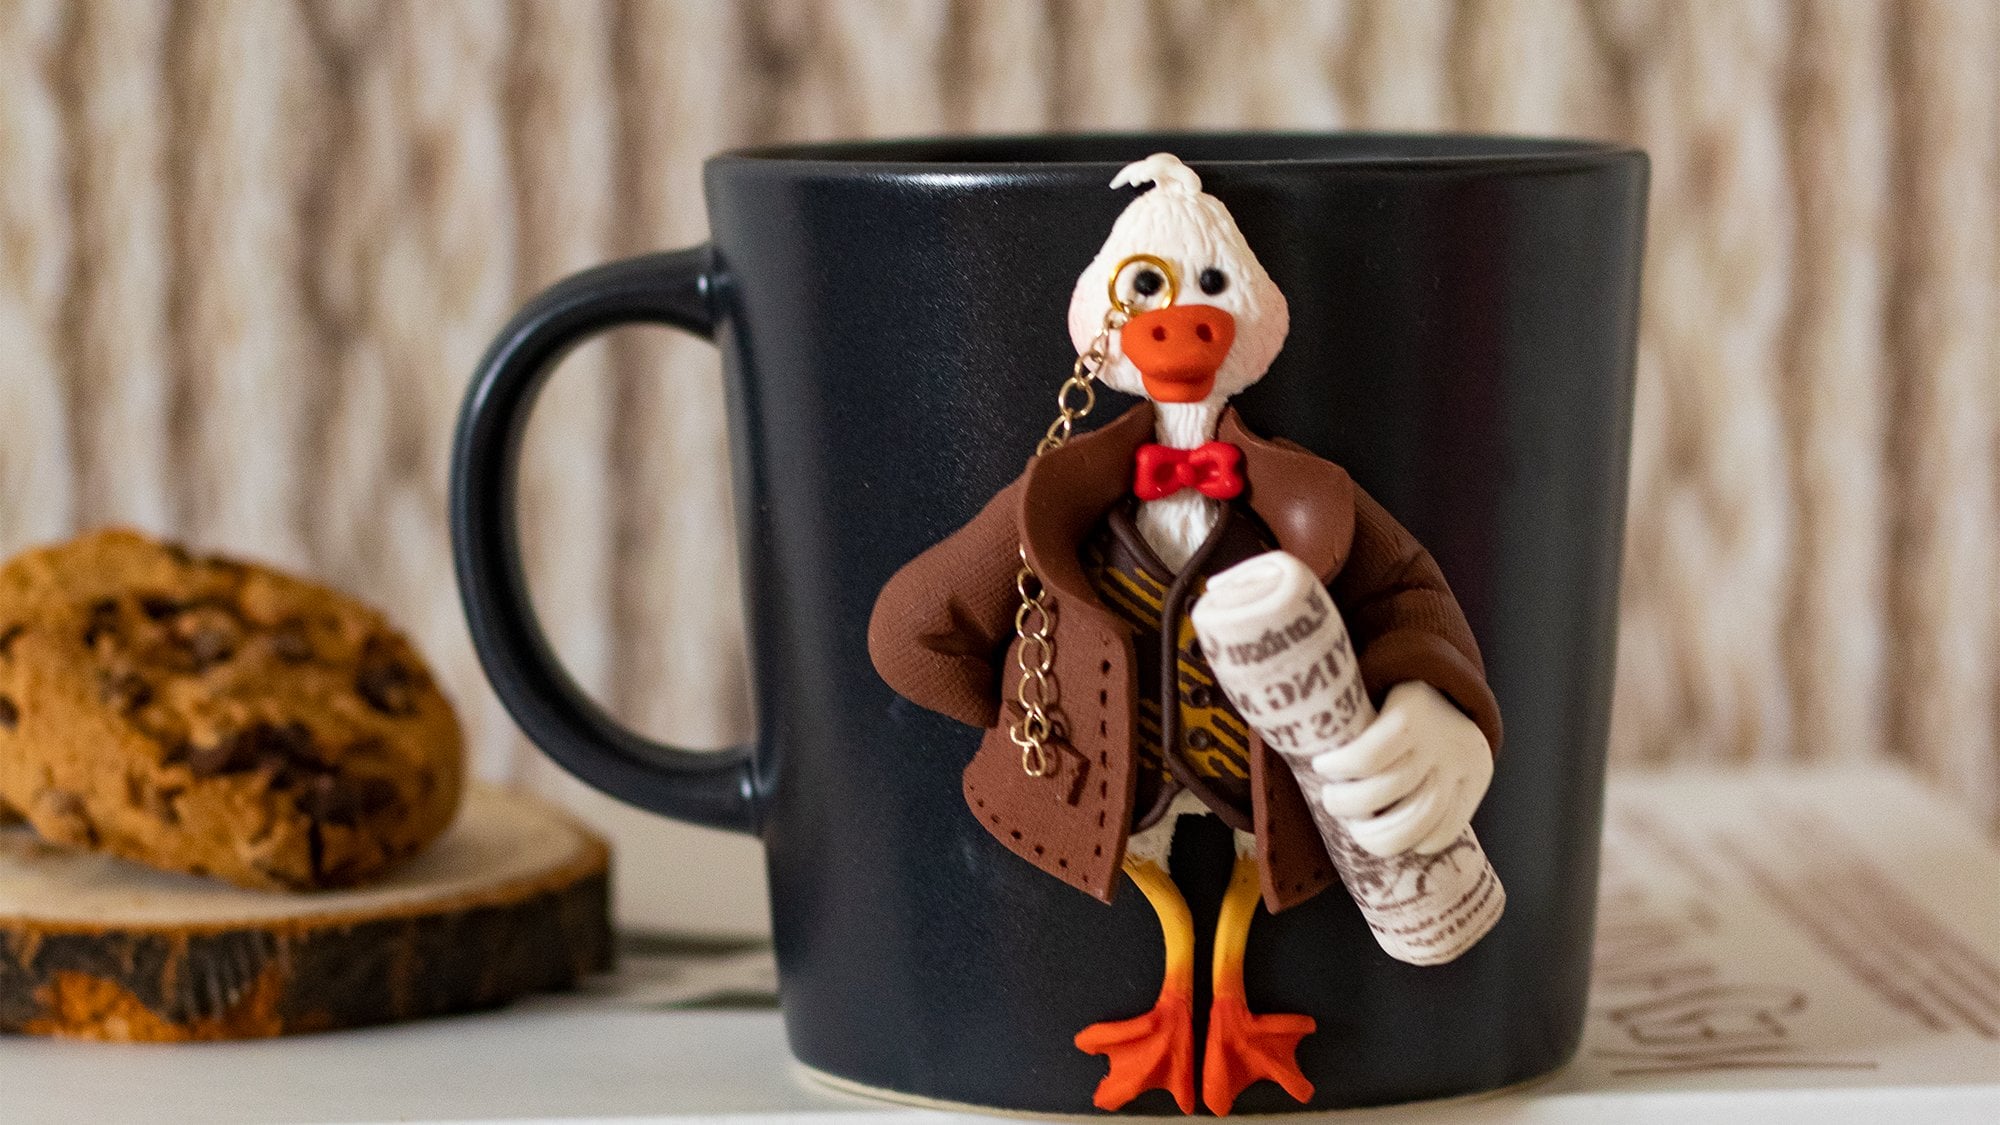
polymer clay artist. Welcome to my course. I especially enjoy
working with mugs because not everybody
likes sculptures. But if you put the sculpture on
a mug, everybody drinks. Every body drinks tea, drinks
coffee, at least water. People can use
that piece of art. and Enjoy. Working with polymer clay is a way for me
to tell my story. Everyone has a story and I
think these characters on the mug tell different stories. That is why I prefer to work on different projects and not to do the same thing
again and again. I think that's the most
exciting part about this line of work because you
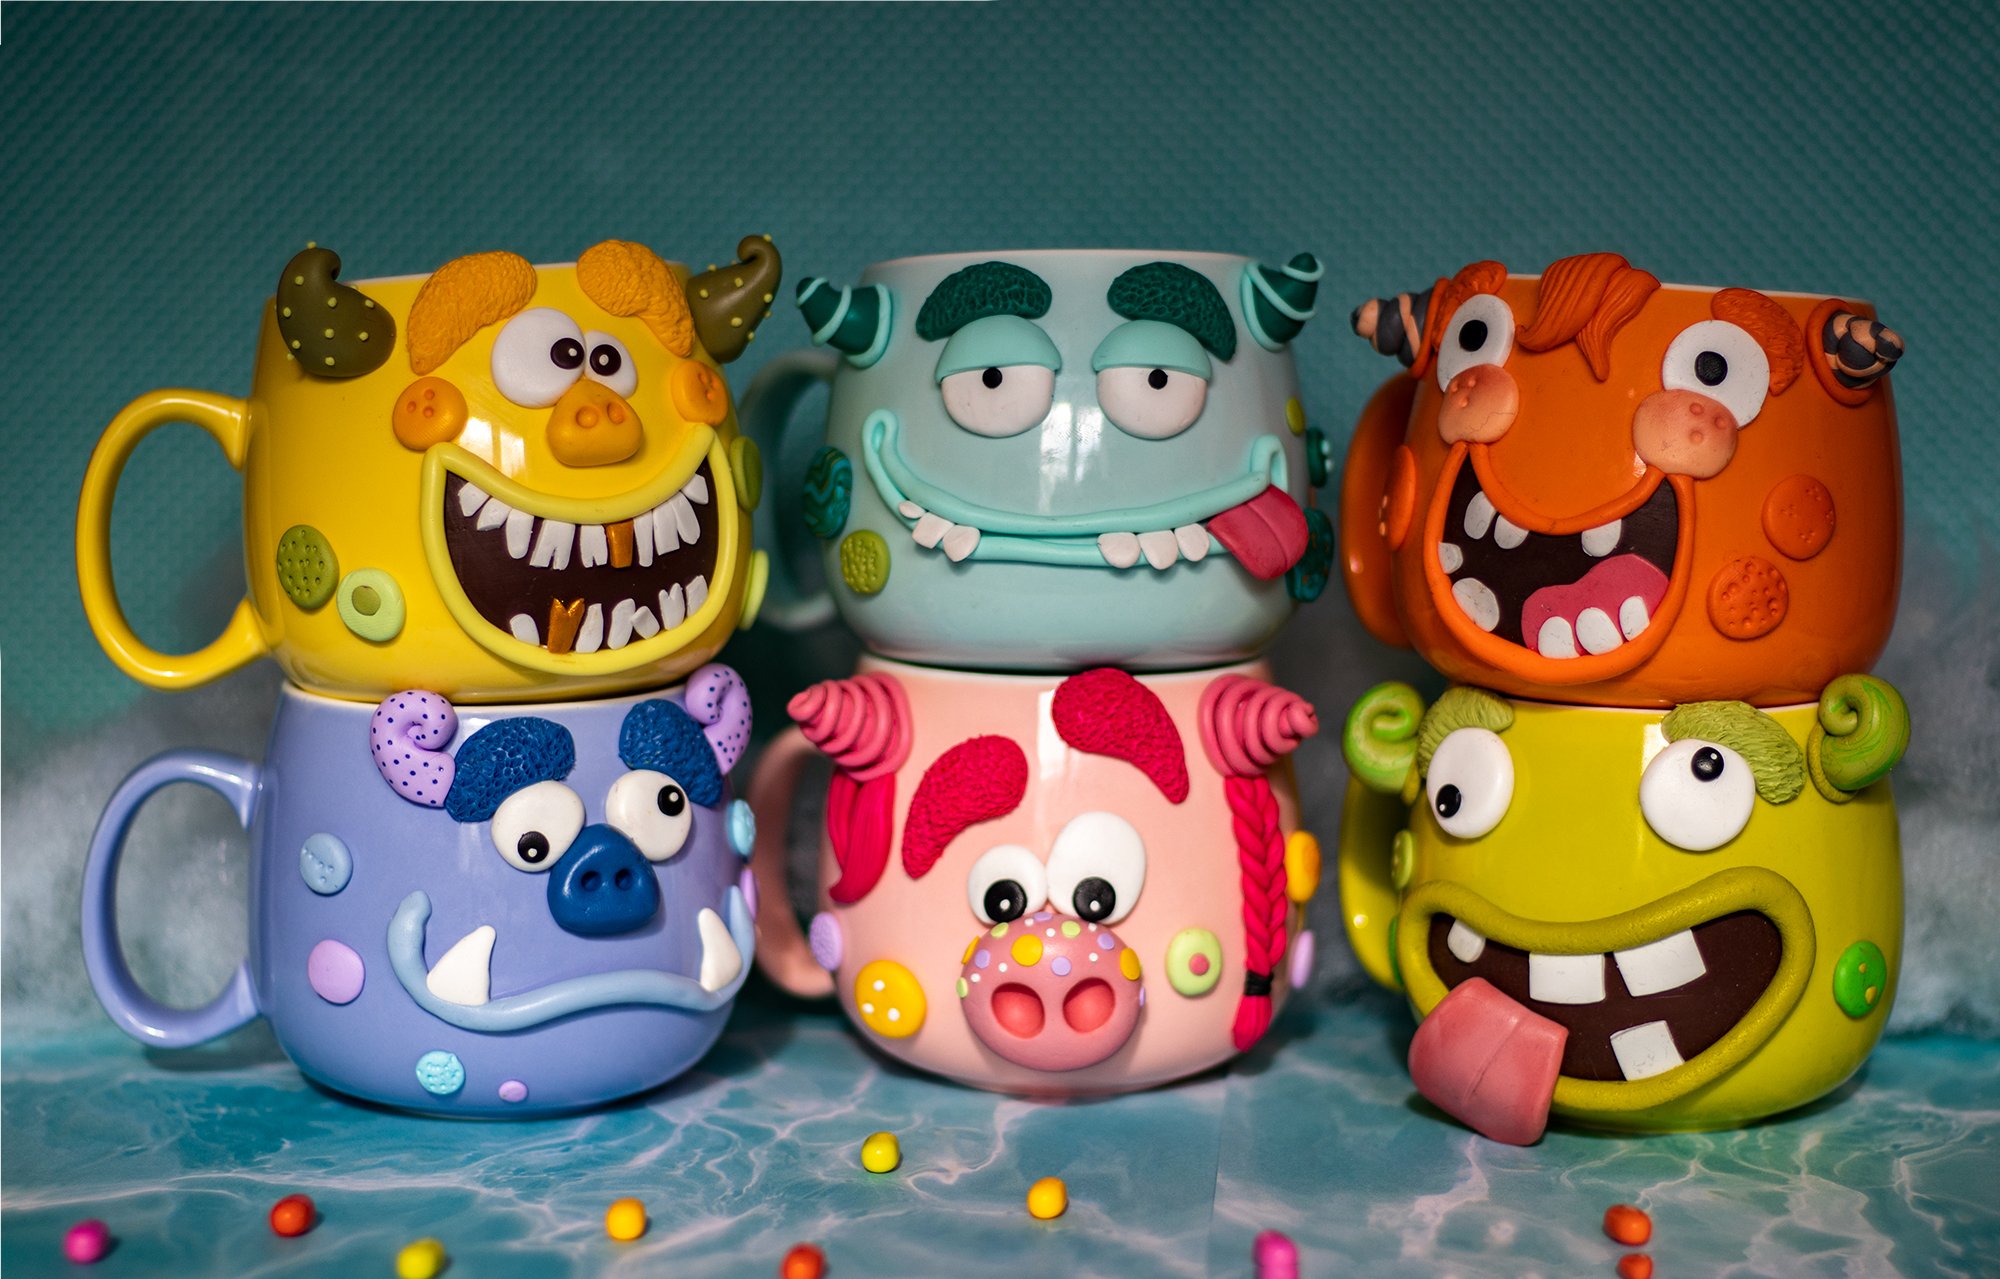
can make different things, you can make flowers, or you can make characters,
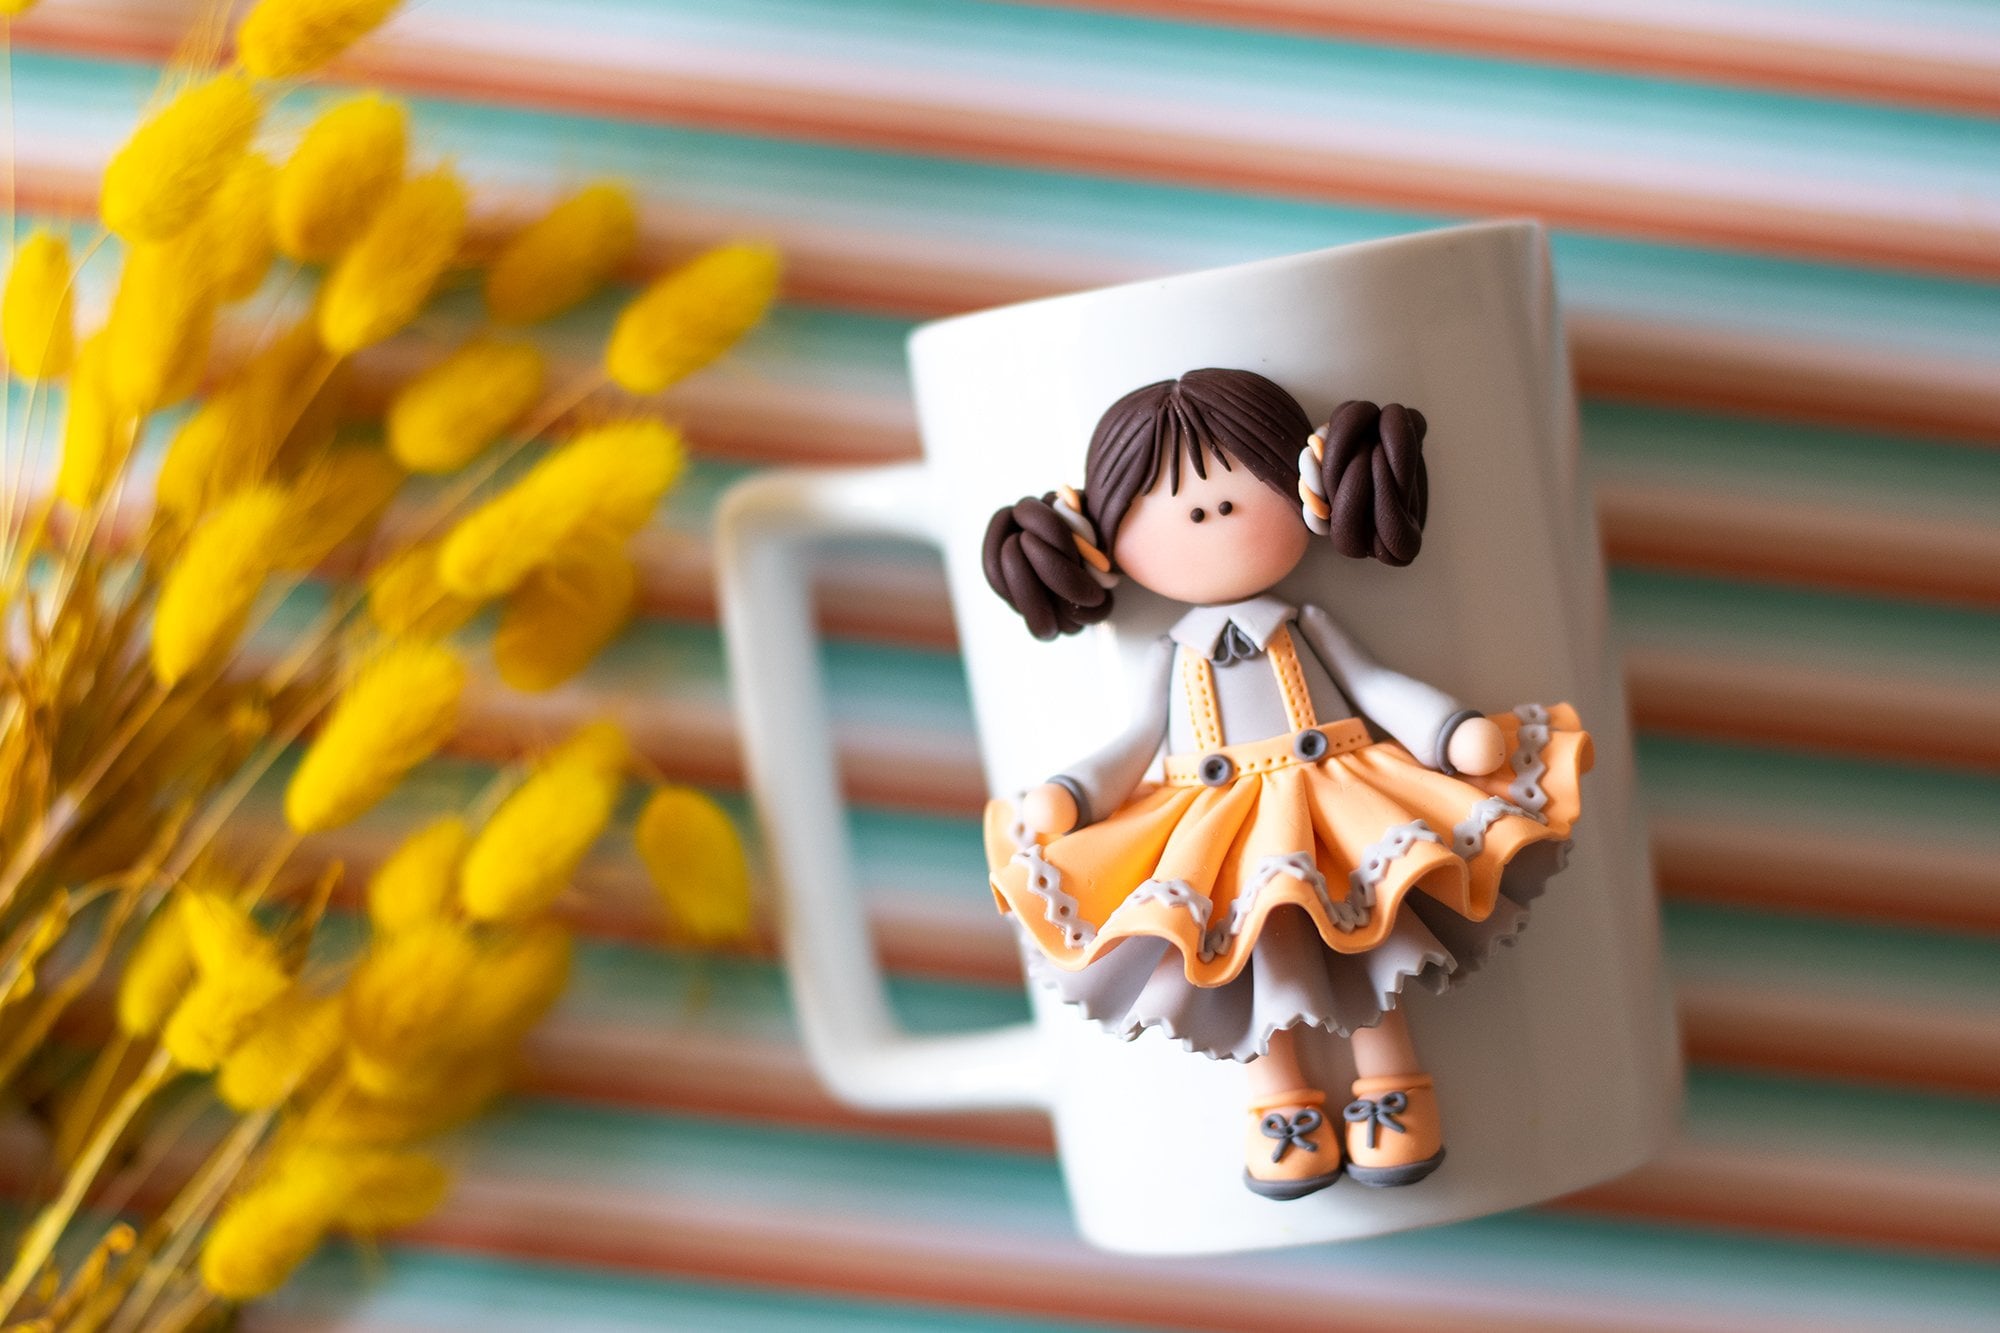
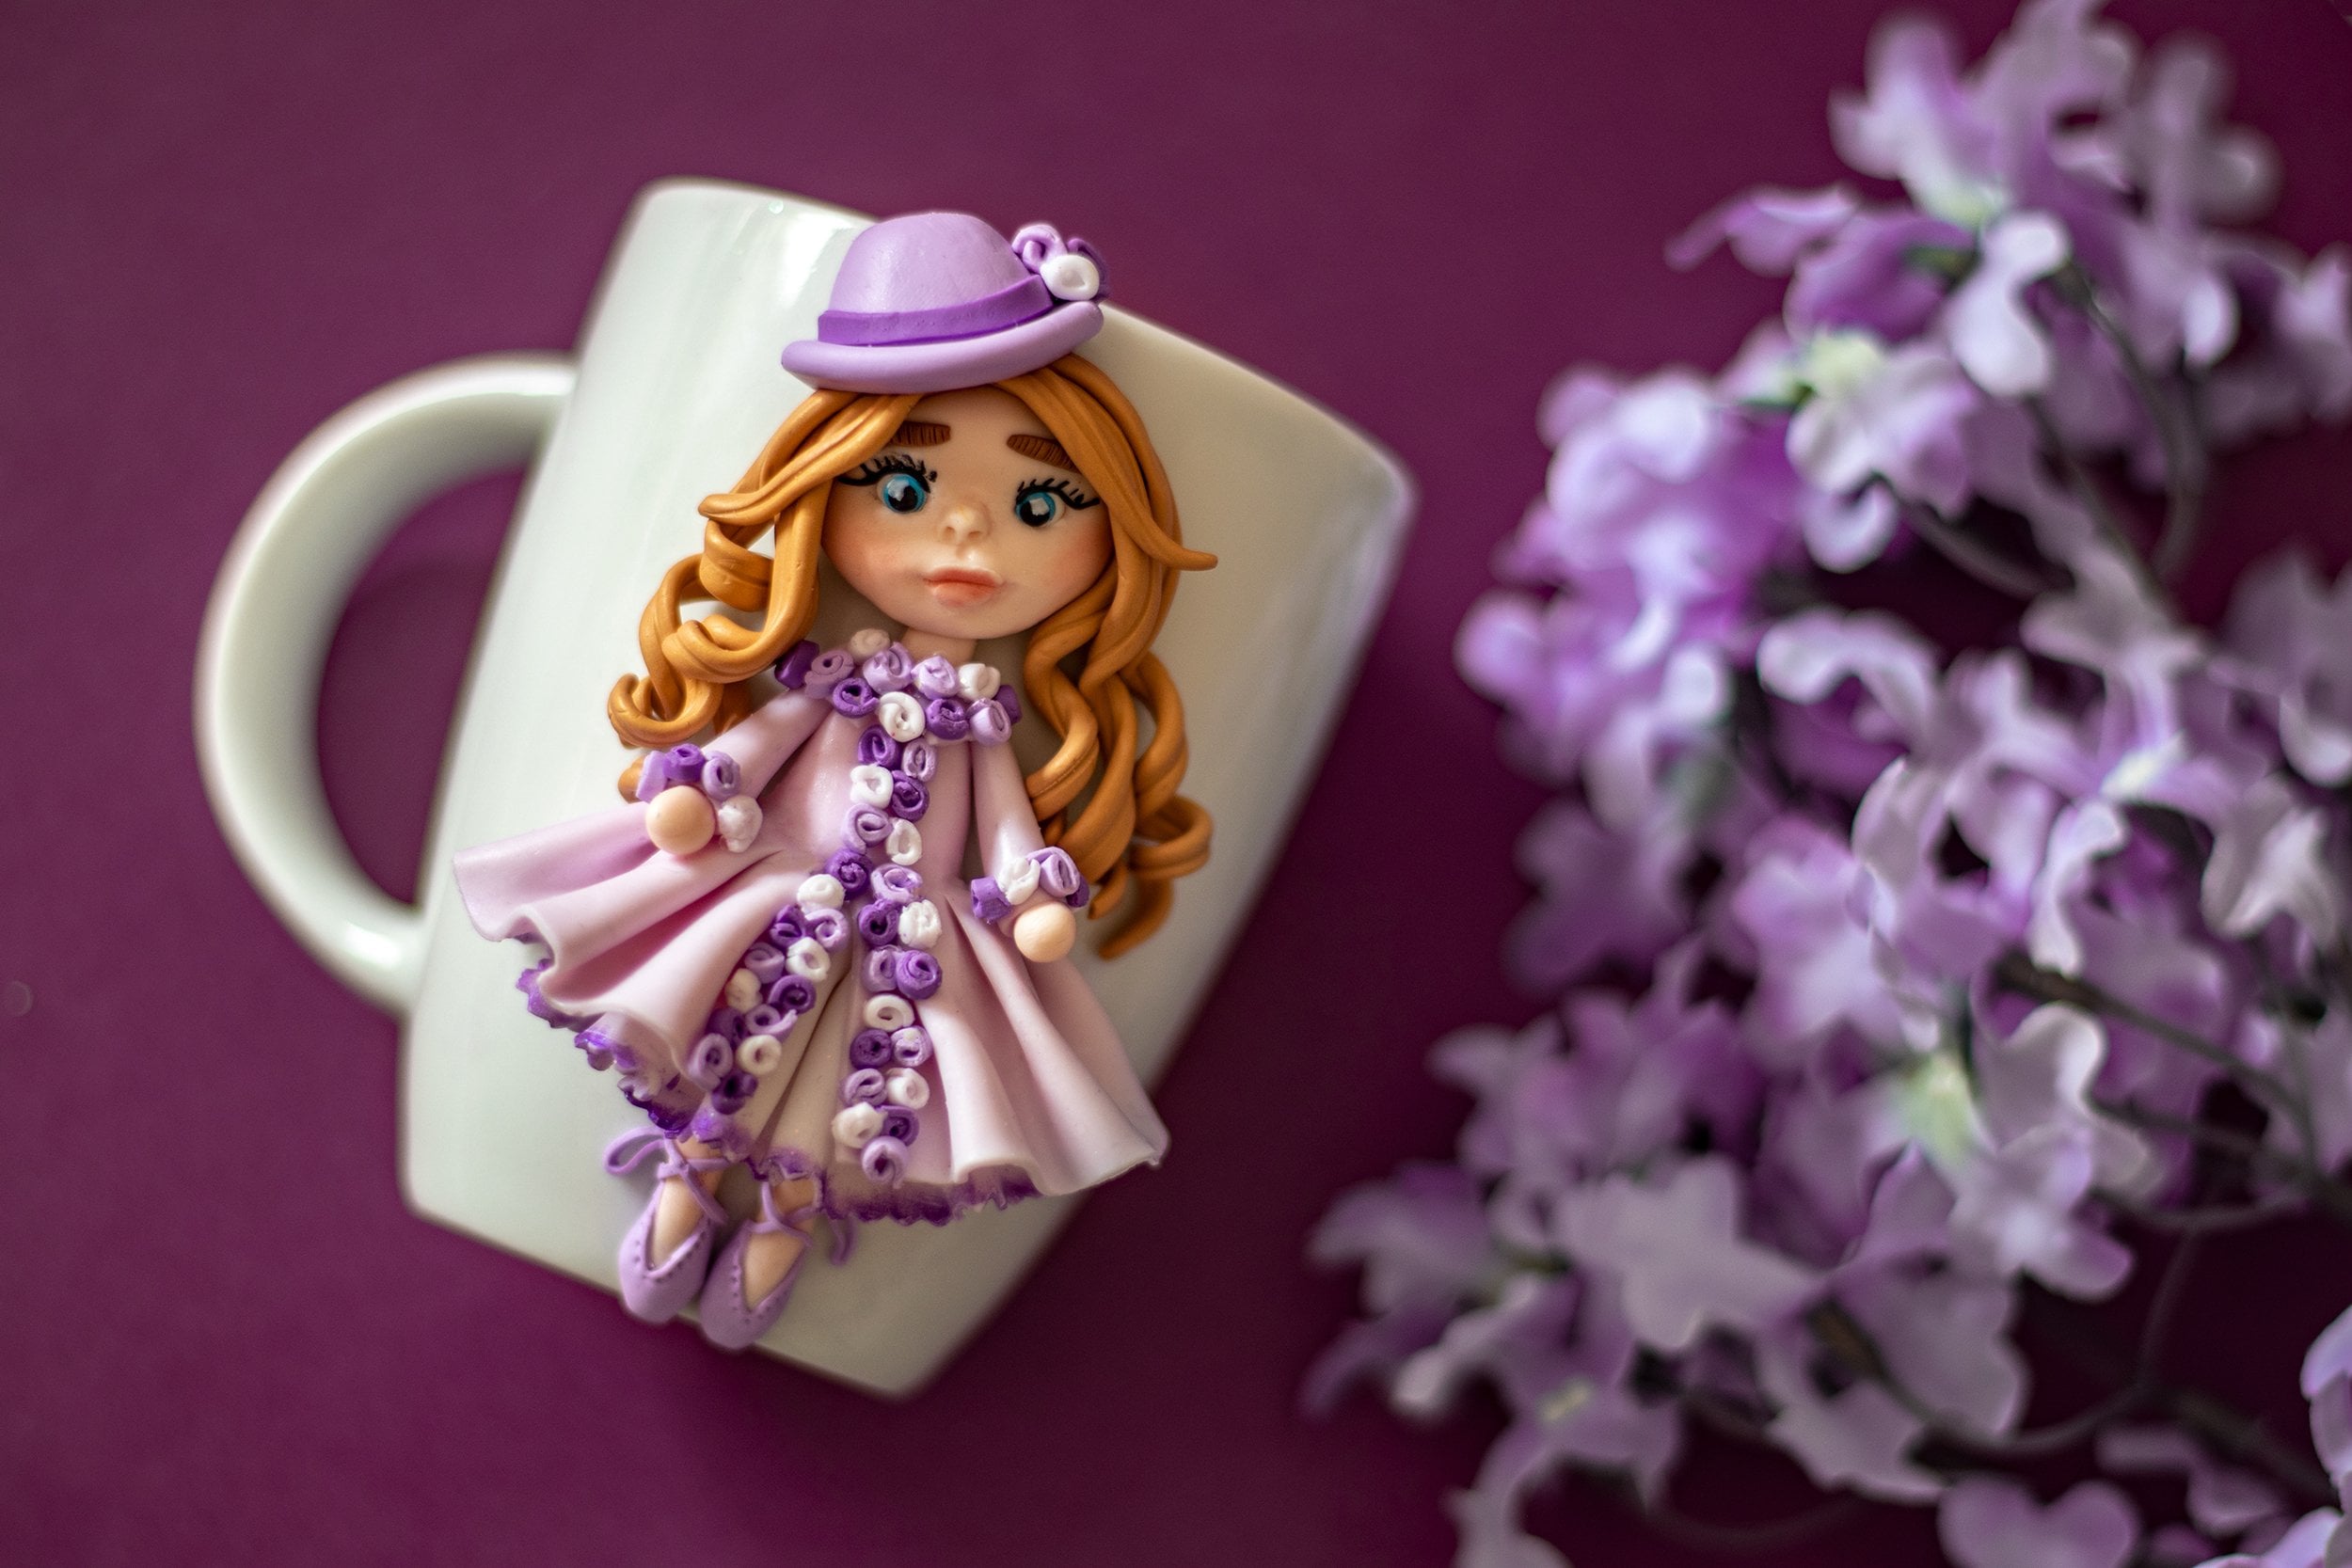
movie characters. Just a simple doll on a mug. Everyone make a different story Everyone tells
a different story. And you can be your own
fashion designer, you know. I hope you enjoy this video. Also I hope to see your beautiful projects
at the end of the course. Thank you guys for watching
and see you in the next one.
2. Face and Nose: In this video, I will
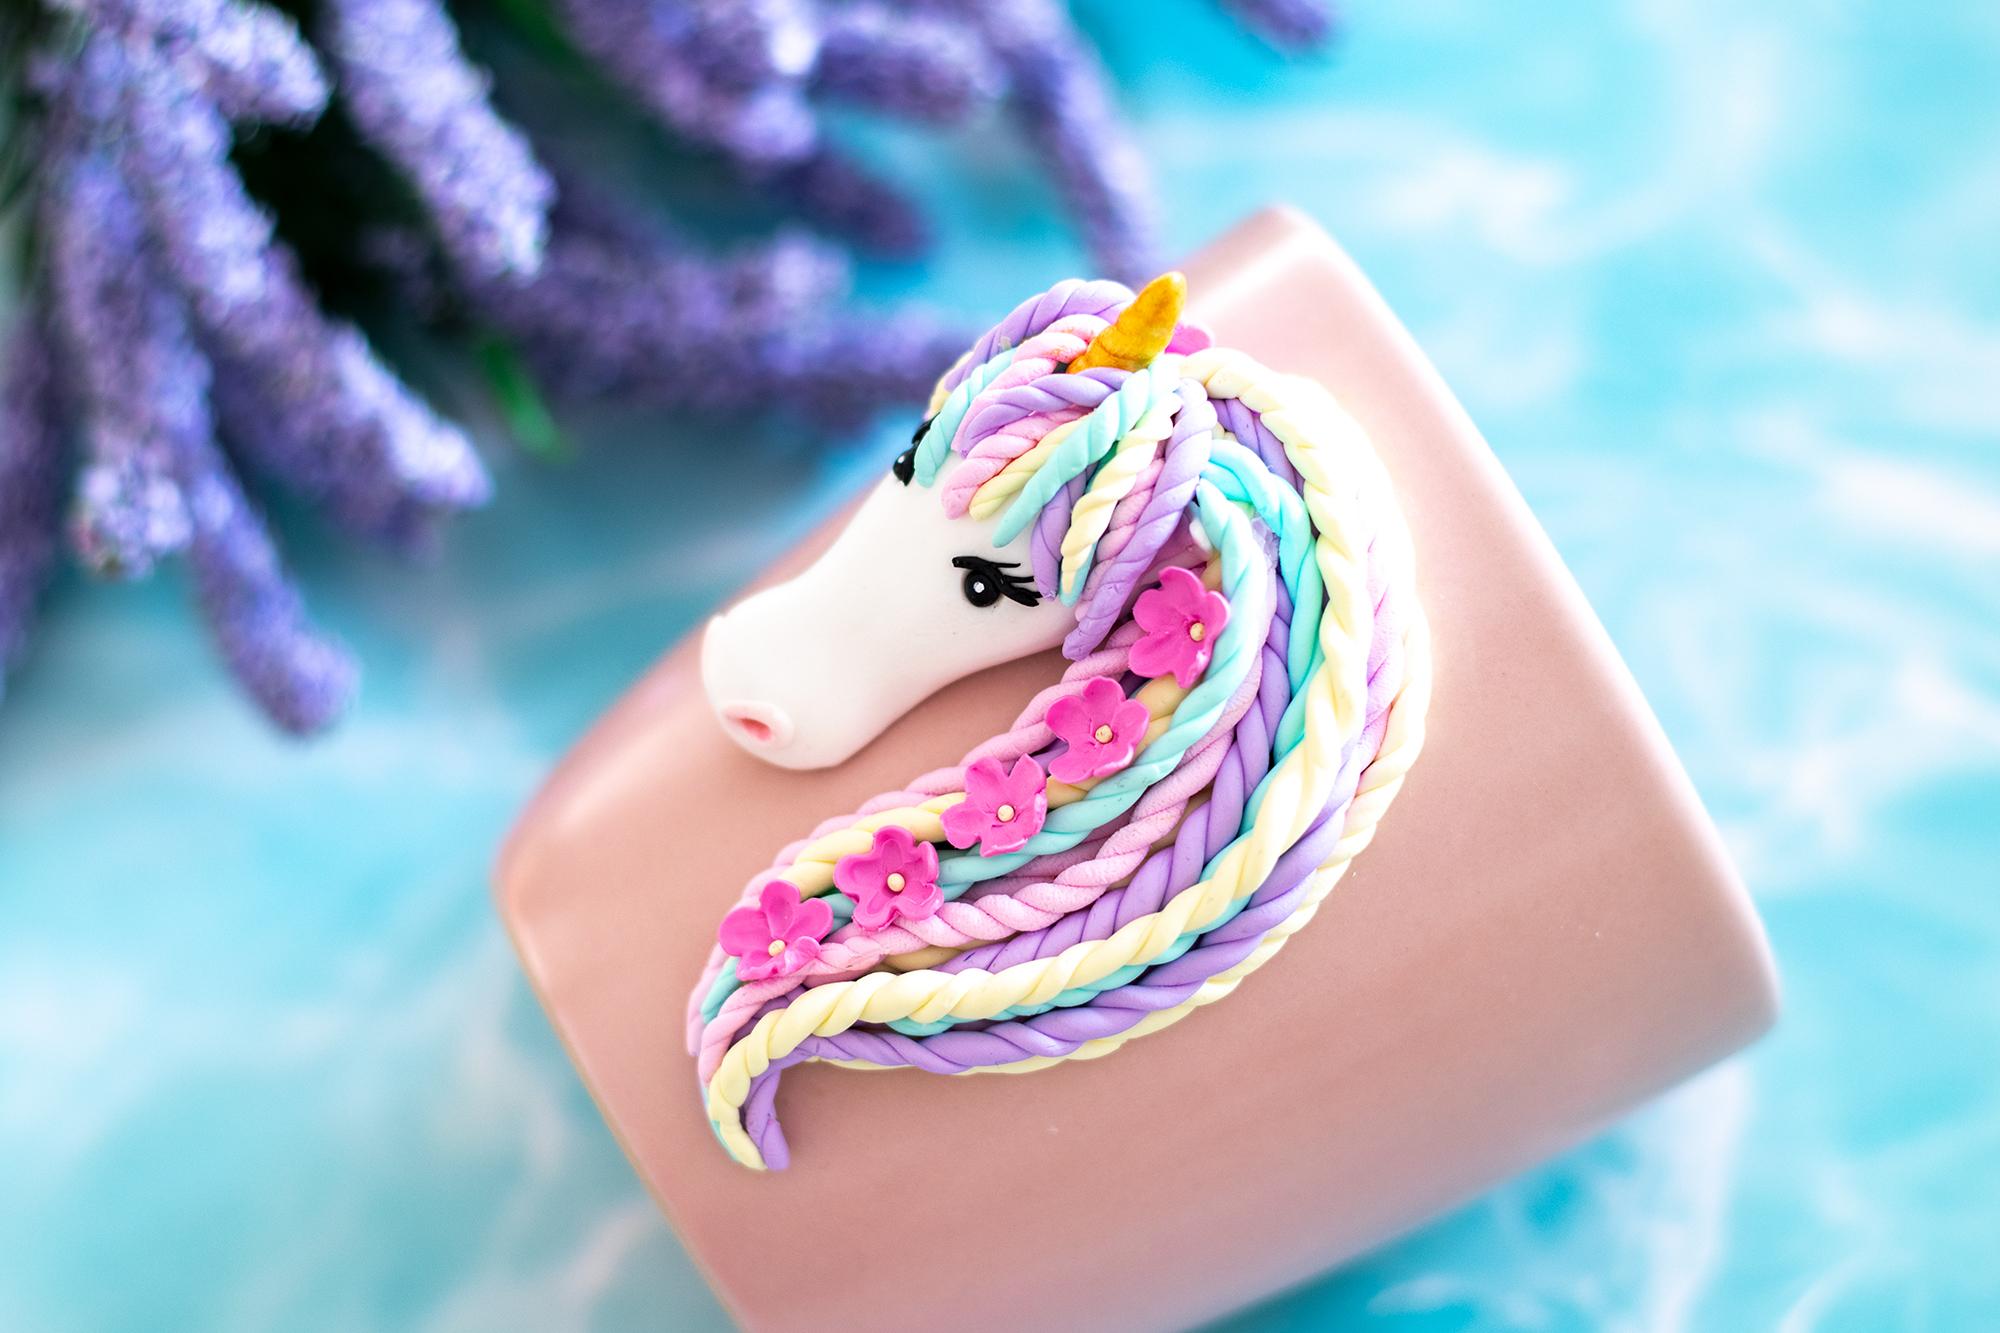
show you how to make a polymer clay
unicorn on a mug first of all clean your hands
and your working surface with a baby wipe because there are always some sort of
particulars and dusts that might be there
and sticks to your clay and the
work will look unclean. We use baby wipes throughout the
project for all cleaning purposes. After cleaning everything
we use toilet paper or some sort of napkin to dry everything The mug should be
faced up like this and the mug handle makes it stable
on the table. Don't worry about the
position of the unicorn because we can
move it around after baking and glue it in a
different position. Now these are the colors that
we need for these project. Most of them are
more Fimo pastel palette. But if you want to make a
pastel color in any shade, you can just
mix the color you want with white. But I used the pastel color
collection form Fimo that you can see on the
screen. first of all take a bit of white clay
and start kneading it. Then make a ball. Now put your finger on the one third of the clay little bit on the right part. Start a back and forth
movement with your finger. Until you have this shape. Now place it on the cup and smoothen the edges I am trying to shape the face with my fingers. Never worry about
your fingerprints because we always clean our clay with baby wipes. At this point I wish I wouldn't put it higher because
the original place was fine. Just put your head right in the middle of the mug. Now, I gently push two
sites inwards so I can shape the face a little bit. and also from the corners. I just want to have a arounder part in the bottom and
more of the hourglass shape on the lower end. Now, I'm using dotting tool with a bog ball, trying to mark the nose then I will just drag the end a little bit. Then I try to make them as symmetrical as possible Now roll a piece of clay. Now position it around the hole that you made for the nose. to I am just positioning it to the right place with my dotting tool. and cut the end with your exacto knife. Be careful. When you're taking
off the extras Now we do the same for the other hole. Just take a narrow clay cut the extra. Now with my dotting tool i am trying to arrange and blend the etras Blend these two parts as
much as possible to the skin Don't push, I am just dragging very very gently Now I am using my needle tool to blend the edges to the skin. we should especially blend the inner corners Now we use our baby wipe and try to blend everything and erase any lines or finger prints. Baby wipes are really handy when you're working with polymer clay or
wet wipes or any wipes that doesn't make your clay sticky. Now it's all cleaned up and looks much better.
3. Eyes: Grab a dotting tool with a bigger ball. bigger than the one, you used for the nose. Try to mark the eyes I mark it very gently to make sure they are symmetric and then I push the dotting tool further in the clay. In order to get same size eyes, I usually flatten
a piece of clay. and use my round cutters to
cut the identical amount of clay for the eyes. But it's not necessary. if you can measure it with your eyes. we just need two symmetric
balls for the eyes. then I push it gently to the eye socket. I tried to place them in the
lower parts of the eye sockets and I clean any black marks that might be there because of the black clay. Then I roll a clay to make it very fine and narrow. Be careful with the black clay because it stains on the lighter colors
I cut two tiny pieces and I roll them a little bit more to smoothen the cut and place it a little bit
lower than the eye and the other end. Just like a eyeliner wing.
I do the same thing with the other eyeliner.
Now I further roll the clay now we need really really tiny pieces that we can use as eyelashes.
we want to make our little unicorn as pretty as possible. Try to place them.
Smaller ones in font, and the bigger ones in the back. This is the tricky part. it needs a little bit of patients that we can put them correctly on the eyes. Don't worry, this is a beginner tutorial,
so this face part is the most difficult part. As soon as we are done with the face, everything gets much easier.
Now if we place the eyelashes for the other eye. Working with polymer clay usually needs a bit more patience, so that everything would look clean and perfect and
00:05:47.980 --> 00:05:50.660
it would be really easy to get
00:05:50.660 --> 00:05:53.120
frustrated and just give up, but you should just
take tiny breaks and continue when I am tired and some projects just go wrong, I just give myself a break And when I come back. I have more energy to put and more patience
to put in the project. I'm using this blush from Essence that I'm using
for a long time. The shade compliments, most of
my projects, I use it
00:06:31.820 --> 00:06:33.665
as a blush for the dolls But now I want to make inside the nose more blushed and more pink
because it's a unicorn... why not! I also put some blush around the part that is more forward so inside the nose and also outside a little bit. Just a tiny bit around. If you put it too much, you can just use baby wipes to erase and do it again.
4. Hair and Ears: Now for the hair part there are many ways that you can make the hair part first
way is by rolling the clay with one and
then two hands and then slightly distant
to your fingers. So make the clay longer, try that it be same size all over. Then. Just twist the
two ends together Just bend the clay and twist it around. Try to make the end smaller
as the human hair would be. If it's too long. Just cut it from the biggerpart, not from the narrower part. then I place it on the head. This is one way of doing that. If you are done with any color, just clean up your surface so that it doesn't
stain on other colors. The second way to make the hair is with something with smooth surface. like a cake smoother. This way, it would be same
size all over and it would be cleaner and better looking hair you should continue on to get the
desired thickness. Because it's too much
clay I just cut in half and I continue until the thickness is just right. Now I'm doing the same thing. Just bend it and twist it. Try to twist the hairs in the Same direction. The final look will be better
looking that way. And if you want to make
the end narrower, do not pull the clay like this, you should just to
twist it until it gets now. Now I put this on
top of the other one. and I cut the extra on the head. For making the hair if you don't have cake smoother any smooth surface will do I am using this package
of my face cream. It does the same thing so you
don't need anything fancy, or professional to work with the clay. It's the beauty of
clay that you can use the household items. Instead of needle tool, you can use an actual needle
or a toothpick. You really can be
creative with the tools that you use. So I cut it in half. and make two strings of hair hair The other way is to use an extruder. So you can just put some clay inside and then just
twist the handle and then you have multiple ropes
coming at the same time. It is really inexpensive
and can be very handy. This extruder thing. I bought my from Amazon for $9-$10 I'm just doing the
same thing to make the hair. Now. You just have to make as
many hair parts as possible. So I'm gonna just
fast-forward this video so you can just pause and make your hair parts
and try to be patient. so that the hair looks nice. For the Ears, I just flatten out a piece of white clay Cut a rectangle from it. And use my exacto knife to cut two long triangles for the ears. I flatten out another piece that pink
clean it as much as possible. And cut another rectangle shape. Just cut to triangles from it just the same thing that I did with the white clay I just place each pink part in
the middle of the white part. Just press them gently. I make a diagonal cut so I
can put it on the head. because the head is a bit round. I put each ear on the head. It is actually too sharp So I'm going to make the triangle
a little bit smaller. I try to attach the ears again The clay is sticky enough so it sticks to the head, but you should take a needle tool and try to blend the
backs to together. Both Fronts and backs. So make sure it's
really attached to the head We don't want it to break easily, after the baking part. I use my dotting tool to make a little bit of dent
in the middle of the ears and it also give me this opportunity
that I can just push the middle of the ears to the head and blend them
perfectly together. I make sure tat everything is clean and smooth with no extra lines around.
5. Hair attachment and Horn: Now it's time for attaching the
hair pieces on to the head. whenever you feel that you need to adjust the hair, you can twist further and adjust the size of the hair. Try to cut the little pieces and put some bangs for your unicorn. Then we are gonna make the horn, so for that I am just twisting a piece of yellow clay
00:02:49.720 --> 00:02:51.830
so this is the shape
00:02:51.830 --> 00:02:53.400
that we are looking for. I cut the amount that I need I see if it fits the head Then I make a dent with my dotting tool Then I place the horn in the designated area For the color you could actually use gold clay. that Fimo already has in the Fimo effects, but because not everyone
has that option, I just put some Mika powder. Color the horn with Mika powder. If you don't have
that option as well, you could use gold color eye shadow that you
don't want. Just paint on the horn. I put another coat of Mika powder It's really inexpensive. if you buy online and they are available in many colors. Then I clean out any dusts that there might be around the horn Then I continue with the bangs I fast forward a
little bit because I think now you have an idea
how to attach the hairs. Now that I'm finished, I see a little bit of dirt on top of the eye area, so I wanted to show you
how to erase those. I just use a Q-tip with little
bit of rubbing alcohol to clean out the areas that
I cannot reach with my baby wipe. Places that are so tiny and small. I just used my Q-tip with
hand sanitizer or rubbing alcohol.
6. 2 types of flower for decoration: So I want to add some flowers to my unicorn hair because it's spring and
she wants to feel pretty. I flattened out a piece of pink clay. I cut it like so...one
part narrower. and one part wider Then I grab my dotting tool, and try to make some dents
around the corners. and edges of that piece
of clay. Hopefully the video is more clear than my words. This is one way of making flowers. With polymer clay
without any cutter. I start rolling it from the smaller part to the bigger part. Then I use my needle tool and
go back and forth and around, like so. Then I cut it in half
with my exacto knife. Now, I use my fingers to just try to shape the edges. Now I have a beautiful flower that I can put on the head. So easy If it is too big. or too long
then you can just cut the stem, like so in half So it's now smaller. This one is pretty
and also simple so I love these flowers. Another thing that you can do
is with cutters. I have this flower cutter, six or seven flower shape. This is, if you have
a cutter, But the previous one is when you don't
want to use anything. Just take them off with my blade. And with my dotting tool I am just flattening the petals. Then I use my needle tool to make some dents
00:03:46.610 --> 00:03:52.715
in the middle I can also use a smaller
dotting tool for that. Shaped the petals a little bit inwards. Make sure that this
actually sticking to the hair. and I continue the same method For all the flowers. also the last one... I also wanted to show you
that we can do this also with a dotting tool. It might be a little bit easier. I put it on the attachment of the hairs I changed the position of my unicorn a bit. I took it down a bit But it is totally unnecessary because
we can do it after the baking. Then I roll a piece of yellow clay I am cutting a little bit of pieces so I can put it in the middle of my flowers I am making tiny balls Then I put them inside with my dotting tool.
7. Bake and Glue: So now our art is
ready to be baked. I preheat the oven to
110 degrees Celsius, and I put the mug on a piece of baking sheet and put it in the oven and bake
it for one hour. After one hour, I take it
out and let it cool down. So now that my mug cooled down. I put my finger nail under the doll, and push it a little bit. Then it comes right off. Sometimes it comes off as a
whole and sometimes like now it comes off in separate pieces. In this case we
glue each piece separately on the mug. First I clean the mug thoroughly Then I put a block of clay under the handle so I can glue the
doll exactly in the center. Please attention at this point, if you are making this mug for right or
left handed person. Because if the person
is left handed, you should glue the art on
the other side of the mug. I use Uhu epoxy glue
for my projects. This one is the strongest
one I found in the market. and it takes 90 minutes to dry. I mixed the equal
parts, of both glues. I put the mixture on the back of my work and I'm being
careful to not make a mess. I leave some areas without glue so that I can put superglue later. I also use a toothpick for smaller parts.
So I don't make much from it. I also use superglue so the
doll doesn't slide on the mug. Until the epoxy glue dries and make
bonds. Now I use few drops of
super glue so that my art will stick instantly. Now I placed the art in the center wait a few seconds until super glue dries. Then I do the same steps for the head or any separate parts. I use the epoxy glue. and some drops of superglue. Now I place it exactly where it supposed to be. wait a few seconds until it dries. I check if any glue is where it doesn't supposed to be. Now, we should wait for 90 minutes until the
glue dries completely.
8. Final Results: So I hope you enjoyed
this tutorial and I hope to see your beautiful projects
at the end of this course. Thank you so much for watching this course and have
a beautiful day.
 Ela Piero, Polymer Clay Artist