Transcripts
1. Introduction: Hi guys, welcome to my course. In this course we will learn
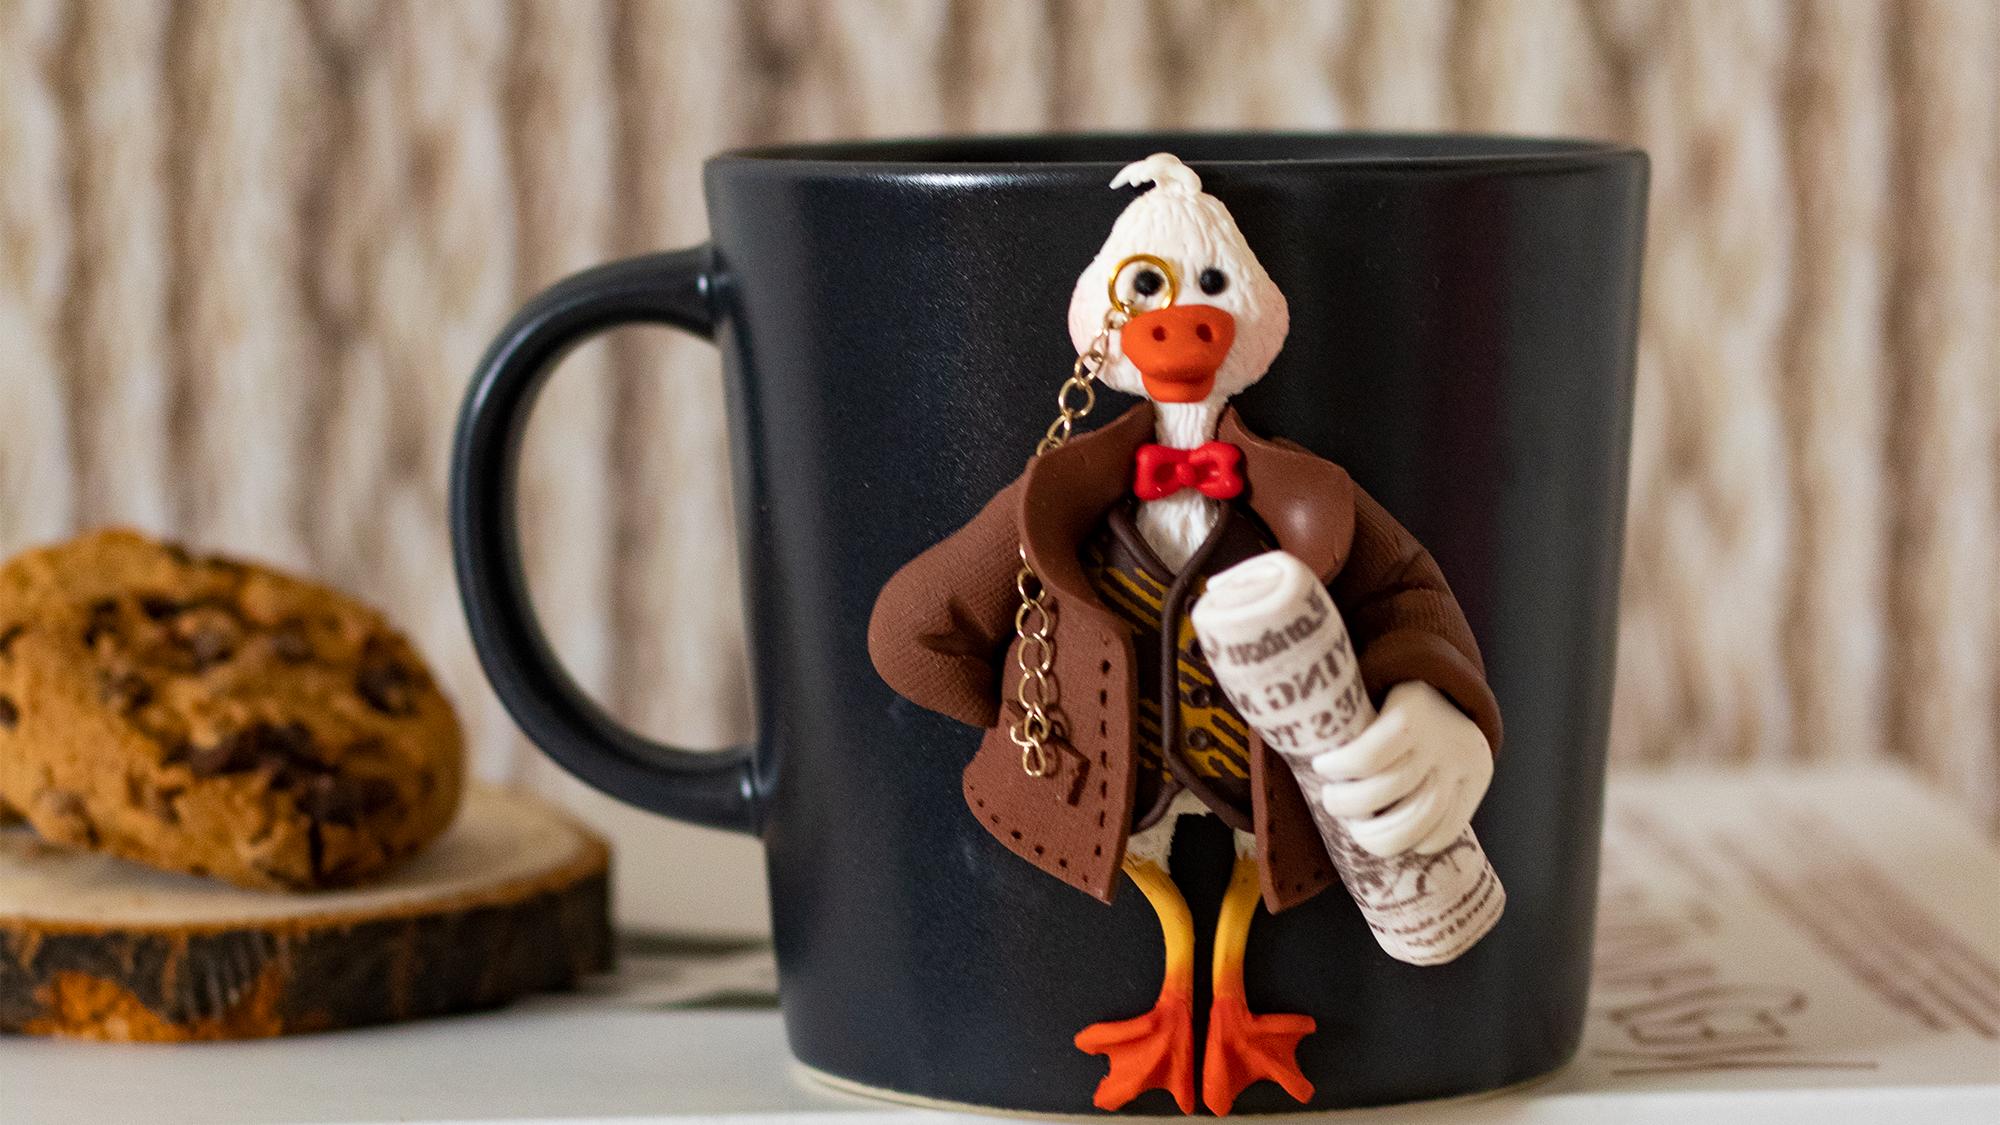
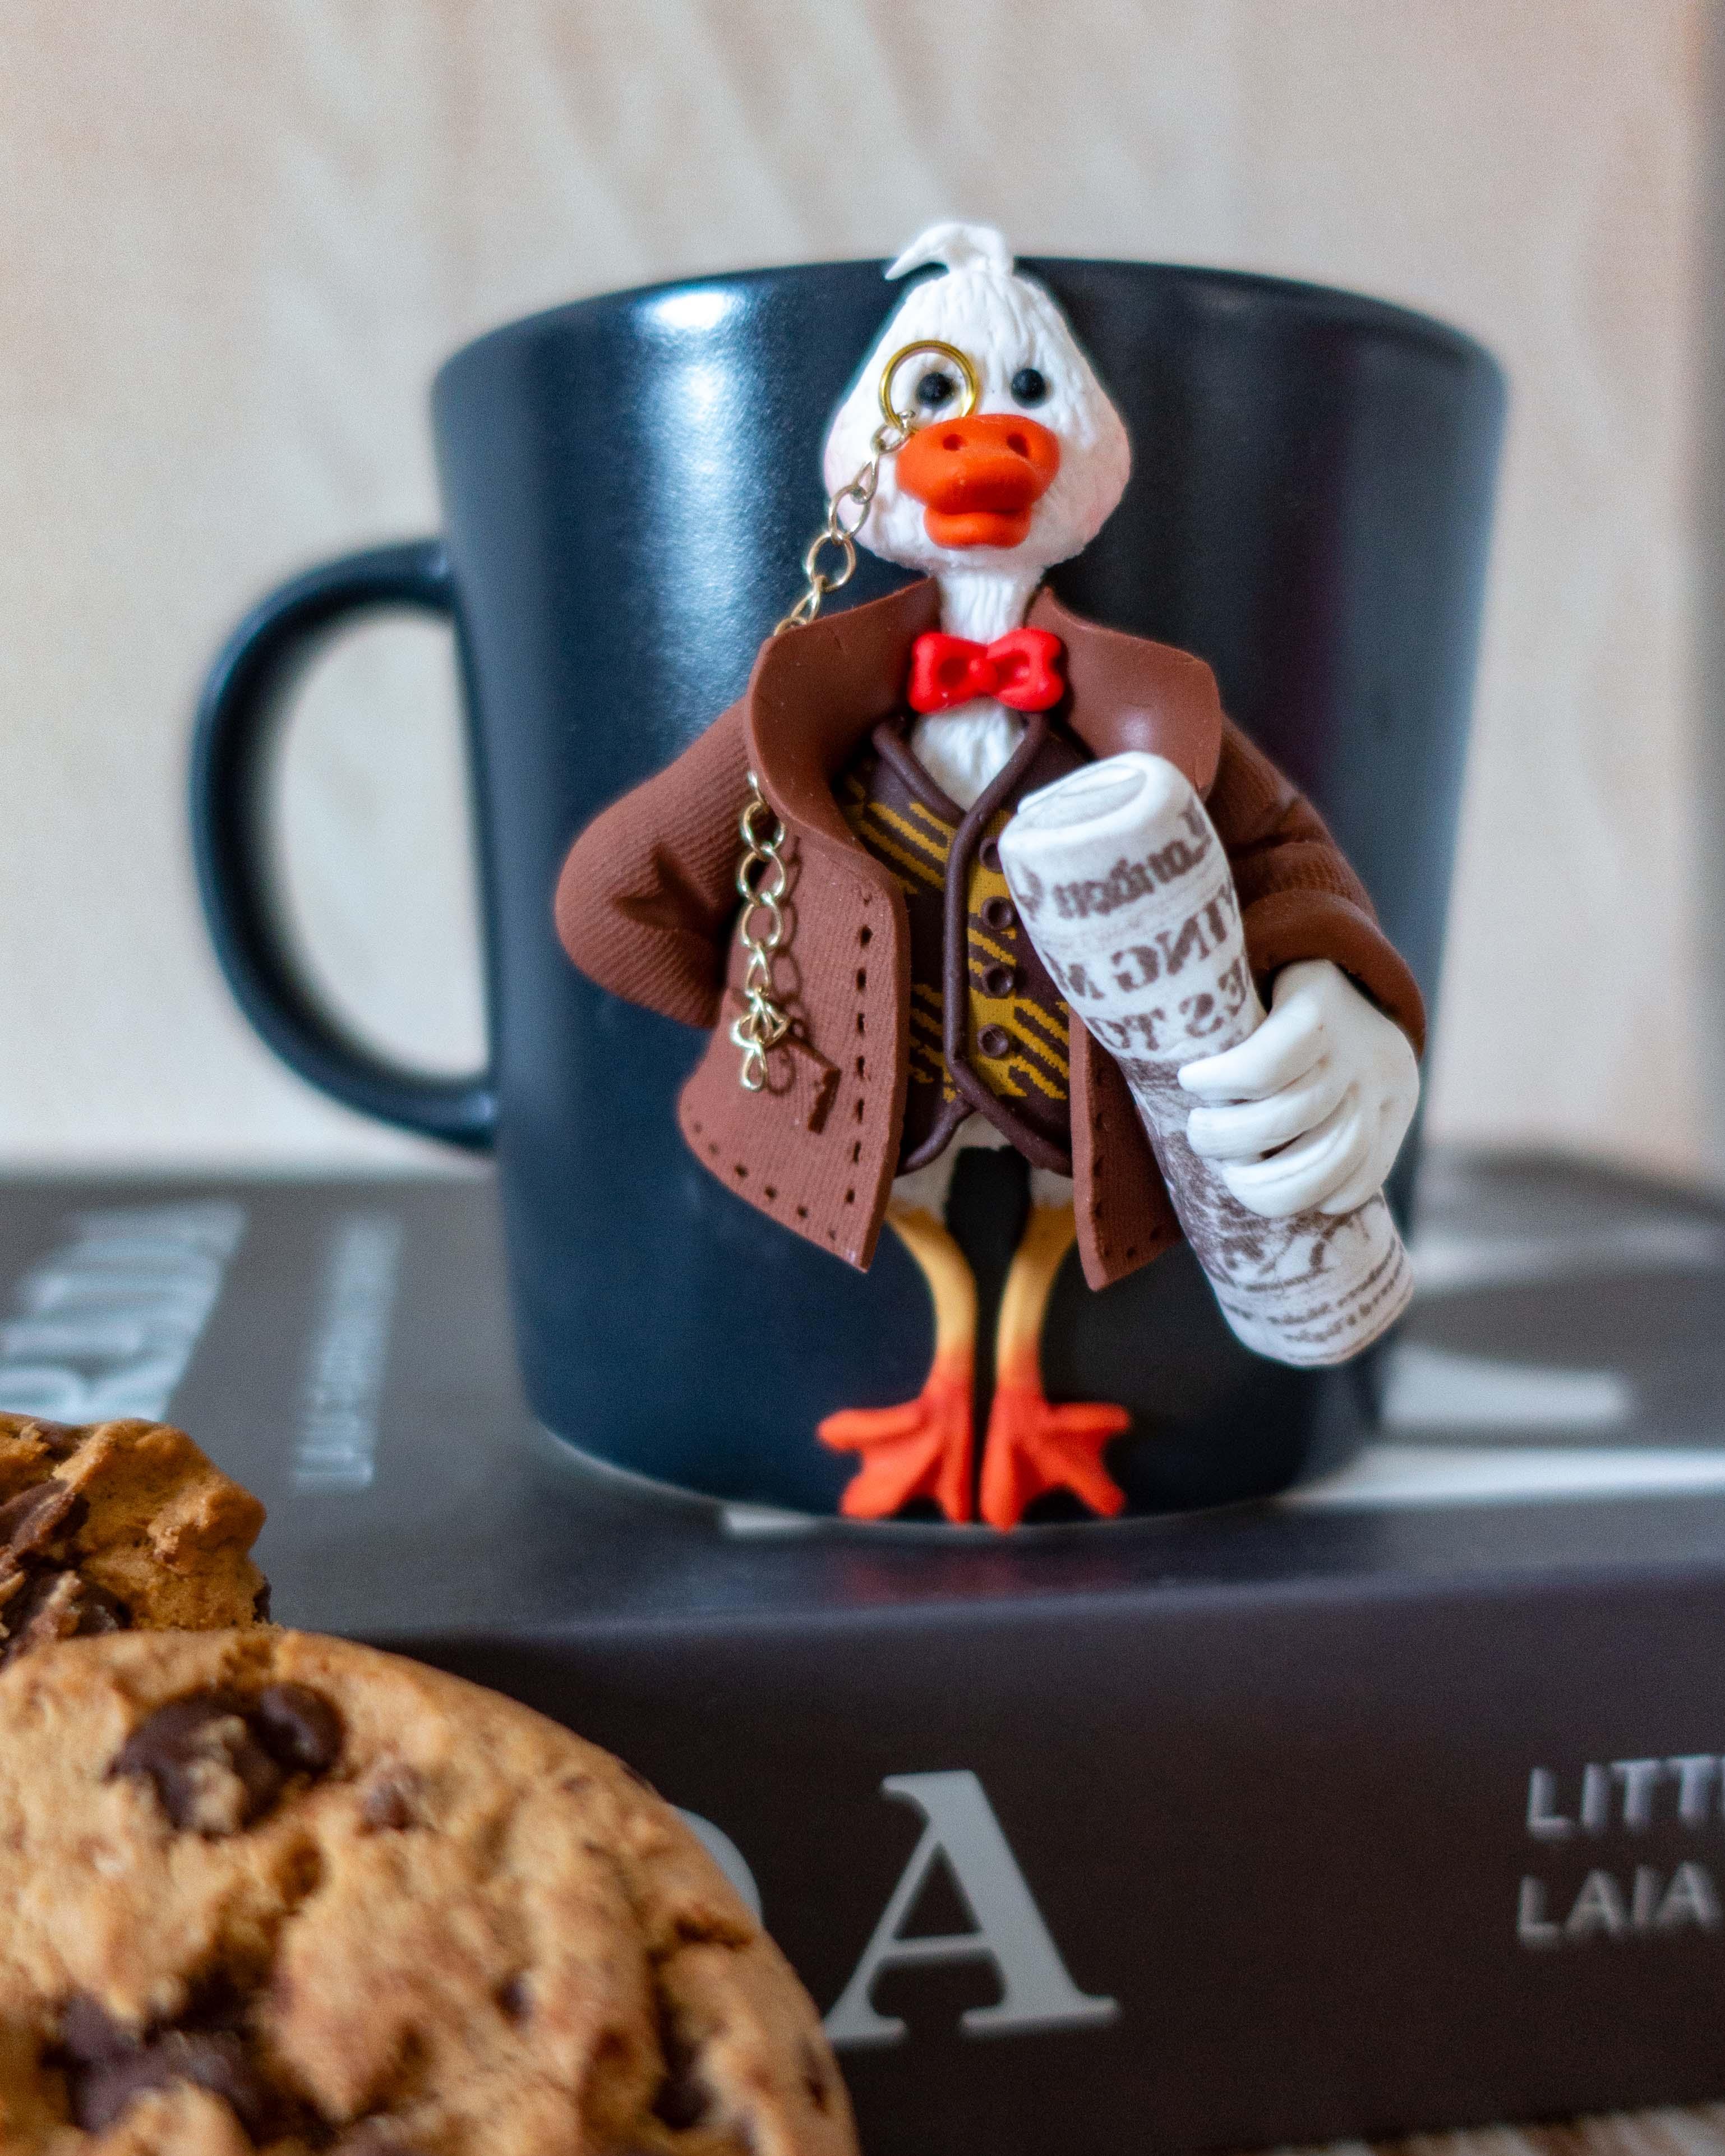
how to make this cute, but it's sophisticated
polymer clay to the mangoes on a ceramic mug. So this is more of an
intermediate or advanced course. I often get asked if there's mikes are usable and the
answer is absolutely. You can enjoy your hot
or cold beverages. In this marks every day. The only thing that you
should keep in mind is that these marks your microwave
or dishwasher safe. So as long as you handwash them, you can use them for
many years to come. What do we need to make? This gentleman goes
for this project unit, polymer clay in
different colors. I use the brand name female, and I use famous soft
for the whole project. You also need a pasta
machine or a rolling pin. I use my personal machine, but you can also use the
rolling pin for this project. We need exacto knife starting tools and also minute
silicone tool, the one with the flat. Like this, we also
need needle tool. Or if you don't
have a needle tool, you can just use a needle or you can use a toothpick for that. Maybe late Q-tips and rubbing alcohol tool for the cleaning purposes and also
VNet to VNet or wet wipes. They also need a piece of
fabric that we can use to transfer the texture
on the coast. We also need dry pastels and
also a brush to use them. We also need a sulcus. Create this pattern that
we used for the West. To just to divest. We also need transparent feel. Possibly a printer and to make the newspaper or make
the prints on the newspaper. If you have round cutters
for this project, your job will be
much, much easier, So they would need that as well. We also need a piece of chain, or one of these. I took this from my necklace. Can also use your accessories
for this project. And also they need, I'm printing ink as
you can see here. For this part of the project. Also need epoxy glue that
I use this brand and also superglue for gluing the
dot on the mark after bake. I hope you enjoy this course.
2. Head and Body Structure: In this video, we
will learn how to make the head and body
structure of our goose. First of all, I clean
my working so fast my hands and my tools and
move it over to wipe. And I tried them with a
napkin before I start. This step is really
important because there are always some dusts and tiny
particles that you cannot see, but then they stick to their clay and
removing them is hard. I use as a piece of
toilet paper under my mark so it doesn't hit the ceramic that
I'm working on. I stabilized my complete the handout on my
working surface. I take a piece of
polymer clay in white color and start
kneading the clay. Then I make it a bowl
in the palm of my hand, place the ball on the upper part of the
mug close to the room. I tried to shape the
top a bit pointier, kind of like a triangle, and I've been flattened
the upper part. So this is the shape
that we are looking for. Now. Take another piece of clay and make a ball in the
palm of your hands. Then start rolling it. From the middle point. We want the piece to be
narrower in the middle. Cut the top, place it
right under the head. Cut the extra clay
from the bottom. Now take another piece
of white clay a bit bigger than the head
and make a ball. Place the ball on the mark, the start, pressing it. Then try to shape
it a little bit. Fev1 to spread the clay from the sides but keep the
value in the middle. Then I put my knee right
at the bottom of the math. I'd push it a little bit so
that we have a pure shape. Then place your finger on the lower side and
spread laid down a bit. Our goal here is
to define around underbelly and also
make the thighs. Then grab your needle tool and blend a line between
the neck and the body. We want to have a seamless
transition there. After you've cleaned everything, use your vet five to
clean and smooth area.
3. Legs and Fur: Grabbed the color you made for the legs
and make your bot. I made this color by mixing yellow with a little
bit of magenta, then rolls the bar from only one side and
cut the middle part. We need a bit of thickness on one side all the way to
the cleanest other side. Now repeat the process
to make another one. Now, attach each
leg, two each time. I try to bring the legs closer
parallel to each other. Cut the extra legs so that you have space to make
the feet 40 feet. I make two bolts in the orange color and press
them gently on my work. Try to go for similar amount of clay to have identical feet. Now take each foot and try to
make a triangle by pressing all the sides with three fingers and
place it on the Mach. Do the same thing
for the other foot. Now take your dotting
tool and start defining two lines on the foot. Repeat the process. For the other foot. You now can either
use your exacto knife around shaped cutter to
cut them zipped feet. Obviously easier
with Around Cutoff. Try to clean the
shapes. Video data. Then blended fit to
the legs. With that. Take one small piece
of white clay and put it on the same between
the leg and the thigh. Like a band-aid for
the other side. Now take your needle tool
and blend it a little bit. Now with your needle
to start scratching the clay to our little strokes
so that it looks fluffy. Like continue doing that for both ties under the
head and the neck. I had a little bit of extra
clay on the left side. I took it out and continue
making the first. Then you reach the part
between the head and the neck. Blend the two with first, I continue making deferred
until the bottom of the lake, but let's stop
after that because the clothes will cover
the rest of the body.
4. Face: Take a piece of clay in
orange color and make a ball. Then start rolling it from one end and then
press it gently. And you're working
with your fingers. I'm trying to kill
it a little bit. And then cut the extra clay. Take another piece of orange clay and make
a ball rolling, get from only one
end and flatten. It should be a bit darker
than the top part of the cut. The extra clay can be a
little bit with your fingers. Size it on the head and
cut it if it's too long. I use my dotting tool
to make their nostril. Then I clean any dust
that might be there, the clay with a Q-tip
and rubbing alcohol. By the way, you can clean
your clay with with pipes or with Q-tip
anaerobic alcohol. Now, I think to unmake
to round shape, dance on the head
to put the eyes. For making the eyes even
need to small black balls. You can either measure
them by your eyes or you can use a tiny round
cutter to cut them out of the clay and makes
the eyes then place them in the role, a fun piece off right-click
and cut it into pieces. I once again use my dotting tool to define
a place for sub here. I use my needle tool
to grab each hair and stick it on top of the
head and into the debt. Now use a latch or
a brown eye shadow or soft pastels to
blushed cheeks. All of it. I use my black
font faces to do that.
5. Plaid Pattern and Vest: Flatten a piece of brown clay with rolling
pin or pasta machine. Cut a piece off your
silky screen that you need and paste
it on your clay. Take the iClicker
color that you want. In my case, it is this mustard color and
place it on your screen. Then use your blade and distribute the pin through
out the safety screen. By the way, before all this, makes sure that you're
actually correct period, is suitable for your clay. Some acrylic paints
don't play well with polymer clay and they
don't thrive under Clay. Wait for a few minutes
and then take off screen. At this point, be careful
not to tear your clay. After your paint
dried completely. Cutting mat that you
need for the West. Cut a V-shape from
the rectangular. Cut, the clay from
the media laughter. We also make another
v-shape from the butter and also make it, it caught from the bottom. Aiming for t score. British part under cuz can cut the x twice with
your exacto knife. Here's your flat in the silicon tool to push
the extra clay in bars. Now, a piece of brown. They use a tiny round. To cut some brown shapes. We want to use this as buttons. If you don't have these cutters, you can also just measure ten mount with you
guys and make them. You're starting
to smallest debt. The middle of each button. Grabbed a piece of brown
clay to roll it out. It is very fine. I use my cake is
smoother to do so, but you can use your fingers or any other smooth surface
that you have to do. So use the narrow rope that you made to cover
the dishes after this.
6. Coat and Bow: So for the latter, a piece of clay with your rolling pin or
personal machine. For the code, I use this
lighter shade of brown clay. I wrap some cornstarch and the clay and then I
placed a piece of fabric on top so I can transfer the fabrics
texture to the clay. I pass the clay with a fabric
through my pasta machine. But you can also use a
rolling pin to do that. Then I remove the fabric and also dust off any
extra current star. I also use my dry pastels, shadow a bit on my clay. We'll have the
texture to stand out. So then I cut a
rectangular with my blade. Then I bend my blade and cut the bottom part and
also the middle part. Then I use this rotate that it took to make some
stitches on the edges. Ben, place each part on the goose and turned
over the color palettes. Then leave some extra clay
on the side and make a cut. Make another cut
parallel with the head, and then cut the extra
clay from the sides. Repeat the process
for the other side. These extra parts to fill
the gap between the code. Use your silicone
tool with flat end to push any extra clay around
the edges in white. Cut, a narrow rectangular shape. It is stitches to use as
the flap for the pockets and do the same for
the other side. I use dry pastels in orange color to blend the color between the
feet and the legs. And also can to
defeat a little bit. I flattened piece of
clay and then makes the fabric texture on
it to use for sleep. Then grabbed a piece of
cake and make a ball. Roll it on your surface from one side to have a disruption. We want to use it
for the left hand. I want to make the head in a way like he put his hands
behind his back. So I care of the
bigger part a little bit to dry it to his back. When we are happy with
the results of the cuts, a piece of clay to
make this leaf. Try to cover it with disbelief
and cut an extra clay. Planning. Use your needle tool to make the rain clouds
where the arm bends. Then I suddenly decided
to change his hairstyle. As I felt too fancy. For this current hairstyle, I bet all his hair to what side. Do the same thing
that we did for the left half sleeve. I wrote the edge up and press it a slightly
with my finger. Then I rolled it around
the Cutex trust. Again, make two
creases on the elbow. Video needle to place
their hand on the goose. Make a ball with a bit of
white clay and flat it a bit. Your fingers. Then use
a scissors his fingers, or make some feathers. A piece of red clay and cause a tiny rectangular shape ticketing tool and placed it on his neck. Make two tiny drop shapes and placed in front
of each other. Here's your dotting
tool to make, to dance in the middle part. And then place the bulb can make a tiny ball with a piece of clay and place it in
the middle to complete.
7. Monocle and Newspaper: For his monitor, I
sacrifice my necklace, but you can use any
change that you can find and sizes, right? I attach the chain to an earring jump ring and a
place the ring on his face. Then I secure the chain
under his pocket. For the newspaper. I use transparent film. I put it in my printer and
print a tiny newspaper. Then I flagged it a
piece of white clay and transfers your paint
into the clay. Just use the Smooth
tool to make sure all the details have been transferred completely
to the clay. Then I remove the fill and cut the clay to
the size that or what. Then take the clay off and
start rolling the clay. I cut half of the newspaper as the role was just too
thick for my goose. Then I placed the newspaper
in his hand and security.
8. Bake and Glue: When I'm satisfied
with the sculpture, I preheat the oven to
110 degrees Celsius, top and bottom heating. Then I place them on a piece of baking sheet and
put it in the oven. I baked the clay for one hour. After one hour, I take them out and let it
completely cool down. After that, it is
time for gluing. Remember we use
the mock handle to stabilize that might kick. The dog is not in the center. We need to glue it in
the center of the mark. Now, I place my someday, blow the doll in various
places and it snaps off. Please note that you
cannot change your mike after he picked it up
because it's already full. Like the original market. For example, I cannot
glow my goose to this green line because it just does not rest on the
market, doesn't fit. I clean my mug with a bed wipe. At this point, you
should know if you are making their mark for a
left or right-handed person. Because if the person
is a left-handed, you should clue the goods on
the other side of the mind. I also tried a mug
or completely, and I put two blocks
of clay under the handle to see
the center of them. Ok. I use epoxy glue for all my projects. It is the strongest color
I found in the market. It also needs super glue. So first I mix equal
parts of my epoxy glues. Then I started placing the glue on the back
of this counter. For smaller purse. I use the thoughts peak
to be more precise. I leave some places like back
of the thighs without glue. I've put a PDF superglue
back-office size later because my epoxy glue
takes 90 minutes to dry. And at this time the goose can sleep to locate from the cup. So we use super glue so
that it stays in place. Now take your door and placed it carefully in the
center of the mark. Wait a few seconds. Super glue dries. Then you can use
a Q-tip to clean out any extra glue
that are squeezed out. Now I wait 90 minutes until
all the glue dries cockpit.
 Ela Piero, Polymer Clay Artist