Transcripts
1. Introduction: Hey friends, have you
seen this pattern before? Of course you have. Did you know that it has a name? This is called an OG pattern. Today, I'm going to teach you a little bit about this pattern and I'm going to show you how
to make one in Procreate. I'm gifting you my
OG pattern guide and Lauren wager from
Color Collective has graciously allowed us to use a color palette
from her new book, palate perfect, volume two. I've just received
this as a gift and it's my new go-to for finding color palettes and getting
out of my comfort zone. You can find a link to her
book in the resources section. I'm Katie from handmade. I'm an artist and designer
teaching Procreate to beginner and
intermediate users. I'm a student as well, and I'm constantly
learning new things. And I love learning
new techniques and showing you how to use the techniques that
I've learned as well. If you've wondered how to create that OG pattern in Procreate, but haven't really
figured out the trick. Today's class is
perfect for you. Let me guide you
through the steps of creating an OG pattern. Come and learn with me
and let's get creative.
2. Tools + Download : Hey everyone, welcome
to today's class. Are you ready to get going? First, let's go over the tools
and resources we're going to need to make our
ODE pattern today. You'll need an iPad 8th
generation or higher, or an iPad Pro like I have, you'll need your trusty Apple
pencil or another stylist. I like this one because it is pressure sensitive and creates
really nice line work. You'll also need
the Procreate app. I've also included a
resources link which includes perch OG,
pattern guide, the palette, perfect
color palette, which we got as a generous
gift from Lauren wager. I also have a couple of Procreate brushes
from perch handmade. And you can find my Pinterest board for
inspiration on repeat patterns. Take a moment to download your resources into
an easy to find file. I like to name mine OG pattern. The next lesson, we're going
to learn what an OG is. Stay tuned.
3. What Does Ogee Mean?: Now that you've downloaded
your resources, it's time to learn
what an OG pattern is. Have you heard the
term OG before? What if I showed you this? The OG pattern dates back
to the 12th century. Sometimes you hear it referred
to as the morocco design, since it was originated
in Ancient Persia, it has an onion-like
shape with the S curve, which really gives it
that distinctive look. It's a super versatile pattern. You can find it in
modern clothing. It's dynamic in
wallpapers and fabric, and you'll find it in decorative
architecture as well. Oh gee, it's the
predominant name given to objects, patterns,
arches, elements, and curves that have a
distinctive s-shape with an upper inward curve and
a lower outward curve. Because of its
serpentine like nature, the OG is known for
its rhythm and flow. In today's class, we'll be
making an OG repeat pattern. The next lesson we're
going to upload and go over the
guide in Procreate. And also upload the color
palette to procreate.
4. Canvas + Color: Okay, friends. So you've learned
what that pattern is. Now it's time to get started on getting your Canvas
uploaded into Procreate. Begin by going to your files. It will usually go to
your downloads first. You can move it to a new file. I call this one OG
pattern tutorial. And it's in my OG resources. You'll have your palette, perfect color palette
from Lauren wager, which she was so nice to
gift to us for this class. And you're the perch
OG pattern guide. Clicking on either of those in your iPad will download
it directly to your iPad. I've also included the
perch handmade OG brush set for you to upload into
your procreate app. The thing about this pattern
guide is that I usually go over how to create the guide
in some of my other classes. But this one is a little
trickier because I had to use Affinity Designer to create
that perfect S curves. And maybe another day we'll
go over Affinity Designer, but I haven't quite
gotten there yet. So stay tuned. For the palate guide or the palette perfect
color palette. You should really check out Lauren's book palette,
perfect volume too. She also has volume one for some great options for colors. If you get stuck,
remember to snag her book using the link
in the resources tab. Since I already have
mine downloaded, I'm not going to hit these and have them go into
my Procreate app. I'm just going to open them
up right now for you guys. Let me show you how
this guide is used. First you have the
guide and your layers. And if you open that up, you've gotta do not draw area. And then you have
your selections. For now we're going
to forget about the selections or guide that do not draw area is
exactly what that means. Don't draw on that area when
you're creating your design. If you do end up
drawing in that area, it will cause your pattern
to not repeat properly. The selection area is going to show where your
pattern is going to flip. You'll use your selection tool. Make sure color fillers off and you have your saving loads, and I'll show you how to use those when we get to
that part of the lesson. So we can close up the guide and then we
have our poverty group. And this is where we're
going to make our designs. You always need to fill in
your background color fully, even if it's just white. Then each layer for each color group you will place on a different
layer for your pattern. I also have this color
and brush trucker. It's really nice when
you are working on a project and you maybe a
couple of months down the line, forget exactly which
brush you use. Write down the brush, write down the percentage, and drag and drop
your color palette into the little boxes, sorry, into the little circles.
Just like that. Usually when you upload
a color palette, It's going to go to the
very bottom of your list. What you can do is drag, kinda hold it and
then wait till it hovers and drag and move it
to the top of your list. Mine is already there, so I'm all set to go.
There. You have it. We've uploaded our guide and we've uploaded
the color palette. You've gotten a chance to look at the Pinterest board that has so many great patterns
to get inspiration from. And now it's time
to get creating. Take a five-minute break
and have a cup of tea, have a cup of coffee, whatever you need, a little
snack here or there. Because in the next lesson, we're going to begin
creating our designs. Come on back when
you're ready to create.
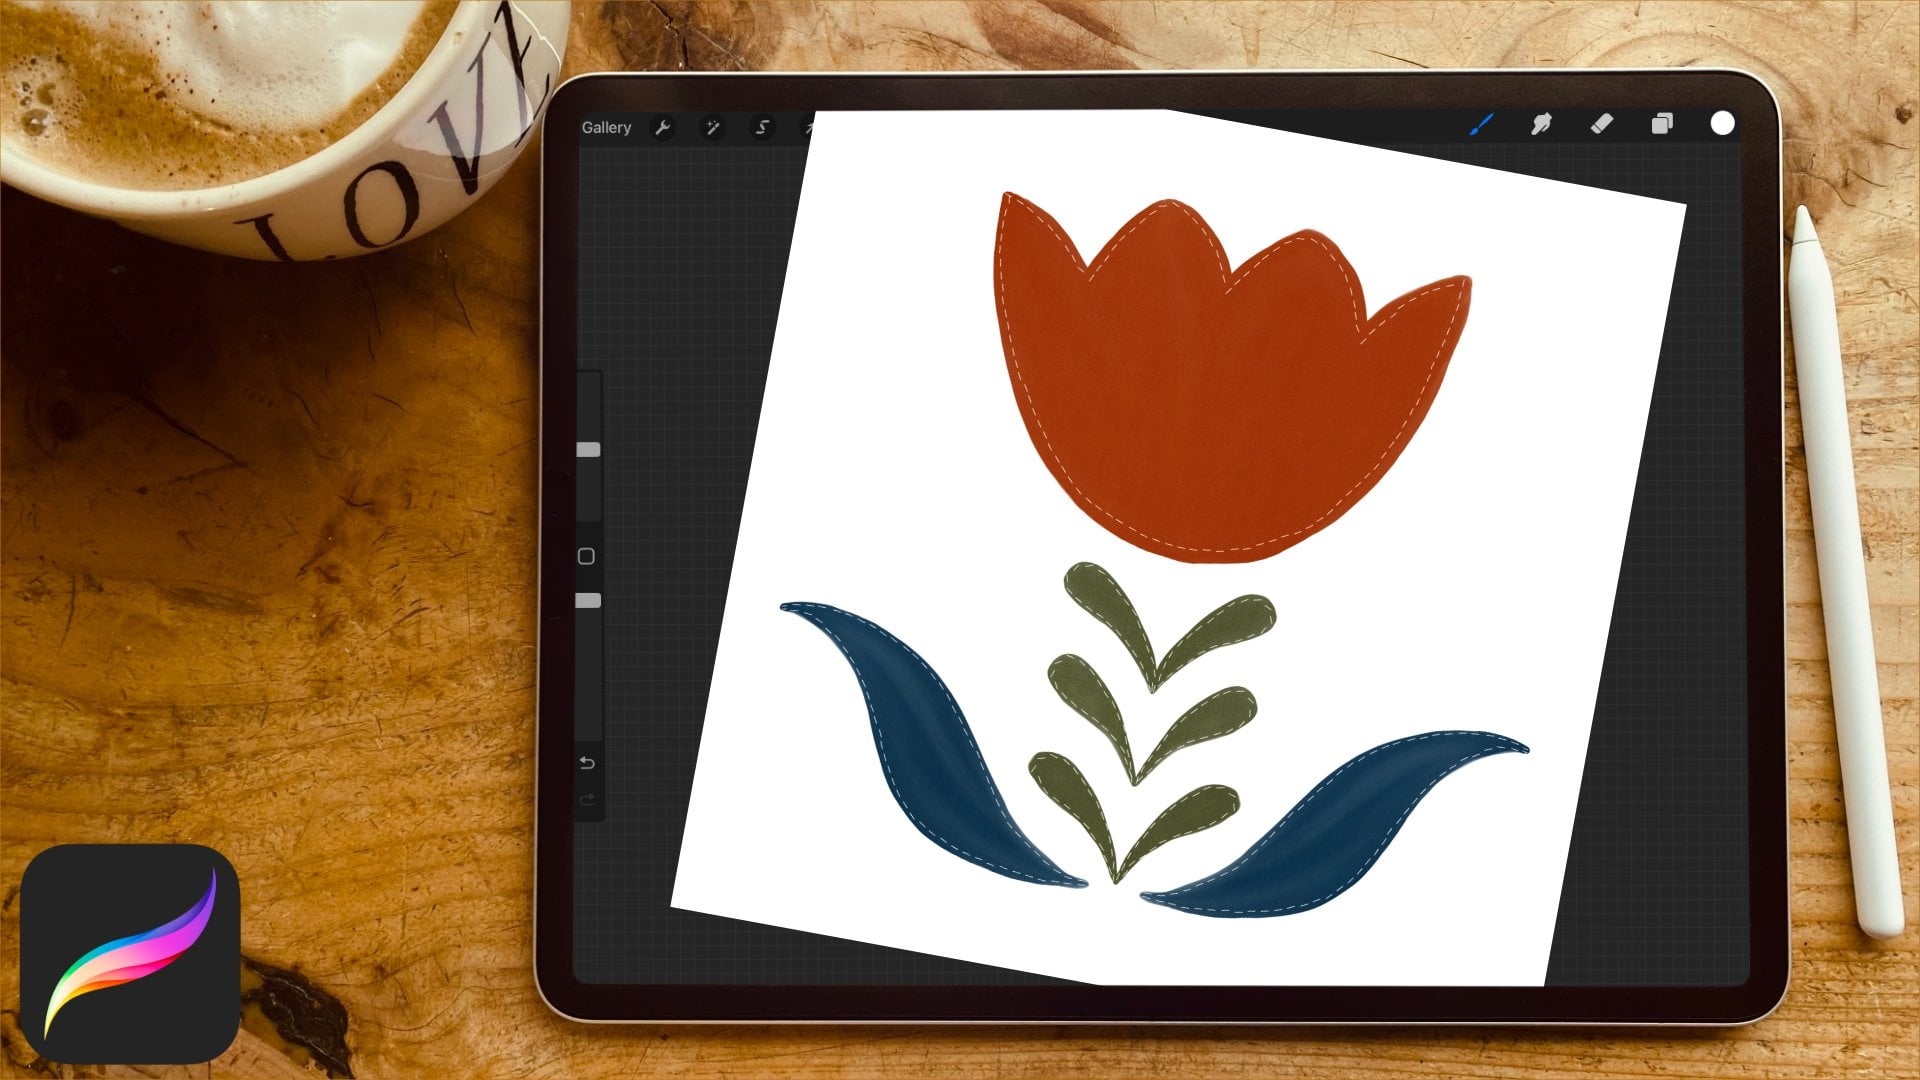
5. Create Your Design: Are you ready to move on
to creating your design? If you've uploaded your
resources into Procreate, then let's get started. First off, I always
duplicate my original copy. That way if anything goes wrong, I have the original to use and create
something new later on. Or if I want to keep creating, then I have my original
copy to start with. Slide it to the left
and hit Duplicate. I also, first off, before I even open it, I like to rename the one
that I am about to use. Sometimes they'll
just use three dots. Well, most of the time
I'll just use three dots until I'm ready to
name my pattern. Now we're ready to open it up. Click on your Layers
button and let's toggle off our guide and
open up our brush tracker. Remember we already dropped
that pink color in. But I'm going to fill a few more colors that I think
I might want to work with. And if you choose
a color later on, just drop it in there so you
have it saved for later. Or if you want to
come back and know which colors you used. I'm going to add some the
pinks and the oranges. Maybe a second pink. They're close, but I like
the contrast sometimes. And I'm gonna go with one of these
neutral colors as well. I think that's a
good place to start. Also, when you've
uploaded your pens, they'll go to the top. And I have it labeled
with the little dots. I like to label mine with the little little asterix or whatever so that you
can find them easier. We have your line drawing pen, which has a nice
little squiggle to it, can kinda zoom in and
see the edge there. And then you can change
the different sizes. Of course, over here, I have a couple added in. If you don't want those sizes, you can take them away or you
can add them with a plus. That's really nice feature
in Procreate five. I'm going to write down that, that is the perch
line drawing pen. And I love working at
this size with this one. That's 33%. Again, if I change that later, I will change that in my books or not my
books in my tracker. Then I also have
the perch ink pen, which is a really
nice one for creating kind of a nice swoopy,
thin and thick. It's a good one
for doing leaves. So I'm gonna put that one in my naming, that one right now. In this one I love
to work at 15%. If I'm doing smaller lines,
like inside something, I'll use that smaller size, which is 2% or 10%. Okay, So those I have recorded and I can come back
later and use them, but for now I'm going
to check them off, toggle them off because I
don't need to save that. I might even slide it to
the left and lock it. That way you don't accidentally
work on that layer later. It's open our guide. And remember that
do not draw area. We're going to keep that open. But I'm going to toggle off the selections because I want to see what's underneath there. I'm going to close that up
and open the pattern group. And I'm going to pick
a background layer. I think I want to go
for this cute pink. And if you do, let me show you if you
do toggle that off, it is filled to the edges. For the snap and load, you have to have it fill
to all of the edges. You can change it
later if you need to. But for now, we're going to. Keep keep that all in one color. And it doesn't matter when
that's filled all one color for for your pattern later because it's not an actual design on that
layers, just the color. So now we're just going to
start creating our design. Let me go back and check what I picked out for those colors. I can also go to that layer and do the color
tracker to pick it out. Or I can just remember
in the pot above. Another thing I like to do, especially for
creating a border, which is something that really should happen
in this design. So it helps it to stand out, is I'm going to go to my
Canvas, my wrench tool, click on Canvas, hit on my drawing guide,
edit drawing guide. Go to Symmetry and I'm
gonna go to quadrant. That way it makes it equal. In the top of bottom. Actually I could use vertical
or horizontal as well, but I'm gonna use quadrant for now because that way it will
make it even on all of it. So you can see
assisted is turned on. If I wanted to add that later, I can click on the next line and hit Drawing Assist as well, but I'm not sure for yet. So let's just keep
it on this again, we're going to keep each
color layer separate for later on when we want
to re-color our design. I'm going to start
with my ink pen. I'm gonna go for that 15%. I'm going for the blue. And we just start
drawing, right? And you can do any
design you want. I like these because I can add to them a
little bit later. I think I'm going to just
keep that there for now. This one I'm gonna kinda
fill in a little bit better. You see what just happened
there if I need to. It That's the snapping neck. Sorry, that's the shape tool. I can change things out a little bit and get it just right. So that's what I'm gonna do. And they changed it
to arc so it can get a nice good arc there. Now again, I'm going to
go to the next layer. I do want to use
my drawing assist. And I'm going to find an orange color and a boy to switch up
my pen a little bit, because I want a little
bit of a different design happening. Let me see. Well, I don't love that. It's kind of big, so I'm going
to take that out of there and bring it down
to a smaller size. These don't have to be
perfect by any means. They just have to
be fun and Flaherty and help to make your
patterns stand out. I'm trying to decide if I
want to fill these in or not. You think you do? Because I can go over
them a little bit. But I kinda like how you don't have to have
them fully full, filled in. It just gives a little bit more dimension to your pattern. This is where I can come in with that different
color drawing assist again and kinda go over. I think I'm going to
do a different path. If you are looking like
you're running out of layers, you can always slide an empty layer over to the
left and hit Duplicate. Think I'm going to start
creating a little bit of a leaf. And just keep
creating little bits. And this part doesn't have to be matching all the way around. So I'm gonna go through, and I'm going to keep creating. Fill my, fill this layer
with more of these leaves. Just keep going. Creating
these fundamental patterns and designs. Remember, they don't
all have to be perfect. And if you need to just go
in and erase a little bit, remember another thing
you can also do is find a selection and
copy and paste it. So I put these little guys, it'd be really easy to use my free hand tool
and select a piece. And maybe I'm going
to select two pieces. Then with the
three-finger swipe down, I can copy it. And another swipe down, and then I can paste it. And those are on a
different layer, says inserted image, but I can move those around
to someplace else. I'm going to turn
off my snapping and magnetics to
make it a little bit easier for finding
a spot for those. I'm also going to flip
them a little bit using the flip horizontal,
flip vertical. And I'm going to pull those
back down into that layer. So the first part of
that section is done. I'm going to add a
little bit more color in using maybe this little
lighter white color. And I'm going to use that
line drawing pen. Again. I'm going to just do from level, fun little wisps around
to create, Fill pattern. See how it keeps churning. Because I just want the shapes to not be all the
same direction. If you pull it, zoom out, you can kinda see a little bit better where you need
them to be as well. I'm gonna go one more
layer and I'm going to get some more orange in there, or yeah, I'm gonna get
some more orange in there. And I'm going to keep
it on that same pen, but I'm going to
bring the size down. I'm going to just
do little dots that look like a little
floral design. Let me see. You know what? I don't think those
show up very well. So I'm going to clear
that. Actually. I'm going to clear that. And I'm going to go
with this bright blue. Maybe I'll make them
a little bit bigger. It's all trial and error. And finding the pattern
you really enjoy. I really do love these
easy botanical prints. And they don't have to really replicate anything specific
if you don't want them to. It's kind of a little bit of a hodgepodge, but I like that. One of the problems. Having because I'm having
a little issue with this, is that this pink
is a little bit of the wrong color for this background to be
able to see things, but I can change that up. Alright, and I'm not
loving this color, so I'm going to clear that out. And I'm going to go with this lighter color in the
background and fill it in. There we go. I can see it a
little bit better like that. I'm now, now I am going to
add more orange into there. I'm going to duplicate
that layer and now clear it because I didn't
have any empty layers. So that's another way you can go about that is by duplicating, clearing the layer and then you've got an empty
pattern layer. You could also just hit the
Layer Add button up here. So let's find that
bright orange. And oh, you know
what happened here? There it is. I use the same color here. Let me see what I can do. There they are, I found them. Maybe something was missing. Alright, I'm gonna do a trick
because I do still like these little patterns and I'm
going to turn those orange. So the way I'm going
to do this is I'm going to tap on my empty layer. I'm gonna go to
my selection tool and have color film turned on and go to my pattern
layer that had these dots. And with two fingers, it selected it and
filled the new layer. Now, now I have the pattern that I want
to have that I like. Yeah, I think I like that. And our background color. There we go. Is that kind of gray, off-white? I'm going to turn off
my drawing guide. And I think my pattern is
where I want it to be. I'm still having a
little bit of issue with this outline pattern here
that I originally drew. And I have an orange happening here that I
want to get rid of. So went to that layer. There we go. Okay, so this, this group here. Now I think I want
that a different color because I have
so much blue in there. So I'm going to do that. What I did before. I am going to pick I
think I'm going to pick this purple or
sorry, not purple, pink. I'm like what I'm wearing today and do that same thing again, my color fill is still on. And I'm going to have
it on this layer, but I'm going to double
hold on that layer. I'm going to turn that one off and see how it fills it in. Just nice, right thing. Alright? If you feel like
you're running out of layers, just add more layers in. I'm going to delete
this layer completely. Because sometimes when you
run out of layers later on it creates a little bit of problem and I know I
don't like those colors, so I'm going to do that. I'm going to close
up my group here. See how it did that in
my colorful was on. So you can click on a whole
pattern group and hit the selection tool if it's on anything
except for freelance. So now you've created your
design and in the next lesson, I'm going to show you
how to use the save and load to flip your design using the
flipping mechanisms. Okay. So made me over there. All right.
6. Flip The Canvas: All right, you've
created your design. Now it's time to flip it. If you've taken one
of my classes before, you're going to know
how this works. But if not, then
let's move forward. And I'll show you
this one because it's a tiny bit different
than the other ones. If you're looking for more
pattern design classes, take one of my other classes, like my simple repeats class or my perfect half
drop patterns class. First off, we're
going to need to duplicate our pattern group
that we just created. Slider to the left
and hit Duplicate. Open it up, and go to
the background layer. And I'm not going to delete it, but I am going to
clear that layer, close it back up
again and turn it off because we don't
need it just yet. Okay. Go back to your pattern group. Tap on just one layer to make sure your color
fill is turned off. You have to have
everything turned off and just have
it on free hand. In order to do this next step. Go back to the pattern
group as a whole, hits selection tool and
then hit save and load, and then you can
hit Selection one. Remember, show you in our guide, these are where our
selections are. There. All right here. I'm going to turn that off
because we don't need that. My selection is still
still selected. You can see the
lines that are going there except for
not on my pattern. Now I'm going to
hit the Move tool and make sure my snapping and magnetics are
on just to be safe. Then hit flip, flip
horizontal, flip vertical. Now it seems like
it's disappeared, but it's just behind our guide. We can also turn
off our guide if you want to see the
pattern, how it flipped. So go to your
pattern group again. We're going to hit
Selection Tool again, save and load and hit
Selection Tool, sorry, selection to then
move our Move tool, flip horizontal, flip vertical. And we're going to
keep doing that. I don't know if you noticed it, but it kinda you can see
the other color underneath. That's from our original
background color. And that's all okay. And we're going
to turn that off. Hit Selection, save and
load selection three. And we're going to repeat
the process for each layer. And now selection for alright, so we have this
whole layer group, it's all finished, right? This is where we turn on our
pattern group from before. And you can see it's
two different colors. At the moment. You can keep it as a different
color or you can refill it with the color
you use previously. I don't know if you can
notice this either, but our pattern are going into different directions
since this first pattern got flipped horizontal
and vertical, it's actually upside
down at the moment. Whereas this pattern,
the new one, is still the same direction that we originally created it in. I like to flip mine. I'm on the wrong layer. I'm gonna go to this group. Hold on, I'm gonna
do this real quick. Just make sure I don't
have it all transformed. Okay. Click this one. I'm sometimes you get
a little messed up. I am going to flip it now. Just flip it vertical
and flip it horizontal. That way it's matching. And I'm going to go to my background
layer and tap on that. But I'm going to open this other background layer because I need to use that same Save
and hold technique, the selection technique
to fill this space here. So let's find that color again. And I need to make sure my layer I want to
fill is highlighted. But then I use the two fingers
to hold on this layer. And I'm going to invert it. And it's still selected
on that other layer. So I'm going to
drag and drop into that new layer and pull the
threshold all the way up. So I know that it's going
all the way to the edge. Make it so I'm going to do
that one more time and fill. I just want it to fill all
the way to all of the edges. Okay, so now when
you see that layer, it's the onion shape. And I can turn that layer off or the selection tool off and
close up our pattern groups. The next thing I
want to do is pull our color layers together so we can get it ready
for the next lesson. So open up both of your pattern groups and find
the corresponding layers. That should be easy
because they're in the same spot on the Layers
group, on the layer group. So I have my pattern group here. I'm going to slide
that to the right. And then I'm going to slide this next one to the right
because that's the same group. I'm going to hit Group and then tap on group
and hit flattened. Okay. And then I'm going
to work my way down. So now I'm on the second layer. The second layer here hit group, tap on the New Group,
and hit flatten. You could also do the
two-finger pinch to make that happen as well
by pulling them together. But I feel like sometimes
it's just easier to just hit the floor grid. This one, I'm actually going to fill the layer with
that color. That way. I know that it's
completely filled and it doesn't have any like line
of where they connected. Sometimes that can happen. So if you're using
two different colors, really pay attention
because sometimes you can see that line if you
don't get the thrust, the threshold just right. Alright, so now if we take a
little bit of a step back, we can see our pattern
beginning to happen. Are you guys ready to move on to the next lesson? Let's go.
7. Recolor Your Pattern: Alright, Are you guys ready to change things up a little bit? We've flipped our
designs and now we're ready to re-color our patterns. We have a couple options, are more than a couple
of options to work with. I'm going to show you two
different ways to recolor. First with the hue
and saturation, and second with the
color refill button or the Color Fill button. Let's begin with changing
the hue and saturation. This one's really easy. I'm going to begin by copying and pasting using the
wrench tool and add. So I'm going to copy
my whole Canvas. Then without even getting out of there, I'm
going to hit Paste. And that creates a new
layer of our pattern. And we always want to keep
our original pattern, the original color and
with the original layers. For now I'm going to slide
that over and lock it. This pattern group, we moved everything so I'm going
to completely delete it. So we have enough pattern
colors to work with. So I'm going to take my new pattern color or
my new pattern group, which is just the
entire pattern. And hit the little
adjustments tool and click on hue and saturation. And from here, you
can change the hue, which will change
all of the colors. That's really nice
and you can get them brighter or with
less saturation. So it's a more muted tone. You can brighten it up, but because it has
the white background, it really kinda blows that out. Or you can make it darker. I usually keep my
brightness the same unless it's a really bright
pattern to begin with. I think I want to keep my
saturation the same as well. We're just going to
change the hues. And remember, I was working with their color bleeds before, but now it's changed it
to like these mice boil blue and these greens and
kind of a brown color. I really liked that one, so I'm going to keep
that the same there. And I'm going to lock
that one and turn it off. We still have it saved because I haven't
done a copy and paste, so I can hit Paste again. That'll get back to my
original color again. Remember, here it is. And it's not that color, but I can do this
saturation and hue again. This time, I'm going
to do color balance, which will change
just parts of it. So anything that has
the cyan and red, It's going to change
those colors. If I have the magenta, it's going to change
those colors. Right now that's
on the highlights. I can change the mid
tones as well this way. And I can change the shadows. It's a really fun way to
get a whole new look. And without having didn't
do a whole new pattern, this is one way to get multiple pattern
colors for one design. I'm going to turn both of
those off and lock those. The next one I'm going to
show you is using color fill. This is going to take
up a few more layers. I always like to check
how many layers I have based on how
many I've used. So you can check your layers
by hitting the wrench tool, going to Canvas and
Canvas information. And then you can go
down two layers. I've used 16, I have 13
available layers left. And if you're using
an iPad eight, you're going to have even less. If you're using a
bigger iPad Pro, you're going to have even more. Just depends on how much
memory and space and size that you have with your iPad. If you need to, you can
always copy the canvases. I'm going to unlock it. Don't hit the, I have a problem taking a whole group
over to a new canvas. But you can take the layers
and slide them over. And if you slide them all to the right and then
get them to hover, you can hover them. Your other finger and don't
let go of this finger. Hit Gallery. And I'm going to import
a new screen size. I know I'm using a 4,000 square for this and then I'm going
to drop it into my layers. There. Your group should come over. There it is. That's another way
you can do this. I have plenty of space, so I'm going to stick
with mine on this layer. First off, I'm going
to add a new layer on top of each of these layers. So just hitting new layer, I'm going to keep
them separate and I'm not going to
rename them pattern because I want to have the difference
between them later on. This one I did change earlier. So that one is, I'm going
to rename this one pattern because that was my
original pattern color, sort of, right. And then the background. Okay, let me check
my information, check my layers again. Now I only have six layers
available, which is fine. Hit Done. And now I'm going to just start
changing up the colors. I'm gonna go with a
background color first. And now I'm gonna go for
an orange color, right? But that means these colors, I need to change
up a little bit. So remember that tool, I'm gonna go back to selection
tool and hit Color Fill. We're going to keep that on. I'm going to click
the layer above the layer I want to change. I'm going to pick a new
color to drop in there. I'm gonna go with
that darker blue against the orange I think
will be really nice. There you have that. And I'm going to just keep going with each of these layers. So I kinda liked that
orangey pink there still, but let's change it up
just to see what happens. Okay. I'm going to pick
that turquoise color and I'm going to double up on that and see it brings
up a whole new color layer. And I turn off my
original pattern colors. So I don't see those
underneath rare much. That's gonna be the next thing. I'm changing. The interior leaves those, I think I want to try
like a white color. So I have the layer I
want to fill two and the layer I want to fill from. And then I'm going to turn
off the fill from layer. I'm liking how this is looking. Now we've got the little, the little dots here. I'm going to turn
those to a color. You can also change
it to an orange, but I think I
listened that color. That's why I'm not seeing it. I'm like something's
missing here. It's because it is
originally that color. So those are those dots. And I'm going to turn
those to maybe this blue. There we go. There they are. I'm going to turn those off. Then I'm going to slide all the numbered layers
together and group those. And now we have a new
pattern group, right? I can take those and
slide them up here. I can turn all those back on. We have our original
pattern group colors. We have the new color ways that we did with the color fill. And we have our different
ones that we did with the hue and saturation
and color balance. I guess I actually showed you
three different ways too. Change up the colors. So now you have multiple
designs from just one pattern. Is this a new way for you
to change up the colors? Have you learned this before? If not, then I'm really glad
I was able to show you. And let's move on to the next
lesson where we're going to check our pattern to make
sure it's repeating properly.
8. Check Your Pattern: So your pattern is complete. You for re-color did, and we're ready to
check your pattern. You've got so many more
pattern options to work with. But let's choose one of the pattern color
ways and copy and paste that into our
layer group again. So I'm gonna go with our
original and go back to add on the move or on the wrench tool and
hit Copy Canvas. And I'm going to hit paste. And I know we've
done this before, but this is for the new layers. I'm also going to turn off every other layer that is open. And I'm going to move
that one up to the top. Now, I can check my Canvas to know that I
have five layers left, which is just perfect
because I only need to copy this canvas
four times total. So I have one and I'm
going to slide it to the left and hit Duplicate, going with the bottom
one because that one's been recreated a few times. We always go with
the bottom layer for the highest pixels and
duplicate and duplicate. So I have 1234
layers duplicated. Right? Next I'm gonna
go to my move tool. Make sure my snapping
and magnetics are turned on at maximum velocity
and distance. I'm going to slide
this down so I can see it because of the
layers pop up a little bit. Make sure I'm on
the top layer here. Hit my move tool, and I'm going to hit the
blue tool right over here. I know it's 4,000 by 4,000. So I'm going to divide
that in half to 2000. And it will slide it and drop it just perfectly into
the corner there. I'm gonna do that
with every layer. Hit the following
corner, hit 2000. It'll snap it right over. Keep going with each corner. See how this corner
this pops up. So that's why I hadn't
moved up over here. Go to 2000 and go like that. You can still do the way I
used to show and slide down, but sometimes it gets
stuck in different places. If you have other layers open, it's just smarter to
do it the other way. The other way, because I
want to make sure that there aren't any lines open. And that's the easiest way to make sure that it's
exactly the right size. So now we have all our four
layers and pulled together. I'm going to merge them. Should have checked beforehand, but I can tell already and
I know because of the way I just put it together,
that works. There aren't any spaces. And there is our pattern. And the repeat works perfectly. If you want to check
your other layers and you're running out of space, just copy and paste the layer with the ad tool,
hit Copy Canvas. And you can go out of gallery, opened a new Canvas, make sure it's the
right size and just hit Paste and it'll bring it directly into that new new page. And duplicate it. I've got four. Start at the top. Hit the corners. And just keep going and
check all your patterns. They are all going to work. Because the first one
marked is the wrong size. Sometimes you get it wrong. Or your fingers a
little bit too big for the screen, sometimes minor. Once again, our pattern
is working perfectly. And we have the perfect
OG repeat pattern. Using that method of
typing in the 2000s means it will be
exactly one quarter of the size of your 4,000
square block Canvas. So just always if you are using
a different sized canvas, just do half of the number
of your canvas size. Assuming it's square. If it's square, it'll work. If it's not square,
it won't work. Take a look at what we've
accomplished today. We've learned that, that OG
pattern is pretty darn old. It's from 12th century Persia. And it is made up of those interlocking s patterns
that S shape design. We've uploaded all of
your resources that you've gotten from my
resource list into Procreate, you've got the perch
OG pattern guide. We've got the palette,
perfect color palette from this great book, palette perfect
from Lauren wager, which you guys should
really check out. It's a fabulous book. I can't say enough. You've created your design
inside the guide provided, and we flipped it and
checked our pattern. We've also made so many
more colorways using the hue and saturation to re-color and the color
fill to re-color. And finally, we've
checked your pattern and found out that it repeats perfectly
every single time. Way to go. You guys.
9. Thank You!: Hey friends, Wasn't that fun? Thanks for joining me today. I had so much fun showing you how to create
this OG pattern. Make sure to share your project
in the project section. Say that three times fast. If you want to learn more
about print-on-demand, feel free to take one
of my other classes, simple repeats and
procreate five or my Moroccan
tile design class. Each of those classes
shows you how to get your artwork into Spoonflower. If you liked this
class, follow me. Check out my website
to learn more about where I find my favorite
supplies on my blog. Or sign up for my
community where you'll receive regular
freebies and be the very first to learn about when and new class is about to be. You can also find me on
Instagram at pretend made. If you have any questions, please reach out and I will be sure to get
back to you shortly. Feel free to leave a review if you really
enjoyed this class. Let others know about how
they can take this class too. I'm Katie and I can't wait
to see what you create. Remember, tag me on
Instagram at perch handmade and use my hashtag
creating with pH m. Whenever you use my brushes
or take one of my classes. We want to keep up-to-date
on each other, right? Bye for now.
 Katie Simmons, Digital Artist | Perch Handmade