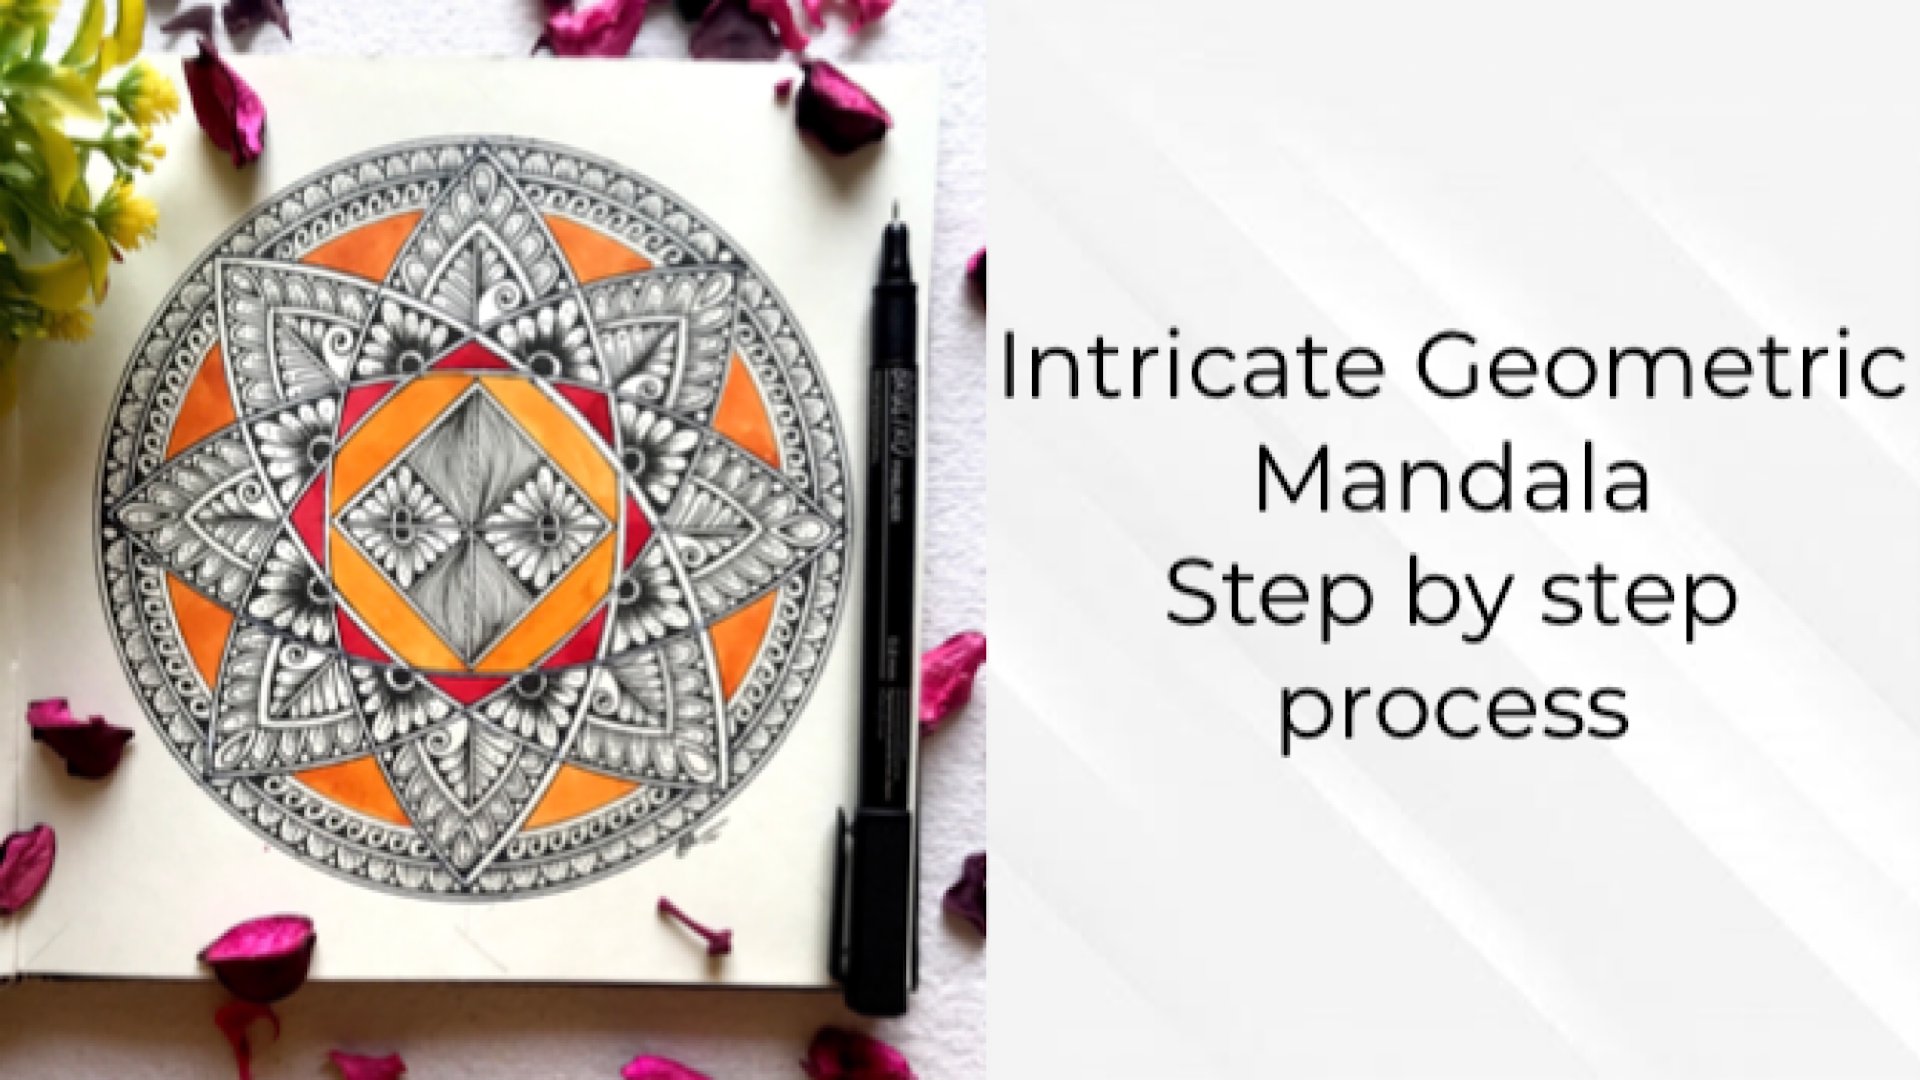
Transcripts
1. Introduction: Hello everyone,
myself, richer or watercolor and a Mandela
artist based in India. And today I welcome you all in a beautiful and spiritual
and meditational journey of peacock. Mandela's peacock are
symbolic of regrowth, royalty, respect, and integrity. And today we are
going to incorporate this beautiful concepts
and I'm a dollar art and I hope you guys will enjoy this session and learn
something new out of it. So let's, without any delay, let's get started with our
beautiful peacock Mandela's. Thank you guys.
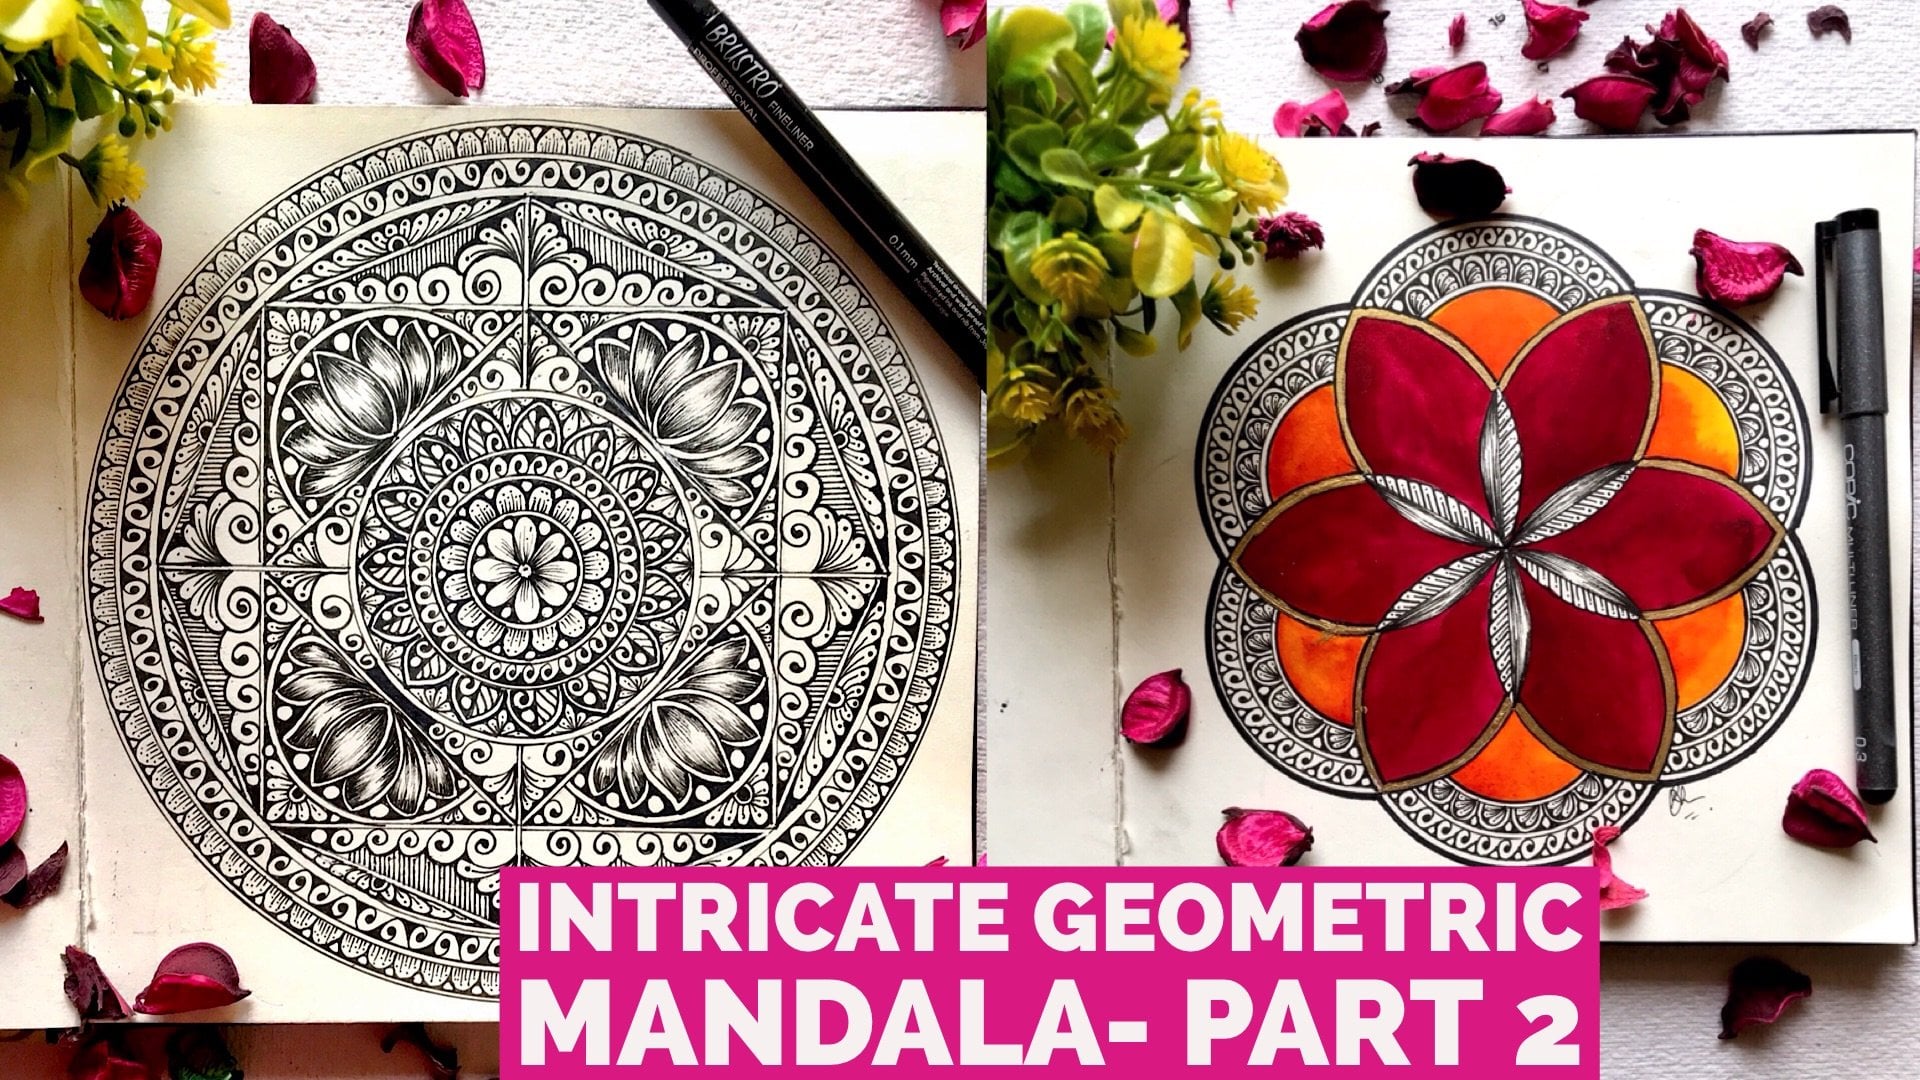
2. Art Supplies: Hello everyone and welcome back. So let's know the
supplies that we need in order to create our
beautiful mandalas. We need fine liners, 010 to a lighter
shade of pencil. Eraser. A campus that can hold
a pen and pencil, both ruler and
predictor, and one, a full-size sketchbook, order
sheets, whatever you have. So this is a first project of a peacock Mandela class that we will be creating and it's
astonishingly beautiful. This is the second
project that we will be doing in our class and I will be letting you know how to do it in a
detailed process. Thank you.
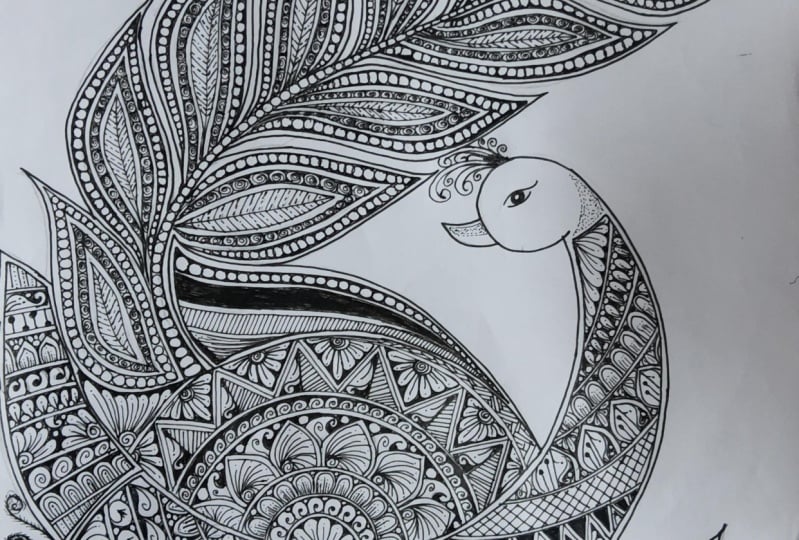
3. Peacock Mandala-Grid Layout: Hello everyone and welcome back in our peacock
mentality class. So let me tell you a
bit about the layout. This is the layout that
we will be drawing. And we need this circle, circular predictor to clear these arcs that I have created, these lines I have created only with the help
of this predictor. For this class. You need
to have this predictor. If you don't have
them, it's fine, you can draw it freehand
Lee and rest of the layout I have done
friendly without any delay. Let's move on to the
creating of our layout. Let's start creating our layout. Okay, so I'm going to draw
the first arc of our peacock. And I'm going to use these ones so goals
to create its face. It is, makes sure it
is just a joining to the line that you have just drawn with the help
of the predictor. Now please, you predict a slightly angle with
the like the VIM doing, and then create the second line to create the neck
of our peacock. So just make sure that you just round the edges
once you are doing it. Let's create another federal of beautiful began with the
help of our own predictor. Getting slightly
curvy like the way I am doing on the end
of our federal. And don't forget to erase all the extra lines and
give it a final touch. Now let's draw the lower body, body of a peacock. Make sure you are drawing
it with a very light hand. And once when you will
erase the pencil marks, it won't leave any
traces on our paper. Now let's shore
the long feathers off our beautiful p gawk, and it will be totally
free hand saw and suggests that do practice your layout from the
project section, I will be uploading this
layout in the project section. So you can easily drag
this as twice or tries before doing the final layout. Okay. I'm using 08 fine liner to draw the outline
of our layout and make sure you
are drawing it with a very light and steady hands so that your layout will have more Phenice and beautiful look. I'm using my 0 it finance
outline to our layout. The outline has been
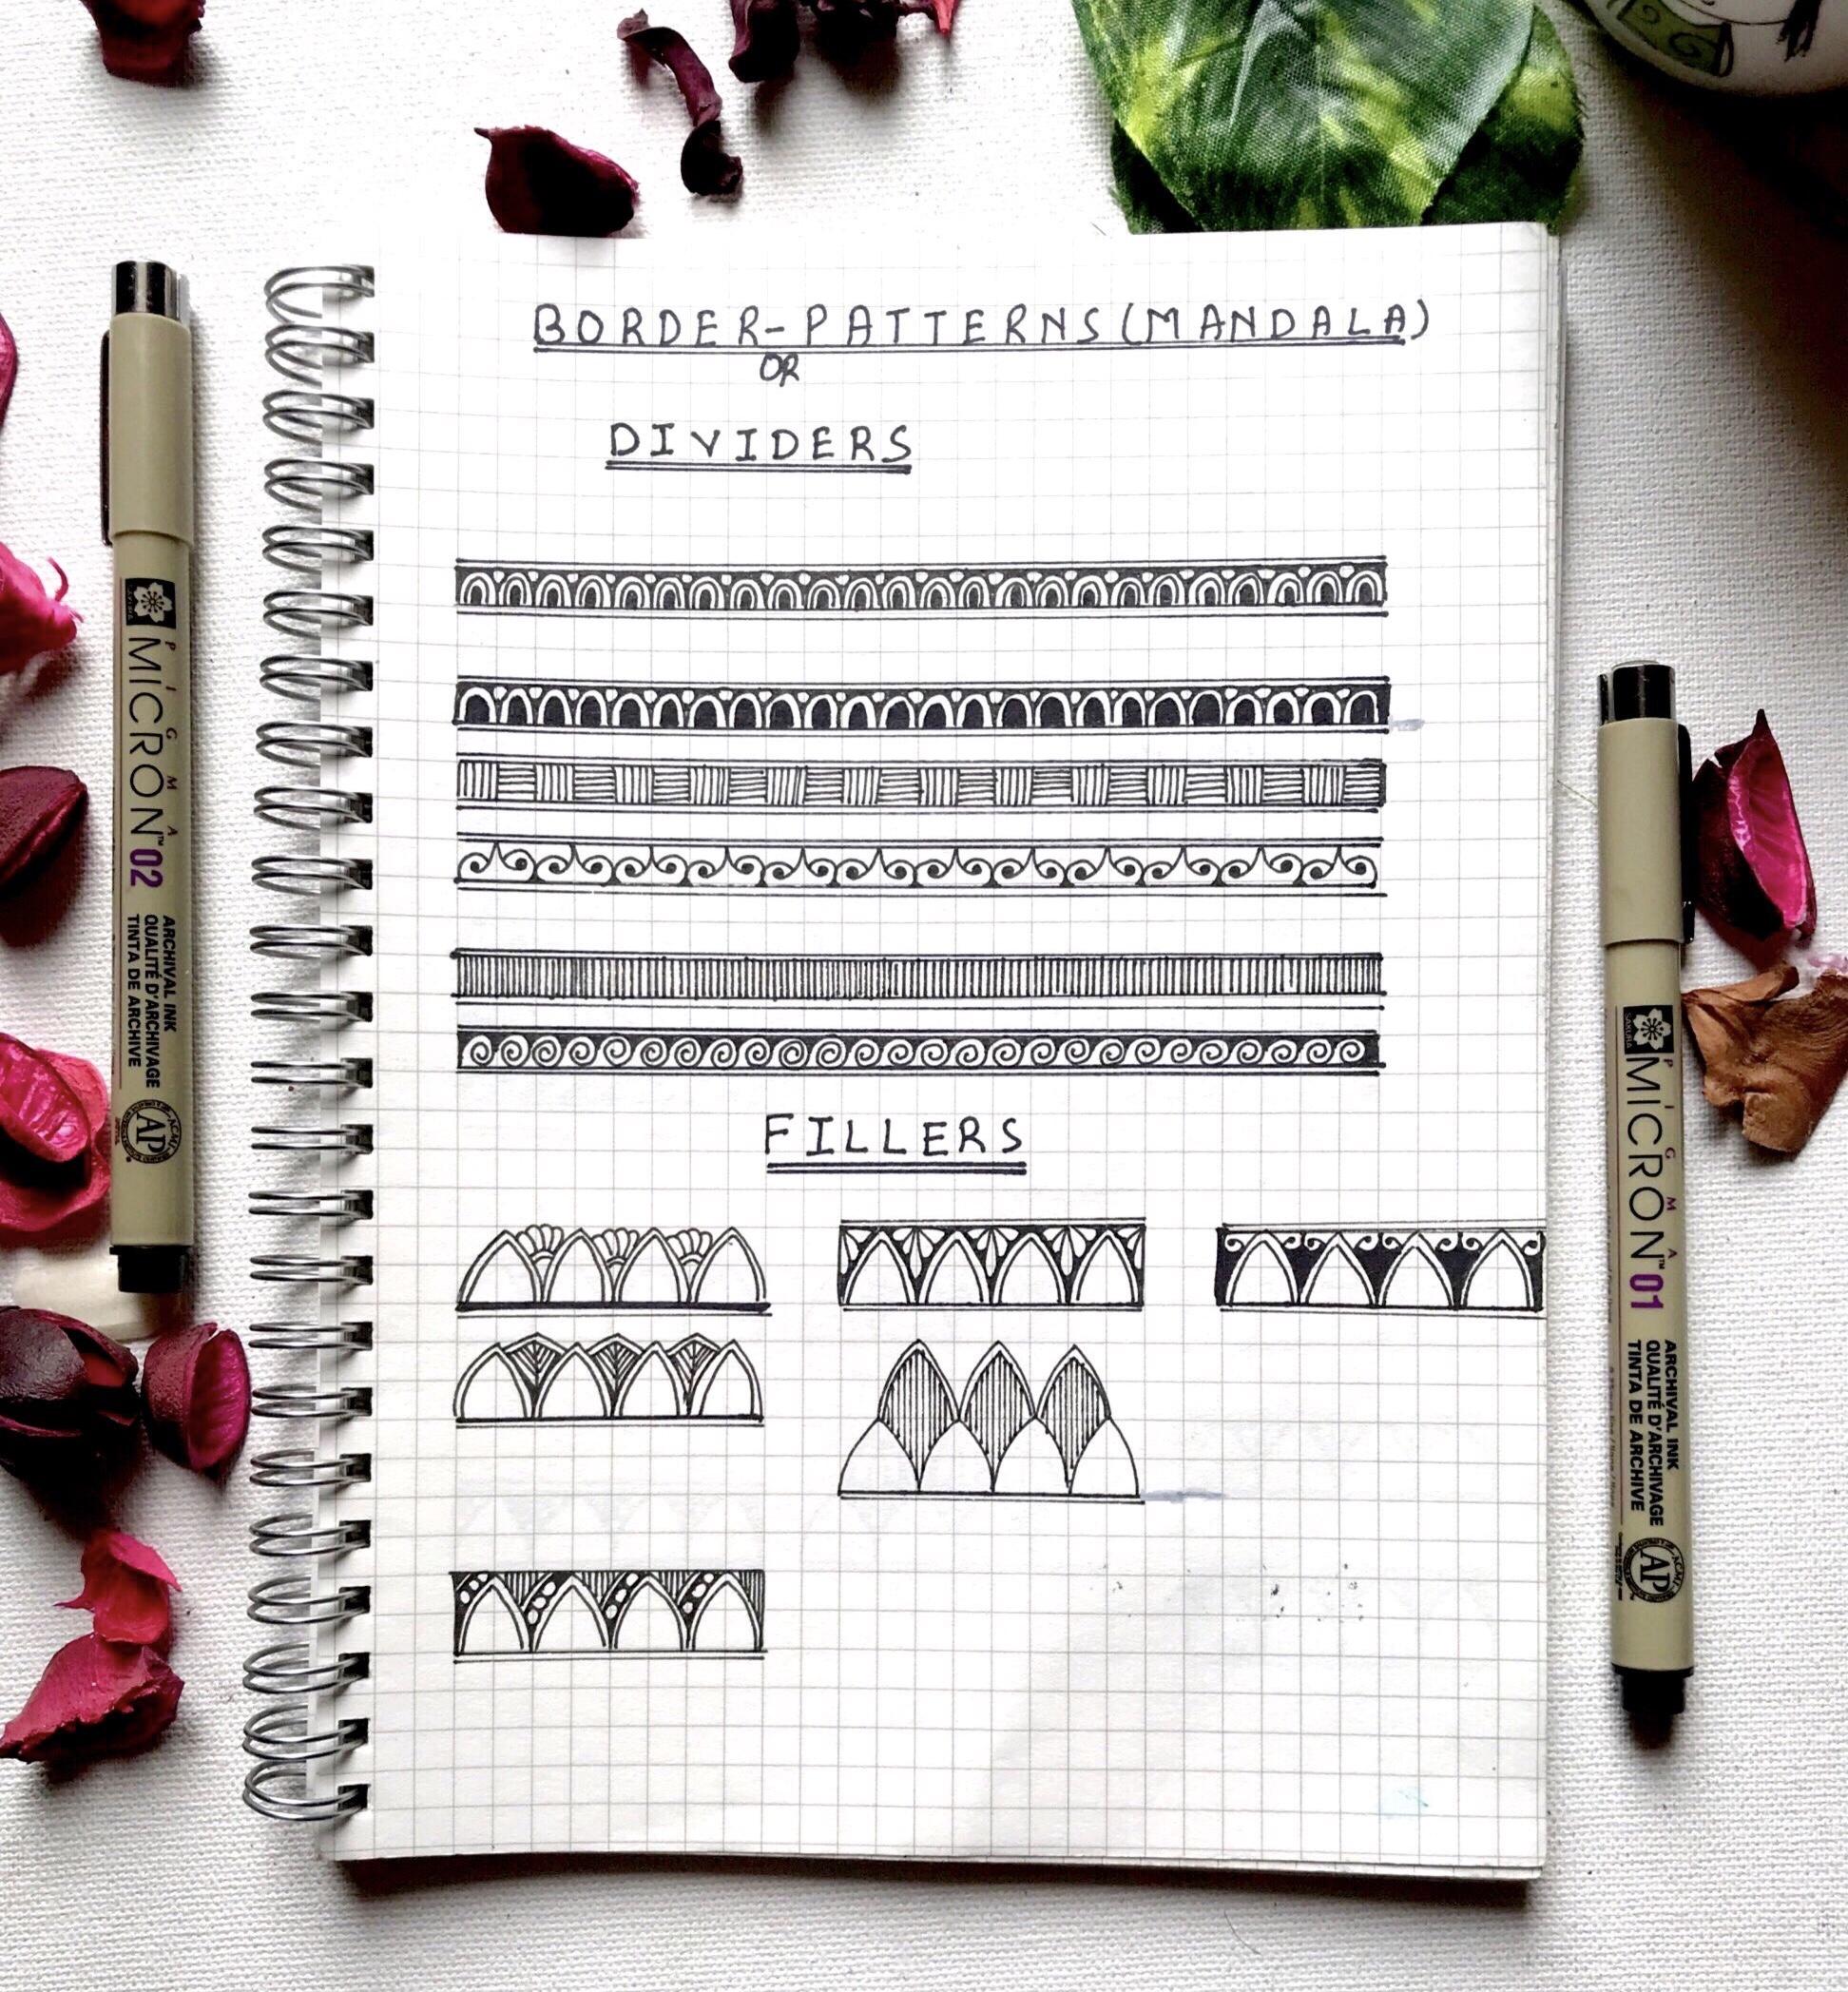
done now we will create a small Mandela in our fed up. This is the only small
Mandela that we'll be creating in our
peacock green stuff. All the details are freehand,
including this Mandela, under the buttons that I have chosen for this artwork
are very simple, so you can easily do that
with a bit of practice. The first part of our layout
designing is complete. So let's move on to
the next chapter.
4. Peacock Mandala- Adding Details: Hello everyone, welcome back, and let's start detailing in our mandala that we have
created in the feather. And apart from this Mandela
rest of the details event, the details in this
Mandela are also free hand because I am not
going to use any grid. But if you've worn for
your own comfort level, you can also do the grid, but apart from this, the rest of the details
will be freehand. So what do I suggest
that if you're not completely comfortable drawing
it straight with the band, what you can do is you
can draw your details before hand with the
help of a light pencil. Then what you can do
is you can then just incur the deals with the help
of the fine liners again, and I hope you find this useful. I'm creating a double outline, so the same reason the
details won't look messy. Okay? The details that
I'm creating here, I am doing it straight with
the help of a fine liner. And if you're not comfortable drawing it straight
with the fine liner, as I have told you earlier, you can draw with the help of a light chain pencil
and then you can ink it. In this chapter. I won't be doing any fast-forward to the chapters because all the details I am, what I'm doing, they
are non-repetitive. So I am going enough
floor and if you feel it's going too fast
or you're not comfortable, what you can do is
you can also reduce the speed of the video
according to yourself. Dan, for this session. So let's move on
to the next one.
5. Peacock Mandala Adding Details 2: Hello everyone and welcome back. So let's start adding the
details to our mandala. Suggest a pro tip when you are doing the
intricate details, trying to use your
01 fine liners so the details will
be crisp and sharp. I always prefer to use a ruler whenever I'm doing the
straight line and thoughts. So the deals are very
close pin sharp, and it looks very
nice in that week. Now let's start
adding the details. And the outline that I'm doing. It's now it does
with 0.2 fine liner. Do fill up the details. I
will be using 01 fine liner. Almost done in this part
off I've got Mandela. So let's move on
to the next step. We will be filling up the
details in the other parts.
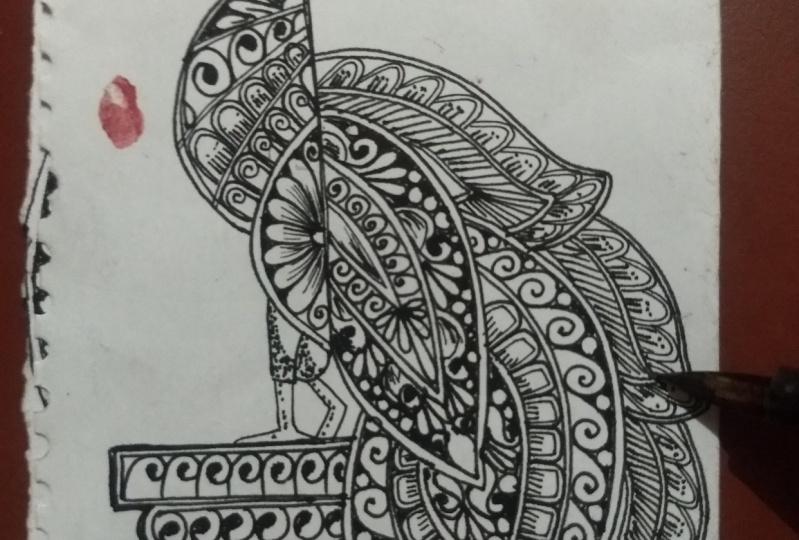
6. Peacock Mandala-Final Details: Hello everyone and welcome
back to the detailing session. And I'm going to start
detailing by 0.2 nib size. Okay, so let's start doing the outline and
afterwards we will. So now let's start
adding details. And the other one are the Veda. And we're going to
repeat the same patterns that we have that we
have done till now. Okay, so once it is Zan, we will start outlying, outlining and detailing
the other feathers, the one that is going
through the tail. And in those feathers
we will repeat the details and we will fast forward the process
at that point of time. And added willing
partners on was done. So now we're gonna
do a little bit of stippling in the
face of a peacock. So just to give it some
contrast highlights that the K and I hope you guys
have enjoyed the session. Don't forget to upload your projects in the project section. I would love to share
them on my Instagram. And thank you so much
guys for joining me in and see you guys
in the next session. Thank you.
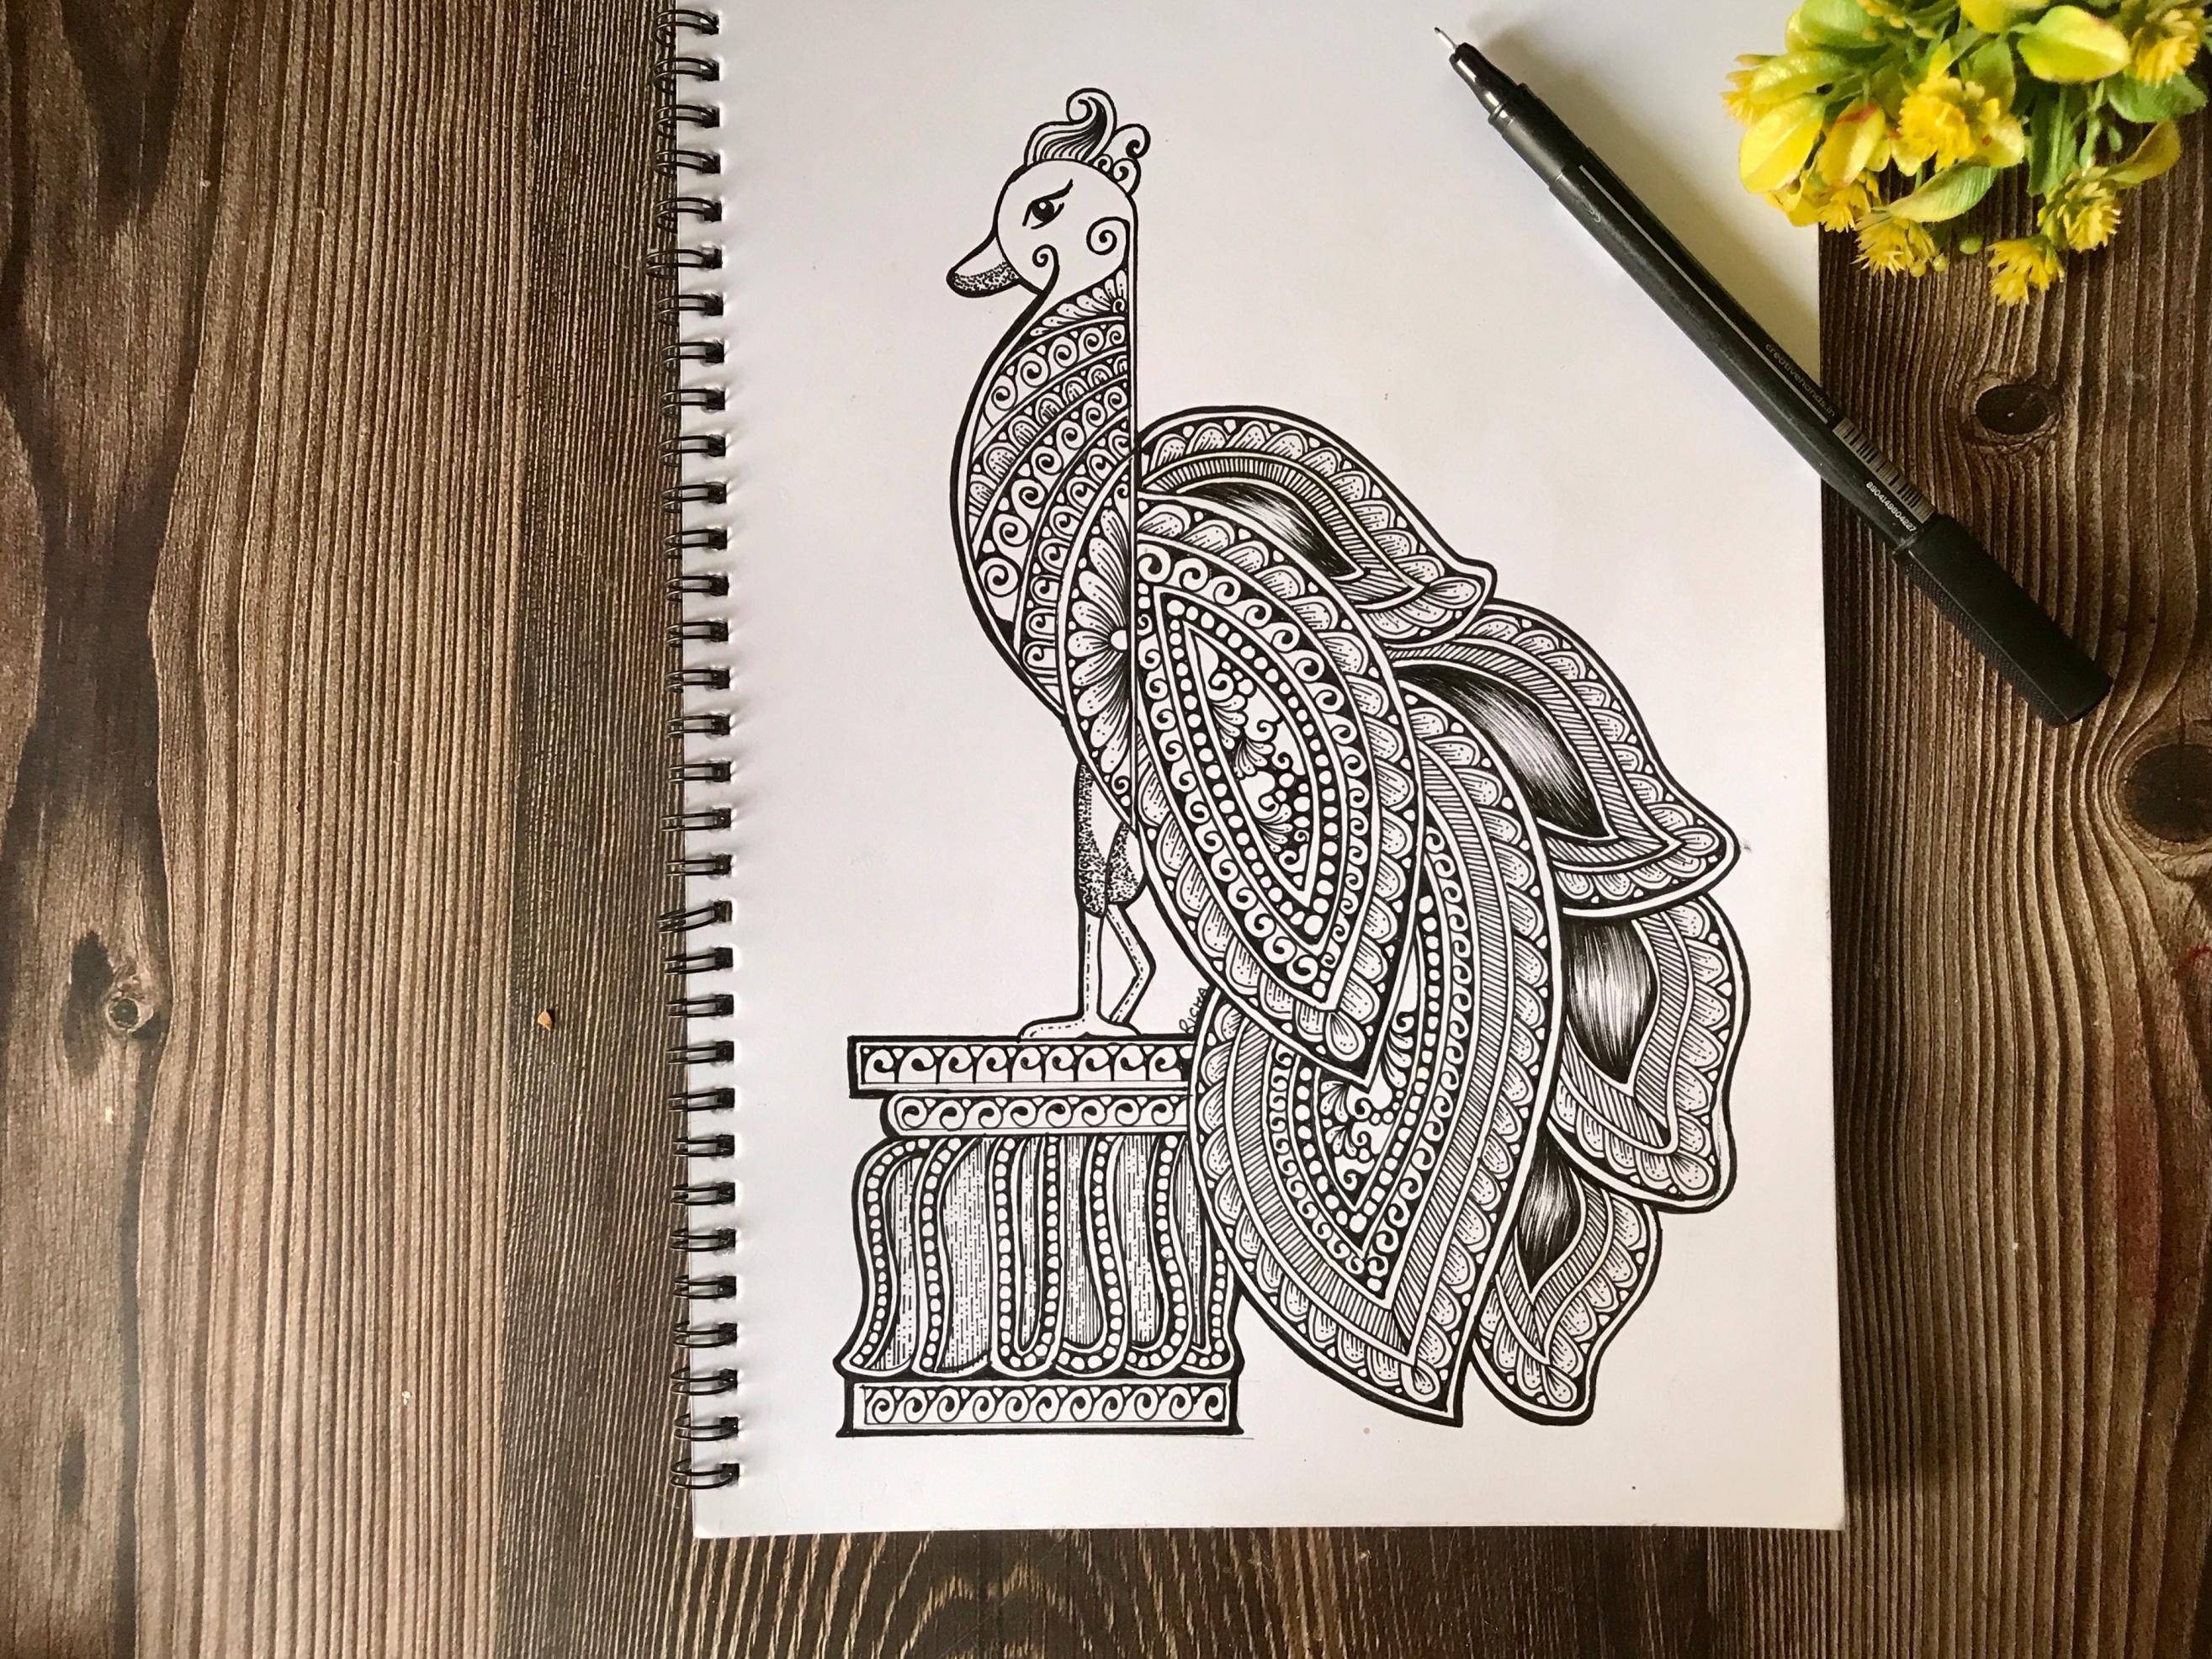
7. Royal Peacock Mandala-layout: Hello everyone and welcome back. Today we are going to create another oil, Mandela peacock. Okay, so let's start
building the layout for our Mandela and
for some curves. And like the swings, I'm going to use one side, the round side of
the heart predictor. Okay? And for face, I'm going to use the
round predictor, right? So if you don't have
down predictor, then it's completely fine. You can draw it freehand. Or what you can do is you
can use your campus also. Okay, so make sure whenever you are just drawing the layout, use the light shade pencil
so it won't leave any mark once your layout is
complete and you will remove the pencil marks. It shouldn't be
dark on the page. Okay. So the length of this line is 5.5
centimeter, okay? And I'm going to draw another line with a
gap of one centimeter. Okay? And then we are going to draw a curved shape with a
gap of 0.5 centimeter. So the length of this arc that I have drawn for the pillar, it is 3.5 or you can take
more than it if you want. It's not mandatory to follow
the same measurements. It is just that to give
you an idea how I'm doing. And on the bottom
part of the pillar, we're going to repeat the
same measurements that we have done on the above five, that is 5.5 centimeter. Okay. So now I Leo does complete
and I'm going to use 0.5 fine liner to draw the
outline of a peacock Bundler. Okay, so the template of this Mandela, I will be uploading in the project section so
you can replicate it for further drawing process
when you will be drawing the Mandela so you can take the reference
from that template. Okay, So once it is done, we will move on to the
detailing part of our Mandela.
8. Royal Peacock Mandala- Adding Details: Welcome back everyone. So let's start adding the
details and pick up Mandela. And I am using 0.1 fine
liner to add the details. Okay, So first what
we're gonna do, we're gonna do the double line off the whole Mandela layout. And once it is done, we will start
adding the details. So most of the patterns and
this Mandela, I'll freehand. Okay, So if you're
not comfortable drawing straight with the
help of the fine liner, what you can do is you
can also just create your layout with the help
of a light pencil and then afterwards you can ink it. Okay. Like here, I am drawing the guidelines
for the details in this section of our Mandela with the help of a light pencil. Okay, so this is just because to avoid the messiness
that we can do, I'll be creating the lines are the sections
for our Mandela. Okay, so now let's start adding the
details in the sections that we have created in this particular part
of our Mandela. So now let's start adding the details to the next feather. Okay, so as you can see
that I am just doing the double outline of the feathers and
one cell completed. I'll draw the sections to fill up the
details and amygdala. So in the mid section
of this feather, we're going to do the shading. And I have also mentioned in the technique section how to do the shading effect
in our Mandela. Okay? So if you
don't know how to do is please report to the
technique section pose, and then start doing
the shading part. To use the pencil to
draw the sections. It is that just to avoid any unwanted mistakes
that we can do while we're doing
the inking of $1. So for me it's more
about like creating the symmetrical patterns with the help of a pencil and
then starting can get. So it gives me more precise and funny's detail. In our Mendota. The sketching part is done
in both the feathers. So let's move on to the next
spot in the next chapter.
9. Royal Peacock Mandala Final Details & Thank You: Hello everyone and welcome back. So let's start adding the
details in our fader. So I'm going to use 0.2 fine
liner to add the details. And please make sure that
you draw the guidelines of the feather beforehand before
you start inking it, okay? While you are adding details
to your pickup Mandela, make sure you are taking
your own time to do it because don't try to do
it in a single stretch. It will strain you're out
and take your time in completing and
enjoyed the process while you are creating
this Mandela. So let's start with dealing
in this small feather. And we're going to repeat the same patterns that
we have done in the, are those small one. Okay, so let's get started. Hello, Let's move
on to this one. And I have draw the
guidelines or with the help of a pencil before
starting getting it. So just make sure you follow this process
because it will avoid any unnecessary mistakes
or messiness that we can have while
creating the lines. Okay, so once it is
done, the guidelines, then we'll move on
to the next file, the detailing one. Okay. So to add the intricate details, or we can say my
new details use 0.1 fine liner to do so. Again. So for this fall pedals, the process will be
the same that we have repeated in
the previous two. Okay? So whenever you are adding details
to your Mandela's, you can always,
always improvise. A kid's not
necessarily to follow the same pattern. So desires. You can always change them
as per your preference, and that's where the
creativity kicks in. Okay, The main
purpose of this class is to let you know how we draw the figures for such Mandela's and how
we add details. So it's perfectly fine. And it's really good when you are improvising
in your work, okay. In the feed of the peacock
will be doing some stippling. And once it is done, we will move on to the pillar where the
peacock is sitting, so we'll start adding
details in that. Okay. I will not lie is complete and I hope you guys have
enjoyed the session. Don't forget to upload
your projects in the project section and do let me know if you
have any queries. Thank you so much, guys for
joining me and thank you.
 Richa Saxena, mandala & watercolor artist