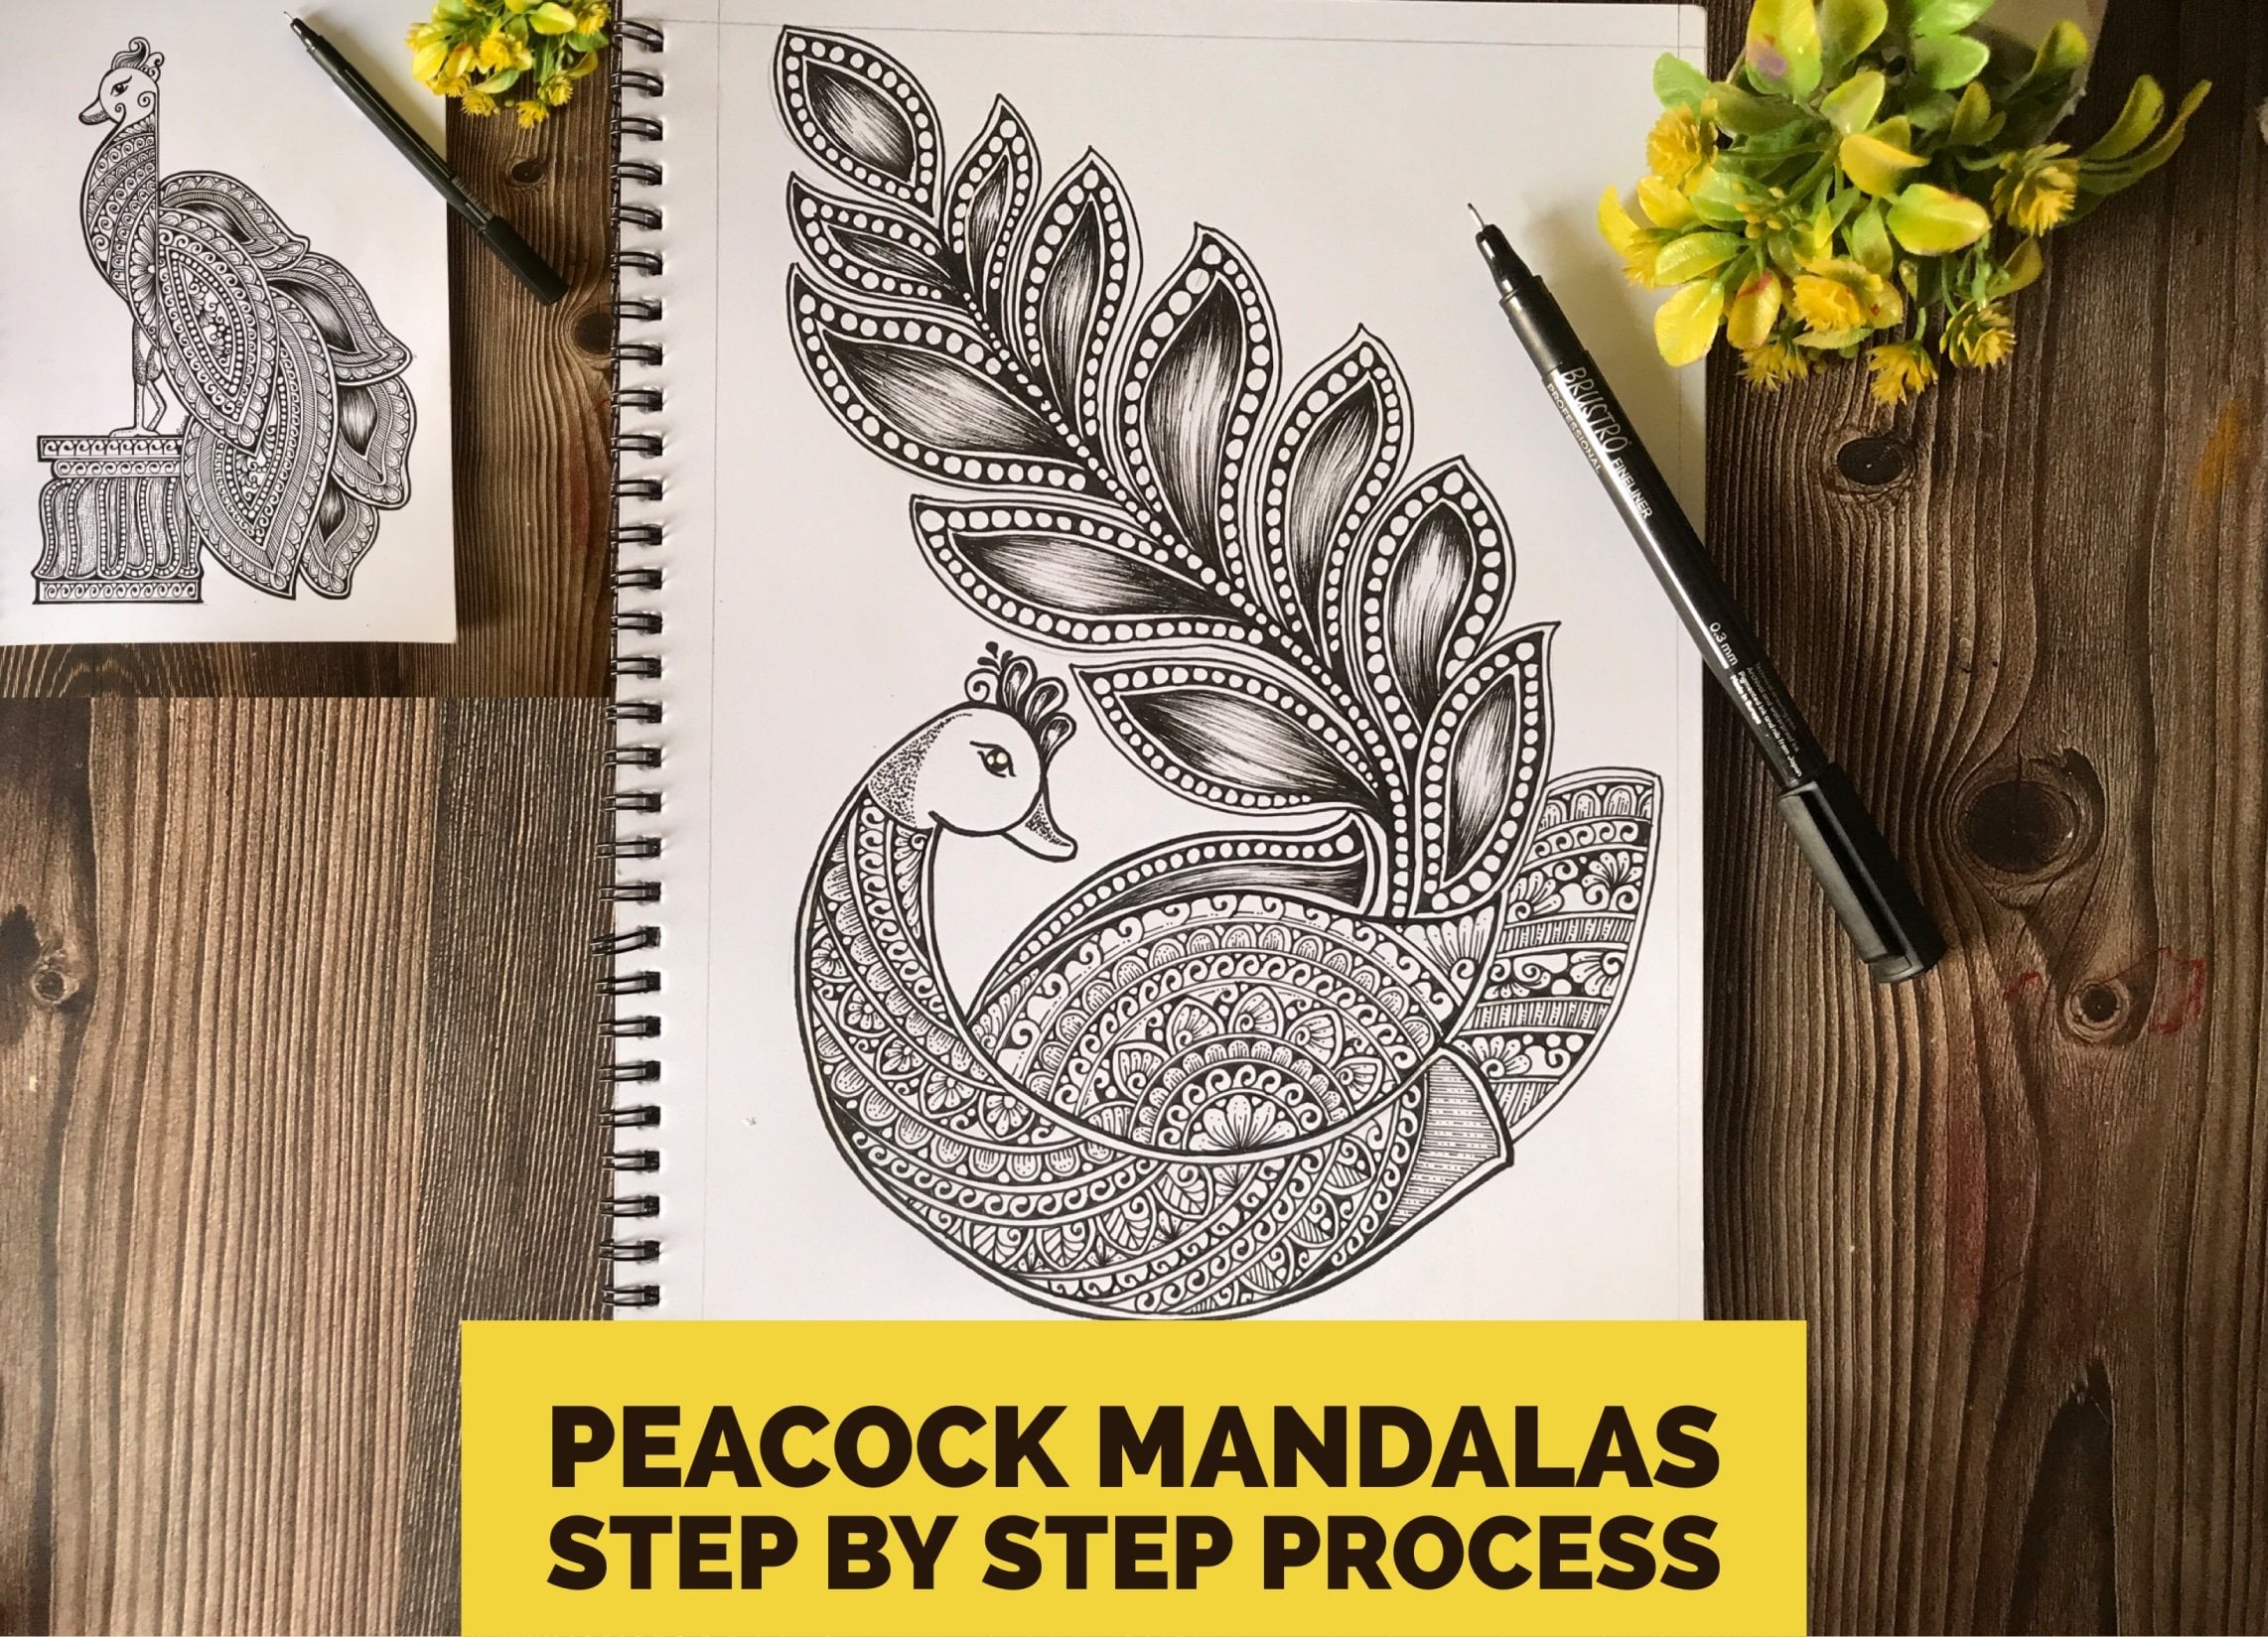
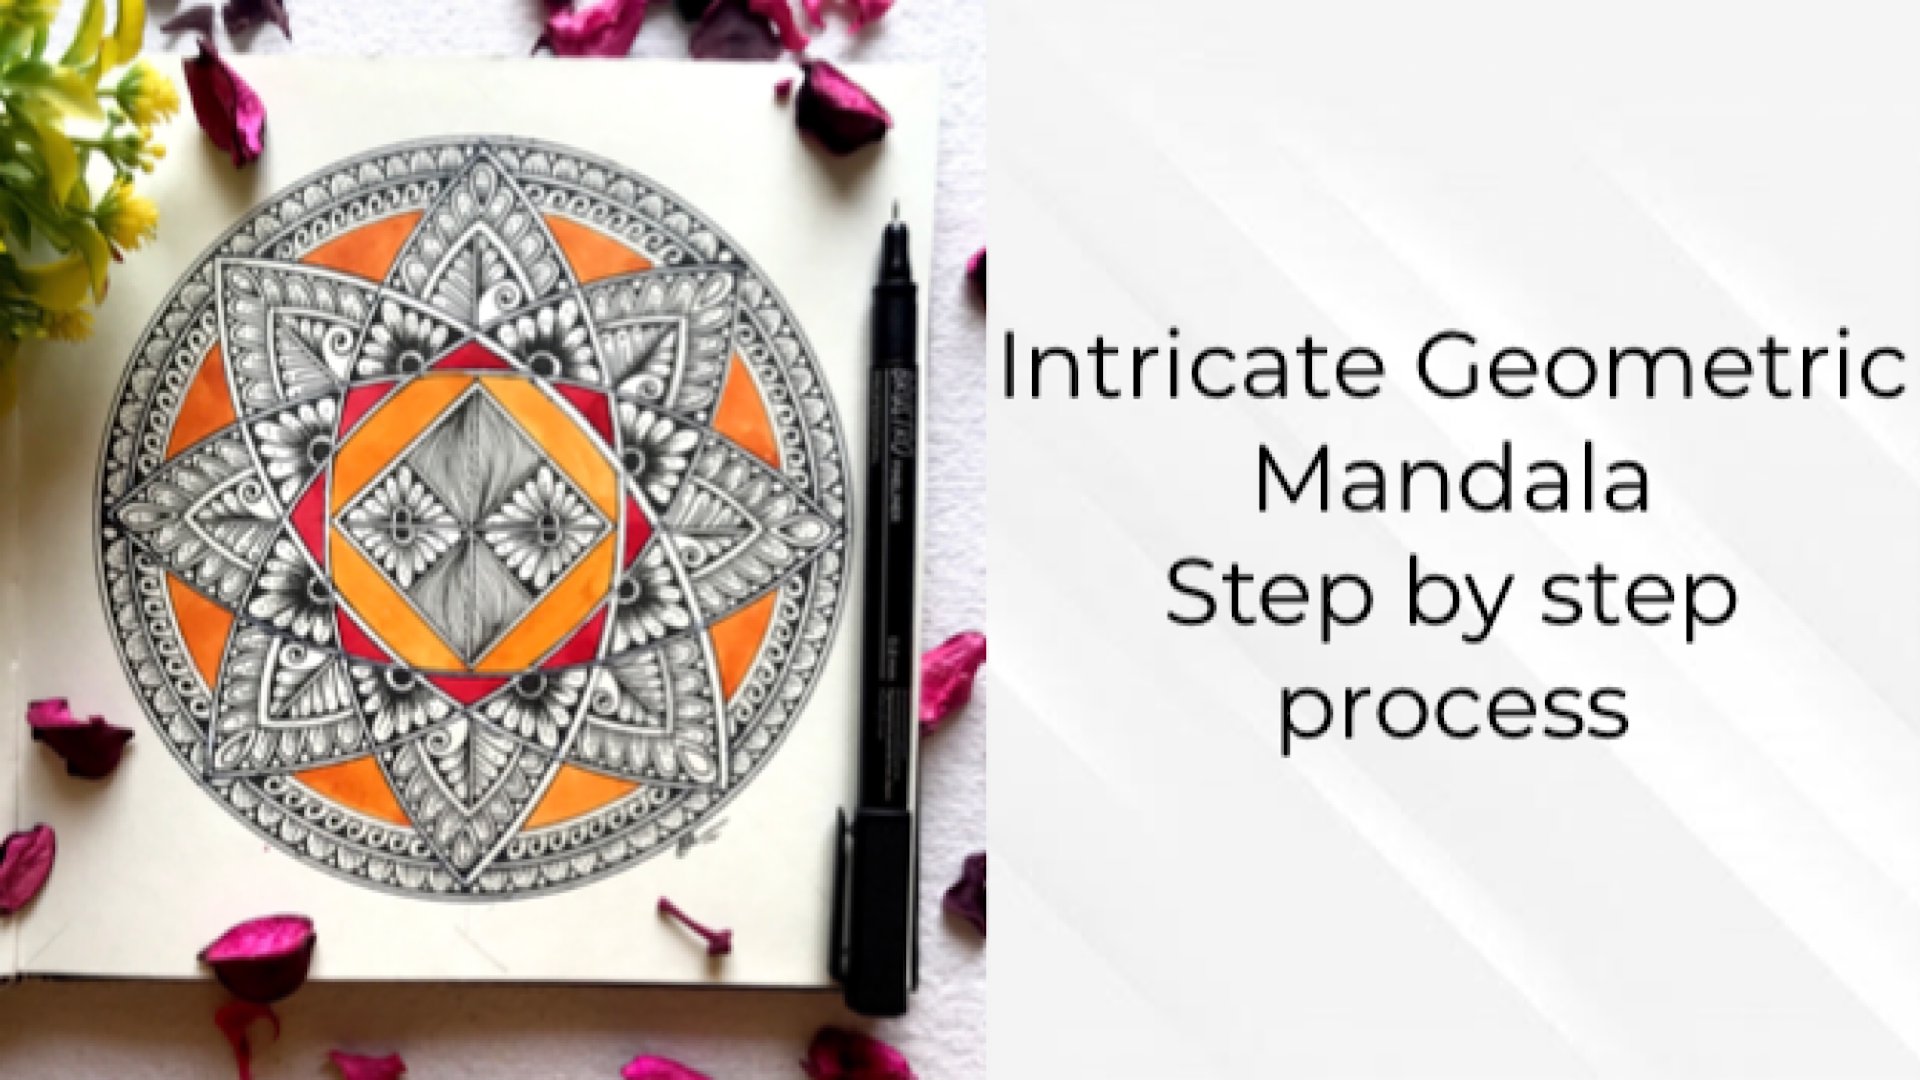
Intricate Geometric Mandala-Part 2. Octagon Mandala & Seed of Life
 Richa Saxena, mandala & watercolor artist
Watch this class and thousands more
Watch this class and thousands more
Lessons in This Class
-
-
1.
Introduction to The Class
0:49
-
2.
Know our Art Supplies
0:34
-
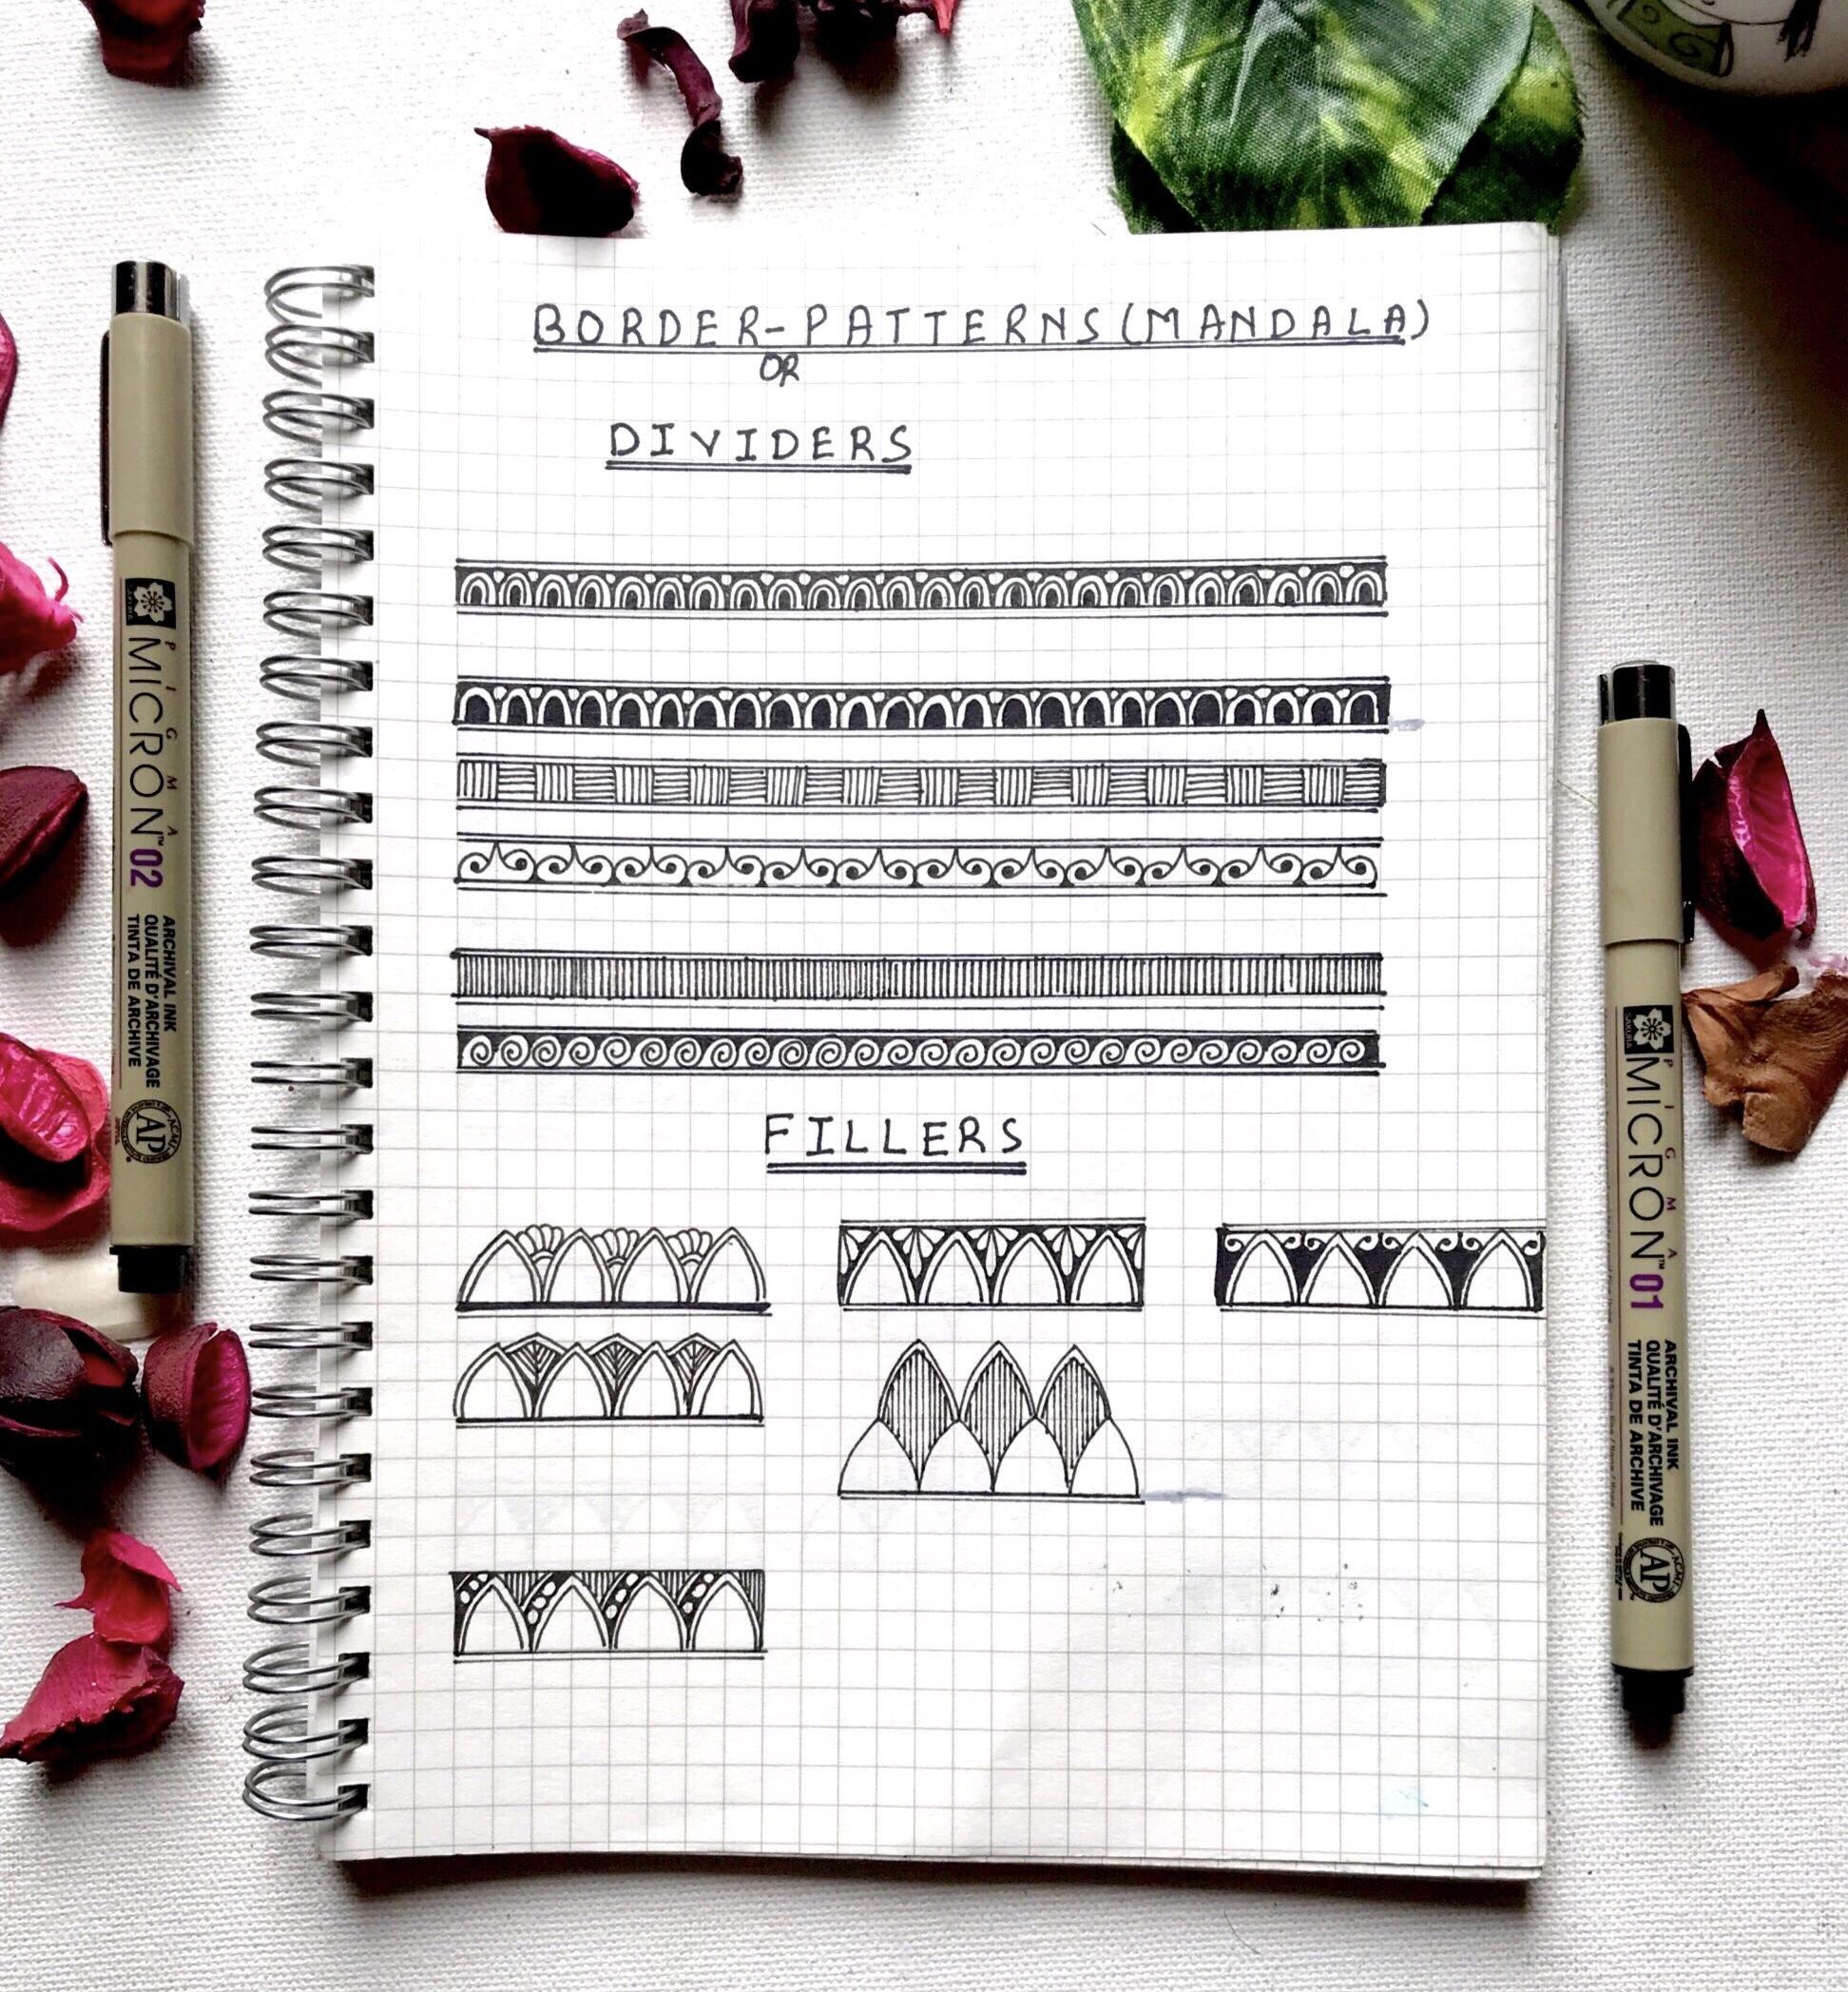
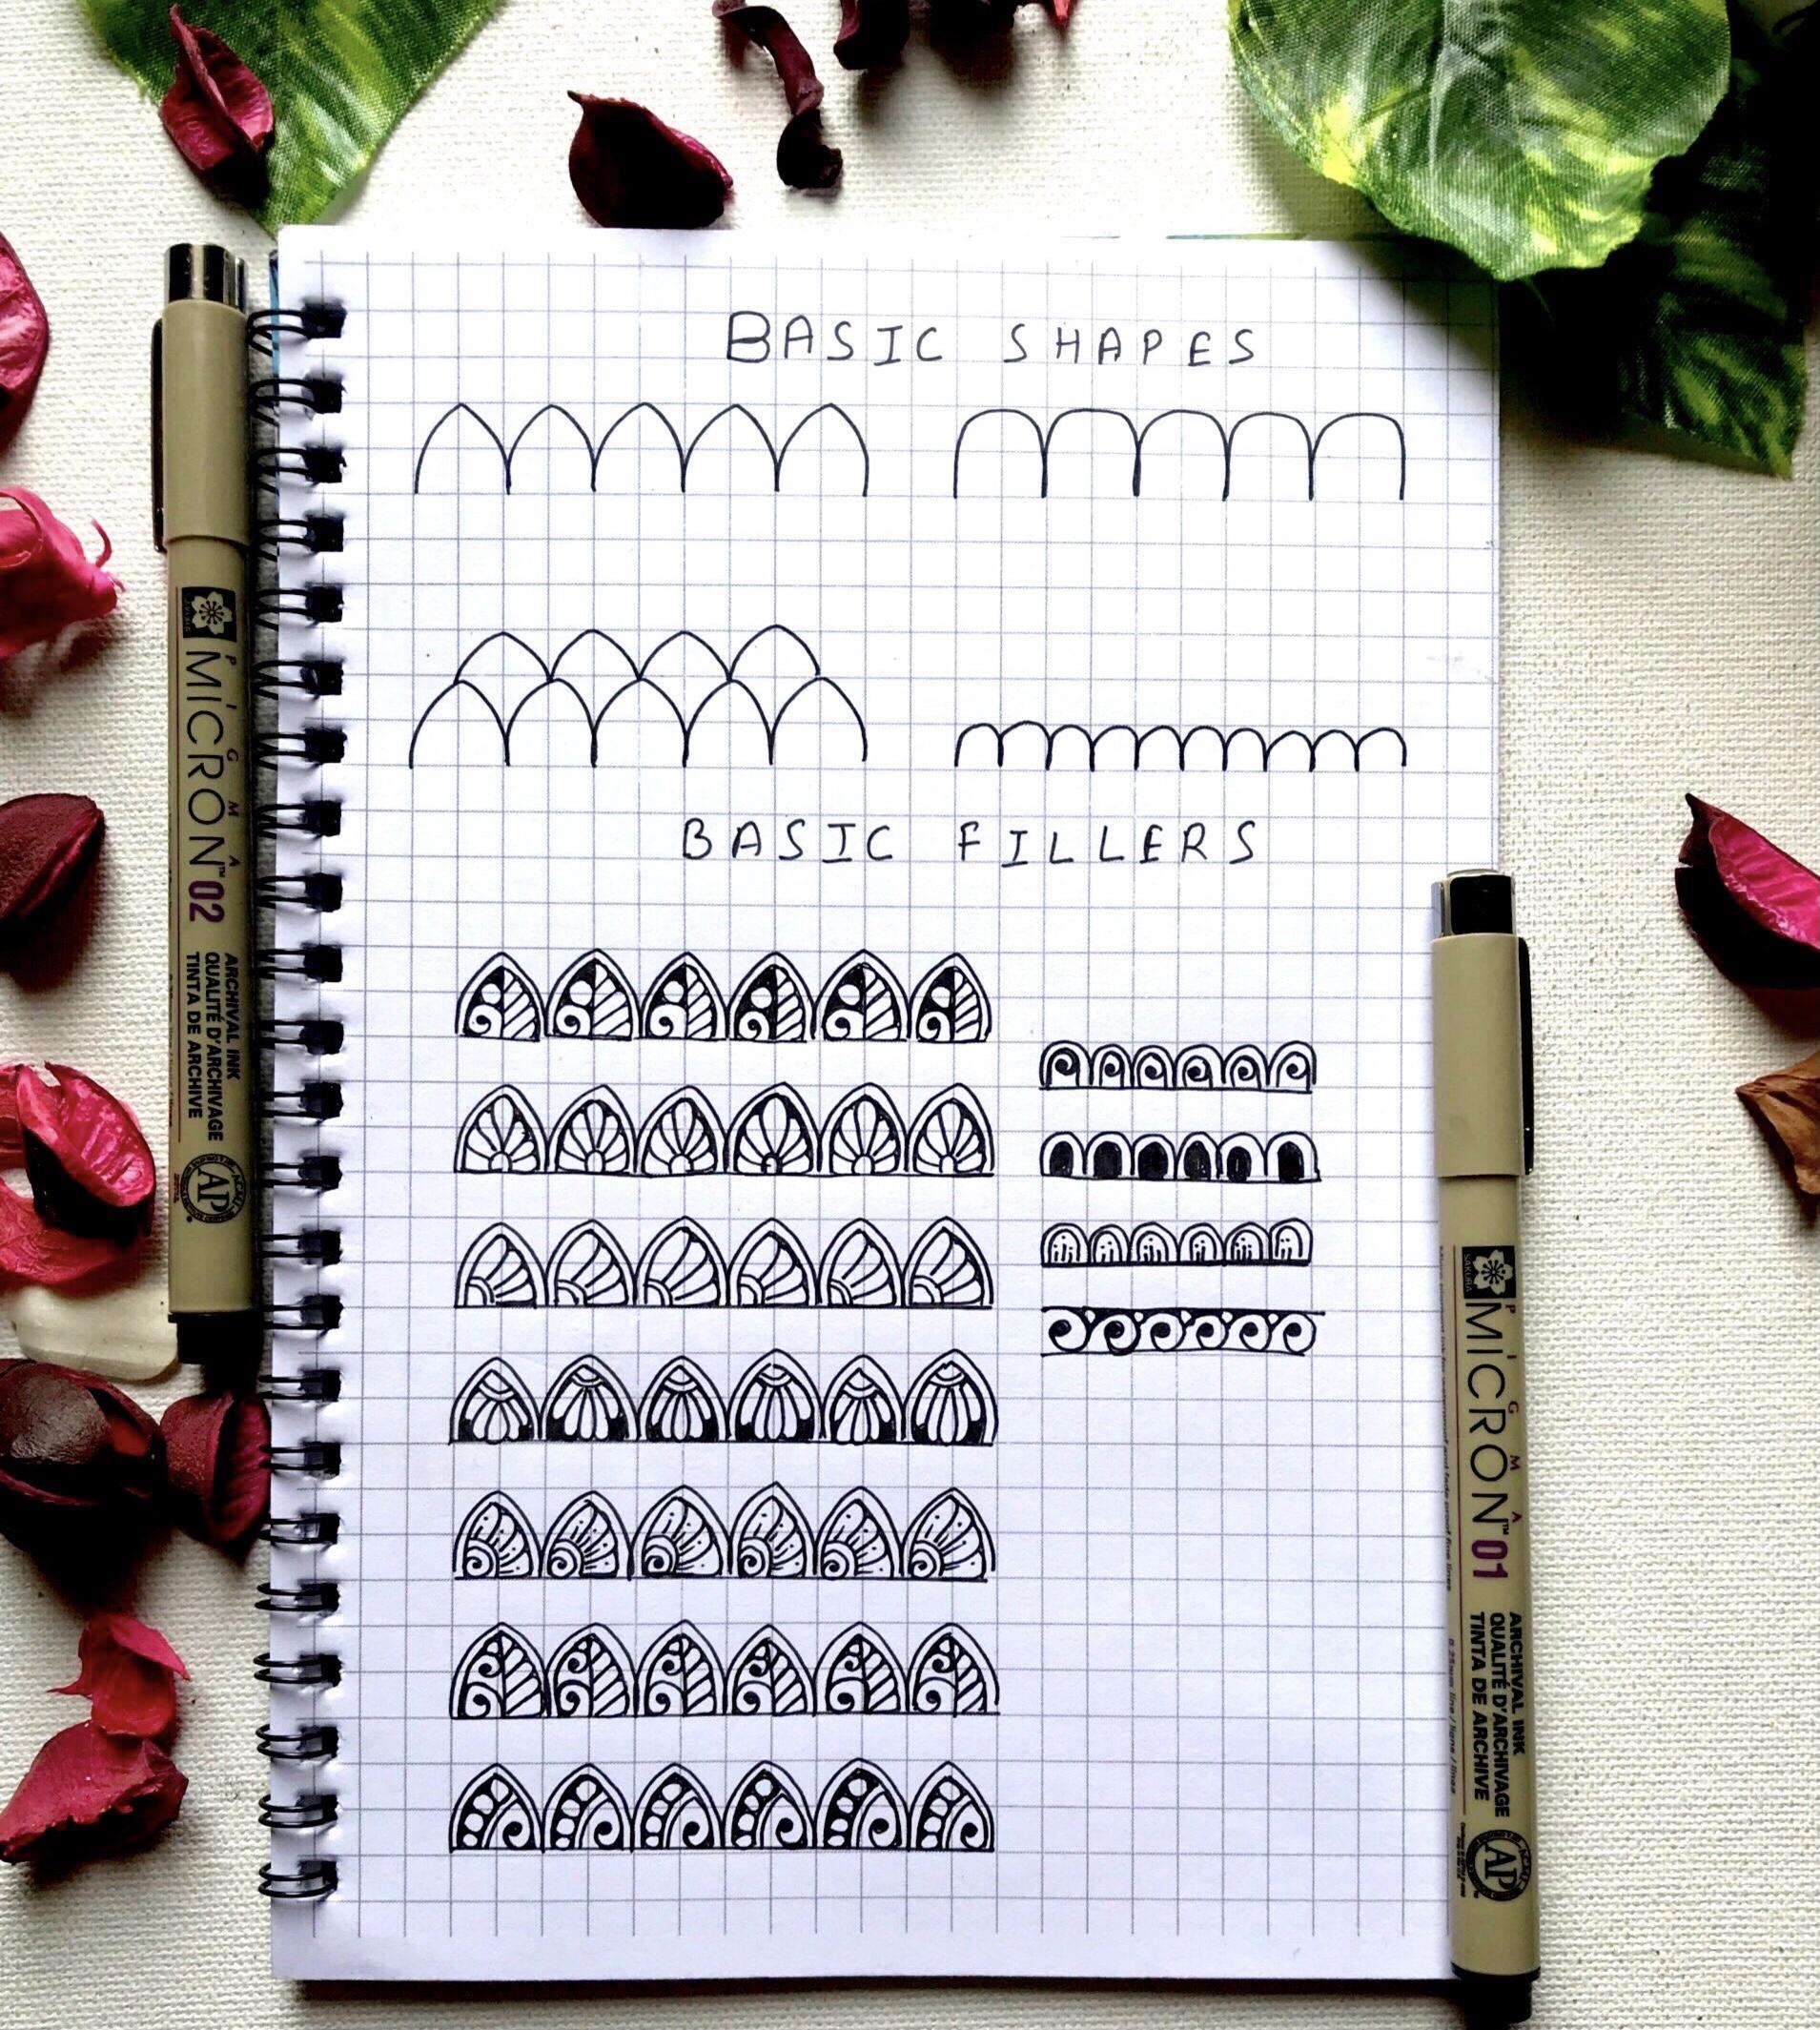
3.
Pattern Exercise
5:19
-
4.
Creating layout of Octagon Mandala
8:46
-
5.
Adding First Layer of Details
12:50
-
6.
Completing the Other Half of Mandala
10:13
-
7.
Adding the last layer
3:26
-
8.
Lets create the layout of Seed of Life
3:46
-
9.
Lets Add some Colors
4:34
-
10.
Inking the Mandala
6:09
-
11.
Adding Final Details
4:43
-
-
- --
- Beginner level
- Intermediate level
- Advanced level
- All levels
Community Generated
The level is determined by a majority opinion of students who have reviewed this class. The teacher's recommendation is shown until at least 5 student responses are collected.
278
Students
8
Projects
About This Class
Hello Everyone,
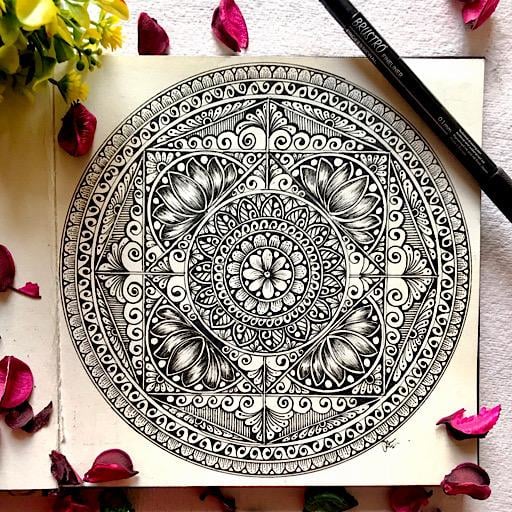
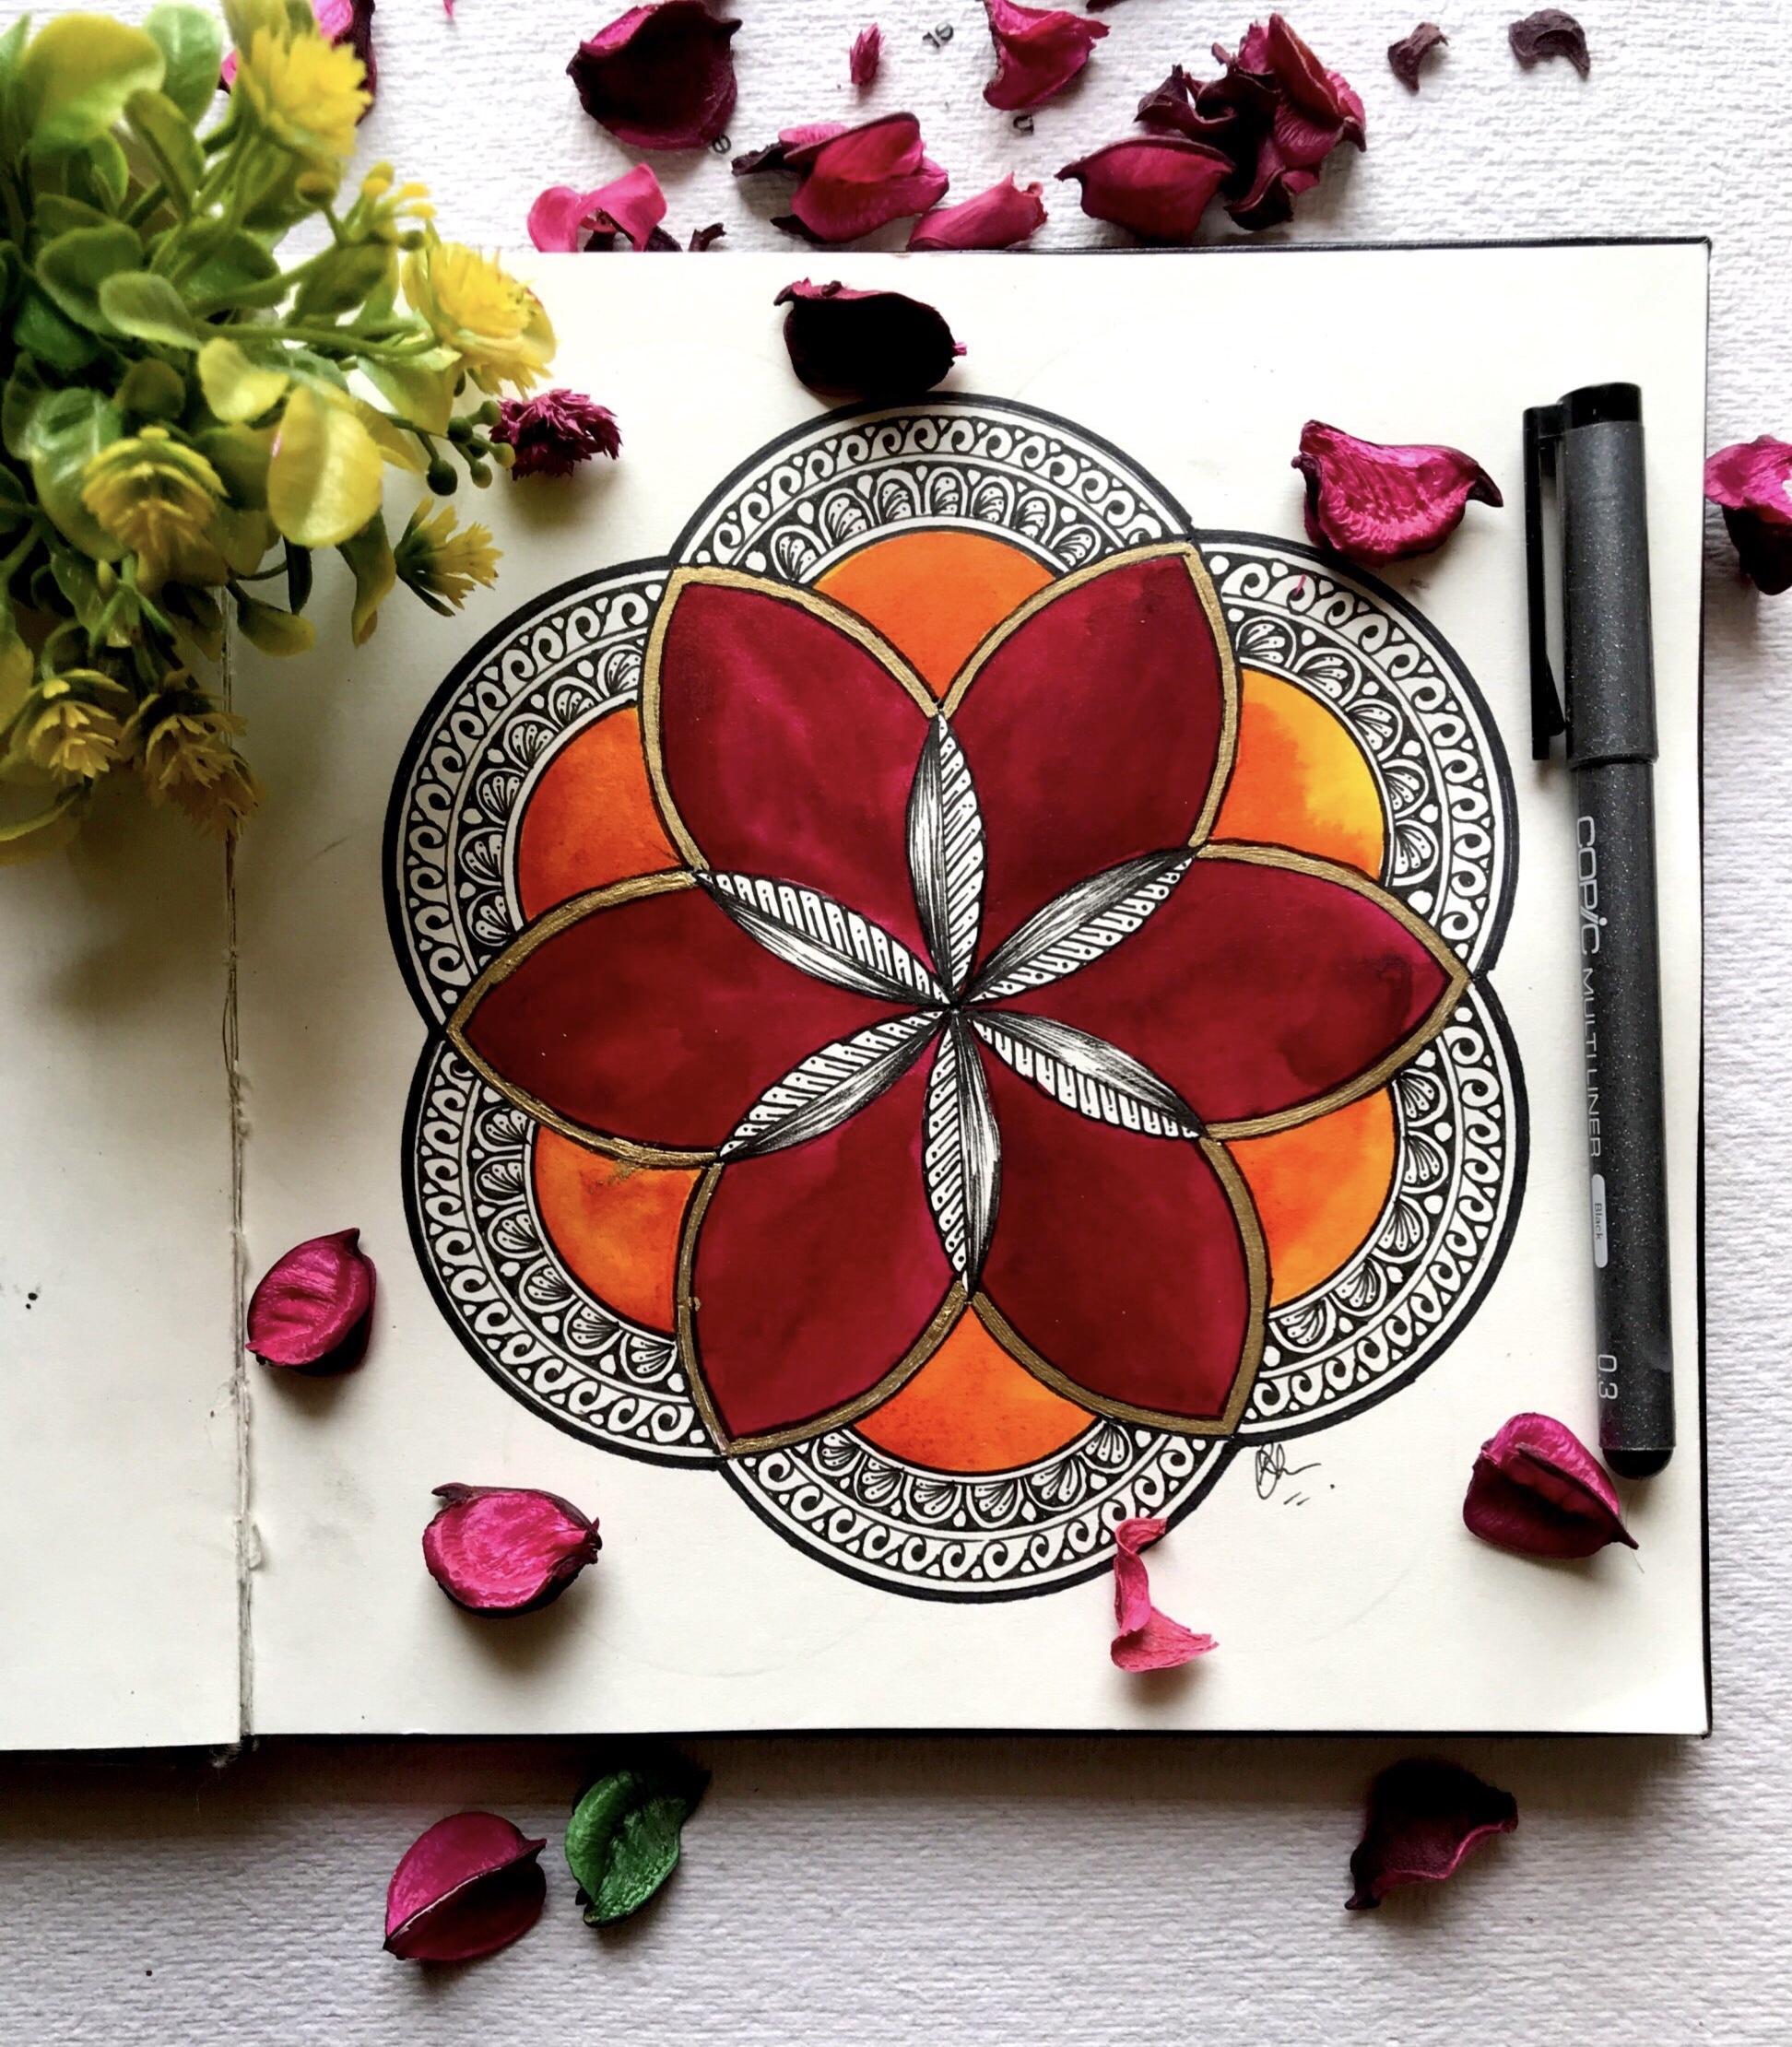
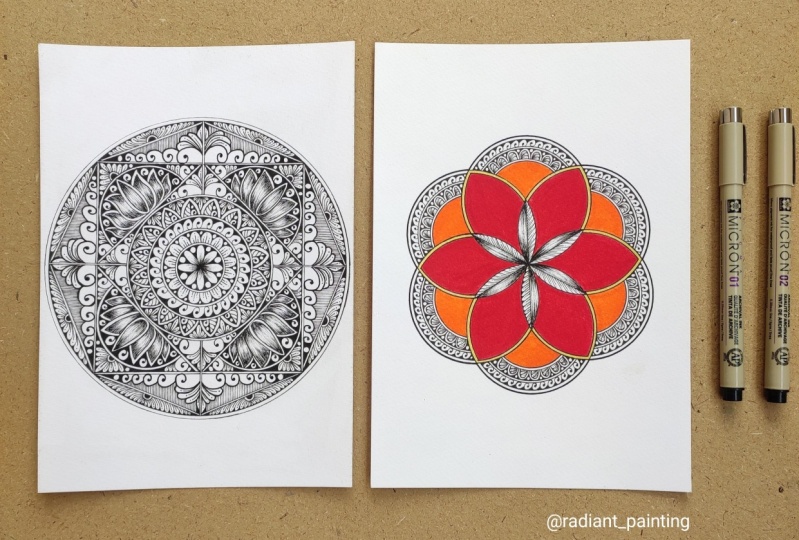
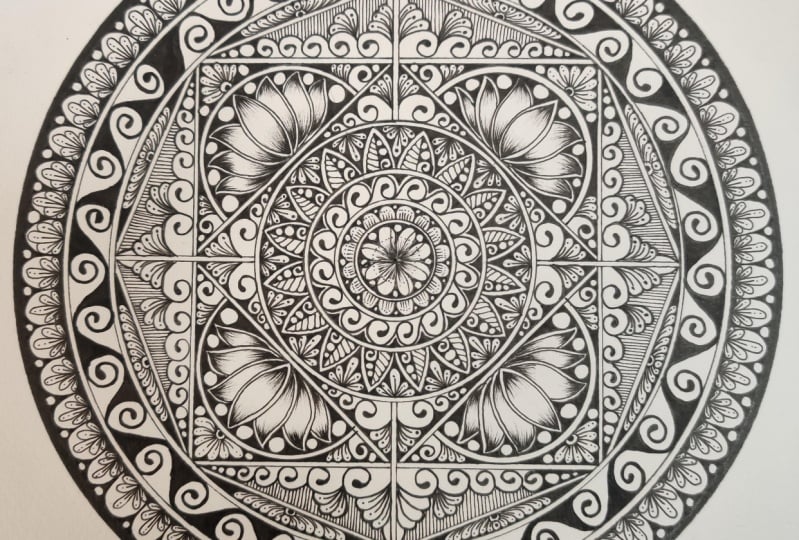
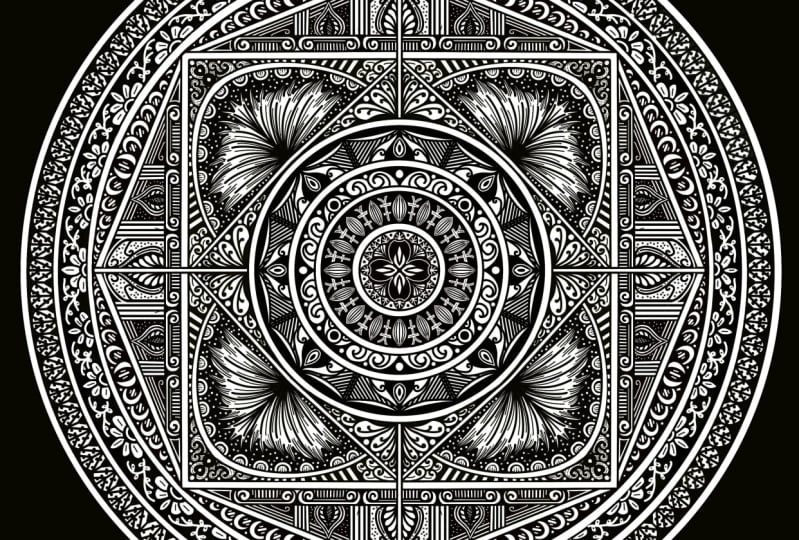
Welcome back in another amazing class, "Intricate Geometric Mandala-Part Two". In this class we'll be creating two intricate geometric mandala, first one is Octagon Geometric Mandala and second one Seed of Life
We'll be learning how to create these beautiful geometric mandalas in easy step by step process.
We won't be creating be a traditional grid, yes you heard it right. We'll be creating a intricate geometric mandala only with basic geometry skill.
Meet Your Teacher

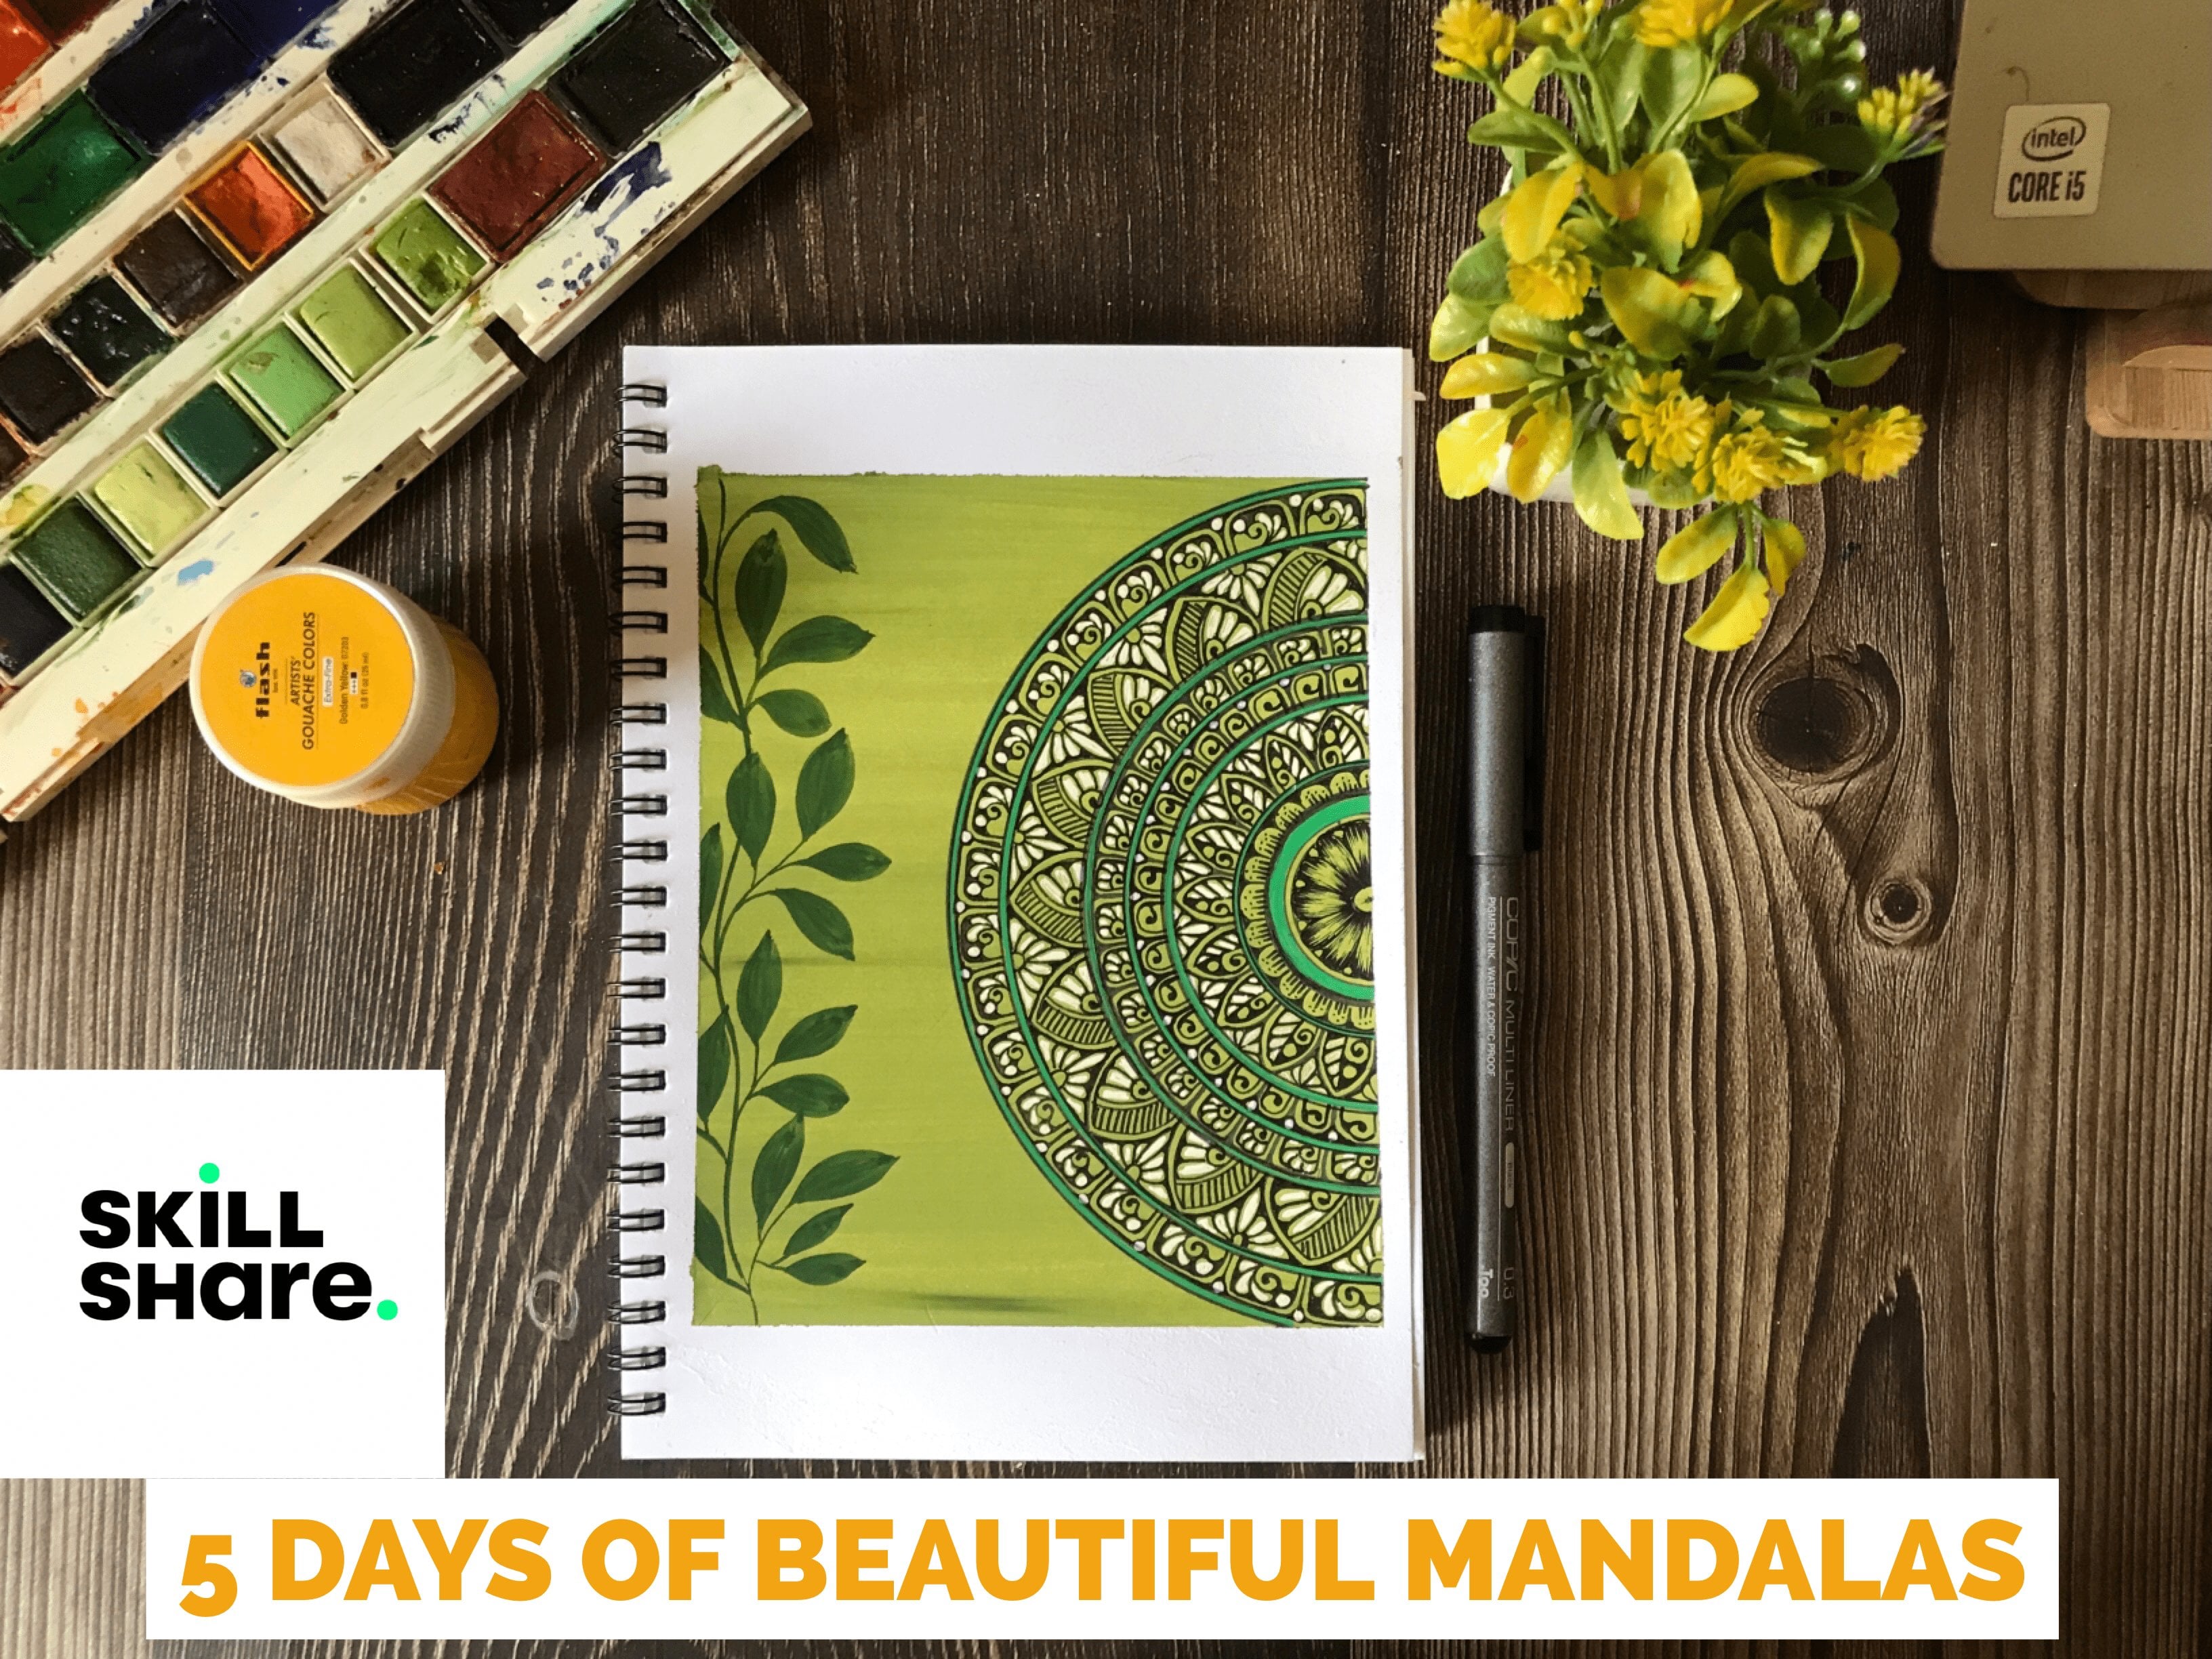
Hello, I'm Richa. I am an Indian mandala and watercolor artist. I've started my mandala journey in 2018. Prior to that I worked in corporate sector for ten years. I quit my job and started as an hobby and now I am a full time artist. Mandala for me is meditation as it helped me stay focused and relaxing too. I've taught more than 800 students through my mandala class. I've organized workshops in different cities as I love to share my knowledge with art enthusiasts. Here I am teaching different aspects of mandalas in different forms and techniques. So far I have launched two classes on mandalas and there's so much more coming in upcoming days. I am also a watercolor artist n I start painting with watercolors three years back and since then there's no looking back. Watercolor is such a ve... See full profile
Hands-on Class Project
Assignment:
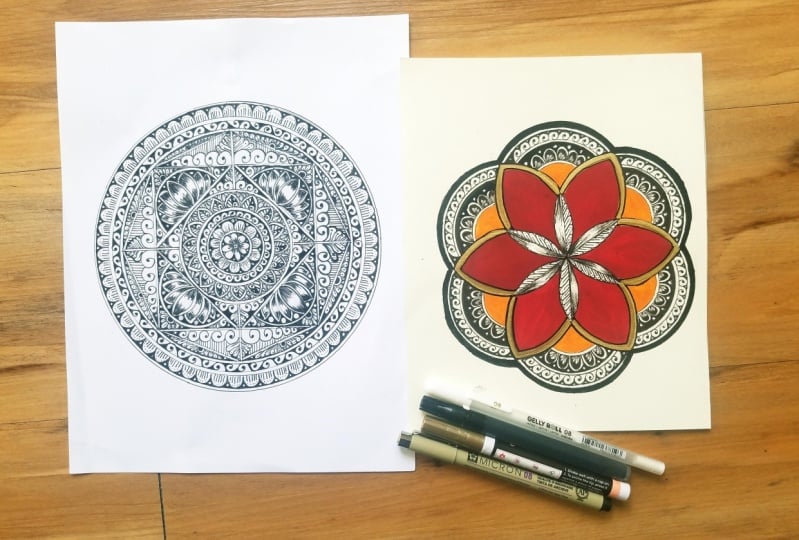
For the class project, we will be creating Intricate Octagon Geometric Mandala & Seed of Life
Materials:
Use whatever brushes, paper, and colors you have available. But I strongly recommend:
- Watercolor paper 200gsm.
- Any watercolors you've.
- Permanent black marker & Gold Marker.
- Any fine liners 02 or any gel pen you've.
- Compass, Eraser Ruler & Round Brush 2 no.
Sharing Your Work:
Share your final artwork and progress shots with the class by uploading to the "Your Project" section. If you have any questions or need more tips, please let me know! I'm happy to help!
Reference Pictures:
You can check the reference pictures in the project section.
Class Ratings
Why Join Skillshare?
Take award-winning Skillshare Original Classes
Each class has short lessons, hands-on projects
Your membership supports Skillshare teachers
Learn From Anywhere
Take classes on the go with the Skillshare app. Stream or download to watch on the plane, the subway, or wherever you learn best.


Related Classes