Transcripts
1. 01 Supplies You Will Need: Hey, you're in the right place because today we are working on prepping our prints. Two resin. Hi there. My name is Bree and I'm a professional artist and teacher based in a tiny town in the flat part of Colorado. I create a lot of different styles of Art and I have both a Fine Art and a commercial art practice. I've been an artist all of my life and creating is in my DNA. I mostly work with mixed media, including Vintage Book pages, acrylic, goulash, metal leaf, and pastels. In addition to commercial work, most of my clients are private collectors from all over the world. A few years ago, I began resonating both original work and Prince, this allows me to work digitally, but present my work on a higher level. And not to mention reasoning my price point of reproductions. This class is the first step and resonating your work. I will walk you through each step of getting your print ready to resin, including prepping your panel, gluing and sealing your work. This class will be great for digital artists and artists looking to sell more prints of their work. This is a workshop style course, so you will be prepping your surface for a resident right alongside me. This is going to open up a whole new way for you to showcase your work. So let's get started. I wanted to talk to you a little bit about why I use art resin and said I have a less expensive product. And the main reason is because art resins, fumes are so much less so I can do them inside and not an a well of a ventilated area. When I've used other products, I is so the smell is so overpowering that I can hardly work. Also, if I have to sand down an area using art resin, you need to be masked, but the fumes aren't bad. Where when I've had to sand other products, even with a mask, it felt like it was being detrimental to my health. I really like art resident. I also really like that they have a very good website and good customer service. I have spent time on the phone with them when I'm having a problem and they're always willing to help. So I highly recommend you using art resin. If you're wanting to start off with a less expensive product, I think you can get the same results. But working with them isn't as good for you. I would imagine. Also I think that art resin has their food grade and they also have no yellowing. And so I just really like them and I like them as a company. So the supplies you're going to need today for this are your print, a woodblock adhesive or gel medium or mod podge. And your adhesive which could be poly-time site, or it could be your archival art glue. You're going to need painter's tape, a straight edge and exact DO knife. Right? And that's it.
2. 02 Printing Your Prints: We're going to be adhering are prints to wood panels to elevate our prints. This can be in preparation for resonating or it could be just a standalone. So the the the wood panels that I have are just six by six and they come in a set. And I'm going to be printing on this side for two parenthesis. And then I'm going to put nest one inside of here. You're first going to need to make sure that your prints are the correct size. And so you need to make sure that they're printed just a touch bigger than then this. If you're putting it on the top and you need to make sure it's a touch smaller than this if you're nesting it. So I panels or six by six inches. And so I need to print these prints to be just a touch bigger than the six by six inches. And the reason why I want them to be just a touch bigger is because then I have more room for error when I'm placing down the French. So I'm going to just go to File and Print. And I'm going to just make sure that it is exactly how I want to. And I know that there is another way you can do this where you enter on the numbers, like down here. Let's try that. And I'm actually going to make is 6.2 for both of those. And so then from there I'm just going to make sure that Photoshop is managing my colors. And that's my my eight paper or quality is where it should be. So this is how I'm going to print my six by six.
3. 03 Cutting Your Prints: We have our prints printed and they are all the right size and they are looking good. So this paper that I like to use is by Moab. And it is just a really high-quality paper. I know that some professional printing shops used this type and I just like who they are as a company to IE, they oftentimes help our schools and also like art programs. And so I think that they're a good company to support. So we have this printed on there and now I'm going to cut them because they need to be trimmed down perfectly. So I have this little slicer thing. But if you don't have one of these and you just want to use a straight edge. There's no problem with that.
4. 04 Taping Your Surface: I usually paint the edges of my work, but because of this current collection and I'm resonating, I want to keep the neutral would visible. So what I'm going to do instead of painting and then taping, I'm just going to take because they wanted to preserve the edges of this. The other thing to consider, since we are not doing one of our Prince, we need to look at the backs of these because these aren't necessarily made to be nested. They're not not made to be bites. The backs aren't what the manufacturers necessarily pay attention to. So oftentimes there's gaps are little flaws. So you want to pick the best option for this project. So this one is the cleanest on the edges and stuff. So we wanna make sure that we're keeping track of this one to be the nasa, the nested one and nice to be on the top. So now we're going to use some painters tape. And ideally you, it would be a little bit not as wide, but this is what I have today. But you do wanna make sure when you tape it that it goes over the edge. I wanted to take just below that line. And then make sure it's nice and sealed. And then just fold these over. And this is good that it goes all the way on the side because when we resin and the resin comes over the edge, it's easy to peel this off, otherwise wouldn't arrow strips on the bottom? You have two scrape them off and that caused me a lot of bloody. I just want to make sure everything is pushed down really nice. So no resins going to get there. Okay, and for the nesting one, since I am not painting the outside, we want to take that off right up to that edge.
5. 05 Sealing Your Surface: Now that we have the edges painted, were you to prime the tops of the board with either a gel medium or image patch. You can use this mat or a gloss mod podge, or you can use this gel, gloss gel medium. And because we are going to be resonating over this, then this is just to seal the wood. Because if we don't seal the wood when it is resonant, then you're there. When it's resonated, the wood can put some off gases which causes there to be bubbles and we don't want bubbles. So we need to make sure that we seal the wood really well. So was a sponge or a brush. I'm going to just be applying this on The Wood. And I am going to want to make sure that this isn't too thick of a layer because I don't want there to be any creases. Because then what happens is the your print won't lay as flat as it should. There's bridges. This is not a step that you're going to want to rush through because of the ridges. And you just want to make sure that everything is covered. Sometimes I'll use this in addition to acrylic paint. And what I like about just the pain is that I can tell where I put it so that I know that I'm getting everything. Okay. So we're going to want to put more layers on top of this. But the important thing right now is to make sure that there are no wretches. And then when we're nesting this, we want to make sure that we are getting all of this sealed. So we wanna make sure we're getting it into the corners all along the bottom. And on the sides. Hey, we'll let that dry and then we're gonna come back and do a one more layer.
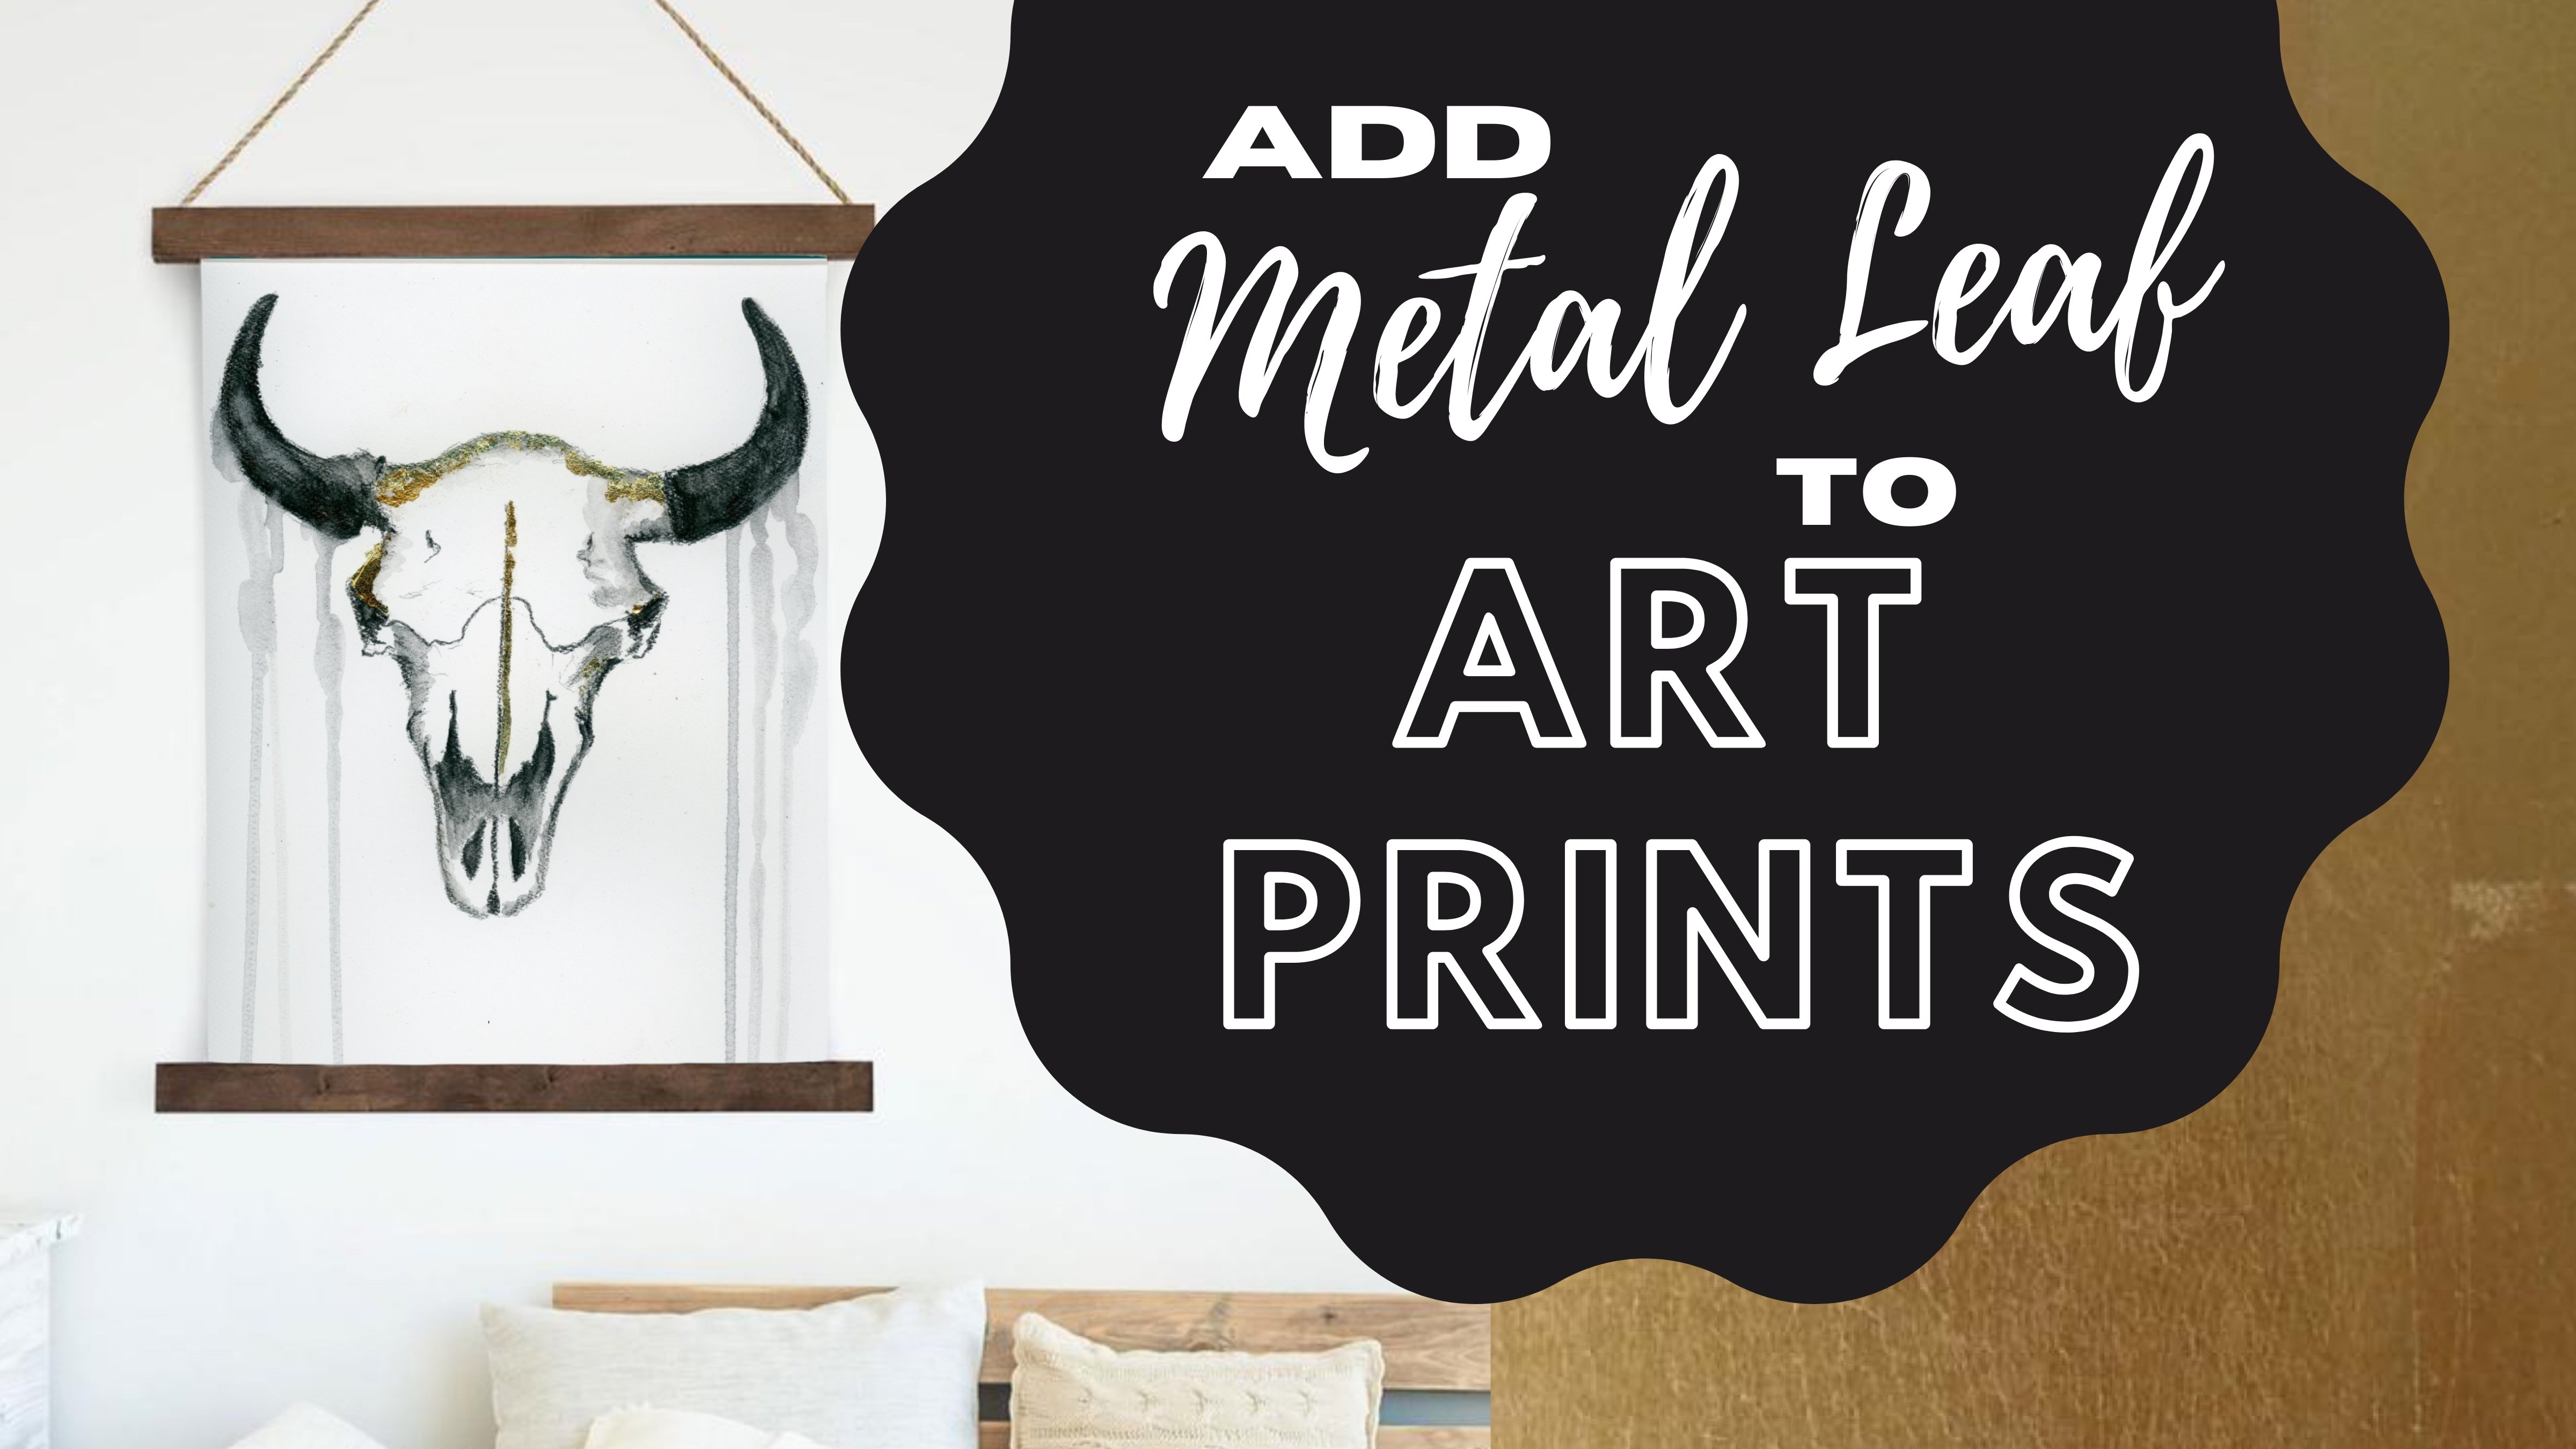
6. 06 Adhering Your Prints to the Surface: So I went ahead and put the second coat on the mod podge or the gel medium. Now, everything is completely dry and I am going to now put on the layer of adhesive. So you have some adhesive options. You could adhere it with gel medium because this could be served as a adhesive. You could use this. It's called poly tights. I had an instructor introduced me to this. It is a pressure based adhesives, so you would need to hold something on it. This stuff is so sticky. So sticky. So if you have issues with keeping stuff stuck, you may want to consider this. You have to get it from a library supply store. They don't sell in our stores. But even like the drips on top get stuck to things because it never goes away. The stickiness doesn't go away when it's dry. It's constantly sticky. So keep that in mind. And then the most popular one is this archival adhesive. And this is sold in our supply stores. And it is a good quality product in probably the easiest to use. There's no special directions. So this is what we will be using today. So I have some vellum here. I have my boards. I have a sponge brush. I'm gonna go ahead and put the glue straight onto my board and even it out. And then I'm going to put on my prints. We want to make sure that it's adhered all the way to the corners. And the reason is because we don't want to get underneath our print all the way to the edges. Just go ahead and put my right on that. Going to line up with one of the corners. Because if you remember, we made it, I'll touch to big, which was what we wanted to do. It where you want it. You're going to start to just push that down if you want. So now when we look at this, we see that it's too big onto areas. So this is OK. You could also center your print over this if you wanted to not lose that area, but I'm fine losing that area. But we're going to just leave that the way it is. And now I'm going to put the velum back on. And I'm going to put a book on top of it and leave it for about an hour. Okay, on this one, I'm going to center my print more evenly on this so that everything that gets trimmed will be just in more of a subtle way. Instead of it being totally off, I'm going to use the clean to just push that down each minute that's getting stuck. And then what's just my fingertips. Then with a ruler. And I just want to make sure those corners around me and those are glued. Now that we have everything glued down, the next step is to seal the top. Again. At this point, if you wanted to add metal leaf to your print, this would be the time to do it. That's takes place in another lesson. Make sure that you seal the top. And we're going to go ahead and launch pops the top now.
7. 07 Sealing the Top of Your Prints: I've decided to add a little bit of flair to these pieces before I put the layer of mulch budge on or the layer of dumb medium. And I got this cry long copper leaves. It's a leasing pen is what they call it. And so it has a metallic finish. It doesn't reflect quite as good as if I were to actual, actually puts the Middle East down on it. But I think that this is going to add just enough of a reflective quality. So when I'm adding betel leaf or the pen, I like to find a similar tone to add it to. And so I'm going to add it to the Rainbow piece here. If you choose an area to go over a that is lighter than the tone of your metal 0V. Oftentimes it will change the overall value and the effects of your piece because what was previously a light point is going to be darkened up even if you're using silver leaf because the light isn't always reflecting off of it. So keep that in mind too, that mentally often darkens if you're trying to reproduce it. So that's going to add just the touch of a reflective quality. And I'm gonna double-check to see if I got you covered the way I want it Doug leave like a marker texture. But I think that I I like that because it's not like exactly, looks like a little ad. So for this one, I'm going to add some speckles. So they had one recent client call them. And I'm going to add them to the larger circle. And I have done this before. So I am competent in adding this right now to this. But if you haven't added it before to a printer, maybe try it out on a piece of paper that isn't mounted or that isn't as good of equality so that you can just make sure that you like that pain. And again, those are just a little bit where effective dots were speckles. And then this one is the one that I'm a little bit nervous about because it's so small. So I think I'm just going to use a little bit of a highlight pay, so that has a little bit of a reflective quality. I'm not sure how much that's gonna show up, but I like it. I like that it ties all the things together. Now, we're really adding hodgepodge. I know that I said that twice before and I was lying, but I'm really telling the truth this time. So get back out your sponge brush. So our little bit of flair is all dry now, we can make sure, and we're going to put a layer of montage over these. And the reason why we're doing that is to prevent the resin from seeping in. Okay. I want to make sure it's been enough that it's going to dry and not be chunky. So be careful with the corners on this one, especially the runway or nesting it. K. One other important thing with this step is you want to go over the sides because it's kind of adding another little seal between your print and the wood. And I have had resin get between the wood and my print more times than I can explain why. But it is such a frustrating theme for that to happen. And so you, we're just adding another seal. I've seen some artists. They add there. They put the print in here. So there's like a lip, like a gap between the edge and the print. And that helps the seal down to the wood. But you have to be so precise with how your book sitting it down. And my precision is not one of my strong points to make sure to watch out for those chunks. So we're gonna wait for those to dry completely. And then we're going to check out how they turned out. Make sure that you give them enough time to dry fully and before you go onto the class on resonating, because if there is any moisture at all, it will cause cloudiness and they're resin. Okay. Now that we have everything done and covered and everything is dry, now is your time to go watch the next class on resonance. Thanks so much for making art with me today. If you enjoyed this class or even if you didn't, please leave a review so I can make my class better or hear how you liked it. Also, please share with me what you worked on below. I would love to see how your project turned out. Also, I have a few other classes on skill share that are upcoming, so make sure you check those out as well.
 Bri Hill, Hey! I am a commercial and fine artist.