Transcripts
1. 01 Introduction: Hey, you're in the right place because today we are working on taking our prints to the next level using mentally. Hi there, my name is Bree and I'm a professional artist and teacher based in a teeny tiny town in the flat part of Colorado. I create a lot of different styles of Art and I have both a Fine Art and a commercial art practice. I've been an artist all of my life and creating as a part of my DNA. I mostly work with mixed media, including Vintage Book pages, acrylic, wash and pastels. In addition to commercial work, most of my clients are private collectors from all over the world. One of my favorite materials to use as metal leaf, which became a problem when I started to create more of my work digitally or when reproducing my original work. That was until I began adding Redleaf directly to my prints. This elevates my reproductions and my digital work, making them all one of a kind. We will go through each step of applying metal leaf, including what supplies to use and where to use them on your own piece. This class will be great for digital artists or traditional artists looking to sell prints of original work. This is a workshop style course. So you'll be adding your own metal leaf to your own original work right alongside me. Let's get fancy and do this.
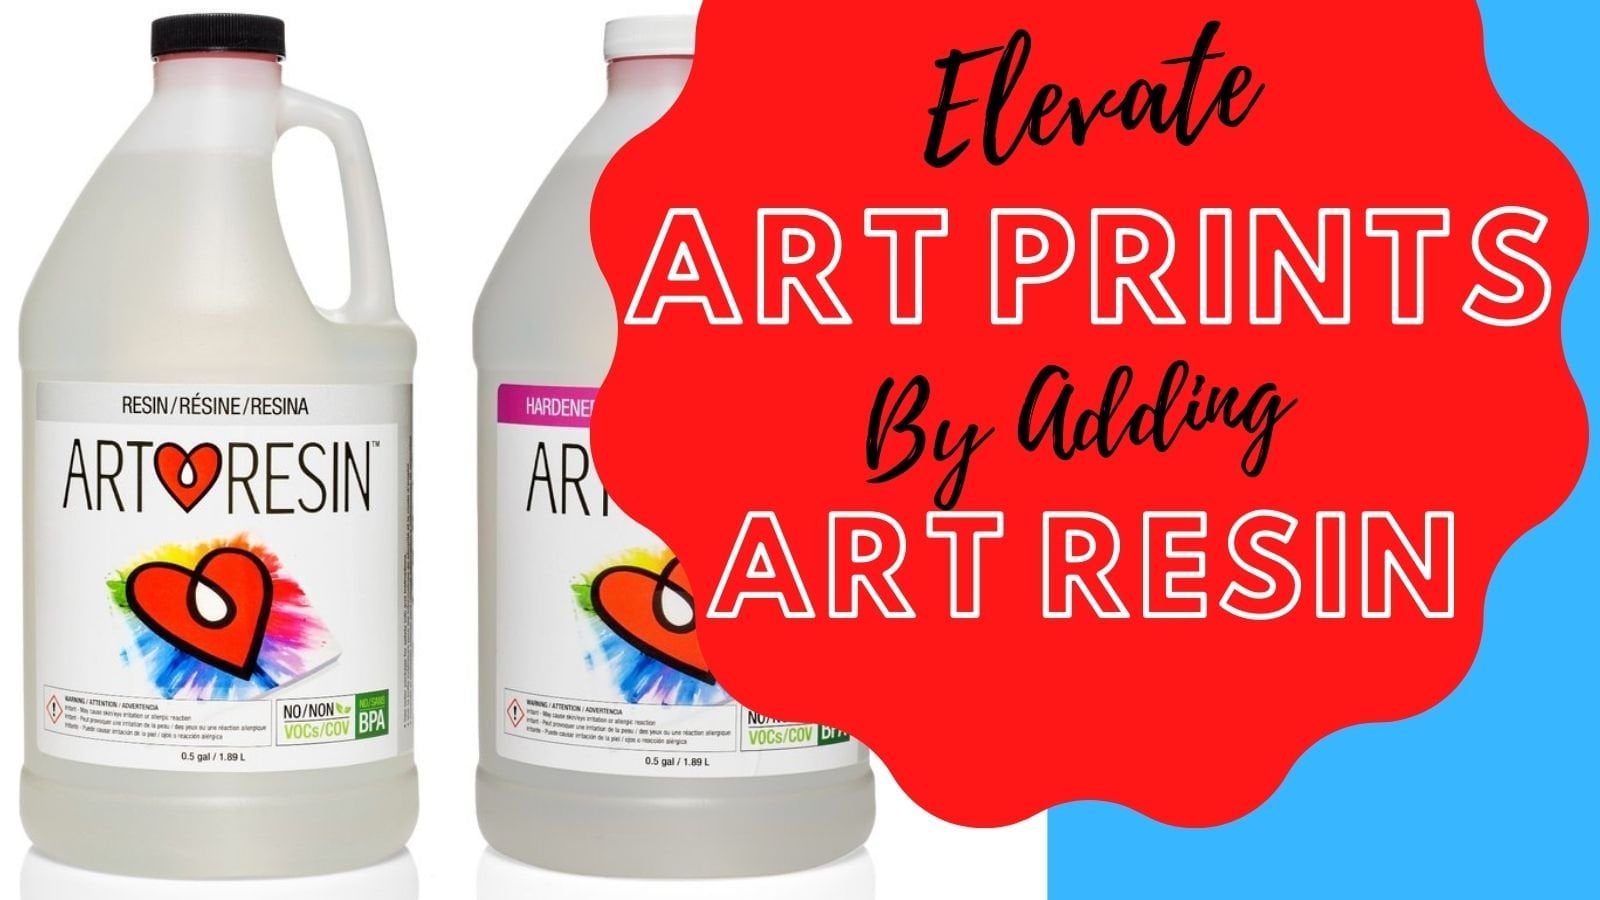
2. 02 Supplies (1): Recently I had these printed made from originals that I created using water-soluble graphite on the original I had metal leaf added to these pieces. And so these are what the prints look like when they come directly from the printer. Here's your basic metal leafing supplies. You're going to need an adhesive. And this actually lasts quite a while. We're going to need a sealer and then you're going to need the metal leaf itself. So traditionally I have bought the speed ball metal leaf in lots of different colors. And this one is a cop or this one silver. Then I also bought this one. And this one is less expensive. But I haven't found any difference in quality. And so I think that you could buy either of these and be just fine. You're also going to need some sponge brushes, ones that have already been used there and a little bit crusty are okay. But once you use one of these and you get metal 0s in it, you're not going to want to reuse it. I also recommend having gloves that's absolutely not necessary. These are not going to hurt you. But I always seem to leave my betel leaf with sticky hands and so I recommend having gloves. So this other betel leaf that I've worked with before comes in little tiny pieces of mentally. And it can create a really cool effect, but it makes a horrible, horrible mess. So keep that in mind.
3. 03 Where to Put Metal Leaf: The print ima adding Mendeleev today is a print of work that originally had metal leaf on it. And it is okay if your print didn't have original metal leaf on it, I would just recommend picking a color that you're using on your print and keeping it consistent and adding your adhesive to that color. One of the biggest problems I run into in my work when I'm making abstracts with metal leaf is that I honestly forget where I put the adhesive. And I know that sounds ridiculous. But when it's very selective and I'm just putting a little here and there it takes a bit. That's why I recommend you putting it on a print and keeping it consistent with whatever color. So let's say your print, It's lots of different colors and pick the one that's the most similar to the Middle East that you're choosing. And only put the adhesive there so that you're making sure you're getting it all covered.
4. 04 Adding Liquid Adhesive: To add the adhesive, you're going to want to get your Mona Lisa adhesive and a sponge brush. So to the adhesive, I'm just looking at where my previous metal leaf has been. Wanna make sure that this is cleaned off at this smooth surface. So metal leaf isn't great at being really, really precise. And they do make metal pins. Now, I don't think it quite has this seam reflexive qualities is the actual sheets of metal E. The thing that I like about using metal Equus is that crushing, getting fluffy. You kinda have to let the process go. You have to trust the process. And metal leaf can be very, very maddening. If you are a person that likes to have complete control over your work. After you have that coat down, you need to move your body around the printer to make sure that it's coded. So you're looking for reflection. It means that it's liquid. So I can see that most of those places have the metal or the way that I want it. And I'm just going to check it with a light to see if that's true. So now that we have the adhesive down, we're going to weigh about 30 minutes to let it get tacky. Don't skip this step. I have skipped it and I regretted it. I didn't realize that this is it's definitely used at the very first time and my metal leaf would not stick. So don't skip this. I'll see you in 30.
5. 05 Adding the Leaf: All right. It's been a half-hour, so I just want to check to make sure there's no puddles left of adhesive. There's a little line right about here. So I'm probably going to need to wait a few more minutes for it to be ready. And the other thing I'm going to do is I'm just going to check with the back of my finger to see if it's sticky. This is obviously easier to tell when you have gloves on. But like I said, you don't want to end with sticky fingers. So I'm gonna give us a few more minutes literally back paperback and rearrange to add the Middle East, this is the most exciting part. So get your Redleaf ready and let's see what we can do. So I have my metal IQ here, and it comes in. We're going to start off with this Maki manifest not full sheet. That's okay. So to start off with this model fits. And I'm gonna put it over the part that I'm going to gently tapped down. And also tapped down with funds rush if you want. Then so I don't waste this art. I'm gonna pull away gently so that I can use this on something else. And I just pick it up and put it back down. If you're looking for a cleaner, shiny your way, then maybe doing flashy. But I like this more rustic approach. And I like that. I'm not wasting my middle. And this stuff is it raised like methane? So look for my breath. Breathing. So it's likely that this is going to get all over your workspace. And I highly recommend vacuuming enough instead. So in your room and then you'll find metal, eat more light. So I just had that little piece of metal eat and see how far it's going. And then I get another sheet out and they come with these like vellum sheets operators, we can just discard that. Okay, so now we're going to place this there, and I have a sticky part here. And up here. Extra.
6. 06 Getting Excess Metal Leaf Off: Basically these large pieces, I can just go ahead and put back into my metal neat look here and I'll just put the sheet back on top of it. And I'll use this for another project. And that is our mentally getting on. And next we're going to talk about how to clean up. So we have our mentally lay down preliminarily and now we need to clean it up a bit. And instead of using our fingers, we want to use a sponge brush because what happens if we use our fingers is they often get wrinkles here marked because it had just done. So Uses fine prices. So I'm going to use this fun for us and it's going to get all of these little pieces all over the place. So just know that you are going to want to, you know, get it everywhere. So I'm trying to brush it away from the middle side. I'm going to put this down and brush out. Because if you look right here, I went like this and it tore that piece off for a minute. Want to fix that later? Just doesn't look. Yeah, I'm going to just try to get it off of my surface completely. Recommend not to be an entrepreneur blurred if like me, you will never get it out. So I am using gold medal for this. But I've used silver. And I also recently started using copper. And the copper gives a fool like rose gold. Look to it. So that is where we are with this. I have a couple of projects that I want to make right here. Really don't like those jaggedy line and here. So I'm going to add four to that and then I'm going to do the profits are very good. But just look how much that elevated rate will be going on worth it.
7. 07 Adding Sealer: So now that I have all of that put down on both of them and we're going to spray them with the sealer spray. And you wanna make sure that you're in a well ventilated areas and do this. And you want to put an even coat on and this is going to help the Redleaf that's like flying and flipping around be laid down. So just do a, a thin layer on the top and make sure it dries thoroughly. Thanks so much for making art with me today. If you enjoyed this class or even if you didn't, please leave wrote review so I can make my class better or hear how you liked it. Also, please share with me what you worked on below. I would love to see how your project turned out. Also, I have a few other classes on skill share that are upcoming, so make sure you check those out as well.
 Bri Hill, Hey! I am a commercial and fine artist.