Painting Realistic Water Drops With Acrylics | Kate Broadhurst | Skillshare

Playback Speed


1.0x


  • 0.5x
  • 0.75x
  • 1x (Normal)
  • 1.25x
  • 1.5x
  • 1.75x
  • 2x

Painting Realistic Water Drops With Acrylics

teacher avatar Kate Broadhurst, Artist / Painter / Educator

Watch this class and thousands more

Get unlimited access to every class
Taught by industry leaders & working professionals
Topics include illustration, design, photography, and more

Watch this class and thousands more

Get unlimited access to every class
Taught by industry leaders & working professionals
Topics include illustration, design, photography, and more

Lessons in This Class

    • 1.

      Introduction

      0:48

    • 2.

      Gather Your Materials

      0:22

    • 3.

      Background Colour

      0:43

    • 4.

      Outline and Shadow

      1:25

    • 5.

      Add Highlights

      0:50

    • 6.

      Practice Makes Perfect

      7:09

    • 7.

      Well Done!

      0:36

  • --
  • Beginner level
  • Intermediate level
  • Advanced level
  • All levels

Community Generated

The level is determined by a majority opinion of students who have reviewed this class. The teacher's recommendation is shown until at least 5 student responses are collected.

60

Students

3

Projects

About This Class

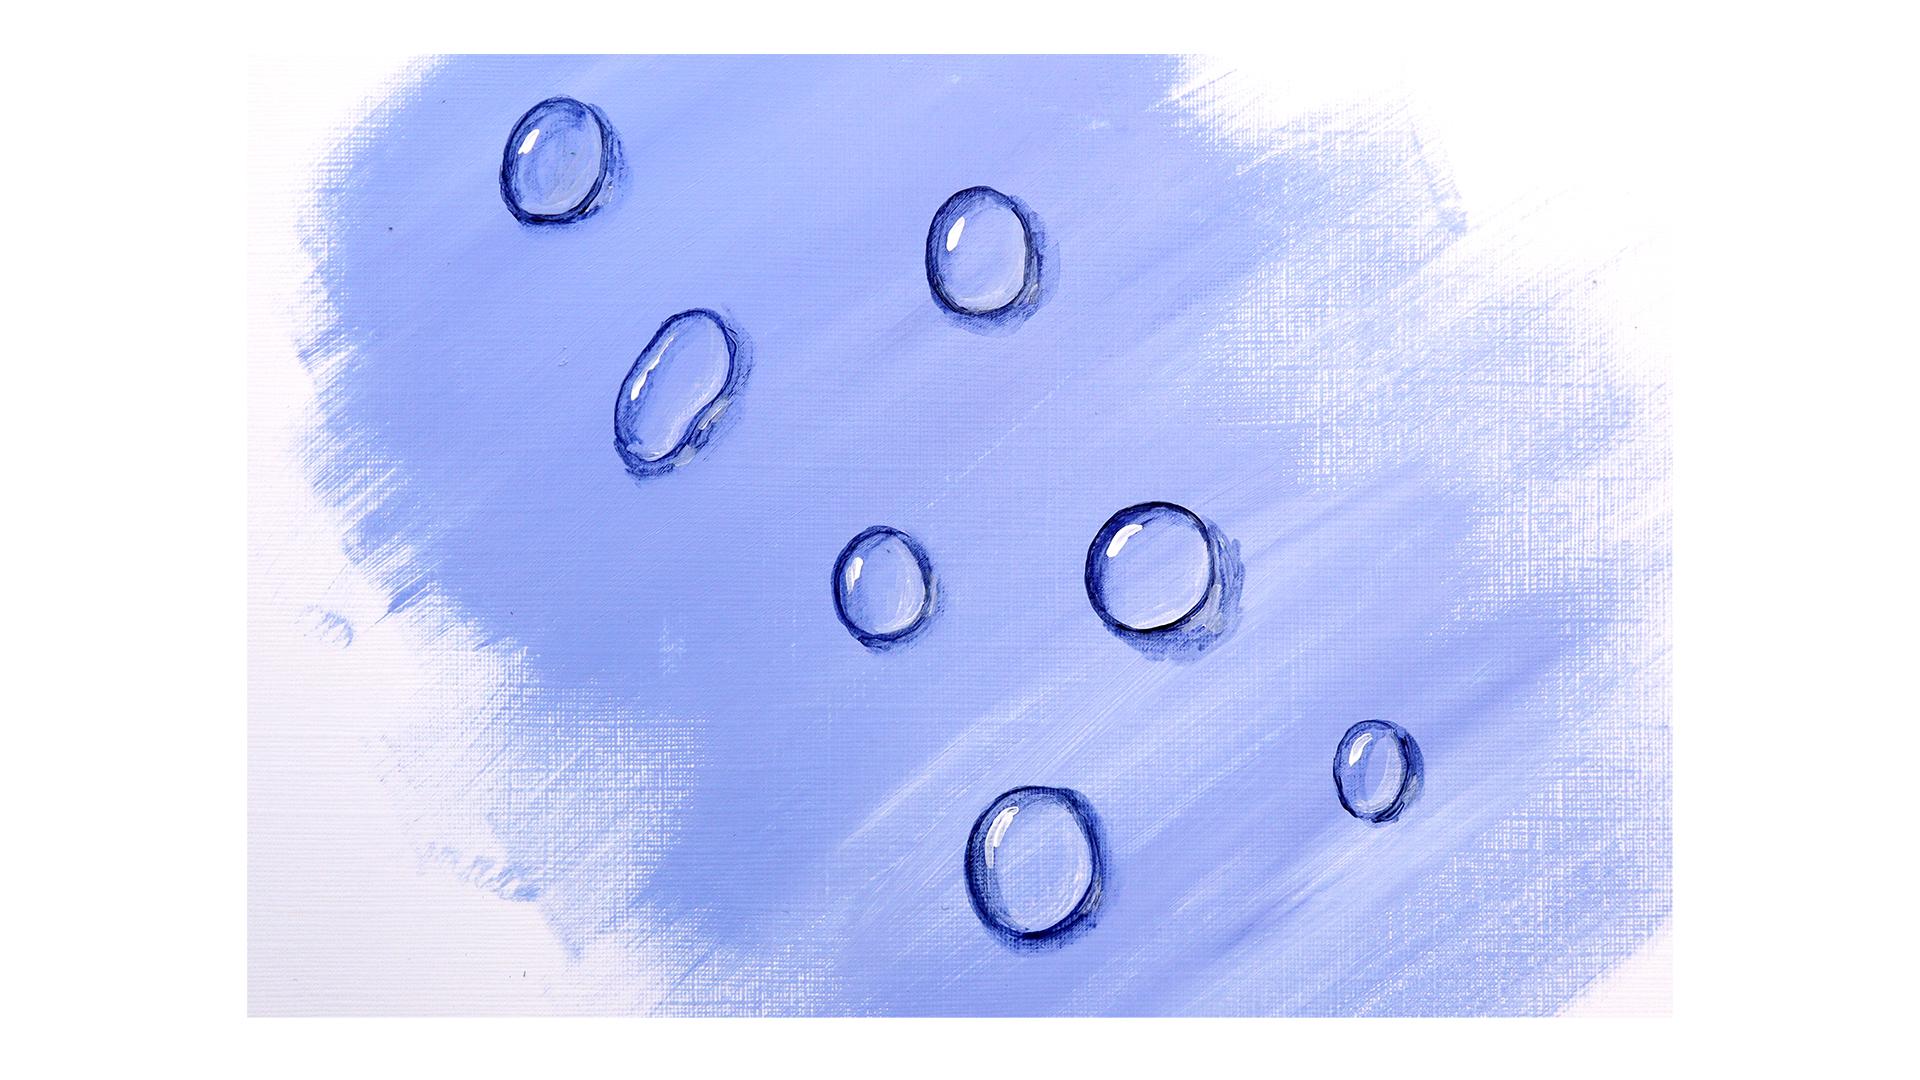
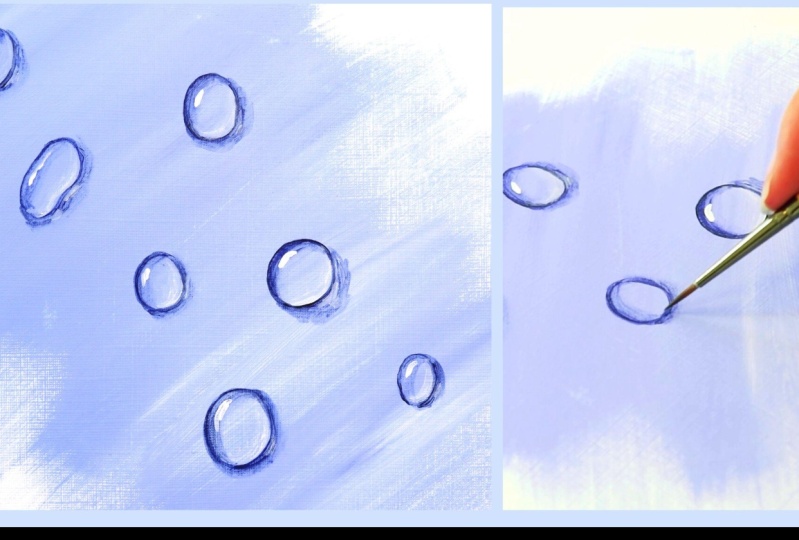
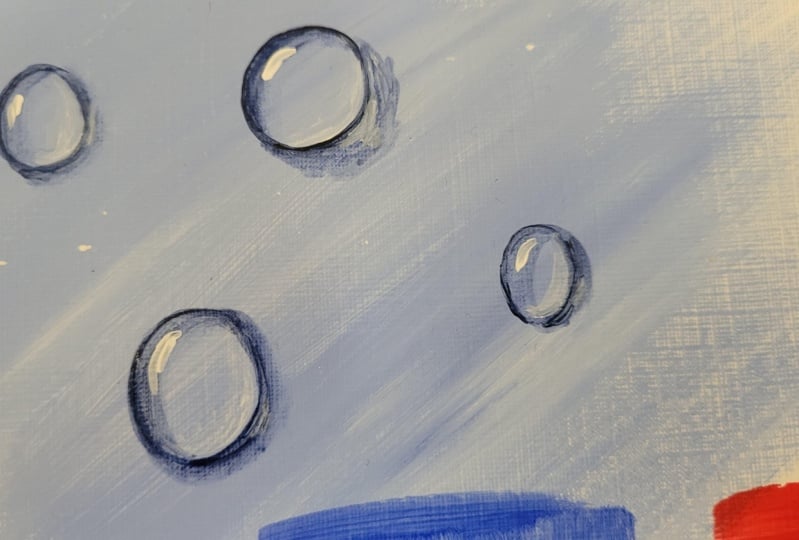
In this class I’m going to show you one of my favourite painting exercises. Water drops are so lovely and relaxing to paint. Once you’ve got the hang of it you’ll never want to stop! 

This quick class is suitable for all levels. I’ll break down the process into simple steps which are easy for you to follow along with at home. 

By the end of the class you’ll know how to confidently use highlights and shadows to create realistic looking water drops with acrylic paints.

Materials needed:

  • Acrylic Paints (Black, White & any other colour of your choice)
  • Paper or canvas to work on
  • Brushes:
    - A large flat brush 
    - A small pointed brush 
  • Waterpot & palette
  • Tissue / Rag for cleaning your brushes
  • Hair dryer (not essential but can speed up drying time)

Happy Painting!

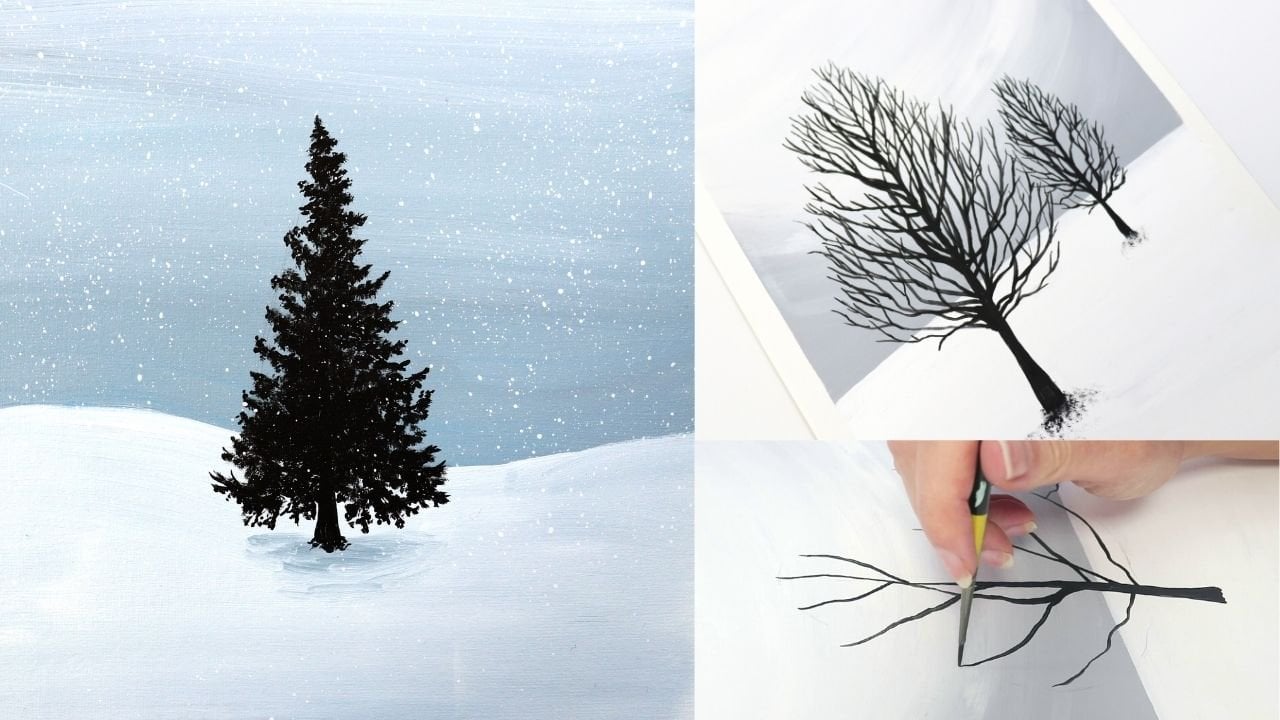
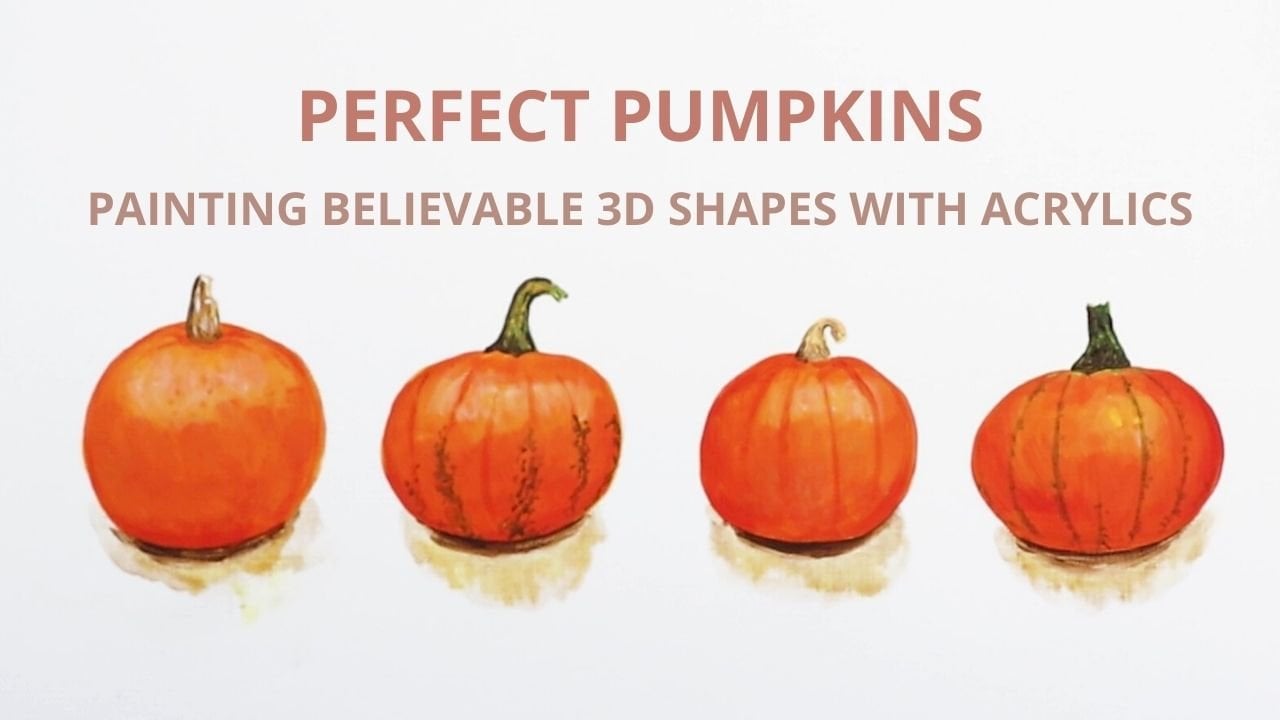
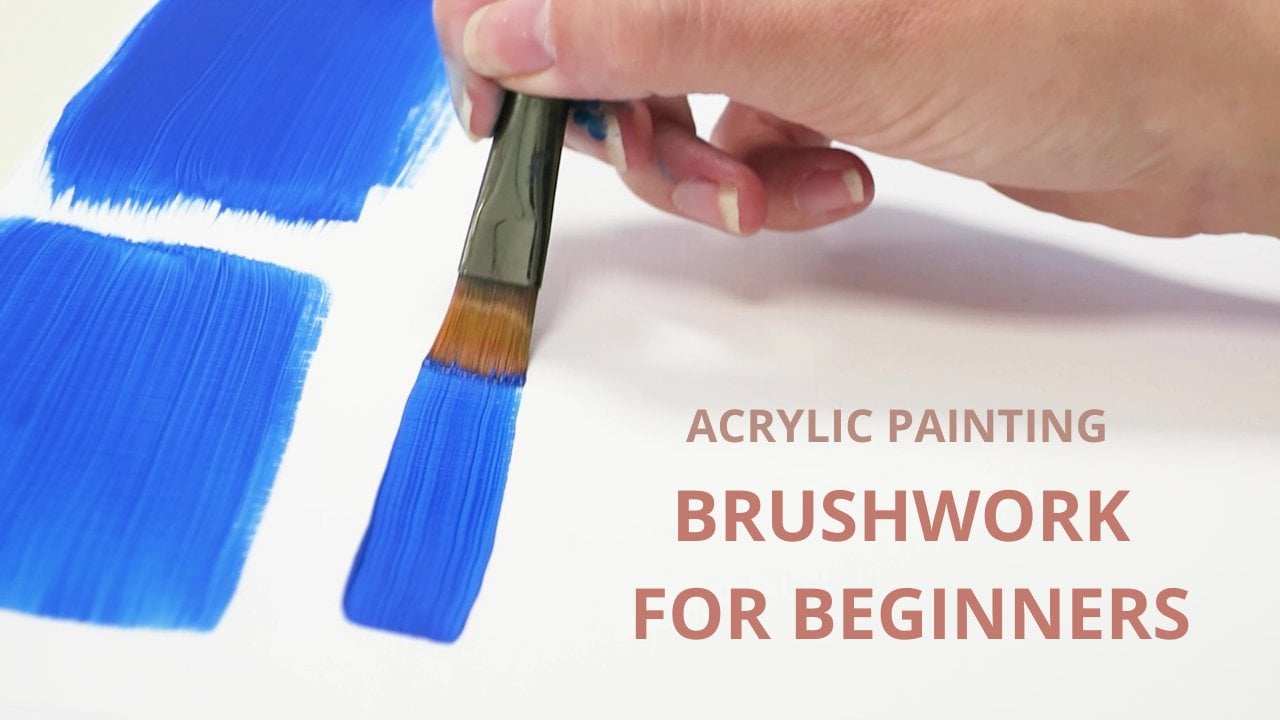
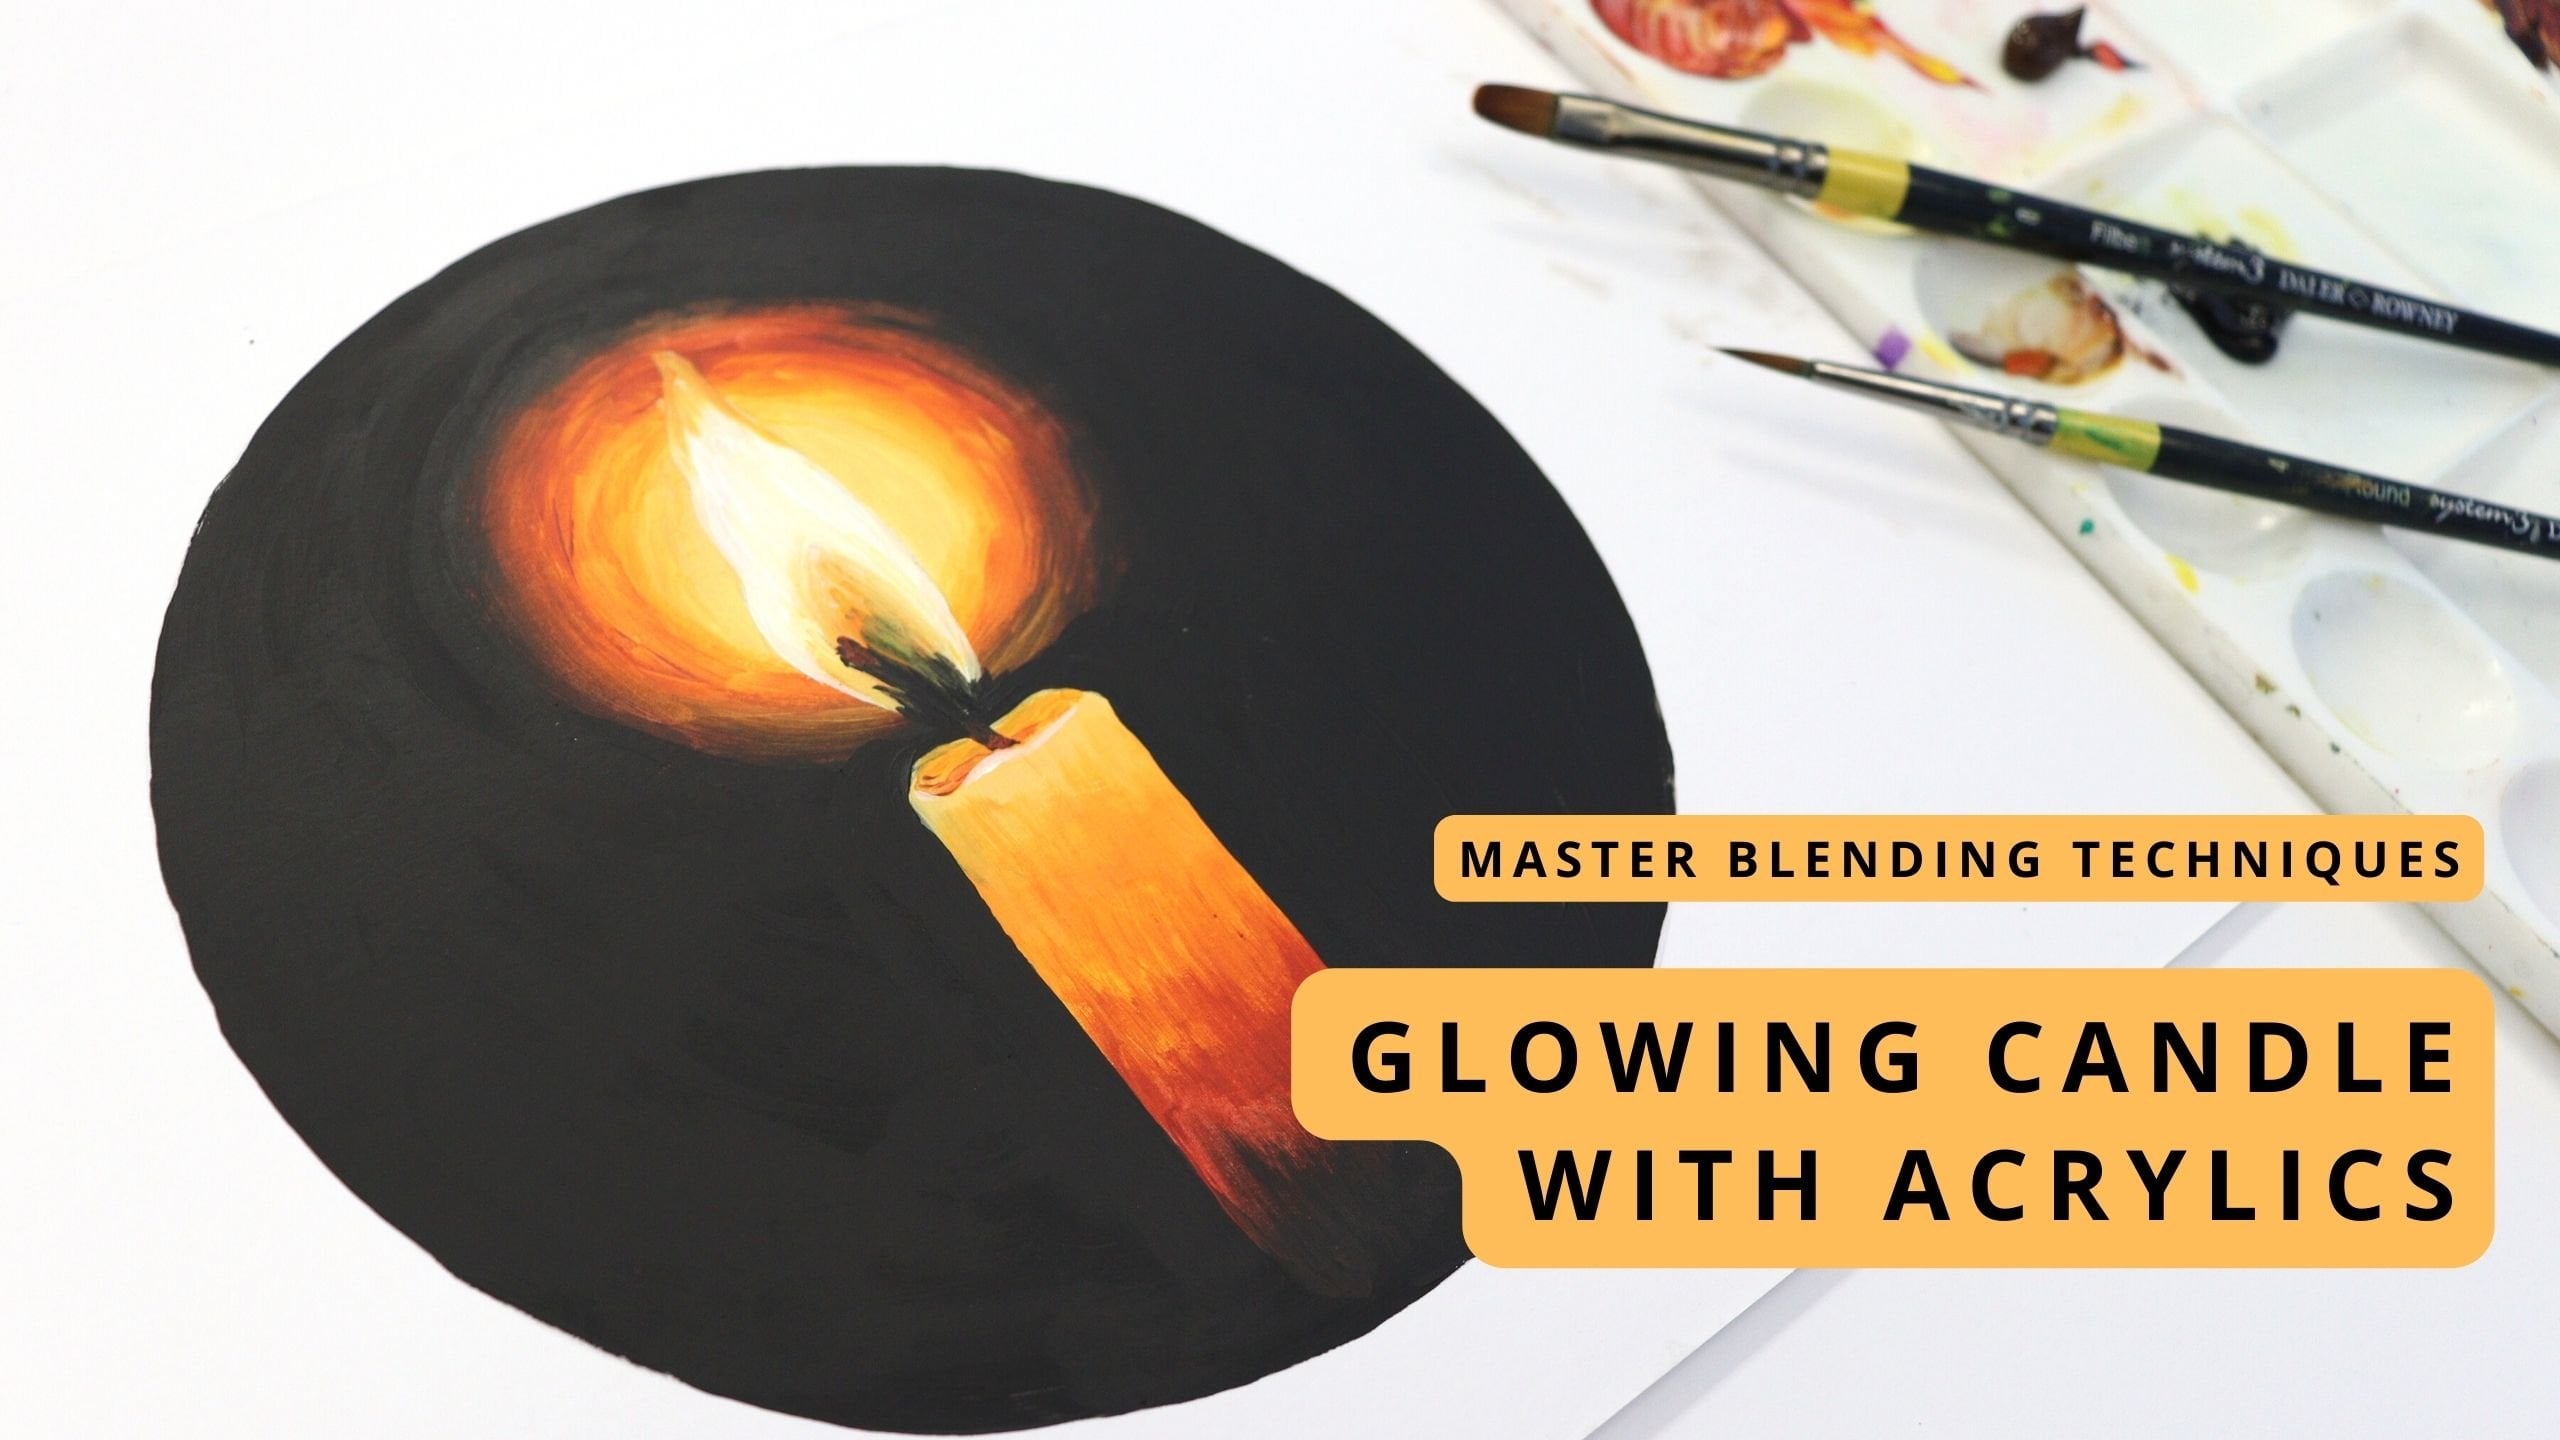
Your Recommended Next Classes:

Meet Your Teacher

Teacher Profile Image

Kate Broadhurst

Artist / Painter / Educator

Teacher

Hello! I'm Kate.

I'm a professional artist and I love to share my passion for creativity with others. I've been running my own art school for adults for a number of years and in that time I've helped hundreds of people discover the joys of painting.

My style of teaching is peaceful, gentle and encouraging. I want you to relax into the process of painting and just enjoy every moment!

I'm best known for my vibrant and realistic acrylic paintings but am currently allowing myself some freedom to explore new styles. I sell my original paintings to collectors worldwide and teach in person from my studio in Cardiff, South Wales.

For more information, visit www.katebroadhurst.com or find me on Instagram @katebroadhurststudio

See full profile

Level: Beginner

Class Ratings

Expectations Met?
    Exceeded!
  • 0%
  • Yes
  • 0%
  • Somewhat
  • 0%
  • Not really
  • 0%

Why Join Skillshare?

Take award-winning Skillshare Original Classes

Each class has short lessons, hands-on projects

Your membership supports Skillshare teachers

Learn From Anywhere

Take classes on the go with the Skillshare app. Stream or download to watch on the plane, the subway, or wherever you learn best.

Transcripts

1. Introduction: In this class, I'm going to show you one of my favorite painting exercises, these lovely water drops using acrylic paints. My name is Kate. I'm a professional acrylic painter and I've been running my own art school for adults for a number of years. I absolutely love helping people to discover that in an artist and enjoy all the benefits that painting can bring to their lives. This is a brilliant, quick class is perfect for all levels. The drops might look a little complicated at first, but they're actually super simple when you know how. They're so calming and mindful to paint and they're the perfect way to practice your highlights and shadows. You're going to love painting these drops and I can't wait to see your results. Have fun. 2. Gather Your Materials: You only need three colors for this tutorial. A base color for which I've chosen ultramarine blue, but you can choose any color you like. Then a touch of black fur mixing up a shadow and some white few highlights. You'll need one flat brush and wants more pointed brush. 3. Background Colour: I find that you get the best effect with a base color that isn't too dark. So I'm just going to mix up some white and blue to create my background color. Then I'm going to use my flat brush to apply this to the page. Now you'll notice I'm not being particularly neat here. That's because I want us to dive straight into painting those droplets. 4. Outline and Shadow: Now I'm going to mix up a darker color, which I'll be using to outline my droplets and to add in the shadows. Once you have your color ready, you want to use a small pointed brush to paint a droplet shape. You want this outline to be nice and thin, so try not to pick up too much paint on your brush. Next, you need to decide what direction the light is coming from when it hits your droplets. I'm imagining that the light is coming from the top left, which means I'll need to add a shadow on the bottom right of my droplet shape. I'm using that same shadow color and I've just added a little bit of water, applying it just underneath the droplet. I'm going to dip my brush again in my water to help me blend out the edge of that shadow. You can use a tissue to dab off your brush if it's a little too wet. Next, you want to take some more of your shadow color. And this time we're adding a shadow on the inside of the droplet. You just need to add this on the side that would be closest to the light. Again, I've mixed in a little water and then I'm using my damp brush to blend out the edge of that shadow. 5. Add Highlights: The next step is to add some highlights. So I'll just squeeze some white paint onto my palette. First you're adding a lighter area to the inside of your droplet. Again, you can dampen your brush just to soften the edge. Next, you want to take a really small dots of white and add it to the middle of your shadow. This is quite subtle, but it helps to give the impression of transparency where the light would be shining through your droplet. The final touch is to add a really strong highlight, just where the light would be hitting the water drop. Now, you're probably thinking that you're never going to remember all of these steps. But don't worry, we're going to keep going and paint a few of these together so you can get the hang of it. 6. Practice Makes Perfect: First, you'll start with your outline. Then add a shadow underneath, opposite your light source. Use a damp brush to soften the edge of your shadow. Next, add some shadow on the inside edge of your droplet. Then add a highlight to the opposite side. Add a tiny touch of white to the middle of the shadow underneath your droplet. Finally, add a dash of pure white for the brightest highlight. Here you'll see where I made a little mistake putting my shadow in the wrong place. If you've made some mistakes as you go along, don't worry, it happens to everybody. Luckily, the paint hadn't dried, so I just needed to scrub off with some water and lift it off. We're going to continue just painting these droplets now. And you should find that you get more confident with every single one. Okay? 7. Well Done!: I really hope that you enjoyed taking some time out to paint these lovely little water drops today. I'd really love to see what you've created and I hope this new technique will come in handy for your future painting projects. If you enjoyed the class, please do leave a review below and don't forget to share a photo of your own water drop painting in the project section. For more of my acrylic painting classes on Skillshare, just head to my teacher profile and keep on learning. Thank you and see you again soon.