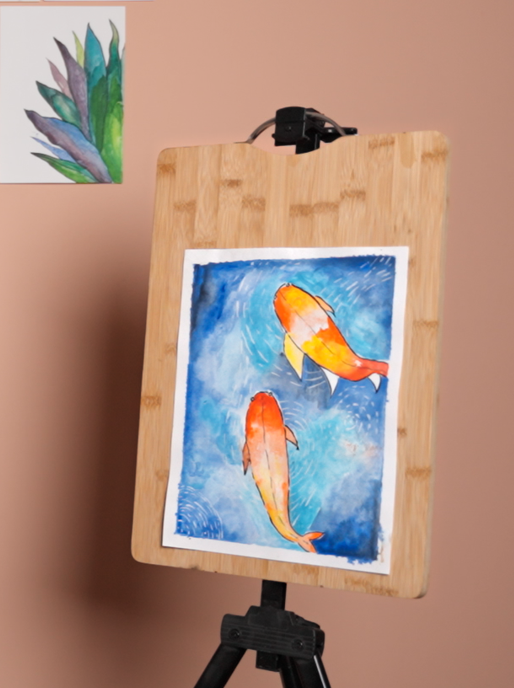
Painting Koi Fish with Watercolors : A Guide for Kids & Beginner's
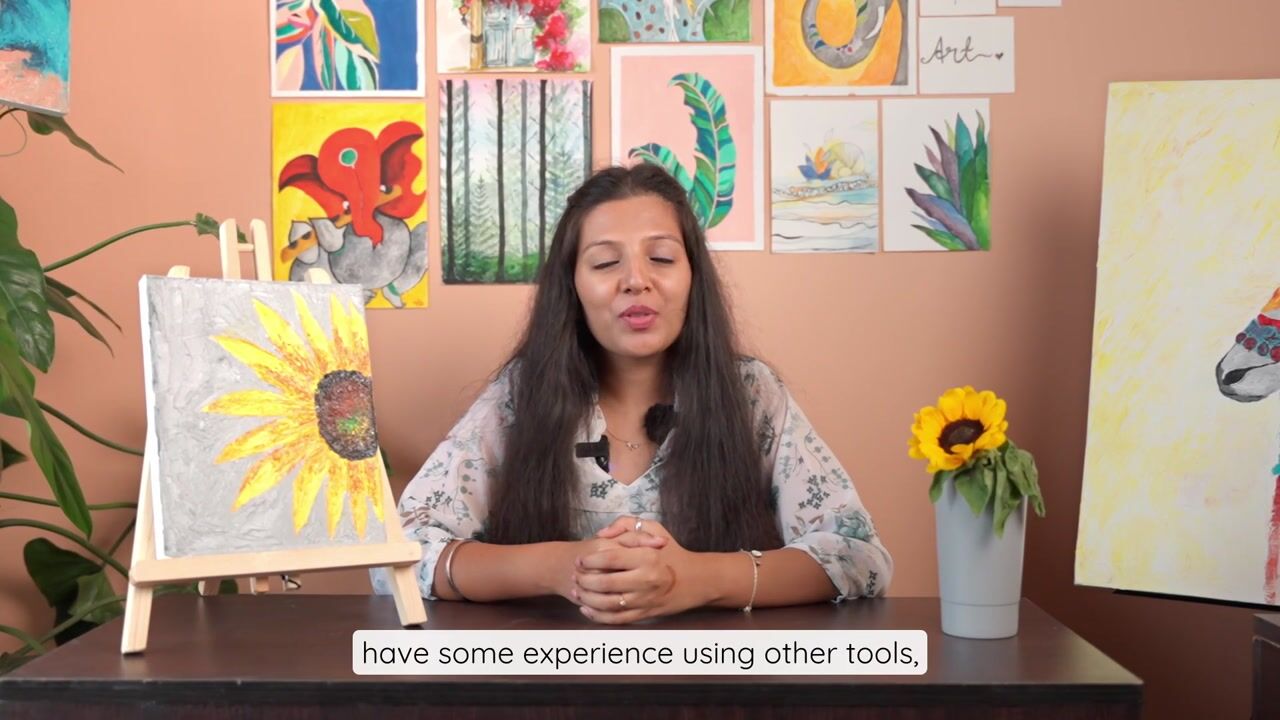
 Surabhi Shetty, Artist, Art Educator, & Writer
Watch this class and thousands more
Watch this class and thousands more
Lessons in This Class
-
-
1.
Introduction to Watercolors : Painting Koi Fishes (0:21)
0:21
-
2.
Getting Started - Basic Art Supplies & Tools (0:39)
0:38
-
3.
Applying Masking Tape & Outlining the Koi Fishes (6:51)
6:50
-
4.
Bringing the Koi to Life : Painting the Body & Fins (10:11)
10:11
-
5.
Creating the Water Texture in the background (8:25)
8:24
-
6.
Final Touches : Adding Details & Highlights to Your Koi Fishes (14:12)
15:36
-
7.
Bonus : Sneak Peak (0:37)
0:37
-
-
- --
- Beginner level
- Intermediate level
- Advanced level
- All levels
Community Generated
The level is determined by a majority opinion of students who have reviewed this class. The teacher's recommendation is shown until at least 5 student responses are collected.
32
Students
1
Project
About This Class
Welcome to the class!
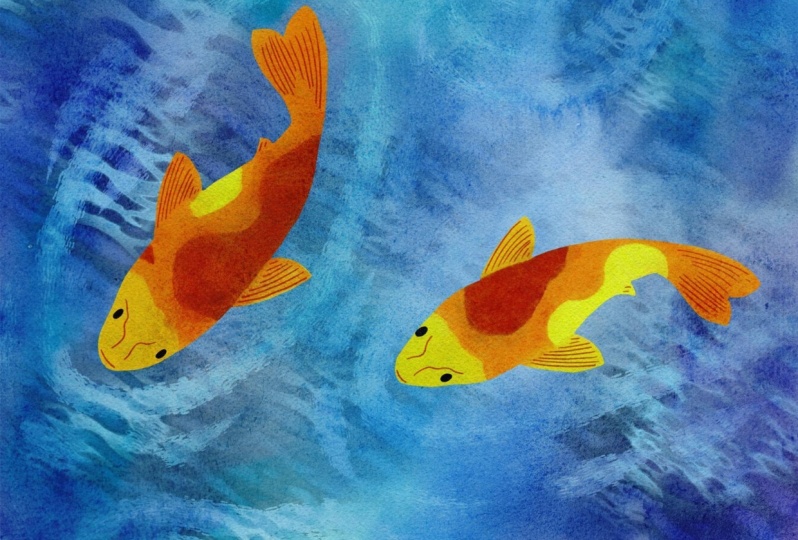
Watercolor is a free-flowing and unpredictable medium, which can make it a bit intimidating to pick up a brush and dive in. But here’s the truth: the basics are easy to learn, and with practice, you’ll gain the confidence to master them. Whether you’re picking up a brush for the first time or exploring new creative techniques, this course offers a vibrant space to express your imagination through the fluidity of watercolor.

In this course, we’ll explore the basics of watercolor painting, including understanding the materials, mastering essential techniques, and developing your own unique style. Through playful exercises, step-by-step tutorials, and exciting projects, you’ll learn how to mix colors, control the water and paint flow, and create “Koi Fishes”. No previous art experience is required—just a curious mind and a passion for creativity!
Meet Your Teacher

"My work is more about your seeing than it is about mine, although it is a product of my imagination"
From an Engineer to perceiving my passion for art to customizing commissioned artworks and now an Art Educator, that's how the journey stared like a decade ago. Hello, My name is Surabhi Shetty, and i am the Founder and Art Educator at "The Flight of An Artistry" based out in Bangalore, India. Four years ago, working with adults and kids, I have fallen in love with teaching, both online and offline. In this journey of teaching I have developed a very interesting way that focuses on beautiful artworks while having a lot of fun and learning all along the way.
My relationship with paintings and life is a venture of passionate, inten... See full profile
Hands-on Class Project
Course Outcome:
By the end of Splash into Watercolors, you will have a solid foundation in watercolor techniques and a portfolio of fun and beautiful “Koi Fishes”. You will:
- Understand the Basics: Learn the essential tools and materials needed for watercolor painting, such as brushes, paints, and paper types.
- Master Core Techniques: Develop skills in fundamental techniques like wet-on-wet, wet-on-dry, gradients, washes, and color mixing to create vibrant and textured art.
- Create Your Own Art: Use the skills you’ve learned to create unique paintings, including landscapes, animals, abstract art, and more.
- Boost Your Confidence: As you complete painting “Koi Fishes”, you’ll gain confidence in your artistic abilities and discover how to express your creativity in new and exciting ways.
Whether you are a child eager to dive into the world of watercolors or a beginner looking to explore a new hobby, this course will guide you step by step on a creative journey that’s both fun and rewarding. So, grab your paints, get ready to splash, and let’s get creative!
Class Project Instructions:
- Watch the class videos on painting Koi Fishes art with Watercolor.
- View the finished painting in the RESOURCE SECTION for reference.
- Gather all required art materials (as listed in the class).
- Create your painting following the techniques from the videos.
- Upload your completed artwork to the CLASS PROJECT section.
- Leave a review in the review section.
- Share your artwork on Instagram and tag @theflightofanartistry to be featured!
Class Ratings
Why Join Skillshare?
Take award-winning Skillshare Original Classes
Each class has short lessons, hands-on projects
Your membership supports Skillshare teachers
Learn From Anywhere
Take classes on the go with the Skillshare app. Stream or download to watch on the plane, the subway, or wherever you learn best.