Transcripts
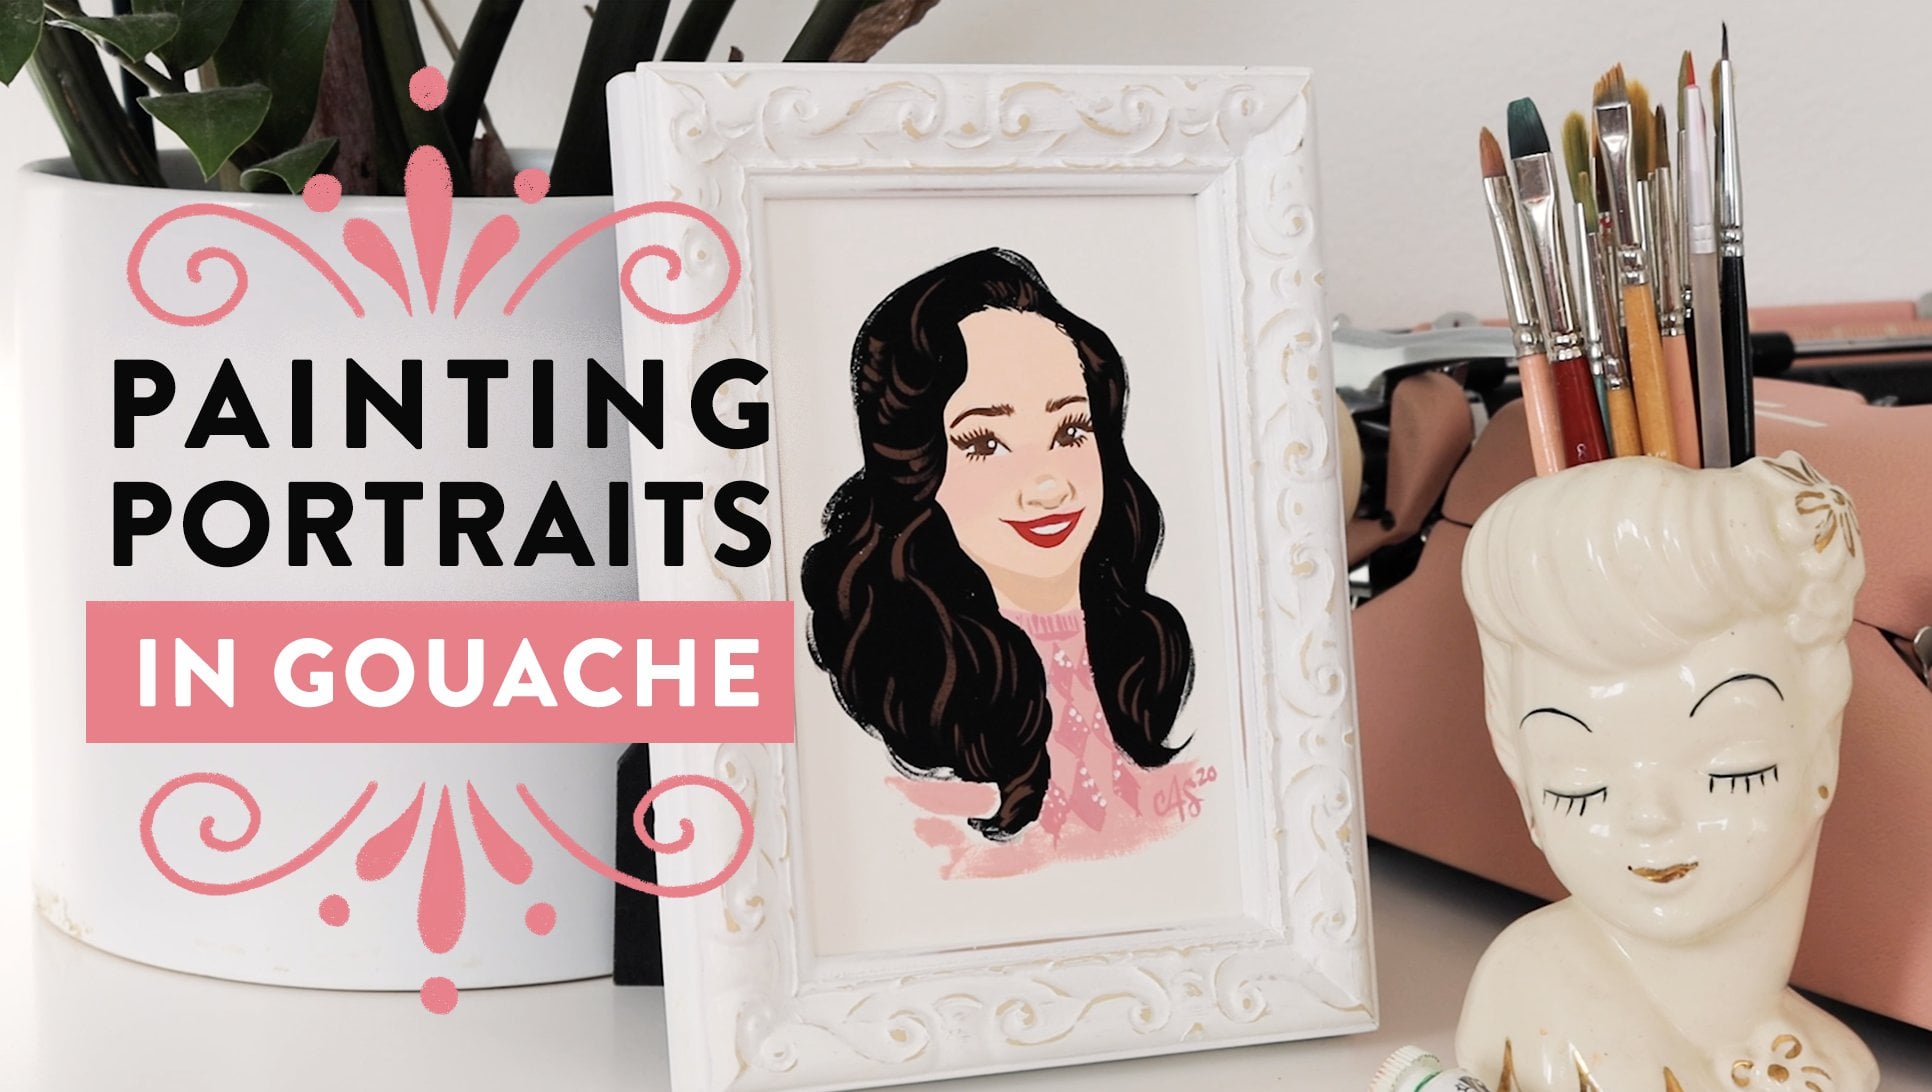
1. Trailer: Hi, I'm Ann Shen. I'm an author and illustrator based in Los Angeles. I've written books like Background Staff History, Legendary Ladies, and Nevertheless She Wore, all published by Chronicle Books. I've also worked with clients like Disney, Adobe, Facebook, and so many more. I love painting flowers, and I use them in all sorts of my work, from everything from editorial illustrations to greeting cards to posters. I love painting with gouache, and I love teaching people tips and tricks with it to take their skill to the next level. One of my favorite things is helping people discover their own creative abilities. In this class, I'll be teaching you how to draw and paint flowers in gouache. I'll teach you how to simplify the anatomy of flowers so that after this class you can use the same tools to draw any type of flower. I'll also be teaching you how to research and find good reference images, and how to create compelling layouts for your illustrations. Then we'll be painting those flowers in gouache. Why gouache? Because it's my favorite medium. It's a water-based, opaque watercolor, that you can use acrylic or oils without all of them. While I'll be using gouache to teach in this class, feel free to use whatever medium you have on hand to play with this. This class is perfect for all levels. From beginner artists who've never drawn a flower before, to advance artists who'd like to try their hand at a new medium. By the end of this class, you'll have a beautiful piece of floral art that you just painted that you could frame or central left point. Let's get started.
2. Class Project Overview: Hi and welcome back. For today's class project, we're going paint a five by seven inches floral painting that can also double as a greeting card. Why five by seven inches? Because it's a standard greeting card size, it's easy to find envelopes for, which I'll go over in a later video. Flowers are a great place to start for beginners and advanced painters alike because everybody loves looking at flowers. Scientific studies have shown, that just looking at nature improves your overall brain health and happiness, and who doesn't want that? We'll start with finding reference images and color palette inspiration, because every good artist knows that they got to do their research before they paint. We'll learn the components of what makes a good compositional sketch, then will learn to mix colors and washing, how to get the perfect consistency for your paint. Finally, we'll paint the foundation and add in all the beautiful details that will make a beautiful flower painting. By the end of this class, you'll be able to use the tools and skills you'll learn to make the flower art of your wildest dreams. Isn't that exciting? Let's get started.
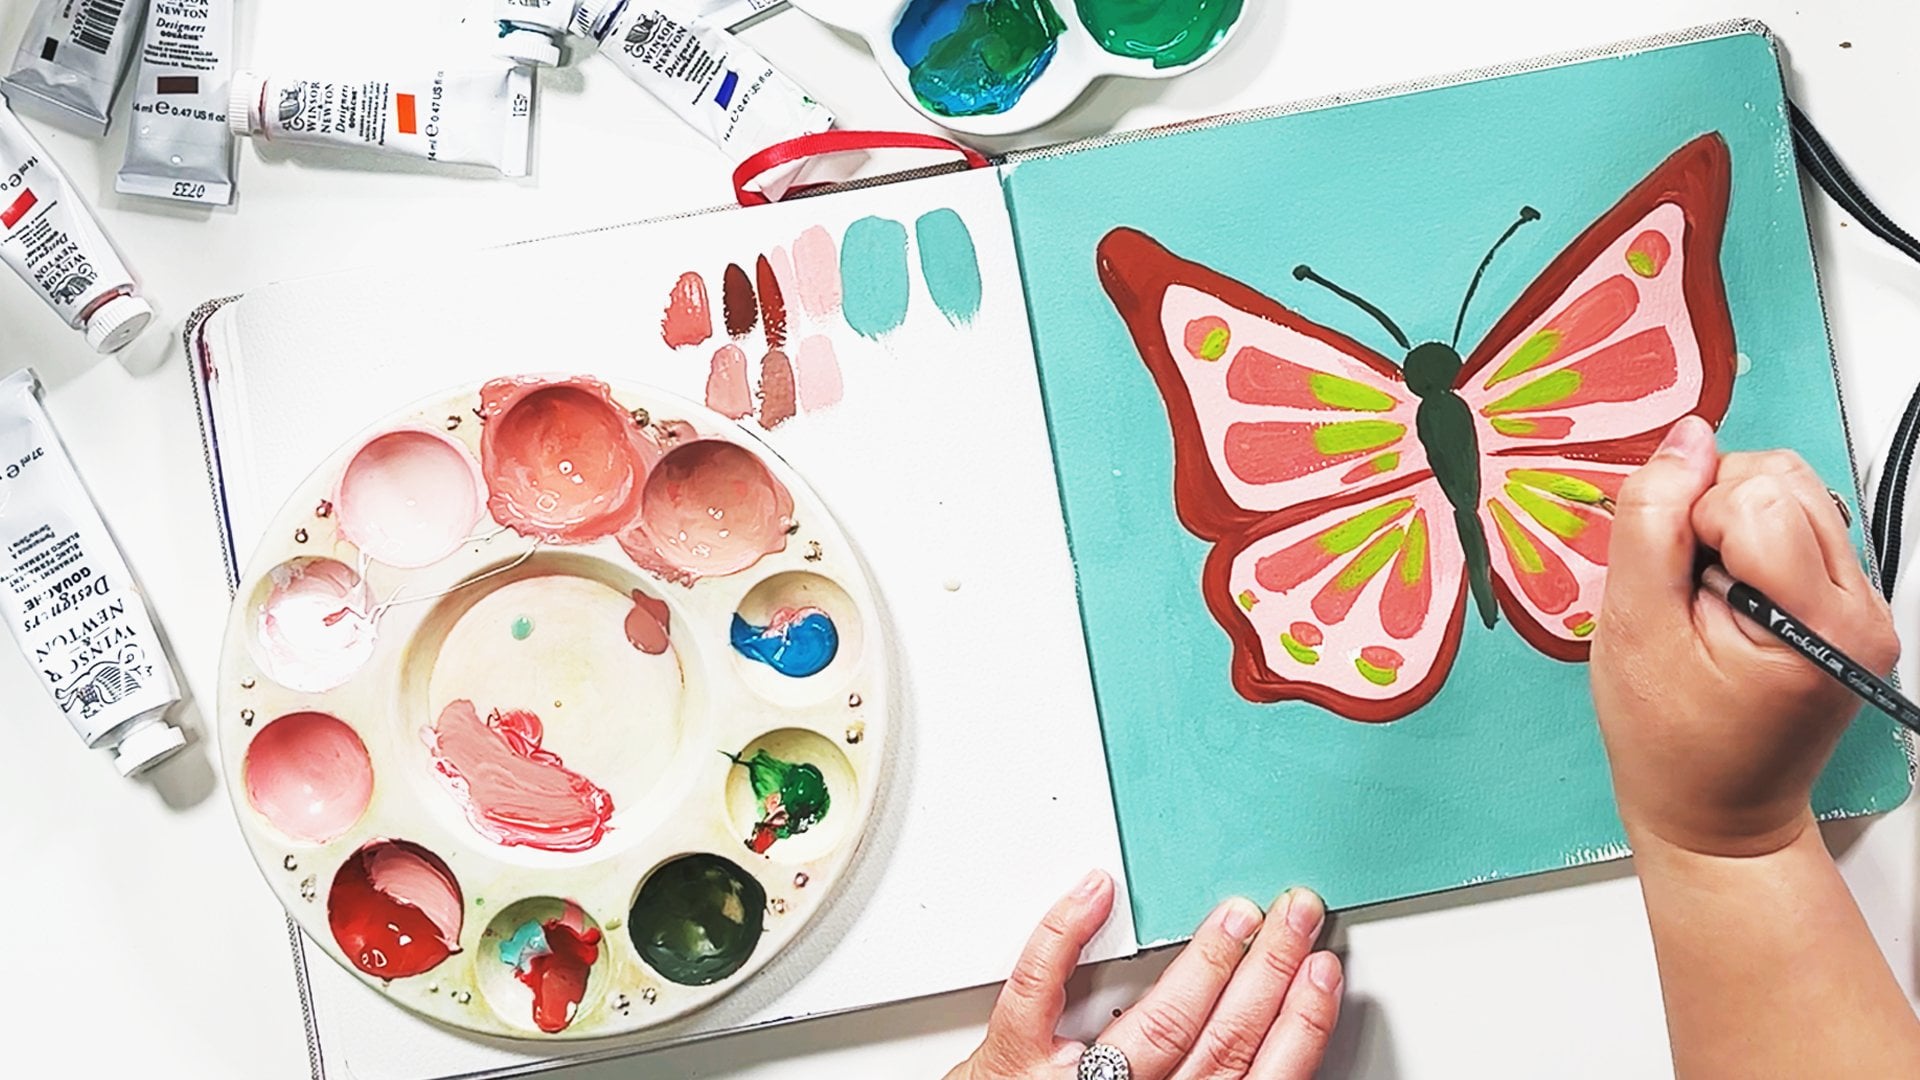
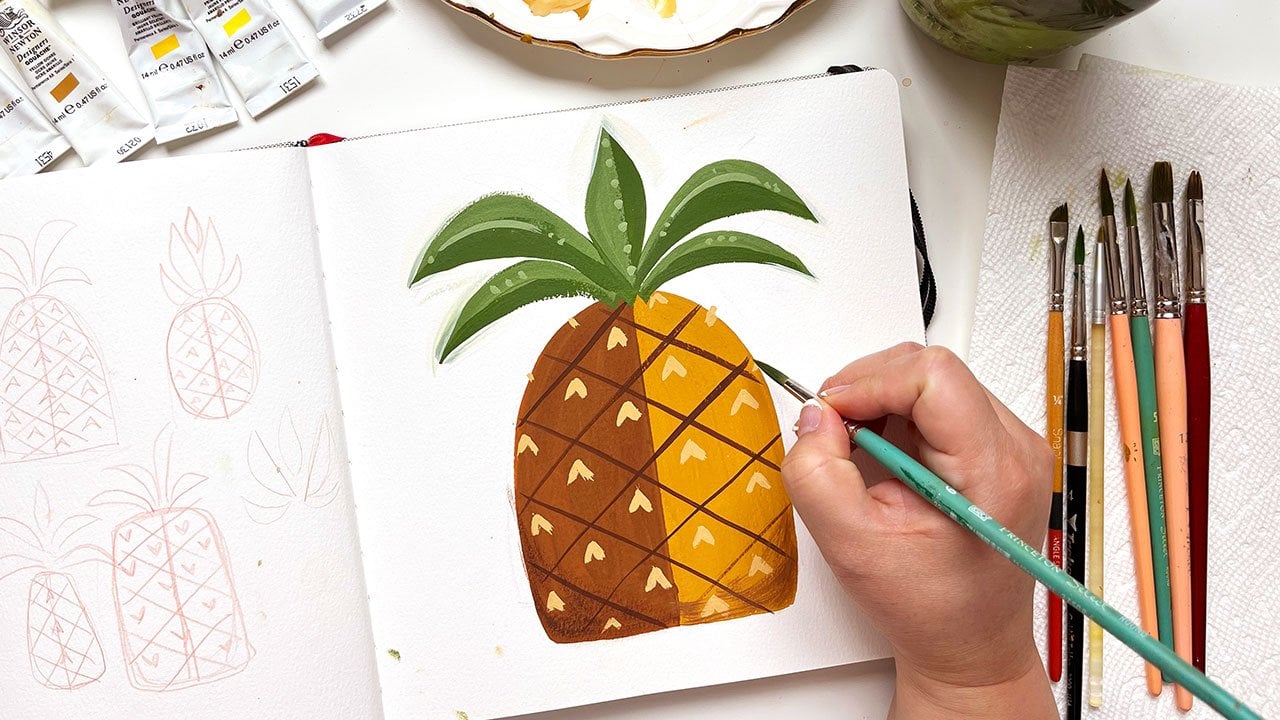
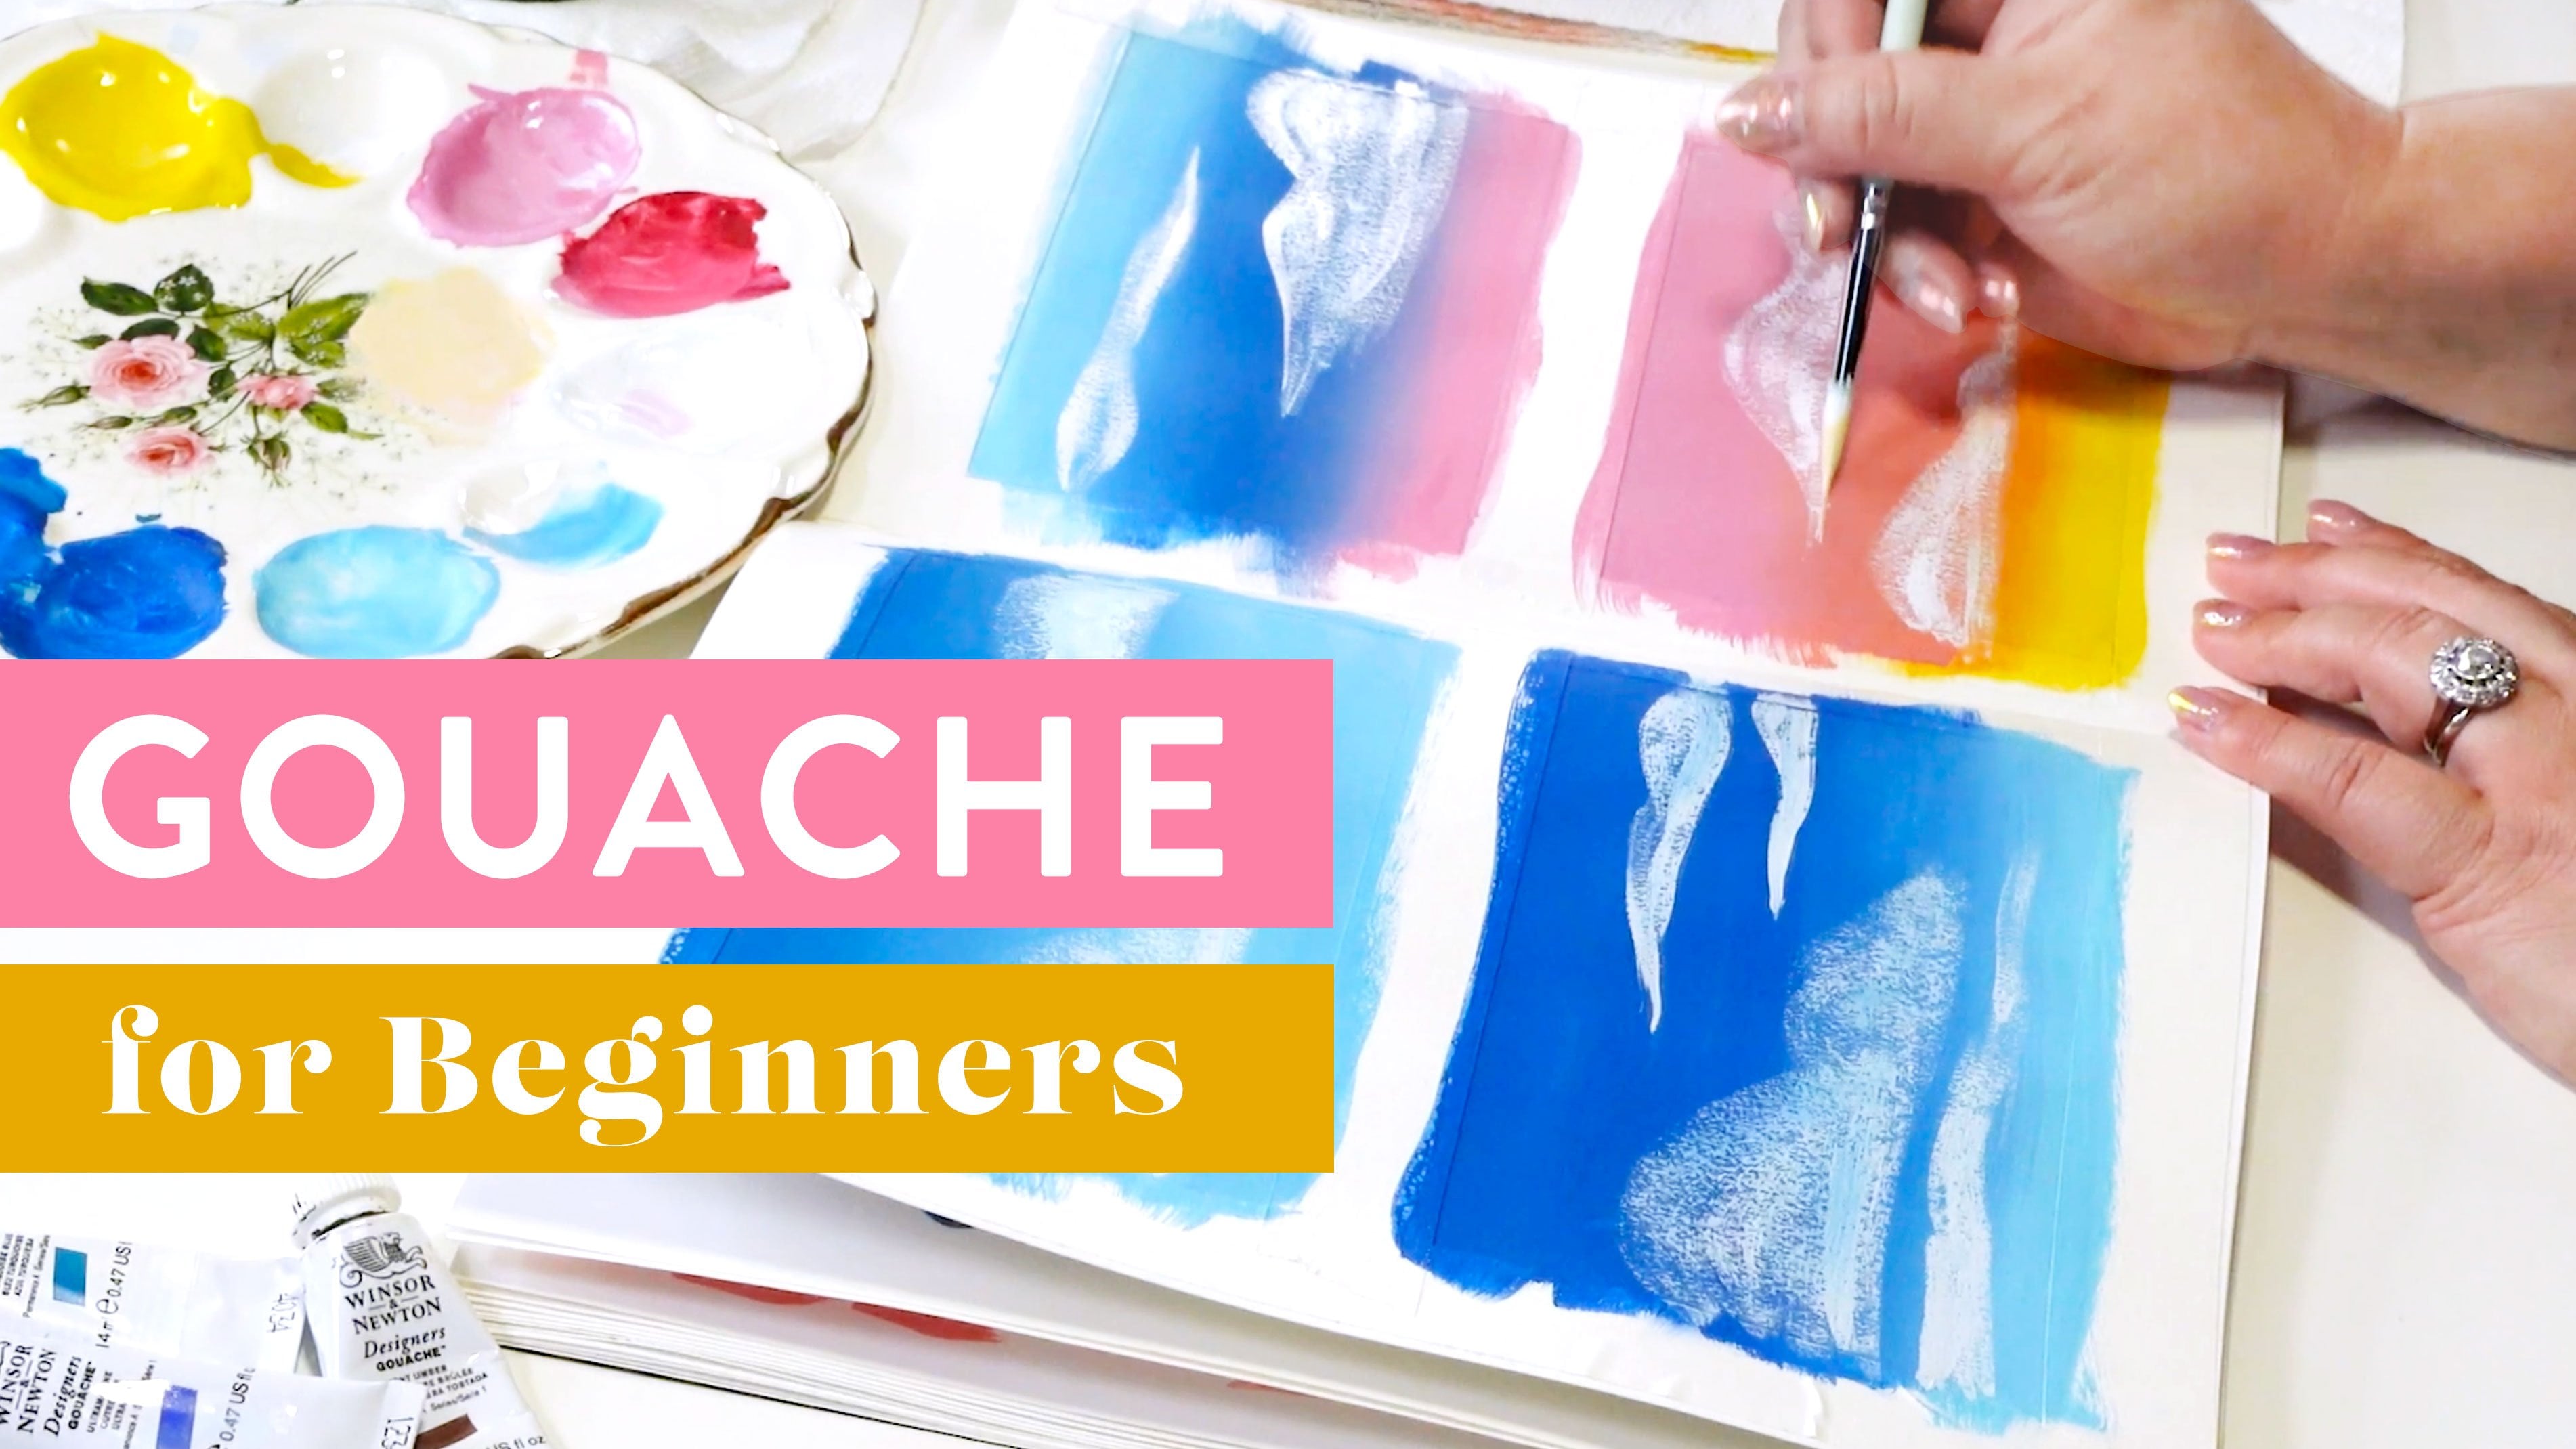
3. Meet Your Materials: In this video, I'll go over the materials you'll need to make today's project. But first, a quick history on gouache. Gouache came into popularity with mid-century artists and fields like animation, children's books, and advertising. Artists like Mary Blair and Eyvind Earle painted backgrounds and concept art at Disney in gouache. Mid-century illustrators like Alice and Martin Provensen use it in their children's book illustrations, and lots of artists like Jon Whitcomb and other advertising illustrators used it in ads. Gouache is really popular because it dries really fast and matte which made it easy to photograph or scan to reproduce. There are lots of brands of gouache that you can use. I like Winsor & Newton, Holbein, and Turner gouaches. Now let's go over the colors I like to have in my basic kit. Since we're painting flowers, you want the whole rainbow of colors. Now I always like to have a giant tube of permanent white. You're going to need this for everything. Then I like to have cools and warms of every color, meaning a bluer tone version of a color and a more golden tone of a color. For greens, I like to have a variety of colors, so I have olive green, permanent green deep, and brilliant green. For blues, I like to have a ultramarine and a primary blue. Then I like to have for yellows, a brilliant yellow, and a primary yellow, and orange lake light, a flame red, and a permanent rose, a brilliant violet, and a spectrum violet. Then to add in some colors that'll give you some earth tones, I like to have yellow ocher, burnt sienna, and burnt umber. As you build your kit and paint more, you'll find colors that are part of your palette that you may need to add. For me, I like to use a lot of turquoises so I ended up getting and adding two more turquoise colors into my kit. I also like to add gold because I love gold. This is what I use, but you can use whatever you have on hand and build your kit as you go and need. But you are also going to need a bunch of brushes. I like to have a bunch of round brushes ranging from double 0, 2, 4, 6. I also like to have a couple flat brushes. They range from 6, 8, and 12. Then I like to have an angled brush just in case. You'll also need a cup for water, anything we'll do, a roll of paper towels for your brushes, and some artist tape. Now let's talk watercolor paper. For today's project, I like to use anything from bristol board to cold press watercolor paper. Now the difference between cold press and hot press is that cold press has that traditional watercolor texture you might know, and hot press is smooth, so I prefer the smooth texture. Now for today's class project, you're going to want to cut a piece of paper that seven inches by 10 inches so you can fold it in half for a five by seven inch greeting card. You're also going to want a piece of board that you can tape your paper on to, so it's nice and flat. You'll take that artist tape and just tape it on there. Now let's talk palettes. You're going to want anything with wells so that you have a nice pool of the color that you're mixing. These are nice, cheap little palettes that you can use. Then I also like to collect vintage egg dishes to be used as palettes because I like the nice ceramic surface. You'll also need a pencil and eraser to sketch your drawing, and the last thing you're going to need is a spray bottle filled with water to spray and keep your paints wet. Now that you have your materials, let's get started.
4. Finding Good Reference: In this video, I'm going to go over my first steps for creating an illustration, which is creating a mood board and looking for reference images. We'll use my favorite tool, Pinterest, to create a secret board to help inform what this painting will look like. I'll go over how to choose reference images and how to create a mood board, so you create something totally new instead of copying someone else's work which we definitely don't want to do. We'll start out on Pinterest by creating a secret board for your project. I do one for every project that requires pulling reference and creating a mood board. You could start out by searching something like bouquet or a rose or a peony to start pinning images that you really like, and that pop out to you. Right now the sky's the limit and you're just pinning anything that really speaks to you visually. Soon you'll have a huge mood board full of flowers that you love. Now that you're looking through it, you could start to pick out themes that pop out to you. For example, does a certain flower show up a lot? Does a certain type of arrangement show up a lot? Keep looking for those patterns so that you can make a list of the 2-3 flowers you're going to paint for this painting. For example, I really love Icelandic poppies, and I'm seeing them pop up in my board. I'm going to use that as my key flower actually. I'm also seeing a lot of ranunculus in my board, so I'm going to use that as a secondary flower. Then a lot of those colors that I pinned are very juicy, summer-y, citrus-y colors, so I think that will be my color story for this painting. Now that I've decided that, you want to pin a lot of reference images that give you your main flower in a lot of different angles. I have this photo here of Icelandic poppies where it's front-facing, side-facing, and you see the back. I have a few that show you what Icelandic poppies look like, I have a few that show me what ranunculus look like, so that I know how to draw one without drawing it directly from a photograph. Or you can pick and choose and create a whole new bouquet by drawing from different photographs, so you're creating something new instead of obviously copying. You don't want to copy this whole bouquet, you want to create something original to yourself. The reason we can't just copy someone else's work is because floral artistry is someone else's creative work, and photography is someone else's creative work which is all copyrighted and belongs to someone else. Don't you want to create something original for yourself? When you're practicing, you could do that in your sketch book. That's totally fine, but definitely not for any artwork you plan to sell or use commercially in your portfolio. Now that I've decided on my color palette, my key flowers, I think I want to add one more flower into the mix. Since both Icelandic poppies and ranunculus have a round shape and are roughly, I want to pick something that contrast with that to keep it interesting. I think I'm going to look up actually some orange blossoms. Since I decided that I wanted to have a juicy summer-y palette, orange blossoms also feel very, very summer-y and bright and fresh. I'm going to search orange blossoms, add that to my floral inspiration reference board. Again, I'm pinning a bunch of different ones that show me what they look like, when they're clustered together, how they grow, what their leaves look like, and I'm also pinning ones that have different angles of orange blossoms. You want a nice big variety of them. Another way to search for more flowers that you might like is, once you start pinning some of them, you can click on this "More Ideas". That'll show up in your board, and it will show you more visually similar images. Also, you want to make sure you're pinning photographs of things for reference and not someone else's art. Another thing that can help you choose a color palette and make it different than someone else's photograph is to choose something from a totally different field. I like the blues, greens, and oranges in this photograph, so I saved it to my board to add into the mix that's going to be all the creative ingredients that'll make my final piece. Once you've found your reference images and created your mood board, you're ready to move on to the next step.
5. Composition and Sketching: Now that we've gone over finding good reference images, let's start with creating a compelling composition and sketching the flowers. At a creative interesting layout, let's go over a few guidelines. The first is the rule of thirds, where you break up your Canvas into thirds, horizontally and vertically. The points where they intersect will be great places to place your hero flower. In this case, I'm going to use an Icelandic poppy as a hero flower. I'm going to place it right over here. Now to draw a flower, let's break down the anatomy. With an Icelandic poppy, it has a giant circle that is its general shape. Then it has a center that's a little smaller, and then all the petals form out like that. When you're picking a key flower, you want to stick to one or two of the same flower so you're not creating too many points of focus. Now that we have the general shape, we can go in and add the little details of the ruffle that the edges tend to have, and maybe we'll even have one that curls in a little bit more. But that's all built off of that general round shape that it has. Another good guideline for creating compelling compositions is that design is difference. You want to have a lot of contrasting shapes to make your hero really stand out. Everything really is a supporting actor to that hero image. For example, the supporting flowers we're going to put in here are going to be ranunculus. I'm going to draw them thinking about where that hero flower is. Again, we're starting out with the general shape that it is, which is a circle. I'm placing them around the flower, but not in an area that is too contrasty. It's more, again, a supporting actor. The shape is smaller, which makes an interesting contrast to the larger Icelandic poppy. Good design depends on contrast, whether it's through value, through colors, or through size. Another good way of creating a secondary supporting flower is to group a bunch of small flowers together that are the same so it doesn't distract from the main image but adds to the overall flourish feel. For that, I'm going to add some orange blossoms that also have a different shape. Then my ranunculus and my Icelandic poppy. I also like to group things in threes, just so it's always an odd number, which means there is always a difference visually. Now that I have my flowers in, we're going to add in the tertiary read, which is going to be the stems and leaves that really are the foundation that support all these beautiful actors. We're going to pick maybe two or three different types of leaves so that the contrast makes the leaves look really interesting but we're going to evaluate and group them together in all shades of green so that they're not too distracting and also help the flowers pop off the background. I'm going to draw in the stem of the Icelandic poppy here, and then the stems of the ranunculus but I'm going to add in giant leaves here because I know that the orange blossoms are going to be white, so I want a nice green base that they're popping off of. Then for the ranunculus which are big circles at this point, I'm going to add some freely leaves that are going to get on top of that. Then maybe actually I'm going to add a little unopened green over here of the Icelandic poppy just a little more interest, and then more freely leaves. Now I'm going to go back in and refine some points in my composition by adding a little ruffle to my ranunculus. Maybe a couple more little leaves. I have three different types of leaves in here. A large leaf, a ruffle leaf, and then a tiny leaf that fills in the spots nicely. Now we have a nice composition to start our painting. We can shift the composition a little as we're painting, so you don't have to feel too married to what you've sketched. Composition is something you're going to work on throughout your entire career. Composition is really important because it's something that directs the viewer's eye and the way that you use that tool gives meaning to your work. Another good way to practice your compositions is to break down other people's artwork and see how they lay out their objects, and you can do that by just simplifying their shapes the same way that we did with the flowers here just to see how they created their blueprint. Now you can go back and revise your sketch until it feels good to you. It doesn't always come out perfect the first time. Now that we have the composition and sketch for this painting, let's get started on the painting itself. Join me in the next video.
6. Setting Up For Painting: Now that we've laid the blueprint for your painting, let's set up the swatches we're going to use and pick a color palette. [inaudible] back to our mood boards that we created so that we can pick a color palette that'll work for our painting. It's important to have a color palette decided before you go into painting so it's easier to get into flow while you're working. When we look back at our mood boards, pick the colors that pop out to you the most. The flowers don't actually have to exist in nature. That's where your creativity comes in. You can use whatever colors feel good to you. I'm going to pick a color palette here of mostly juicy, warm, citrusy colors because that feels fun to me. A color palette that always works complimentary colors, which is reds and greens or oranges and blues or purples and yellows. You're going to want to pick the same color grouping for your flower. For example, since I'm going with a warm, juicy palette, I'm going to use yellows, oranges, and hot reds. We'll create swatches throughout the processes we're painting so that we can see what colors are. When I always like to have a piece of scratch watercolor paper on the sides so that I can test it here before I paint on my actual painting. A good thing to remember is that gouache always dries a little bit darker for most colors. We're going to start with painting the leaves because we paint back to front for opaque paintings. I'm going to show you here how to mix up some greens that I'm going to be using in this painting. I'm going to start with my permanent green which is a darker, cool green. Then add a little olive green, which is also a nice kind of dull, darker green, desaturated darker green but it's a warmer toned one. Then my brilliant green, which is a nice bright green. Now, to make a nice dark and more neutral green, I'm going to mix together my bluer toned green, my brilliant green, and my olive green. That actually makes a nice dark color. When you're painting, the perfect consistency for painting with gouache to get a nice flat opaque is heavy green. I laid it down there. It's a little bit more watery than I would like. I'm going to add in a little bit more of my brilliant green. I'm just going to make some more paint to make it a little thicker of both colors. Now, it's thick. It's a little light, so I'm going to add a little more olive green to darken it. All right, that feels good, swatch it again. Now that that feels good, I'm going to go in and paint my dark green leaves, and I try mostly just to paint where the leaves are going to be and paint around the petals because gouache lays best when it's going straight onto the paper instead of on itself. I'm trying to keep as much of it that I'm going to paint over it with a different color, still clear and on the paper. Now, the way that I'm painting this is with a nice flat stroke. I'm not going over parts too much, but I am smoothing out all the little edges that may come up around the brush edge when you lay down a stroke. But you don't want to overwork it. Now I'm going to add a touch of blue in order to create a little bit of a shadow in the leaf. Now with the shadow, I'm actually going to take that green color, mix it with a little bit of the ultramarine blue because shadows are generally cooler and that creates a darker color. I'm not adding too much water to this because I want to do a dry brush effect, which means there's not that much water on your brush and you can see it creates this beautiful effect. That feels good to me. I'm going to go in and use that dry brush to create that shadow. We a little bit of texture on that leaf. To finish off the leaf, I'm going to do some fine line details. I'm going to use my double zero brush here and I'm going to make some color that's a little lighter by taking my base color and adding a touch of that bright brilliant green to create a lighter color. I'm going to add a drop of water to this, so it's nice and luxurious like heavy cream. Feels still a little dark to me, so I'm going to add a little bit more brilliant green. See how it looks different when you lay it on there so i's nice to have a little swatch pad to do your sample on before you apply it to your real painting. I want it lighter, but I don't want it to super light because I don't want it to create too much contrast to distract your eye. Now, I'm going to use this super fine brush with my paint at the consistency of heavy cream to add in the vein details of this leaf. This leaf may not exist to nature, I'm not really sure, but I am stylizing it now at this point because it is a painting and not a photograph. There we go. Now we've laid some foundational leaves. Let's move on to the next step.
7. Painting the Leaves: Now that we've learned the different types of paint strokes and how to get the right consistency for painting, let's layer in the rest of our leaves and stems. For this, I'm going to mix some different shades of green so that they pop against each other, but are still grouped together by their green color. Since my dark green is a nice dark neutral, I'd want these more frilly leaves to be maybe a little bit more olive green. I take the olive green, I'm adding some white to it, and then I'm testing it here. That feels nice. That feels like it's going to pop against that darker green, so it looks nice and overlapping. I have it at a nice heavy cream consistency. If not, I might add a drop with my brush or spray it with a little spurts of water. There we go. The whole point of getting that heavy cream consistency is so that we can see what we're seeing here, which is a nice flat lay that covers the color underneath without picking it up. Yes. This consistency is really good. Again, I'm painting just the parts that we're going to see mostly, although blending it in with some of the leaves underneath because the flowers are going to go over all of it, but you want to make sure there's something that's going over. I love the way this is laid out. I'm going to paint in some on the stems, but they're really subtle. They're not a main feature so we don't need to do too much cream to it. Again, we're laying down the flat color, the solid color, the foundational color of the leaves. I'm not adding in the details yet. I'm also going to do this little pod from the Icelandic poppy. This nice olive green. To add some more detail, I'm going to create a darker shade by adding more olive green into my lighter mixture here so that I can create some shadow and definition, so it doesn't get too flat looking. Again, it doesn't exist like this in nature but I like to add some dimension anyway, my own artistic flare. I'm creating a little bit of a shadow from these leaves here, side of the leaves, again to give it a little bit more dimension. I'll do that with the stems too. Again, not super rendered, just enough that it feels like leaves and things that are overlapping. Again, I might go in actually with a little dry brush, you don't always have to use the angled flat brush. I just tend to like the angled flat brush for dry brushing, and go in there and add a little bit more shadow where I know the [inaudible] flowers are going to be, so I know that they are popping once I lay in those colors. See a little bit more, I'm going to bring in a little bit more highlight to that stem again. We'll push, pull. I'm going to add more white so you get a lighter, olive green color here, so that I can add more detail to this part. I'm going to do a little technique called stippling, which is doing a lot of little dots to create an effect of texture, of shadow, of highlight. Again, I'm going to add more white to clear, it doesn't feel bright enough to me. There we go. Because their pods tend to be a little hairy, so I like to add a little texture, with stippling, to give that effect of the pods in real life. There you have it. We have our leaves and stems laid in, and we're ready to start painting our secondary flowers. Join me in the next video for our next steps.
8. Painting Secondary Flowers: In this video, we're going to be painting the secondary flowers which will be setting the stage for your star flower. I'm going to go over grouping these secondary flowers so that they look beautiful but don't steal the show from your key player. Secondary flowers are the backup dancers to your lead flower. They really make the main elements of the painting pop but they themselves are also a great show. To make them the secondary read of a painting, we're going to do two things. We're going to color or value group them, meaning the darkness or lightness will be about the same for all the flowers or we're going to also add a little less detail than we would with the key flower. Now let's start with the orange blossoms. For this painting, I'm going to make my key flower red, so I'm going to make the secondary flowers an orangey peachy pink and a light pale yellow. I'm going to mix up the colors for the orange blossoms first. They're going to be a very pale yellow with a bright yellow center. I'm going to squeeze out a little bit of my brilliant yellow, which is a warmer yellow and my primary yellow, which is a cooler yellow. I'm to going take my white paint, you always want to add color to white so you can control your color better. If you add a white to the color, it just eats up that color and it's harder to get a shift. Let's see. I like that there's a little bit of green actually and then pulling over into this painting or into this color. But I think I want it overall to be paler because as we know, it dries darker. Here we go. I'm going to paint in the petals flat again, like I did with the leaves. That's my first layer. Since it's a lighter color, you can see some of the dark coming through. I'm going to let it dry before I go back in and paint a second coat to make it more opaque. Now a way you can speed that up is to blast it with a blow dryer. You want to wait until it's dry because if you paint wet on wet, it will pick up the color underneath. Which is something you might want to do later if you're doing a gradient or something like that. But if you're just painting flat like we are here for our purposes, you don't want that. So you want it to be dry before you paint on it, like how the leaves underneath are dry so it's not picking up the color. My first coat is done. I add a little bit more white to my palette just to get it a little lighter. Because now that this is laid down, I can see there's still a little too much color and sometimes colors shift as you put colors next to each other. I want this to be a little paler altogether, so I added more white. I'm going in on top of the first coat and now you can see it's becoming totally opaque, you can't see leaves peaking in underneath anymore. That's the effect that I want for these flowers. Again, I'm doing brushstrokes so that you don't see streaks by painting over it a couple of times to smooth out those streaks while it's wet. Once it's dry, you can't really do too much about the streaks, so you want it to be as smooth as possible when you're laying it down. A good way to keep your paints fresh and wet and workable is to spray your whole palette with a mist of water. I'm going to go back over here and paint over these petals because these are too close and I don't want them to tangent because it just traps your eye when you have a tangent in your paintings. I'm going to let that base layer dry before I go into details. While that's drying, I'm going to mix up the peachy pink that I'm going to use for ranunculus. To do that peachy pink, I'm going to use a flame red and I'm going to use some white and I'm going to see where that gets me. Again, we add the color to white because it's easy to make it dark, but it's harder to pull it back once it's too dark. So you want to make sure you start swatching first, it's going to dry a little darker but overall you can see it's a little too late anyway. I'm actually going to add a little orange to this because I can already see it's not warm enough to the tone that I want, that peachy pink. Refer back to your reference a lot too for the colors that you like, and the color palette that you wanted to go with, then you can try and match those colors. It should give you a little bit more of a guiding light of what colors you want. For example, I really want that peachy pink, I'm looking at my reference to figure out how I want to get there. That feels pretty good. I think I'm going to make it a little bit darker. Here we are. Let's see, it's maybe similar, I might just touch more red. You always want to mix quite a bit of color too because the worst thing is when you run out of color, it seems impossible to match again. I don't know what it is, it's just a rule of the universe. Now I'm taking that paint and painting that flat shape, general shape of the flower or the ranunculus. I'm going over it so it's nice and smoothing out all those strokes so we're not seeing edges of strokes, unless you want that. That's a personal choice and stylistic choice. Love that orange against that green, it looks really nice. It's also a reddish orange, which goes back to what I was saying about how complimentary colors always look really good next to each other, if you want a simple cheat but it's fun to experiment with different colors. Color is just one of the ways that you can express your personal style when you're making art. Don't ever work or too much because it'll start to pick up the paint underneath which I was doing a little bit there. Now that we've flatted out that color, let's let that dry. I'm going to go back to my orange blossoms now that have had some time to dry. I can see that now that it's drying, some of the green is coming through, so I'm going to go back for a third coat on top. I'm going to spritzle a little water into my paint because it's feeling a little too thick and heavy, which is not giving me that smooth, flat I like. Now that we have most of the color flatted in, I'm going to do the little stem or segment in the middle of my orange blossoms. To do that, I'm actually going to add a little bit of detail to the petals, defining them a little bit, with that yellow. I'm not doing a ton of detail because, again, I don't want to distract from the key flower when we get there but a little bit of detail is always a feast for the eyes. I go in with that brilliant yellow because it's that nice warm tone, which is the overall tone of my painting. I'm going in nice and thick to get that nice rich flat color, real thick. That feels good to me for the orange blossoms. Now that the ranunculus have dried, I'm going to go in where some of the colors picked up here from underneath and just flat in some more of the solid colors so now you don't see it anymore. Now, for the ranunculus, since it has layers and layers of beautiful ruffles, I'm actually going to mix a darker version of that peachy orange. I'm going to do it over here, that looks and feels good. Then again, referring back to your reference a lot, add in the details that make this flower what it is, which is these beautiful little lines. Beautiful rich little layers. If it's feeling too thick, you can always wipe off a little on your paper towel. Now using your reference, you'll see that for ranunculus, all the petals overlap in one direction like a spiral almost. You can use that to guide you and you can follow it as closely or as loosely as you'd like to interpret it. The areas where I feel maybe a went too heavy there, I'm going to go back, clean off my brush, go back to my original color, and just push it back. This is the push and pull of painting. There we go. Now for the ranunculus, I'm going to add a little bit more of a highlight too, to make the petals really pop out and come together. I'm adding some white to my original base color, you get that nice contrast that's not too contrast. I just choose all areas where I want it to pop out more, the petals to really be popping. Again, we're doing some detail, but not a ton because we want it to be a secondary but a delight because it's still detailed. Overall, this is feeling good and coming together. I'm going to add just some straight permanent white to the orange blossoms, because I just feel like they could use that little pop more. You see that as you're painting in the other elements what needs a little bit more love, it's a gut feeling too. That feels good. Now we're ready to move on to our key flower.
9. Painting the Key Flowers: Now that we've set the stage, we're going to bring in our star. In this video, I'm going to show you how to paint your key flower. For me, it's the Icelandic poppy, but you paint whatever is your main flower. We're going to start with mixing a big batch of colors for the flower. I'm going to use flame-red because I want it to be a warm, juicy red, but I want to add maybe a touch of permanent rose, so I'm going to do it right there so that I can add a little touch to it, just to give it some depth and dimension, just a touch. Here we go. Actually, I think I'm going to do a little bit more color. With gouache, you don't need a ton of paint to get that really nice rich color payoff, and that's also one of my favorite things about gouache. Here we go. some just wash that, and you can see it plays well with all the other colors. I'm going to paint in with that heavy cream consistency. That main shape of an Icelandic poppy. I'll refer back to my reference photo a lot to make sure that it's looking the way that I want it to look. I use the biggest possible brush for the job, and so when I'm painting main areas like this, I use a number six round. That way I can go and get little detailed fine lines, but also just spread it out to get a lot of area covered. Then when I'm doing details, I like to use my smaller, fine round-point brushes. Now that we've plotted in the main color, I'm going to mix up some shadow shades to create some more definition. I'm actually going to use a burnt umber to make some of that color, to give it a little bit more of an earthy feel and also to make it darker without adding another variety of colors to it. Test it here. That feels pretty good. Swatch it here. Yeah, that feels good. Referring back to my reference, I can see I want to add some shadows where the petals separate and a little bit under where the stamen, that middle part, is going to be. You can see the underneath is a little bit wet still, and I want that when I'm working the shadows so that I can blend it by doing little strokes. I'm placing the dark shadow color into all the areas that I see the little petals break up, so it's the edges of each petal. Then I'm going to go in and maybe add a couple of strokes for that texture of that Icelandic poppy, especially on the edges, maybe? Sometimes, this is a part of painting, where you're like, "Oh no, this looks horrible." But this is part of laying the foundation so that when you add all the layers, and sparkles, and details on top, it really pops. After painting in the shadows, I'm going to go in and lay the center of the flower. Referring to my reference, I can see that Icelandic poppies have a touch of that olive green on their stem, underneath the center, so I'm going to add a little pop of it right now by picking up the color that I was using to paint the leaves. Now it's looking a little dark on top of that red, so I'm going to take a bit of a lighter color. I'm going to let that dry completely before I add the yellow. Otherwise, the yellow is going to pick up that wet paint, because remember, wet picks up wet. You want to paint wet on dry paint, if you want it to look nice and flat and opaque without blending the colors. When you want to blend the colors, you do wet on wet. While I'm waiting for that green to dry, I'm actually going to go back to my red, add a little white, I like to use what's already on my palette too, and then test it to see. That might be a little too light, so I'm going to add more dark red to it. When I add in the details of each petal, the strokes, little stripes and striations, I'm using a little bit of a drier paint. I'm not adding water to this so that I can get a nice, rich color still when I'm laying it down even though it's very thin, and I'm using my number 2 toothbrush now so it's fine detail but not the finest. I'm going in and adding that. It's really subtle at this point, but I want to build up lots of detail on these flowers since it is my key flower, so I'm going to do this first layer of striations in this subtler, lighter color. We have our first layer of detail. Then go back. Now I want that lighter one. Referring back to my reference, I can see there are dark strokes and light strokes, so it's not going to be every single stroke is going to be touched by this lighter one, I go even lighter so it really pops. I'm adding a highlight to the stroke I already laid down, but not every stroke again. Now that I've painted all this, I can see that my darker color might actually have to go a little darker and I want it to be redder as well. So I'm adding more flame red in, and maybe a touch more of permanent rose. There we go. This again, I just add more color variations into my flower, even more detail. I want the edges of my ruffle to be really clean, so I'm going back in here to the areas where some strokes may have over-seeded. I'm also going in to paint in darker values for the areas that I wanted to look like they were falling over and then we're going to hit it with a highlight, but not just yet. We want it to look like its fully over here too. I'm going to pull back some of these shadows because it feels maybe now a little too heavy with everything else. I'm taking that flame red that was my base, I'm going back into it to make the petal feel more organic and not like the shadow is one uniform shape. Now, looks like the center has also dried so we can go back to painting in that yellow center, I'm doing that brilliant yellow around that middle. Now yellow and lighter colors tend to be more [inaudible] , so you'll have to have a couple of coats when you're painting them. Just be prepared for that. You're trying to get it as smooth as possible so you don't have streaks which will create texture that you may not necessarily want. You can actually see now that the color is on there, that brilliant yellow, well, it looks really warm in the palate, is not warm enough up against that red. So what I'm going to do is do add more brilliant yellow and actually add a touch of orange light to warm that up even more. Isn't color theory, fun? It's so cool to see that colors change when they're next to other colors. Now you can see this yellow has become a nice golden, golden yellow. But when you lay it on here, it's still very much looks like yellow. Now I painted over the green because I wasn't liking that so much, but I am going to add the green back in after I let this yellow dry. As I'm doing this, I'm noticing, I don't like how big that bulb looks. A trick for painting back things you don't like that aren't necessarily on the white part is taking some of that from a white, a clean brush, mixing some and you want to drop of water in there so that white is nice and fluid. Paint it on your thing. It looks pretty good. Sometimes you might want to add a touch of yellow or whatever tint your paper might be because it's not necessarily the same brightness or color of the permanent white and that's okay, it's not really a big deal, but we want to match it the best you can. You take that white, and you just paint back over it and find that shape down. You can also do this digitally if you're scanning your artwork for commercial use. I've taken that leaf down too much, so I'm picking up the color that I had before. Wait for the white to dry a bit more but here we are. There we go and go in and [inaudible].We're going to go back to our stem. I'm seeing it's a little streaky, so I'm just making it worse right now. Now we're going to go back to our stem and I'm going to add a little bit of that green again back here because it didn't really work out the first time. That's okay. Just keep trying it in different ways. I'm picking up a little bit of the yellow and I'm okay with that because it's dimming, it blends a little and that's okay with me because I'm going to layer some more yellow on top of that after I finish doing this green layer. Pop on that bright yellow now without the orange in it to create a little bit more contrast. While we're waiting for that middle to dry, I'm also going to do little yellow part of the center like the little dots. Remember design is different and so is nature. It's uniform but then there are some parts that are irregular. We like that. That's the uniqueness of everything in life. Then I'm going to squeeze out more of that brilliant yellow. Now what I'm trying to achieve here is a little bit of more dimension in detail on that center, since it is the key flower, I want it to have more dimension and detail now that yellow is blending in too much, I'm going to add in some primary yellow to make it cooler and therefore lighter. I'm adding a bit of white to the yellow to get a brighter color to really make it pop. It's a little white and I'm okay with that because I want it to have that pale yellow. I'm going to add a little white to some of these little dark parts as well to highlight it, and I'm blending these together. That feels pretty good to me stepping back and taking a look at it and it feels pretty good. Let's move on to adding all the details and sparkles that'll really finish the painting.
10. Finishing Touches: Now we're almost finished with our flower painting. We're going to add a couple more details in this video to really make it sparkle and then we'll color how to turn it into a card. First, we're going to assess the overall painting and see where we can add a couple more little leaves in details to really embellish and make the whole painting feel really good. Add a couple of leaves that I drew in and I think I'm definitely going to paint them in because they need a little bit more of those smaller fine details that don't distract the eye, but really add to the painting overall. I want it to feel lash and fun, so adding these little leaf details really help with that feeling. I think I'm actually going to add some more detail besides just the flat colors. I'm going to mix a little bit of, maybe take that brilliant green dropping some of that olive. Get a little bit of that brighter color. I'll just do a little leaf in the middle, so that's a different pattern than the ones I've had before, but it's not something so detailed and fussy that it distracts from the other flowers. Now that I painted those leaves, I feel like I want to add a little bit of loose petals flying around, just like little spots of color to make it feel very joyful altogether. I'm taking that peach that was part of my ranunculus and just running a couple of petals here and there and I like the way that feels. A lot of painting sometimes is in the feeling. We're also going to take this opportunity to clean up any details that you aren't so happy with or some little accidents that happened while you are painting. I take my nice fine number two round brush again, make sure it's very clean, and then I take some nice, clean, permanent white, which I might put in a new palette so it doesn't pick up the colors in other palettes. You thin it down to that heavy cream consistency. I want to clean up this area just a little bit more. Because now that it's dry, the green is popping through and there we go. That feels good to me now. Now I have my favorite part, which is this sparkle pass. We're taking that white again and we're adding little pops of highlights to the flowers throughout, so it feels all unified and also really gives it that sparkle. Definitely, I'm going to focus on my key flower, add a sparkle to that stamen and maybe I'll add some sparkles to some edges and some other stripes. Going to add a little bit to the little pod next to it and then I want to add some to my ranunculus probably not as much as my key flower because again I don't want to distract too much and then some to my orange blossoms, actually might even add some over here to my popping petals and maybe some to my leaves here. Just the parts where highlights would hit. Just to feel a little bit of a variation. Yeah, I'm adding some to my stems. I don't know, I'm getting wild here, but again this is all to your choice, whatever feels good to you, however you want to paint your piece. Now overall this piece feels really good to me, feels finished, so I'm going to do the final thing that all artists must do on their pieces, which is, sign it. I'm going to take a coordinating color, so I'm going to use again the peach from the ranunculus, and I'm going to sign it down here with my initials and the year, because I really like to see my progress through the years. Now you wait for it to dry, of course, but the really exciting part is that you have a nice, beautiful greeting card. To make it a greeting card you can send, you can easily find envelopes at places like Paper Source, which was my favorite place to get envelopes because they have really nice long flaps and a lot of colors you can choose from. You can choose a coordinating color that matches your card or I like to go with a paper bag color because it reminds me of farmers market flowers or flowers from the flower market. They also sell sets of 10 on their website, so it's really easy to get a bunch. Meet me in the last video to wrap things up.
11. Conclusion: Congratulations, you've made it. You've painted a floral art greeting card. You've learned different ways to draw flowers and what makes a strong composition. I hope you'll use the skills you learned in this class to practice drawing a lot of different types of flowers and creating all sorts of compositions. Practice drawing flowers from life will make you a stronger draftsman. Go to places like flower marts, botanical gardens, your own garden, your neighborhood gardens and grocery stores even, to find flowers that you can practice drawing from in life. Remember, practice makes better. You've also learned how to paint with gouache, getting the perfect consistency and four different types of brush strokes that you can use. You can use these new skills you learned to paint all sorts of different subjects. I hope you'll use everything you learned in this class to create more beautiful flower art. Please share your paintings in the project section of this class, I would love to see them. Thank you so much for joining me for my floral painting class, hope to see you soon.