Painting by Erasing - Lift the Color to Paint the Shape, a Loose Watercolor Exercise
 Evgenia Cordie, Professional Watercolor Artist, Belgium
Watch this class and thousands more
Watch this class and thousands more
Lessons in This Class
-
-
1.
Welcome project
1:43
-
2.
Get Started - Brushes, Colors and Paper
3:46
-
3.
Painting Background and the Vase
7:37
-
4.
Painting Chinese Lanterns
2:12
-
5.
Finishing Touches - Adding Details
2:38
-
-
- --
- Beginner level
- Intermediate level
- Advanced level
- All levels
Community Generated
The level is determined by a majority opinion of students who have reviewed this class. The teacher's recommendation is shown until at least 5 student responses are collected.
40
Students
9
Projects
About This Class
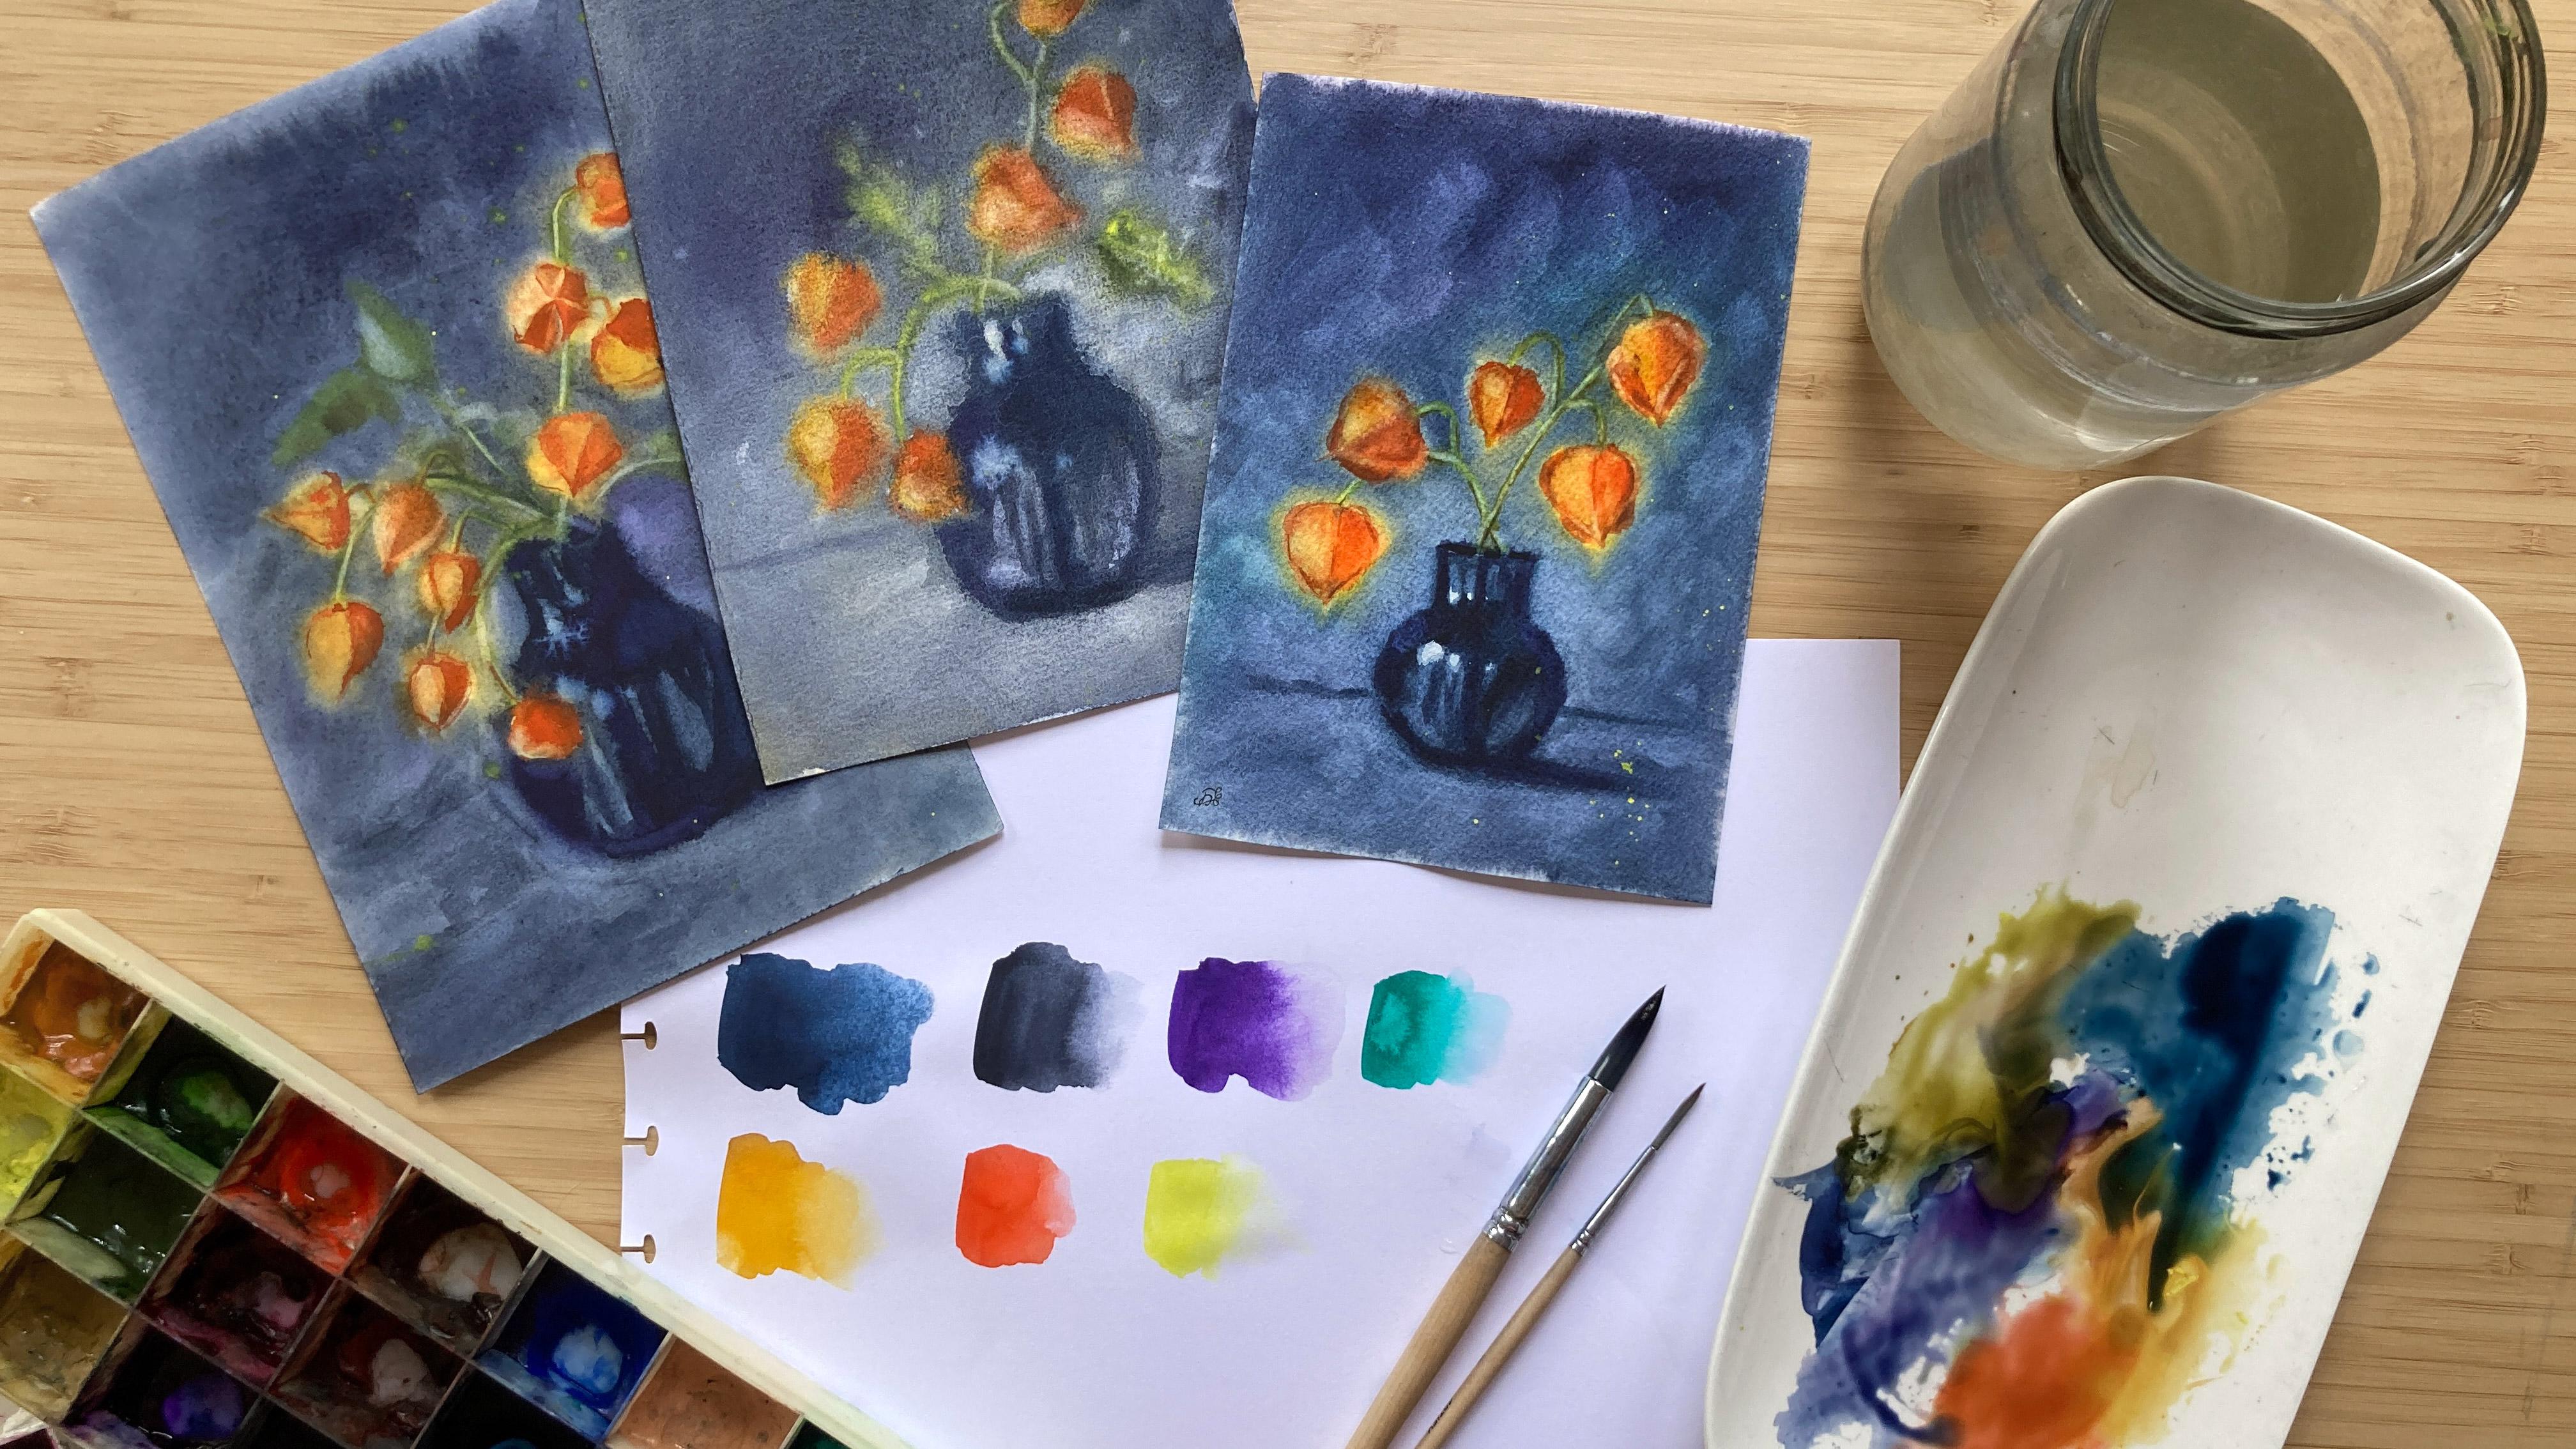
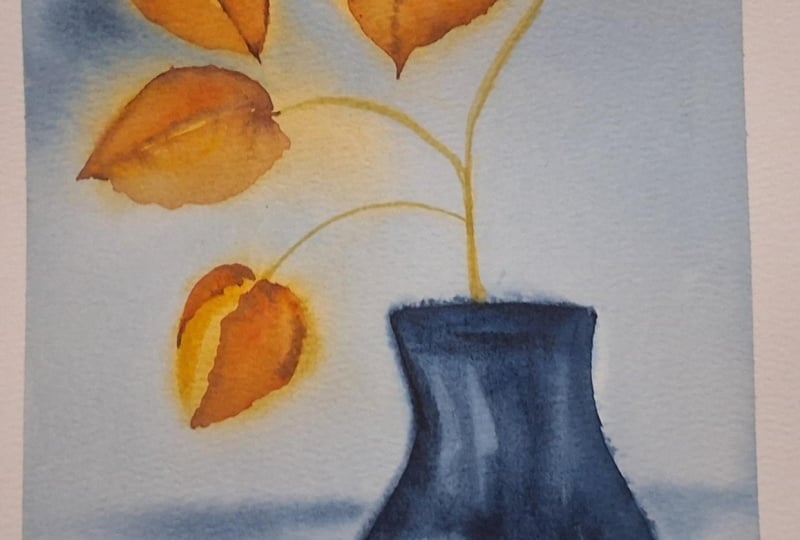
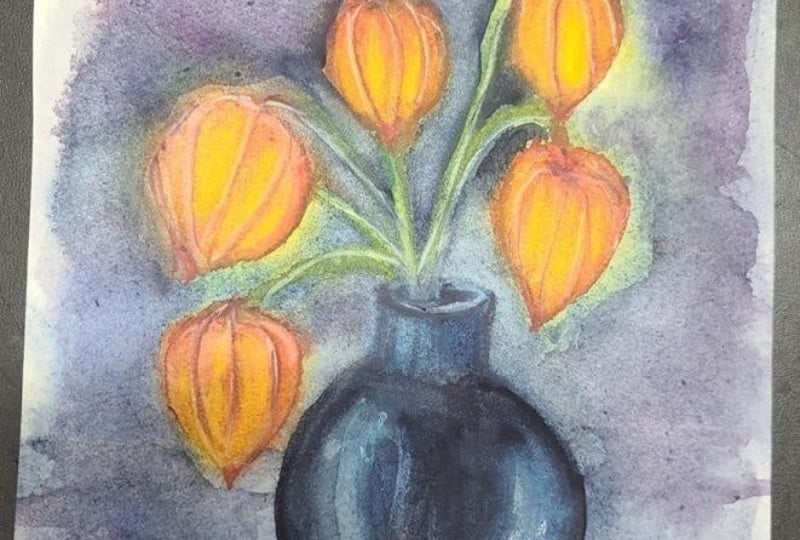
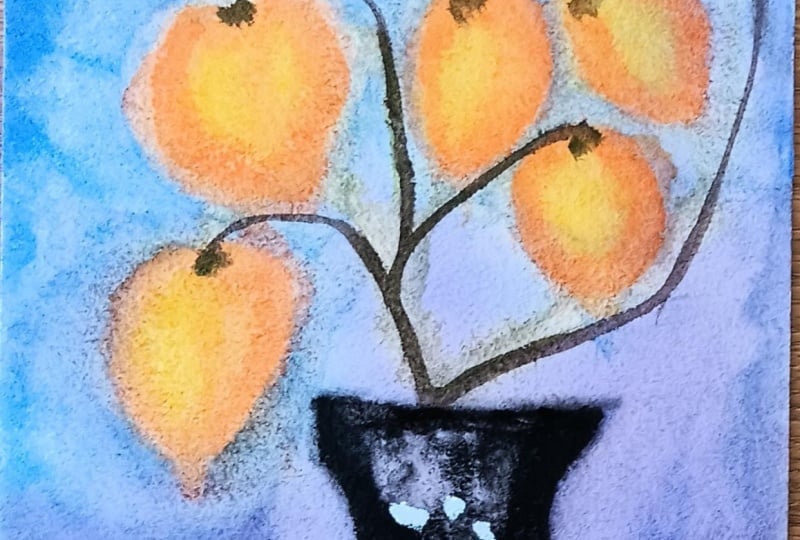
In this practice class, we’ll explore the playful and expressive nature of watercolor through a loose, intuitive still life. Instead of starting with a pencil drawing, we’ll use the erasing and lifting technique to magically shape a dark blue vase directly from the painted background.
This is a relaxed exercise rather than a class focused on creating a perfect painting. It’s a wonderful opportunity to experiment, build confidence, and discover how much you can create by lifting and shaping watercolor rather than only adding paint.
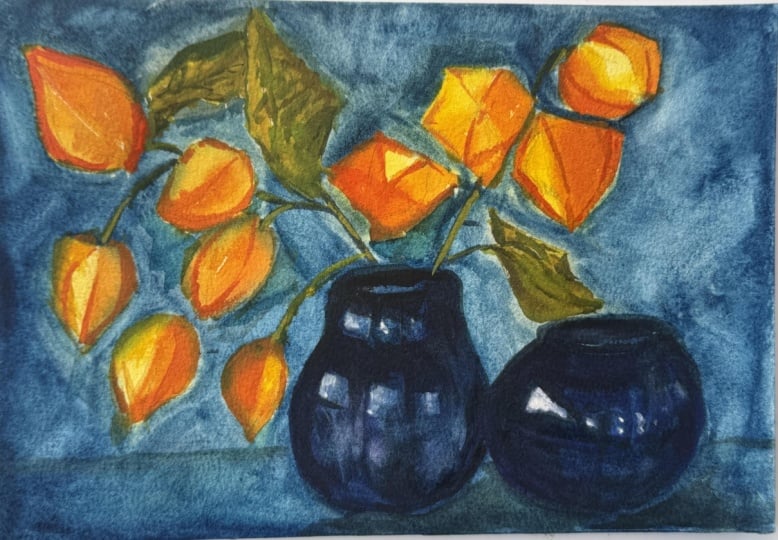
You can follow the project intuitively without a pencil sketch, or use the provided drawing as a guide. In the Resources section, you’ll also find my finished painting and a Pinterest board with contrasting blue-orange and blue-yellow images for inspiration.
Whether you’re a beginner looking to become more confident with watercolor or an experienced artist wanting to explore a playful technique, I hope this little exercise inspires you to experiment and enjoy the process.
What You’ll Learn
- working with thoroughly wet paper
- understanding how to preserve the paper’s dampness for longer
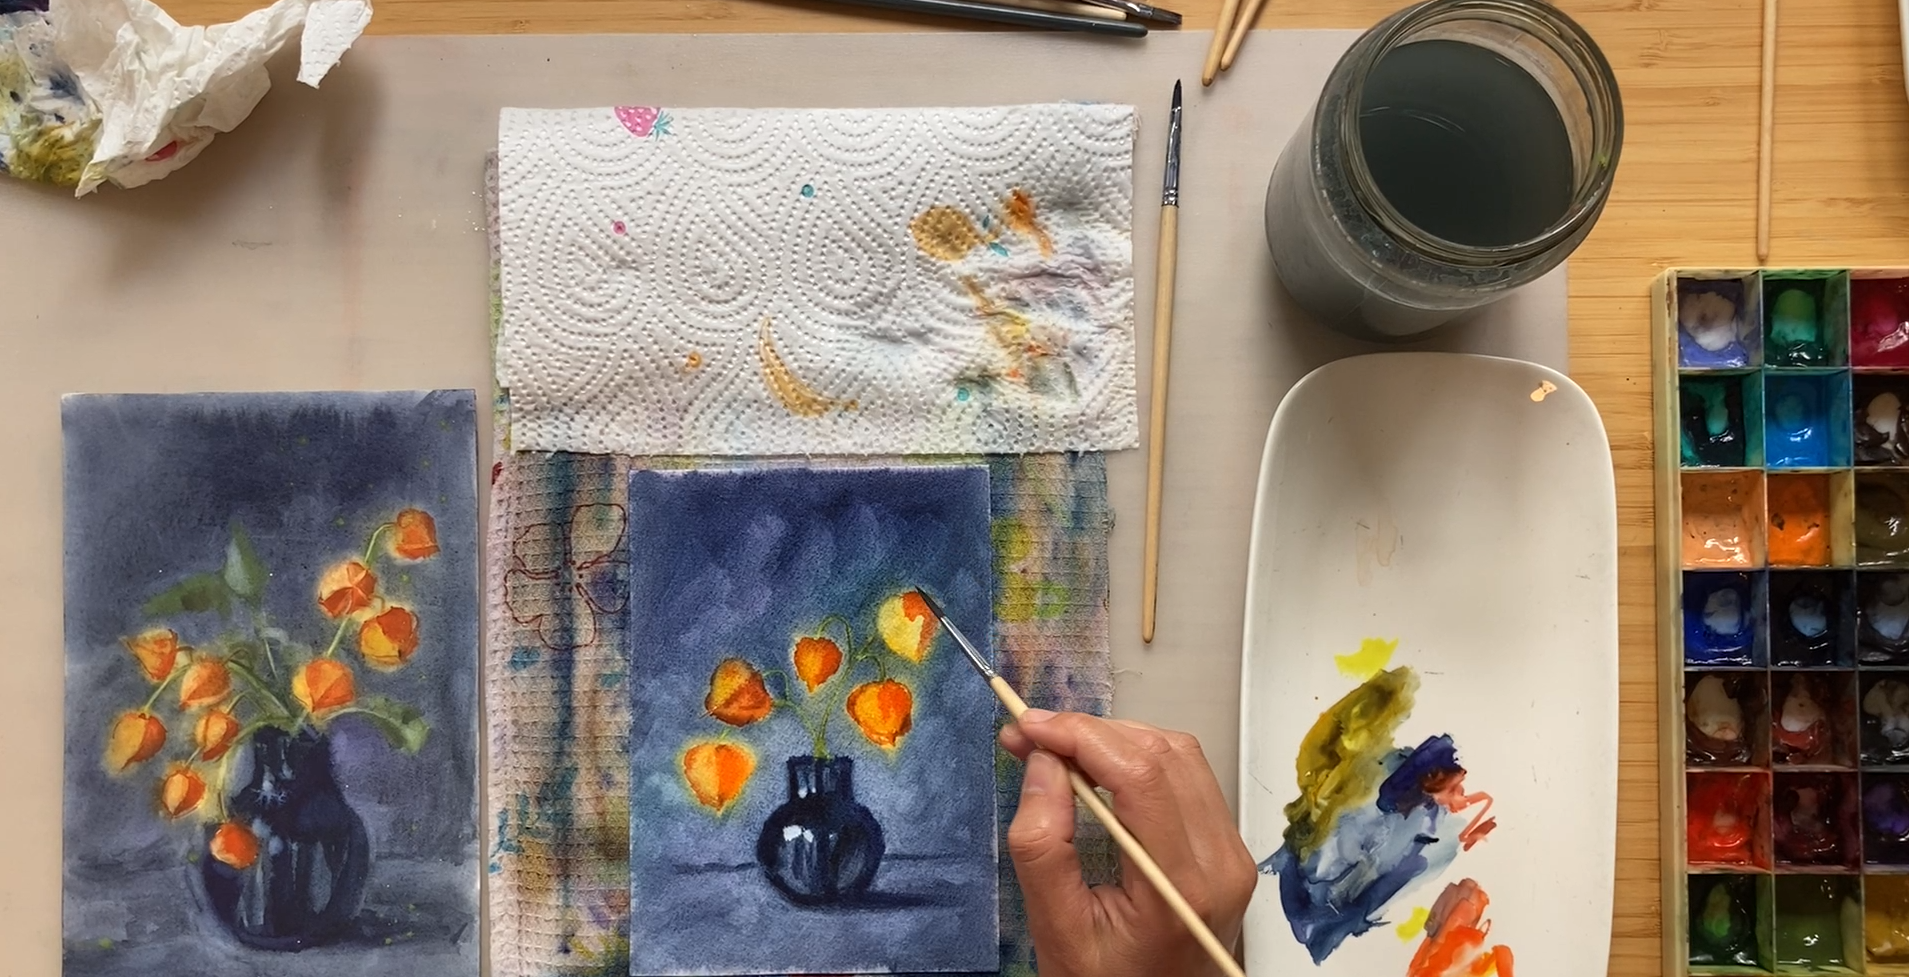
- lifting and sculpting pigment on damp paper
- erasing and lifting pigment on dry paper
- shaping a vase directly from the painted background without a pencil drawing
- creating soft, loose strokes and a special texture in the background by lifting
- shaping the Chinese lanterns by lifting and adjusting the surrounding color
- creating the vase’s highlights by lifting and erasing the pigment
- using the lifting technique to correct and adjust your painting at different stages
Thank you so much for exploring this class!
I’ve been a professional watercolorist for many years, fortunate to exhibit internationally and have my works held in private collections around the world. My style blends realism with a touch of magic, and I’m passionate about helping you find joy in painting through experimentation, expressive color, and your own unique vision.
Let’s paint together!
Additional Resources:
- Free watercolor tutorials on my YouTube channel
- Follow me on Instagram to discover free watercolor tips and tutorials
- Check out my website
Meet Your Teacher
Are you looking to grow as a watercolor artist? I'd love to help guide you through any challenges you're facing or chat about your watercolor journey! I offer personalized instruction and feedback tailored to your needs. Let's connect and create beautiful art together!
See full profileHands-on Class Project
Let’s paint and experiment together!
Your project today is to create a dark blue bottle with bright-colored Chinese lanterns on a blue background. Use the erasing/lifting technique to magically conjure up the vase. Use light strokes to create texture in the background. Complete the sketch by painting the lanterns and the stems.
In the Resources section, you’ll find my finished painting for reference, along with a pencil drawing. But for this exercise class, you can paint without any pencil sketch as well, just intuitively following the steps in the class.
The parts I used in my sketch come from different images, or not from images at all. But I curated a Pinterest board specifically for this class: https://pin.it/1PDCaA61X
It includes a collection of contrasting orange-blue or yellow-blue images to spark your inspiration. Some photos link directly to royalty-free sources like Pexels, while others belong to their creators and should not be copied exactly. For this reason, all images provided (including those on Pinterest) are meant for inspiration only.
Use them to capture mood, light, color, or individual elements. Feel free to adjust the composition, shift the palette, change shapes, or rearrange elements so that your artwork becomes a true personal interpretation.
Let’s get started!
_________
It’s a great pleasure for me to give my students feedback, so please take a photo of your painting and share it in the student project gallery under the Project and Resources tab.
I’d love to hear all about your painting process, if you had any difficulties or what was the most enjoyable part of the painting process.
Upload your artwork by clicking "Submit Project" on your right on the Projects & Resources tab.
Step 1: Upload a cover image, it can be your artwork photo, but it will be cropped. No worries, you can upload a full photo further.
Step 2: Share your thoughts about the class or/and your painting process.
Step 3: Under the field, where you write, you can find 3 small icons. Click on the first one - Image and upload your artwork. You can see your photo appearing under your text.
Step 4: Scroll to the top and click on the green button “Publish” to share your project.
If you have any struggles or questions during the class please start a discussion and I will be sure to answer your questions.
I highly encourage you to explore the work of your fellow students in the student project gallery. Viewing other creations can be truly inspiring and also to receive support can be incredibly reassuring, therefore please consider engaging by liking and leaving comments on each other's projects
Class Ratings
Why Join Skillshare?
Take award-winning Skillshare Original Classes
Each class has short lessons, hands-on projects
Your membership supports Skillshare teachers
Learn From Anywhere
Take classes on the go with the Skillshare app. Stream or download to watch on the plane, the subway, or wherever you learn best.