Snow In Watercolor, Create A Magical Winter Scene
 Evgenia Cordie, Professional Watercolor Artist, Belgium
Watch this class and thousands more
Watch this class and thousands more
Lessons in This Class
-
-
1.
Welcome to the class!
3:52
-
2.
Get started: materials, making the cards, tips for drawing
3:52
-
3.
Painting Part 1: painting the background, the tree, painting the snow without paint
10:06
-
4.
Painting Part 2: painting the branches and the lamp on dry paper, painting the falling snow
7:04
-
-
- --
- Beginner level
- Intermediate level
- Advanced level
- All levels
Community Generated
The level is determined by a majority opinion of students who have reviewed this class. The teacher's recommendation is shown until at least 5 student responses are collected.
184
Students
39
Projects
About This Class
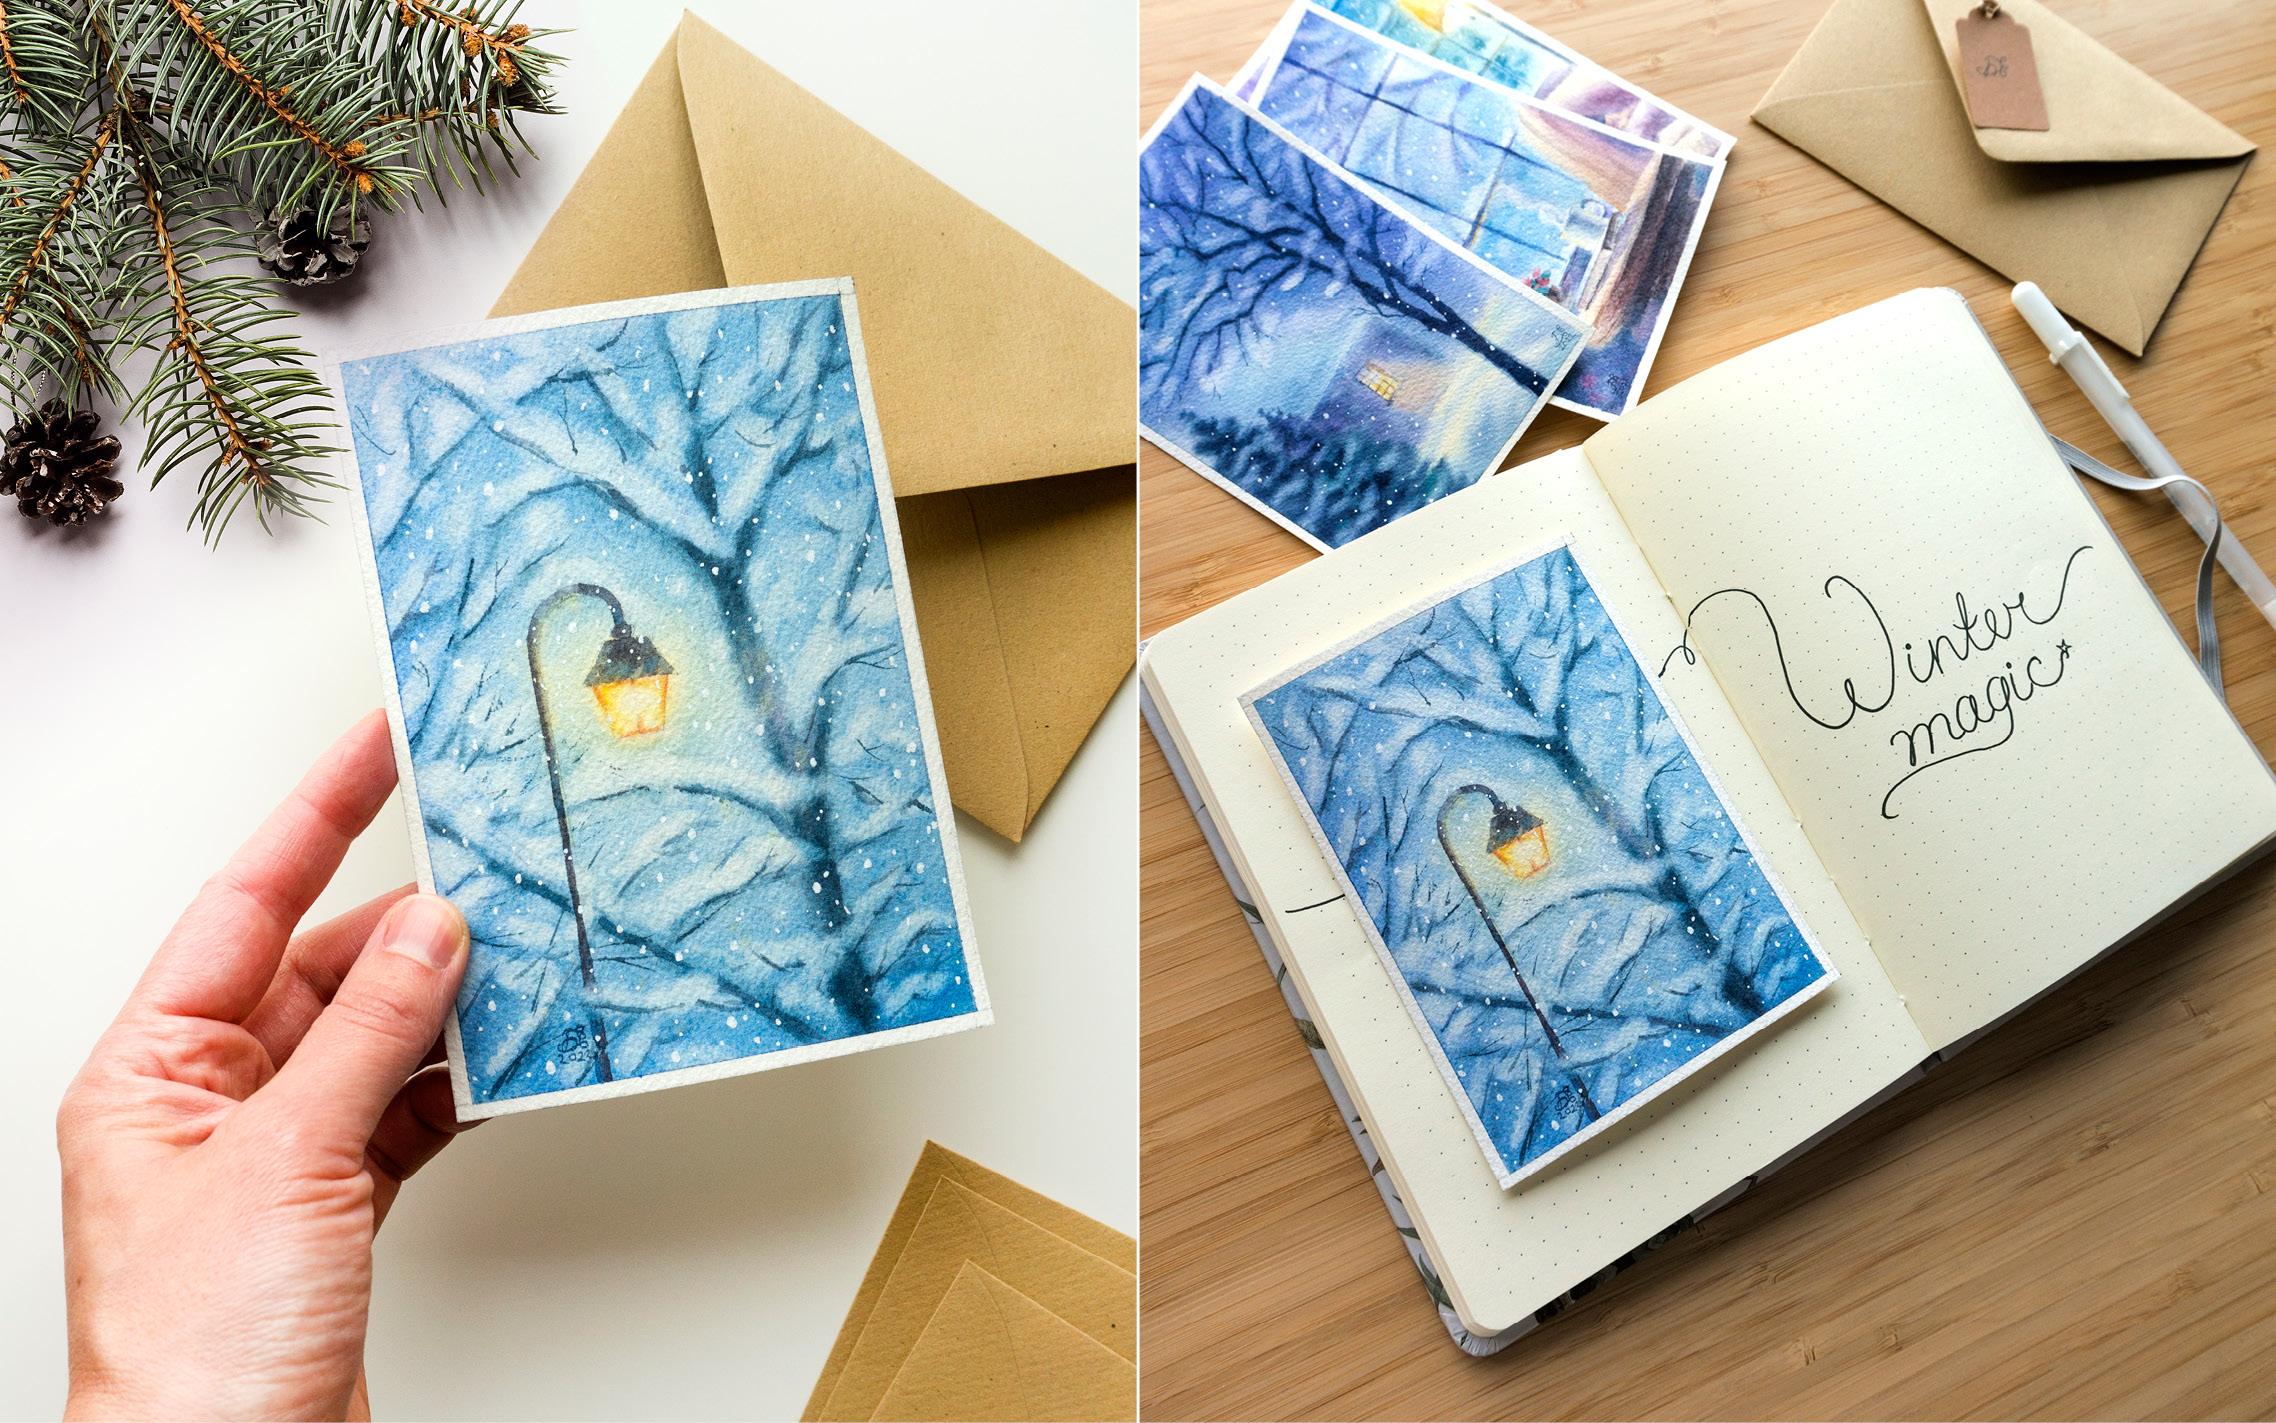
Welcome to our exciting class, where you are going to craft a truly inspiring winter scenery. Whether you're an experienced artist or a complete beginner, the lessons are designed for all levels of experience, making it an inclusive and accessible experience.
For those just starting their watercolor adventure the small paper size of this class will be perfect to learn the brush movements and the techniques. Fear not if you're new to this medium, as I'll be your trusty guide, leading you through each step of the creative process. You have the option to draw the scene yourself, or if you prefer, a pencil drawing is included in the class materials for your convenience.
In this class, you'll master the art of creating a serene evening background with gentle illuminations, while gaining control over the water-to-paint ratio. The most thrilling part awaits as you learn to paint the snow without any additional paint or white gouache – a personal favorite and a truly relaxing technique.
To bring your winter wonderland to life, you'll add the finishing touches and intricate details, resulting in a magical winter illustration that's sure to delight. Your masterpiece can serve multiple purposes, from a heartfelt wishing card to a small framed painting or a charming addition to your bullet journal.
Looking for the perfect gift for a loved one? This class offers you the chance to create something truly special. Are you ready to start and embark on this creative journey together? Join the class, and let's bring your artistic vision to life!
Thank you so much for exploring this class!
I’ve been a professional watercolorist for many years now, and been fortunate enough to take part in art exhibitions around the world and to win awards from highly regarded art organizations. I am grateful that my watercolors are in private collections all around the world. My style is realistic with a magical touch. I encourage experimenting, using varied watercolor techniques and painting in your own style.
You'll Learn:
- What materials and equipment to need to painting along
- Steps and watercolor techniques to complete the painting
- Practical and essential tips for gaining control over the water-to-paint ratio
- Brush and watercolor techniques to create snow without white paint
- Final details that create a significant impact
Remember to hit the 'Follow' button next to the class title, just below the video to follow me on Skillshare. By doing so, you'll stay updated and be the first to know when I introduce a new class or announce a giveaway.
Additional Resources:
- Free watercolor tutorials on my YouTube channel
- Follow me on Instagram to discover free watercolor tips and tutorials
- Check out my website
Meet Your Teacher

Are you looking to grow as a watercolor artist? I'd love to help guide you through any challenges you're facing or chat about your watercolor journey! I offer personalized instruction and feedback tailored to your needs. Let's connect and create beautiful art together!
See full profileHands-on Class Project
Before we start to paint, I want to thank you for joining me today!
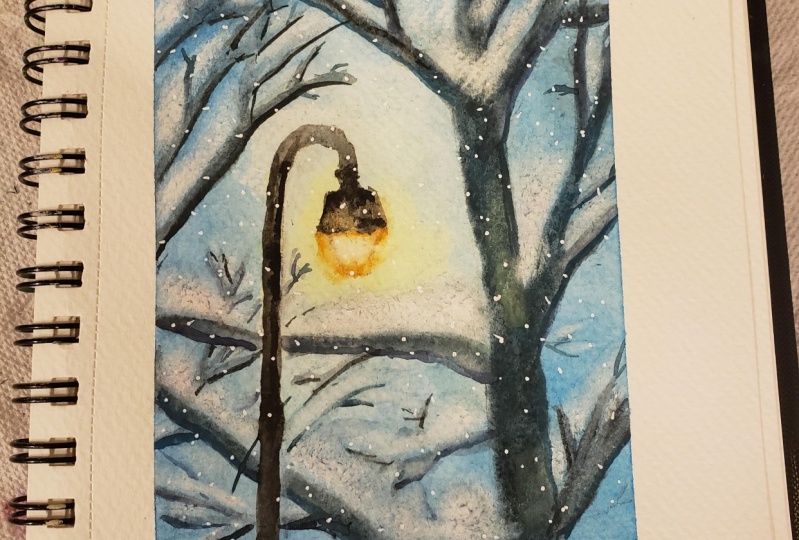
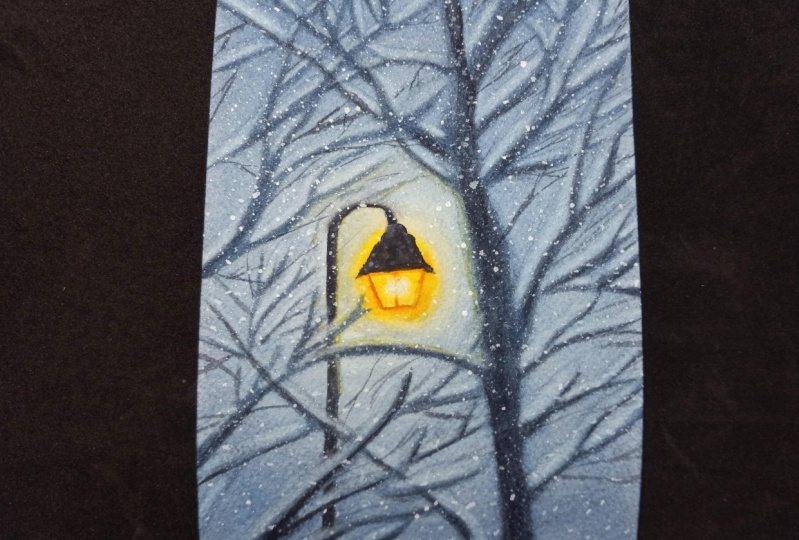
Your project today will be creating snow covered trees in the evening.
In the resource section you find my finished painting as a guide, pencil drawings that you can trace. You are free to choose your own subject to paint or to follow my painting exactly.
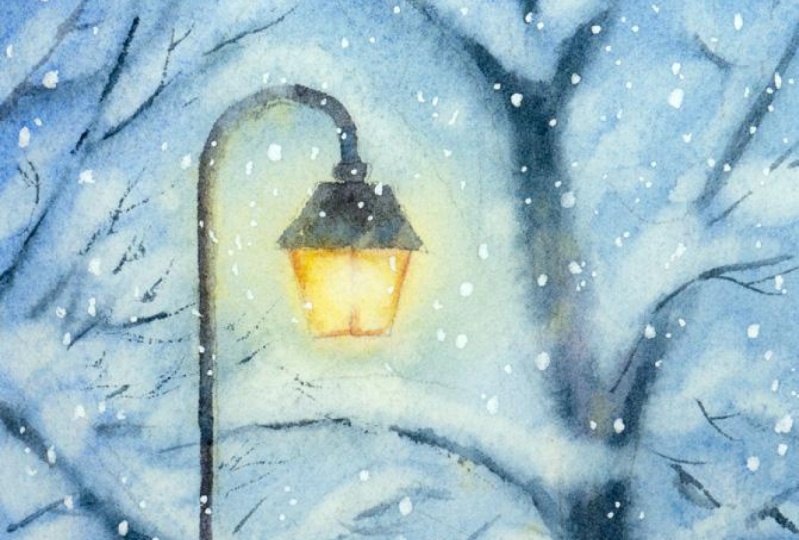
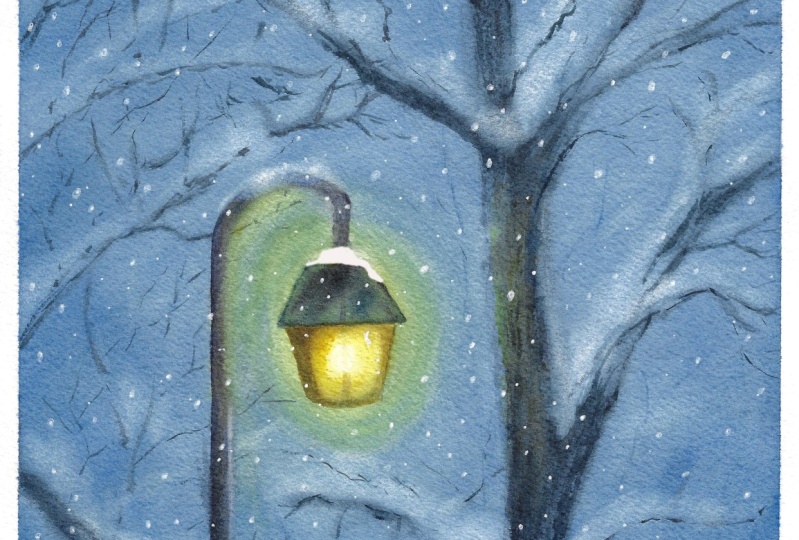
Here you find a couple of other photos that can serve as an inspiration for your own winter evening painting.
Inspirations to paint
It’s a great pleasure for me to give my students feedback, so after you put so much effort in your artwork why not share it? You can do it by taking a photo of your painting and share it in the student project gallery under the Project and Resources tab.
I’d love to hear all about your painting process, if you had any difficulties or what was the most enjoyable part of the painting process.
__________________________
Upload your artwork by clicking "Submit Project" on the Projects & Resources tab.
Step 1: Upload a cover image, it can be your artwork photo, but it will be cropped. No worries, you can upload a full photo further.
Step 2: Share your thoughts about the class or/and your painting process.
Step 3: Under the field, where you write, you can find 3 small icons. Click on the first one - Image and upload your artwork. You can see your photo appearing under your text.
Step 4: Scroll to the top and click on the green button “Publish” to share your project.
If you have any struggles or questions during the class please start a discussion and I will be sure to answer your questions.
I highly encourage you to explore the work of the other students in the student project gallery. Viewing other creations can be truly inspiring and also to receive support can be incredibly reassuring, therefore please consider engaging by liking and leaving comments on each other's projects.
Class Ratings
Why Join Skillshare?
Take award-winning Skillshare Original Classes
Each class has short lessons, hands-on projects
Your membership supports Skillshare teachers
Learn From Anywhere
Take classes on the go with the Skillshare app. Stream or download to watch on the plane, the subway, or wherever you learn best.