Transcripts
1. Introduction : Hi everyone, welcome
to this class. My name is Lisa and I'm a
watercolor artist in Malaysia. In this class,
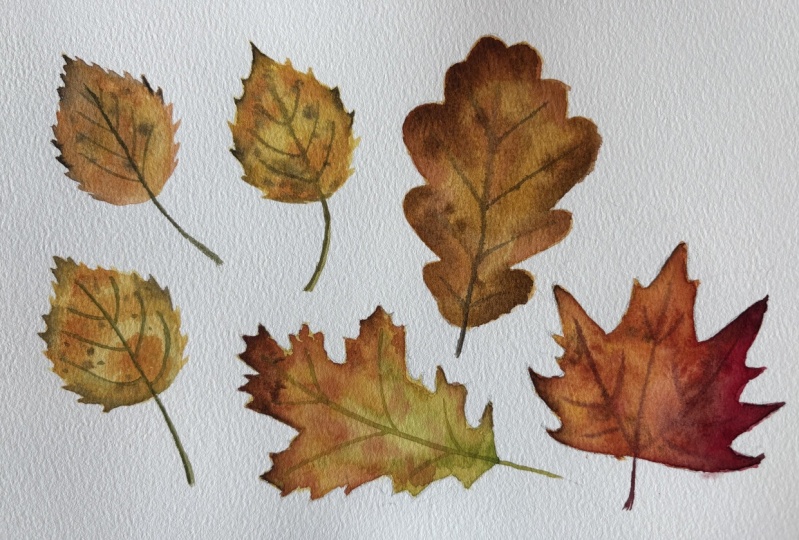
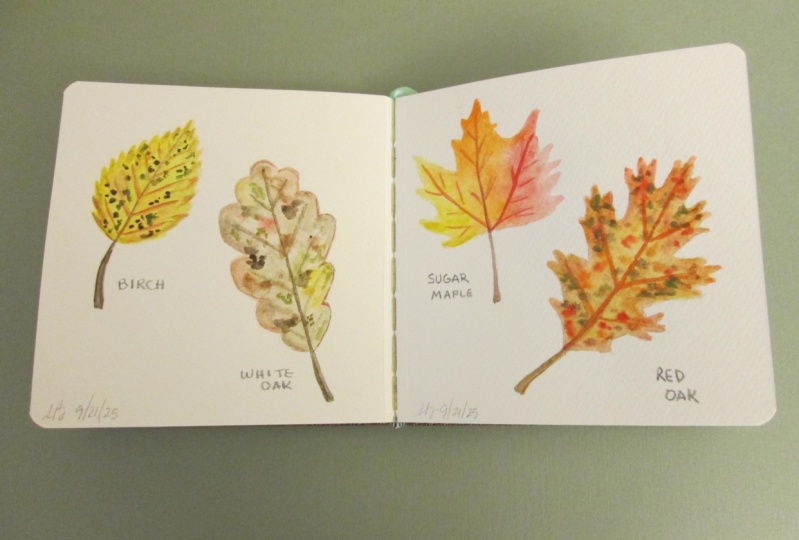
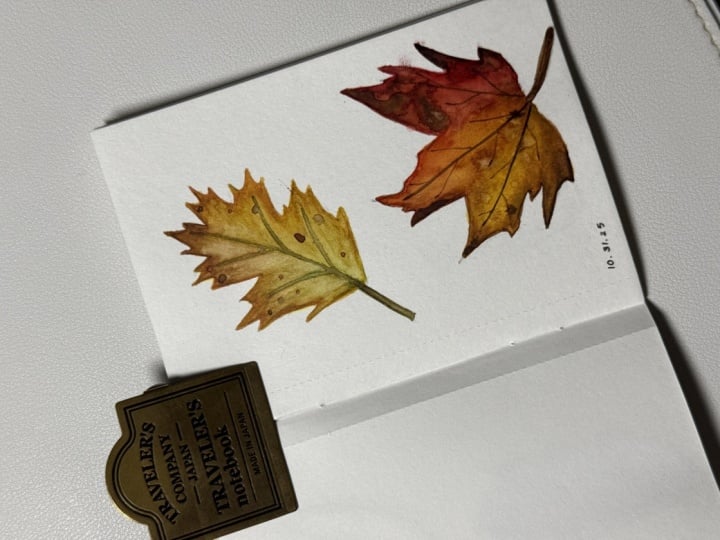
you'll learn how to paint four different
types of autumn leaves. Each painting we would take
about 10 min to complete. And I want you
choose step-by-step. We use various watercolor
techniques such as wet on dry, wet on wet and lifting. I'll also show you how to create realistic textures and
depth to your paintings. This class is suitable
for all levels. So grab your brushes
and let's get started.
2. Materials Needed For This Class: Okay, let's take a look at the materials that you'll
need for this class. So let's start with
watercolor papers. So you will need 100%
cotton cold press, watercolor paper,
preferably in 300 GSM. You can use any brand
of watercolor paper. I'll be using this bow Hall
Academy watercolor paper, k. Now let's move on to brushes. We will mainly be using
round brushes in this class. So you need some
medium-size round brushes, like a size six or eight. If you don't have size eight, you can just use I6. And user needs some
smaller brushes. I have a size two. Okay, I'll also be using this calligraphy brush is quite
similar to a liner brush. So the bristles are very
long and it has a sharp tip. So if you don't have this, you can just use
a liner brush or just use any round brush
with a pointed tip. Now to mix your colors, you will need a palette or
you can just use any plate. You will also need
some paper towels to remove excess moisture and
paint from your brush. And lastly, you need
some clean water. Okay, So these are the colors that I'll be using
in this class. I've prepared a swatch. If you don't have these colors, you can just use any similar
colors from your palette.
3. Birch : Hi guys, Welcome to
our first project. In this lesson, we
are going to paint a simple Birch leaf using
the wet on wet technique. For the base color,
I'll be using a mixture of yellow
ocher and lemon yellow. So this will be the
lightest tone in our leaf. And for our meat and dark tones will use
burnt sienna and CPR. And for the veins, I'll just use green earth. So here I'm preparing
my base color where I'm adding a bit of lemon yellow to my yellow ocher mix. Okay, so we're going to
work from light to dark. We will start with
this base color, and then we'll gradually add
in our meat and dark tones. And for our final step, we will add in
some final details when the pain is almost dry. Let's start with the
central vein and then we'll fill in both sites to
form a simple leaf shape. So once you're happy with
the shape of your leaf, just go over this
a few times with a bit more paint to make sure that this stays
wet a bit longer. Now let's grab
some burnt sienna. You can see that this
is quite watery. So let's drop this on our leaves to create a
bit of color variation. Next, I'll use the
tip of my brush to create tiny serrations
on the edge of the leaf. Now you can either use yellow ocher or burnt
sienna for this step. It doesn't really matter. Okay, now let's darken some
of the serrations with a bit more burnt sienna and CPR. So here I'm using my size
two brush so that I can get a sharper edge and also
for easier pain control. Now adding a bit of sepia
to my burnt sienna mix, I'll darken the leaf a bit more. I'll also spread out the bid of that CPR pigments from the edge. Now let's add in some dry tips using a
thicker mix of sepia. Now, if you find
it a bit too dark, just use a bit of yellow ocher to spread
out the pigments. So as long as this
layer is still wet, we can correct any mistakes by removing any excess pigment. Okay, and now for
the final details, we'll add some dark
spots on leave. So to make these
look more natural, we will vary their size. So if you want to create
smaller and more defined spots, just use a thicker mix of sepia so that it
doesn't bleed too much. I'll also drop in a
bit more burnt sienna to lessen the contrast
between light and dark. Now if you find that your
leaf has started to dry, is better to skip this step. Now let's paint in the veins. So at this stage the paper
is still a bit damp. So we have to make sure
that our brush isn't too wet so that we can get
a more defined vein. Just remove any excess
paint on your paper towel. Now let's paint the true veins. I'll soften some of these veins
with a clean, damp brush. Okay, Now that the
paper is almost dry, we can add in more
defined spots. Okay, now let's complete
our leaf with a stem. So I'll mix green with
a bit of burnt sienna. And to make it look a
bit more realistic, I'll add a bit of shadow on the left using a
thick mix of sepia. I'll also add a bit
more green spots at the base of this leaf. Okay, so this
completes our leaf, and I'll see you
in the next video.
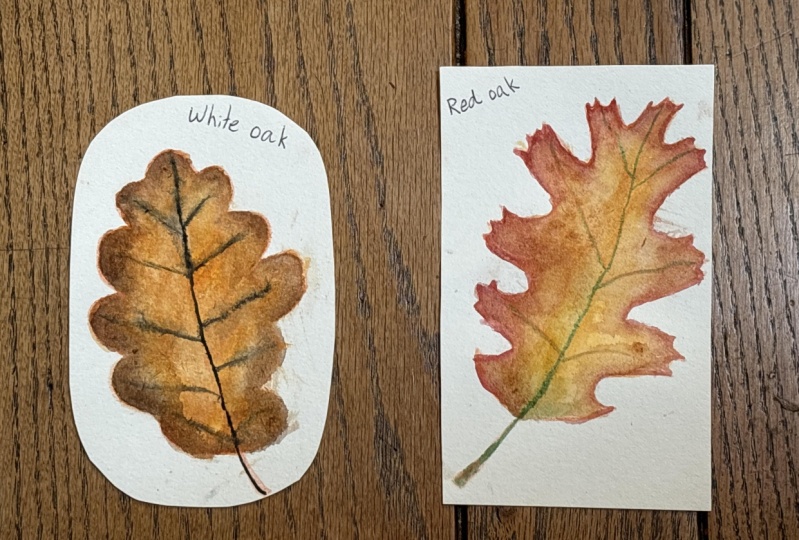
4. White Oak : Pencil Sketch: Hi guys, Welcome to this lesson. We are going to use
this painting as our reference to
sketch out our leaf. Let's start with the main vein. And then we'll draw
some smaller loops at the top and slowly add more
lobes as we move down. This loop here will
be the largest. Now, I'll make these
loops here a bit smaller and bring them
closer to the midline. Okay, now let's complete
the right side of our leaf. I'll make these loops at
the top, a bit smaller. Okay, so once you're happy
with your pencil sketch, just use an eraser to
lighten the sketch. Okay, So now we're
ready to paint a leaf in the next lesson.
5. White Oak : Painting Process: So we're going to
paint this oak leaf into layers using the
wet on wet technique. We will use a diluted mix of yellow ocher for
the base color. This will be our lightest tone. And for the mid-tones, we will use burnt
sienna and burnt umber. For the darkest tone. We use a thicker mix of
burnt umber and CPR. We will use this painting
as our reference. So let's start by
preparing our base color, which is a diluted
mix of yellow ocher. So in the first layer, we lay down our lightest
tone and midtones. And then in the second layer, we'll add in our darker tones
and some finer details. Okay, let's cover the entire
leaf with our base color. I'm using my size eight brush and I'm painting with
a very wet brush. So it's okay to have a
bit of water puddles at this stage because this we prevent our leaf from
drying out too soon. Okay, I'm going to rewrite
the leaf again and allow some of the pink
to soak into the paper. This helps it to stay
wet a bit longer. Now, if there are any puddles, just remove them
with a damp brush. So you want to make sure
there's no dry areas. And that's a nice sheen on
the surface of the paper. Before you proceed
with the next step. Okay, Now, let's move
on to our mid-tone. I'm going to drop in some
burnt sienna around the loops. You can make use of
your paper towel to control the wetness
of your brush. This way you can control
the spread color. Okay, We also darken the center with a bit of burnt
sienna to create a bit of color variation just to make it look
a bit more natural. Now at this stage, this entire leaf is
still quite wet. So it's still possible to
continue working wet on wet. But I'm going to let this
dry to show you how to rewrite it so that we can paint a second layer using the
wet on wet technique. Now, if your leaf
is still quite wet and you would like to
continue working wet on wet. Feel free to forward
this video to the part where I start
adding in the darker colors. Okay, so once this first
layer is completely dry, we are going to re-wet the
leaf with some clean water. So we want an even
glistening layer with no water puddles. And you want to be
gentle with your brush so that you don't disturb
the previous layer. Now you can just look from the
side or just to your paper against the light to make sure that you've covered
the entire leaf. So what we want is a nice even sheen on our
leaf with no water puddles. Okay, so once you're done, we can start adding
in our darker sheets. So for this second layer, we're going to add some
shadows and textures. We will start with
a lighter mix of burnt umber to darken
some of the lobes. So I'm just using
the tip of my brush. And at the same time, I'm tidying up
some of the edges. Then we use a thicker mix of burnt umber to
further darken some of the edges and also to create some
textures in our leaf. Here, I'm using a
size two brush costs. I only want to cover a
small section of the leaf. So by having two different
values of burnt umber, we make our leaf look more
realistic and less flat. Now, I'll pick up
a thicker mix of burnt umber and some dark
spots here and there. Now if our darkest darks, we use sepia to darken
some areas along the edge and also to create
some dark spots in our leaf. Okay, now let's pin in our
mid vein and lateral veins. Darken my burnt sienna
with a bit of sepia. And I'll use my liner brush
to create some fine veins. I'll use a clean,
damp brush to soften some of the veins to make
it look less defined. K. Now let's add the stem. Okay, I'll lift out this thing because the paint has
spread quite a bit. And I'll start
digging this time. I'll make sure that my
brush isn't too wet. Okay, so this
completes our leaf. Now let's move on
to our next leaf.
6. Red Oak : Pencil Sketch: Hi guys, welcome to
our third project. Let's sketch our red oak leaf
before we begin painting. In the next lesson. We are just using this
painting as a guide. So it's okay if it doesn't
look exactly the same. Okay, let's start
with the mid vein. Now, I'll draw a bigger
leaf than our reference. Next, let's add in
the lateral veins. We will start with
the ones at the top, which are the shutters. Now, these veins here
are the longest. So once we have our
lateral veins in place, you'll be easier for
us to draw the loops. So let's start at the top. So just draw some jagged edges. They don't have
to look the same. Okay, there are two more
lateral veins here, so these are shorter
than the ones above. And now let's complete our leaf with two smaller
loops at the base. Okay, Next, I'll tidy up the
edges and the lateral veins. And then I'll add the
stem at the base. So once I'm happy with the leaf, I will use my eraser
to lighten the sketch. Okay, Now let's move
on to our next lesson.
7. Red Oak : Painting Process : In this lesson, we'll paint this red oak leaf using
the wet on wet technique. Now, you'll be using the same
colors as the birch leaves. Our base color will be
a mixture of lemon, yellow and yellow ocher. And for our midtone
we use burnt sienna. Cpi will be our
darkest tone and we'll use green to paint
the stem and veins. Okay, we are going to paint this leaf using the
wet on wet technique. So if at any stage you find
your leaf starting to dry, just let it dry completely, and then just re-wet it with some clean water and
continue where you left off. So we're gonna work
from light to dark, starting with our base color and gradually adding in
our meat and dark tones. Okay, let's start by covering the entire leaf with
our base color. Now, if you happen to
paint outside the lines, quickly lift up the paint
with a clean damp brush. And if that feels, just use a clean
tissue to press down firmly to soak up the color. So I'm painting with a
very wet brush and I'll spread out any excess paint to let it soak into the paper. This way, you stay
wet a bit longer. Okay, So once we have an
even glistening layer, we can draw in our meat tone. So I'll load my size six
brush with some burnt sienna. And I'll start from
the edge of the leaf. Next, I'll soften the edge of our burnt sienna to achieve
a soft gradient effect. So I'll load my brush with
some yellow ocher and dab off the excess paint there now gently blend out
the burnt sienna. So it's like I'm diluting the pigments and
spreading them out. Okay, now let's drop
in a bit of green at the base and
around the mid vein. Next, I'll darken it
looks a bit more. And I'll also tidy up
some of the edges. Let's also drop in some burnt
sienna in the mid section. Okay, Now for our darkest tone, we'll darken the tips
to be some sepia. I'll dab off excess paint so that it doesn't
spread too much. We can gently blend out the edges using a
bit of burnt sienna. Okay, next up in some
dark spots on the loops. And I'll switch to
burnt sienna for some lighter spots
in the mid section. So remember the
thicker the pain, the less evil spirit will add a bit more green since
it has faded quite a bit. And I'll also darken
some of the tips and a few more dark spots before
moving on to the veins. Now let's paint the veins. I looked my liner brush with some green earth and I
debt off the excess paint on the paper towel because at this stage my leaf
is still a bit wet. So I want to send me dry brush so that the veins
when spirit too much. This way I can get a
subtle looking vein which looks more natural. Okay, now let's complete our leaf by adding
a stem at the base. So we're done with this leaf. Now remember to
upload your work in the project section so I
can give you some feedback.
8. Sugar Maple : Pencil Sketch: For our final project, we're going to paint
this sugar maple leaf. So in this lesson,
we're going to sketch a maple leaf following
this reference photo. Okay, so let's start with the meat vein and then we'll
draw a vein on either side. And now I'll outline the
edge of the lower lobes. So once we have our
veins in place, it'd be easier for us to
add in the jagged loops. Now this middle lobe here is
higher than the other two. So do keep this in mind when you're sketching
out your leaf. Okay, now I'll draw
a smaller loop at the piece and repeat
it on the other side. Okay, so once I'm
happy with my sketch, I'll lighten it with an eraser.
9. Sugar Maple : Painting Process: Welcome to our final project. We're going to paint
this sugar maple leaf using the wet on dry and
wet on wet technique. So these are the
colors that are use. Now you can use any deep yellow, orange, red, and dark
brown from your palette. So I painted this
earlier on when I was deciding on
colors for our leaf. So I'm going to use this as
our reference in this lesson. Now, if you look at
the reference photo, you can see a seamless
color transition from yellow to
orange and to read. So we'll divide our leaf in
the tree color fragments, a yellow, orange,
and red fragment. So in order to create this
similar scholar transition, we merge these three fragments
while they're still wet. So we're going to
paint one fragment at a time and we'll connect it to the adjacent foramen while both fragments
are still wet. Let's start by preparing our colors before
we begin painting. As we need to paint fairly quickly before each
fragment dries out. Okay, Let's start with
this yellow foramen. So make sure you're
painting with a very wet brush so that this fragment will
stay a bit longer. Now we paint this smaller
lobe on the left with burnt sienna and connect
it to the yellow foramen. And letting the colors
blend into one another. Then I'll tap into a bit of burnt sienna on the
yellow Friedman. And I'll spread out the pigments to create a soft
gradient effect. Okay, now let's pin that orange fragment while the yellow foramen is still wet. We'll let it overlap with the yellow fragment and let the two colors blend
with one another. I'll mix in a bit of yellow to lessen the intensity of
this orange, Friedman. We add more orange to the edge so it doesn't
dry out too soon. Now going back to
the yellow Franklin, I'll add more textures
before this dries. I'll drop in a bit
of burnt sienna, followed by some orange. Now let's paint
our rate Franklin. So we're just repeating
the same process. Nothing. Both colors overlap
and blend with one another. So you can see there's
a hash separation between our orange
and red foramen. So to soften this
sharp contrast, I'll mix a bit of orange
to create an orangey rate. And I'll drop this on
the orange Freidman, slightly touching
the red fragment. So now this looks better as a smoother color transition
from orange to red. I'll also add this to the yellow fragment to create
a bit of color variation. And I'll add a bit more
textures over here. So if your paper is damp or
almost dry at this stage, make sure to use
a semi dry brush so you don't get
any water blooms. Okay, now let's
add some textures and dark spots on our re-frame and I'll darken my
rate with some CPR. And I'll drop in random spots using just the tip of my brush. We can make some areas a bit darker and more concentrated. Now let's use a thick mix of sepia to darken the tips
and to tidy up the edges. I'll also darken the teeth
on the lower left lobe. Now this area is already dry, so I'll soften the edges
with a bit of burnt sienna. Next, I'll use a semi dry brush to add some finer details. So since these areas almost dry, the textures we
appear more defined. Now while this red fragment
is still wet and glistening, we can split this some water to create additional textures. We can also use our
brush to tap in a bit of water to create some
tiny what the Bloom's. Okay, now let's paint the veins using a mix of orange
and burnt sienna. I dab off excess paint to
get the semi dry brush. So this prevents the
color from bleeding since the base of the
leaf is still quite them. I'll darken the
vein on the right, fragmented with a bit of sepia. And I'll use a clean, damp brush to lift out any
color bleeds from the veins. Next we add those
tiny lateral veins. And now let's complete our leaf with the
stem at the base. Okay, and we're done. So remember to share
your projects in the project gallery so that I
can give you some feedback.
10. Final Thoughts : So guys, I hope you have enjoyed painting this autumn leaves. Now, do you remember to
upload your paintings in the project gallery so that I
can give you some feedback. And it'll be great if you could leave a review for this class. Now if you have any questions, do post them in the
discussion section, and I'll get back to you
as soon as possible. So thank you for
taking this class and I hope to see you
in my next class.
 Lisa Lam, Watercolor Artist