Transcripts
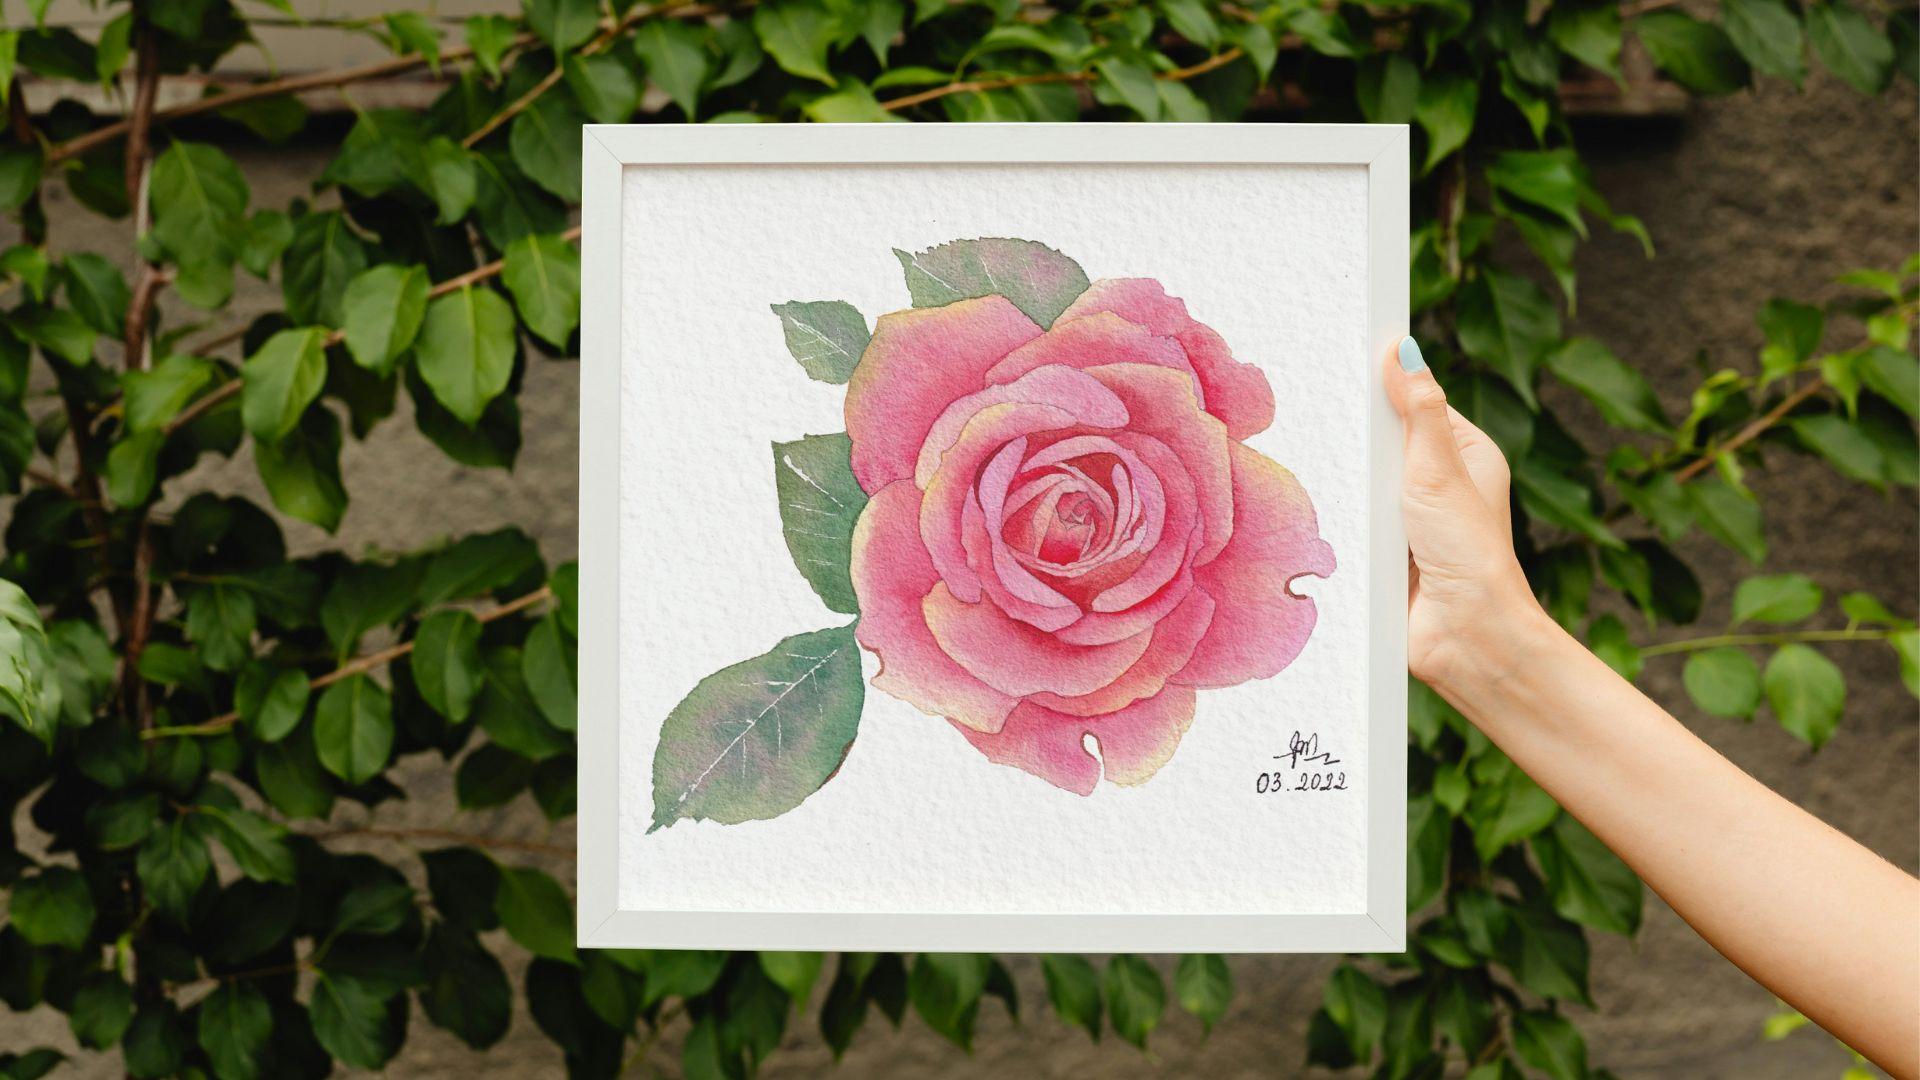
1. Class Introduction: Hello everyone. I am sense CB and it is my
first Skillshare class. In this class we will
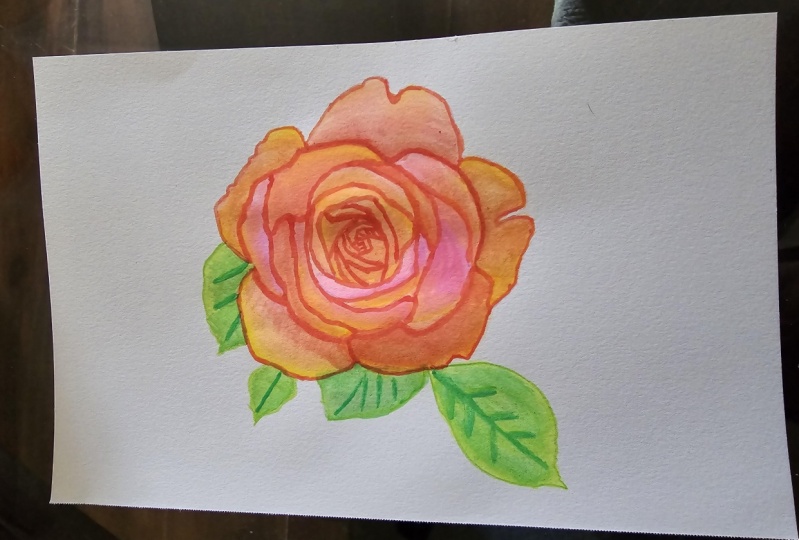
learn how to pin this red rose in
watercolor together. I painted one
version of this rose before posting it on my social media sites
such as Facebook, install grant and got
applies and comments. I painted in only one or
two hours in good time. I need to wait for
the paint to dry. I think this ********, why the rose looks
very realistic. It is very beginner friendly. And in this class, you will learn how to create a color palette to make a
red rose more interesting. You can learn about my
botanical painting techniques. If you find this
glass headphone, please follow me on Skillshare and my
Instagram. This is me. And that's all for this
class Introduction. And let's go to the
next video to learn.
2. Class Materials: I use for this class, I will chase standard
24 color box from Winsor and Newton. You can see in the
middle I put a lot of colors I purchased separately. For this ********, we
need to use masking fluid and tone to
apply masking fluid. But it is not really
important because we use masking fluid to create
the veins on the list, but there's very few of them. So if you don't have
a masking fluid, you can also leave
the space yourself. Fit its own the colors on the
pedals and on their lips. And I forgot to add
the red color here, and I will add it later. For this project. In particular, as a
way to 10-inch myself, I will use only one brush, the brush size
five by different, see that you don't
have to follow me. You can use to three brushes. Brushes for lash, brush to pin. Outer petals are
large petals and maybe smaller brush
to pin the rows. But of course, you can finish the painting with
one brush. Like me. It isn't the first time I tried painting something with
only one brush on purpose. And honestly it is not really comfortable
that it is achievable. Squat for me after several years break this
thing, watercolor painting. It is quite a simple post check. I can finish the whole
pending within two hours. Include the time waiting
for the paint to dry. I don't use a trial. You are a bit, you
are a beginner. It may take you a
longer term that I think this rose
is not difficult. If John F or is that
upper beginner level, you haven't learned
what a kind of a walk. You can completely pin it because I haven't
been learning with the color printing 100% or lie. So I know the, I think I know the
way to communicate. Is it right here? You can see that it's only
the own colors I'm using for this bowl-shaped in
this only one rare color, which is quinacridone coral
from Daniel Smith beds. If you don't have it, you can replace weight. Come in and Quinacridone
Rose. Both are okay.
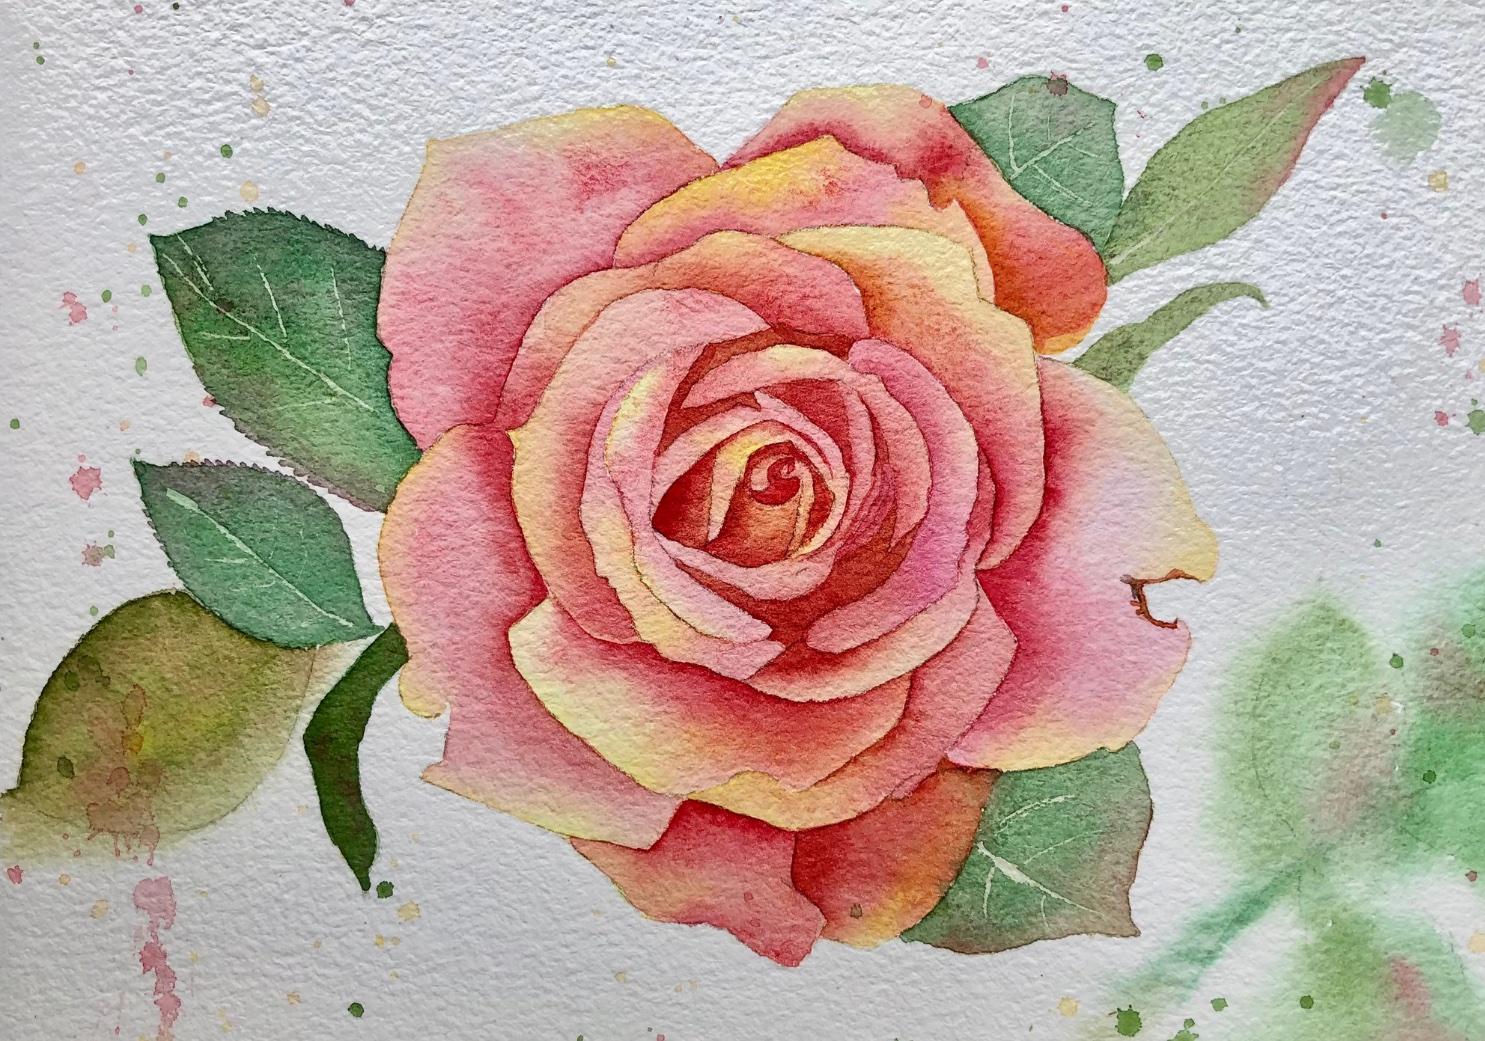
3. Drawing and Masking Fluid: Before starting to paint, we need to create an outline. I already proved by
the reference photo. Outline my painting in
the project section. As you can see, my
ROI is a little bit different from the reference
photo because I just take the tower from the
reference photo and I hear myself because I think it will make the
painting more interesting. As you can see here
before starting to paint, I use masking fluid to mask some veins in the leaves because their lives are not
the focus of this painting. So I will just make
it very loosely. If you don't have masking fluid, it is okay because you can
easily leave felt whilst this further up the list AP1 to learn more about different
types of masking fluid, you can check out my first
class here on Skillshare, where I have a bonus
lesson to review different toys applying
masking fluid. And that's it. It is very simple.
4. Layer 1 - Outer Petals - Part 1: As you can see, I'm
mixing some colors to paint the outer
petals of this rose. You can see I'm mixing the Winsor yellow by
Winsor and Newton. This one is cleaner than
coal from Daniel Smith. If you don't have
quinacridone coral from Daniel Smith, you can. Is Quinacridone Rose,
Permanent Rose from any brand. Okay? And the third one here is in
green modals that in Newton. So basically, I'm just mixing three kinds of Bros,
cutoffs when Nero. And for the first layer, one thing you should
note here is on though, in the reference photo, the rows is in red. For the first layer, we don't use any
red color at all. The only used the yellow
color, the coral color. In my case, I you look a little bit at
the reference photo. The lightest part in the petal in the
reference photo here, even is the yellow too can eat. Because it is light, the color independent
is light because it is emitted by the sun. Yellow is the color of the sun. And even in Scholar for the
lightest part of the petal. I mean, it was Jameson fiber
doctors part of the petal. See in the screen. That is quite simple
for the other part of the petal is similarly,
is quinacridone coral. If you don't have a
quinacridone coral, you can use Quinacridone. Rose are coming in ROS for it. So the hope was asked
is quite repetitive. You know how to paint
one petal and we know how to pin
the other petals. So I will speed up the
video a little bit. My method for painting any flowers in general
is for the first layer, we only focus on the colors. We haven't focused on the value. We haven't focused on
the dark and light up the petal yet. So as you can see, if you look at the
reference photo, you can see that
there's only one color, which is red one. But as you see now, I'm using three ties. The colors further
footstool include two rows and one yellow color is because they are in their
post-test up transition. 2d photo into appending, we need to make the painting
more interesting, more 3D. And putting everything
on a flat paper. In order to make it 3D, we need to utilize as
many colors as possible. Another thing unique to note
in the first layer is to use colors, light as possible. As you can see here, I'm using It's diluted
colors because one mistake, beacon nurse often make a dup Carlo for even
very first layer. And in the end, even overpaying the
whole painting. And the color will be very dark, because watercolor
it chance current. So it may be very easy if we add more dark color that it is
difficult to correct mistakes. If you pin too dark color
from the very beginning. And as you can see here, I turn the whole
painting around is because it is more
convenient from my hand. And especially for
this kind of flower. It go around, around so we don't need to put our hand
on the appendix session. Another thing I want to note
is asking thank, see here, I have using only one brush
to paint on the pedals. And actually I am feeling of
the brush is too small or large petals that are a challenge for myself or
this Porsche in particular. I only use one brush for it, but you don't have to follow me. The only material which I
think which is extension for this kind of painting
is you need to use 100 cotton paper. If an it is just a small
and simple project. You will use a lot, a lot of layers. It is very different from loose painting
style in general. So unique, very good paper in order to achieve
the best bees aren't. As you can see, I don't follow covered
auto means I don't I don't pin the petals from
this one to this one, but I jumped this one, jump to another one because I still know it cannot
pin another petal, which is very near the newly paint the petal
because the pen is still wet. So I just finished
the first circle, the circle of the flowers. And before continue, I
use an eraser to try to remove a sentential box because if you don't
need it anymore, we don't remove everything that we can remove as
much as possible. And I think that's it. I divided the first layer for outer petals
into two videos. This video is very
essential because I introduced you to
unnecessary techniques. The second video it is
helping King possessed. You can check if you need. But I think the whole process is quite repeat it if
you know how to gain one or two petals and you will know how
to paint the rest. Now, let's try painting.
5. Layer 1 - Outer Petals - Part 2: This is the second
part of the painting. Feel the outer
petals of this rows. And the post S is quite
similar to the previous video. The only thing
which is different is I introduced a new color, which is permanent rose
petal near the center. Because if you look at
the reference photo, you can see the hint for the rows and purple color in
some petals in the center. So you can look at the video I just put in and
rows in my palette. And I didn't you say
to the asset both yes. Is quite similar
to the BPS video. I speak a lot less
entire pandemic.
6. Layer 1 - Inner Petals: If you look at the
essential, the rows, you can see that the petals here more so it can be very difficult to pin each petal separately. The way I take hold this part, I will use wet on wet technique. I've kinda how central
area of this rows. And then later I will use negative painting technique
to pin depth area, the routing area of those
small petals to make them pop. Esp, you can look at the screen whether
possess a very simple, I read the whole,
the whole area. I put the quinacridone
coral reserve, the Winsor yellow, and some
rose color scheme to eat. And that's it. It is
very quick and simple, but just make sure you read carefully so that when you put the
color in the center, it doesn't affect
the painted petals. That if you happen to make an
acid and is still very okay because we asked him very first
layer is very like Carla, so we can fix it
in later layers. First eat less in
charge pending.
7. Layer 1 - Leaves: In this video, we will paint the first layer of
leaves together, actually farther
lips of this rose, but there's only one layer. And we just need to pin in
this video. And that's it. Because for this
painting in particular, the rows is essential
for attention. And lifts here, chess, playing the supporting roles. So I think we should only
pin eight in one layer. As you can see, right now, I'm mixing two colors. One is sap green, and one is earlier green
from Winsor and Newton. Actually I will put on, so put a color I think which is permitted and green
form a horrid amps mingle. So you don't have to follow me exactly in terms
of color for the lips, because what I'm
doing is I put on a green Carlos in my palette, in my color pops
into the painting. I use sweat on wet technique in order
to Mr. color together. First, I mean, painting
the green colors. And then I will put on the colors from the
petal, their lives. And that is how we pin it as
you can see on my screen. So we older the masked masking fluid to create the light
then further list before. So you don't have to pay
attention on the wins by now. But in case you don't
have masking fluid, you'll need to pay
a little attention to though Vince here. And if you don't go
veins, if you pin. Instead, the things that's on the techniques I use
in this video lesson.
8. Layer 2 - Outter Petals - Part 1: In this video, we
will start to paint the second layer of these rows. And as you can see
on this glass, is painting a red rose. If it is, the first time I introduced the red
Carlo into the petal, I'm using the Winsor, red from Winsor and Newton, but you can use any red Carlo
in Bob's our color palette. And see the structure
of a pet or is, it is duck curve in the central rose and it lighter
on the outside of a row. So what I'm painting
on dry technique, I put the red color in the inner side of the petal and then I clean
the brush with clean water. And then I spread the
color to make it gradient. The boosters is not
really difficult. Just one note is when
you clean the brush and when you blend the color
to make it gradient effect, make sure your brush
is not to try not to read this income with practice. So after several times they
will know how red hot dry your brush is enough. That's it. Let's enjoy painting with me. And that is the first part. I break this process
into two videos because then you pin the
petals in the inner, the inside of the rose. The technique may
be a bit different, but for now, it
is just a repeat. The tip was SO watch with me.
9. Layer 2 - Outer Petals - Part 2: In this video, we
will continue to learn how to paint
the second layer. The outer pedals faced gunshot
rows in what a cutoff. And SMC, I continue
to use the red color. I pan the in the inner side of each petal and then I use
clean water to blend it out. You can see on the
title of this glass is painting of a red
rose in with a color. I'll rows here has a
lot of colors into it. It has, it has already has
three tie up rose color, yellow and now red phi colors. And later I will introduce
some more colors so it is a rainbow rows. And as you can see, the technique appending the
initial i 0 first with a lot, a lot of colors
with and appending. When Mick our painting,
her smart death, it is not a borrowing red rose, it is a colorful red
rose in watercolors. I hope you enjoy this post-test and you can learn something
about color mixing, about fighting the right
colors for your painting. Even though this class
is quite simple. Nominee, I can finish
this pending in, I think within two
hours in glutenin there time waiting for the
painting tubes right? Now, let's continue to
enjoy our painting process.
10. Layer 2 - Inner Petals: In this video, we will
focus on painting. Sitcom. The inner
petals of this rose. You can see here in the
reference photo, the petals. This rose has got areas, so I'm mixing, right now. I'm mixing burnt sienna, red Carlo in order to create colors which is somewhere between brow
colors and red colors. And I use, this card has
two pin around petal, around the petals in
the central bro rows. This didn't get is
negative painting. That means the pin depth every eyes in order to make
the lighter areas in here, which is the flower
petals pop up. As you can see. The pedal, I mean from
dark area in the neon, the outer petals of the rose
has some gradient effect, so it transition
from dark to light. It will still use the technique we have already used in
painting for a second. The outer petals report the dark color on
the paper first, and then we clean the brush
and then use that clean, wet brush to blend the
color out to create a gradient effect from
dark to light cut up. Again for this rose
is quite repetitive. So if you look at me
painting one or two petals, you really know how
to pin the rest. As you can see, I use this
mixture Carlo between in Sienna and read Carlo
is to also make some small adjustments
for the petals, for the outer petals. So I continue to move my
painting around because I don't want to touch my
hand to newly painted area. I think it's more convenient
than painting with a fix. So let's continue to
the MSI of the petal. And after this step, I think our rose
is already formed.
11. Layer 3 - Final Details: At this stage, as you can see, Rose is already very beautiful. In this layer, the third layer, we've been focused on very
small details to our rose, very real, real straight thick. As you can see here right now, I'm using the blend
sienna colors mixed with the red cutoff to darken the areas need to be
Doctrine in this painting. And I went in with the tip of my brush to create
some veins into the petal and watch this
video until the end. So it was blend on Burnt
Sienna Carlo, pin, some imperfection on the pedal, and then we remove the
masking fluid on the lips. This row is an after
this stage, I, I believe that our roasting
be incredibly beautiful. So in this stage, your roles may be a little
bit different from my because some deviation during
the painting booth says, you may watch this
video to watch how I use different techniques from the beginning
until the end. You may look at
the final painting on the reference photo. To finish the painting yourself. At this stage, they should
focus on the result. I would like to share with you my experience because
I haven't been learning what the color painting one hundred one hundred
percent online. For the first time,
you watch this glass, you paint along with me. You're painting may
not be perfect because that phase you focus on
learning new techniques. You weren't working outside
of your comfort zone. So after this class, you may come back to
pin this rows alone. And I believe your painting
will be much more better. That's it. Let's enjoyed
painting with me. One thing I need to note here is because in this
video you can see, sometimes you can see under the camera because I
move the painting around. And sometimes I was so
lift the painting because I am painting on very small
details and I'm near-sighted. Leaf painting up to her mixture, I can see the clear detail. So forgive me. If the presenters shown
up there painting, the presence of the painting on the screen is not perfect.
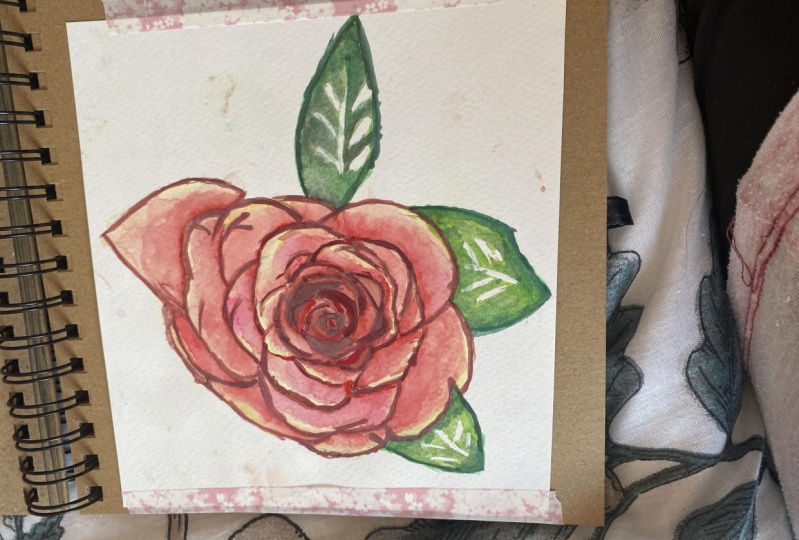
12. Final Thought: Thus eight emit eight. You have already
painted this beautiful, gorgeous red rose
in with a color. And you must be very
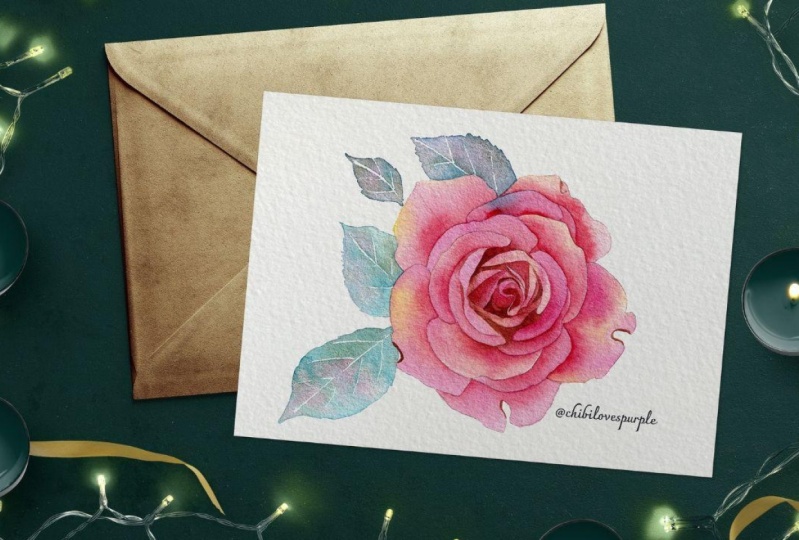
proud of yourself. Now, I was so attached in the projects
session of this glass. Never variation of this rose, the same rose bed with different arrangement
of the rings. You can try it yourself. It'd be went to
challenge yourself. Again. If you find this
glass have phone, please follow me on Skillshare. For my Skillshare profile, you can always still check out
my Instagram where I often post my newest artworks and
watch my YouTube channel, which has some short tutorial. Thank you for watching
and goodbye for now. See you in another class.
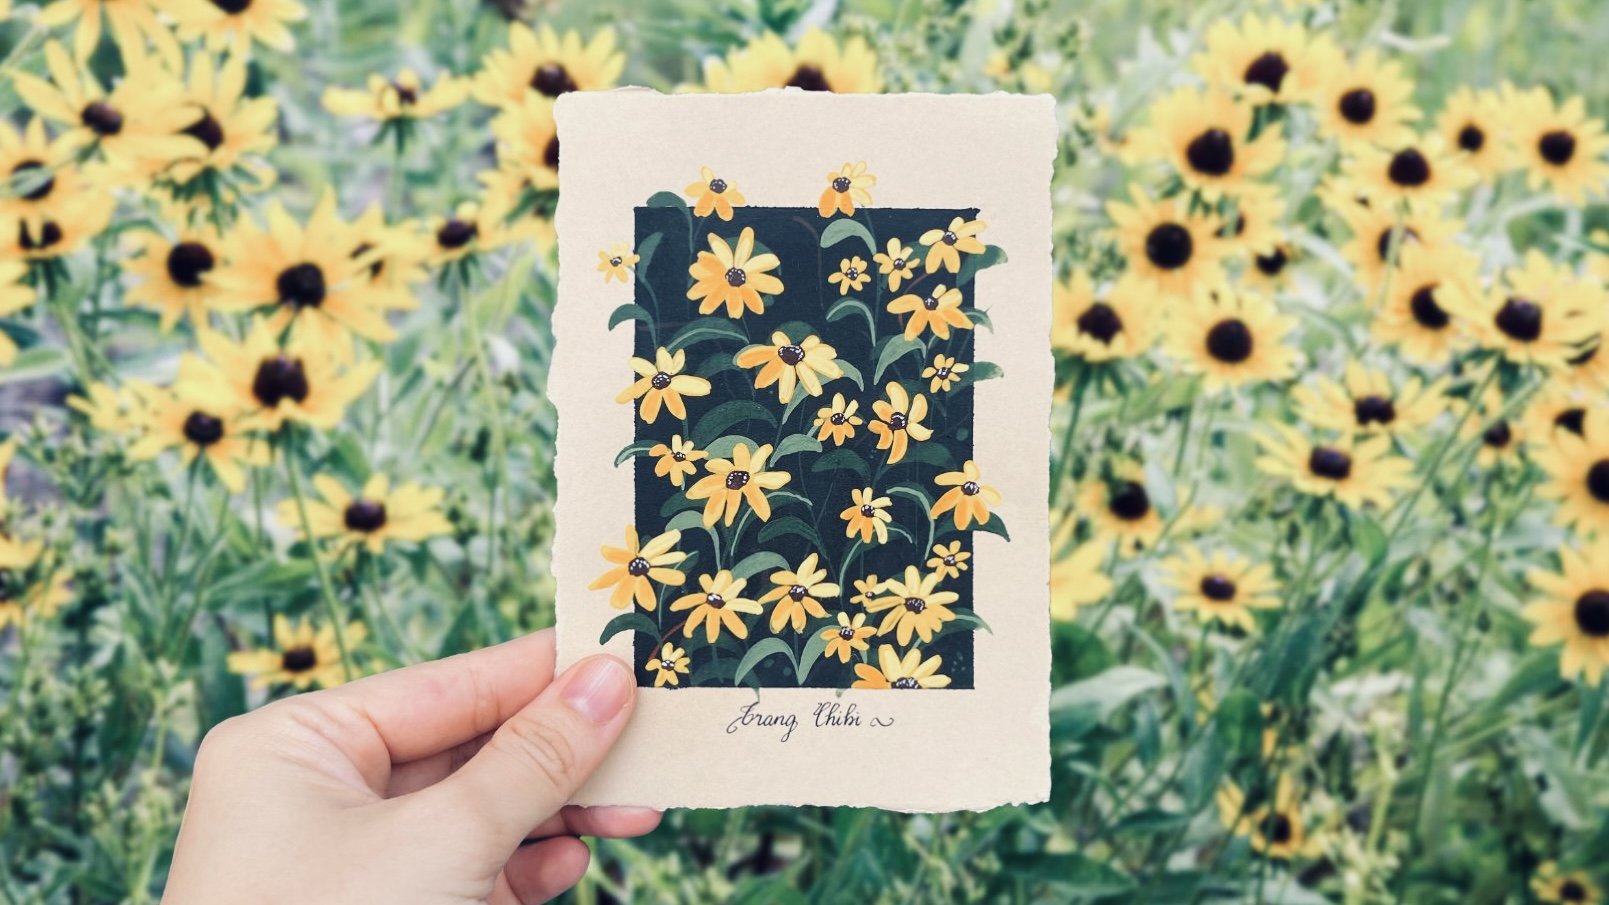
 Trang Chibi ❤️, Watercolor and Gouache Artist