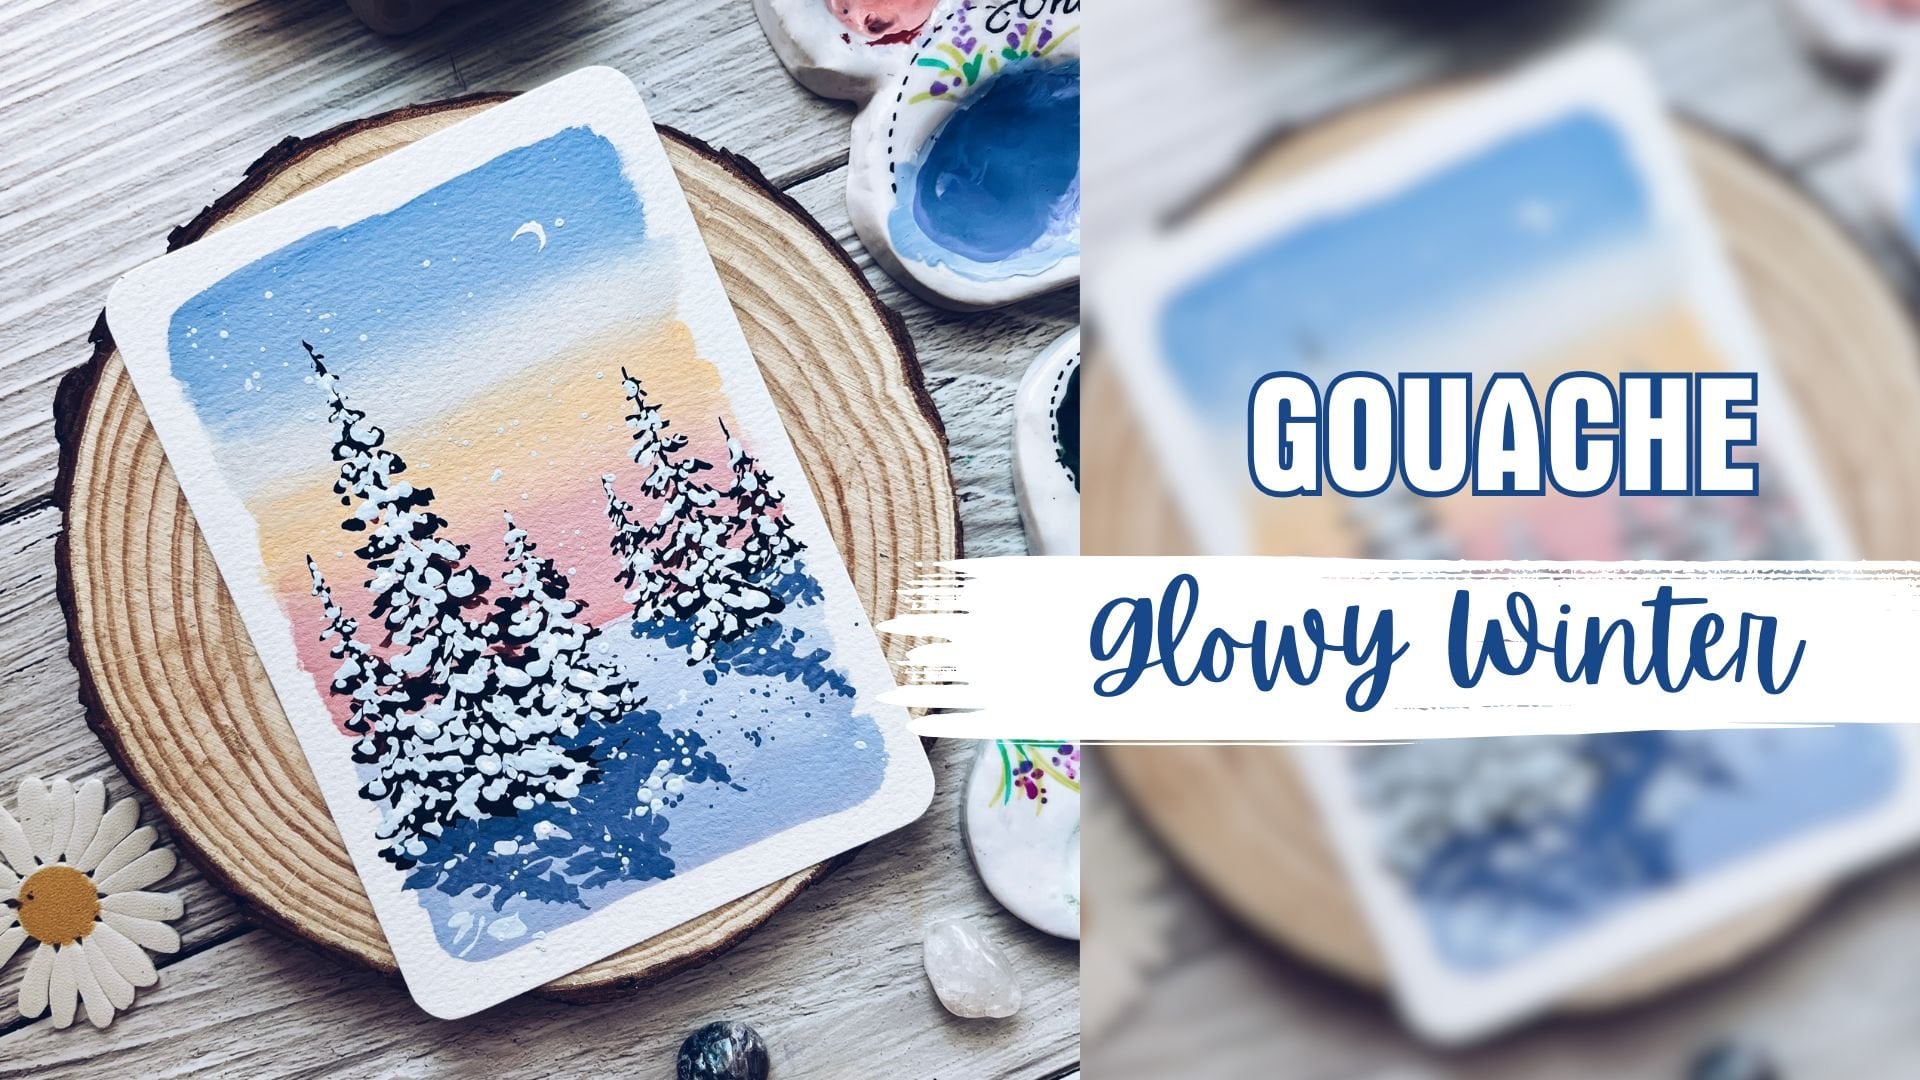
Mini Class: Easy Watercolor Rain & Rainbow Landscape
 Trang Chibi ❤️, Watercolor and Gouache Artist
Watch this class and thousands more
Watch this class and thousands more
Lessons in This Class
-
-
1.
Class Introduction
0:34
-
2.
Tools and Materials
2:01
-
3.
Paint the Background
8:31
-
4.
Final Details and Goodbye
3:34
-
-
- --
- Beginner level
- Intermediate level
- Advanced level
- All levels
Community Generated
The level is determined by a majority opinion of students who have reviewed this class. The teacher's recommendation is shown until at least 5 student responses are collected.
62
Students
6
Projects
About This Class
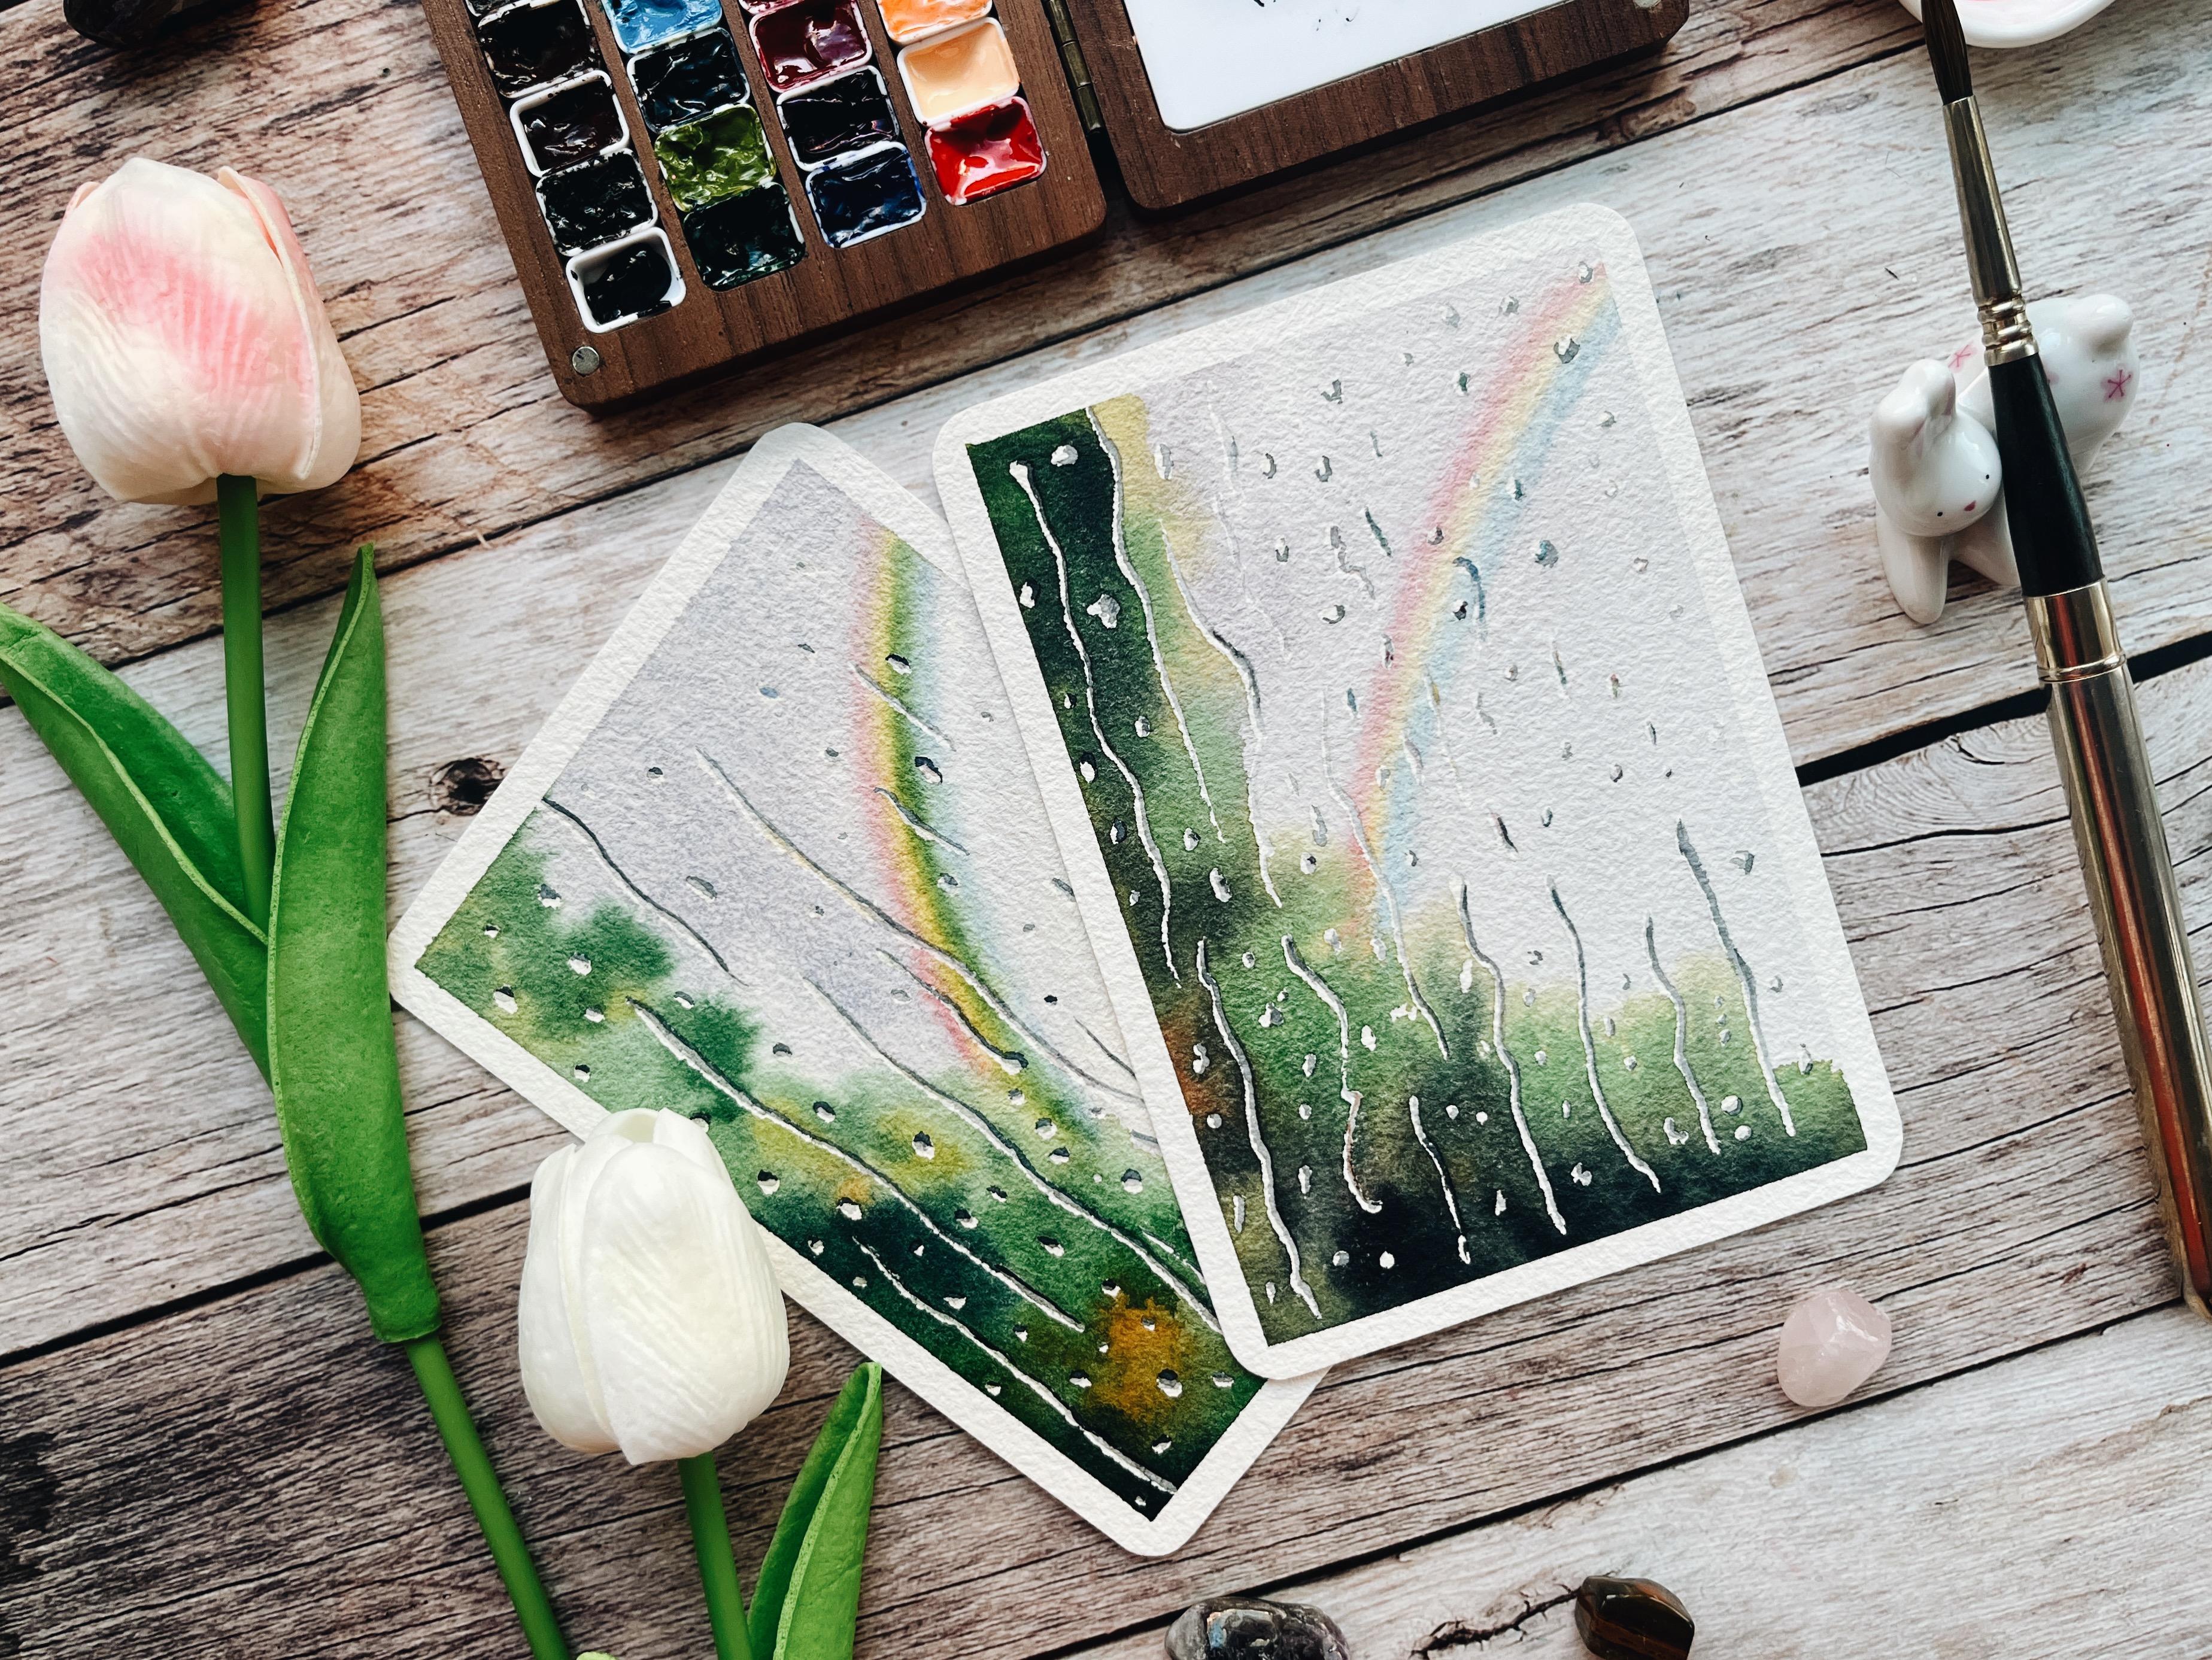
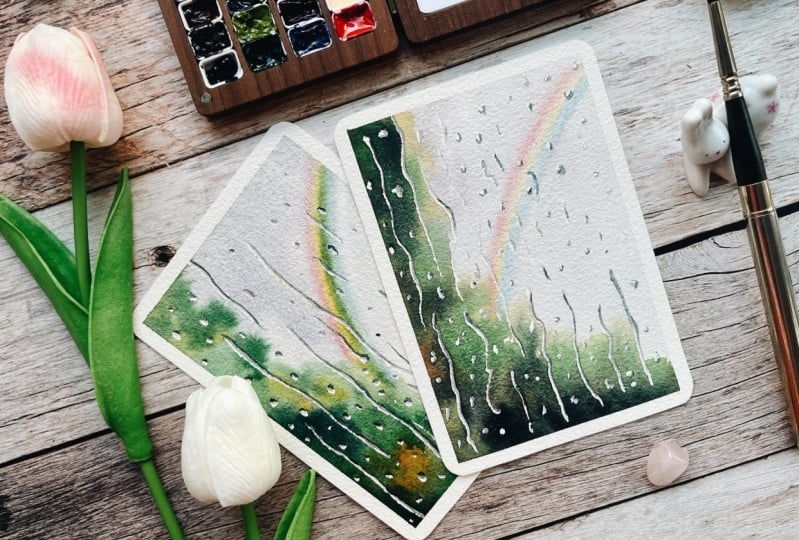
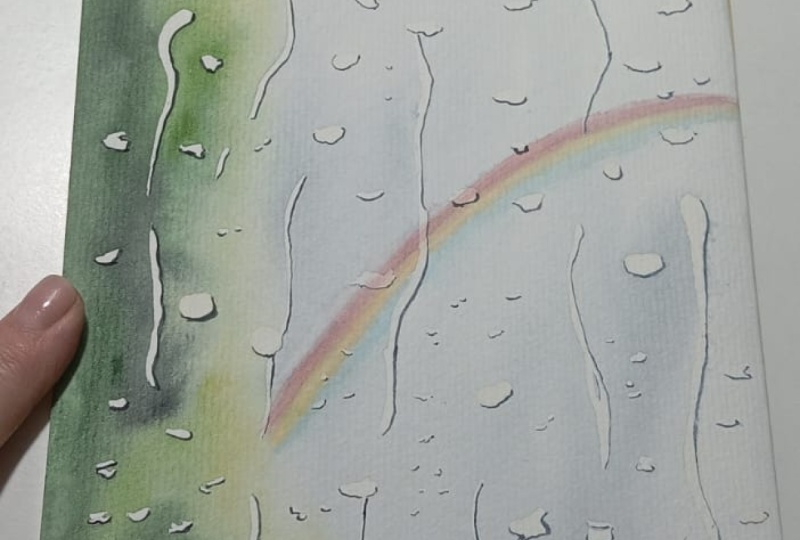
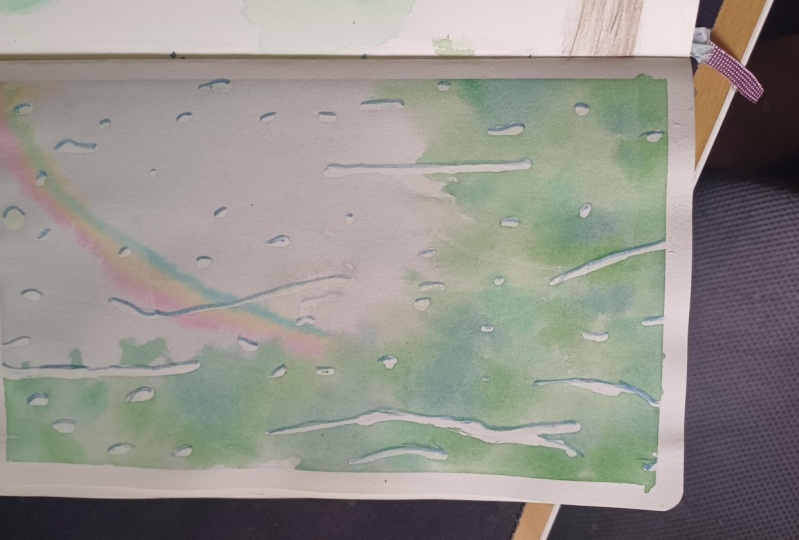
Let’s capture the beauty of a rainy day with a dreamy watercolor scene featuring soft rain, lush greenery, and a delicate rainbow! This mini-class is designed for artists of all levels and focuses on expressive brushwork and simple techniques to bring this peaceful moment to life. The project takes under 30 minutes (excluding drying time), making it a perfect quick and relaxing painting session.
What You Will Learn:
- How to paint a soft, atmospheric rainy sky with a subtle rainbow
- Techniques for blending rich greenery and wet landscapes
- Simple methods to create rain streaks and water droplets for a dynamic effect
- Tips for using masking fluid to enhance raindrops and reflections
Why You Should Take This Class:
- Learn an easy yet effective way to paint rain in watercolor.
- Master beginner-friendly techniques that you can apply to other nature scenes.
- Basic watercolor skills needed—perfect for those who want to enhance their techniques!
- Step-by-step guidance to help you feel confident and inspired.
Who This Class is For:
This class is designed for beginners but is a bit more challenging than my Mini Class: Simple Winter Landscape in Watercolor. If you find yourself struggling with blending or layering, I recommend starting with that class first to build confidence before tackling this rainy scene. It provides a great foundation for mastering soft washes and atmospheric effects.
Materials You’ll Need:
- Watercolors (Blues, greens, Payne’s Gray, and soft rainbow tones)
- Brushes (A mop brush for washes + several round brushes for details)
- Watercolor paper (A6 or similar size)
- Water jar & mixing palette
I use masking fluid for this painting and apply it directly using the tip of the bottle in the tutorial. If you're interested in exploring different tools for applying masking fluid, check out my class 12 Fundamental Watercolor Techniques for Beginners and Beyond, where I have a dedicated lesson covering various application methods.
Join me in this peaceful painting session and let’s bring the magic of a rainy day to life on paper!

Hands-on Class Project
For this project, you’ll create a rainy watercolor scene with a soft rainbow and lush greenery! Whether you’re a beginner or simply looking to explore watercolor rain effects, this project will help you practice blending, layering, and creating atmospheric depth while designing a beautiful postcard-style artwork.
Steps to Complete the Project:
-
Prepare Your Paper – Tape down your watercolor paper to prevent warping. Apply masking fluid to preserve the raindrop areas before painting.
-
Paint the Background – Use soft washes of blue, gray, and green to create a moody, rainy atmosphere. Blend the colors naturally for a misty effect.
-
Add the Rainbow – While the background is still damp, gently introduce soft hues of red, yellow, and blue to create a subtle rainbow. Let it blend softly for a dreamy look.
-
Remove the Masking Fluid – Once the background is completely dry, carefully peel off the masking fluid to reveal the preserved raindrops.
-
Enhance the Rain Effects – Use a fine brush to refine the raindrop shapes if needed, adding slight shadows or reflections to create depth and movement.
What to Upload:
Share a photo of your finished painting in the Project Gallery! Feel free to include:
- A full view of your artwork
- Close-up shots of your favorite details (rain effects, color blends, or the rainbow!)
Why Share Your Project?
Uploading your project allows you to receive feedback, connect with other students, and inspire creativity within the community. Plus, it’s always exciting to see how everyone interprets the same theme in their unique style! I’ll be here to cheer you on and offer support as you complete your artwork.
Let’s embrace the rain and bring this peaceful scene to life—can’t wait to see your creations!

Class Ratings
Why Join Skillshare?
Take award-winning Skillshare Original Classes
Each class has short lessons, hands-on projects
Your membership supports Skillshare teachers
Learn From Anywhere
Take classes on the go with the Skillshare app. Stream or download to watch on the plane, the subway, or wherever you learn best.