Transcripts
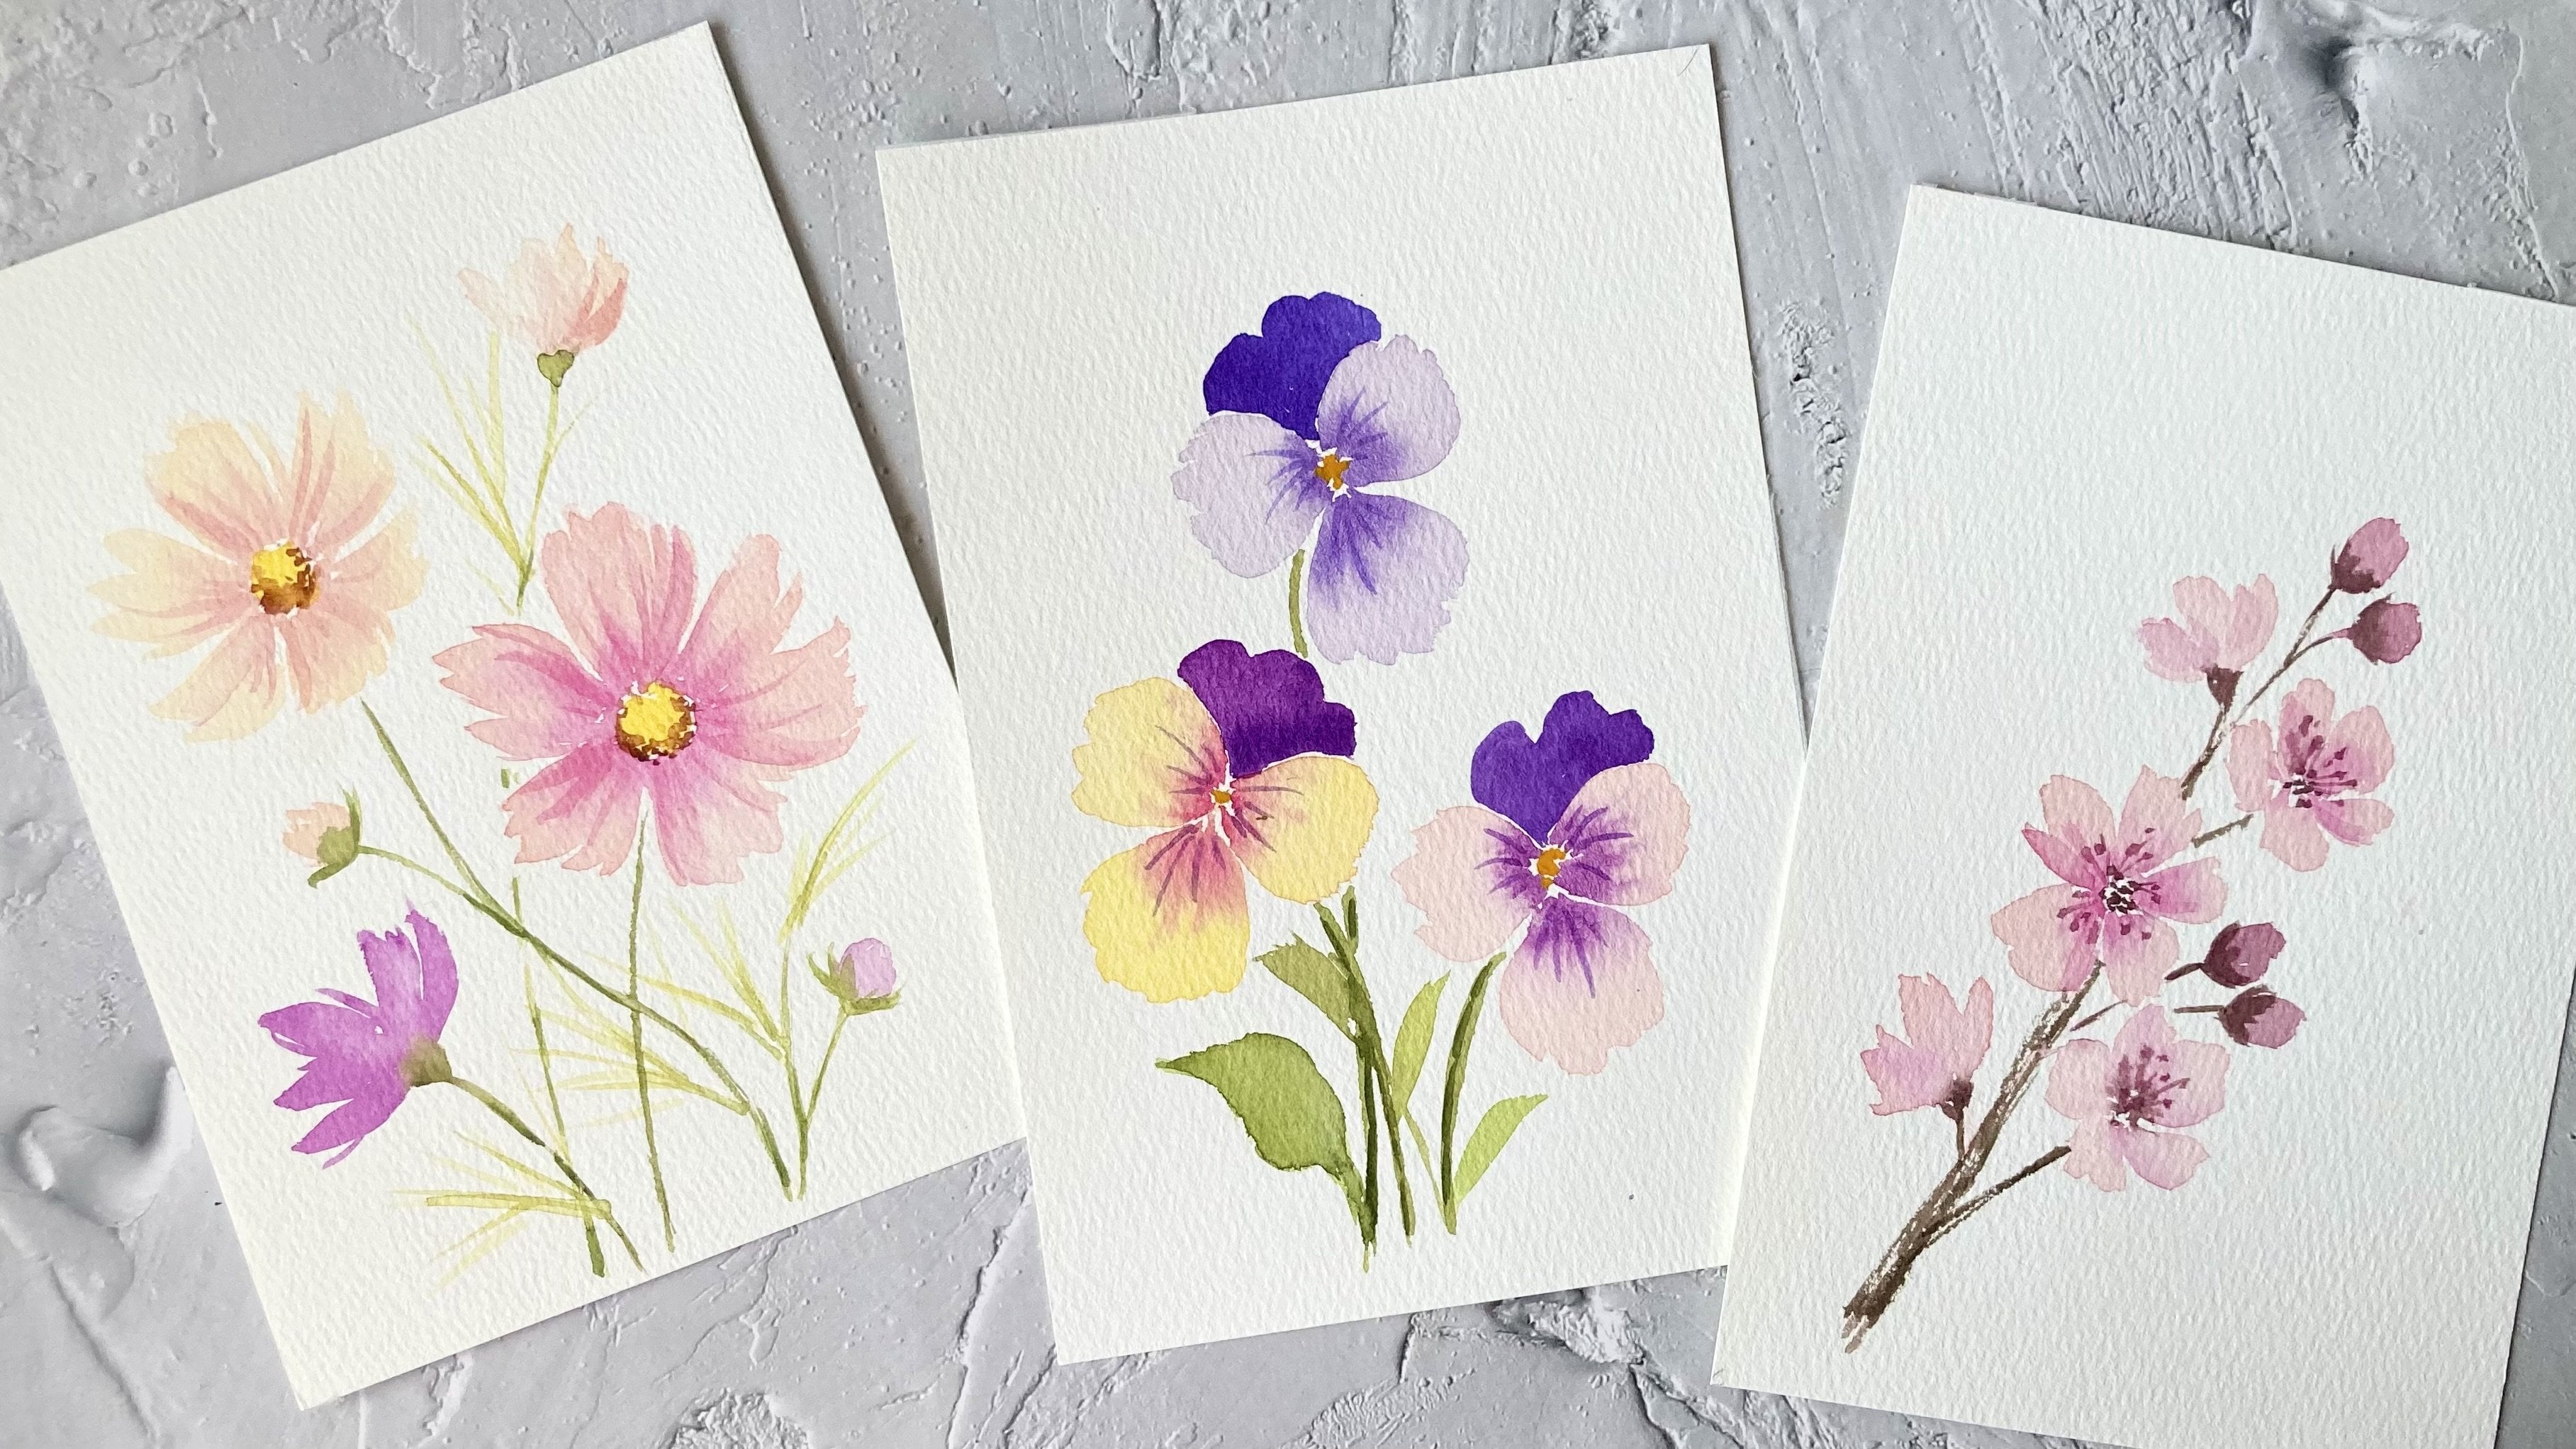
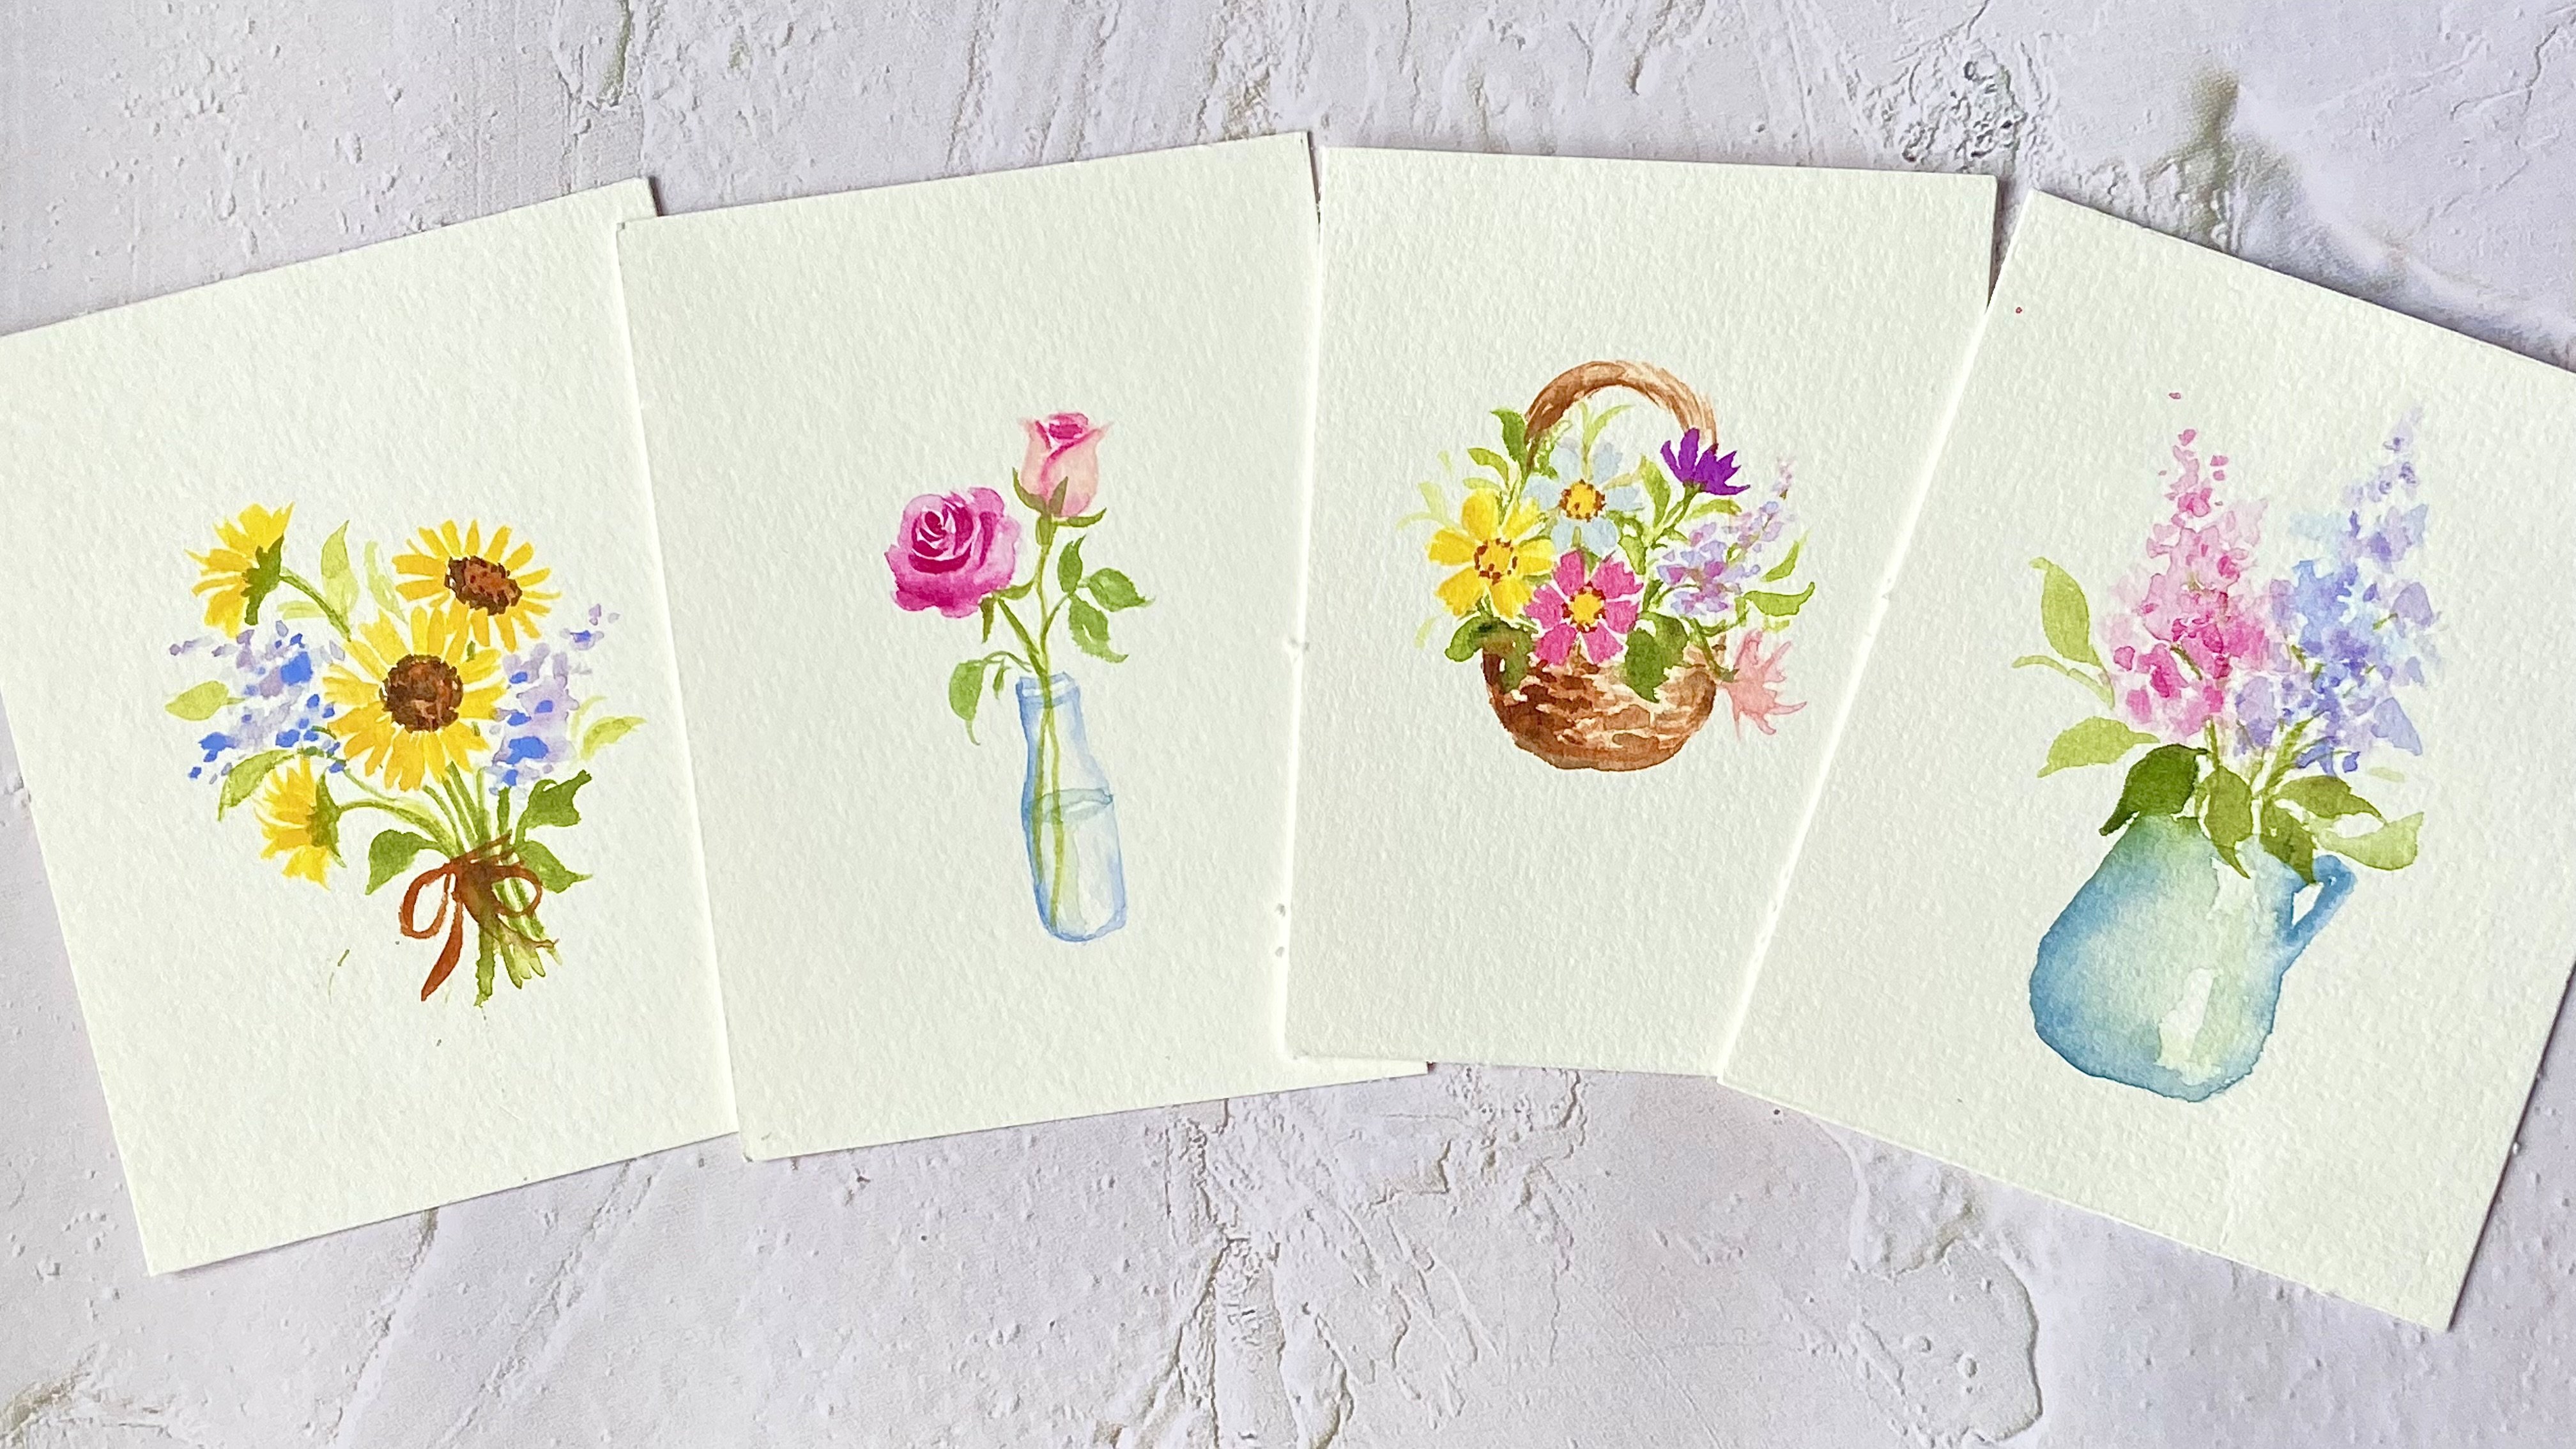
1. About This Class: In this short session,
we'll be painting these lovely sunflowers using simple
watercolor techniques. I'll guide you
through the process to help bring your
sunflowers to life, giving them depth and dimension
without looking flat, so they feel vibrant
and full of character. By the end of this class, you will have a better
understanding of how to create natural and dynamic
looking sunflowers. So grab your brushes
and let's dive in.
2. Supplies Needed For This Class: Before we begin, let's quickly go over the
materials you need. I'll be using this Bao
Hong Academy 100% cotton, co press watercolor
paper in 300 GSM. This is roughly the size
of an A four sheet. For our sunflower painting, I'll be cutting it in half
to create an A five size. For best results,
I recommend using a cotton based paper or at least one that is
partially cotton. You can also use a lighter
weight paper like a 200 GSM. Now, if you don't
have any cotton paper but still want to join in, can use whatever watercolor
paper you have on hand. Just keep in mind that
your results may vary, especially with the
wet on wet technique, as this technique works
best on cotton paper. Now, for brushes, we'll use medium sized
round brushes for most of our painting and
smaller ones for finer details. For the medium brushes, I'll be using a size eight
and size six round brush from silver black velvet and also
this alter size two brush, which is similar in size to this size six silver
black velvet brush. For finer details, I'll be
using a size two round brush, but you can also use a size one. So feel free to use any
brushes you have on hand. Next, you need a palette or
plate for mixing colors, some paper towels to block excess paint and moisture
from your brush, and some clean
water for rinsing. And you will, of course,
need watercolor paints. I'll walk you through the
specific colors you'll be using in a sunflower
painting lesson.
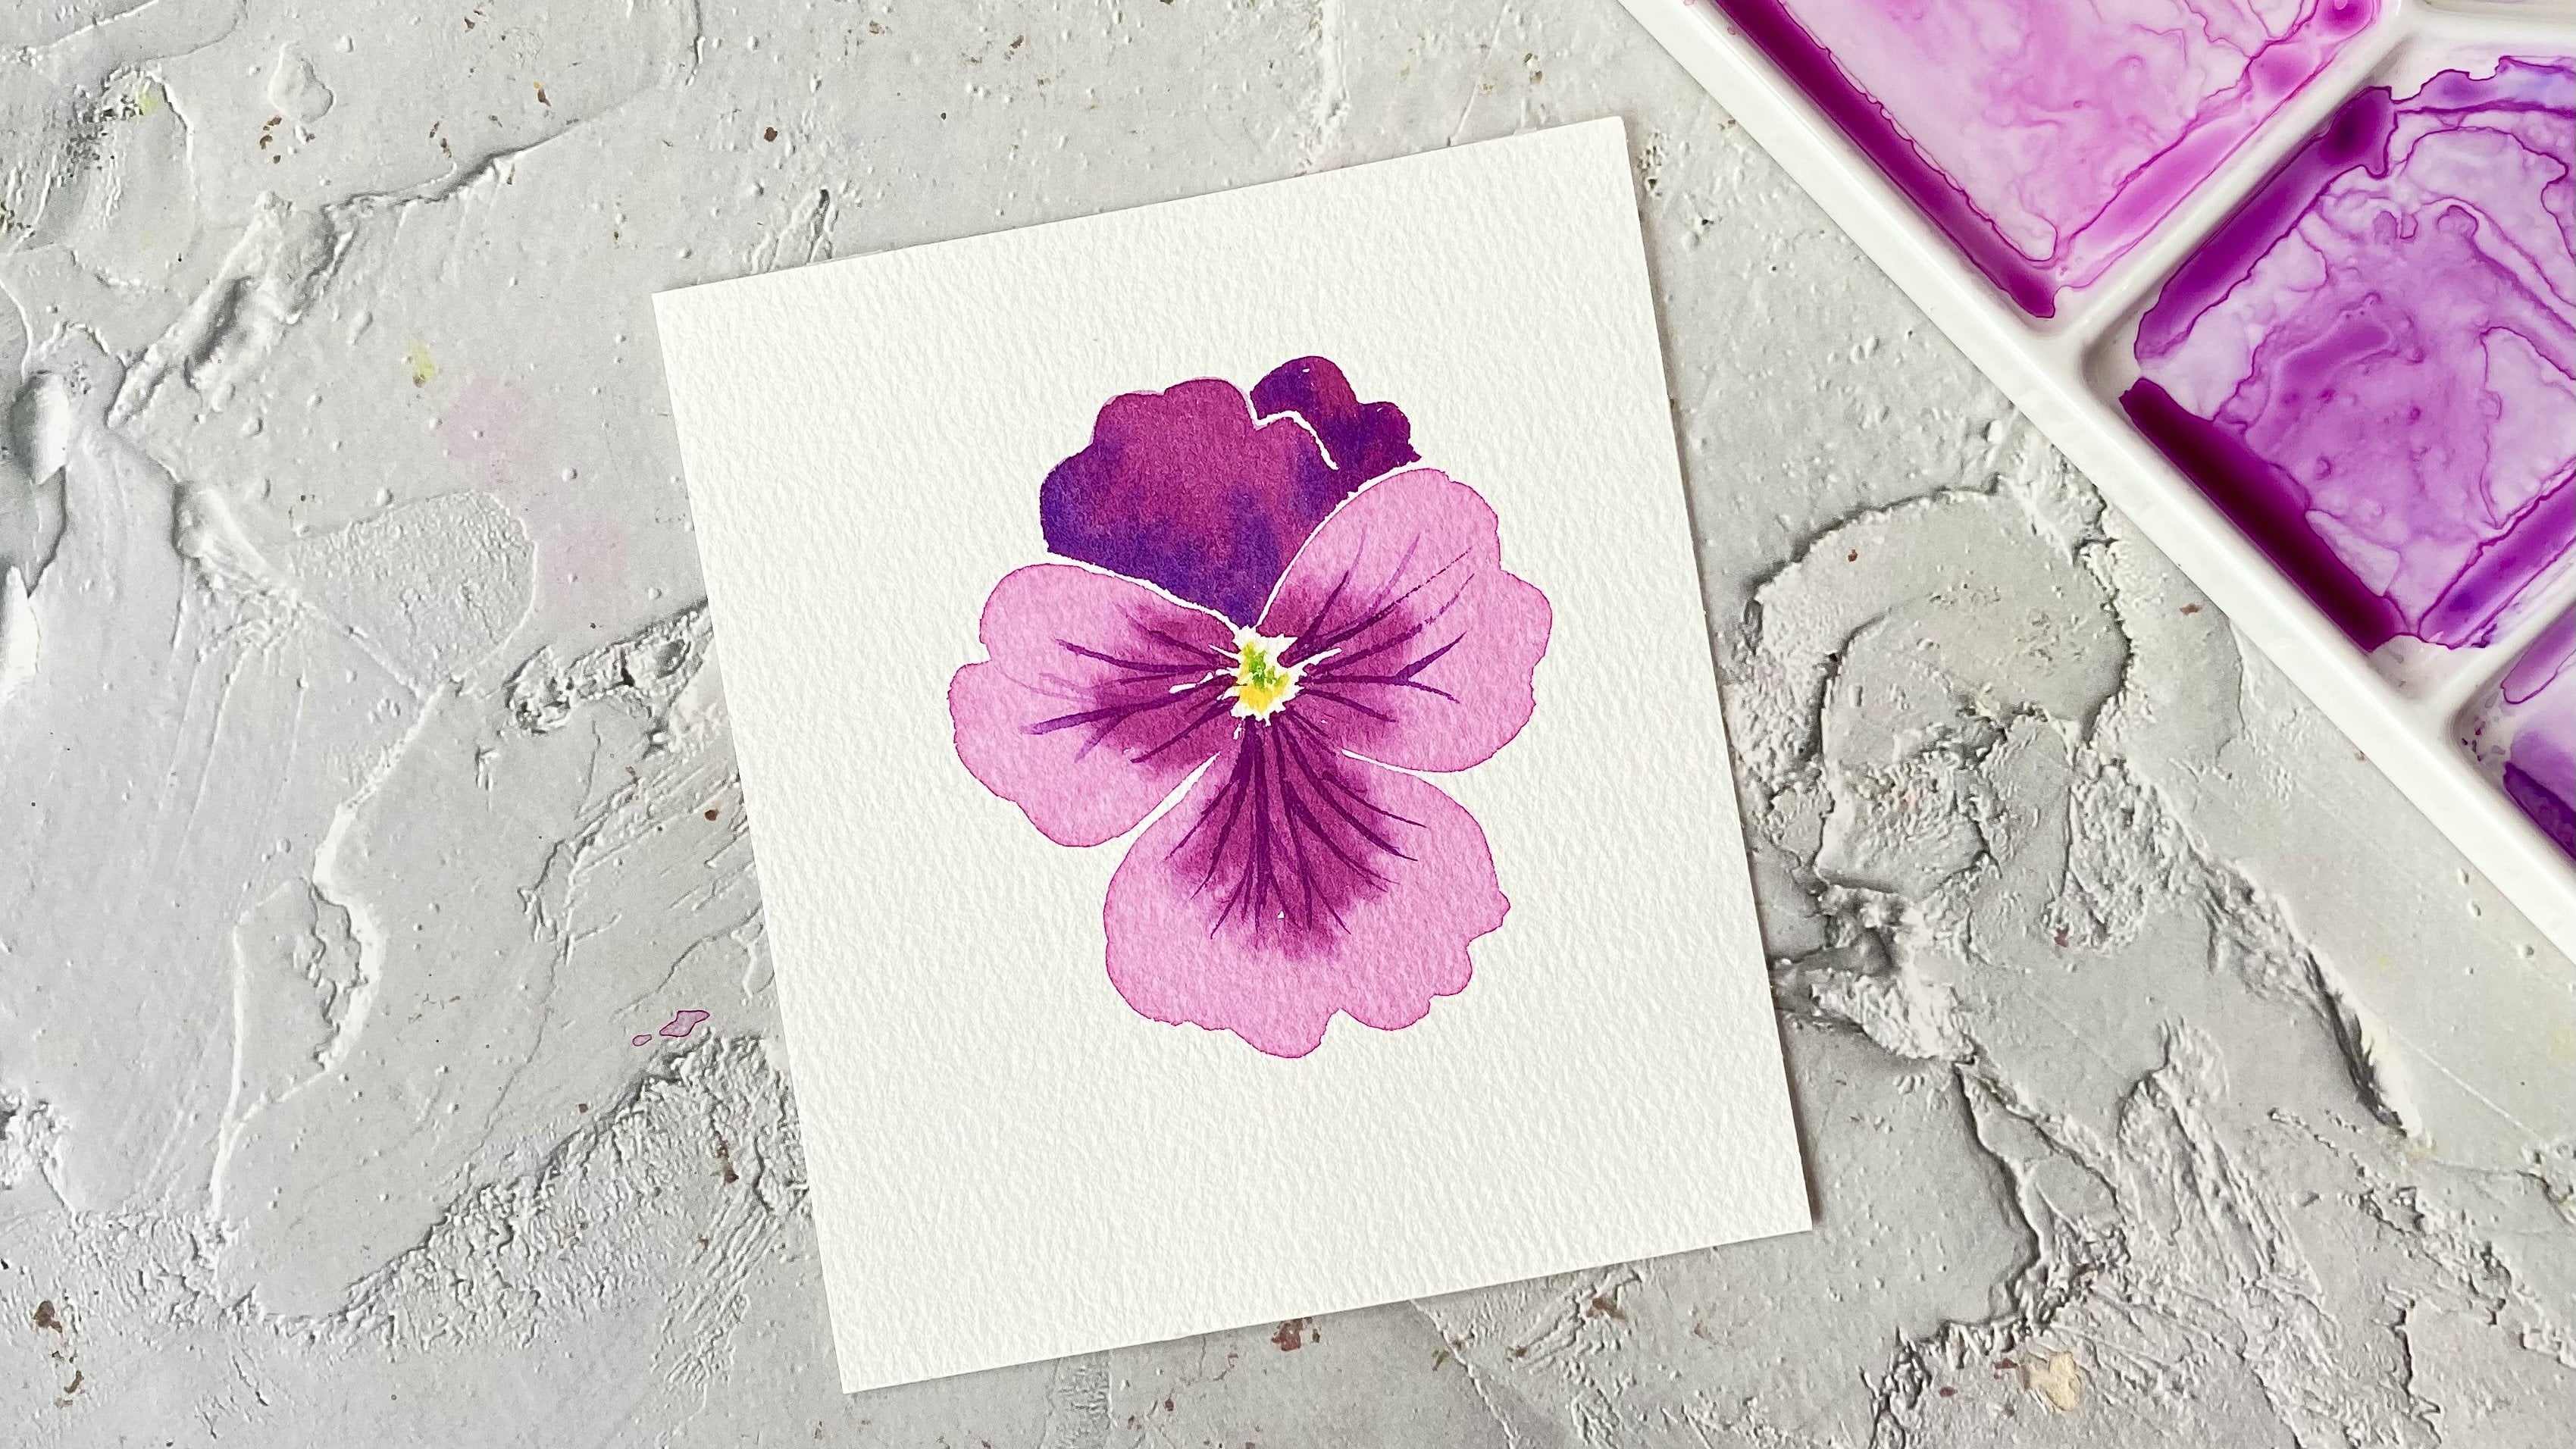
3. Before We Begin : Watercolor Techniques You Will Use: In this class, we'll be using two main techniques to
paint our sunflower. The first technique is
the wet on wet technique. So this involves applying wet paint onto a pre
wet area or damp paper, allowing the colors
to spread and blend smoothly without creating
any harsh edges. So here, I've painted
a sunflower center, and then I'm going to drop in some sepia while the
paper is still wet, allowing the color to spread and blend smoothly
without harsh edges. When using the wet
on wet technique, the thickness of your paint
mixture plays a key role. The more diluted
the pain mixture, the more it spreads, while a thicker pain mixture
stays more controlled. So now I'm going to drop
in a thicker mix of sepia. And you can see that
it doesn't spread as much as our previous mixture. So by adjusting the consistency, we can control how
much the color flows and spreads
on the wet surface. Ticker mixtures will
stay more concentrated, while diluted mixtures will
flow and blend more freely. So we'll use this
technique to add beautiful color variation
to the flower center, as well as to create depth
dimension and textures. Next, we'll use the
polling technique. This involves dragging
out paint from a wet area to introduce
color variation. For example, when the brown sunflower center is still wet, we can pull out some of the brown pigments as we
paint our yellow petals. Allowing the brown to blend naturally into the
yellow petals, creating a seamless
transition of color, as well as adding some color
variation to the petals. Now, it's important to
note that we can only pull pigments from areas
that are still wet, so to keep the center wet
for the pulling technique, you can either add more paint to the center to
prolong its wetness, or you can continue
painting the petals and drop in more paint
into the center as you go, keeping it wet enough for the color to blend
into the petals. Alright, so we'll be using these two techniques to paint our sunflowers in
the next lesson. Now, if you would like a
more in depth lesson on watercolor techniques and brush strokes for
painting sunflowers, do check out my other class
on painting sunflowers. In that class, I go into greater detail on watercolor
techniques and show you how to use your
brush to create different brush strokes for painting sunflowers and leaves. You also learn how to paint sunflowers from
different perspectives. This class complements what
you're learning here and will help you further develop
your watercolor skills.
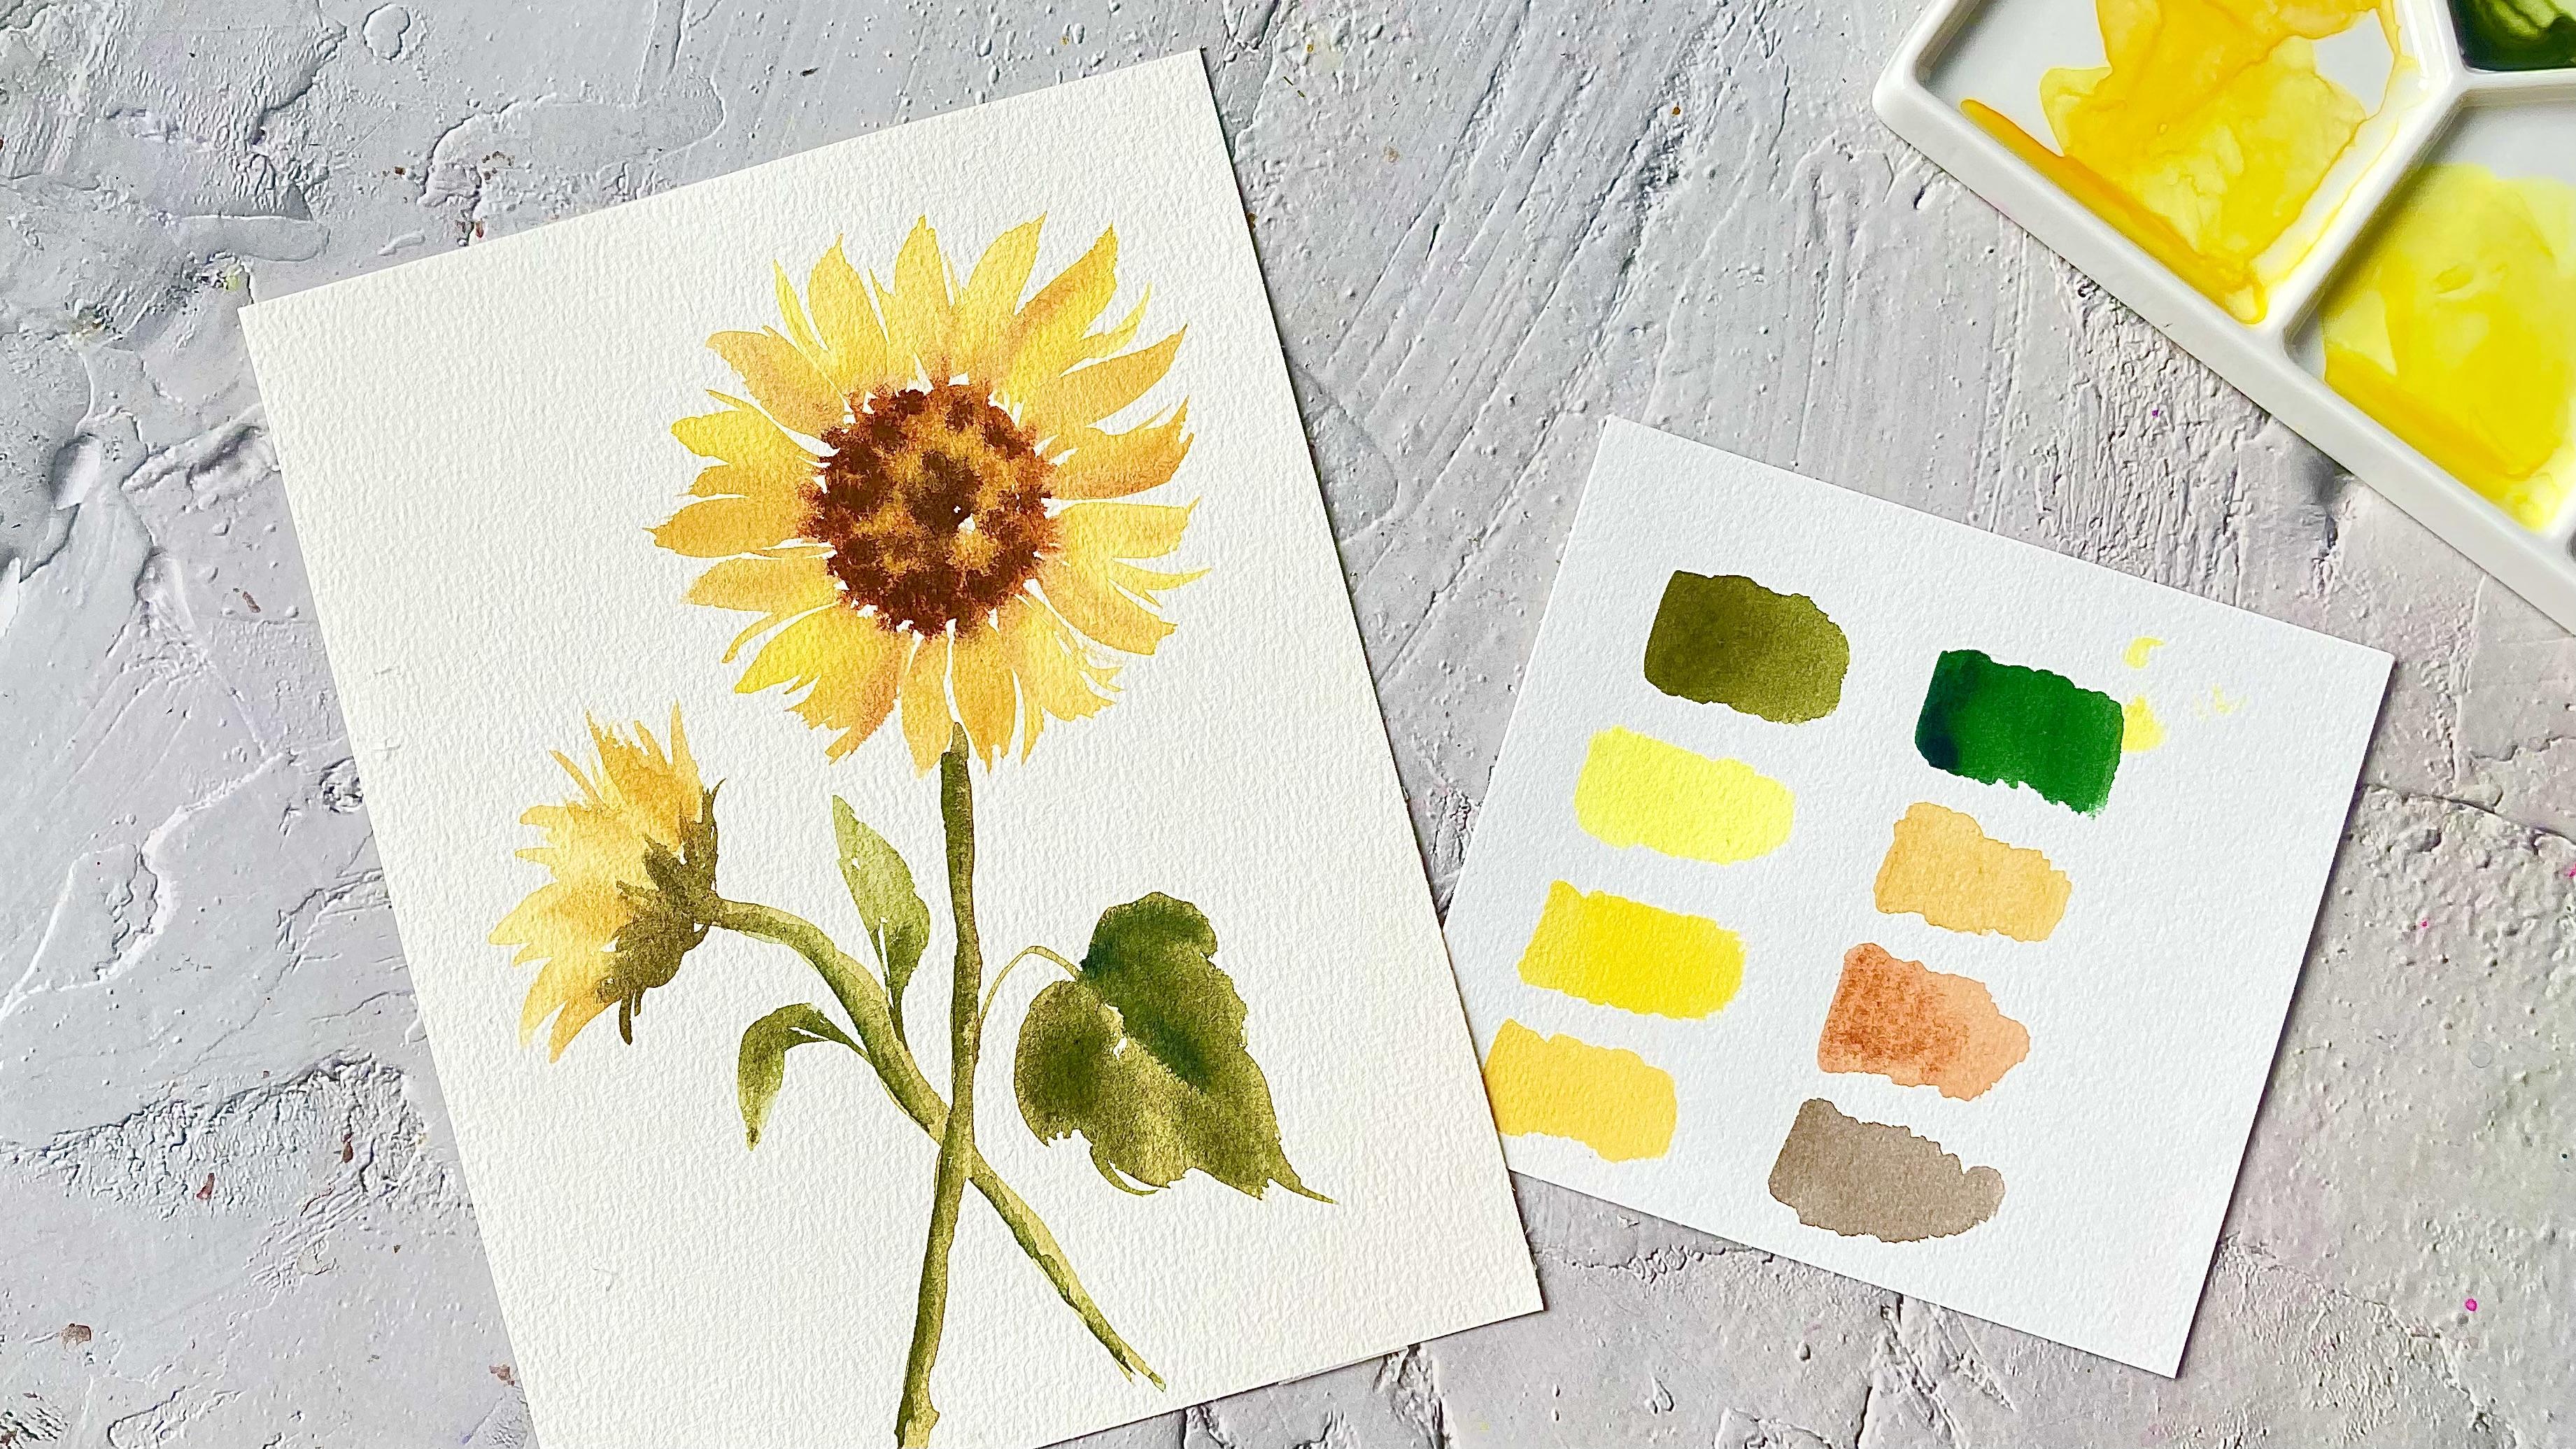
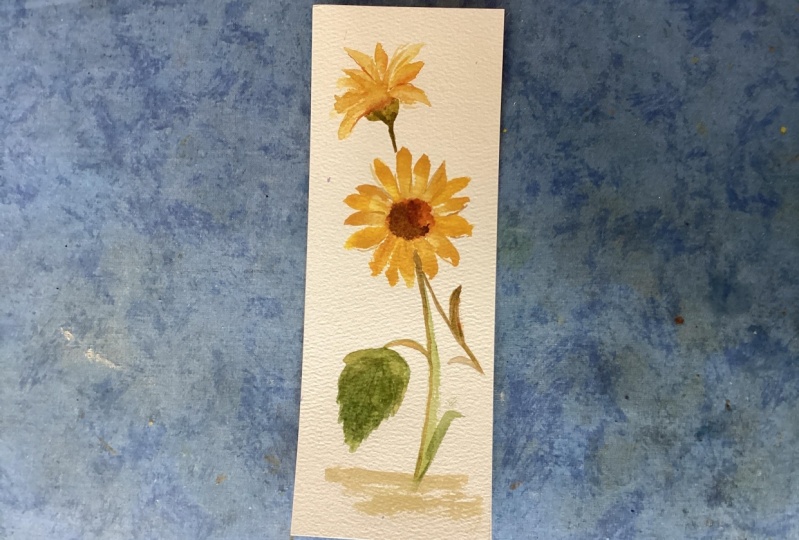
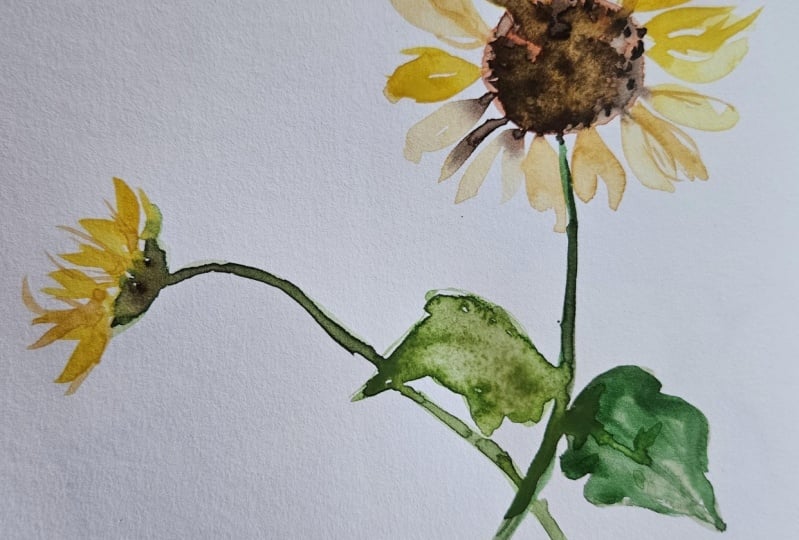
4. Painting The Sunflowers: We are going to paint these
beautiful sunflowers. I'll be using the
following colors, but feel free to use any similar colors if you
don't have these exact ones. Now for the petals, I'll be using primary yellow, permanent yellow deep
and yellow ochre. We'll also be using yellow
ochre for the flower center, along with sambn
sienna and sepia. For the leaves, I'll be
using green earth as my lighter green and shadow
green as my darker green. Now, you can use any
greens you have. Just make sure you have a
lighter and darker shade to create depth and contrast. Alright, let's start
with our flower center. I'm going to start with
some yellow ochre. And I'll drop in a bit more pin to make sure it
stays wet longer. Now, while this
center is still wet, I'll drop in some
Bn sienna along the edges and let it blend
with the base layer. I'll also add a little
more towards the middle. So here I'm using the wet on wet technique to create some subtle shading
in the flower center. This adds depth and texture, making the center look
more dimensional. All right. Now let's
move on to the petals. We'll be using primary yellow, permanent yellow deep,
and yellow ochre. Now, feel free to start
with any color you like. The idea is to mix it up so that the petals have three
different yellow tones. I'll be using permanent yellow deep and yellow
ochre for most of the petals with primary
yellow for just a few. But you're free to decide
how to use each color. I've also painted
some thin strokes between the petals to
give them a wispy look. This adds a sense of
movement to the petals. So by using three
different yellow tones, we can create depth and
a more natural look capturing how light and shadow
vary across each petal. This also helps prevent the
flower from looking flat. Now, since the
center is still wet, we can pull some of that color into the petals as we paint. This further adds color
variation in the petals. I now since the
center is still wet, I'll drop some
burnt sienna along the edges and lightly
tap some in the middle. This will allow the color
to blend naturally, creating some soft shadows that will add depth
and dimension. Then with my sized toothbrush, I'll add some subtle shadows on the petals by adding a few delicate strokes
here and there. Now for this step, the petals can either be dry
or slightly damp. Both will give a nice effect. Alright, now let's
darken the center with a bit of sepia to add contrast. I'm just lightly dabbing
my brush on the paper, making sure to leave some
areas of Burnsiena visible. This helps retain
those warm tones, making the center look more
interesting and dynamic. Now, let's paint the stem. I'll start with my lighter
green, which is green earth. And I'll make the
stem a bit thicker. Next, we'll paint a side
view sunflower on the left, letting the stem overlap
with our first sunflower. We'll vary the yellow tones for the petals using
the same colours from our first sunflower. Now, feel free to start
with any colors you prefer. I'll start with yellow ochre and then transition to my
other yellow tones. A and for the shadows, I'll use a thicker mix of
yellow ochre and burnt sienna. Okay, now let's add the saples. Since the petals are
still a bit wet, I'll use a thicker
mix of green to prevent it from spreading
all over the petals. If you want more defined sepals, you can wait until the petals are completely dry
before adding them. Next, I'll add some
shadows to both stems by applying some shadow green
on the left to create that now let's add some leaves
to our sunflowers. We'll keep it simple
with just a few leaves. I'll start with a larger
leaf on our first sunflower. Here I'm using green earth
to create a heart like shape by combining
several brush strokes until I get the desired shape. And while this
layer is still wet, I'll add a darker
green to create shadows to create
dimension and interest. Lastly, I'll paint
two smaller leaves on the side view sunflower. Alright, now that the
side flower is dry, I'll add some defined samples to give the flower
a finished touch. Okay, so that wraps up our
lesson on painting sunflowers. I hope you had fun and
enjoyed the process. I would love to see how
your sunflowers turn out, so feel free to share them
in the project gallery. If you found this class helpful, I'd really appreciate it if
you could leave a review. It will help others
discover the class and support me in creating
more lessons for you. Thank you and happy painting.
 Lisa Lam, Watercolor Artist