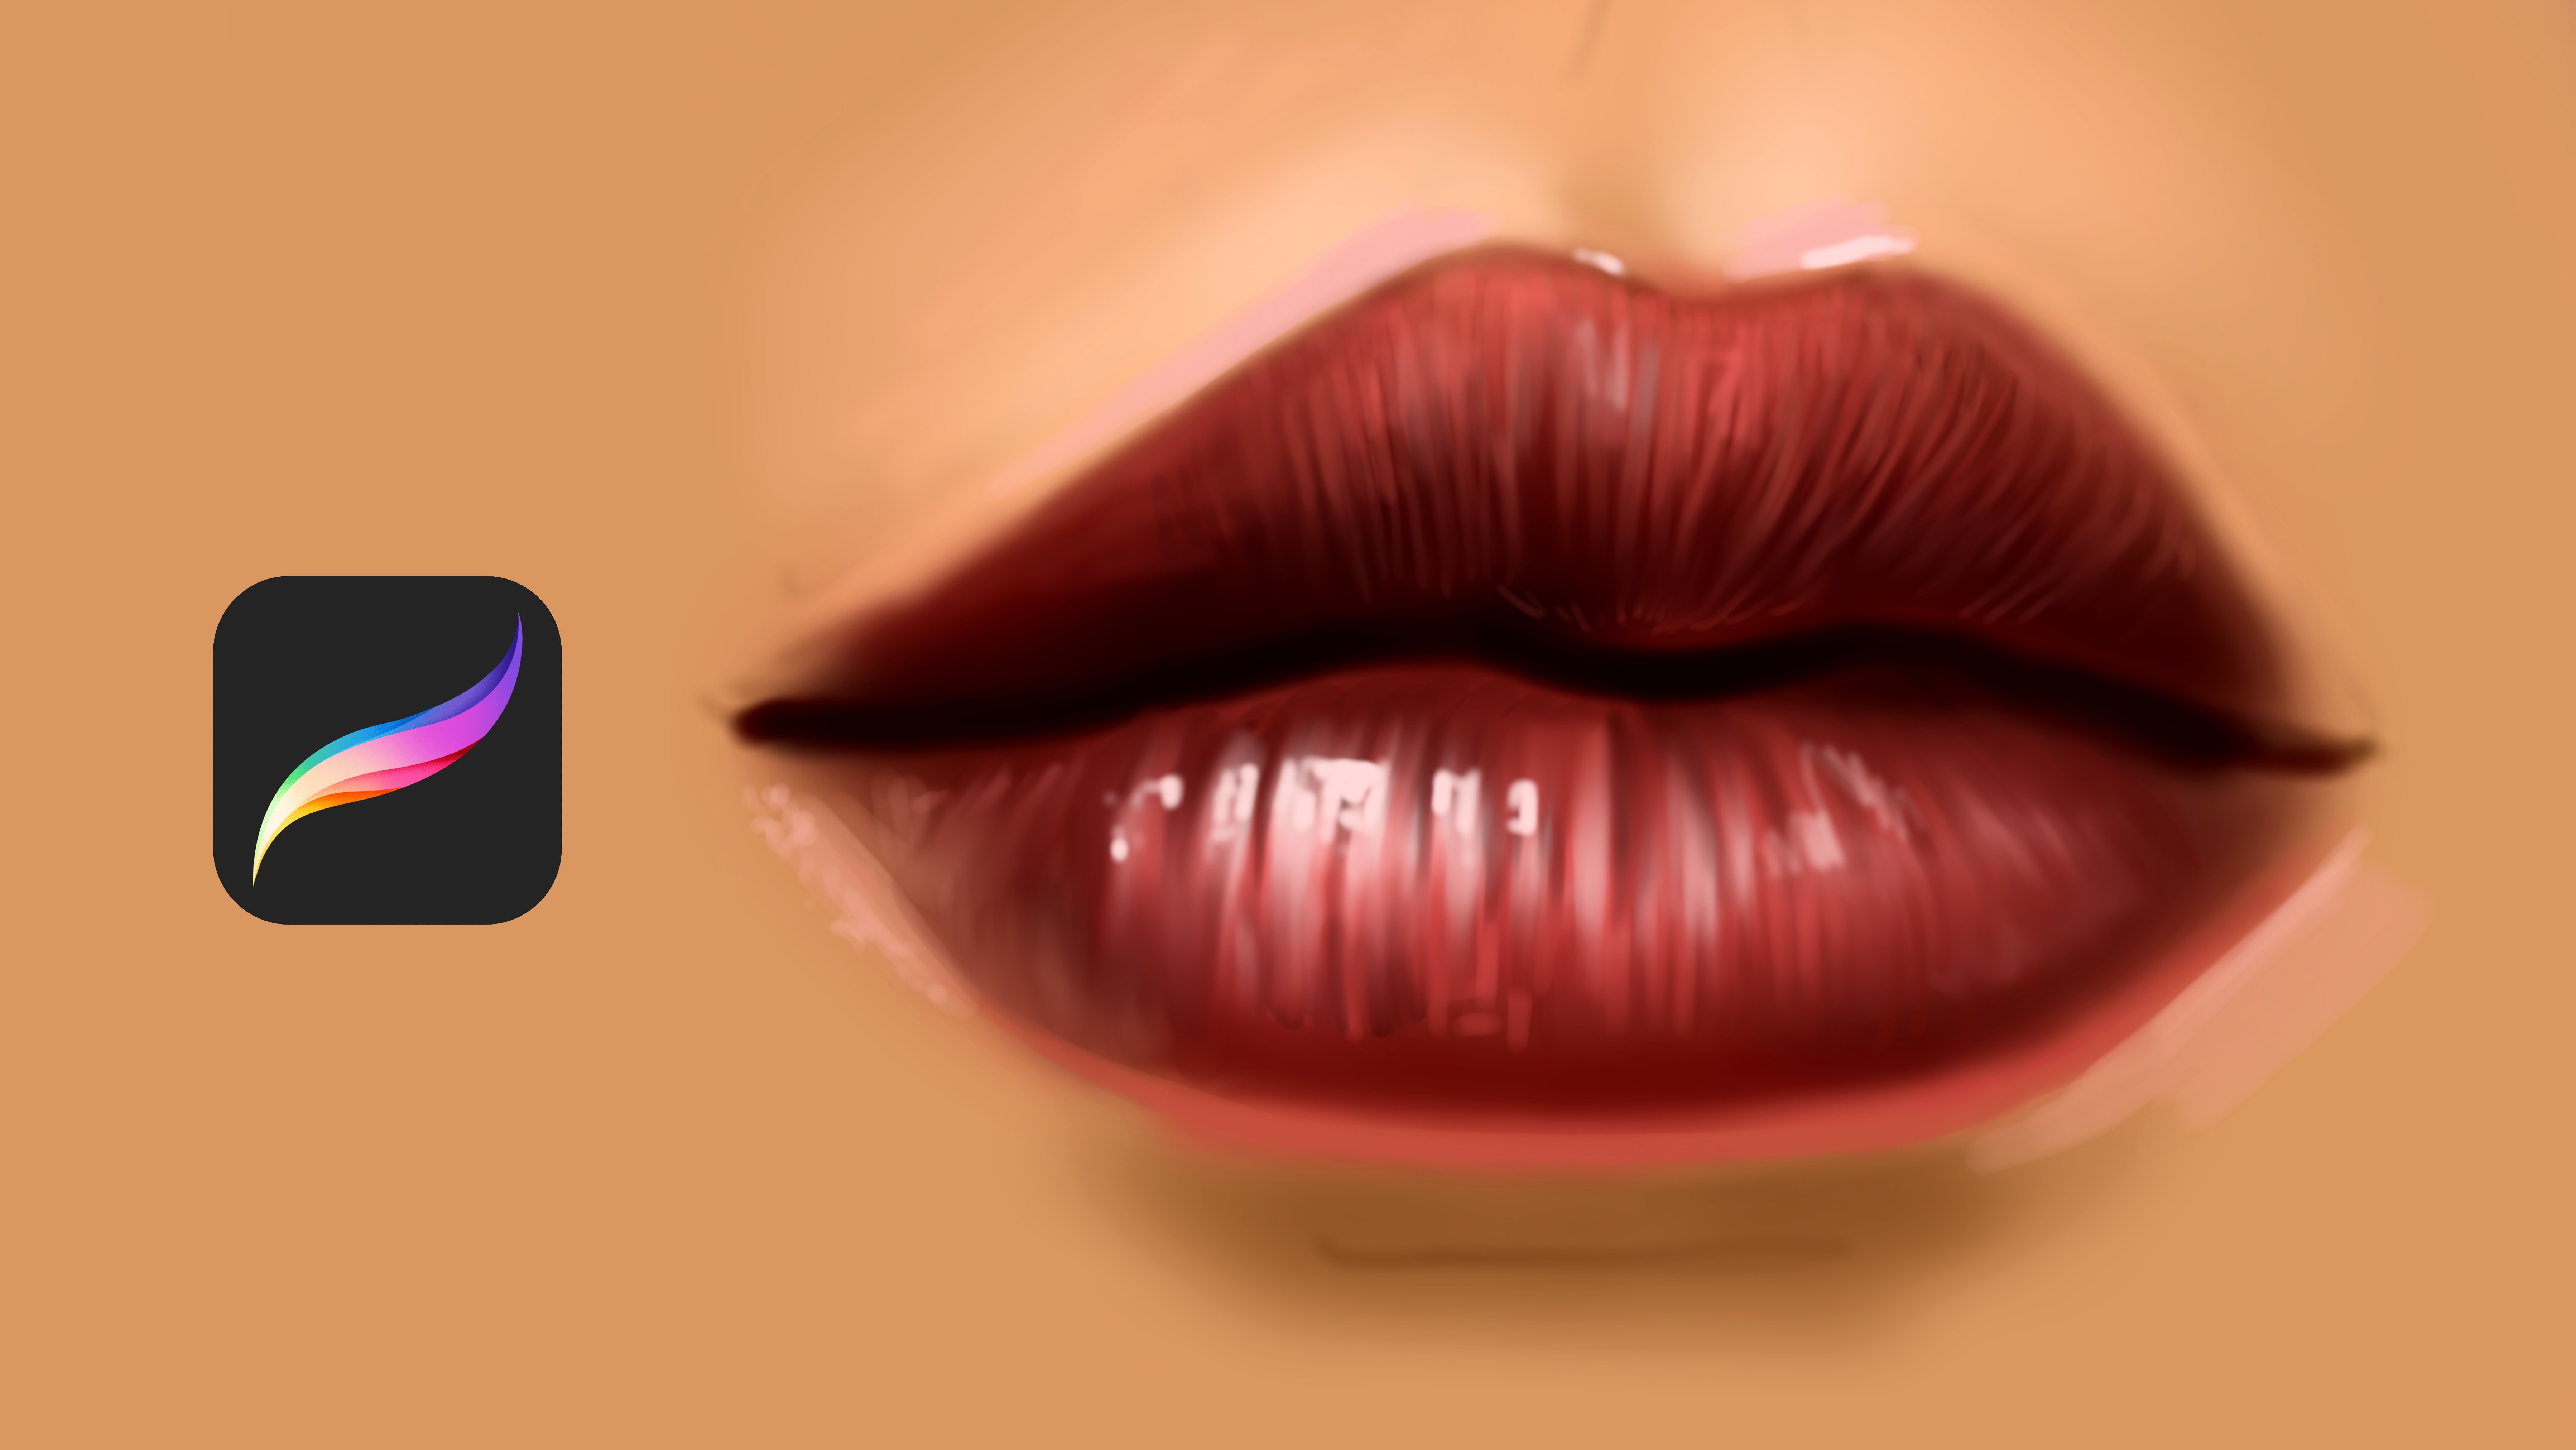
Transcripts
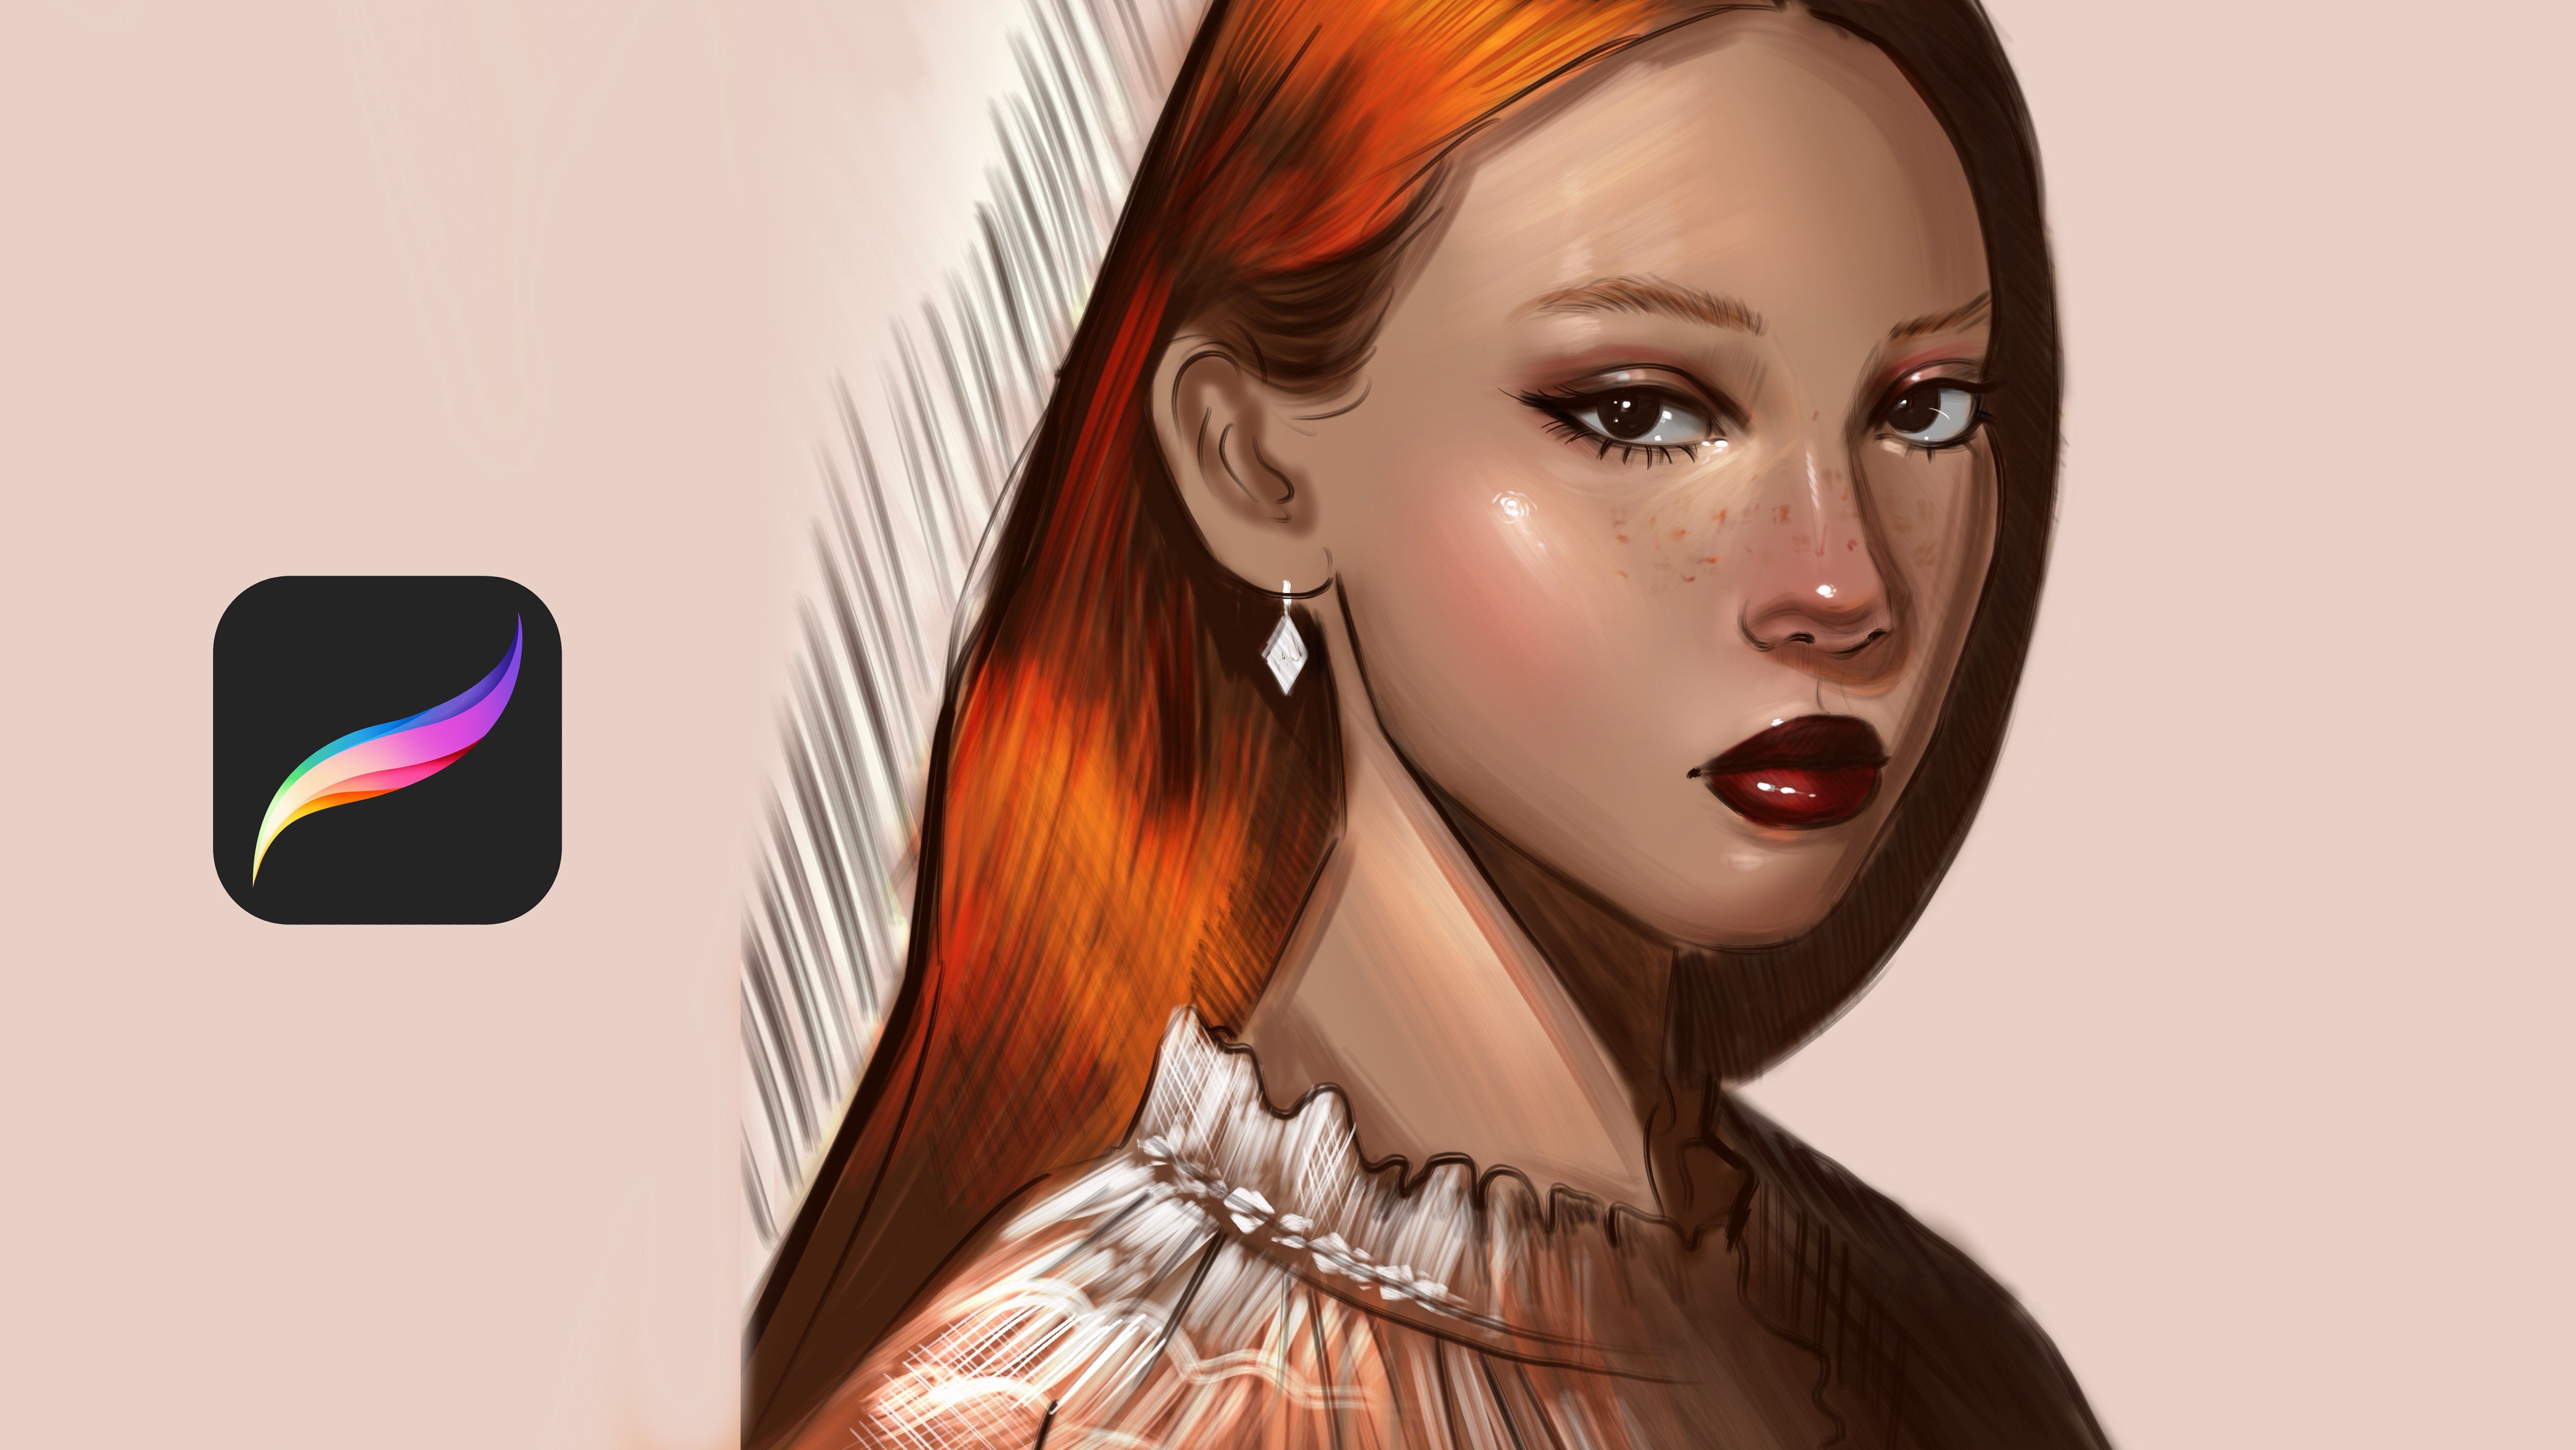
1. Introduction: Hi, everyone, and welcome back to my portrait
coloring class. In this part, we are
going to deeper into coloring process in procrad and focus on bringing our
portraits to life. We will explore how
to build up skintons, deep and dimensions, and refine the tails that make portrait more realistic and expressive. Whether you followed
the first time in procreate or professional. Don't worry. I will
guide you step by step. You can easily follow along. By the end of this session, you will have the better
understanding of color layering, blending techniques,
and creating really expressive,
polished final portrait. So grab your tablet
and let's get started.
2. How to Paint Objects I: Welcome. And this time, we will paint different
kind of textures, and I will paint liquid
honey texture here. I will start with the dark shape and will make the
corners much more darker and combine it with
really vibrant brush and these parts is much more
lighter and you can put really small liquid effects here for make the illustration
much more detailed. And let's paint it here
different kind of textures. Let's paint ice and icicle. At first, I paint the shape of the icicle like this. And I need to put some light effects here. And here Yeah. And we'll put some lights here. And it is looking
great right now. And let's continue from here
and let's paint some cherry. And I will make this part really darker and put
to light it here. And we'll put some
extra light here. And Yeah, like this. But we need really
dark colors here. For example, it starts
from here like this. And let's put to
this shape here like this and put some light and Yeah. Hope you enjoy this
part and I will close this layer and we
open another new layer. And this time, I will paint like glass and coal in it. For example, I will paint
the glass like this, and these corners
will be like this. Then I will select a
really darker color for putting the cola in here, and it will have some
color shifts like this. At some parts, it is much more visible and some
parts it is really darker especially these parts
and basically like this. And you can put the
corners of glass for stop the visible corners just like this and like this.
And like this. Yeah, like this. And you have air
particles like this or give it a really great effect because it's sparks like this. And let's continue. This time, I will think about it, what we can paint. Let's paint fire. I will start with the
simple shape of fire. By the way, I'm changing the size of brush
while I'm painting it like this and like this. At the middle of this part, it will be much more visible. Here, like this. Yeah, like this. And the middle
point will be much more darker. Just like this. And let's start painting
different thing here. And let's paint a bubble
like water bubble. I paint the background and
light source, just like this. And another light source here. And we need to put some colors in it because it is but really vibrant and have some
different kind of colors in it for making it so expressive. And let's start making
different kind of thing. And let's paint. I'm thinking what we can paint. I will paint this
green texture here, and I will turn it to the like really great game with the highlights and shadows. This part is darker
comes like this and comes like this. Yeah.
3. How to Paint Objects II: And let's paint a ring. I will select the base
shape of the ring, and we'll paint here and we'll put the shadows
here and highlights. And these corners will
be much more light. And you can put
extra lights here, for example, like this, like glowing effect, or you can even put diamond in it, too. And let's continue. This time, I will paint Daisy. Always think the basics first. For example, I didn't
rush into nothing, and I built the base shape
of the illustration. And with these minimal details, I put here, here, here, here and here. I define everything and put the details of it
just like this. And let's paint different
kind of things. I opened another new
layer, and this time, I will paint like
bowl like this, but really reflective bowl. So it will have the
light shift here, for example, like this. And these corners will
be like shift fish eye. We will see the wall area
in it with the shift. For example, we
have windows here, but we see in this bowl. So it becomes really,
really, really reflective. And for example, if there is a green green here, and maybe even some
different kind of colors. You will see everything here
because it is reflective. And let's continue. This time, I will paint v. I started again with
the base colors of le and adding the really
necessary details of it. Just like this. Yeah, like this. And I will use really
light color here, maybe much more
dark here and here. And much more
yellowish color here. Yeah. And let's continue. This time, I will paint I will paint one shape like this. Like it is cloth, and we'll add some
lights here and here and here and really
dark colors at the corners. For example, this part and
this part and this part. Yeah. And we'll add extra lights here, here, maybe here, here and here. Hope you enjoy, and
I will continue by creating one lava here. At first, I will start with the dark colors.
Let's make it here. And zoom in, then at these
color parts of the lava and some red colors just like this and paint the top
of the lava because it is fluid and it comes at its corners
and follow every path. So after it, you need to
select the darker tones here, just like this and like this. And here, like this. And this part. Yeah. And I will add
much more light effects here under this lava to make it much more
look much more hot. And I can use some
orange tones here. Yeah, just like this. And see you in the next part.
4. How to Detail Objects I: Welcome again. At this part, we will paint the different
objects together. Let's start from the hair. And for hair, you just need to define the base colors
again, just like this. Then after defining it, you need to make
the how it flows. Like, it is fluid, not every single part
have the same color. So some parts of it is darker, just like this, and some
parts of it is lightish. And we'll add some
textures here, just like this, and these
parts will come like this. Yeah. And this parts will
be much more lighter. And I will use much
more yellow color here, like this and we'll mix the colors here and here. Yeah. And I will add some
extra lights here. And here. You can use directly maybe different kind of brush for
creating much more easy hair, and it will look
much more fluent, like it's not so in
order, so like this. And let's start by making
different kind of objects. This time, I will paint wood. At first, I paint the
background of it. Then select the darker
tone and we'll make these waves after it, select lighter colors and apply over here, just like this. With this method, you can create really great texture
for the wood, just like this, maybe this part will be
much more lighter. Yeah, let's continue. This time, let's paint the major head. At first, I'm painting the base color of the
head, just like this. And after it, you can put the shadows of it
just like this. Some parts are bigger and
some parts are darker and have really great of light
here for defining the shape. Yeah, just like this. And
maybe much more lights here. And let's continue by creating
different kind of objects. And this time, I will
paint the water drop. I will start with the shape. Maybe I can be much
more like this. And at some point, you need to use really
vibrant color here. And some extra lights
here and here and here. And here. And another line
here, just like this. I hope you enjoy this
process, and let's continue. This time, I will paint
let me think pepper. I will start with the shape of it just like this and we'll
put the shadows of it. Let's zoom in here. Yeah, and we'll put some extra color here. Yep. And the head is here. We'll make it much more light here and
we'll finish this part. Hope you enjoy this part, and let's open
another new layer. And this time, we will
paint some let me think. Let's paint Let's paint
yellow thing like this. And let's make it a fur and I will make it much
more dark dark red here, and I will start making the fur from here and we follow
the pad just like this, following this pad and creating lines
depending on the shape. Some of them much more
bigger and some of them much more smaller and
5. How to Details Objects II: Y. After it, you can select
lighter color and zooming then continue starting this shapes. Yep, like this. And it creates
really good amount of detail and for texture. And let's continue. And with the ie layer here, I will paint snow like
snow Snowman hat, maybe. I will apply really cold and really cold
colors here for created. And I will put the ice of it and we put some carrot here, maybe much more orange, just like this, and we'll
make it much more like this. Yeah. Like this. Hope you enjoy this part, and let's come here. This time, I will paint silk
like red silk like this. At first, I painted the
background of the silk, and I will continue by
adding the shadows. Just like this, like
this and like this. And you need to paint
the brand part of it, depending on your
painting situation here, just like this. And it is okay, like this. Hope you enjoy, and I will
open another new part. And this time, we will paint
different kind of objects. I will paint red pepper. I painted the shape
of pepper and some parts of it really
darker, especially the part. And the middle point will be light source,
just like this. And you need to put some extra reflections to it because it have really
reflective surface. And you can use much more dark here for background
it just like this. Yep. And will be green top
of it, just like this. With dark brush. And let's paint lamp. Lamp. Like for example, it have the metal thing at the
first point of it. Just like this, I'm
painting it slowly, and this part's much more lighter This part,
much more lighter. And we will put the
main shape of the lamp. Just like this. Yeah. And we will put light in
it like it is glowing. And it will have really great reflections here and some the light source here. Yep. And let's continue. This part, I will paint a glass particle
like broken glass. Just like this. Yep. And let's paint watermelon. It has some texture like it. If you remember, it
comes like this. And I will make this texture much more
stronger, just like this. Yep. And at some
different points, it has some texture like this. And let's make into it. It is red, but really
dark red here. Yep. And we have really light
parts here, just like this. And we need to put
shadows into it. For example, it's cut from here. But this part has the
maybe a this part, I mean, it has this layer of
the slice and zoom in again, and we need to put the seeds of the watermelon here
just like this. Hope you enjoy this part and
see you in the next videos.
6. Complete Objects: Welcome. In this class, we will focus on textures and we'll paint some
different textures. At first, I use color
drop for my background, and I will start with Apple. And let's zoom here. And I will start with simple
shape just like this. And we'll add some
shadows of apple. It is not perfect circle, so I made these parts much
more darker, just like this. And top of the apple will
be much more like this. And at this part, I will put the entrance point of the head of the
apple like this, and I will paint green the head of the apple. And some parts of it
will be really darker, just like this and like this. Y and like this. You can select a
bit yellow color and put some textures for make your apple much more
realistic because some apples have
these yellow texture around these corners, and let's continue by
doing another example. I will paint strawberry. And for strawberry,
you can start from the base shape of it. It's something similar to this, and we'll put shadows here, and this time, I will put the light
comes from this angle. So you can add juicy details
here just like this. Yeah, like this. And these corners will be like this. And I will put seats in
here, just like this. And this part like this. And don't forget to add the head of the
strawberry like this. But it is different
from the apples, and it is much more
complicated for the headline. For example, like this, and like this and like this. Yeah. I will put really
darker tones for these parts and have the main shape of
it just like this. And this part will
be much more darker. Yeah. And let's continue. This time, I will paint candle. I will start with the
background again. And we'll put some
dark tones because it is not flat and have the dark parts of the candle
and have the light parts. And this corner will be dark, and I will make the rope of it and we'll put shadows here. And let's put the fire
in it, just like this. And the entrance point
will be much more lighter. And these parts will be
much more maybe melting, like, and this main part
will be really darker. Just like this. And put much more light effects here, just like this and like this. Let's continue. I will
continue from this part, and this time, I
will paint the moon. I paint the background, then I will make some dark parts here and will make this part
much more visible. And I will put these
spontaneous thoughts. Yeah, like this. And let's continue. This time, I will paint
the teat like fun. This part will be darker. And I will put some lights
over here and here. Yeah. And let's continue. This time, I will paint diamond. I will start from
the base shape. Always think much more basic
at first part because we need to general look
of the illustration before we put the details in it. For example, I make
this part like this and this part like this, I'm collecting the details. And diamonds have
really hard edge, so we need to define the edge much more
harder than usual. For example, I make this part, much more visible
and certain points, just like this and like this. And maybe light
hair, like glowing. And this time, let's paint some gummy bear like sweet and, you know, haribo and stuff. It is like haribo beer. Like this, like this. I will put the ear of it. And it should have some
light effects, for example, like these parts,
and these parts and this part will be much more visible and
detailed these parts. Yeah, just like this. Hope you enjoy this process. And at the last part, I will add some light
here at the top of it. And for making it much more vibrant and
detailed, just like this. Hope you enjoy this
process and like the tails I made and see
you in the next part.
 Yasar VURDEM, Creative Art Director