Transcripts
1. Introduction: Hi, everyone.
Welcome to my class. I am digital artist
Yasar Vurdem and my professional is digital Illustration and
portrait Illustrations. And in this Procreate class, we will go to step
by step through my process of coloring a
portrait in Procreate. This is color with
me style class, which means you can follow along a real time while I
explain my techniques, color choices, and workload. We will cover how to
build up skin tones, blending soft and
natural and adding deep light and substle
color variations and final touches that
bring portrait to life. This class is perfect for beginners and intermediate
artists who want to improve their digital
coloring skills and feel more confident
working with color. For your class project, you will create my
sketch colored portrait using the sketch, and you can either use your own sketch or
follow along with mine. By the end of this class, you will have better
understanding of how approach
portrait coloring in Procreate and develop
your own style. I'm really excited
to have you here. Let's get started.
2. Painting Base Colors: Welcome. In this class, we will paint this
portrait under sketch. At first, tap
layers icon and tap the new layer and open new layer between
sketch and background. So tap the color wheel and select base color and
apply the base color all around to portrait and
also here because we need some base color
before we start coloring. So I will play with
the hue and make it much more warm
colors here for hue, and I will use
saturated dark color here for the Shadows
of the portrait. At first steps, do not
rush into details. Just try to paint the base colors just like this and define where
the light comes from. For example, in my painting, light comes from the left top. So I will continue to adding details all over these planes. So you need to add and increase the detail level for make your illustration
much more realistic. So adding shadows
and highlights makes your painting much more
interesting and realistic. For example, I will paint
with the same color here. And I will go to the colors, and I will make my color much
more vibrant and light up. And I will apply here
for give the light. With this technique, you can increase the lights
of your portrait. For example, it is
same for the skin. Go to colors and give brains
and light brains and light. And at some point, we need really brand
lights, for example, over the nose, and these parts need much
more brand colors. So we need some extra
colors all around to skin. For example, zoom
into the nose and give a little bit
shadow light here. Maybe you can make it much
more smaller to make it much more interesting
especially this area. And this area and this area for make the painting
much more interesting, especially this
area will be much more interesting
with these lights and make the shadows
much more higher here, especially at this area
and under nose and
3. Detailing Render: At this part, I will
put the shadows to the nose and ears. And for dress, I will use this color because it is looking really
great with this tone, but I will make it
much more darker. And especially at
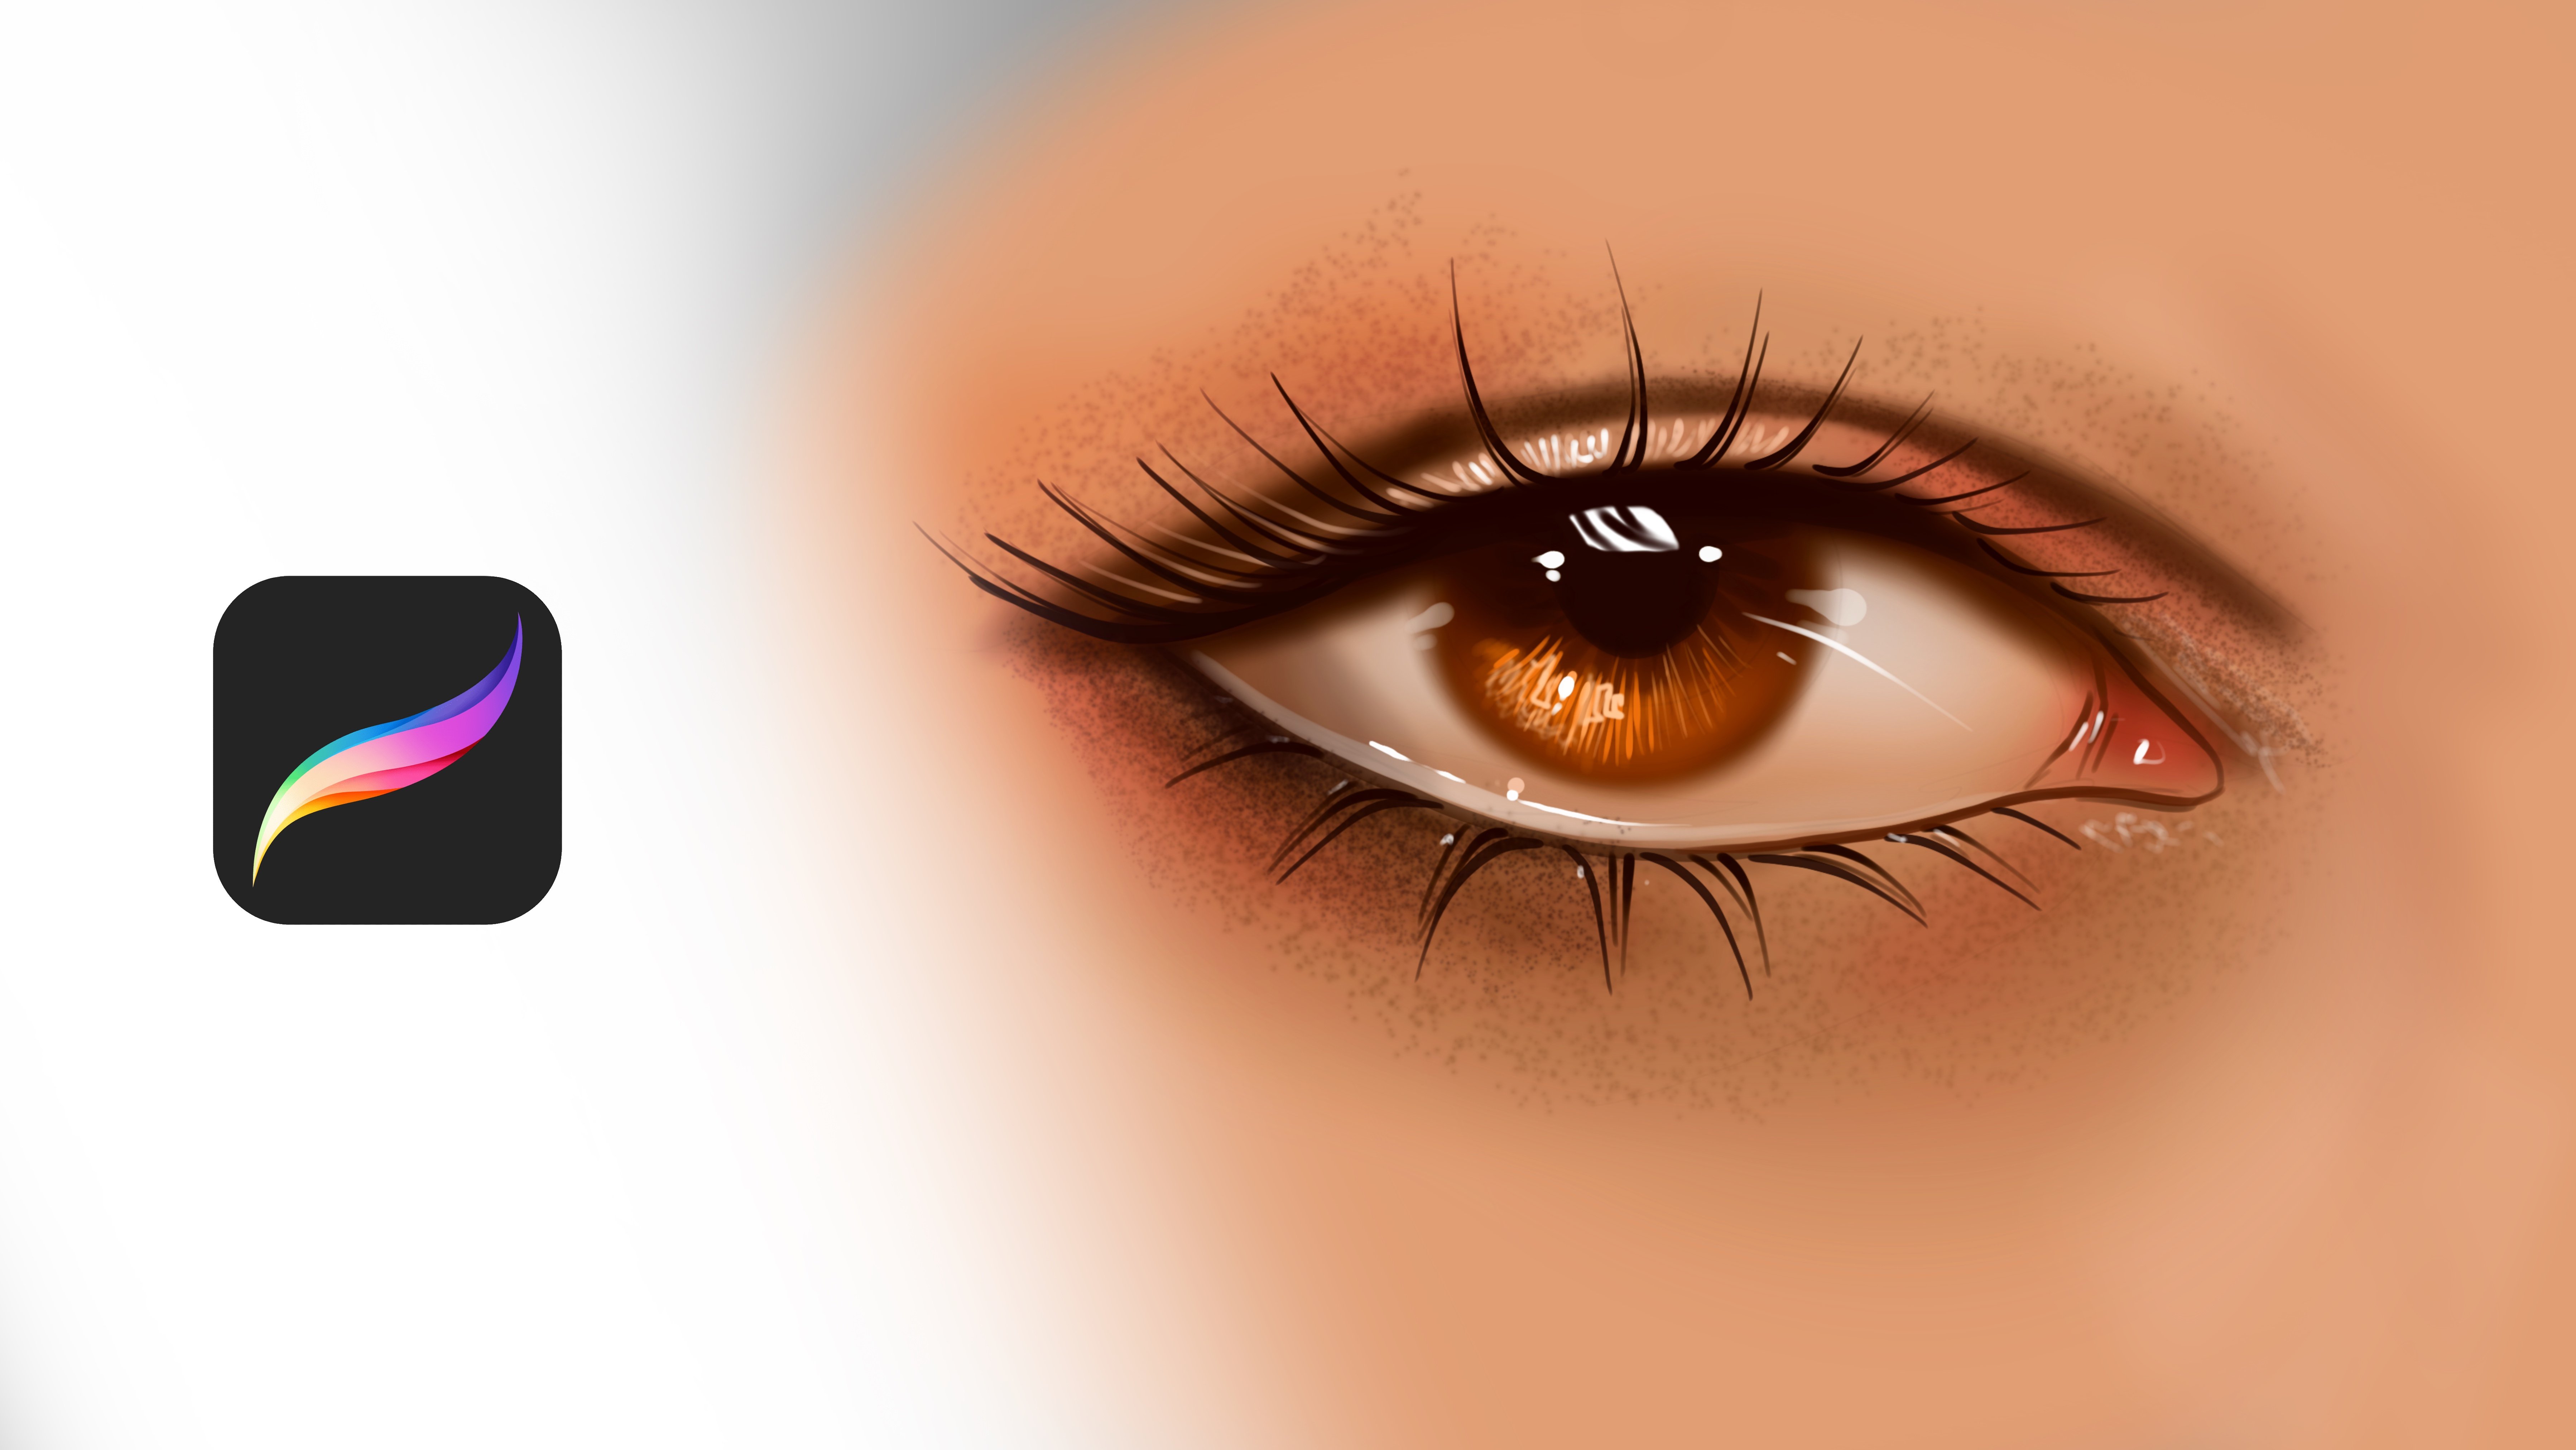
the right part, it will be really darker. So let's zoom into the eye, and this time, I will
select gray scale color, and I will paint all over
the eye and here again, and maybe the light
points of the eye. And for the lip, I will use dark tones to the lip for make it look like
much more feminine. And at some points, you can use much
more light points at the lip just like this. By the way, I will share
the sketch file with you, so you can continue and
paint with me and apply the same steps for test your knowledge about the
portraits much more easily. So we can add some highlights
over here and here for make a portrait pop up
just like this and like this. This part will also
be much more lighter, especially at this check area will be much more
lighter and this area. As this area will be
much more lighter. So I will keep doing this until I satisfy by
the look of it, and it is looking
great right now. So I will select darker tones for here
and we'll continue to add detail over the right
point here, just like this. And yeah, it is looking
really great right now, and I will keep adding and
increasing the detail level. For example, at these parts, we can have much more shadows, and I will select
some hairbrush, and you can use your own brushes or different kind of
textured brush if you have. And I will make this place much more brush it or
give it a textured look. And now it is looking
really great, right? And we can continue to add
details over here and here for make the portrait
really interesting with these details and give
it a really realistic look. So and go to the here and zoom in here
and give it a really, really, really we branch look, and also this place can
be much more lighter. And this part, and, yeah, it is looking really
shiny right now, and it is really great
because it is eye catching. So come to the eye and select a bit reddish
color for makeup. And this time, we will increase the tail
level of the makeup. So it will look much more
interesting, just like this. Just simple Sutroq makes your painting much
more interesting. So you can add makeup and blushes or maybe
even the freckles. For example, I can
put some lines here just like this or
give it a freckless look, but don't overuse it
because it will be look boring if you do
repeat the texture. So come under here and add
some extra shadows over here and maybe much
more saturated colors under nose here, just like this. And we can use highlights over forehead and
displace and this place. And also over the lip, we can continue to
adding details for it. And at the left part, let's continue to make these shadows over here
and here and here.
4. Adding Shadows: As I say, adding shadows make your illustration pop up and make it much
more interesting. So, focus on the
shadow and lights. For example, if lights
comes from the left top, we can have this part of the portrait much more
textured, just like this. And this gives a really
good fabric look and unique look to our portrait. So let's zoom in here
with the pure white. Then we will try to add some highlights over portrait to make it much more
even interesting, just like this and like
this and like this. I'm increasing the detail level, and it's looking much more
realistic and shiny right now. And also, I can paint
some earring here, like, much more natural
and traditional one and simple for make my portrait much
more interesting. So I will continue to create a portrait with adding
the earring detail here. And I will also continue from the hair part,
especially these corners. And let's zoom in here. And at this part, I will apply these shadows
over here and over here, it will be really dark and switching the color much more adding much
more color switches, but don't overdo it just for making the balance makes your portrait much
more interesting. And these parts will be darker, and I will add much more
lights over here and finish this lesson and hope
you enjoy the process, and I can't wait for see
your works from this lesson. And also, you can share
with me your feedbacks. So I will be really happy. You can find my
Instagram address. And if you have questions
or different things, you can always reach me. I will be here for you and
can't wait for see your works. And for the dress, I will take a white brush, and I will create some pattern here manually
with my texture of the brush. And these places will be like this, much
more interesting. And with a pattern, it will look really nice. Yeah. I'm adding
some patterns here, the other parts also
will be like this. And, yes, I finished
this lesson and hope you enjoy and can't wait for show you
much more processes.
5. Complete Illustration: Welcome again. At this part, I will open another new layer
and we name it color Dutch, and I will zoom
into the hair part. And this time, we will
increase the highlight and we will give a really vibrant colors to our illustration
before we finish it. And hope you enjoy this process and with using color Dutch mode, you can burn your
colors a bit much more. And this option will make your painting much more interesting with
these lidel details. So you can use for create different kind
of color harmonies. For example, a dress it created a really illuminated
look just like this. And for these parts A, it creates really great
light reflections and much more interesting
tones for our portrait. And yeah, maybe we can
use on it here for make this place
much more lighter because light come
from the laptop, and I will continue to add much more lights over portrait, and we'll finish this tutorial and hope you enjoy this process, and I can't really wait for see what you have
done from this lesson. And yeah, it is looking great. But at last point, I will open another new layer and we'll use smooth shading. You can use any airbrush, with a pinkish tone, a bit pinkish tone, change the layer mod to
color and apply over the nose and cheeks and it
creates really warm colors, and it makes your painting
much more alive and well. So at last, I will open another
nil layer over the top, and I will zoom
into the eye point, and I will give highlights and these parts will
be highlight points, but don't overdo it because
if you do it so much, it will look boring and fake. So I'm trying to be
clean and add really, really smaller dots for give this wet look on the portrait,
like literally look. And let's zoom into
the eyelashes, and I will give a bit
much more eyelashes here and just like
this and like this, I'm adding small details
here for increased realism. So it's looking really
great right now, and I can add maybe lidal textures
here with my Dil brush, give it a really fabric look, for example, like line textures. And at some points
at the light points, our eyes can see the
textures much more easily if we compare
to the dark places. So we can add these small but effective
details at the light points. Like textures will be
much more visible at the light points is other
k points for realism. So I will open another new
layer with the overlay mode, the zoom into the face. And with this option, we will make freckles much more vibrant and visible over face and much more darker tones here and bigger and
smaller things here. And, yes, we finished
this lesson and hope you enjoy this quick class and
see you in the next videos.
 Yasar VURDEM, Creative Art Director