Transcripts
1. Introduction: Hi, I'm ash, and I welcome you to this class on
landscape painting. In this class, you will learn color compositions used to
achieve realistic effect, press strokes, and
not only that, you will also learn
how to bring out depth with the help of
textures in your painting. You can pretty much translate
these techniques used in this class to create your own landscape paintings
with professional look. I am very excited
to teach you in the upcoming landscape
painting lessons, and I'll see you
in my next video.
2. Sky: Hi, and we'll come
back to a new video. In this video, let's go
and paint in the sky. To paint the sky, I've
taken some acrylic paint, and the paints are
white, pure white, and cobalt blue, about 50, 50. And let's come right over here, and this is a hog hair brush. You can use a bigger brush if you're painting on
a bigger surface. It come right over here and
drop a beautiful little sky. G to some white, come here. Sort of blend these colors
together so that you get a beautiful lit vibrant sky and make sure that the corners
are relatively darker. Okay. Going to sort of a
some pressure there so that we can fill
in the canvas. And this is a canvas board, and this is six cross eight. That's 6 " in height
and width is 8 ". There we go. Let's go and add in some clouds as soon
as this is gonna dry. Okay, so now I've
cleaned my brush, and let's go in some
white, pure white. It's the titanium white. Stick on one side of the
brush, just one side. And let's decide where
the cloud lives. We he lives all the
way till there. And if that just sort of
have circular motion, that basic circular motion is enough for you to get in
a beautiful little sky. And now, let's wipe
off the brush, and it's sort of come over here, not at the top, the sharp edges. What you're seeing not there.
Just a bit at the bottom. And sort of make them fluffy and make them more realistic. Sort of blending in
the color and sort of go once, just like that. Very lightly, very gently. You can even make use
of the blender brush. It's a blender brush is a brush which has
very soft bristles. The material itself is soft, and therefore, it'll
give you good effects. Nice blending effects. Okay? There we go. It's that easy.
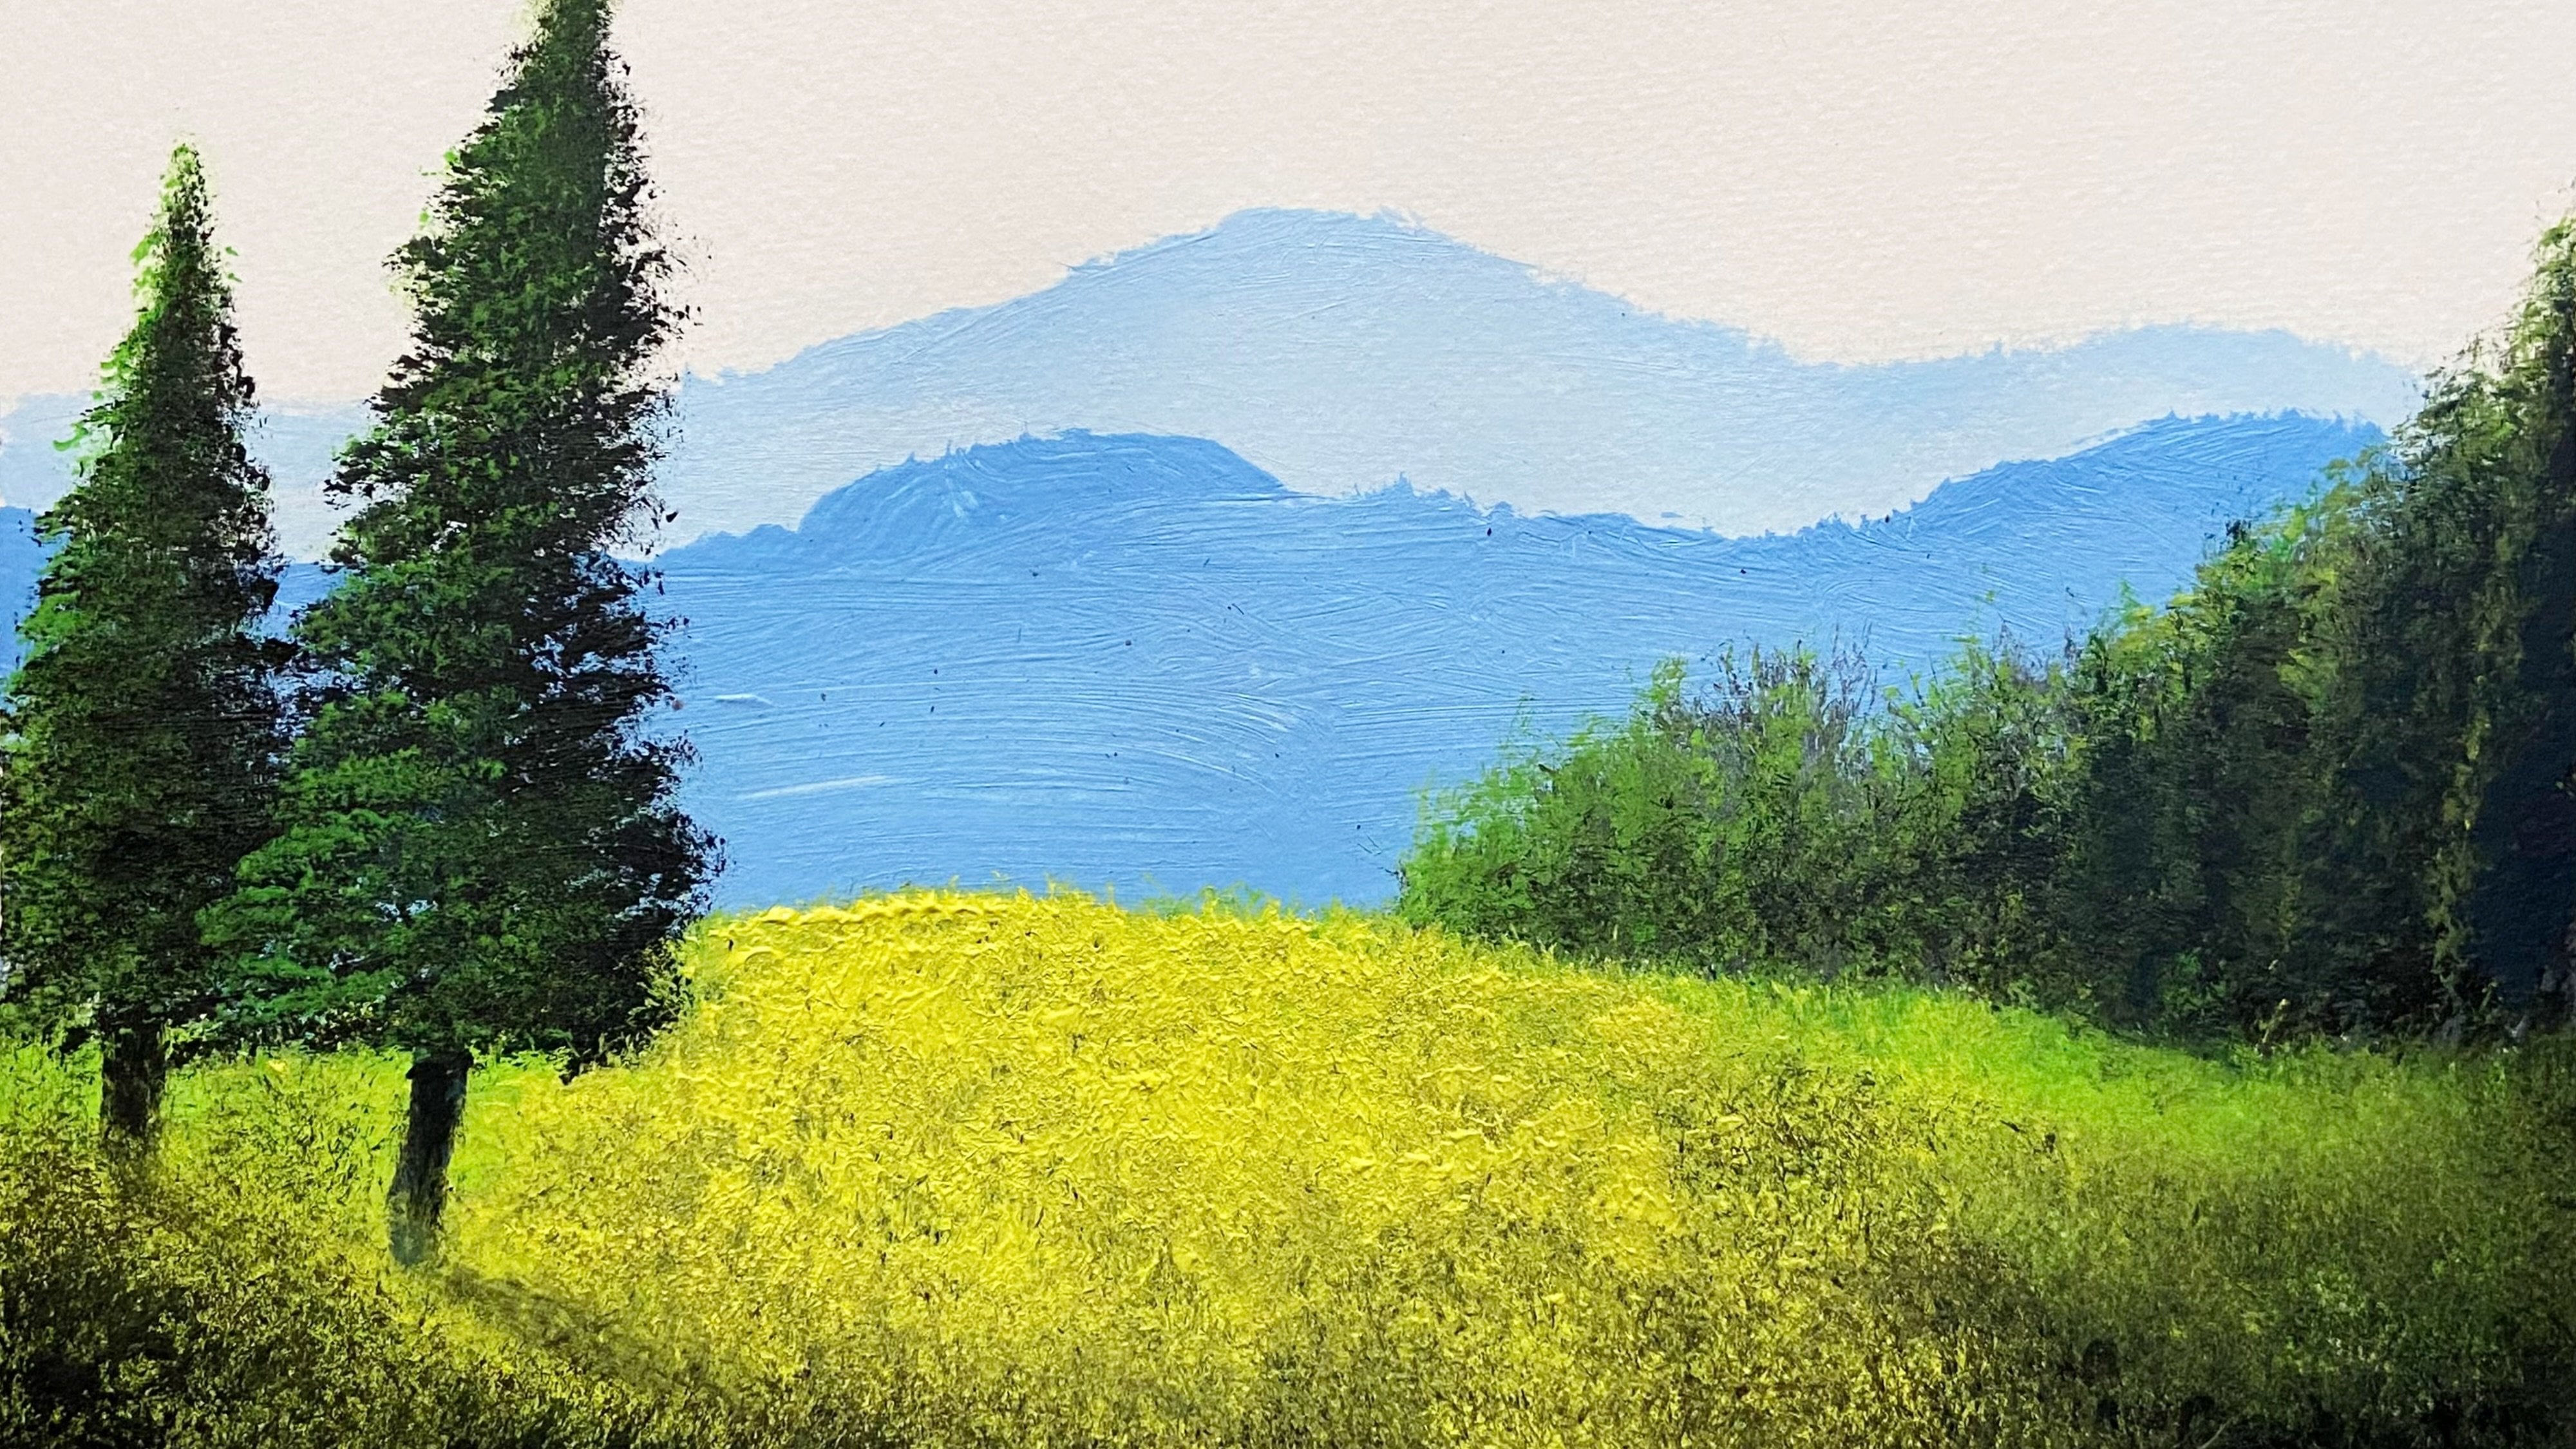
3. Misty Mountains: In this video, let's go and paint in some
background mountains. For that, let's
stick in some blue, cobalt blue, and some white. Make sure this is relatively
dark compared to the sky. I said, relatively dark, not too dark, neither too light. Because if this is the
same color as the sky, there won't be any
distinguishing between the mountain background
mountain and the sky. Alright, let's sort of
come right about in there. And sort of let that
go with itself. And if you want, you
can add in some water if you're painting
on a bigger surface. Since this is a relatively
this is a smaller surface, so I'm not adding much of water. In fact, I didn't
add water till now. Let's train some more blue
place in red over there. Yeah. Let's take in some
more white and let's get the mist going
on where we can blur it. So when we have two
colors, we can blend them. Of course, there is
a technique called dry brush blending with which you can get a lot
of these effects as well. But now we'll be using
two colors to blend that. Look at that. We get
an instant mountain.
4. Rocky Cliff: In this video, let's go in place a mountain
right about in there. So for that, I'll take in
some brown, Jasmine brown. You can take in Sienna, or some vibrant brown. I'll add in some white and
all these colors together. And I'm still using
the same brush with which we painted the sky, clouds and the mountain. Okay. Let's dig in that
color right about in there, and let's sort of decide
where the mountain lives. Maybe now the mountain
lives over here. Okay, let's sort
of block this in. That's the best thing you
can do so that it's gonna quicken the process. Lo right? We have a beautiful little
mountain instantly, let's sort of play
around the colors, play around with the shapes. Okay. Okay, so now let's go
and add some highlights, and I'm using the same brush, and I'll let you know
if I change the brush. But till then, I'll be
using the same brush. That is a hog hair brush. Okay? Now, we'll
take in some wine. Of course, it's not pure
white, as you're seeing here. Still ting in some
brown and some white. Just tap it. Just tap it. Tap it very lightly
and very gently. And let's come over
here on this mountain. And let's sort of
start from the top. Okay, let's turn the brush. That should kind of work. Yeah, see there, that's working. This shouldn't look like snow, so it should look like
a rocky mountain, and that is what we want today. So let's sort of
place it in smoothly. Go back, reload the brush, and let's sort of place
it right over here. Okay? Just sort of tap it
very lightly super gently. Yeah, there we go, yeah. Yeah, that looks good. And make sure you don't use pure white. Otherwise, it look like snow. If you want snow, you can apply pure white, you
know, definitely. This painting is
completely yours, and it's totally up to you. But make sure when
you're tapping it, you're tapping it
very lightly to get the textures,
even if it's snow. People pay extra
for those, yeah. Okay, now we've done the blocking in part
for this mountain. And also we've placed in some highlights and some
mines, as you can see. Now, I'll take in some black. Just some black at the
very tip of this brush. Just pure black.
It's ivory black. Any black colour
will do the work, but take very little
amount of that paint. Camo here and sort of
place in some textures. That's way too much. So go back and just wipe off
the brush lightly. Not to take too
much of that paint off the brush, a
little bit of that. Yeah, yeah, there we
go. Look at that. Even now, I'm tapping
very lightly. The more texture you want,
the lighter you have to tap. That's rec don't increase
the pressure this because the paint on the
brush is getting less. We get carried away
usually, and that's fine. You can experiment
with your painting. You can go and paint
your own landscape. Now, let's dig in some ochre, just slightest amount, and let's sort of
dig in some white. I see some blue mixing,
and that's okay. That'll indicate some moss or grass on this
beautiful mountain. And that's sort of
come right over here. Tap it, and I'm using a tip of the brush
to get in this texture, and it's almost no pressure. It's not zero pressure. You won't get in texture
if you apply no pressure. I got zero pressure, but reduce the pressure as much as you can. Lots of coma here, too. Yeah, there we go. Look at that. Look at that. Less is
more. Less is more. So this is an indication that
the highlights are good. Shadows, textures, the overall composition
is good. Look at that.
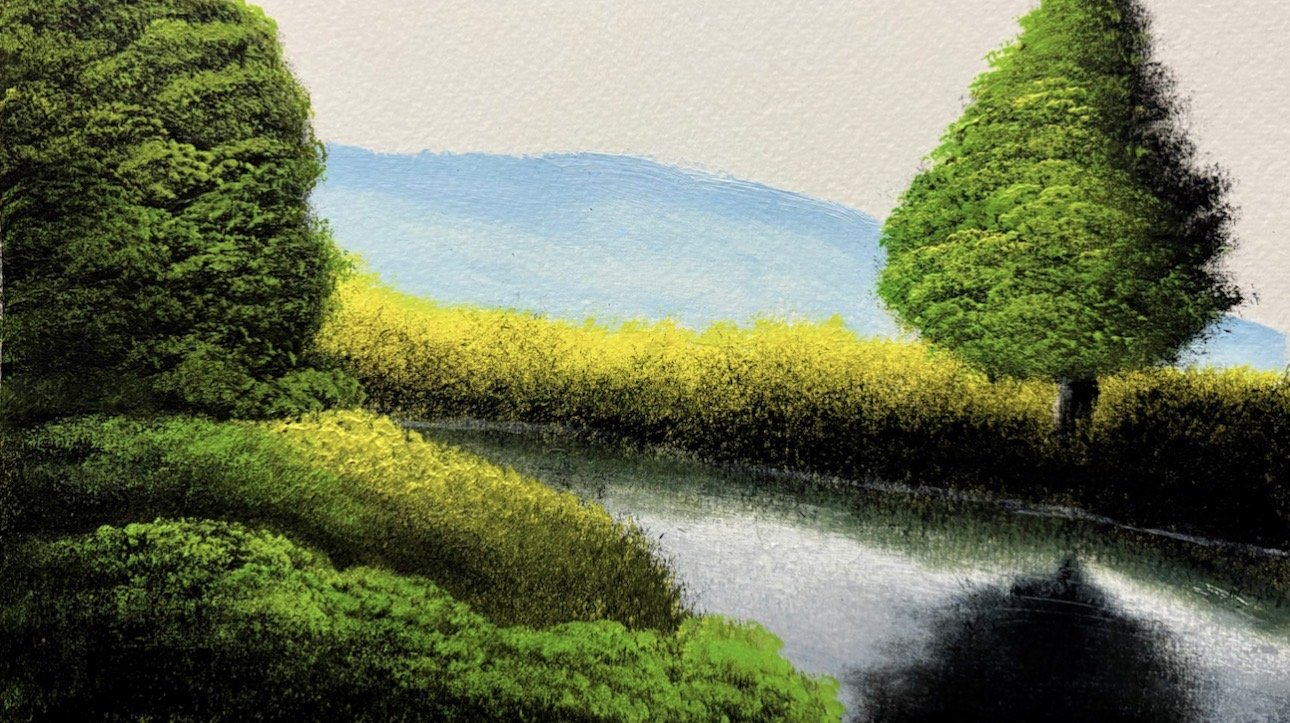
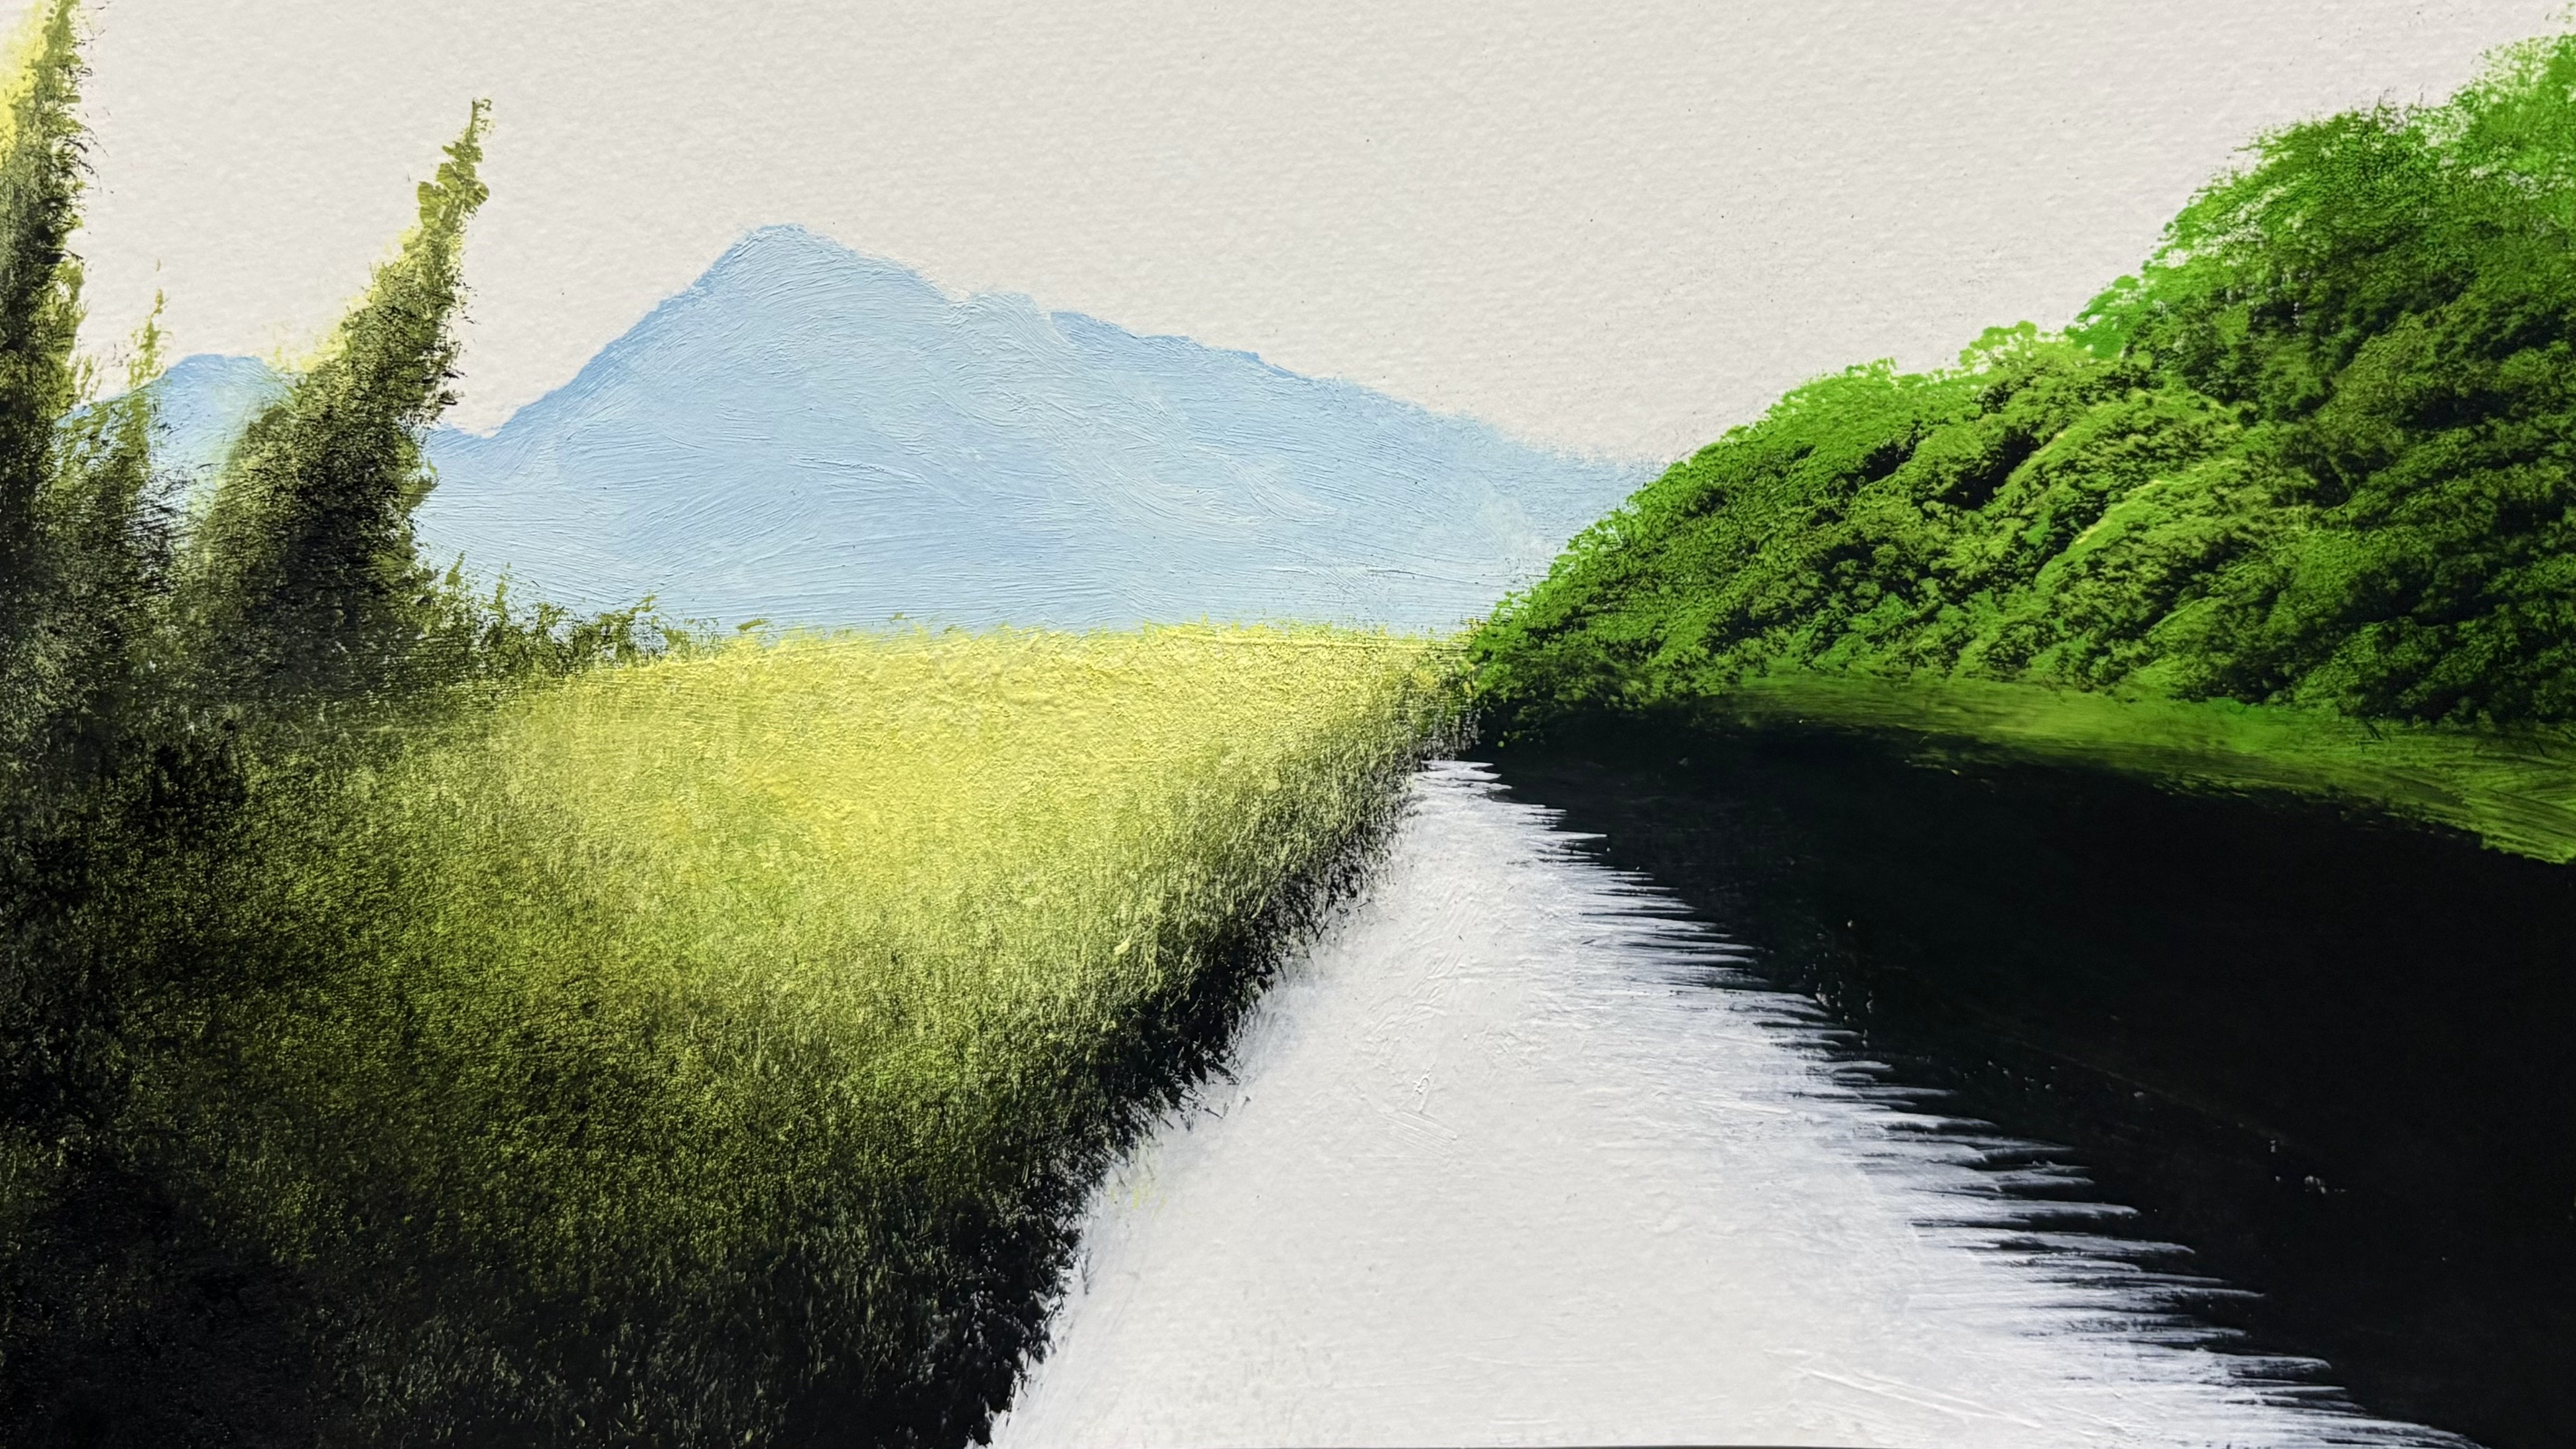
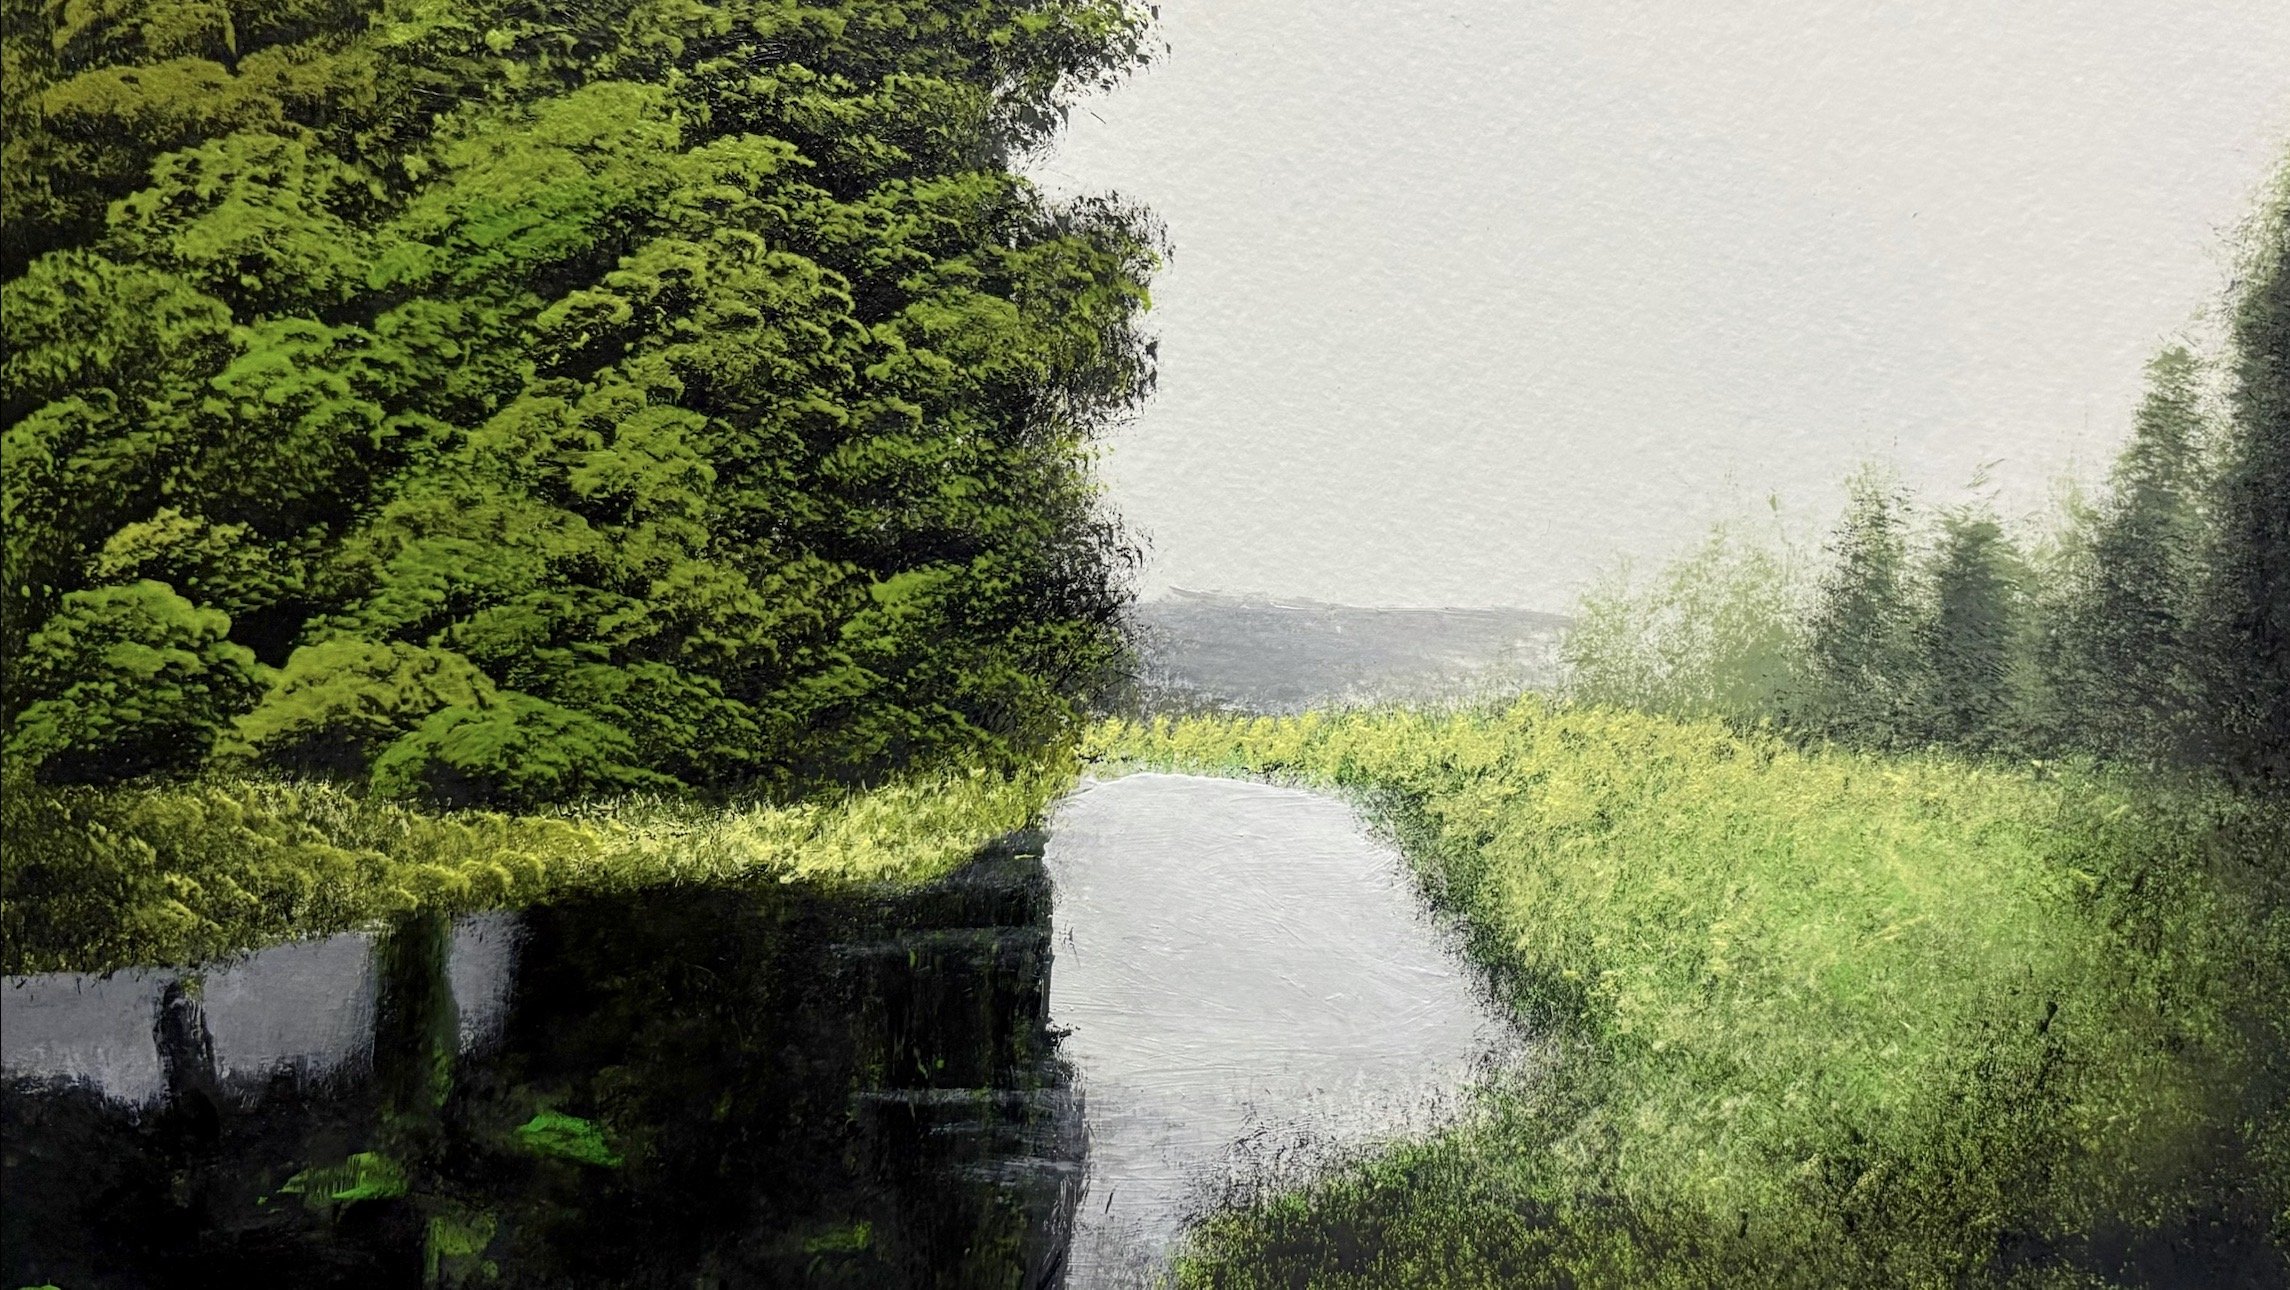
5. Grass: In this video, let's go
and paint in some grass. To paint in the grass, I'm using the same old hog hair brush, and let's swing some lemonlo. Some brands have it as limello. Lemon lo both are same. There is not much of a difference
in the shade of yellow. Instead of taking some green. Look at that. Let them be
marble. Don't over mix them. Let's come over here. Okay? Let's come
right away here and place in that beautiful
little meadow back there. And as we come to
the four prong, we'll have it slightly
darker, but no. Sure you cover up everything. Yeah, we don't want to lose the elements
she painted before. Sort of blends into this
mountain. Look at that? It's that easy. Sort of placing its color and painting
the highlights. This is a highlight color, and this will remain as a highlight color
for this painting. Let's see, you know, let's see. But for now, we'll
go with this color. Beautiful little
grass going on there. And now let's platen the
highlight in the background. And tap it very lightly. And still I'm using
the hog hair brush. Look at that single brush. You can do a lot of things, and you can also
car in that effect. I still recommend you to
have two to three brushes, especially the hog hair one
for this particular class, one for dar, one light, and one for blending. If you can keep food for
the one for mid tone, and that'll be wonderful. Okay. So there we go, we have some
highlights going on there. So shiny grasses. Yeah. Now immediately, I'll
go into some black. Okay? And some black, pure
plaque with that color mixed. I want pure black, okay. Okay? And wipe off excess
paint off the brush. We don't want too
much paint. As it's come right away here to corner, you can go on any
corner right or left. It's totally up to you. But let's sort of
take in that color and reduce the amount
of paint on the brush. It's sort of place in this
beautiful little textures, and kind of this is the
turning point of the painting. Look at that. It's going to
lead you into the painting. So with the dark honors, you can have more attention
to your painting. And I might discord one. I'll show you that
as well. And if you observe the clouds
for this mountain, for some highlights
on the grass, I use very little
pressure, but more paint. That's the difference. Here, also, I'm using
very little pressure, but I'm using very less paint. Let's come over here and darken this so that we
get more of that. If ft. Okay? Just sort of tapping
it very lightly. This is a canvas,
so I can't take advantage of the
texture on the cannons. Just sort of tapping very
lightly will help you to get beautiful textures and
something over here too, and let's sort of taste more
over here in this mountain. Look at that? There we go. I'm super
excited about this painting. Look at that, yeah.
Just sort of tap it. And h and coming
back to the grass, it's sort of plays
in that color. If you feel you've
applied too much of those dark spots
on the grass, you can go and paint
paint in the highlights. That's totally fine. Okay. Now I've cleaned my brush, and let's go into
some lemon loaf, come green, kind of mix
that color together. Beautiful color. It's
sort of come over and sort of on the brush and sort of
leaves the rod there. Look that it's matching the
color and also you can make it more realistic,
relatively more realistic. Yeah, there we go. Yeah. That is what we wanted. Look at that? It's
an effective method to get the painting done, and also the grass will pop and your grass will look
prominent in your painting. And that, in turn, will make
your painting look very interesting and it'll
attract more viewers. Here as well, and
this is more of that. You go that? Just tapping it. And you
can apply so many elements, but just tapping lightly and piling around with the amount
of paint on the brush. Look get that? That's
taking some thick paint. I see some black spots
over here as well. I sort of covering
them up just a bit. Yeah, there we go. This will make your
painting look beautiful. Yeah. There we go. And let's sort of come out here and sort of place in more of that color and not trying
to tap it too hard. Just bit flight. Just a bit of a tab one
or two tabs there. Yeah.
6. Trees On Cliff Top: Okay, so in this video,
let's go and apply some trees on this mountain
on the top of the mountain. So for that, I've taken in some black sap green and wipe off the brush because
we don't want detailings. Let's sort of from tap it. Go, just like that. And let those trees and foliage come onto the
mountain as well just a bit. So that'll make the
painting look even more interesting as
you're seeing now. Okay? Sort tapping tapa tap it. Yeah, there we go. We have it. Okay, so now let's go
and apply some black and make sure the point where a
tree and the mountain meet, that point has to
be relatively dark, little bit dark, not too much. And this also apply the textures and it'll
make a painting pop.
7. Barn: Okay, in this video,
let's go and paint in a small barn or a
house here for that. Let's stick in some black on the same hogar brush
with some green, any color will do it and some dark colour and some lemon so that
everything fits together. Okay, now let's sort of
come over here and place in the beautiful little
house that started. Let's come go there. Yeah, there we go. Take it some more paint. And this is just sort
of like a sketch, you know, I'm sketching
it with the paint. And let's sort of
places over here. Yeah, there we go. And let's come over
here and play in beautiful the fronterior
part of the house. And we'll have like that. Yeah. And let's
sort of block this. But of course, you
might get confused with the house if you're blocking everything
with the same color. And now let's stick in some brown with that
same black color. Mostly brown this time.
I've not cleaned the brush, neither have I wiped
off the brush? Yeah. This is just to get in
some distinguishing between the various
parts of the house. Yeah, decide how long or how tall or how big you
want your house to be. So like that's looking
good as of now. We'll make it even better. Yeah. And look at what here. Just chisel your brush. To chisel your
brush, you can add Some water and just a lot
of paint so that it sticks. And look at that? Okay. It's sort of over here. I want to push this
mountain back slightly. So let's come right over there and place in
this p. Look at that. It pushes back. It
pushes it back. And be careful not to go out of that sketch. And
I know you will do it. Just the thing is you
need some practice. Sort of come over
here and drop on the foot of the interior
part of the house. Yeah. And now let's clean up this. Let's come right over
there and there we go. Look at that. Let's sort of cleaning the
bottom of this house. I've taken considerably
more paint. I've taken only some lemonlo so that we can clean up this. With that, you can
do it like that. But if you're looking for
textures, just tap it. Don't rub it or scrub it. Also, this will act as a
shadow for this house, which is a bonus. This was pulling some
of the paint and just sort of flying those
shadows in their itself. And make sure the foot
is slightly blended. I wouldn't say blurred.
It's slightly blended. Sort of taking advantage of the texture on the
cans. And there we go. Now I've switched
over to a fan brush. Even this is a hog
hair fan brush, same material, except that
this has a different shape. That was a flat brush
til whatever I used, is a flat brush, and
this is the fan brush. Okay. Let's go into
and this is a new one. Let's go in some brown and some yellow ochre
Proportionately more yellocre than the brown and
loathe brush full of paint. Okay. There we go. Yeah. Look at that. See that color. Look at that. This will apply a lot of textures as well, and
it's going to open up. Yeah? Let's sort of
come there as well. This is a mid tone
color, not a highlight. So yeah, do not paint
when this is tacky. I repeat, do not paint
this when it's tacky. Tacky is nothing,
but it's a phase where the paint on the canvas or the
watercolor paper or whichever surface
you're painting on, it is not dry, neither it's wet. So don't paint in that stage. And let's come over
here at the rooftop. Look at that, stabbing it, and a little bit showing through that is kind of fine, you know? Look at that? Just sort of facing that color. And maybe this is broken. This roof is broken slightly just for the
fun of this painting. Sort of facing sort of
that. Look at that. And for the fronterior
part of this building, this is more of a
barn than a house. So yeah, that's the way
we go right away there. And you can add in some
plaque if you want, if you feel that there's
too much of brightness. That is the reason I added round and lesser
flocre for this part. Okay. And now let's come right away here and
make some big decisions. Maybe this is the partition. B of that house and front of
the house are distinguished. And let's go by Clop just brown and we just
touch of white. More white, as you can see. Yeah, these are boards. This is very helpful when you're applying detail or you want to paint a very
detailed painting. You can use this technique. This procedure. It's mostly known as a technique
in painting. Yeah. There we go. Sort of splicing it in. And if possible, just try to
blend it then itself with the color what's there
underneath with mid tone. And everything will
look balanced. Suspicy that color. Look at that? Yeah, there we go. Yeah. That's feeling good. It's okay to get a bit excited
and taken some more color. Space over here as well. Maybe comes all the
way to there. Yeah. Boards. Those boards make it
look even more realistic. And now let's stick in some
orange with that same color. Okay? Yeah, there we go
on the same fan brush. So I've used only two brushes. That is the fan brush and
a flat hog hair brush. Both are hog hair brushes. Let's sort of right
about in here. So get a grip of the brush
at the handle Look at that. Yeah, there we go. Maybe these are wooden
pieces which are very uneven and still the barn looks beautiful
equally beautiful. Look that? I'm
trying to take off the ex paint also that
will blend the color. Slightly brighten up
that color. Slightly. Not too much. Look at that. Maybe we can sort
of use the edge of this brush to pull off some
paint and get it on the barn. And now let's stick
in some white. And whatever color was left
out on that fan brush? Well, let's come
right over here, and this will tap and tapping
beautiful little once. Maybe there are one or
two which are extremely bright and it'll enable you
to have a good painting. Yeah. You over there?
Yeah, there we go. And now I've wiped off my brush. Whatever paint was left on
the brush has been wiped out. I've not cleaned this brush. Okay? When I say cleaning,
it's with water. I've not cleaned this
brush with water. I've just wiped this
brush against a cloth. You can use a rag or, you know, a piece of cloth, old cloth
will do the work perfectly. And let's come right
over here and place in some of these
beautiful little ones. Yeah. Oops or highlight there. Yeah, there we go. Maybe this
is also made out of boards. Make it even more interesting. Let's, you know, taking
some of that color. And let's sort of pop them. It's more of those
nice little um, boards on this ball on this bar. Just sort of touching it
here and there. Yeah. We have a great option now. Let's sort of old
brush. Super loose. Sort of create that texture
that beautiful texture. Good. Yeah, that'd be cool. Here. Look at how
important the pace that is blocking in part
is very important. Now, let's think of
some door over here. Yeah. Clean up the bottom. I don't have to be perfect. The door of this barn
is slightly big. Okay. And go back, reload the brush I'm using some water
along with this so that we get some flexibility. Look at that? Create
that perspective. And there we go. We have it. And now let's clean up the edges of this bar
by just tapping on it, and it's killing another
one over here too, as well. And don't get too much of that. Yeah, there we go. Okay. And the final thing
what we can do is take in some black
on this fan brush. Slide some black. Pull in some shadows. Will experience in shadows, man. We'll do wonders, add
in some detailings. Yeah. Sort of blend that. Okay, so with this, I come
to the end of this painting. I hope you have enjoyed it.
And thanks for watching.
 Yashas G, Paint With Yash