Transcripts
1. Introduction: Hi there. I'm so excited you're
here because we're about to start a wonderful
painting journey together. In this class, you learn how
to easily create a piece to landscape filled with growing meadows and
shimmering water. No experience needed. I'll be with you every
step of the way, sharing simple techniques to help you paint with
confidence and joy. This is your space to relax, experiment, and explore
your creativity. So grab your brushes, and let's dive in and make something beautiful that
you'll be proud of. Can't wait to see
what you create.
2. Background Mountain Painting: Hi, and welcome back
to a new video. In this video, let's
go out and see how to paint in the
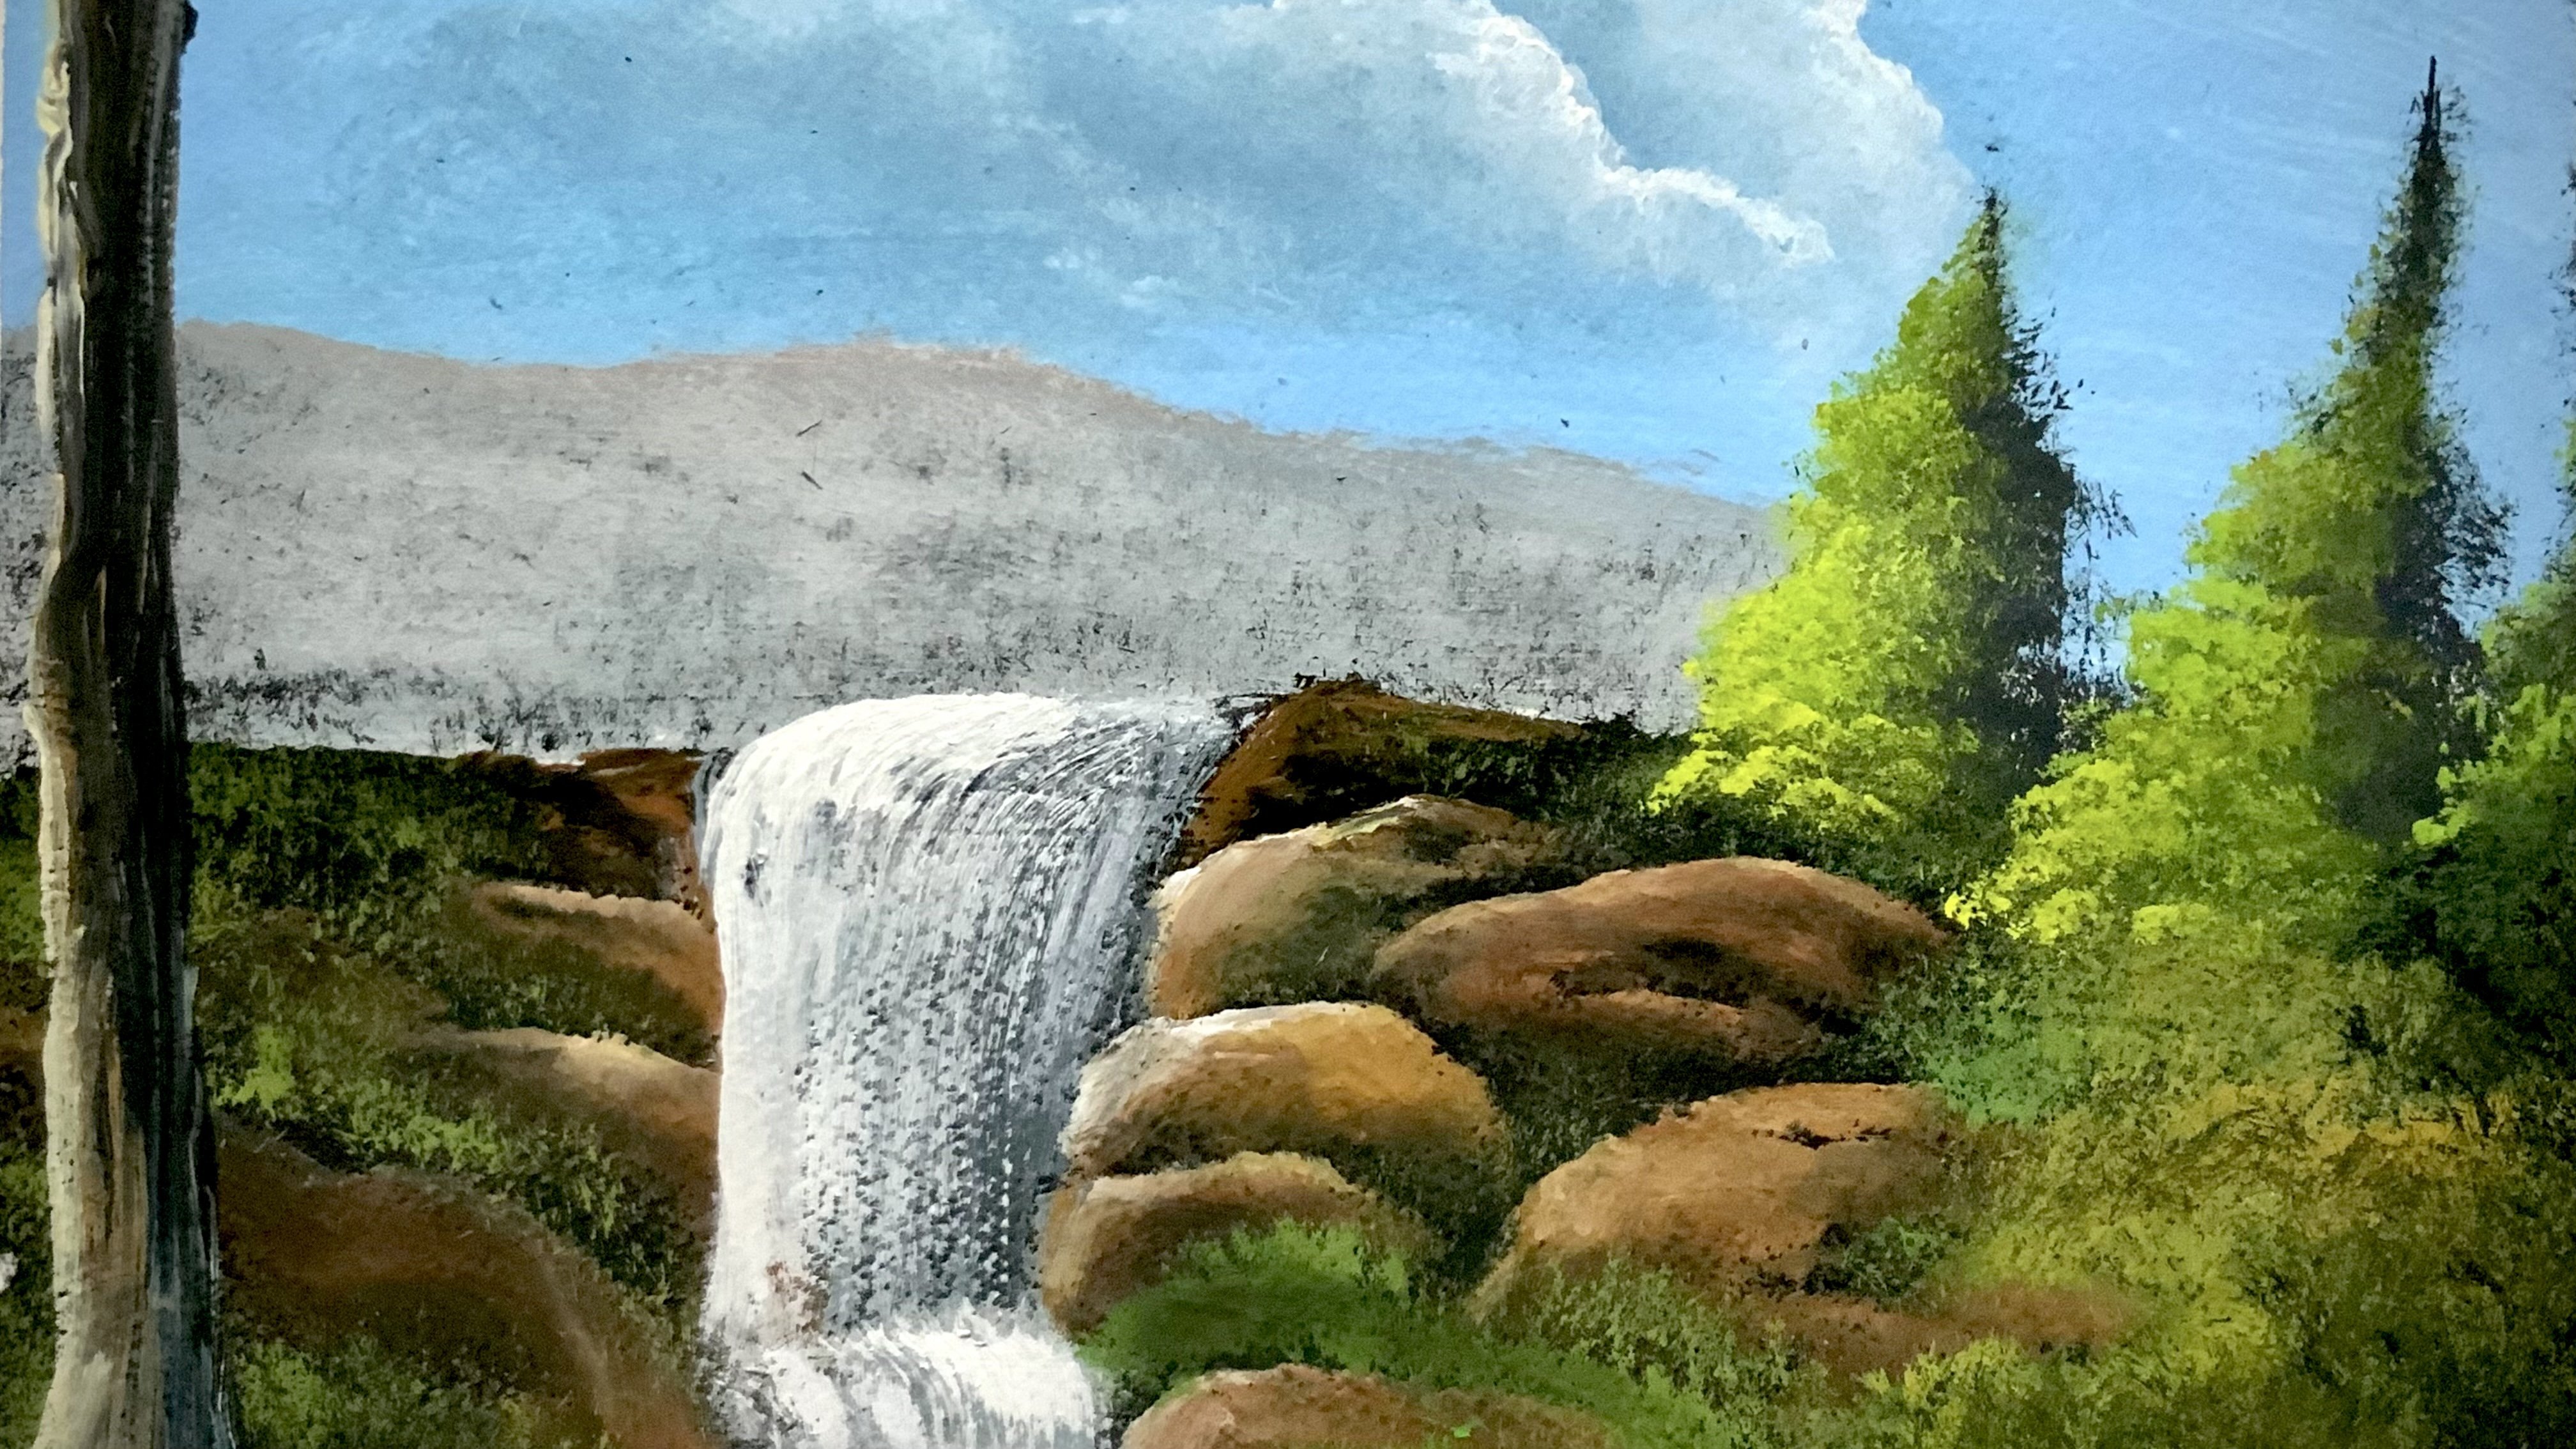
background mountain. So to paint the
background mountain, I have some white and
some cobalt blue. Make some together on the
palette, even darker. And to paint the mountain, I'm making use of an
angular brush, okay? Let's come right here somewhere, and sort of drop in beautiful little mountain far
off in the distance. I'll take in some white and sort of place in some
snow and some mist. So this white indicates
both snow and mist. So here we go and sort of refining those
edges at the top. Yeah. Sort of playing around with the colors,
different shades. And as you come towards the
bottom of that mountain, the background
mountain, the colors get lighter and you start
adding in more of mist. So you just sort of take
in some more white. The lighter they are,
the further they look. So be careful not to add
too much of color or too much of contrast because
we want distance. Okay? That's the way we paint
a background mountain. Okay, so the next video, let's go and see how
to paint some grass.
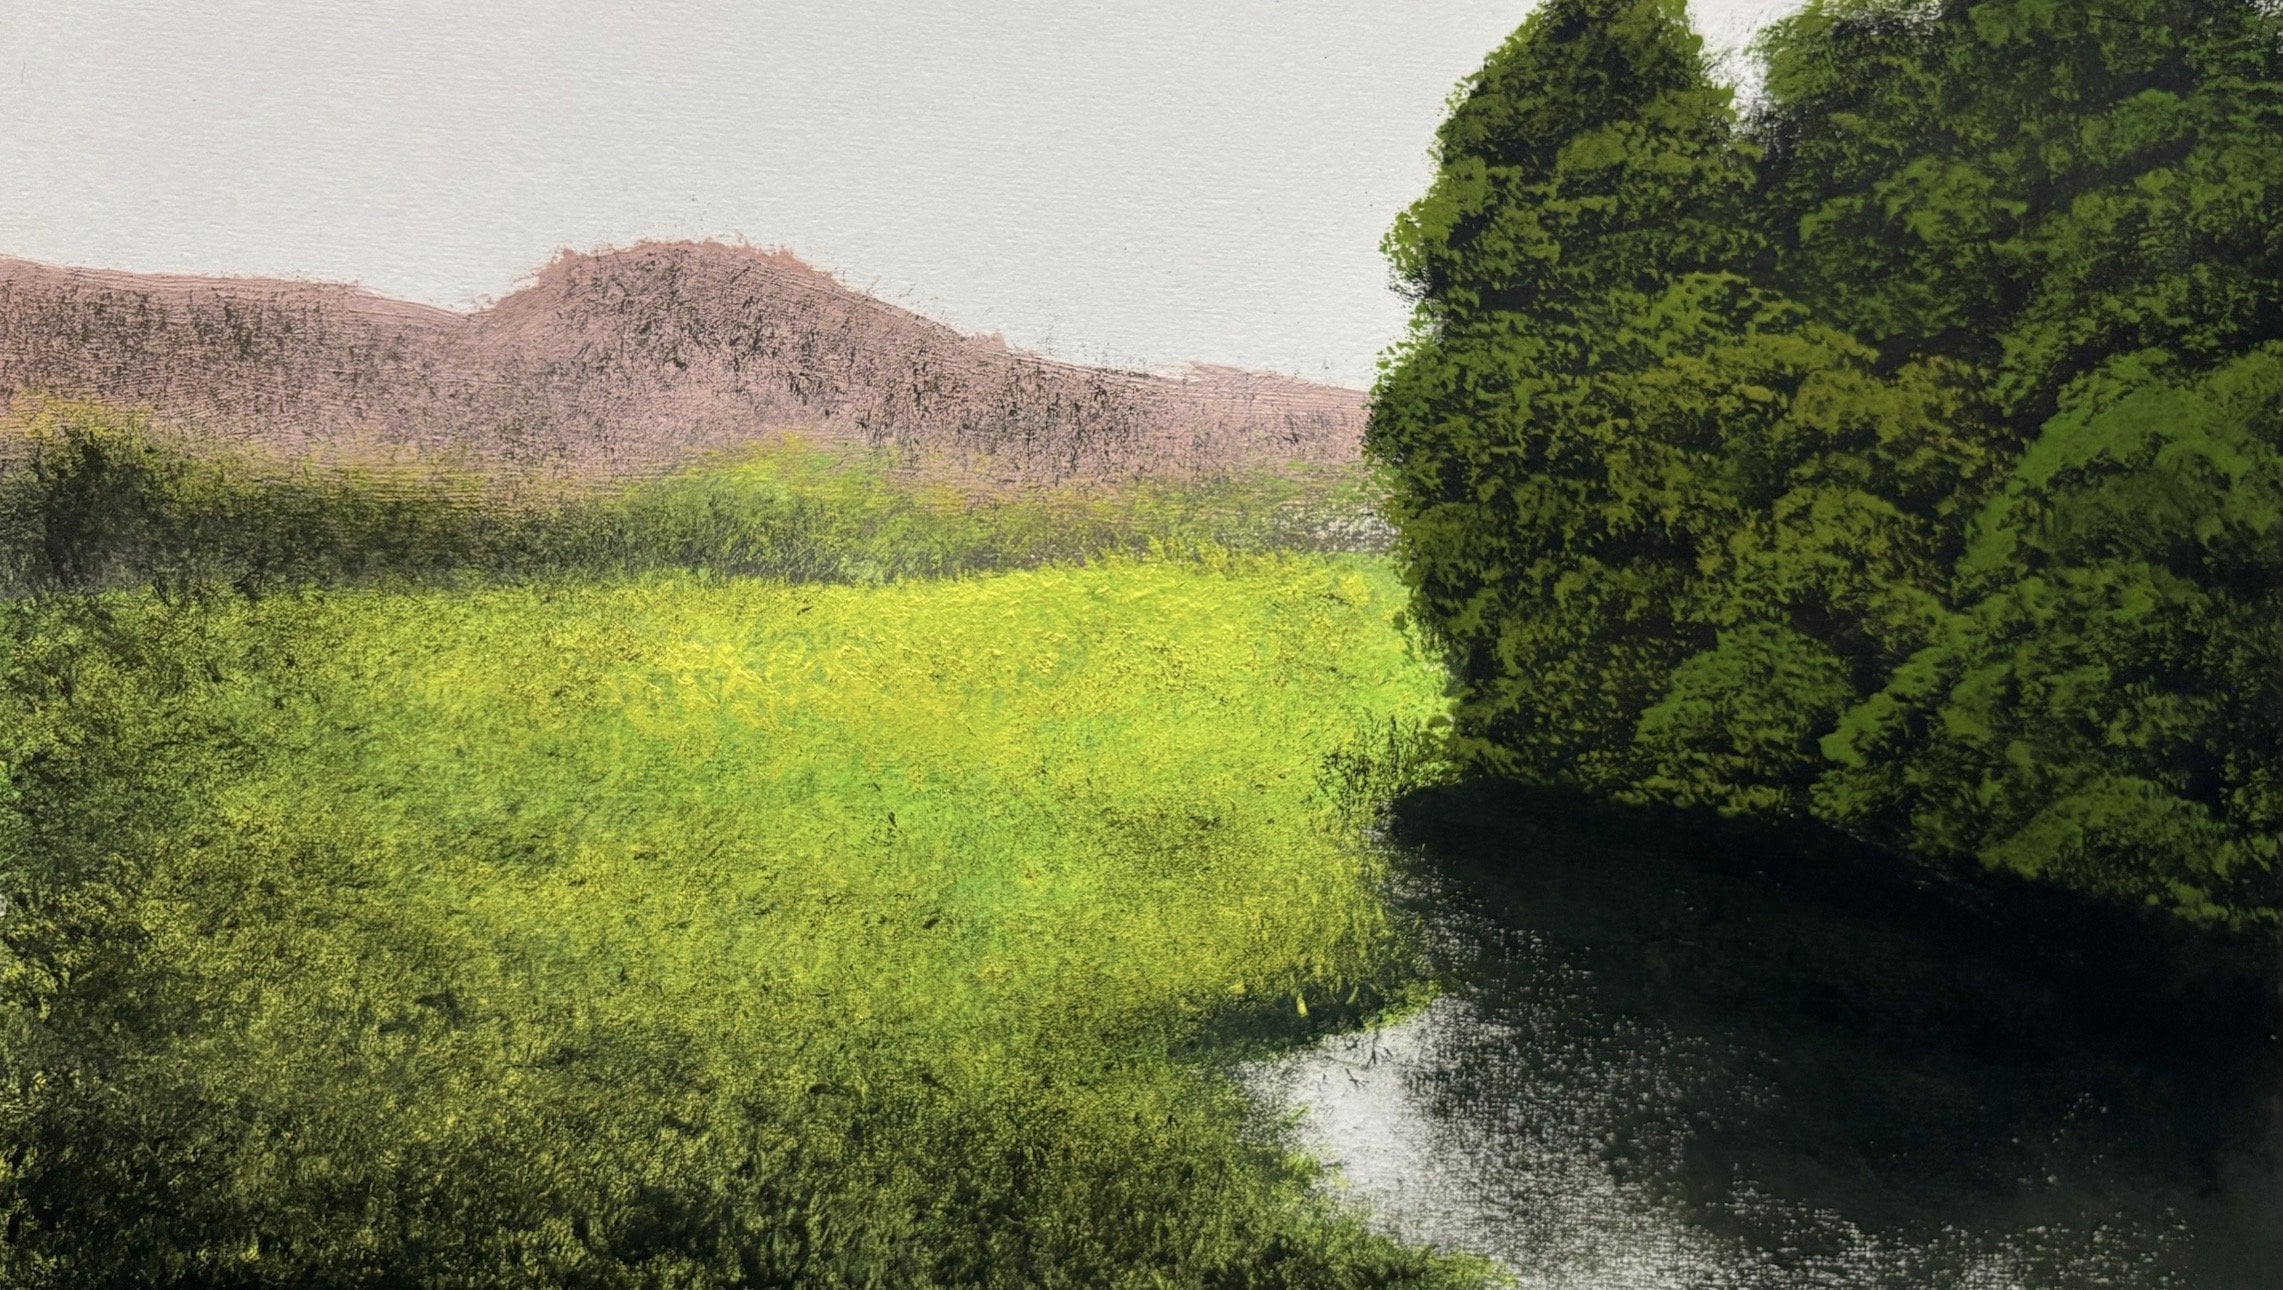
3. Grass Painting: Hi, and welcome back
to a new video. In this video, we'll
go and see how to paint some cracks
over here in this. So let's take in some limo. This is in the morning scene. So take in some limel
and some sap green. Now, I'll give you a tip if you're painting an
evening landscape. So definitely this
mountain wouldn't be blue. I'll be slightly purplish, okay? And the grass would be a bit grass will have
more yellow ochre in it. If this was a evening painting, this is a morning painting. It's in the daytime,
so I'm going to add in some of this color. So limello and some sap green. And this is number two fanbush. Okay. Well, let's comb that. Sort covering up
the canvas canvas in the sense this is
a watercolor paper. Covering up as much as possible. Look at that. Just placing this
color beautiful color. I'll show you a trick after this after painting this part. Look at that lots of variations. Don't have to work
too hard for this. Just place in some color and
wait for it to be tacky. Tacky is a condition where
it's neither dry nor very wet. So it's in between somewhere, and we'll take advantage
of that, it's coming here. Place in beautiful little
things in here, okay? Okay, so now it's almost tacky, and let's go with
some black without cleaning the brush with
the same fan brush. Let's take it some black. Simple. And I go on
some blue, okay? Now, this will not go
directly and paint there. You have to wipe this off
because it's too much of paint, and we have to wipe it
off as much as possible. Yeah. And that's
right bottom here at the corner right here at the corner and place
in some textures. You can imagine it as you're
applying some textures, and this is super
effective method to get a realistic grass
within a few seconds. You don't have to work hard, the blocking in part and just sort of go back
and place in this. And for this, I would
recommend personally, I would recommend a fan brush. A fan brush will do the
work, definitely. For this. And once you run out of paint, take it to your
advantage and just sort of apply very little
pressure as you go there. That's the brightest region. So this is the darkest region, the corner, is the
darkest region. So you've got to be
careful and just sort of placing in very lightly. Tapping it very gently,
very, very lightly. I'll show you a trick to
get in some depth as well. Yeah. I'm almost
holding the brush very loosely to get in very little textures over here because I don't want a
lot of textures there. Lack of detailing also
helps to get some depth. Yeah. That's how it looks.
Now, I'll just show one thing. Come here and you can
add in some extra depth. I need to take a lot
of paint for that. Take a lot of paint,
and let's sort of come over here and
give it a lip. Give it some lip for this grass. Look at that. Go back,
wipe off the brush, the front brush, come here and take off Texas paint off the brush, and come
back over here. And sort placing more of that. And I want the corner
sweet pretty dark. And pronounced. Look at that. It gives you that effect.
Beautiful effect. And you also use a
dry brush blending. The brush is almost dry. So you can sort of come
there and have that effect. Beautiful effect. Look at that? Just sort of blending it. It gives the lip the upward
lip for the painting. And let's come to a in here. Play some more of
a darker color. Just a bit, not much. Look with that, can
hear the sound. I hope you can hear the sound, so that is the way
it has to work. And when you do this, the
brush words out a bit, so you can take it to
your advantage again, and you can make
this brush work for more textures in the
future paintings as well. To use a worn out old
fan brush for this, it gives you very good
textures and effects. And now, to make it look
even more beautiful, let's take in some lim low and
some green mixed together. Yeah. Can add in some wine to that limou
and make it even brighter. But let's not do that
now with selves. And let's go ahead and
play some that color. Highlights on this
beautiful grass. Yeah. And it also clears clear
cut effect of the grass, like the starting of the grass, ending of
the grass all that. Now, we'll go ahead and have
some trees coming in there. That we'll see in the
next video as well. Missing in this
color. Of course, wiped off the brush,
not wiped off. In fact, I've cleaned
this brush very well so that I get that effects so that I don't
see some darker color, which I used paint
black, this black color. Look at that. Just like that. Okay,
now, be careful. Look at that, that spot. That's a sweet
spot. So it's lent. Take in some more of this color, come back, go back over there. Look at that. Each
time you go back, it looks even brighter. And just sort of tapping it I'm still looking for some
textures out there. Not too much, but definitely
want some textures so it looks convincing
and realistic, as well as it makes
your painting pop. Make your painting look
beautiful in the gallery. Yeah, that's the way it goes. Yeah. W that. I'll just introduce some of
this color over here itself. Okay, so that's there. And let's take in some plaque as usual, and it's gonna go back and
paint in this immediately. This time we'll not wait
for it to be tacky, okay? Let's go go and pack
it very lightly. Very gently with a
lot of patients. Let's do it with patients. Very, very gently,
sort of tap in it, air here and there, and just sort of create the
transition over there as well. So this transition can
be created only when you have wet paint that is blending, blending is smoothening up both colors to look as one
color. But this is blending. Definitely, this is blending, but here you're not trying to smoothen anything. You're
looking for textures. So that's a different technique. This is a different
technique of blending. Easing it. It looks good. Just to make it look even more
convincing and realistic, tap it over here and there. Just here and there,
not much, much. Just here and tap
it very lightly. The letter you going to tap, the better effects
you're going to get. Yeah. There we go. So as I said, let's go
on to the next video and look at how to paint
in some trees over here. So there's some transition from the foreground to the
background. Okay.
4. Trees Painting: Hi, and welcome back
to a new video. In this video, let's go
and see how to paint in some trees over here,
pine trees, especially. Let's see how to
paint them to create some transition from the
background to the foreground. For that, I have some black. In the previous video, you'd have seen me
painting this grass. I took some black
and applied it over here with that same
brush with few minutes. I've taken that same
brush. I've not wiped it off. The
black paint is there. Now, the speciality is that
black paint is kind of tacky. It's not wet. It's not that wet, as you can see,
it's not shining. It's not shining, you know, I I take a new paint, it will shine. So that color, that's the
stage of that paint we need, the tackiness of that
painting in the brush. Let's take in color, some green, some of
the colors together. It gives you a grayish effect.
I hope you can see that. You get a grayish effect in this and let's take that Semlor. We can take in a lot
of this color as well. Node both sides of the fan
brush, place in something. Where do here, too?
Just a bit, not much. You don't want it to be
too much everywhere. And just chisel brush. By adding a lot of paint, and it's come right
here at the top. Barely touching the surface. Barely touching the surface. Let's have a beautiful
little pine tree right about in there, and another one. And they don't have to be
perfect. Look at that. They don't have to be perfect. That's a trick. And that's
advantage of this technique. Okay, I want that
to be crispier. Which one? This one. I want that to be crispier. So let's come right about there. Yeah. Yeah, that's
what I wanted. Yeah. That's what I wanted. And this is just by tapping. Most of it's tapping. And that goes away
into the mist. Okay, so that's where
you want it to be. Now let's take in some black. Come over here at this corner
and darken this just a bit. Not much. Just a bit. Darken this up just a bit. Okay? Let's come over here
and just paint the trees. Having some darkness and
shadows on the trees, just the way we
painted the grass. Let me sort of tap a bit. And this will be the
innermost part of it son being on the
exterior part, okay? Yeah. Look at that.
Look at that. You can add some
more highlights, but it's not too much of that so that we
get some controls. Look at that tapping lightly. This will be only
the interior part as I said, No everywhere. Don't entire tree to
be completely dark. So that lightly. Tapping it tap the
bottom of that tree. To create some blurrishness,
blur the bottom. Not too much. Just a bit. And now let's mix up
a color seam color. Let's sort of come
over here and lay some crispiness on the trees. I look for detailings getting some fine edges to
final edges. Yeah. I sort of tapping it. I
hope you can see that. That's the way it's painted. Maybe we'll add in some
more of lime mellow. That's it. Depends on the direction
of the light just coming. You can tap it over there
and slightly give a blend. Just a blend. Here in
there, just a blend. Okay. Sit up. Brush down, go back to the fan brush. Take in some black and
get in the shadows. Sort of tap it. Don't
blend it like that. Just tap it very lightly so the paint doesn't
come off the surface. So that's the shadow. Look at that. You look so profeshoning and much more nice. If you want you can add in some highlights again if you want. And let's go and add in some
fine highlights over here. It's a bit over here and there. Yeah. Yeah, look at that. It looks neat and good. Let's bring that color over
here too as well. To bid. Not much so that
it's not too dark. You have to make it
even convincing. So let's make it too dark. Yeah, there we go. I like that affect.
Look at that, you get some highlights
in that dark spot, and that's a bonus point. Okay, so the next video,
let's go in given the block in for this
bush right over here.
5. Bush Painting: Hi, and welcome back
to a new video. This video, let's go to see
how to paint in a bush. In this video, we will
look at the blocking, which is the basic
foundation for that bush. So let's take some
blue and some black, have not added water, and I'm taking the same
old fan brush. Yeah. Okay. And let's come
right pollen here. All right about in there
and sort of place in some beautiful effects of bush. Okay? Look at that. You get some of those extra
twigs and leaves foliage, and that's a bonus as usual. Place there. Look at that? Just like that. Now, I'll just show you how to paint in the reflections
in the next video. But for that we need to get in the basic blocking
and part of it. Okay? So it's going to come
all the way till there. It's going to come all
the way till here. Who that's convincing.
The next video, let's go and see how to
paint in the reflections.
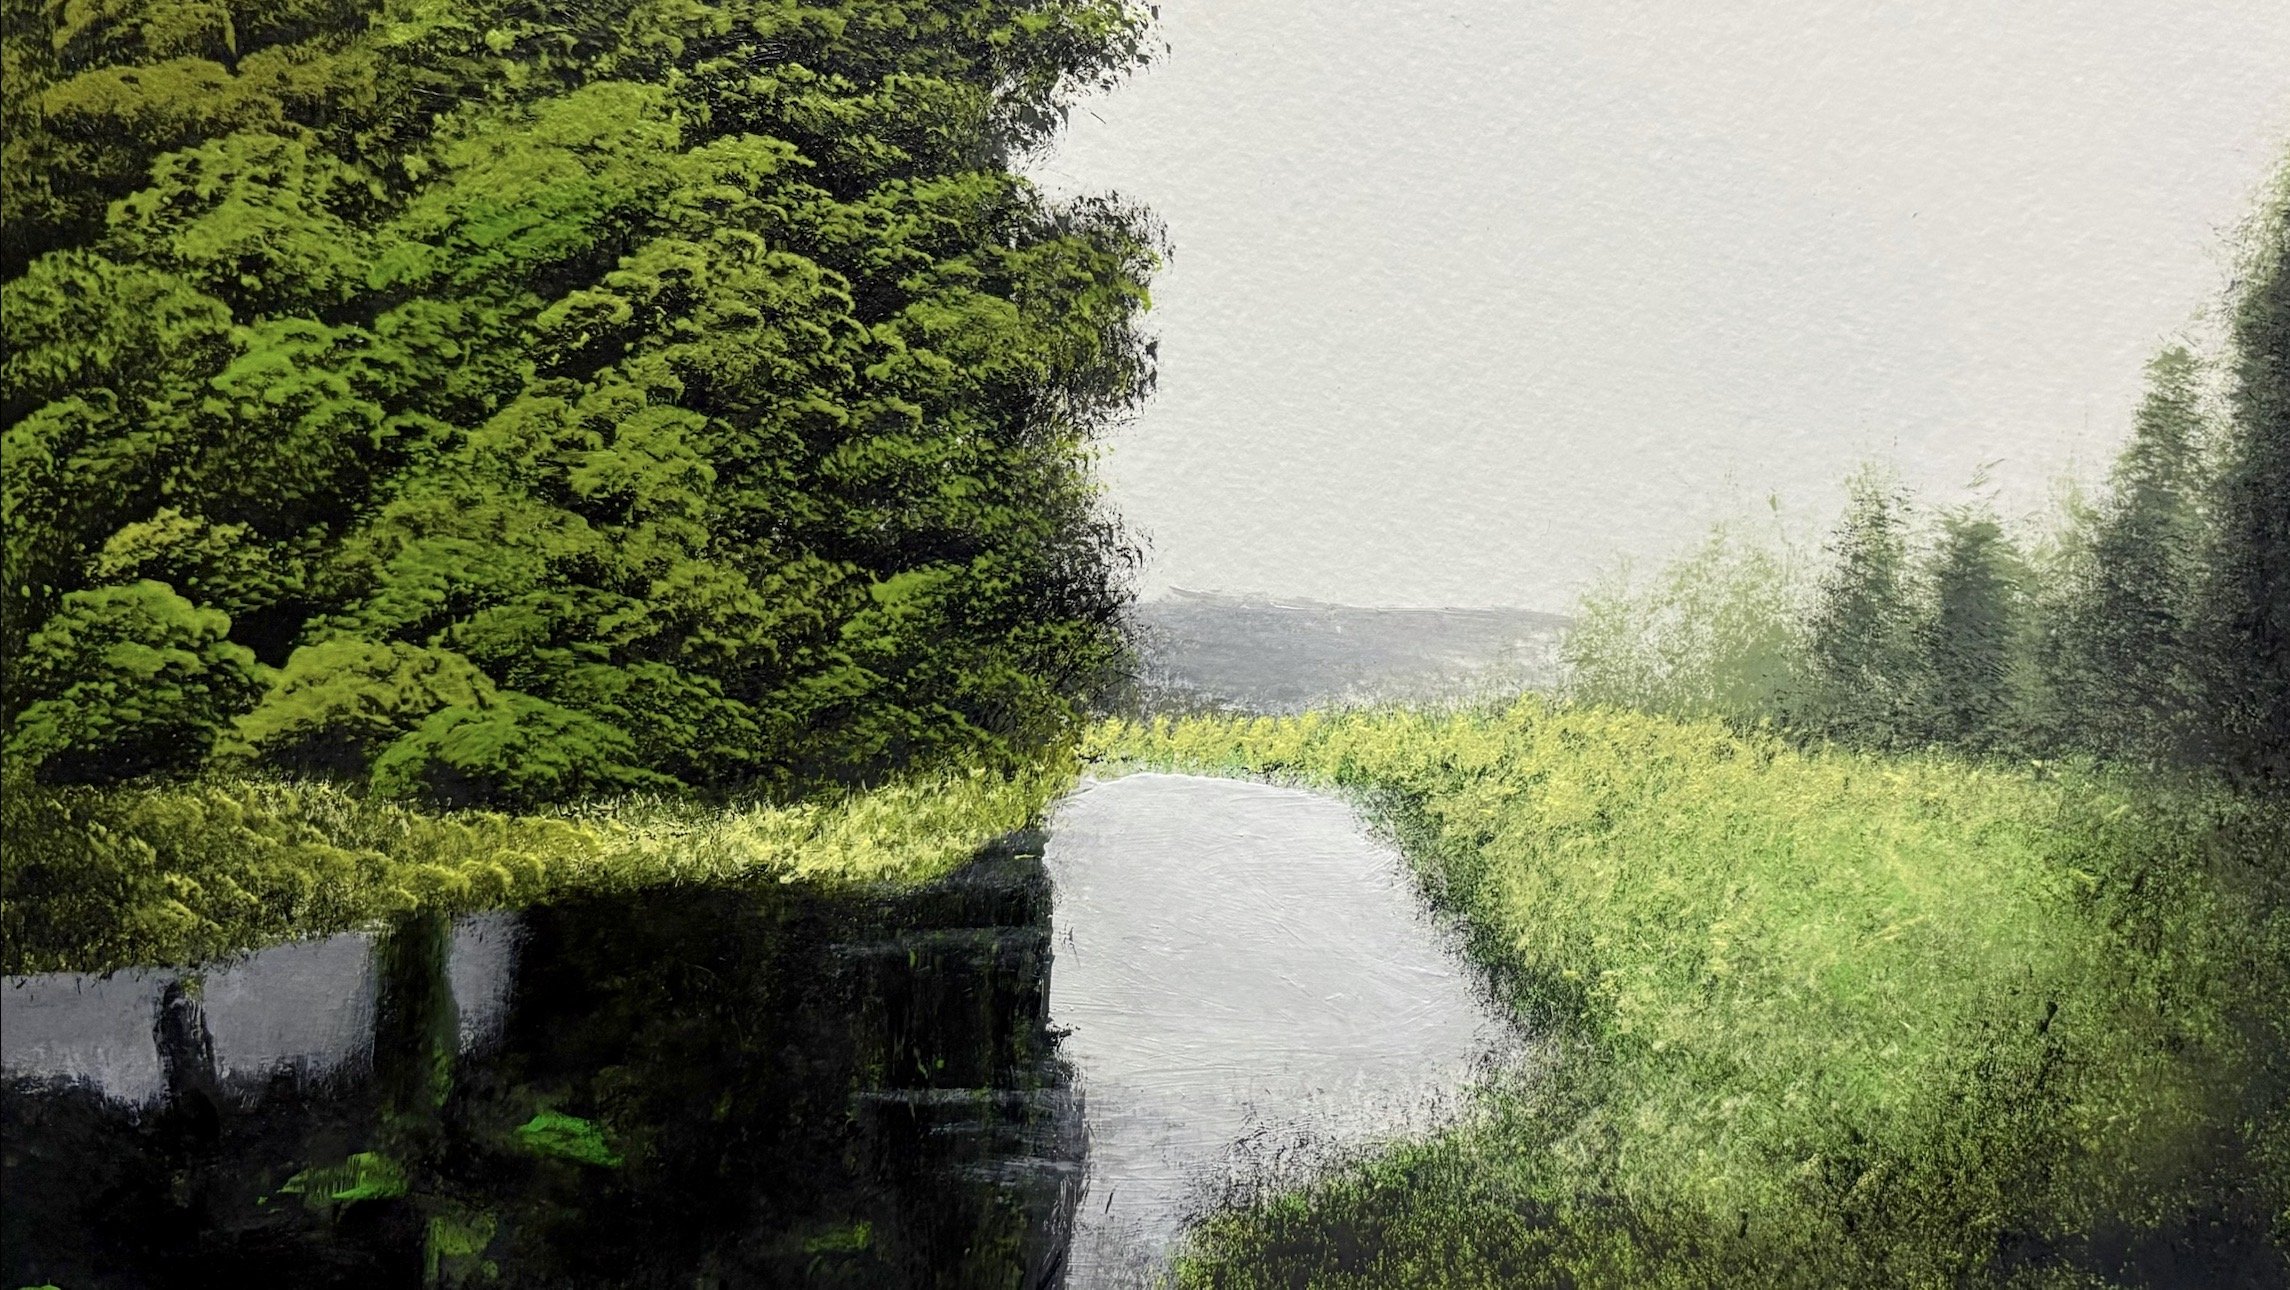
6. Reflections in Water: Hi, and we'll come
back to a new video. In this video, let's go
and see how to paint in some reflections of
this bush in the water. Now, that looks like paper. Now. This is a plain surface, and we'll make it
look like water with the help of reflections. So for that, I'll wipe off my fan brush and sort
of come right in there, and I just show you how to
make use of the texture. Here, the texture is
good. It's well textured. Let's take in some black, just a bit. Over here and there. Okay? I'll take in a
lot of black this time. There's a lot of
green from over here. If you want to add
in some water, if you're painting in oils, you can kind of add
in some linseed oil. Okay, so when that's there,
come right over here. Let's play in some of that.
Effects. Look at that. Look at that. Look at
that. We're getting instant effect now
itself very instantly. And there we go. Let's have it. Yeah, there we go. So this is one technique. Now, I want some more
detailings in my reflections. I hope you guys also want some details
in your reflections. You just block this color in
and I'll show you the trick. Just block it a bit more, and I'll show you why and
you'll use yourself to figure out why I'm using a lot
of this black here. Okay? Yeah. Okay, so now I'll show
you how to get in that reflections effect and bring the reflections to light. So I've taken this
detailed round brush and I've flattened this
by adding a lot of paint, and I've added just a
few drops of water. I'm painting in
the crylics today. And it's come right here
and ensure it's dry. Yeah. This means if dryness
is okay, you can do it. Come over there and
release that color. Should be even thin and sort of making it right
over there. Look at that. Look at that. And this will help you to bring
your reflections to light. Okay. Let's add more color. This is just starting part of the details of the reflections. The color is coming off, so we've got to take in
more thick paint. Bring that color down a bit. Yeah. Placing a photo. Okay. Now, it doesn't
look like reflections, but I'll show you in a
moment once that's dry. Now, it's almost
dry and I've taken a bigger detail round brush go from the paper that is white apart into the back apart. I like that. Okay. Look at that. It's just actually like blades, but that's going to give
you beautiful effects. Very beautiful effects,
and it'll make your painting pop and it'll make your painting
look more realistic. Yeah. There we go. Clean up this area. Look at that, you g that effect of reflections instantly and
let's bounce in this color. Is a bit of a here and there, so it looks convincing
and realistic. Can some more wine and
place it right over there, simple place here and there and let there
be some variations. Even there because it's
landscape painting and you can keep things simple. Some reflections. That's it. Go back, think some more
white and there we go. And just tap it just a bit, not much. W? Yeah. You still want some
detail in the foreground. Okay. Let's concert
it in this part. Let's in color. Just a brush, adding in some
decent amount of paint. If you want, you can add
in some water if you feel like that the paint
is a bit thick. Then you can add in some
water. Otherwise I would recommend you to go with
paint straight away. This adding water will dilute
the saturation of the paint and you lose that saturation
contrast vibrancy, you want to make your
painting refresh. You just don't go with water
all the time. That's it. Just here and there, like that. Yeah. You go back
with the brush. Clean angles. A lot
of bright color. Come and make sure that
there is not too much gap between each stroop I'm doing. Just follow this and you'll get a beautiful
little reflection. Look at that. Okay, let's go back and get those
grass textures, once again, hack in some black
with that same fan brush. Away here. Swing all the way till
here so that there's some lip. There we go. Yeah. Okay, there we go. In the next video,
let's see how to add in some foliage action on
this bush. Thank you.
7. Foliage: Hi, and we'll come
back to a new video. And this video, let's
go and see how to paint in some foliage on this bush. Paint the foliage, I've
taken a modified flag brush. This was initially a flag brush, and I modified it by cutting
pristles at the end. And with usage, the pritles have opened up and popped out. So this will be a
very good brush to get in some
textures for that. And we'll take in
some sap green. Saplin and some limel. Yeah. We'll take bit more limel. With that, let's come over here and drop in
some beautiful actions of foliage on this push and the secret to get some textures is tap it very lightly
not only in this bush, may be grass, might
be reflections, it might even fall sometimes. The trick is to add in
very little pressure. So there we go there.
Yeah, there we go. Sort tapping it
very very gently. Go back, reload the
brush. Come back here. So here. For that, you will ensure that the
backdrop is completely dry, 100% dry. Only then
you can do this. If it's not yet dry, just let it dry for
a couple of minutes. It's in oils or sorry
it's not in oils. A paints take weeks to dry. Okay. I stays more
of this green. So if you're painting an
acrylic or watercolors, you can allow a few
minutes for it to dry, or you can have some here a dry action going
on on the surface. So just quick in the process. Yeah, there we go. And that would
help. That's one of the things I used to do
when I had to paint. When I was painting
acrylics or in watercolors, and I had to get a
dry within some, let's say, it's a few minutes. I used to use hair dryer, turn on the AC or a fan or do
something to make this dry. Simple. Okay, so let's come
back over here. I'm applying more pressure, as you can see. Okay. Just a little bit of that color. Cap it very gently. If you're lowering
too much of paint, apply very little pressure, and you can take your time. Do it patiently and you
can get that effect. You will get that
effect, for sure. So over here. There we go. Let's bring some
action. Sit the bottom. Extend this a bit spring
this a bit over here. There we go. Me look
real strict natural. Yeah. Okay. Okay, now we'll go
some final touch ups and I've taken in
this fan brush, a dry fan brush,
and I wipe it off. It's almost clean. So
I'm going to load in some lemonlo or limel
both are the same. Sauce. Please here. Taking some more of that
colour. Place a do there. Simple. And sauce. Taking decent
amount of paint and it'll help you get
that contrast. Beautiful contrast. Look at that? That's the way we do it. Okay.
8. Conclusion: Okay, so with this, I come
to the end of this class. I hope I've added some
value to your knowledge. I hope you've
enjoyed it, and you learned some epsentrics in landscape paintings
like reflections, foliage, distance, contrast. Thank you so much for
watching till the end, and I'll see you
in my next lass. Till then, take
care and bye bye.
 Yashas G, Paint With Yash