Transcripts
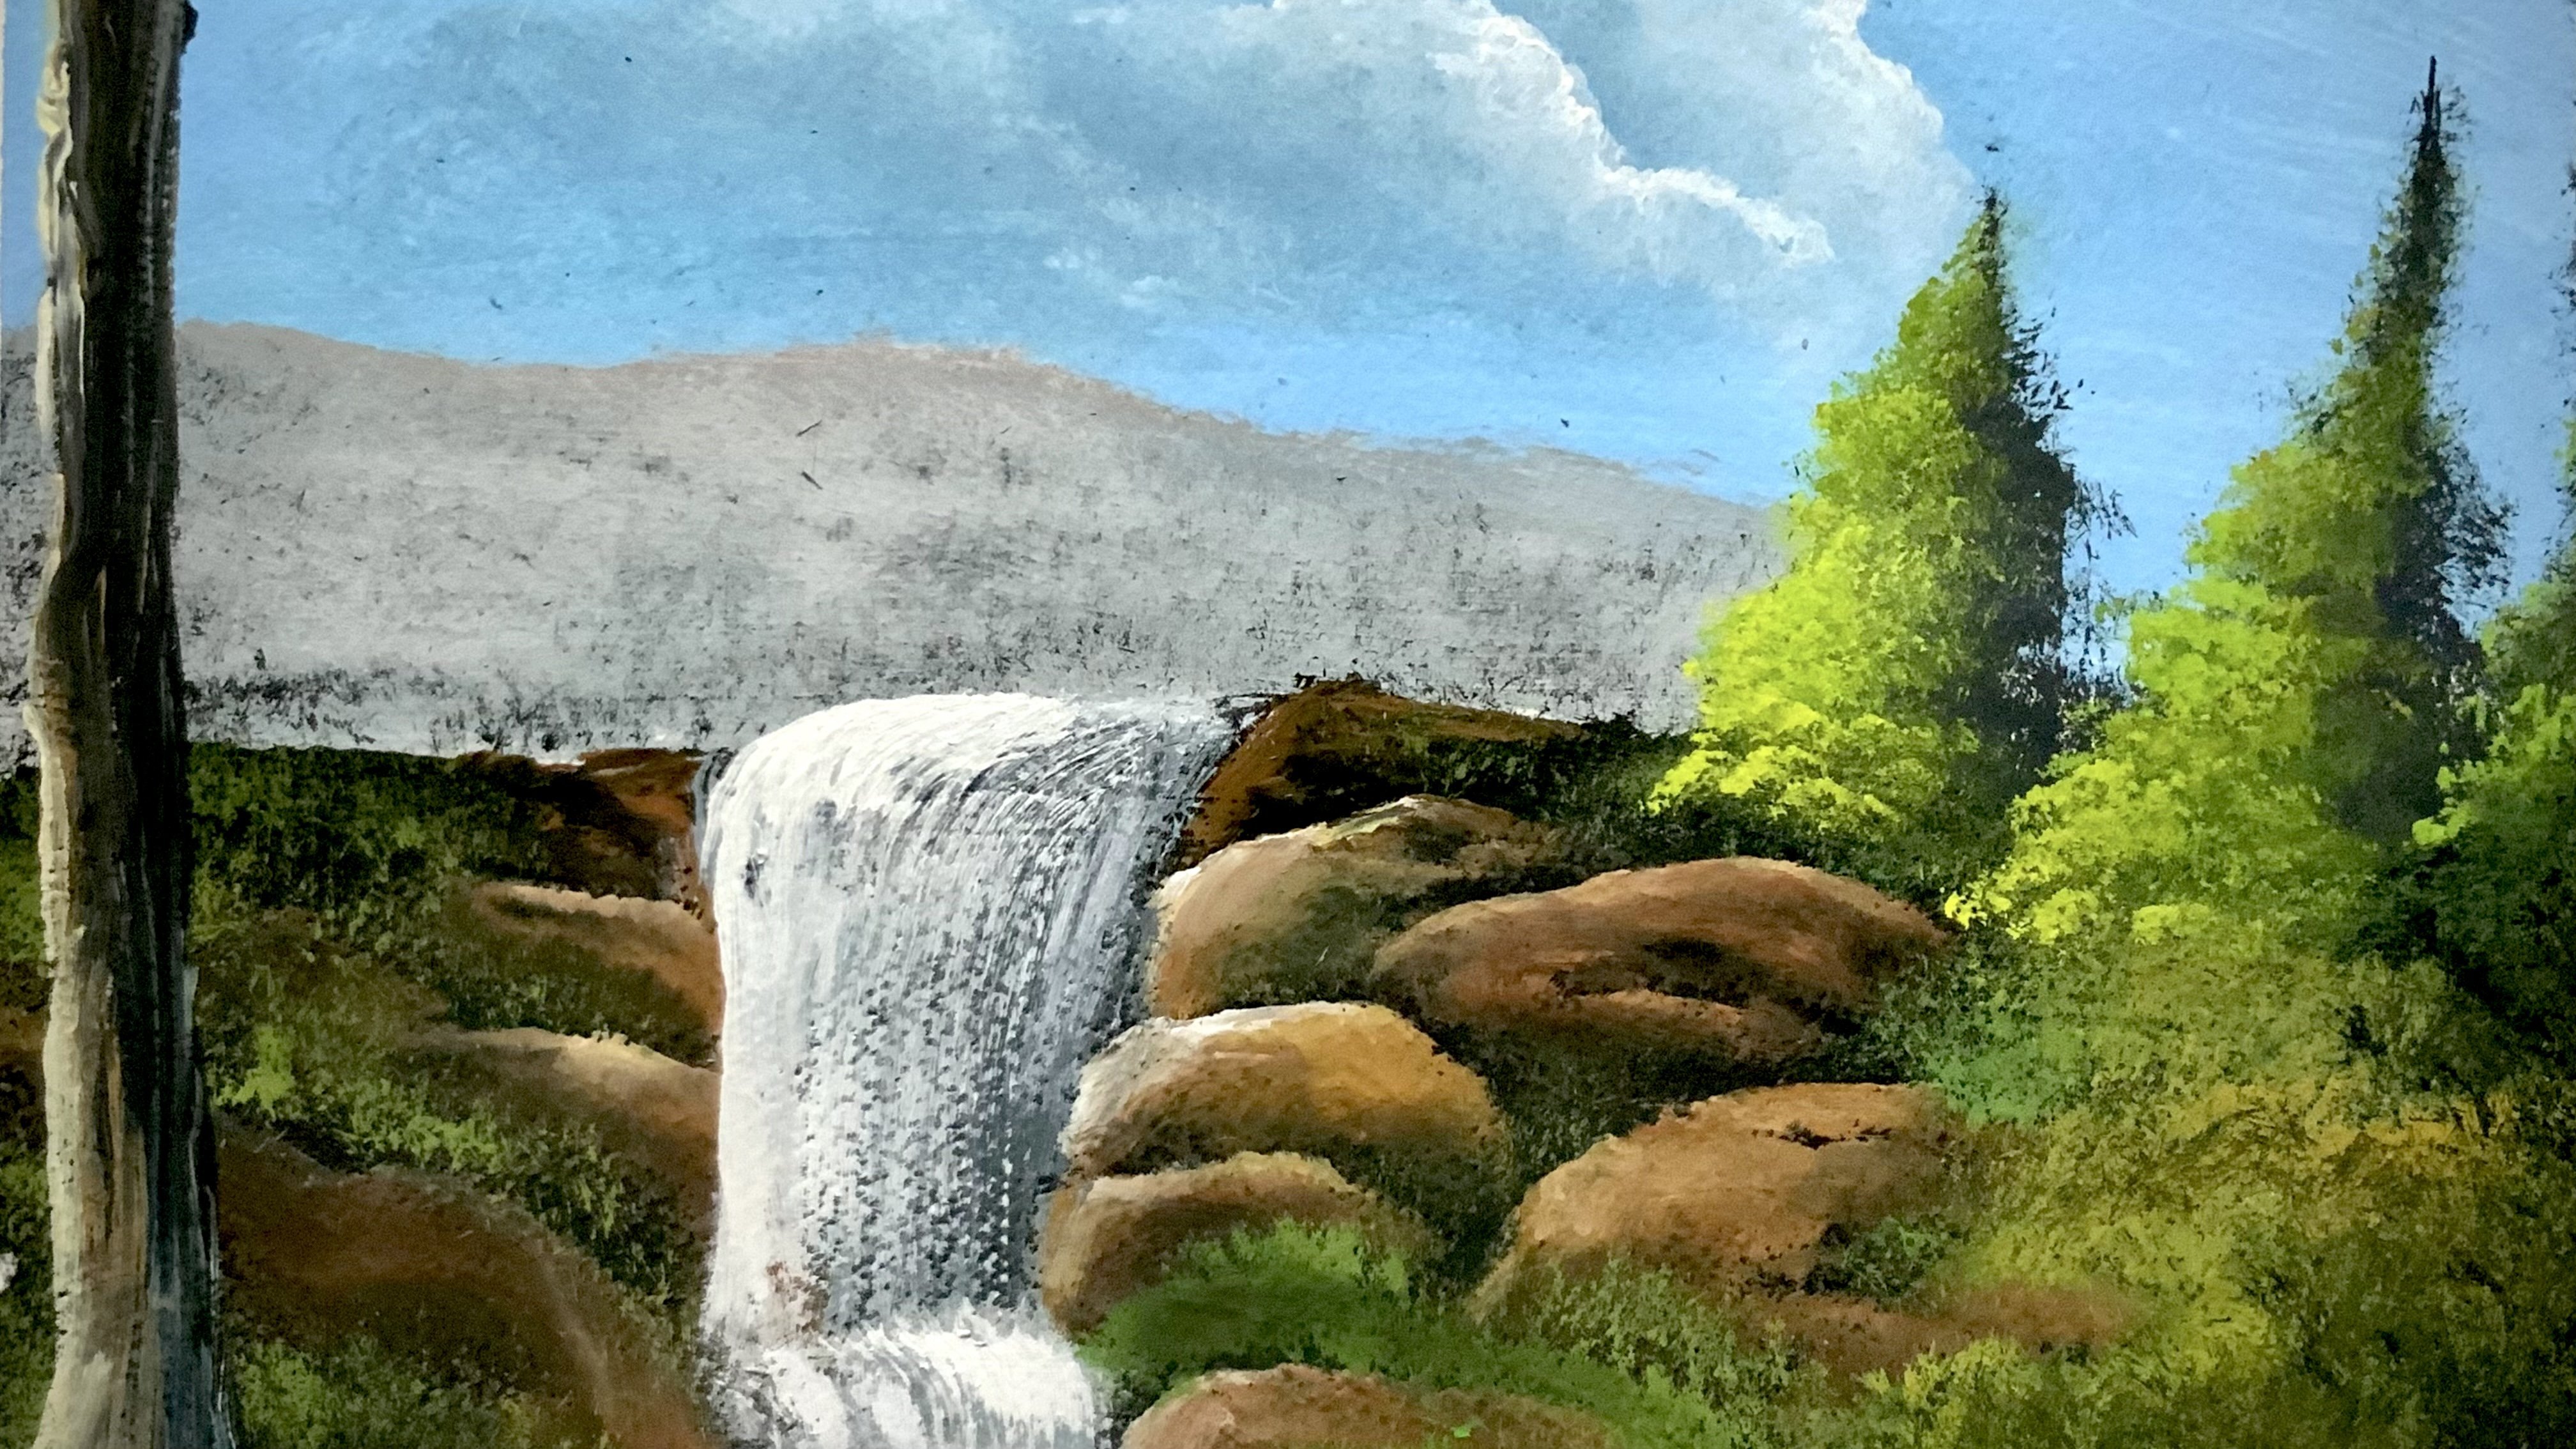
1. Introduction: Hi, I'm ash, and welcome to
my landscape painting class. In this class, you
learn how to create a peaceful nature
scene step by step, complete with glowing meadows, distant hills, and
reflective water. Even if you've never
painted before, I'll guide you
through every part of this process in a
simple and clear way. By the end, you'll have your very own finished
landscape painting and the skills to create many
more. Let's get started.
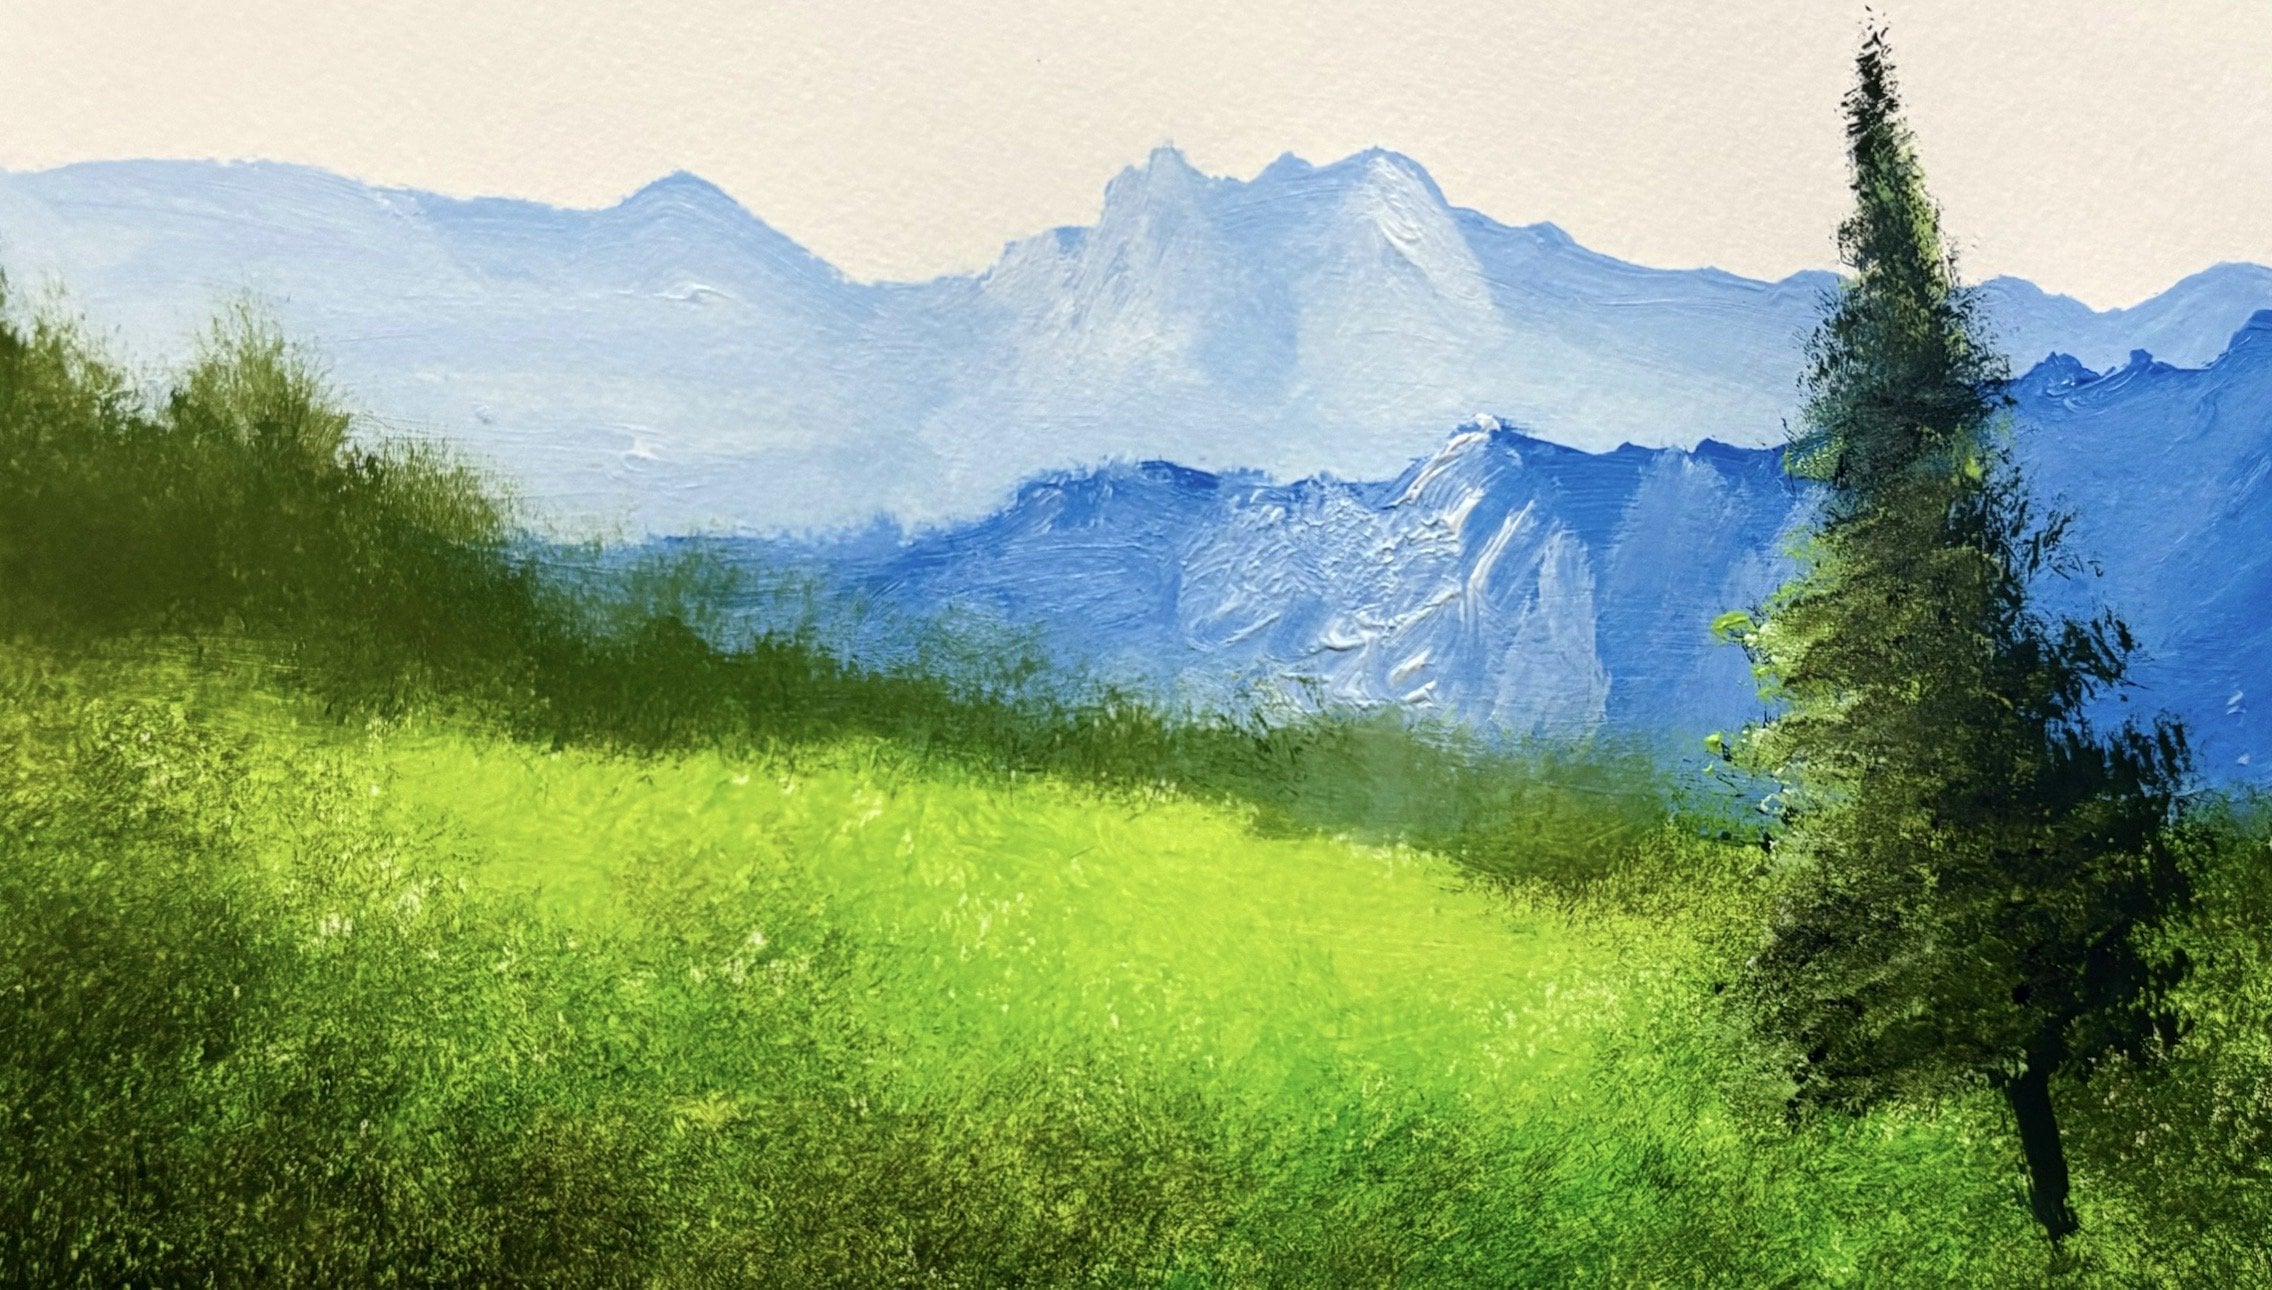
2. Background Mountains And Bushes: Hi, and we'll come
back to a new video. In this video, let's go to see how to paint Bag
on mountains and some bushes in front of those mountains which are
there at the distance. So to paint the mountains,
I'll take in some white and some burnt sienna
on my fan brush. Okay, it makes it beautiful
soft wrong colour. And let's come right away
here somewhere. Place in. Just like that. We want some
humps and bumps as well, so maybe let's
increase the height of that mountain, far off mountain. You can use any brush for this. I'm using the fan
brush because it fits into this size paper. This is watercolor
paper, by the way. If you're painting on
canvas, it's a bonus. Something like that. Down here at the bottom,
let's add in some more white, which acts as a mist. Let that float
around the mountain. Send a bit towards right. There we go. Look
at that. That easy. Now, let's go ahead painting some bushes in front
of this mantel. That'll be in the
background, still let's take in some
black and some brown. That gives you
beautiful green color. I just wiped off the brush, same fan brush, and I've not cleaned it.
I've just wiped it off. Let's come over here. Let's face in some beautiful little bushes in the background. Let them fade away
into the mist. From doing this after
two to 3 minutes, this is not completely
dry and we'll take advantage of that because we can blend the bush into the mountain and create
that misty effect. Besides like that. Space
it right over there. Okay. So now we've got some bushes and mountain
action going up there. And now let's dig
in some same color. So's comp over here and sort
of place in some textures so it looks realistic and
natural at the same time. Tapping it very lightly, barely touching the surface. I'm doing this when
this is kind of tacky, not completely dry,
neither completely wet. I'm doing this when it's tacky. Almost in between, you know. Okay, so the next fdle
let's go to see how to paint some graphs. Thank you.
3. Grass Painting: Hi, and I'll come
back to a new video. In this video, I just going to see how to paint in some grass. To paint the grass, I'll
take in some sap green, lemon, and some titanium white. Okay. I've wiped off this brush. Again, I'm making use
of this fan brush, which you saw me using
in the previous video. Let's it over there. And place some beautiful little
grassy areas here. Beautiful ones here and
sort all the way down. I've cleaned this brush. So I've been wearing
a pure green color. I would recommend you to go and clean your brush if
you're chesing colors. I've seen some lim loop
place it right over here. Yeah. There we go. Simple. So
we have ancient grass. And in the meanwhile, let's switch the palette and take in this blacklor
the previous one, sort of take the
color immediately. These are acrylics
and these will dry instantly within a few minutes. So in that course, let's kind of come
here and paint in some textures on these grasses. And always start off from the bottom and go towards the top because that'll create depth,
beautiful little depth. I'm tapping it very lightly
just by tapping it. By tapping it, you can make
it look very realistic, very interesting and very appealing as well to
visually appealing. You start with lightly. And as you go towards light side or the middle or center
of the painting, decrease the pressure gradually. For example, I can afford to
increase the pressure here. And as we go towards the top, I'll just decrease
decrease it like 75%. 75% almost. Yeah. You get that. And later on if you feel
you need some highlights, you can come here
and you placing some highlights very likely. He? Yeah, there we go.
Something over here too is required because
you want to balance. Yeah. It's completely dark over
here, which is good, which will bring
the attention of the viewer to center
of the painting. Do not paint when
it's hacking you. There might be chances
where the paint might come off the surface or
the canvas or paper, especially when you're
painting with paper. Be very careful. You
can pretty much do this landscape paintings on
wall or wherever you want. The technique will
remain the same. And now, let's go and
add in some highlights. Tint highlights, I'll go back
to that same old palate. T in some twin sapren
very little sabtren, some lamelu and some white. Maybe we will take
some more sabrem more of Llevenlo and white. And from away here. And so please in that color. Just a bit. Not much. Just a bit. Yeah, there we go. Lo at that. It makes a painting look more interesting
and realistic. More importantly, we
want the paintings to look realistic as
much as possible. If you look at
that, taping it and skip some spots because you
don't want it to be flat. You want to have some
dimensional look and some depth in your painting. Again, whenever I'm
tapping the fan Brush, whenever I'm tapping not only the fan brush
with any brush. I'm tapping it very, very
gently, very lightly. Make that start easy, tap and help so
you get that set. Simple, taping. Let's come here. Let me sure my brush and get brighter pink,
f a color rather. You can pretty much do this to any of the
landscape paintings. Taping it and from here to
the last bottom of this. So in some more color. Here I'm tapping it very lightly because I wanted black
to show through. So I'm tapping it
very, very lightly. Yeah, that's enough,
but yeah. There we go. And in the meanwhile, let's come over here and sort of present more highlights right over
there in the background, just a bit add some interest to make the
painting look more meaningful. Yeah, that's enough.
And the next video, let's go and paint some
trees over here. Thank you.
4. Blocking In For Trees: Hi, and welcome
back to new video. In this video, let's
go to see how to paint some trees here.
Paint the trees. We need a blockman color that is the generic color which acts as a backdrop for
painting the trees. So for that, I've
taken in some sap green and some plaque. I'm still using that
same fan brush, and I've just wiped it off
not cleaned it really, and it's right away here. Acing a beautiful little
reaction right there. And let's add in some
brown increase interest. The bottom part will be the reflection, something like that. Yeah. Here and not added water. Not much of water
has been added a bit to have those blocking
in parts a bit smoother. Now I've taken in
some pure black, just to add in some contrast. Sit over there. Defining those edges of
the foliage of the trees. Right? Just placing
here and there. Just a brick. Not
much. Just a bit. Let's blend that. You don't want to
be pretty flat. Let's blend that that's anyway, the blocking in pipe. Okay. And in the meanwhile,
let's come over here, just wipe off my
brush. Come here. Placing some textures that here too, just a bit, not much. Just a bit. That's it right. Okay, so this is busy drying, we'll go to the next
video and we'll see how to paint
reflections. Thank you.
5. Reflections Painting: Hi, and welcome back
to a new video. In this video, let's go to see how to paint some reflections. So for that, I've taken
the same old fan brush, which I've been using
throughout this class, and I've taken some plaque, am, and some sap cream. Okay, let's just
compare it here. And place in some basic what do you say basic
color of the reflections. And I'm going to be a
bit super loose here because these reflections
are not too tight, let's come right away here. And let's sort of rely on
the texture of this paper. This is a watercolor paper,
as I told you before, and it's sort of Yeah. It's going to concentrate a bit. Yeah, by the way, let's sort
of come right over here and rely on the
texture of this paper. If you're painting on
canvas, again, it's a bonus. And I've kind of taken paint in such a way
that as soon as I paint here, paints over on the brush. And with that, let's sort of come over here and paint
in the reflections. That. Super effective
and very easy, it's very realistic as well. Just sort of doing it. If you're painting on canvas, you can rely on the texture of the canvas to get this effect. Look that. Instantly, we
get that effect of water. Let's reload the brush. Let's come right over here, too, sort of paint in that. This is not just
painting, to be frank, it's kind of
manipulating the brush, the texture of the surface or the paper or the canvas
you're painting on. I see a bit of a gap here
we go there and fill it. Simple do not apply too
much pressure. That's it. In the next video, let's
go and see how to paint in the foliage on
this tree. Thank you.
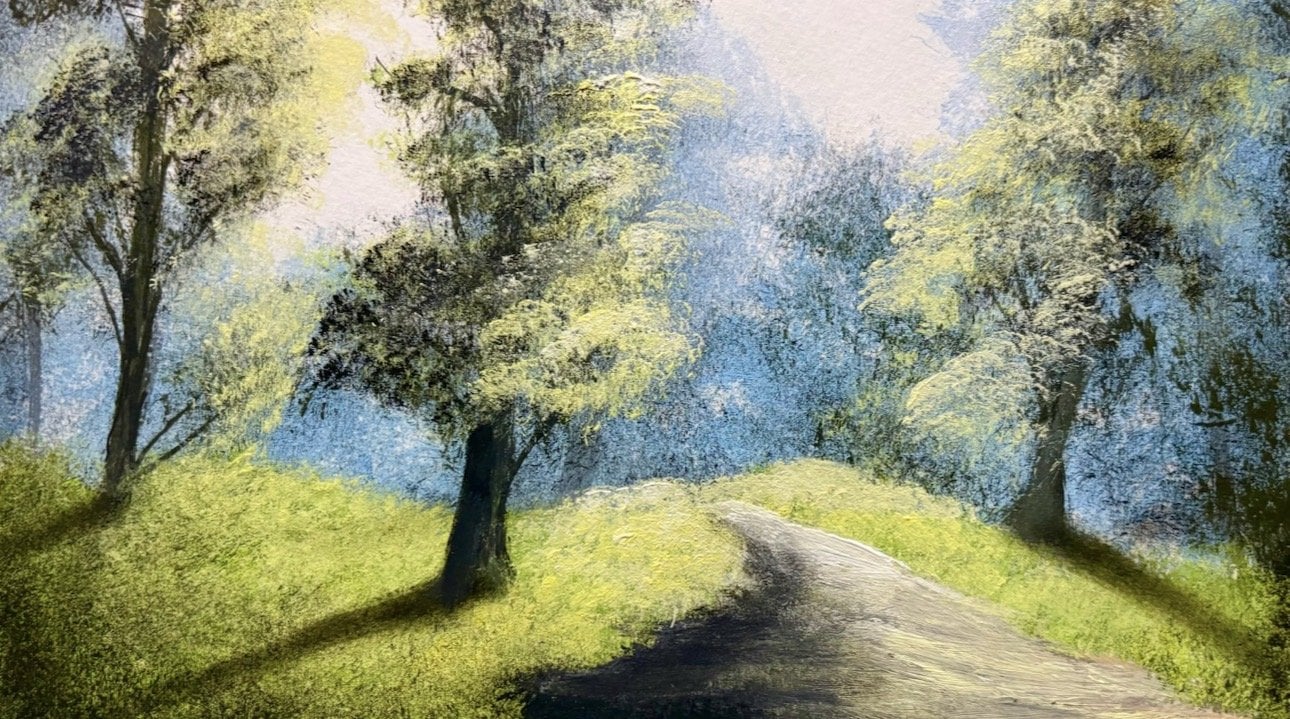
6. Foliage Details And Highlights: Hi, and welcome back
to the new video. In this video, let's
go to see how to paint foliage on these trees. So for that, I've taken
a modified flat brush. This was a flat brush initially, and I modified it
according to my use, and I've opened the
bristles with usage, and I've just cut the tip of this brush pretty randomly so that it gives me the
texture of foliage. Let's take in some sapling. In me Yellow. Yellow. Okay. And we'll add in
some white as well. And we just a bit of
white same p of peak. Well, let's come
right over here. This is almost dry, 95% dry. Let's just over
here and place in a beautiful little
foliage action. I've taken in more paint
than normal. Do that. I've taken more paint I'm relying on a texture of the brush that the
brush is going to give. Okay. Look at that
easy adding more of cat lot of patients convert
here and place it in simple. Go back, love the brush. It placing it right
away here and there. In this painting, this painting, I can definitely say
it's with a lot of control where I've
applied textures, maybe on mountains, grass, the reflections, the foliage on the trees which
I'm doing now. I've not applied
too much pressure. You should restrain from
applying too much pressure. Okay. So when you apply
very little pressure, you got a lot of those textures. When you got a lot
of those textures, you get a realistic
painting in itself. Look at that. Just ping it in here. And we're just trying to
break that boundary of the black color where you
see that coming out there, reloading the brush, coming back and sort of
placing it in simply. So going to be everywhere,
just skip some spots. And restrain from
using the brightest of the colors at the
beginning itself. If you want you
can always go back and add more brightness, adding some white or limelight especially for this foliage. A it and start putting it in. These yrocrlgs and
these tend to dry a bit quick even on the palette, as well as on the paper. So be careful. You've got to
keep on misting your palate, not the paper because
that low full cost. We are getting a
realistic effect. If you observe carefully
textures, especially here. The soft placing. I'm kind of increasing
the pressure because I know the paint is
very less. Look at that. No paint. Almost no paint. Let's go and remix this color, and in some yelloca Sabre
and just a bit of white. Simple. Maybe yellowcre
is playing the trick. And so here. Look at that. Just a bit. Not much. I can just separate
them into sections. I'm here too. Place
it in. Look at that. It's that easy. Let's come here and in some writer ones with the contrast that with
just two brushes, I'm able to finish
this painting. You can do it provided you
apply very little pressure. I'm sounding a bit repetitive, but that's the basics
of this technique. You have to apply
very little pressure. Yeah. I see a bit of blank area
here right over there too. There's a bit of a here
and there. There we go.
7. Conclusion: With this, I come to the end of this painting. I hope
you've enjoyed it. And I really hope I've added some value
to your knowledge, and I have, given effect
on your painting skills. And with this, we
conclude this painting. Thank you. See you
in the next class.
 Yashas G, Paint With Yash