Transcripts
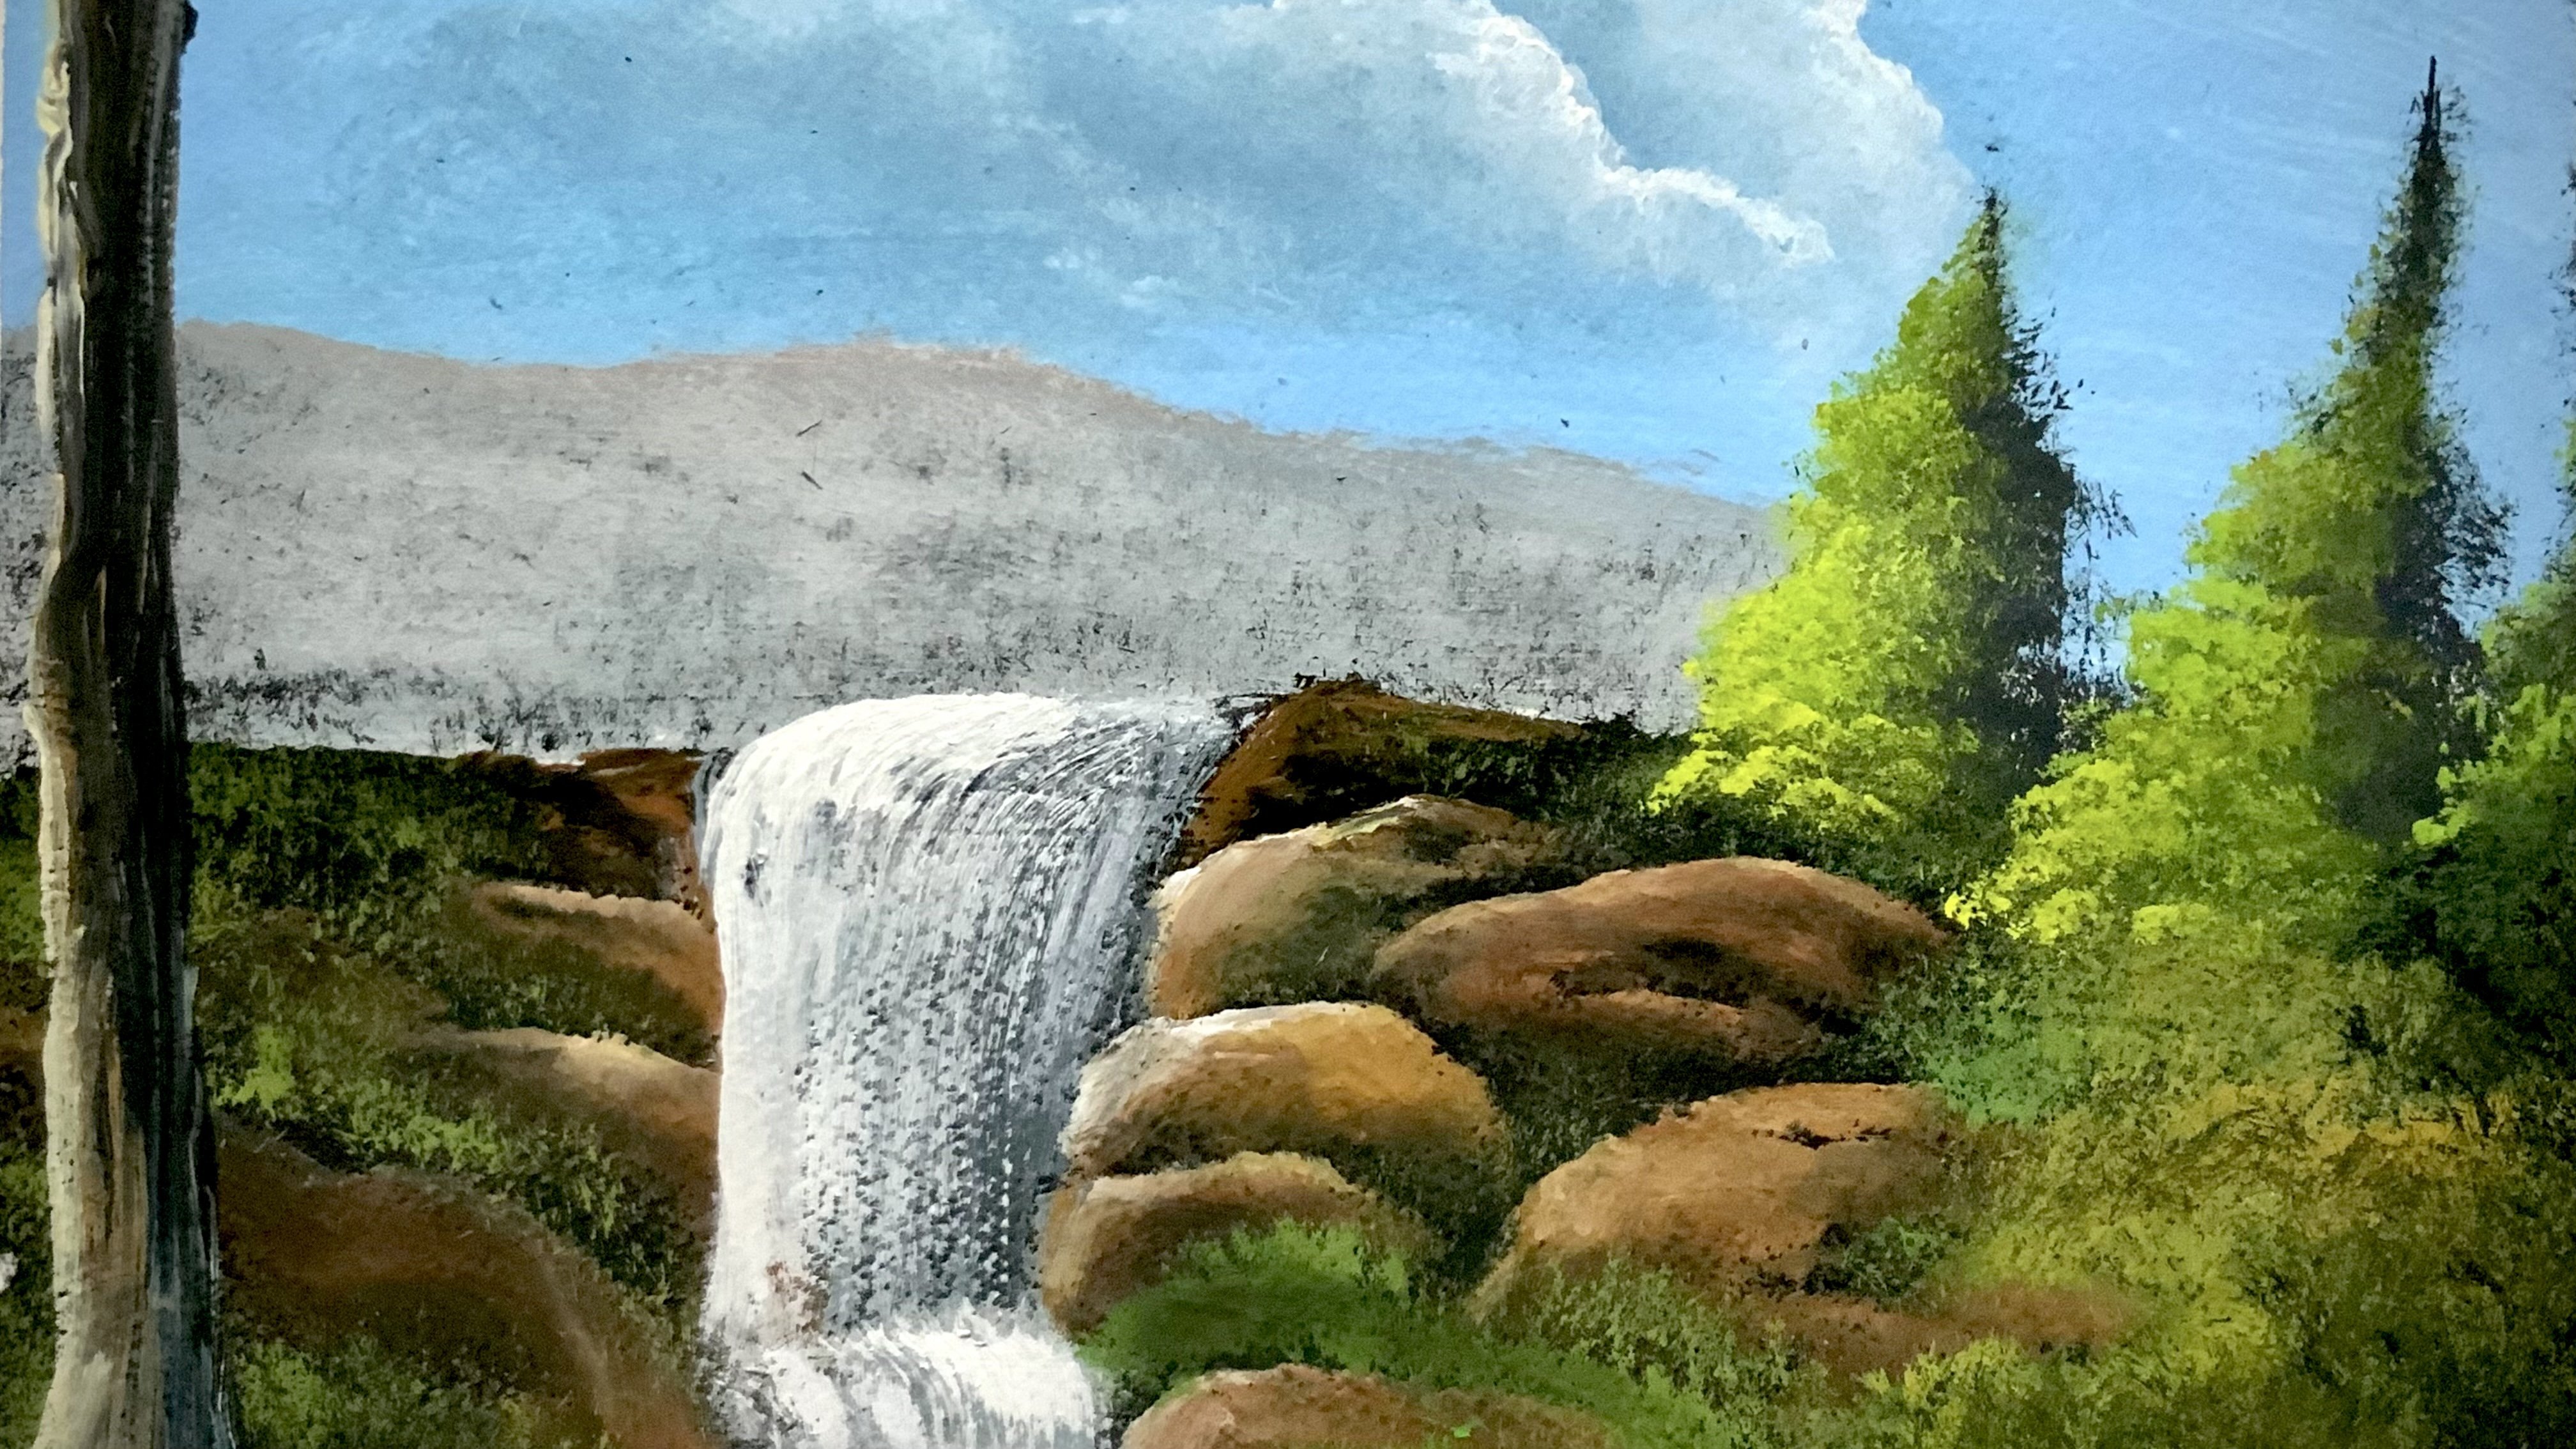
1. Introduction: Hi there. Welcome to my class on landscape
painting for beginners, create stunning
mountain scenery. If you've ever looked like a beautiful mountain
scene and thought, Wow, I wish I could paint that. You're in the right place. In this class, I'll
guide you step by step to paint this peaceful
landscape with green fields, distant mountains,
and a tall tree that brings the scene to life. You don't need any experience. I'll show you everything from scratch in a fun and simple way. We learn how to build
depth, blend colors, and create light and shadows to make your painting look
realistic and beautiful. By the end of this
class, you'll have your own finished painting and the confidence
to create even more. So grab your brushes and let's bring this
mountain view to life. I'll see you inside.
2. Mountain Ranges Painting: Hi, and welcome back
to a new video. In this video, let's go ahead and paint in
some mountains. So to paint the mountains, I have some water on the side, and I'll dip my angular
brush in water. And let's take in some
white and some blue. This is brushian blue. Okay? Let's take in
some more white, a decent little color. Let's take in some
more flat white. W look a bit disterent. And let's come right over here
at the top at the peak of that mountain you dye in
sort of placing his color. This brush works perfect when you want to get those
angles to sharp edges. This is a very beautiful brush to paint far off mountains, especially at the very back. I'll take in some
white and just sort of give a bit give more
miss to this mountain. Okay, something like that, and make the bottom
a bit mistier. Let the top be a bit darker, but you can
also if you want, you can blur the top of
these mountains just a bit, not too much to make them
look natural and misty. Okay. Look at that. You
might go out and add in some snow on this mountain and also we have another
mountain coming over here, the rive This is how the
mountains going to look. I'll take in some
more of this color. Maybe this t be a bit darker. Cis in. Blue color always
beautifies your painting. Also, we need to make sure that the mist is seen so that there's some separation between this
mountain and that mountain. Yeah. There we go. So you want to have that
realistic effect in a painting. Drying the paint like this, taking off the excess paint. That's what I'm
going to do it here. Now for this, let's go add in some more mist,
simple, some white. And you have to do
this when it's white. Of course, when you're
doing painting, it'll take several
weeks to try and you'll have a lot of time to go and
blend what you want to do. But these are acrylics. So you can just go ahead
and do after it's dry. Of course, you can
do something like drips blending, but not here. Yeah. Look at that. We have
two mountains instantly. So in the next video,
let's go to see how to apply some snow and some highlights on
these two mountains. Thank you. See you
in the next video.
3. Snow On Mountains: Hi, and welcome back
to our new video. In this video, let's
go to see how to paint snow and some highlights
on these two mountains. I've wiped off my brush. This is the same
brush with which we gave the backdrop for
these two mountains, and I have the same palette. I haven't changed it. And I've wiped off this brush completely, and this is 50% dry, and this is almost dry. So let's sing some
white, pure white. Don't take a lot of that. Then let's comes about in here. I'm doing this when it's
not completely dry. Taking some advantage here on this medium of paint,
something like that. Let just not be too bright in the first code itself, later on, you can make up your mind
to make it even brighter, you can do it, but you can't
do the other way around. Okay. And something over
here today a bit not much. I'm still using
the angular brush, so this is the only brush
I'm using as of now. I've not changed the brush. Sort of come here and sort
of blend that sort of blend. Okay, I got some paint there. Yeah. That can be
fixed pretty easily. Acrylics is so forgiving. Okay, something like that. You create some interesting
painting automatically, and it, like, grab the
viewers attention. Look at that? Let's tick in some of that
over here as well. And as I said, this is
50% dry. That's it. So we have to make
it to our advantage. Let's sort of place
in same strokes, same strokes as there, except that this is
not completely dry so it'll take up the paint
which is underneath. Look at that. It's easy sort
of tapping it and pouring. Take an s paint and sort of brighten some
of those corners. Yeah. Yeah, it's
something over here, too. Yeah a bit. It's like you're sculpting a
mountain with ice. Simple. You put it in
simple perspective. It's like you're sculpting
the mountain with ice. So that's how I look at
Okay, something like that. And let's in some
more brighter color. That's coming. Yeah, that's it. You can go to blend that. Okay, that's simple
sort of create a misefect and it will be
taken care automatically. And I'm just sort of blending this not to give in too much details for
these two mountains. Of course, in the
future, if you want one, you can add them
before it's too late. Yeah. Something like that. And something we here
to just bit. Not much. So if you don the brush,
take offs paint off the brush. Sort
of paint this in. And it also indicates some snow action on these mountains. Okay, let me wend all these together and come with
a single highlight. Take in a lot of paint. Do that? Use this tip of the
brush, dangle out brush. L place it o there. Not taking less pain this
time. Again, that's a trick. Let there be some cracks
when you're going to paint this snow. There will be some cracks
to make it look realistic. Yeah, there we go. Okay. I'll wipe off my brush. Let's come on the other side
as well and blend them. Blow them at the bottom. Straightforward technique
to blow the bottom. Oh, yeah, this looks good. Let them be a bit solid
and over here too. Just a bit. Yeah, there
we go. Look at that. Intally we have mountains. So this looks soft, and this looks kind
of decently hard, you know, the strokes as well. That's what I'm talking about. Okay. So in the next video, let's go and see how to paint the grass for this little
piece of painting. Thank you.
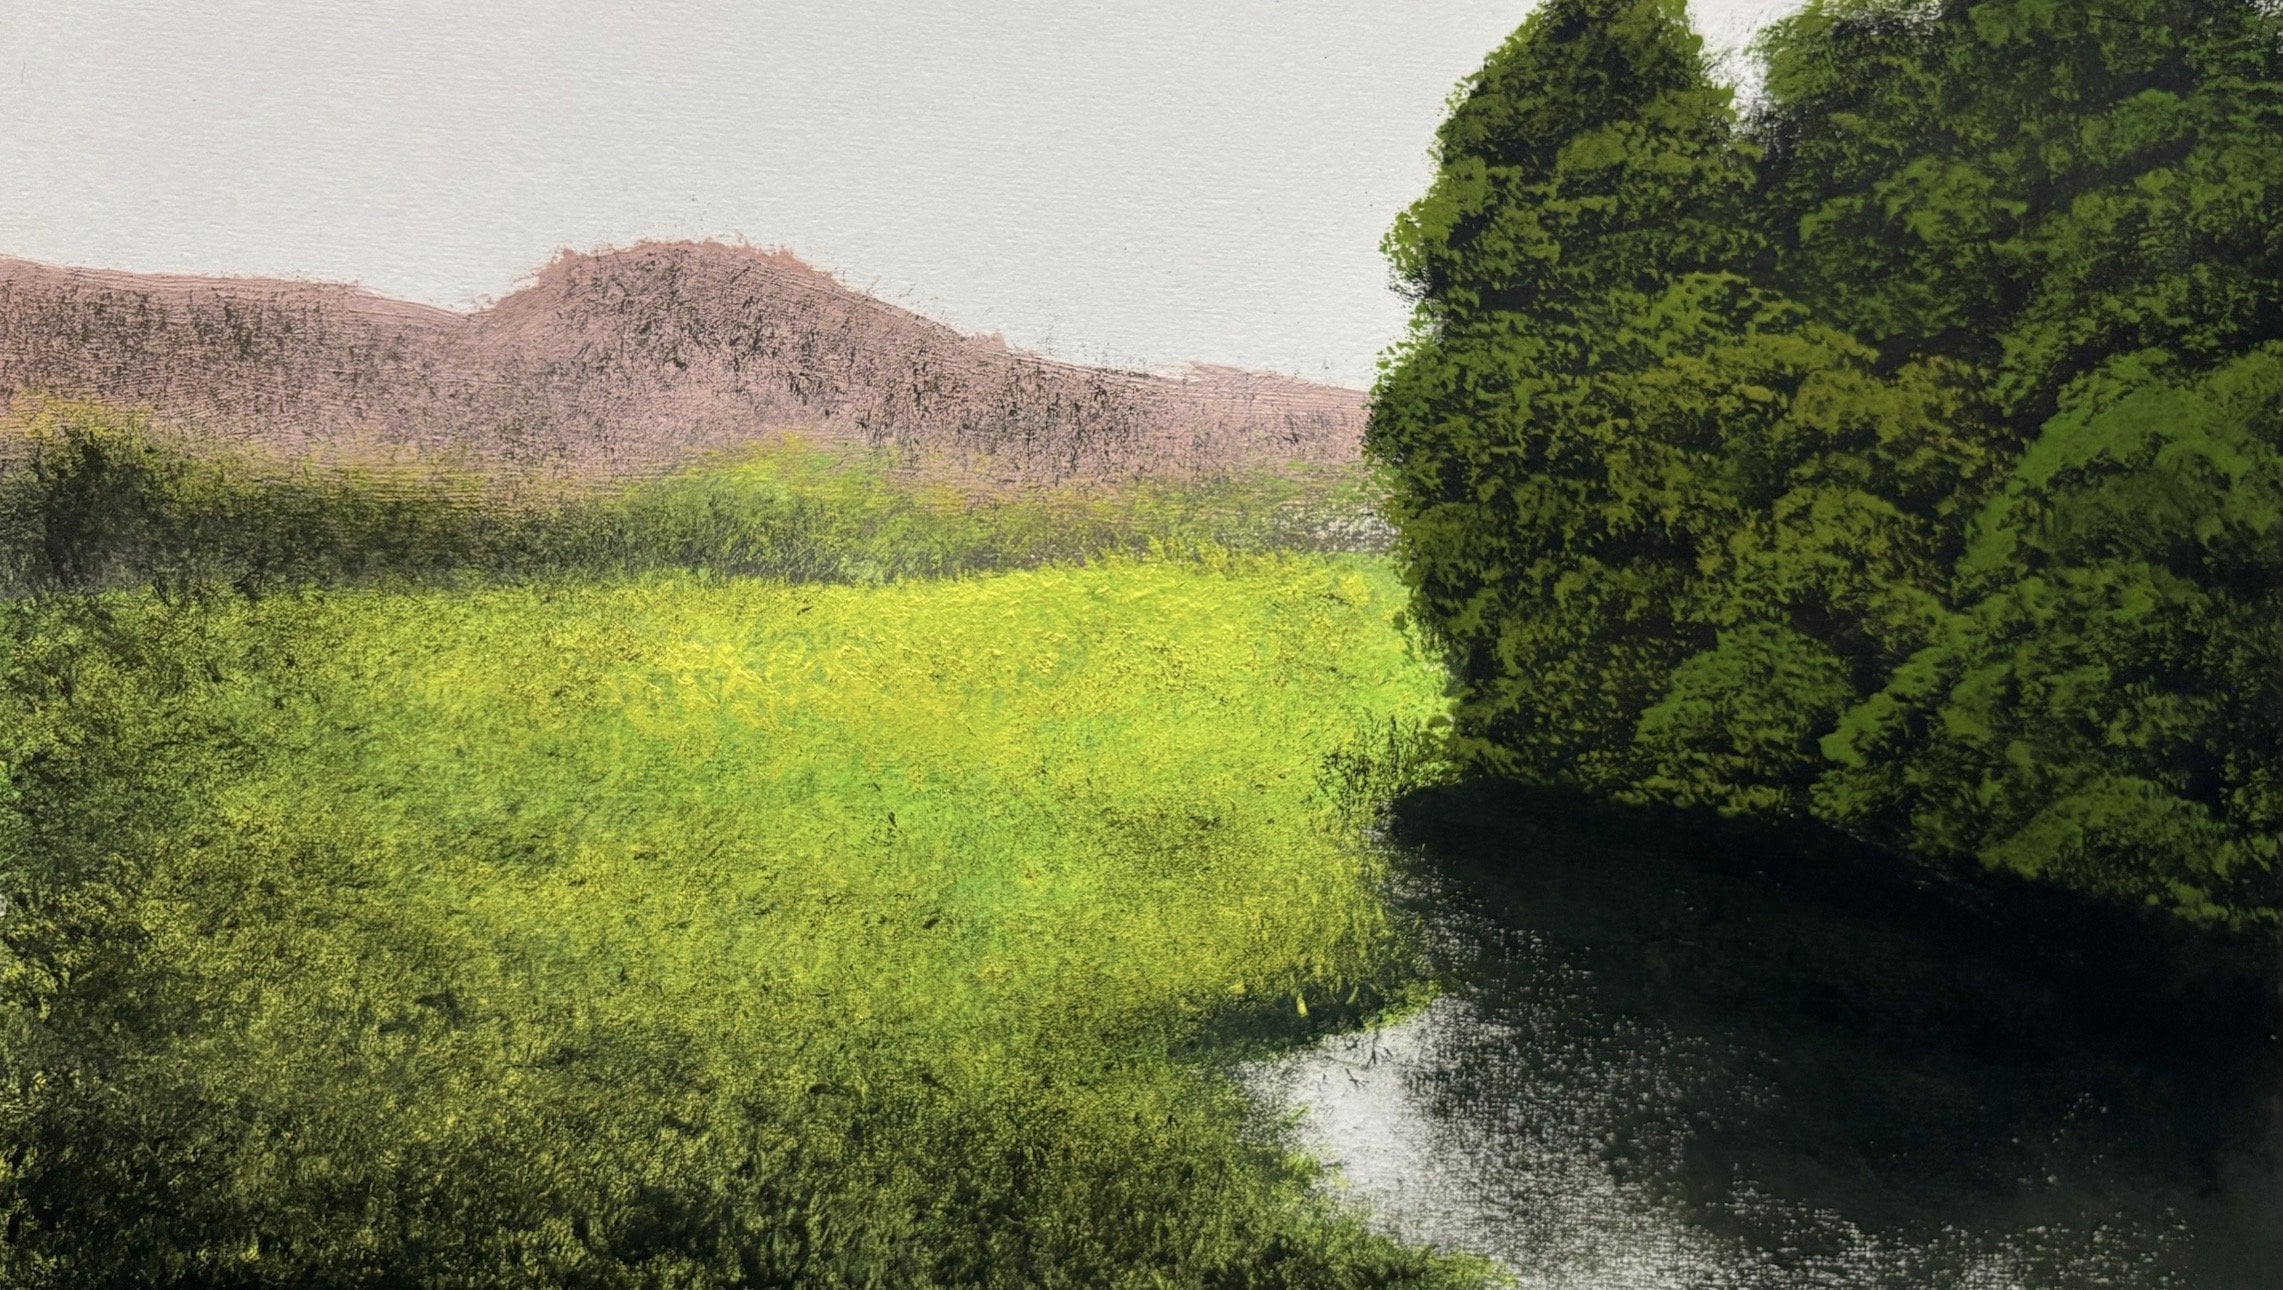
4. Grass Painting: Hi, and we'll come
back to the new video. In this video, that's going
to see how to paint grass. So on my palette, I have
some lime el and some green. Okay? And I'll dip
my brush in water. And the brush I'm
using for the grass is a normal fan brush,
number two fan brush. Let's just go into some
lime ellow and some green. Okay? About 50, 50? Yeah, gives you bright
little green colour. Let's sort of come right
about in here itself and get in those grassy
effects. Look at that. This itself is creating a
beautiful grass effect. It looks like natural grass. If you're cutting this effect,
you're on the right track. That's for sure. You're
sort of tapping it. Make sure that the tip of this brush is facing
towards the roof. It's at 90 degree and just
go and tap it. Simple. Change the color. Don't have
the same color everywhere, and this will sort of
crear dissipation in the field in the ground. I can just sort of go and
scrub this somewhere. Just a bit, not much. But most of it's gonna
happen with tapping. I sort of cotter. Okay. I've taken in some more
of that green and mel. That sort of come right here. I just sort of place it in beautiful little grassy
facts right there instantly, within a few seconds,
just by tapping it. Okay? Now I dip my brush in
water to get that fluids. Make it more to make
the paint flow. Come all the way till
here and paint this. Let paint it here real quick. We have to make this look realistic and this
is just 50% done. I'm talking about the grass,
and this is just 50% done. I'll show you how to make
it look even more realistic and I'll show you how to
get in a lot of depth. So that the painting looks
natural and three dimensional. And now, let's go and paint in something which makes the grass look even
more realistic. So I've taken in some black, no water this time, and
I've not cleaned the brush. As you can see, there's some green steel
left on the brush, and I'll take in
very little black. Okay? Let's come right over
here at this corner. Okay? You sort of paint in
some of these textures. That's the right way to put it. On the top of these textures, these beautiful beautiful
little textures. J here and there.
Just here and there. Let's come on. Just as well, and sort of place in
some more of that. So that the attention goes towards painting
actual painting. Yeah, there is a bit
not tapping too hard. Go back to that color. Let's sort of gradually decrease pressure
as you go towards the highlight area or
towards the subject. Something like that. This is adding texture, as well as adding depth
to your paintings. Simple taping it. That's it. Don't add
water for this, you know, for this part where I'm using black because it will not
look good after it dries. Yeah, there we go. Yeah. So in the next video,
let's go to see how do we paint trees in the
background. Thank you.
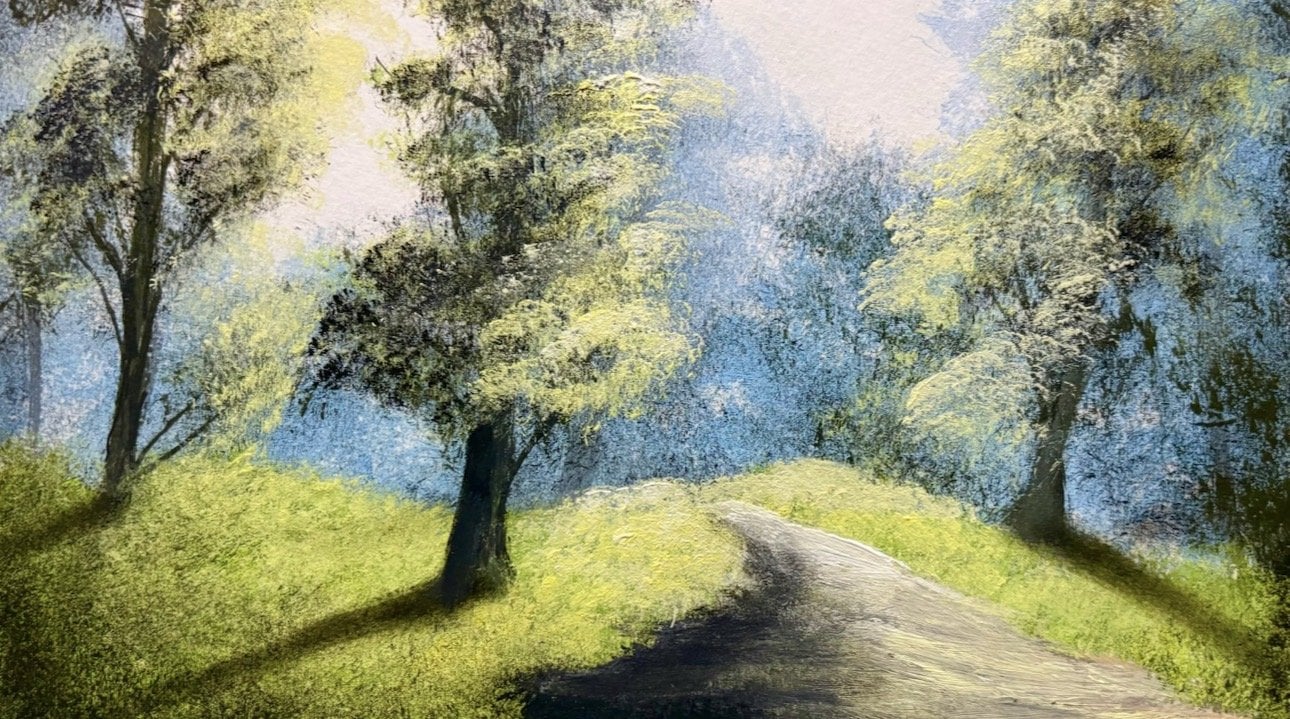
5. Background Misty Trees: Hi, and welcome back
to a new video. In this video, let's
see how to paint in some trees in this area. So for that, I've gone
back to my angela brush, and I've taken some green, some black, some limello simply. Most of it's going to be in
the green color, come here. I sort of paint in this little
piece here. Look at that. It's as if you're
tearing the paper, whereas that's the right
perspective to put it because if you want
to get this effect, you should kind of go
hard on the paper. Look at that. I'm going
to take in more of this color place it in. This is a watercolor
paper which I'm using. I'm painting an acrylic. Tap the brush. Look at that mist. The mist right over there
creates an effect in itself. Okay, so let that mist come
all the way till here. My we'll take in some
more black to add in some more details and
depth and textures. These three are very important. Yeah, there we go. And now I dipped this brush. That is a fan brush in water, and let's come over here
with that same old color. Let's sort of give the
detail rings top of these trees pine trees, usually. Yeah. Look at that. I'm simply liking it. This effect simply
beautifies your painting. And you can pretty much
translate this into any of your landscape paintings and
look very, very natural. So in the next video, let's
go and see how to paint the pine tree right hand
side in this painting. Thank you.
6. Pine Tree in Foreground: Hi, and welcome
back to new video. In this video, let's go
ahead and see how to find the pine tree
right away here. So, as you can see, this
is my cup, bowl of water. And this is my fan brush. I've rinsed this in
the bowl with water. And I have the same
palette as I had before. So let's go with some
black and some green. Yeah. Get that nature color. The aim is to make
this brush flat. As you can see Look at that. You have to make the brush flat. Why? Because we need a tree
trunk for a pine tree. Coming all the way here. Okay. Cool. So we
have a tree trunk. Let's come over here and
tap and place in some of these beautiful beautiful
little foliage action on this little
piece of pine tree. Yeah. I've added
this bit of water, but you have to wait for a
long time if you add water to dry because when you go out
and apply the highlights, you want these highlights
to stay like highlights. You don't want them to fade away because these are
water based colors, and you might lose that effect. So that's the reason. Sort of greasing this color. And I'm using only
black for this. Of course, I added some
green as well as you saw. That is sap green. Yeah. With that, I don't do too much. Yeah. There we go. Okay, it's been 10 minutes
since I've let this to dry. And I have some limello
and green on my palette, and I'm using this
modified flat brush. So this brush was
initially flat, and it was a flat brush, and I cut these
bristles, you know, unevenly, and by
usage, it got open. The bristles got opened up. And it's a very good brush to, you know, go and
paint foliage. Okay. Let's see some limel
and some green. Yeah. Not too much. Most of it's going to be green we already have some
bright bright grass there. So just to fight the tree
and the grass to fight. So again green. Still, it's not completely
dry. That's okay. You can still go and
paint the highlights. Okay. Maybe let's
start from here. Yeah. Look at that. Beautiful little texture itself. I like it. I thought you can add in some white as well to
make it even brighter. Okay, let's go to
add in some white. Should add white to that
same pile of paint. It come right over here. And it's kind of tap and these beautiful
full eactionR here. And do not do this
when it's wet. Simply, do not do
this when it's wet, simply because it will not
give that same effect. I'll get blended with
that color underneath, and you might not get the
result what you've expected. With that, here and
there. Happening? Let's go on the
other side as well. Give it some shadows. Yeah. I've taken
more thick paint. I'm sort of pleased here, sort of tapping it very
lightly and very gently. It's taking a lot of white. As you can see seeing
these two mountains, the light is coming
from the left. So we're going to
paint the left part of a tree with highlights. Yeah. There we go. It's
chicken more white. I sort of flas it right over here and there,
not too much. Just a snacks and thy lide. Yeah. You got to fret. Go back
to that normal color. It sort of flash it
right over here, too. Look at that. That's
the way we want. Now, I'll take in some black and some green, more of black. And let's come over here on
this little piece of tree and add in some more highlights,
textures, and detailings. Just by tapping, see?
Just by tapping, you can get a lot of effects. Tapping is a very
good technique in painting landscapes or I would say in
landscape paintings. It's how you manipulate
the technique a bit and the brushes and
tools you use. Look at that? Sort of tapping it. You look at this junction where there is highlight and
there's a dark shadow. We need to bring a
transition depth. That's where this
tapping method works. And this doing when
it's almost dry. Yeah, it's almost dry. We're taking some thick paint of black so that I get it there. Almost a gray color.
Look at that? That's it yeah. There we go. So with this, I
come to the end of this class. I hope
you've enjoyed it. I hope I've added some
value to your knowledge. Thank you so much for
staying till the end and thanks for
watching. Take care.
 Yashas G, Paint With Yash