Transcripts
1. Introduction: Hi, I'm ash, and welcome to my landscape painting
master class. In this course, I'll guide
you step by step to create stunning realistic landscapes
filled with growing trees, natural light, and
beautiful scenery. You learn simple techniques to build depth and atmosphere, and bring your painting to life, even if you're a
complete beginner. By the end of this
class, you'll have your own finished
landscape artwork and the confidence to
create more on your own. Let's get started and
paint something together.
2. Background Elements: Hi, and welcome
back to new video. In this video, let's
go to see how to paint background elements
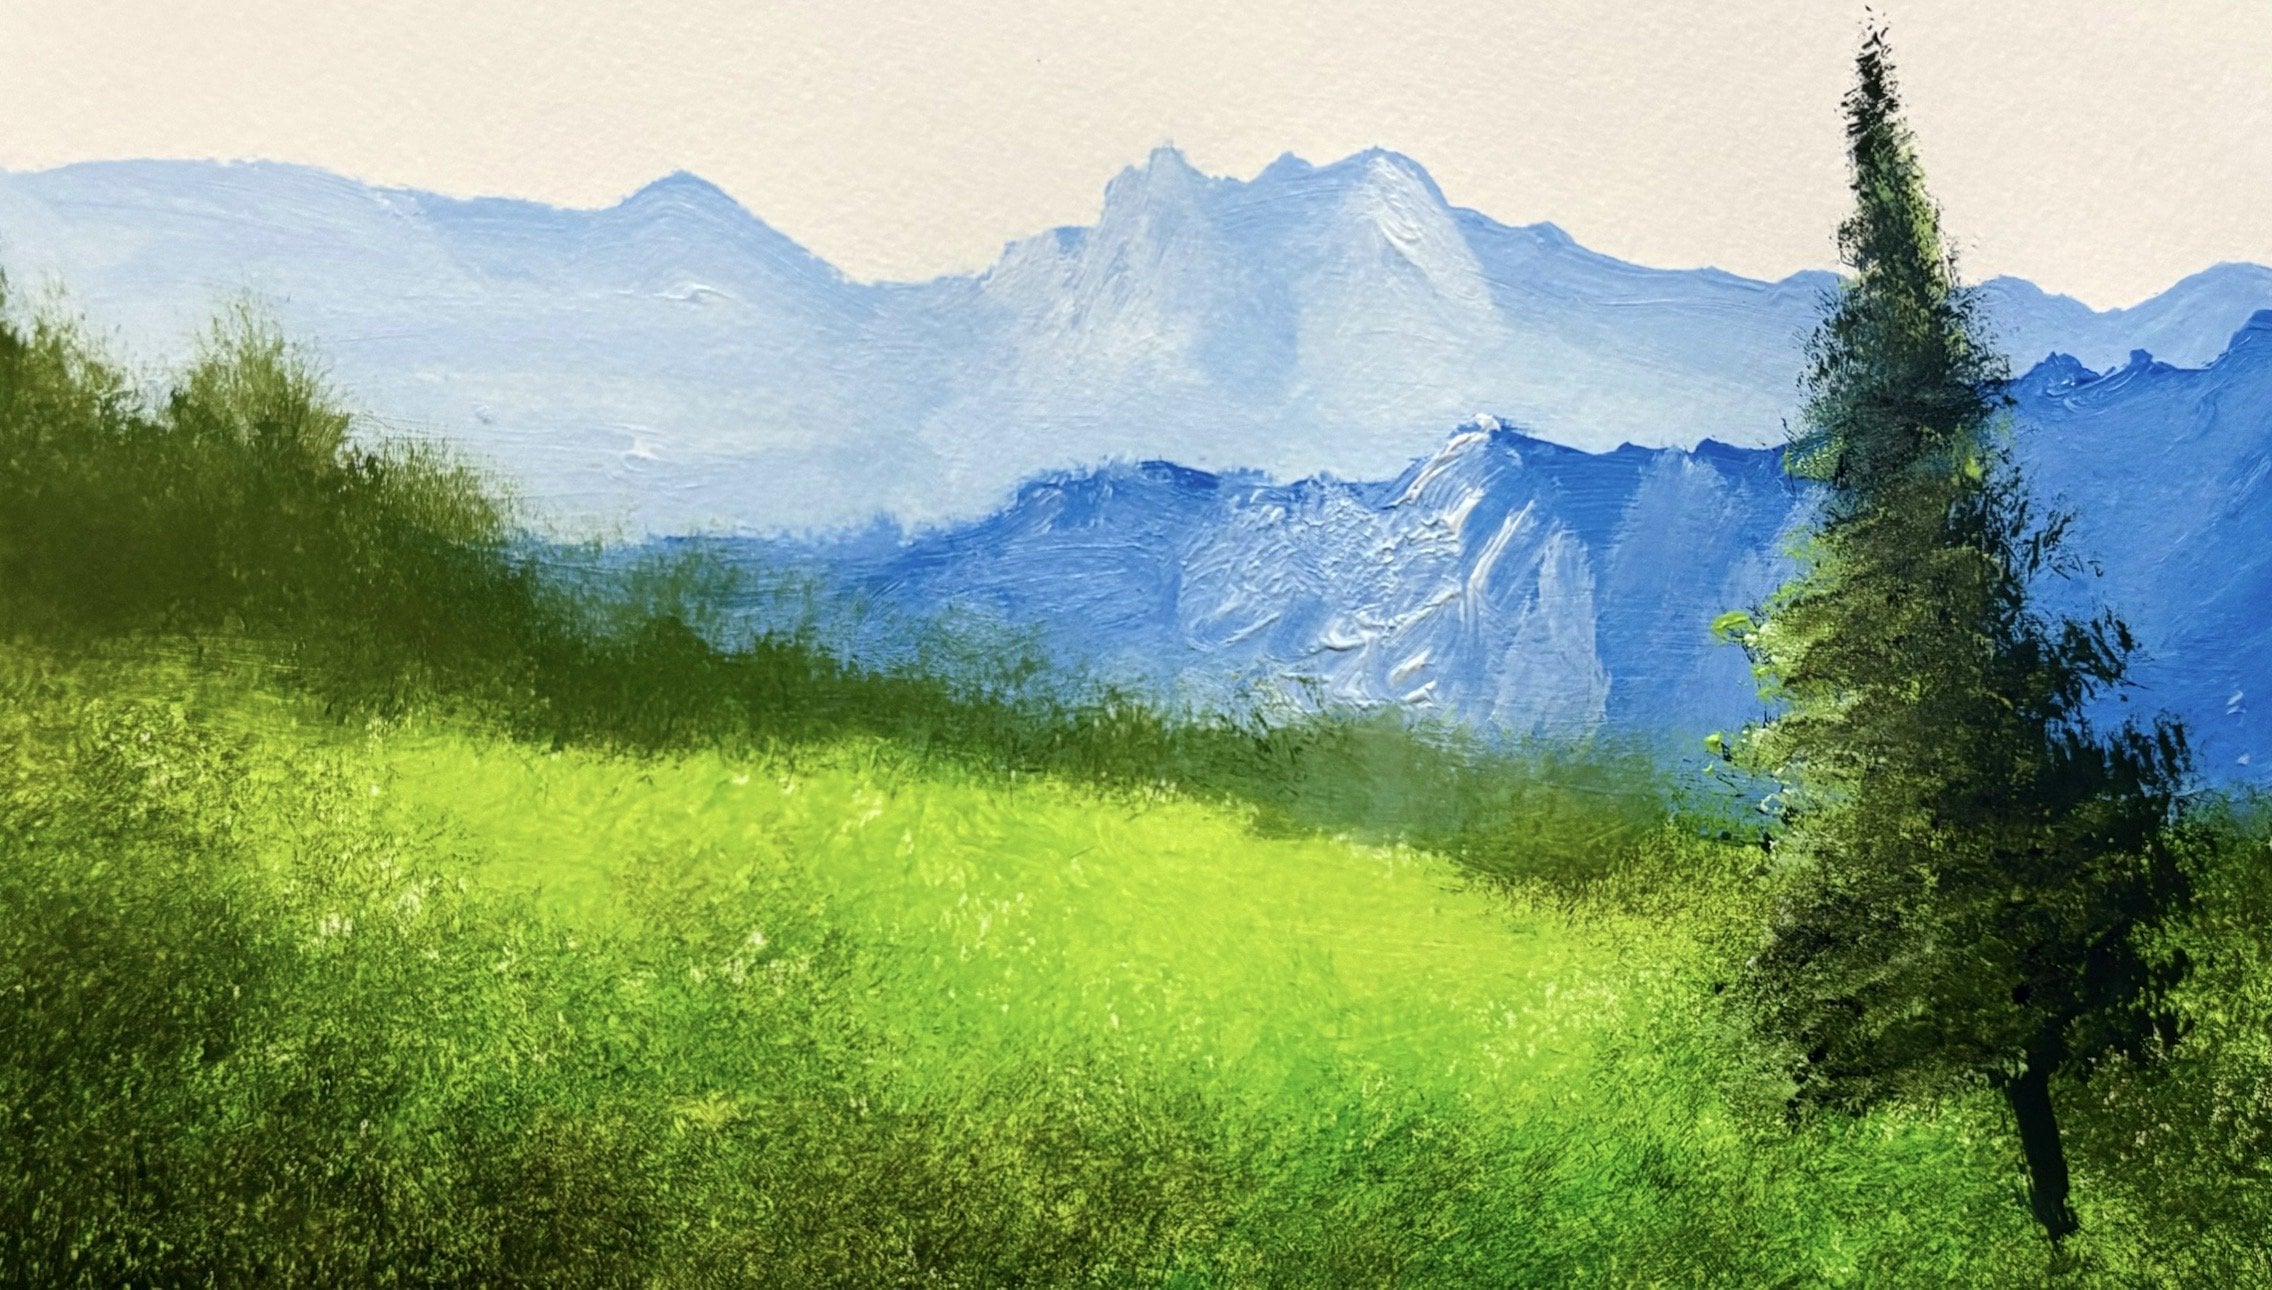
in this painting. So to paint the
background elements, that's the trees. I'll
take in some white. Of course, we need some white
for mist and some blue, just a touch of blue
and some black. Maybe we lad in some more black, some more blue to get that
vibrancy and that effect. I sort of come right over here, and place in some
beautiful little trees up in here. Look at that? I'm using a fan brush. It's not that old, but
it is a fan brush, and you can use it
between these type of trees and these type of elements in
landscape painting. Sort of ping it
all in here, skip some spots. That's
equally important. So that it looks more
realistic and natural sort of looking for too much of textures. I show here and there. So here and there, sort
of placing them in. That's a cono over here. In that looks more blue, and that is what we want. You that? Yeah, there we go. Here and there,
do. There you go. Now I'll take my angular brush and mix in some gray color, not black, some gray color. You can add in some brown
if you want. Just see that. Color. Sort keep the brush
like that pointy edge. No faces towards you. Let's come right
over here and here some beautiful
little tree trunk. Now we can go with normal
flow. The brush are up. I've turned the brush the other way and let them
be quite mischief. That helps. And I've added just a
bit of water for this, thin down the pain.
Yes. Do that. It's that easy. Okay. And now, we'll go into some black, just some black and
all these colors mixed together on that
same old fare brush. Okay? And we'll wipe it off on a cloth or
on a paper towel, whichever is comfortable
for you. Let's come here. Pass way too much dark. Let's check of paint. Yeah. There we go. And this will be slightly lesser compared to
that blue leaves, if that's the right
perspective to put it. This will be in the center. I won't go outwards like that. So you sort of placing it in. This makes it look natural, as well as realistic and gives you that effect
of trees and foliage, textures and much more. So zillions of things happening there just
when you're tapping it. Okay. And skips in spots. That's the most important
thing is skips in spots. Okay. Yeah, there we go get that softer effect
when we go there, that is not totally dry. But yeah, we get that
effect even there. And let those three
trunks get covered with that mist or excess
paint which we caught. Okay, so in the next video, let's see how to paint in
grass over here. Thank you.
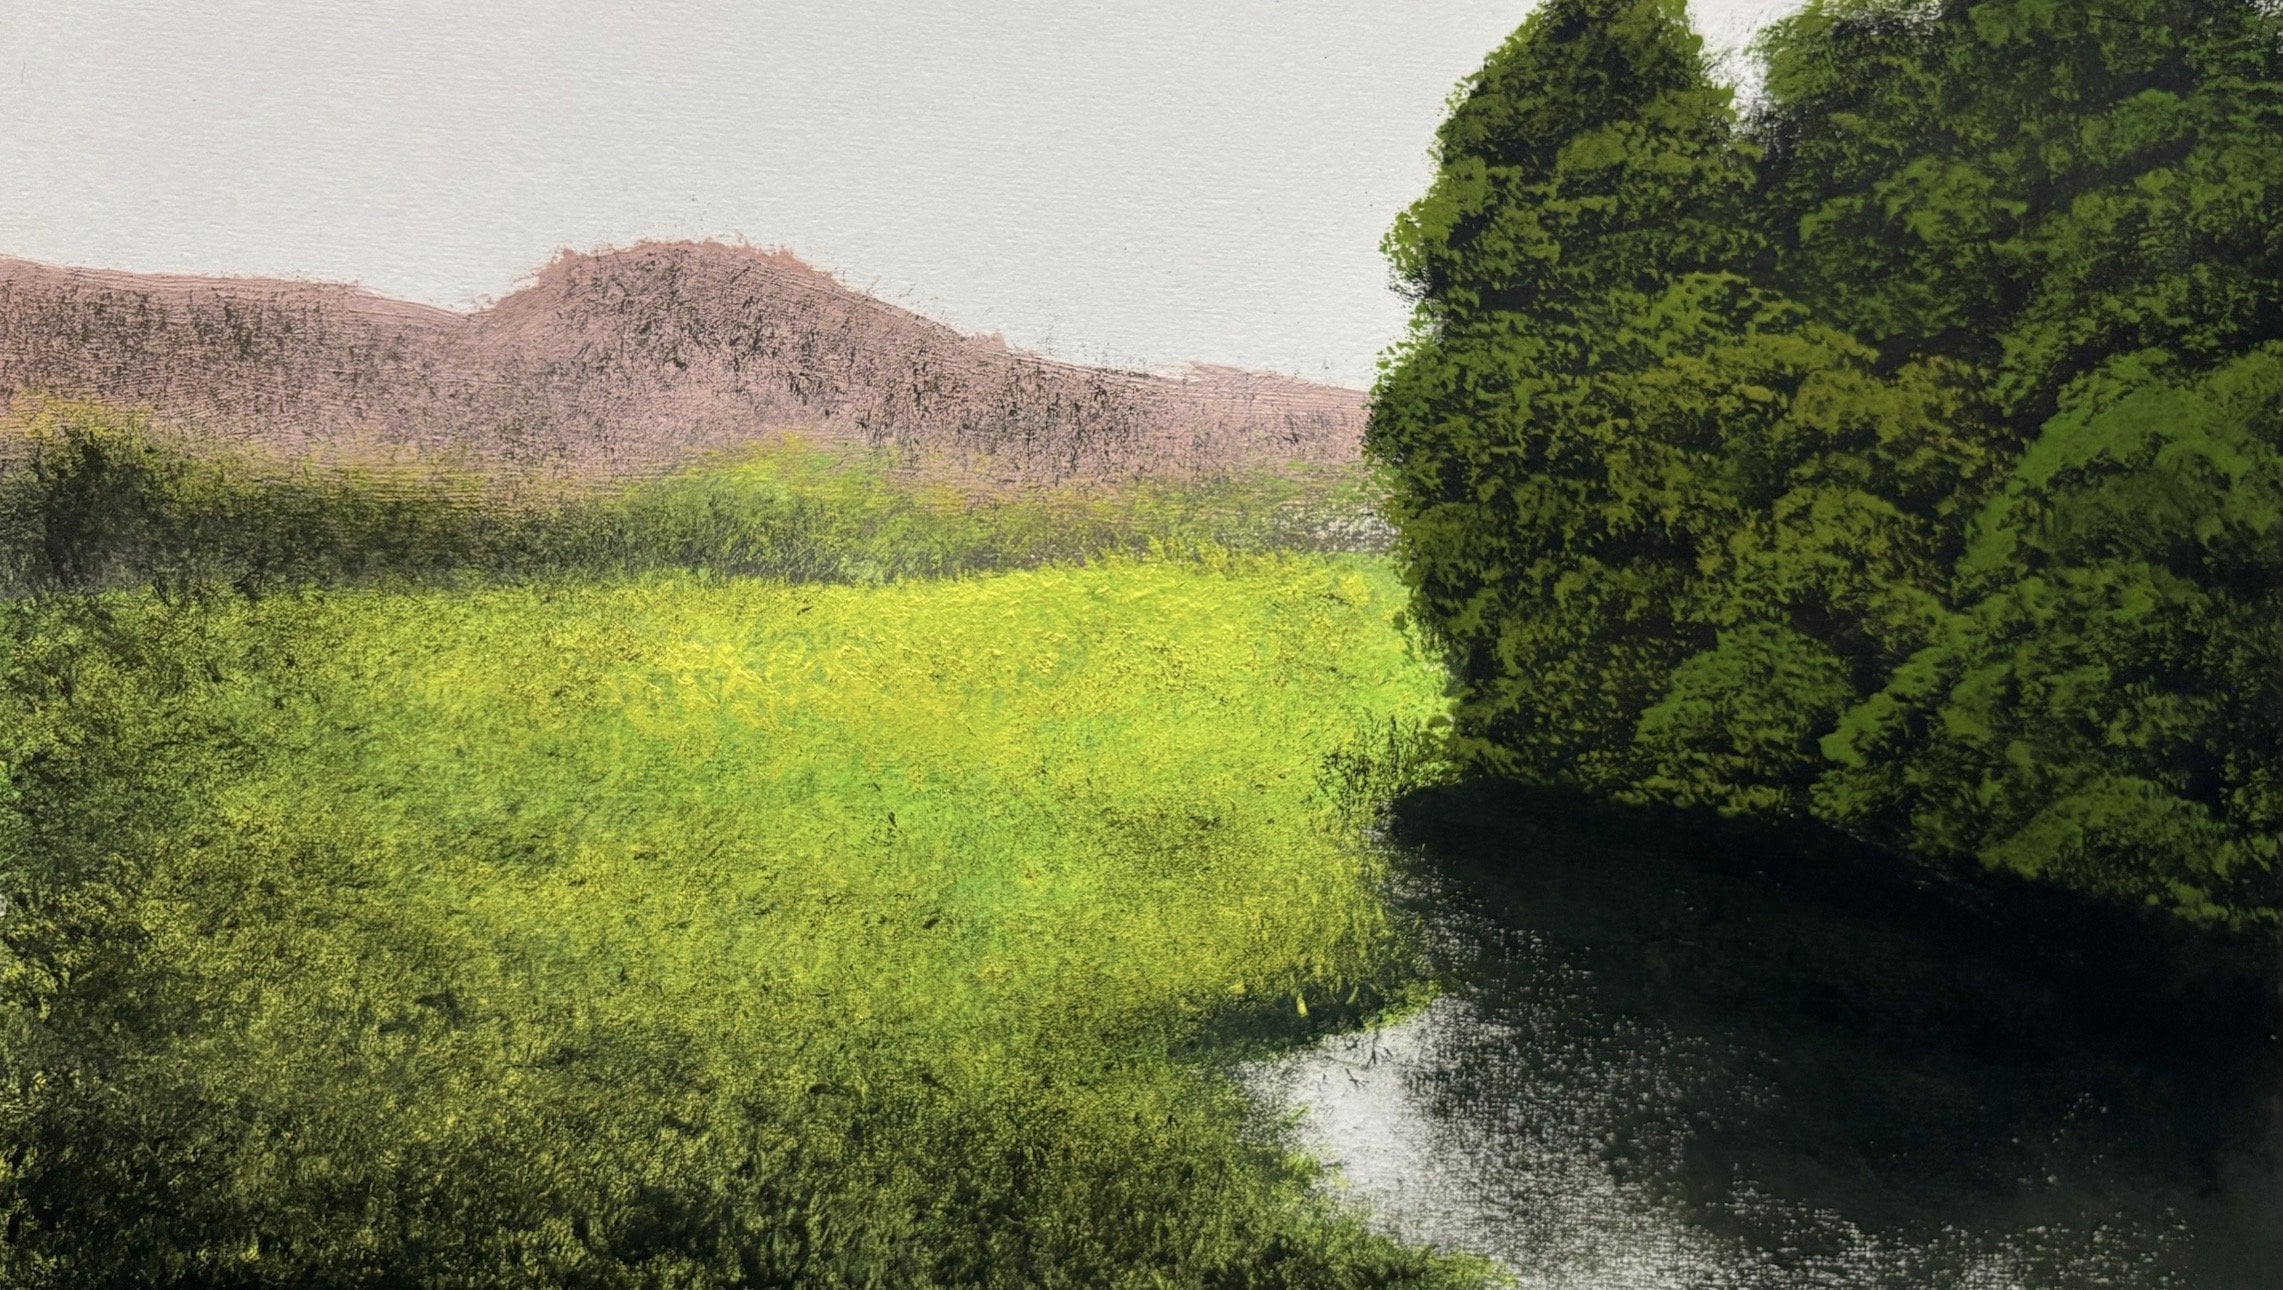
3. Grass Painting: Hi, and we'll come
back to a new video. In this video, let's go to
see how to paint some grass. Paint the grass, I've
taken the old fan brush, that is the fan brush which I used in the previous
video and some limel. Let's mix them together. Okay? So that will still
give you an earthy green because there is a blue mix. We get some green there. Let. Let's sort of
get it out of there. It's something over here too. Don't make it too bright
in the first code itself. It sort of, you know, playing around with colors. She what's here and there. And maybe we'll have a
nice little path here. So we'll have some
space for that path. And we need some
textures for this grass, full ground grass especially. So we'll take in some black
on the same fan brush, and let's come right away here. Place this color here.
Sort of tap on it. Look at that. Let's
wipe off the brush, not clean it, just wipe it off. Let's right over here too. Let's place it right over here. This also gives you
that natural effect. Start placing here and applying very little pressure.
Very minimal pressure. Something over here too.
Simple, tapping it. Change the colors and just
tap it. Yeah. There you go. Show here. Let's
throw the brush. Is other side is
loaded too with pink. Yeah. And I've taken almost all of that paint, and whatever remaining
is the stain. Come right over
here and place in the remaining color of black. So we get some more textures and we make our painting
look more realistic. Yeah. And in the meanwhile, if you want to sort of
come right over here, that same brush, do not
dip that brush in water. So in any paint water here, this come over here
and sort of place in that beautiful little
textures because I'm liking it. Today, textures seem to work. Yeah. Okay, so the next video, let's go to see how to build in some midground trees
here. Thank you.
4. Painting Midground Trees: Hi, and we'll come
back to a new video. In this video, that's
good to see how to paint some midground trees. For that, I've taken some gray, just some gray on
my angular brush to get that tree trunk, and let's start off a bit at the bottom to get that depth. That's good right over here. There we go. Cool. That's good. Let's over here and there and make sure that the root
of that tree is slightly thicker when compared to
those in the background or behind them. Yeah. So we have one over
there. And let's have another one here too. Yeah. Not using pure black
or pure white in this. I've not used white
even for the grass. There we go. I write
in there. Yeah. The reason I'm playing around with this darkness, lightness, all that is because you get in the depth and when
you get that depth, your painting looks
natural on its own. Simple little techniques which will help you make
your paintings pop. Do something like that. Yeah. Now, on my line of brush, I've taken in some
black, just some black and come on this little tree. Maybe require more water. I might adjust of water to
thin down the paint just a bit because anyway, we know it's going
to be very thin, so we can add in some water. Not too much, just a bit. That's compared
to over here too. It's sort of like I'm
a big fan of limbs. Let's go right over there. And also, we can add in some textures to this
tree, just like that. Sort of doing multitasking. Without the intention
is multitasking, it's so easy this technique. So we can just sort of play
around with this.'s here. And after each twig or each sub brranch or whatever
you want to call it, I'm going back and
reloading the brush. So that will help you to be consistent with the color and the consistency
of the paint. And we'll do this
for the other trees, these two trees as well. So yeah, yeah, there we go. We'll have some full
ejection after this, that will be even more exciting. About that. Maybe that's a bigger branch. There we go. Look at that. Now it's self, you're going to see some depth coming
on in this painting. Yeah, I like it. I hope you guys
are liking it too. This is a fast process because you can have
this any moment. At. And if you're painting on
a slightly bigger surface, like on a slightly bigger
canvas or something, you can make use of
the rigger brush. Definitely, you can make use of the rigger brush because
that'll work for bigger spaces. But since this is
a smaller paper, this is a watercolor paper, and this is an acrylic painting, I'm using the
script liner brush. It's also known as
script liner brush, but more commonly
known as liner brush. Okay, so we have it there. And for this one, I find this one a bit misty.
Let's go with the flow. Come crack wiggle the brush as if your hand is shivering.
Sort of wiggle it. Let's come over here too. A right? That's okay. We have a little bit
of bird sitting there. That'll be covered
with the foliage. Yeah, there we go.
Something about? Yeah. Yeah. The next video, let's go
and see how to place in some darkness on these trees and some highlights. Thank you.
5. Highlights On Trees: Hi, and welcome back
to a new video. In this video, let's go
and see how to paint some highlights and some
depth in these trees. So for that, I've taken in my same old fan brush
which is not cleaned, which is just wiped
off sometimes. And I've gone into some
lemonlo or limelo, the same lemo which we painted the grass.
Let's come out of here. Place in there. Here and there. Just a bit, not much,
a bit tapping it. And do not do this when
it's tacky. When it's dry. This is not completely
dry, but that's okay. We can have it. That Skip
some spots. That's the trick. Let's go ahead and skip most of the spots to the
realistic effect. And let's have to sort
of on these limbs. We're not trying
to cover the tree. Just go to place it wherever
we have painted the limbs. That is the twigs, branches, sub branches, all that. Yeah. So when you take that approach, it'll make it look even
more realistic and help to get a professional
effect in your paintings. Yeah, there we go. Just
over here and there. I'm liking it. Yeah. Maybe a bit of textures over here, too. Just just a bit in
the background. Okay. Honey, let's reload the
brush with some more paint. Let's come over
here. There we go. This fan brush works
perfectly with these techniques and helps
you to get things together. Now, let's go into some
limel and some white. I'll add some green as well. So I'll add some blue to
that same yellow color. I'll sort of come over
here with a fan brush. So give him some highlights,
nice little highlights. Okay, let's come over here too. Let's place it in each time I go back after painting
this, I reload my brush. That's the way it has to work. Not the other way
around. There you go. At here and there. Yeah. You'll take more white. This time here and there, there's a bit and
something over here too. Just here and there,
not everywhere. That's right to make it look more professional and realist. I've been emphasizing
in this class about the realisticness of your
paintings. There you go. Sort of pleasing it.
Let that get blended. That's okay. I'll give
you a misty effect. In the meanwhile, let's take in some limel and some green, and let's place some highlights. Grass is here. Yeah.
That's a bit, not much. In this painting
technique, less is more. Remember the formula. Less is more holding the brush
very lightly and super loose so that we get
some beautiful effects. Yeah, there you go.
Something over here too. Okay, Let's wipe up the brush. Let's come over here and tap it. Not too much of paint because
we want it to be darker at the corners, very corners. Yeah. Tapping it very, very, you know, not that light, neither too much pressure. So this is more a pressure
which I'm applying here. Yeah. Look at that. In the next video,
let's go and see how to paint in this
path. Thank you.
6. Pathway Painting: Hi, and I'll come
back to new video. This video, let's go and see
how to paint in this spot. So for that, I've taken
some black on my fan brush. If you want to add some water
to thin down the paint. I've added some water to
get that thin effect. So for this entire painting, I've used as far as I remember, I've used this fan brush, the angular brush to
paint in the tree trunks and most of the places I've used the Oiga brush to get
in the twigs and all that. Now I'll take in some white. We just get that misty
fifth right over here. Place in the starting
of that path right over there. Yeah, there we go. This is the block
we in, and we'll go ahead and add on the highlights. Okay, it's time that we go ahead and paint the
highlights for this path. So for that, I have to get
my unbush the clean one. Same unbush just cleaned
completely in water. Let's go to some
white and some locre. Yeah. Let's go to
some more local. Don't want to go, you know, too bright in the
first code itself, somewhere around a
midtownish color. I sort of found it over here and sort of place in the park. This is not completely
dry, but yeah, it's good time to
start going with this path. Skip some spots. And let's come the
starting of the path. Yeah, maybe this is
a very rough one, very rough and
very stony, rocky. You can go and skip in more of that color.
Yeah, there we go. That's a simple. And let's go with some more ochre
and is in the highlights. Now let's go in some black. Let pleas in the shadows. That's going to add in some
more contrast and in depth. And what I'm doing here is
I'm trying to blend them. Cheese in the brush. Let the corner dark. Yeah, there we go. So blending it and creating
an overall effect simply. Now I will reduce
some burnt sienna to that very same palace paint. Just come over here
and play some halaxs. Go back, reload the brush. Slightly different
shape. In a sense, add in some brown, some more loca, some white. Every time you go ahead
and mix the paint, make some sort of changes. Like for example, now
I added in some white. Yeah. There we go. Okay, we're good with that
we can just wipe off brush. If you want, you can clean it. Come over here and blender. If you're painting oils, you can use a blender brush. Not too much because
this is a rough path. Don't add too much of blending. Something like that.
Let's come over here. Let's place in some black in
the form of some textures. Go back, wipe off the brush. Come back. Sort of place in
the shadows and the contrast. More importantly, this is
for the shadows, no doubt. But more importantly,
this is for the contrast. There we go. Still
using a fan brush. Okay, this looks good. Okay, so I come to the
end of this class. I hope you've enjoyed it, and I hope I add some
value to the knowledge. Thank you so much
for being to learn, and I'll see you
in the next class. Still then, take
care and PythonA.
 Yashas G, Paint With Yash