Transcripts
1. Introduction: Hi, and welcome. Whether you're a beginner to landscape painting or an artist who wants to enhance painting skills.
You are at the right place. In this Sebastian class, I will help you to master
landscape painting, which will in turn make
you a confident painter. This class is going to
be perfect for you, where I teach landscape
painting from scratch. And I'm very excited to see
you in the upcoming lessons. Alright, see you
in the next video.
2. Background Trees And Grass: Hi, and we'll come
back to a new video. In this video, let's
go and paint in some background elements
like grass and some trees. For that, I'll take in some white on my fan brush
and some green, cut together, and some
limlo or lemonlo. We'll take in more
green and lemonlo. The white is just acting like the white is just
breaking this bit lighter. Let's come right over here
and just place in some grass. Interesting, nice little
grassy elements, okay? She's going to go all
the way till there and bring it over here too. There here and there. Maybe in the foreground, it's going to get even
warmer and brighter. So we're going to come here. Of course, I'm painting in
the foreground as well. Yeah. There we go. Maybe you can bring it a bit like this.
Let's try that one. Let's bring this one
right away here. I'm just using the
tapping method here, sort of tapping it very
lightly, very gently. Still, you can see
the grassy textures. And now after 2 minutes, I've not cleaned this brush. I've just wiped off
this sun brush, and let's go on some black. Take off this paint. Let's go over to the
corner over here at the corner and pacing
some textures, shadows and contrast.
So it's graphs. And as they go back,
they get lighter, so it'll automatically
be taken care. So sort of tapping it very lightly as we go
towards the top because that's the most important thing. Okay? Something like that. And it's also going to
make this look slightly natural and realistic as well. Look at that, just
tapping it very lightly. Slow, that that gradual
bling. Look at that. Just tapping. And now, let's go in
some discolor of black, green, and auto
colour mixing that. Okay? And I'll wipe off the
brush off ces paint because we're looking for some
background elements. So pine trees in the background just
sort of here and there, dancing them around. Do that. Fade away in the mist
or in the distance. That's the way it's going
and it's good. Okay. And I'll take in some
black on the same brush. I just wiped off this brush. I usually let you know when I clean the brush,
that is with water. This is acrylics, and
these get washed away. Paint goes off when the rinsed
in water. That's it, yeah. That brings a gradual depth. Okay, so in the next do, let's go to see how to paint in some trees in the foreground. Yeah. Thank you.
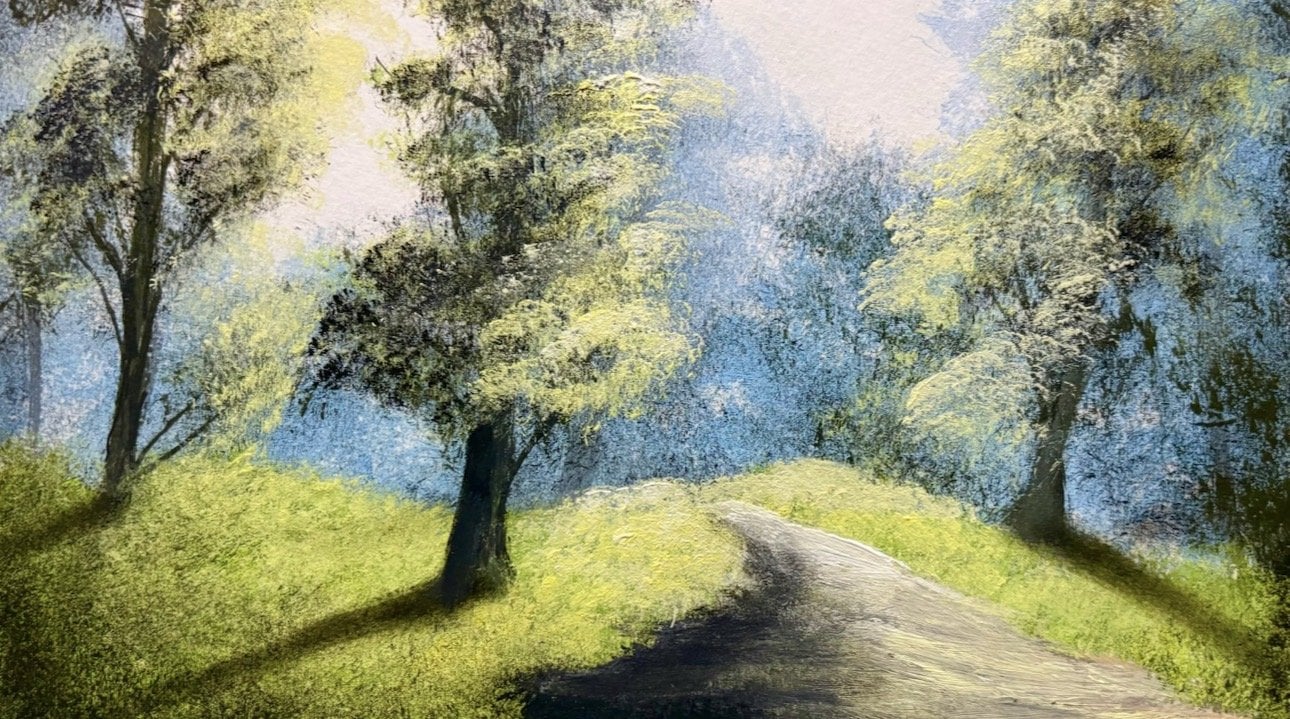
3. Foreground Trees Painting: Hi, and we'll come
back to a new video. In this video, let's
go and see how to paint four on trees. And I've taken in some black on that same fan brush which you
saw on the previous video, and I've not added water, paint no painting nothing. Okay, let's come
right over here. And let's sort of place in some beautiful little
trees with this fan brush. Yeah, there we go. So this sort of tapping it, and here you can be a bit loose. No, it's a bit loose so that you can cover
up the the paper. By the way, this is
watercolor paper. So you can do this
on canvas as well, and you can pretty much
translate this painting or this technique to any of
your landscape paintings. Yeah, there you go. Leave in some caps, leave
in some pockets like that. Yeah. And when that
one's busy drying, we can slightly switch over to this and dark on the corners. Just bit, not too much, bit. Look at that. It also gives you the
textures as well as interest. Yeah, there we go.
That's enough. Yeah. Okay, so it's time to give in some highlights
to these trees. So for that, I'll
take in some green, lemon u, and some yellow ochre. Yellow ochre or brown, we
do the work preferably yellow ochre because
it's a brighter version. Okay, we'll take that. Load
the brush full of paint. This is a modified flat brush. This was initially a flat brush, and I just modified it
in a certain way that it opens up the bristles and there's some uneven
cutting at the edge. So that'll give you some
random foliage textures. Yeah, we'll take
that. Let's pick a spot right about, there we go. Sort of tapping it. And
this is not completely dry, as you can see, a little
over there. That's okay. It'll enable us to blend the foliage with the background and make it look realistic. And apply very little pressure. To be honest, I'm applying very little pressure
here and there. Not much. Nothing to fancy now, sort of squeezing
in here and there. This is not random. Okay. So let's go to make some
small flat color. Okay, yeah. And the icker paint you take, the lesser pressure
you have to apply. That's a basic thing
which I'll follow. Yeah, there we go. Stay
up and here and there. Yeah. And I'll take
in more alloca, pretty much same composition, except that there's
more yelloca now. I usually prefer to go
with yaocas at the top, but today is a bit different and exciting and interesting. Of course, you can make use of the rigor brush if you want. If you're very specific
about what you want to get, that is each and every
leaf foliage popping out. But this is a very
good technique, especially for beginners, also for intermediates
with some of them to just go ahead and
learn this technique. It's super effective and
it saves a lot of time, and it's more random. When you're going to
tap it, it's going to take some random shape
but more or less, it will take the shape of
the foliage which you want. So that's the way
it's going to work. Let's come over here.
Okay, let's check in more floca same palette
just three colors, yelloca, limel and
some sap green. I recommend sap green. It's best to use sap green in this scenario because
you're not painting a seascape that you're using a seascape green like
a turquoisise color. Yeah. So you want some variety of natural
colors going on here. So sap green will do the work. And yeah, look at that. Sort of tapping it, and we're
almost done with this tree. Sort of here and there.
Yeah, there we go. It's sort of making the
boundaries a bit finite the boundaries of these trees to be opened to be left open. It won't look good that time. Yeah. There we go.
Yeah, I like it. So I've got a tree and somebody over here to
see some more loca. That's what's come
over here and I've applied very little pressure and make sure that the tip of this brush faces the
ceiling or the roof. Look at that so the
palette when I'm reloading my brush for paint. Yeah. My using some Moko and some
limloJ change the color. Just change the flavors,
change the shade, change the angle,
and it look perfect. Of course, nature
is not perfect. To painting will look very
natural and realistic. Okay? Let's see some
brighter color. Yeah. Let's true to
like that. Yeah. So we have some pockets. That makes it again more
natural, as you can see. Slowing some more too. Just a bit. Over here
and there. Yeah. Okay. So the next video, we'll go out and
see how to paint in some grass and some water
reflections. Thank you.
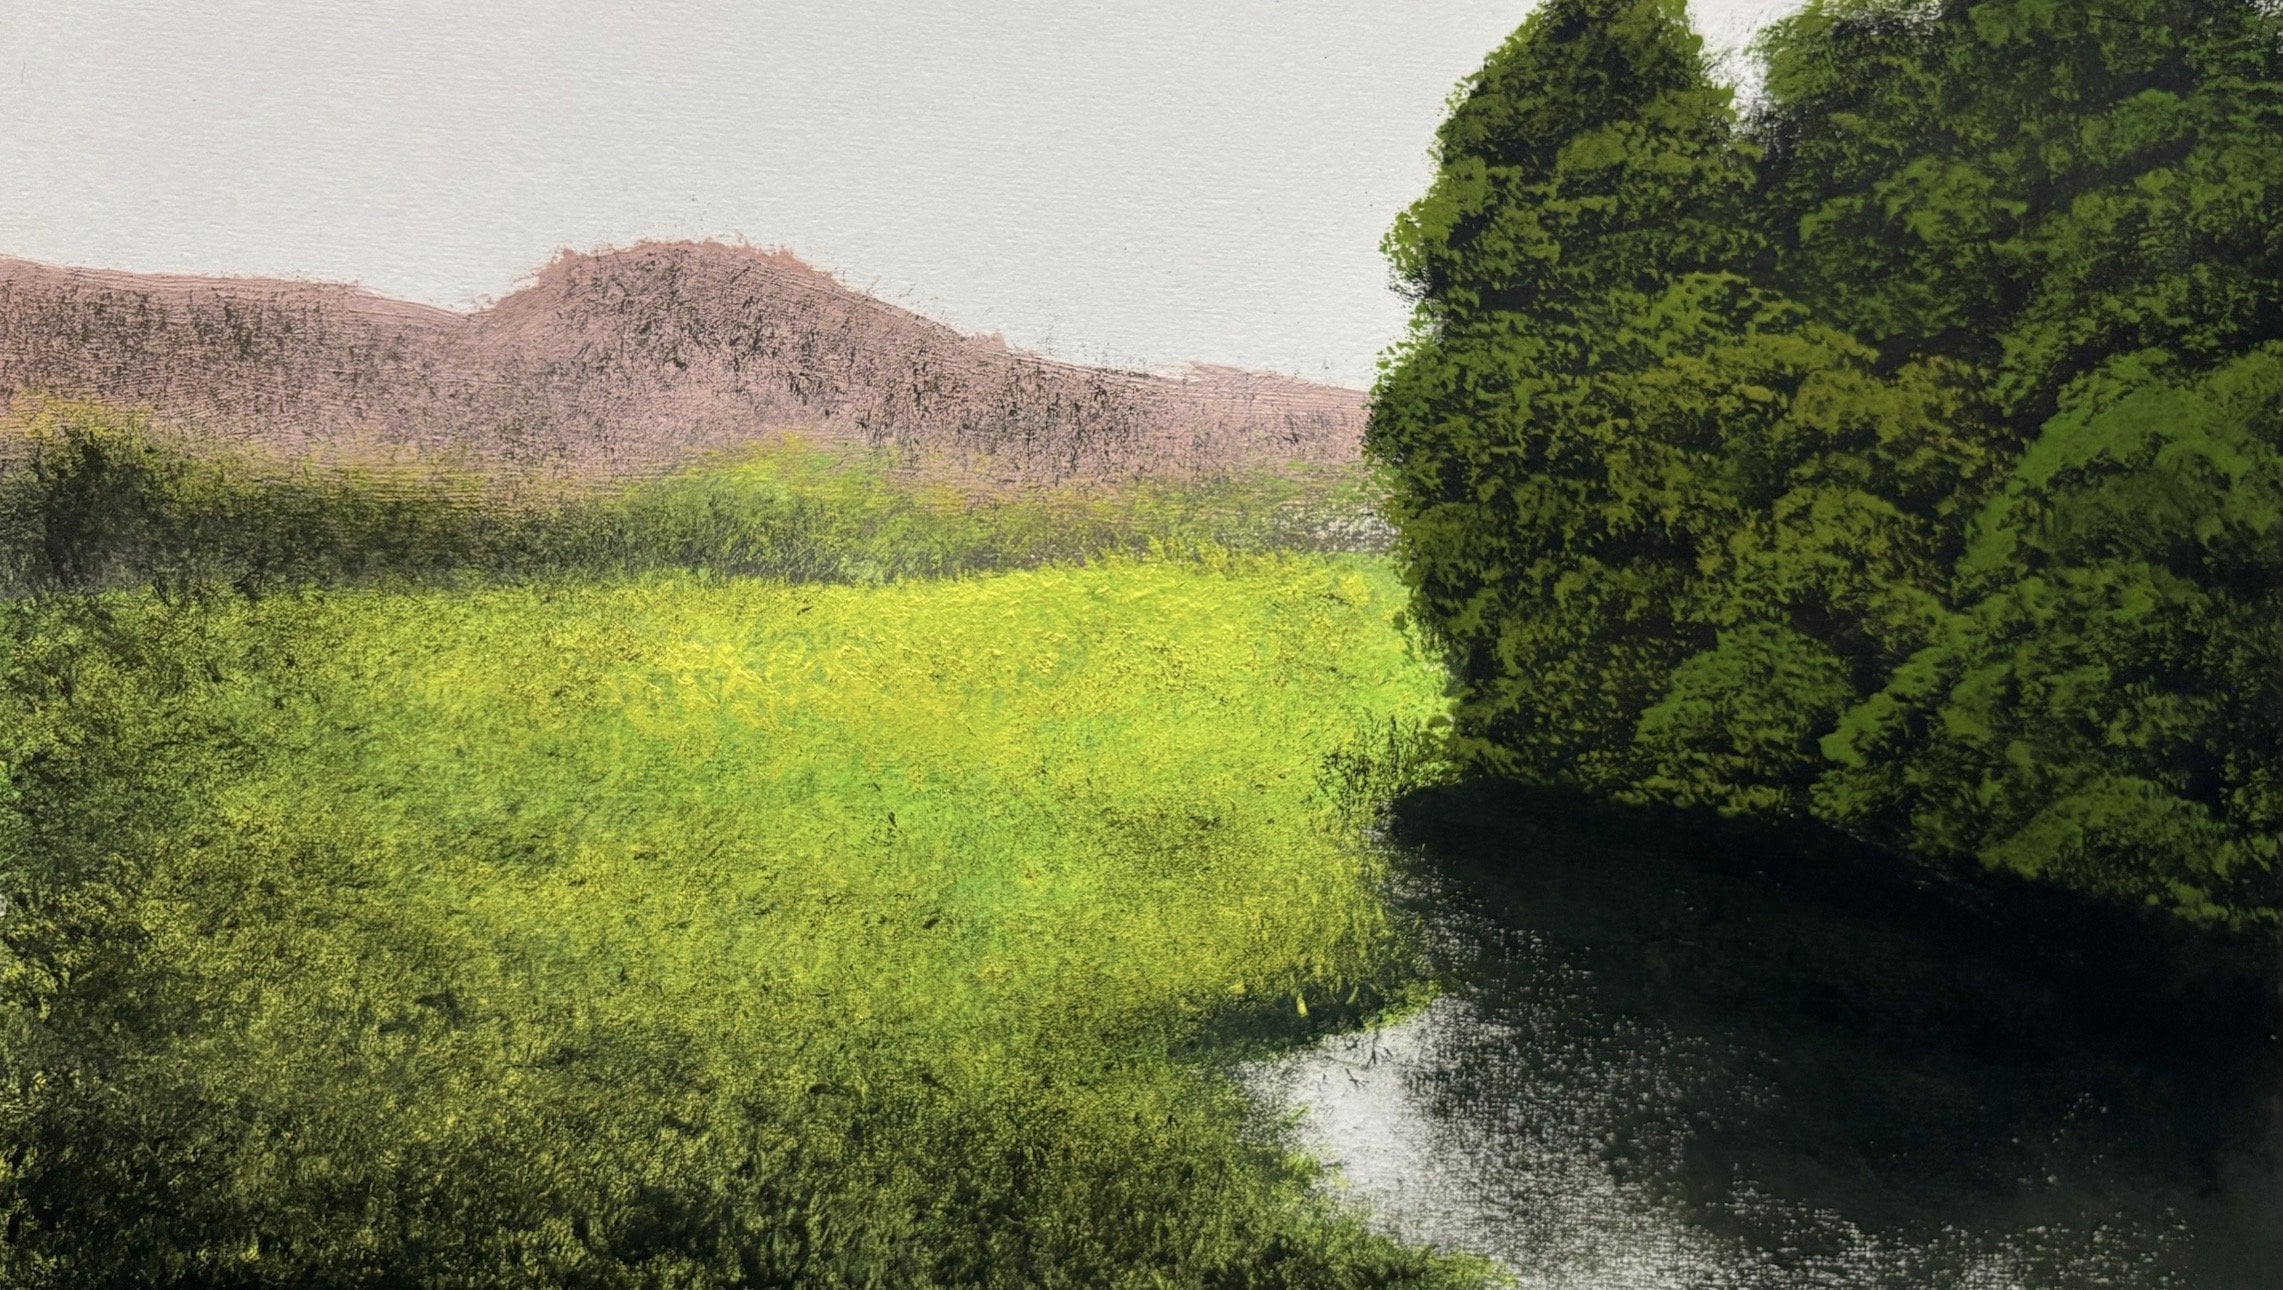
4. River Reflections Painting: Hi, and welcome back
to a new video. In this video, let's
go to see how to paint some grass and some
reflections of water. So to paint in the grass, I'll take in some limel
and some mixed of green. And some pre mixed colors. Yeah, no yellow this time,
I have not added water. Let's come right over here. Placing some beautiful
beautiful little grassy areas. Yeah. You should increase the height of these grasses
that should kind of work. Okay. So you've cut some grass. Say that let's take some black at the same time.
No. That's not enough. Take in some black and sort of play around with the
texture just a bit. Of course, you can
go over here and you can make some of those areas
less bright if you want, if you're feeling that the
contrast is not as expected. You can just go and give
a glaze and some black. Yeah. Okay. Now let's go and
paint the water. So for that, I've
cleaned my fan brush, and I've taken some white,
titanium white. Okay? It's just a touch of black. Touch and more white. Let's sort of come here. So this in some blender. So this will help us to blend
the colors pretty easily. Yeah. So it comes all
the way from there. As you go here at the bottom, you can sort of increase
that go towards white. There a bit, mop of brush. Take a lot of white paint, and this has to be blended. These are acrylics and you have to blend them
then and there itself. You can't wait for the paint to dry because it'll be
hard for you to blend. Look at that, that quickly. The thing is, as
you go to the top, the reflection will light because that'll be closest
to the light source. And as you come
towards the bottom, the water gets dark. That's the perspective
how we look. We look at the
landscape in real life. There we go. Slightly
touch of plaque. Just a bit. Not too much, just a bit so that we can
blend them quickly. Yeah. Taking a lot of white. So it helps us to blend. Yeah. Cool. There we go. Blending requi here and there. Wipe off my brush on a cloth. That's going to do here. Yeah. They should
be decent enough. Yeah. And now, I've
taken some black, yellowca lime low and just
touch is brown. All right. Let's come right away here. It place in some
beautiful reflections and make them straight. Very much straight,
not slanting. Keep the brush very straight so that you
don't miss out on that. Yeah. There we go. Okay need some more black. Let's say light right away here. Look at that? Is that easy. And something over
here too, just a bit. Less is more. In this concept, less is more definitely. Come here. Please some
more of that. Yeah. Maybe we should go on on that a bit and do that when it's dry. And now I'll take in some black after a
couple of minutes. It's not completely
dry, but that's okay. You can take in some black
and sort of come right over here and place in some
shadows in the reflections. Taking more of black and playing around with
the consistency of the paint to
get some textures. Let the brush do
most of the work. Yeah. That looks good. Just a bit of black. Look
what over here, too. Yeah. Now, these two
look the same almost, so you can just come here
and give us a bit more. This should look realistic. Finally go in some more
black. Please sit with it. And this you get it
by experimenting how it's going to work
out for you. There we go. No, this is almost dry. So let's take in
the fine coat of halt that is there on
the previous palate. S some samgren lemelu and
just a bit of a loca, takes paint, the other
side of the trash, right? I ing this side of the
trash for the fretting. Replacement the itself. This is not completely dry, so you can go ahead
and blend it. It's taken in thick paint, of course, no pressure. Is there a little pressure.
Just here and there. Not much. Tap it. Yeah. Tapping in here and there. Same thing over here too.
Thanks for watching.
 Yashas G, Paint With Yash