Transcripts
1. Introduction: Welcome to this class
on landscape painting. In this course, you
learn how to create beautiful natural scenes
using layering techniques, color blending, and brush work to capture realistic foliage, reflections and
atmospheric depth. Whether you're a beginner or looking to refine your skills, I'll guide you step by step through painting vibrant trees, water, and distant hills. By the end, you'll
have the confidence to create your own stunning
landscape paintings. Let's get started with
brush and color setup.
2. Background Mountain: Hi, and we'll come
back to new video. In this video, that's
good and see how to paint in the
back road mountain. Paint in the
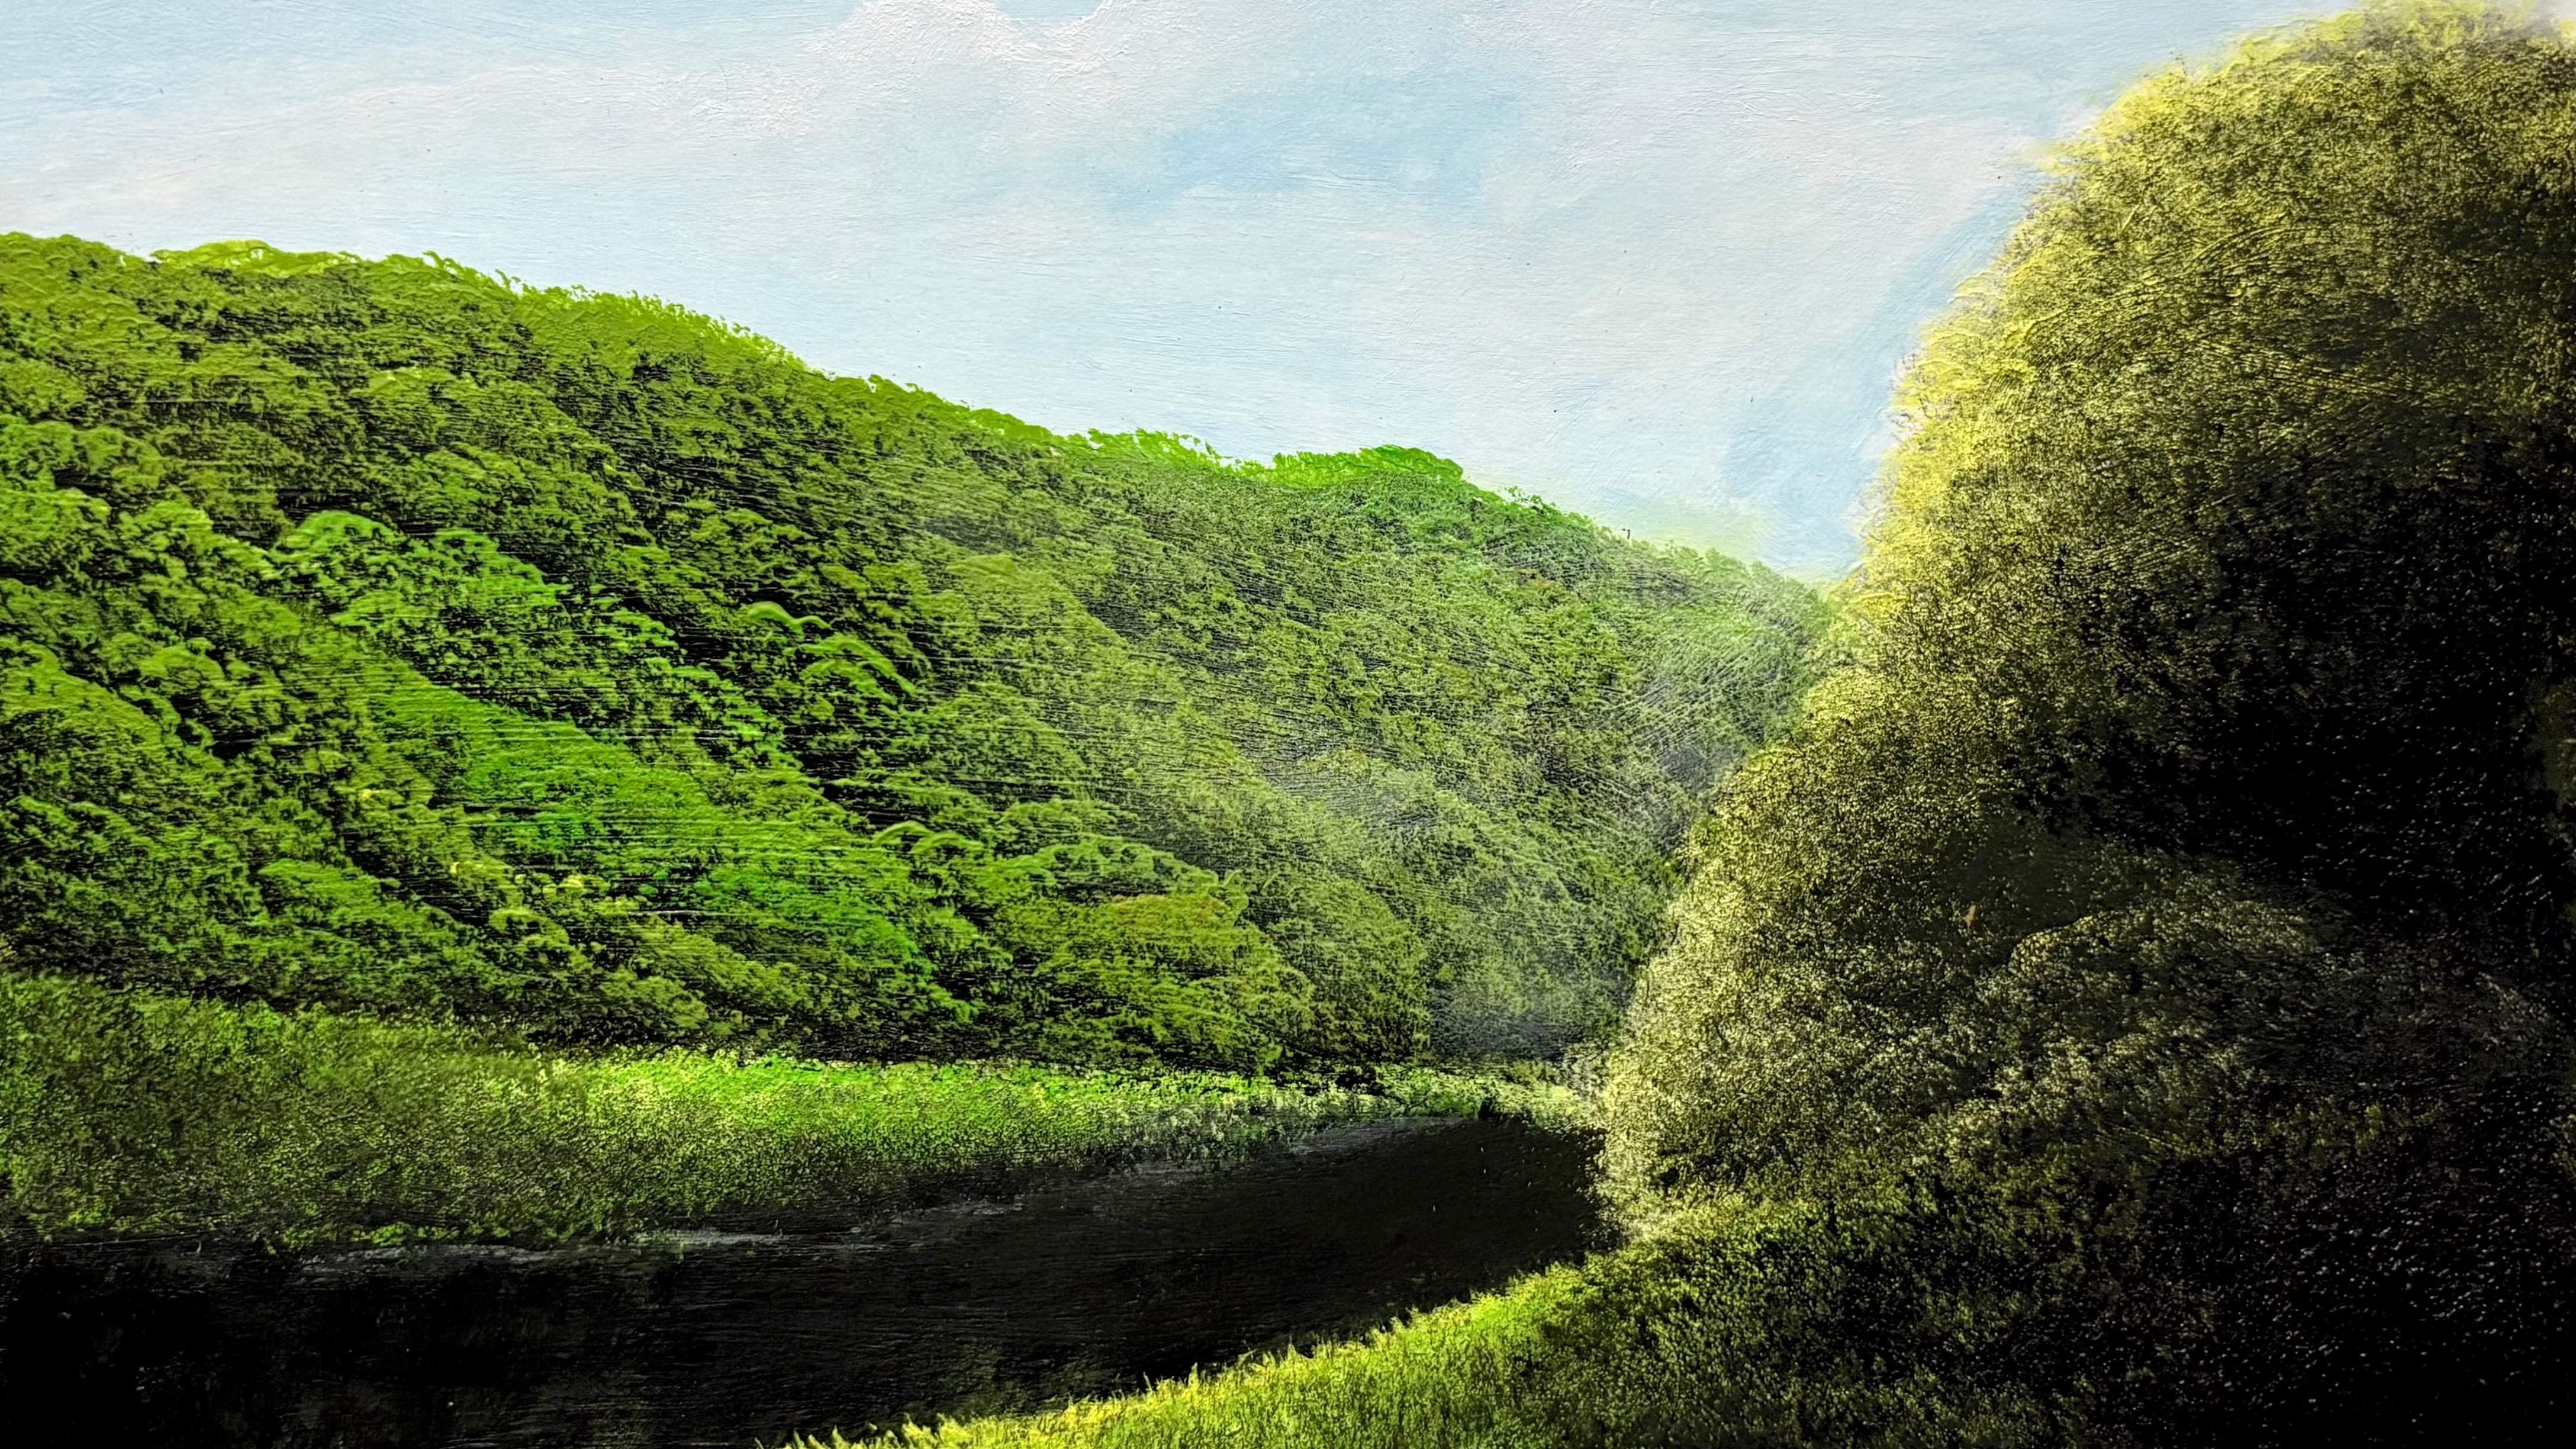
background mountain, I'll take in some white, pure white and some blue. If you have some very
far off mountains, use blue for the mountains
we shot there at a distance. Let's come while we here. Place in beautiful
interesting little mountain, which slides away like
that. Yeah. Good. Now, what I'll do is I'll just go ahead and
wipe off my brush, the same angle brush, and I'll take in some white. I'll just come over
here at the bottom of this mountain and
sort of place in some mist and make it even more distant. Yeah, there you go. Sort of here and there. This angular brush works
good for this very well suited for these type of elements of a
landscape painting. Okay? If you want to arn
some paint thinner or water, if you're painting oils, you
can ran some paint thinner, very little few drops. And if you're painting in
acrylics or watercolors, like how I'm going now, this
is an acrylic painting. You can use some
water, just few drops of water, acrylics
and watercolors. Okay. So next video, let's go and see how to
paint the grass over here. Thank you.
3. Grass Painting: Hi, and we'll come
back to a new video. This video, let's go and
see how to paint in grass. So to paint the grass, I've taken some lim el, some limel, no other colour. This color itself
filled with wonders, and I've taken a number two
fantas as compared to here. I sort of start placing this beautiful little grassy
area right away here, okay? And we continue all the way
to there and it's tapping it. Look at that, I lower it
just once and look at how much area I can
cover on this paper. This is a watercolor
paper. The AO size one. But still, as you can see
how much you can cover with just one single load on the
brush with this lime blue. Just tapping it. That's it right. Yeah. So I've tapped it
here and there. Okay. Now let's go in
and add some shadows. So for that, I'll
take in some black. This is the same palette with which we painted that mountain, sting some black and
some limo mixed, okay? That's enough. And
what you have to do now is just squirt
and wipe it off. We brush very lightly,
and this is still wet. That's important thing.
When this is still wet, we can afford to come here. Okay? Sort of make this painting look even more
interesting and natural. Moreover, this
gives you a natural little effect of the grass. This is one of the appropriate or good
techniques to paint grass, especially this is the midrong. So this technique helps. Yeah, sort of here and there. Sort of I think you need
to wipe it off again. So just wipe it off again. Come back. This is the same sun brrush
with which we painted the grass with limloO monilo
both are the same almost. There's a bit of a difference. Let's come all the
waiting there. Yeah. There you go. What I'm going to
do is I'll take in some more lack some more plaque, just to d on the corners so
that it gives you more depth. And along with making it
look natural and, you know, giving it interesting look, it makes you look realistic
and it gives you depth. When you get depth,
your painting automatically looks amazing,
and it looks realistic. You can achieve depth
with two things, color, that is far off because of the blue color, very
light blue color, and this is in
foreground and this is in the midground,
because of the texture. Start tapping it here and there. Check with that interesting bits and pieces on these grass. Yeah, there we go. Okay,
so in the next video, let's go and see how to paint
in the water. Thank you.
4. River Painting: Hi, and welcome back
to a new video. In this video, let's
go and see how to paint in water for that. Let's take in some
white, just some white. Of course, some blue
mixed, and that's okay. I want everything to fit
together, so that's okay. And let's come over here and paint in this
beautiful little water. And as you come
towards the bottom, just towards the bottom, then add in some
more of that color. Just make it look interesting. And I like this type of
waters, to be honest. And let's take in
some white so that we get a transition in color, okay? And this is a worn
out fan brush. So since this is worn out, I'm not going to use much
of this in his painting, this is just for the placing
of water and it's painting. So I just start
picking up this brush. Now, we need some white for
transition. Let's get that. Now, let's take in
some white sort of place it right over here. Look at that. Look at
that instant effect, and I like that effect. Yeah. I want it
to even smoother, so let's stick in more wine
and sort of pi over here. You can use a soft
brush for this, a new fan brush will do it. Of course, you can
use the filbert brush or any other brush for matter, the flat brush to filbert brush, any brush for the matter. But if you use a fan brush, it'll quick in the process. You can paint the water quickly. So that's the reason I
recommend fan brush. And let's bring in the
transition here with strokes, with this X like this. So that stroke helps
you to blend a color, even in dry brush blending. But getting some more
of this one right here. Look at that? Here and there. Let's
place it there, go back, wipe off your brush
or even if possible, clean it beat the brush
is without any paint. It's here. Let's place on the other side of the brush and
just place this. If you want to
spray some water in between so that you get
some smooth blending. At some white. Yeah. Look at that. I like that effort. I hope
you like me, too. This makes it look
even more realistic. And my aim is to teach you guys how to
paint realistic paintings. Okay. And now I'm
taking in some white. Let's come right over
here at the center. Let's drop it in
right over there. Stick very slowly,
very patiently. Take off the paint
off the brush. You have to go a bit
darker than you want, because the white
will come in between and you have to blend them. So if you go shade darker, at least, shade darker
as how I'm bringing now. Yeah. Here too. Yeah. There we go. I suez oils, apply the color and blend
it in there itself. Every medium has
its own advantage and disadvantage. Okay. So next photo let's see how to paint a tree over
here. Thank you.
5. Blocking in For Tree: Hi, and we'll come back to Niles go and see how to paint
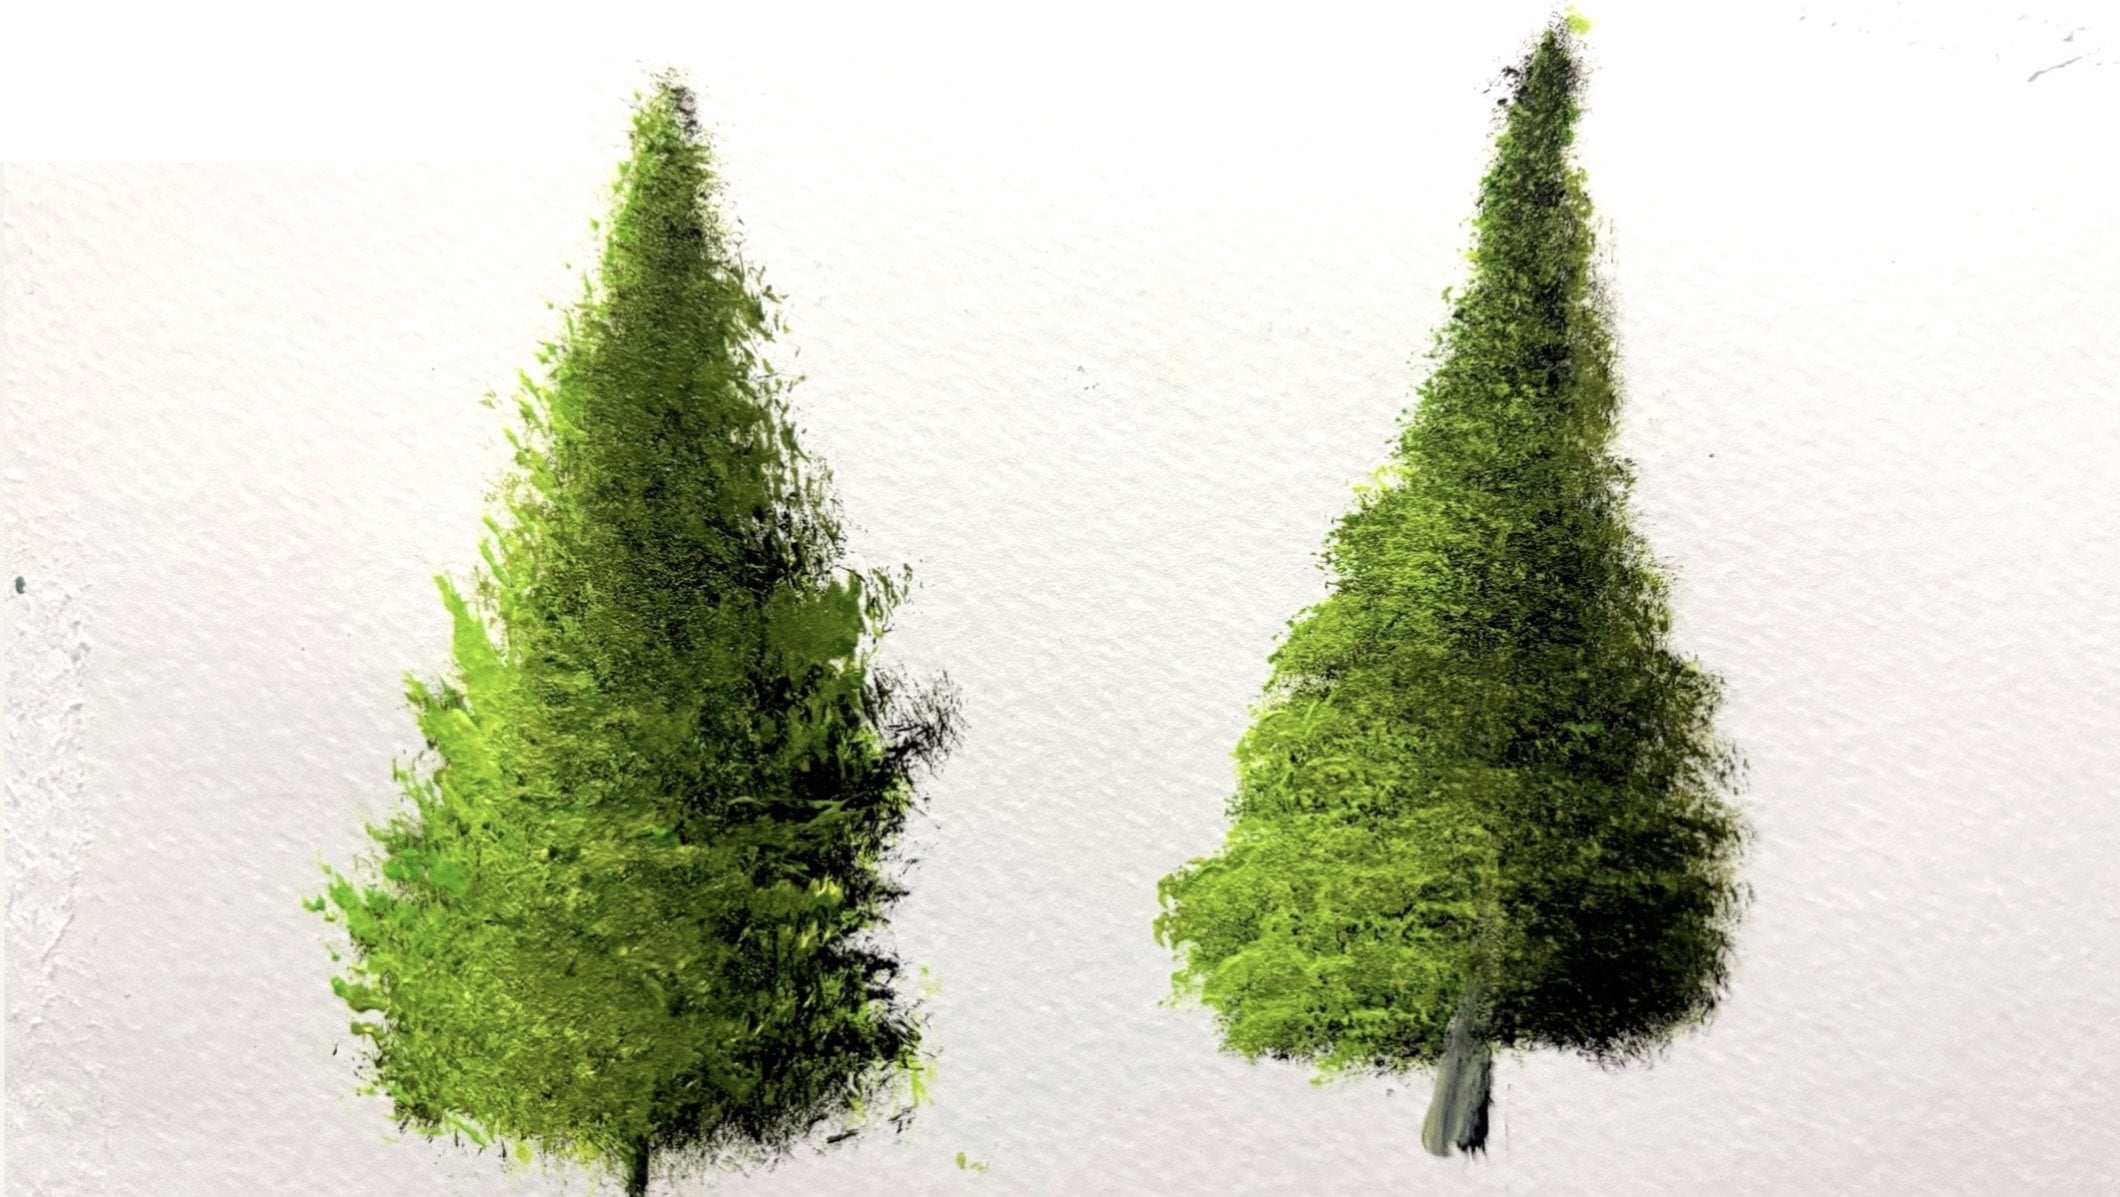
a tree over here. So to paint a tree, I've
taken in this Mamadofanbush, which I've shown you
before in this class, and I've taken some
black and some Prussian blue, very dark color. And it's come right on here. Yes, there you go. Don't finish it and then bring it a bit
down so that it creates depth. So when we paint this
for the first time, we tend to overlook
some of those things, and that's okay. We
learn it by time. And let's come over here too. Well, I get in my anal brush. And now I'm switched over
to a modified flat brush. This is a flat brush which
was initially very flat, naturally flat when
I purchased this. And now I've modified it in such a way that it
helps me get these textures, the shapes, beautiful
little shapes in the landscape painting,
especially for trees. Okay. This is the brush with which
I get a lot of that effects. Okay. So you have that effect, I mean to make it a bit thicker. Of course, you need to make
it a bit thicker sauce. Sink a bit, and let's
get right here. I'm holding the brush super loose also because you can
see what I'm doing above. So you get an idea. And as you come
down, it gets a bit thicker, a bit denser. It gives you a natural
feel that thing. Usually a natural
feel in this brush. Actually, I was about to
paint this with fan brush. You can also paint this
with fan brush, not in sue. Not in sie at all. So it's getting some
more over here, too. And I'm not reloading my brush, if you notice now, because
I want to texture. The more paint you have, and
the more pressure you apply, the the less textures
you're going to get. So you've got to be
careful about that and mindful so that you get some beautiful little
effects in your painting. Look at that. I like that tree. In the meanwhile, I can
just sort of come over here and sort of place in some
more of that same color. Okay? And this is not a
reflection of the tree. Let me just tell you, this is not the reflection of the tree. Oh, this is just I'm just
making the corners a bit dark. Okay? Just a bit dark. To make it look more realistic
and to create depth. I'm a big fan who wants depth. I'm a fan of depth, so it's good to have in depth. Also, when you get your colors, the compositions, the vibrancy, the saturation, the contrast. When you get all these
things, it makes wonders. Trust me, it makes wonders. Then in the next video,
let's go and see how to paint the reflection
of history. Thank you.
6. Painting Reflections: Hi, and welcome back
to a new video. In this video, let's go and see how to paint the
reflection of this tree. So to paint the
reflection of that rey, you need to trace the
approximate height of that tree. But
here, it's very less. So I can be a bit
super loose over here. Let's sort of taking
the wanted colors and let's to kind drop
it right here. Yeah. Alright, let's wipe this off. Not too much, just a bit
and rely on the texture of this paper or the canvas you're painting or the surface
on which you're painting. So let's get in
that. Look at that? Just a bit of Let me
come just sign Yeah, there we go. Look at eye. Maybe we can use a bit of
a black with that affect? That easy. I'm taking some pure black
and it's right here. I right here too. Ending it laying on
the texture look at the texture paper or the canvas on which you're painting gives you that effect. You just have to apply
mott pressure. That's it. Okay. And now we're
mixing some black, some d limelo and sort
from right over here, and listen the
reflection of that land. What is there above?
Just a bit, not much. Bit? Not much. Bit. Yeah. There we go. Look at that. Let's wipe off this
brush once more. It's almost a dry brush, but very little pigment or paint bring the d over here too. Making them a bit bloshT is the way we lend reflections
in all painting. That's way it's going to work.
Simple. Do not do this one tacky is a situation where the paint is
neither dry, neither wet. If you go and do
that, there might be chances that the paint
might come off the surface. Let's be careful on that. Now, let's take in some black and reflect the way it is about. The corners are going to
be dark. So patch ups. Yeah. There we go. Come over here and try to
blend these colors together. Blend these colors in sens blend these elements of the water that is reflections in
the water together. Look at that? And it
pretty carefully. You can do it much slower so that you get
that effect simply. Um, you don't want that
there. Don't do that, L. I like that effect. I
just over here too. Look at that. I'm liking
that effect, personally. Yeah. There we go. Okay, so
in the next video, let's go and see how to paint in a bush over here on
the left. Thank you.
7. Blocking in For Bush: Hi, and welcome back to a
new video in this video. Let's go and see how to
paint in a bush here. So to paint that bush, we
need a locking in come here. Try to make this very
realistic as much as possible. Sort taping it. Yeah, there we go. We can just fill it out there and listen until you
want some canopy to see the things
behind that push. Over here. Place in
more of that Bush. Maybe we have another
bush. There we go. This is so forgiving. You can go on and on and
on with the painting. Yeah, there we go.
The next video, let's see how to paint the highlights on the
pine tree. Thank you.
8. Highlights For Pine Tree: Hi, and welcome back
to a new video. In this video, let's go
and see how to paint in some highlights
on that pine tree. In my painting today, the
light is coming from the left. I've taken in my
modified flag brush. Let's take in some yellow. This is lemon yellow and
some green, sap green. That's the color I wanted.
Almost more or less. And let's sort of compared
to here and painting that beautiful little leaves on this beautiful little tree. Simple beautiful leaves
on this nice and, you know, strong tree. Maybe it's very strong today. Look at that, sort of tap
in it extremely lightly. And I've not added water
or any medium till now. Yeah, for most of painting, I'm not used any
medium or in my case, it's acrylic, so it's water. I'm talking about water
in my case, okay? So I've not added any water. It sort of change the flavor by taking in some
limels more limelons. The trick to this
is just tapping. Simple, simple technique
that is just tap. And don't keep on
doing the same place. You may keep on
moving so that we go to a new position or a
new place on the tree. Simple as you go to the top, this will slightly be darker
usually if you absorb. Let's look at the
top a bit later. Let's here. Look at that. Look at that. I like that effect. This
is a modified flat brush. Is was a flat brush and I modified it
according to my use. According to my need, I can say. Okay. Good. There we go. On the opposite
side, let's take in some sarem just some sap cream. There. There's a bit. You
can come back with some black and add in some more shadows and you can
get a lot of depth. Okay. Right now I've
taken some black O that same brush with which
I took the green color. Let's come on shadowy side. Don't start just from the middle or from the place where
light is coming from. Just start from the
opposite side because that's where the shadow
is more concentrated. Sort of you see what I do there. Okay. So you get a
lot of textures. You can play around
with this just a bit, sort of tapping very lightly, especially as I'm coming
towards the highlights. Yeah. You get that? It's dealing with
smooth nzationsOall. Good. That's what I wanted. Go back. Smoth off your brush. Come back. Change the angle of the brush in such a way you get this effect. Good. So in a natural
little suck here. I like that fact. I hope
you are let me too. Now let's go and add
in some final bit of highlights on this pine tree. I've taken more limel
less green this time. Because it's a hight. Maybe it just wiped
off. Why I sing. Because back not an issue. Let's come right over here. Again, super hold the
brush, super dupous. And you might take
in some thick paint. I shouldn't be a problem. And ultimately, I'm not looking
for highlights in this. I'm looking for highlights, which is 30% of it. That's 70%. I'm
looking for textures to make this look very
realistic. But, there we go. Okay. And something comes off. I just pop in some of
those extra leaves, which will make it look
even more beautiful. Yeah, go back, reload the brush. As you feel that the paint on the brush is getting
over and painting textures, especially, it's high time you go back and
reload the brush. Okay. I'm taking quite a bit of paint because I have
control over this tree. Okay? Yeah. Then towards the greenish
side now, just a bit. There we go. Tapping
it would like. Okay. Now, let's come over
here on the opposite side, that's the shadowy side. That's maybe even thicker
for whatever reason it is. Yeah, there we go. I'm looking for a lot
of contrasts as well. That will help me to get
an overall good painting. Tapping lightly. Lightly. There we go. You want
to eat up everything? Here and there and as
here and there too. Tapping it very
lightly over here, especially on the
highlight part. Yeah. There we go. Now let's go to paint in the tree trunk of
that pine tree. For that, let's take in some white and some yellow
och just two colors, white and some yellow ochre. I'll take in a moderate color, not too bright, not too dark. This is the round brush,
the detailed round brush. That's what's going here. More of that color right here. Simple place it in there. Go back, wipe off your
brush completely. Since this is a small brush, it will not make a huge difference
whether you wipe off your brush or clean
it completely. There we go. Something too. Very lightly. So we get that effect and go
back to some black. Opposite one, the
opposite side of that, pre draw. Look at that? That's a lot of textures and makes it look professional as
you can see there. Next video, that's
going to see how to paint in this bush in the sense, how to add in some highlights on this bush to make it look
realistic. Thank you.
9. Highlights For Bush: Hi, and welcome back
to a new video. And this video, let's go
to see how to paint in this bush. Highlights
on that push. So for that, I've taken some
limel with some white white. I've taken the modified
flat brush and it's Green, let this be a bit so that there is a lot of
contrast in the painting. You can take this way towards the dark or towards the light, adding more textures on this little piece of bush.
Let's come on the top. We need some more paint.
Let's come here at the top. Paint in this one.
Beautiful little bush, tacking it lightly. Something over here too.
Sort some textures. And this has good
clarity in your mind. Like, for example,
this is a bush. I have another bush
instead of just kind of loading the brush with paint and keep on painting with that. That's good practice. If you have a lot of clarity, you can have a reference
picture as well. Now, just brighten color. That's cow here. Play in some more of that. And it's thought to be dry. It's been approximately
20 minutes since I painted that
blocking of that bush. Okay, let's take in
some more yellow ochre. Look at that. The change in color
makes a huge difference. Not only the color, slight
change in the shape. It also make a huge difference,
as you can see now. Yeah, I'm liking it. Making some sections
here and there. Sometimes I grab the
limel, sometimes loca, sometimes some green make
all the subtle variations, and you'll get a hyper
realistic looking paint. Tapping here and there. Let's come all the way till here and do this when
it's completely dry. Do not do this when
it's tacky or wet, you'll not get this aspect. It when it's completely dry. Just apply some took in colors and make the paint
and the brushwork for you. Make this beautiful
landscape painting. Mass piece. Yeah. So there we go and little
more of space left so that I'm telling you because we're almost
done with the painting. So it's not what here.
This is what here too. Look at that? A lot of patience. Sort of tapping it touching here and there on the surface of the water for the people. In my case, taking
having another one. Look at that. You can create as many or as few as you want. Okay. Let's sort of
having more peace. That's okay. It's a painting. This is so forgiving. Landscape paintings
are so forgiving. You can kind of play around
with them. Experiment. Yeah. So that is. Most perfect. Now, I'll take in
some yellow Jamo differentiate those two bushes. Look.
10. Conclusion: With this, I come to the end of this class. I hope
you've enjoyed it. I hope I add some value
to your painting skills. Thank you so much for watching, and I'll see you
in my next class.
 Yashas G, Paint With Yash