Transcripts
1. Introduction: Hi, my name is Becca Ron, and welcome to my studio. I'm a full time teaching artist, and I work here from my tiny little studio in my house in
Minneapolis, Minnesota. I'm a fiber and paper artist, so I work with everything from hand embroidery to paper
sculpture to surface design. Today we're going
to be doing one of my favorite kinds of projects, which is we're going to make this entirely from
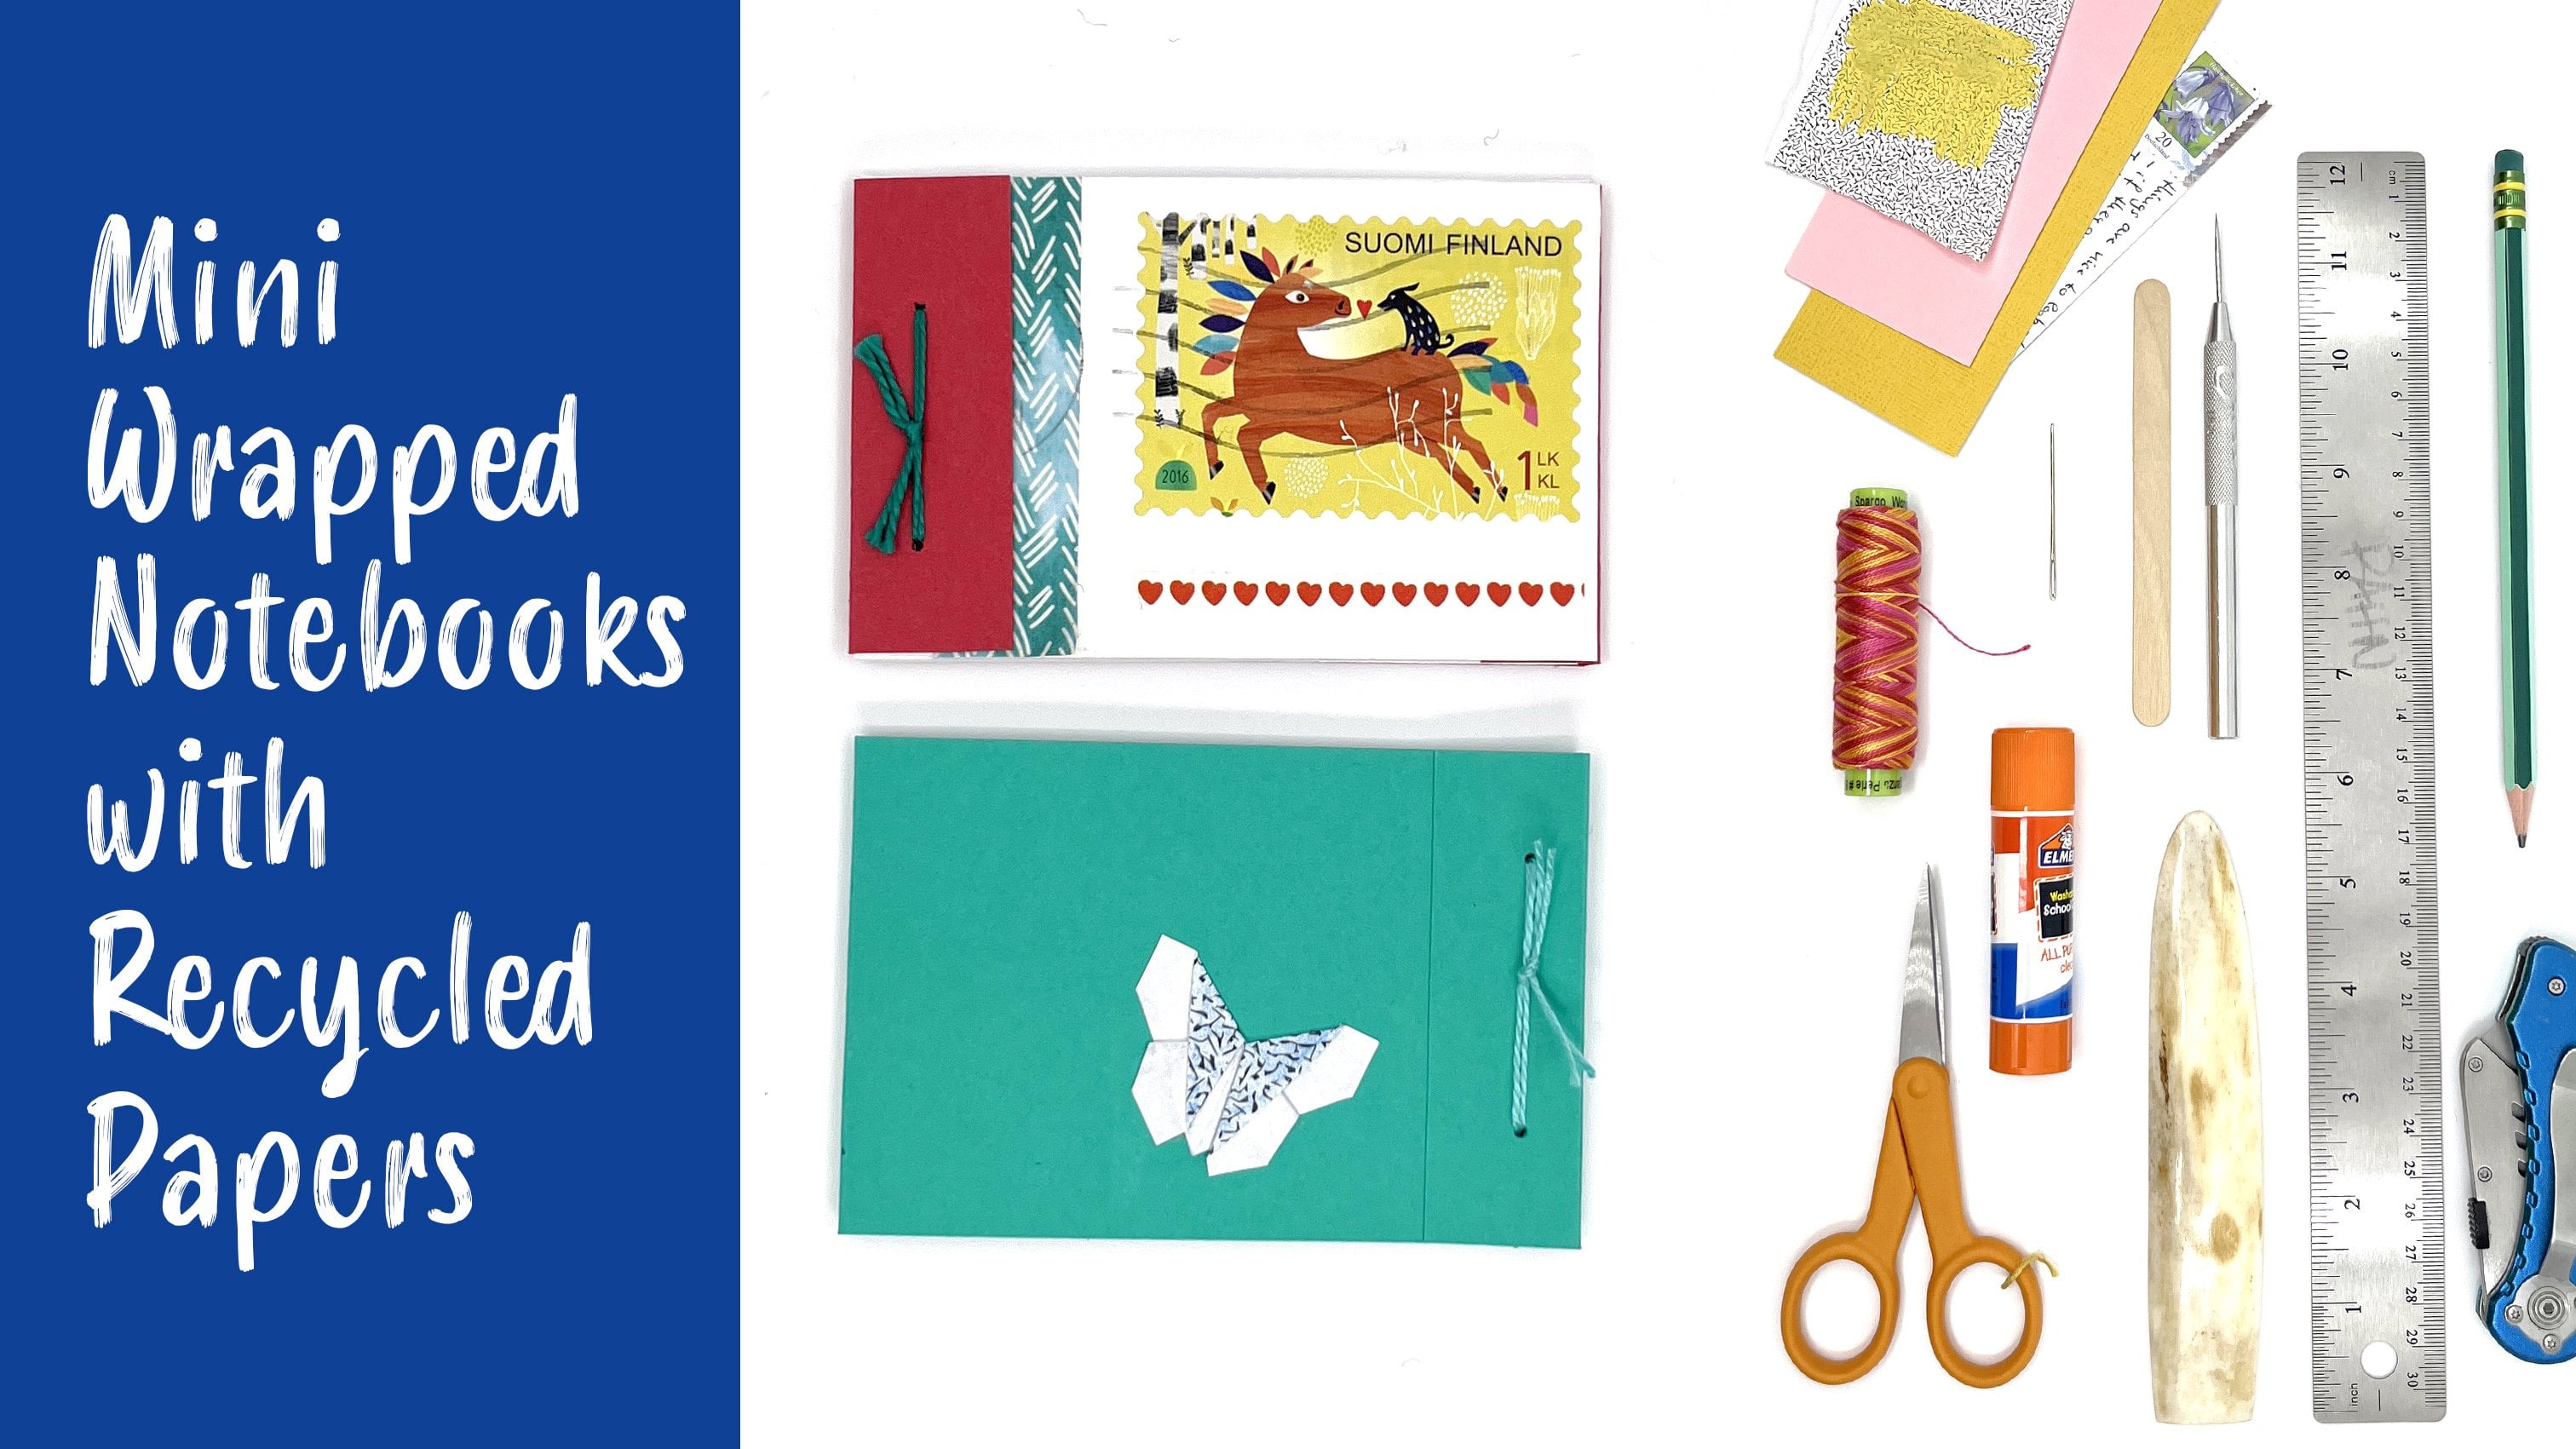
recycled paper. So we're going to create
these little sketchbooks or journals made from any kind of recycled paper
you want to use. So we're going to make the cover using an origami technique, and then you can design
it anyway you want to. I'm going to show
you an example with collage paper using a
cut paper illustration, but you could also watercolor
or paint or use markers, anything you want to to design the outside
of your sketchbook. Secret part that makes this design really
special is that there are pockets everywhere that
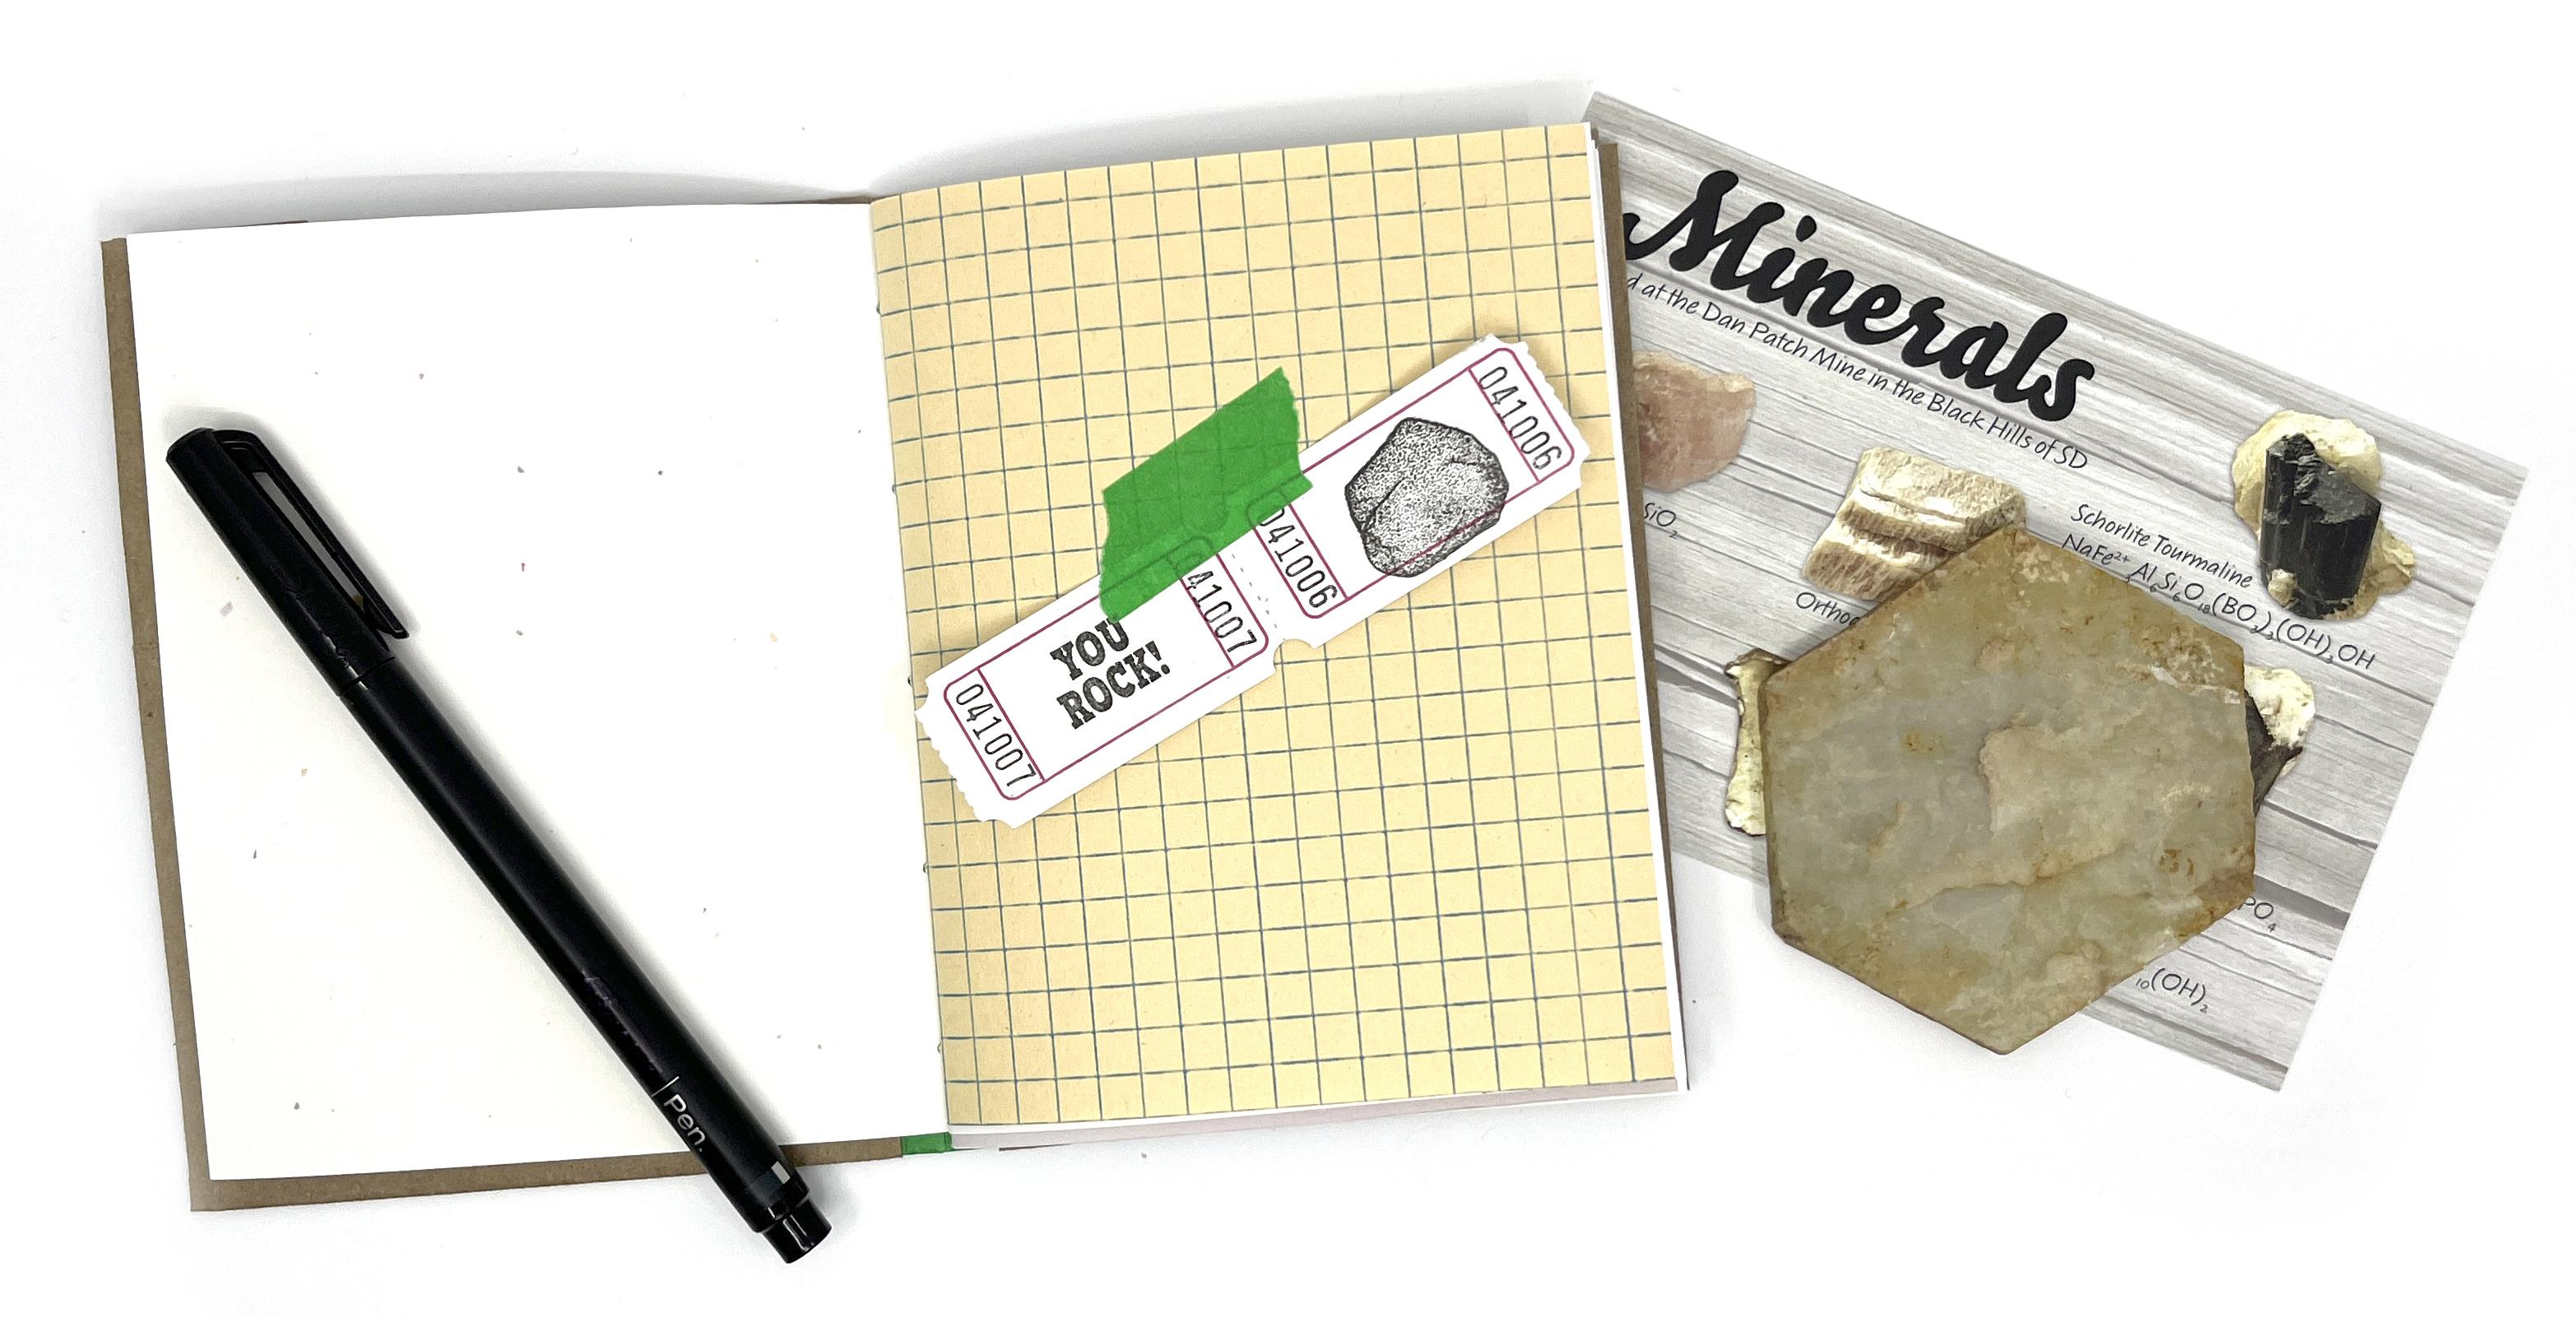
you can tuck things inside. So you can have pressed flowers or stamps or ticket stubs, any kind of ephemera you want to can go inside the pockets
of your sketchbook. This sketchbook is based off of an origami design
for an envelope. But I've kind of
combined it with bookbinding so that it has stitched pages inside that sort of origami folded paper cover. If you've never done any
kind of bookbinding before, this is a great first project to give you some vocabulary
and a lot of ideas. You should be comfortable
using a ruler to make some simple measurements
and being able to cut down a larger sheet of paper
into some smaller pieces. If that sounds like it's
right up your alley, then jump into the next lesson, and I'll tell you more about the project
we're going to make.
2. About the Project: Our project for this
class is a fun one. So we're going to make
these mini sketchbooks or travel journals entirely
from recycled paper. So our finished
book is going to be about four and a
quarter by 5.5 ", and that means you can use regular 8.5 by 11 paper
to make the pages inside. Now, a fun part of
this book is that you can make the pages out
of anything you want to, so you can have it
be drawing paper or journaling paper or graph paper if you like to sketch on that. The best part of this project is that it's completely
customizable. You can use any kind of
paper that you have around. I really hope that you
will take a picture and post it in the project
section for this class so we can all see the
different materials that everybody used and the
designs that you created. In the next lesson,
we're going to talk specifics about the kind of materials and tools you'll need to get started
on your project.
3. Materials & Tools: Okay. Let's talk tools and
materials for this project. Starting out, you're going to need something to cut paper. I recommend you have
both a pair of scissors, whatever kind that you like, and a ruler and a razor blade. I have this folding utility knife blade
that I really like. You might also have
an exacto blade. Either one of those are
going to work great. Um, it is helpful for cutting different kinds of things for this project to have two
different kinds of materials. If you don't have a razor
blade, that's completely fine. You can use scissors
for the entire project, but you will for
sure need a ruler. We're going to need to
measure and mark a bunch of things as we are putting
together this book. So make sure you've got a ruler
at least 12 " is helpful. To go along with
that, you'll need a pencil to make some marks. There are a couple of a little
bit more specialized tools that you're going to
need for this project. So often in my classes, I tell you about kind of everyday materials that you
can use as a substitute. And for this project, because we're working
with thicker paper and we're making a
more substantial book, we do need a couple of kind
of heavier weight tools. One is you're going to need a bone folder for this project. So mine is made from real bone. There are ones made from Teflon and plastic and all
kinds of things. You'll want to find
one in kind of the paper section of
your local craft store. They're not too hard to find. They carry them at places
like Michael's and so on. So you want to grab
a bone folder, or we're going to use that a
lot throughout this project. You will also need an all. Now, these are two
different kinds. The stainless steel one here in my left hand is the one I use for bookbinding
all the time. This one with a wooden handle are a little easier to find. Sometimes they have a bulb
on the end of the handle. You can get these
also a lot of places. They carry them at
art supply stores. They often also have them at hardware stores because they're used for a lot of
different things. You want to make sure
that it just has a nice sharp point on it, and we're going to
use that to punch the holes to stitch
together our book. So you'll want a bookbinding all an optional
tool or material, I guess, it's a used up
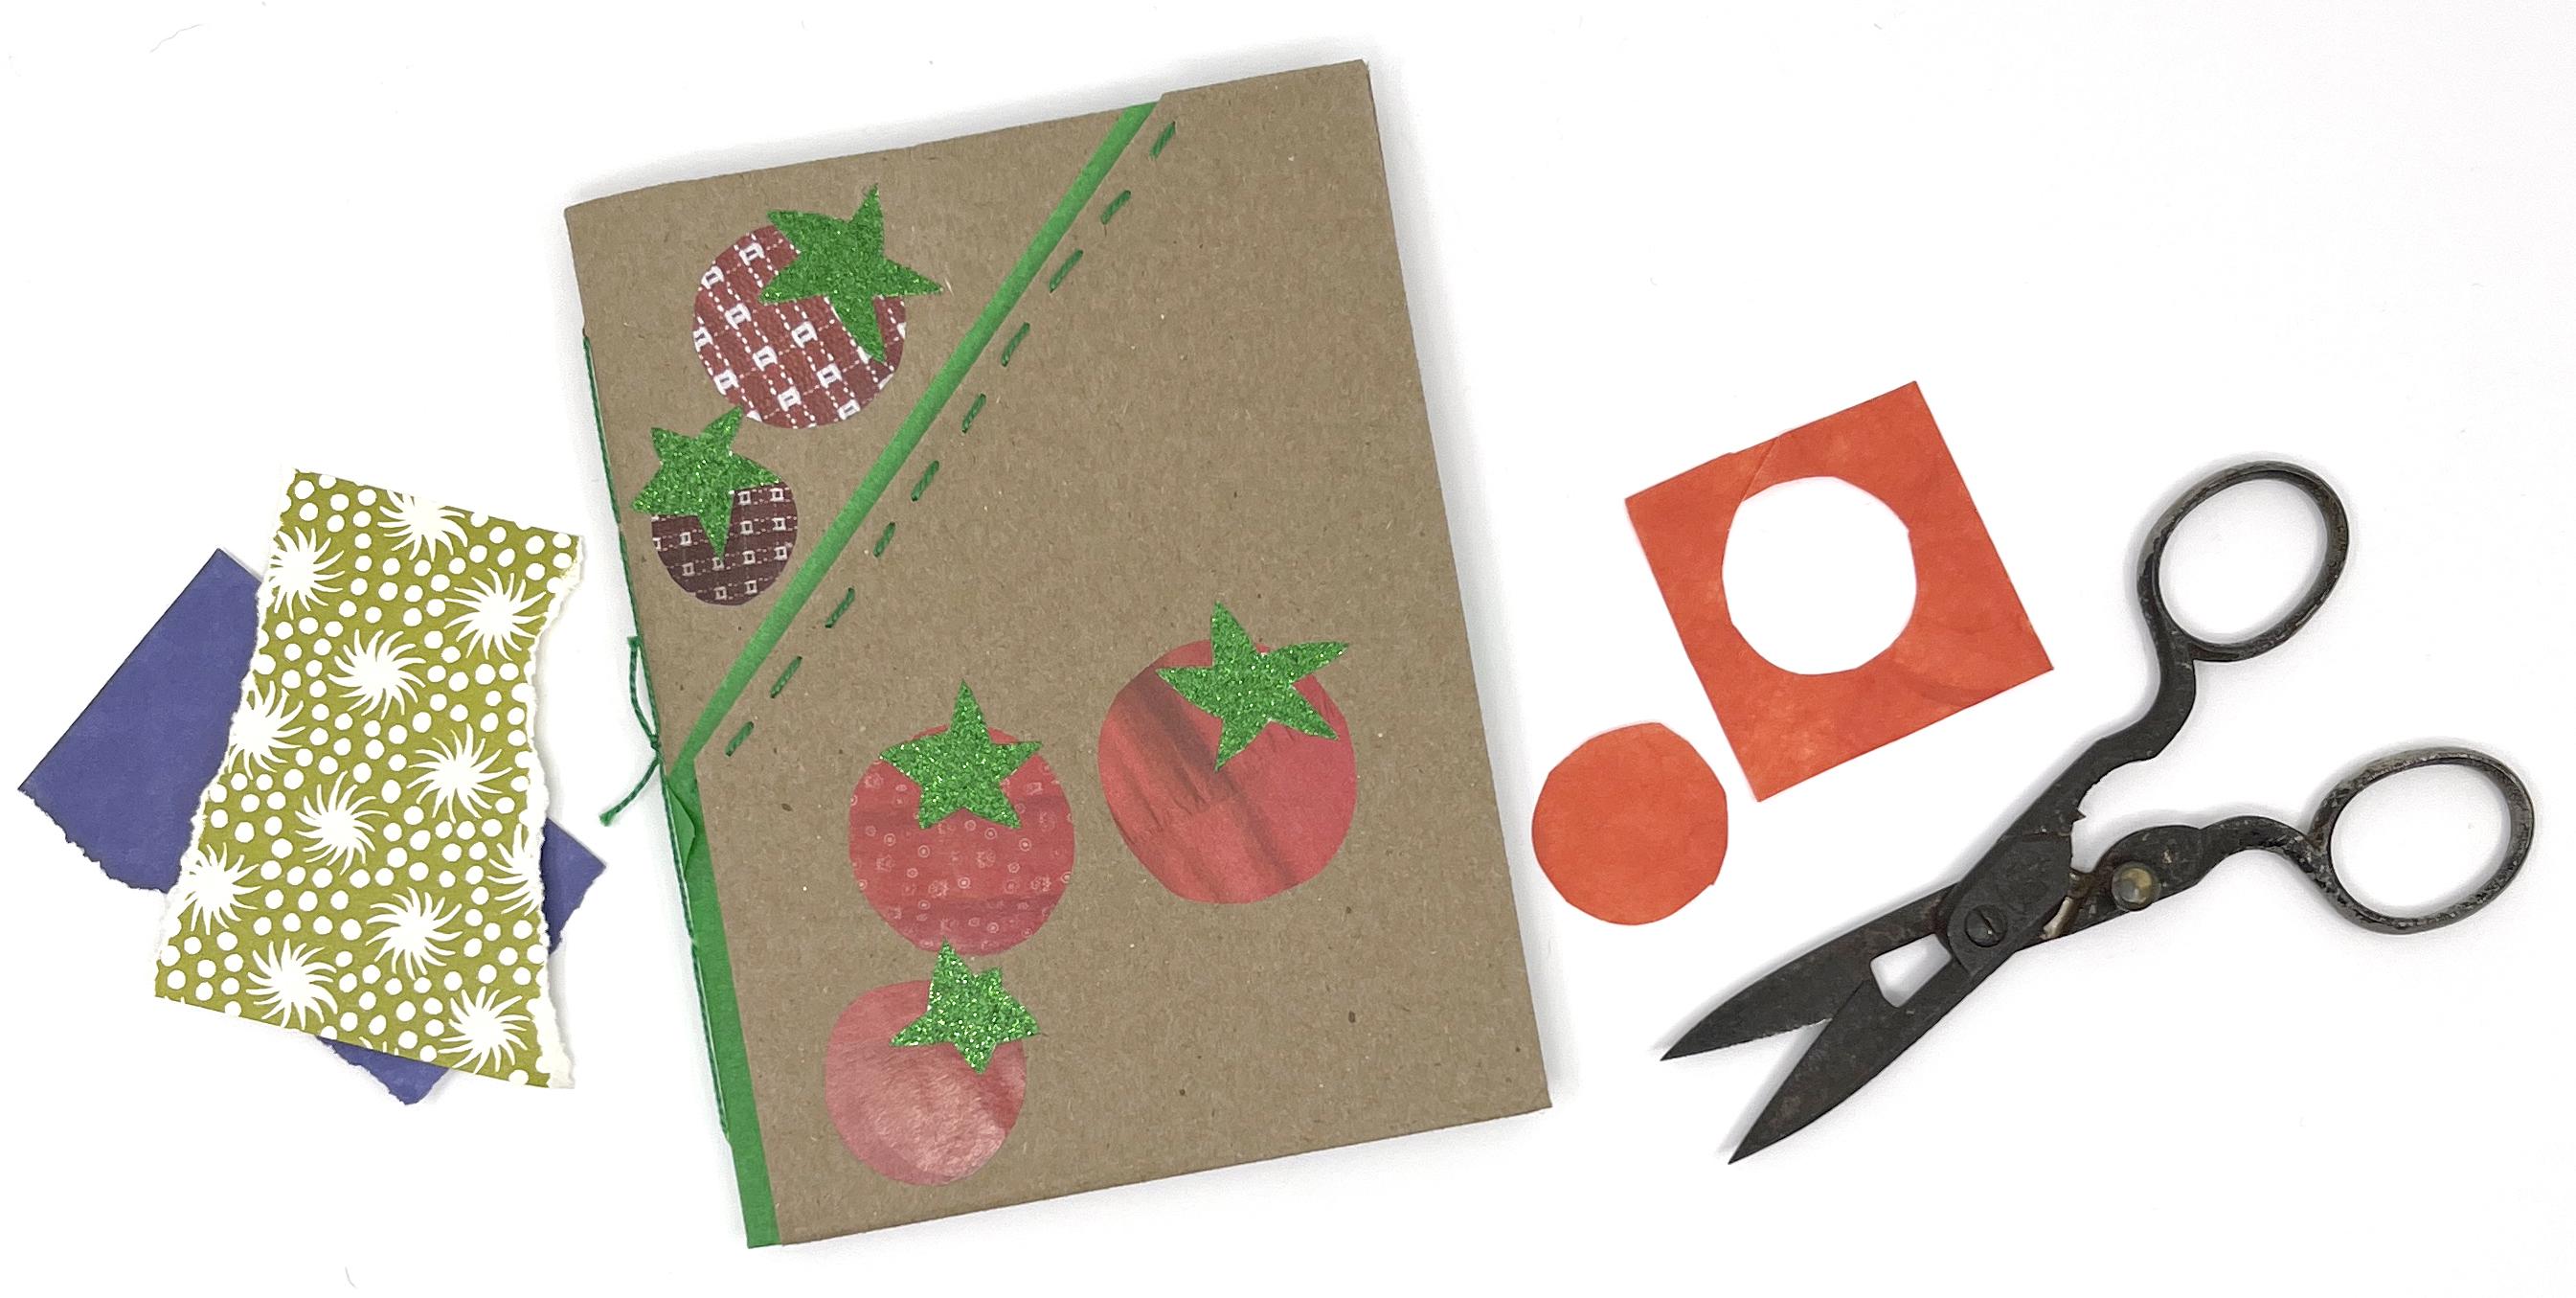
one is a glue stick. My sketchbook, I did all
with recycled paper, so I made paper collage with these little tomatoes made
from recycled magazine pages. Now, you might decide
to design your cover using watercolors
or colored pencils, so you might not
need the glutick. We're going to talk about
designing the cover in a little bit later lesson,
but I wanted to mention that. Then finally, you
will need a needle. Um, this can really be
any kind of a needle. So I have kind of a blunt
point tapestry needle. It's kind of a small one. You want to make sure
that your needle and your thread that
you're going to use to bind your book are kind of the same size, the same thickness. That's a good rule of thumb. I'm going to bind my book
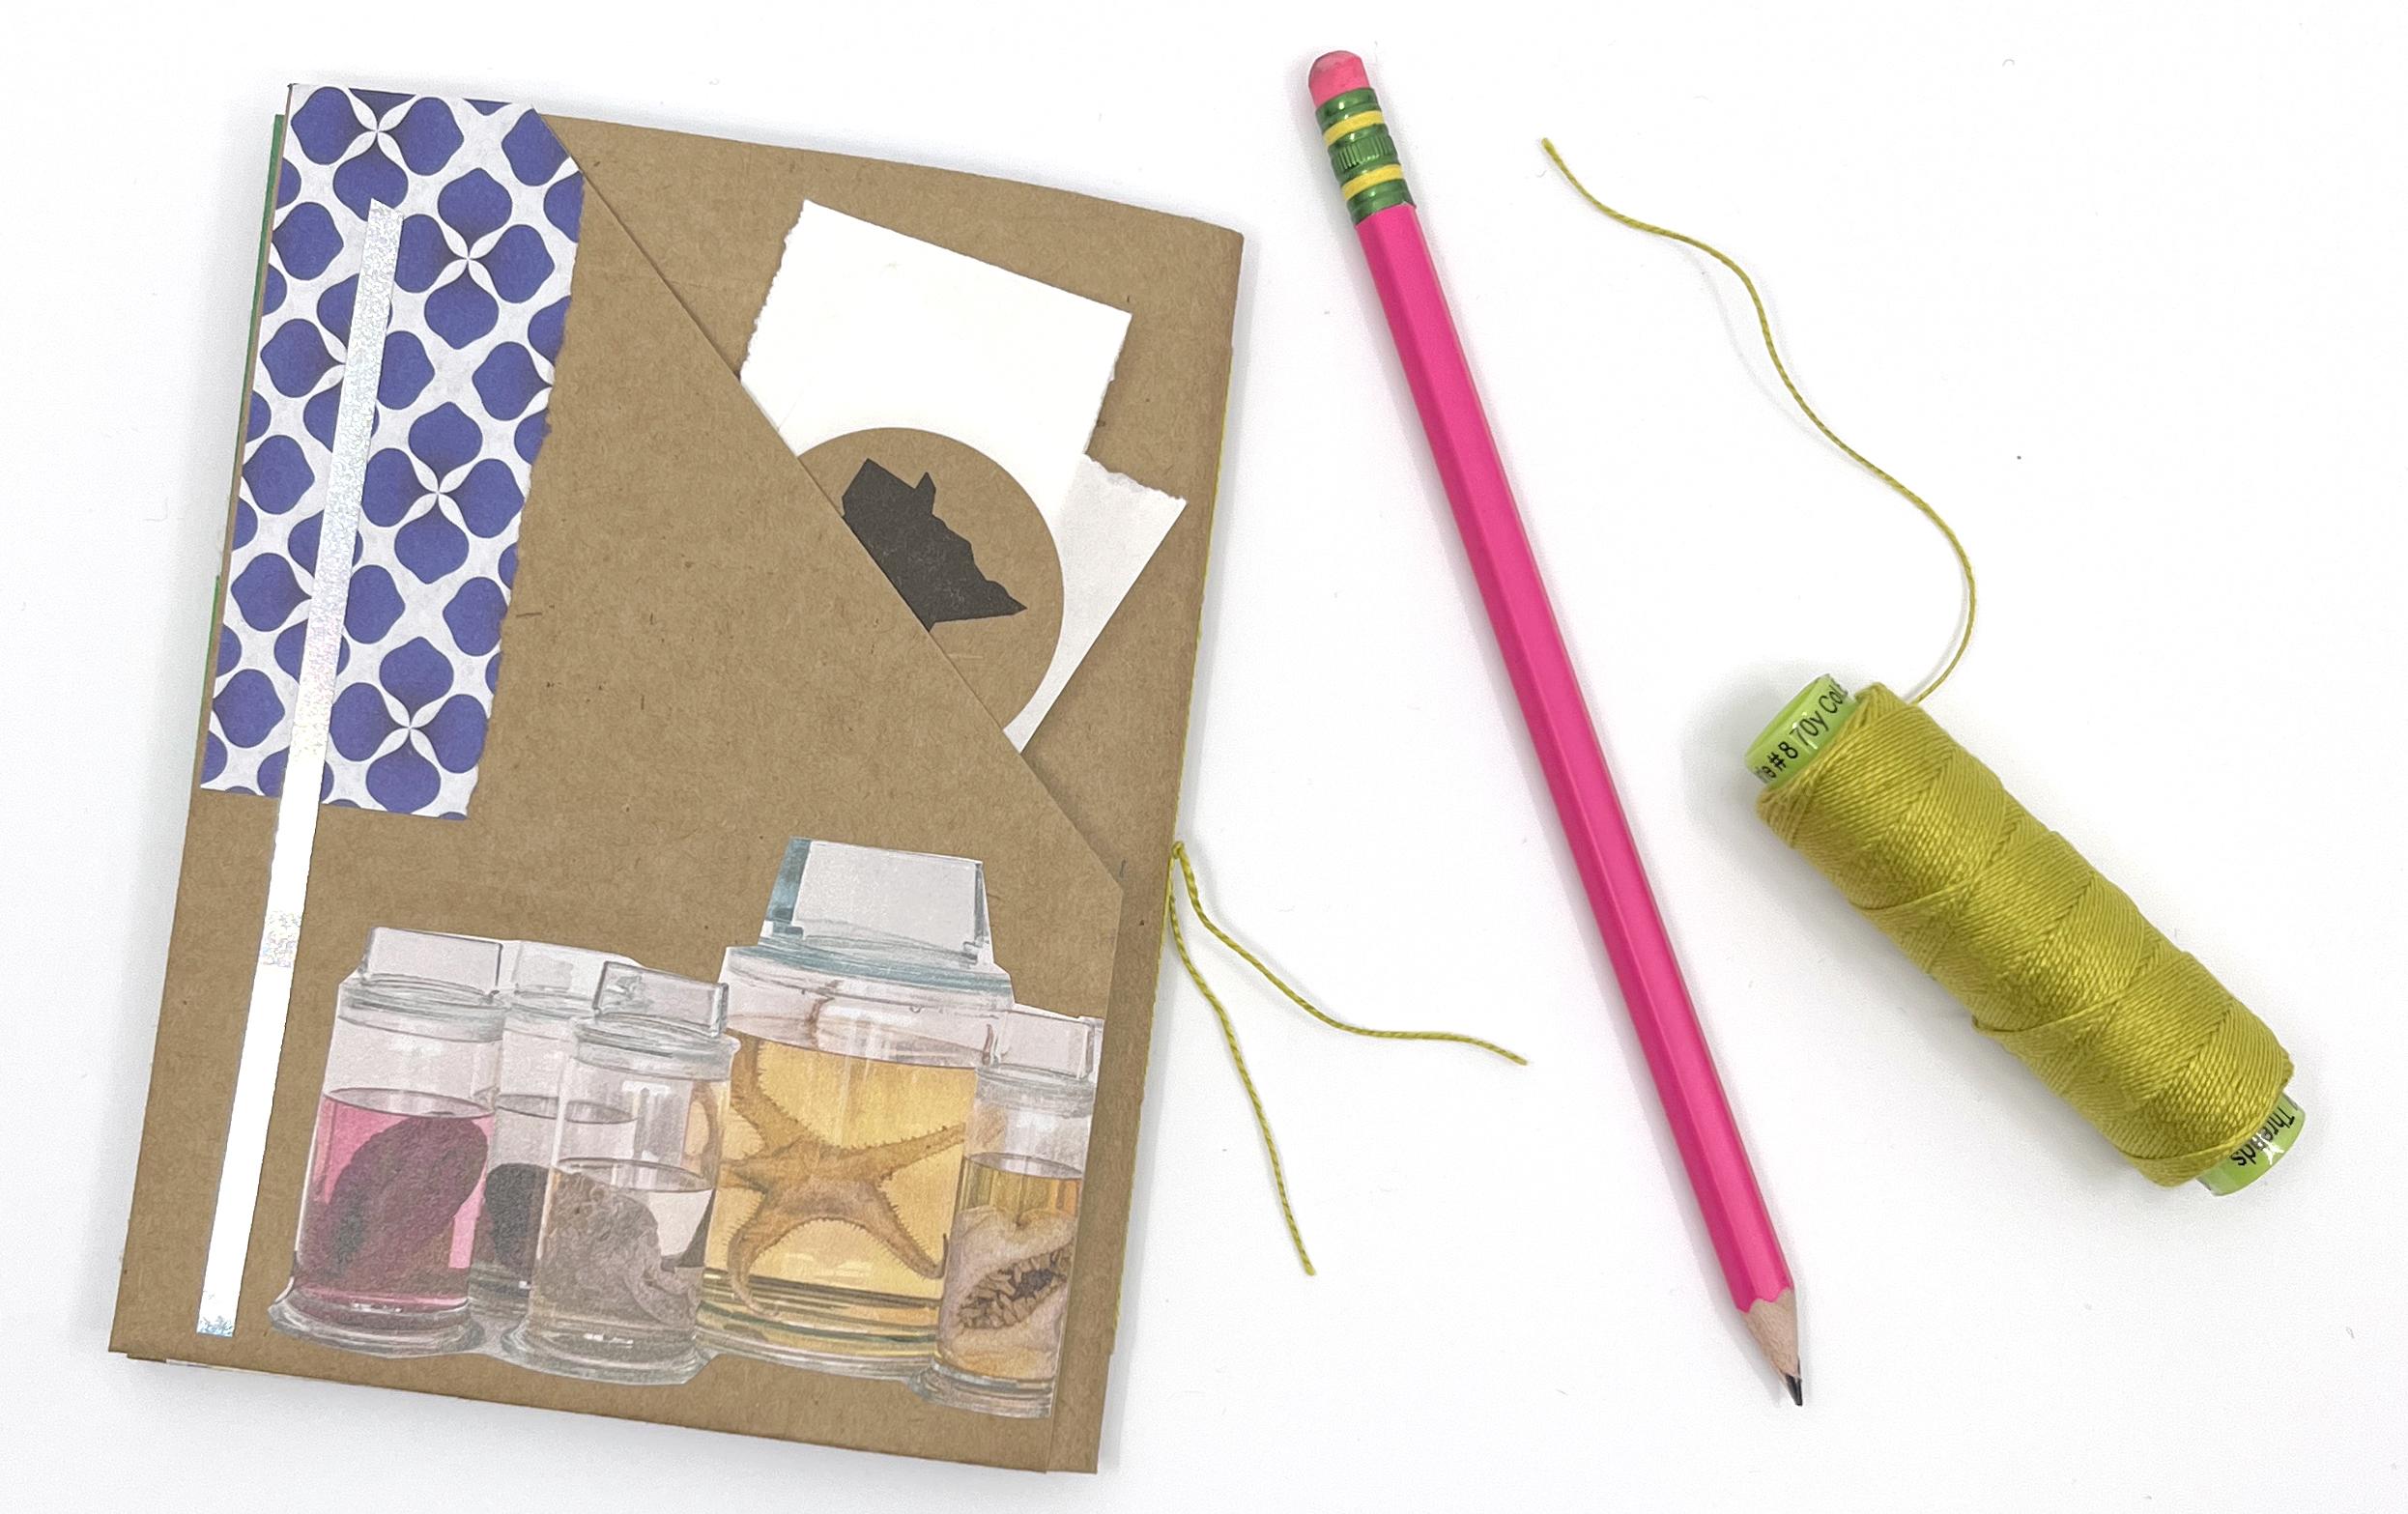
today with some pearl cotton. So this is embroidery thread, but it's a lot easier
to find than, like, a lot of bookmners use a waxed linen or
something like that, which are a little bit
harder to track down. So I use pearl cotton
embroidery thread for a lot of my kind of just quick fun
books. This is a size eight. It also comes in a size five, which is a little bit thicker. Either one of those is going to work great for this project, a needle and some thread. Now, we've gotten done with
the tools that we'll need. Now let's talk about
materials that we're going to use in class
to make our sketchbook. Now, the first one
and I love this, we're going to make the cover
out of a brown paper bag. This is just from a takeout order that we had.
I'm going to use this one. You can use a larger
size grocery bag. We'll talk in another
lesson how we're going to cut it down and
decide what size we need. But a brown paper bag is
going to make our cover. Then if you're going to do some paper
collage, like I did, and I'm going to
demonstrate in the lesson, you need some decorative paper, something you can make
your collage out of. So this is a piece of origami
paper, some wrapping paper. This is a piece of a
security envelope. I liked the pattern. And then I tore a couple of
things out of a magazine. I have this little
phrase that I like, and I love this illustration
with these glass jars. So I'm going to put
that on the cover of my new sketchbook
I'm going to make. Okay, so cover paper
decorative papers, if you want to decorate
yours with a paper collage. And then finally, you need a stack of something to
make your pages out of. Now, I call this a junk journal because the pages are
all different things. So if we look at
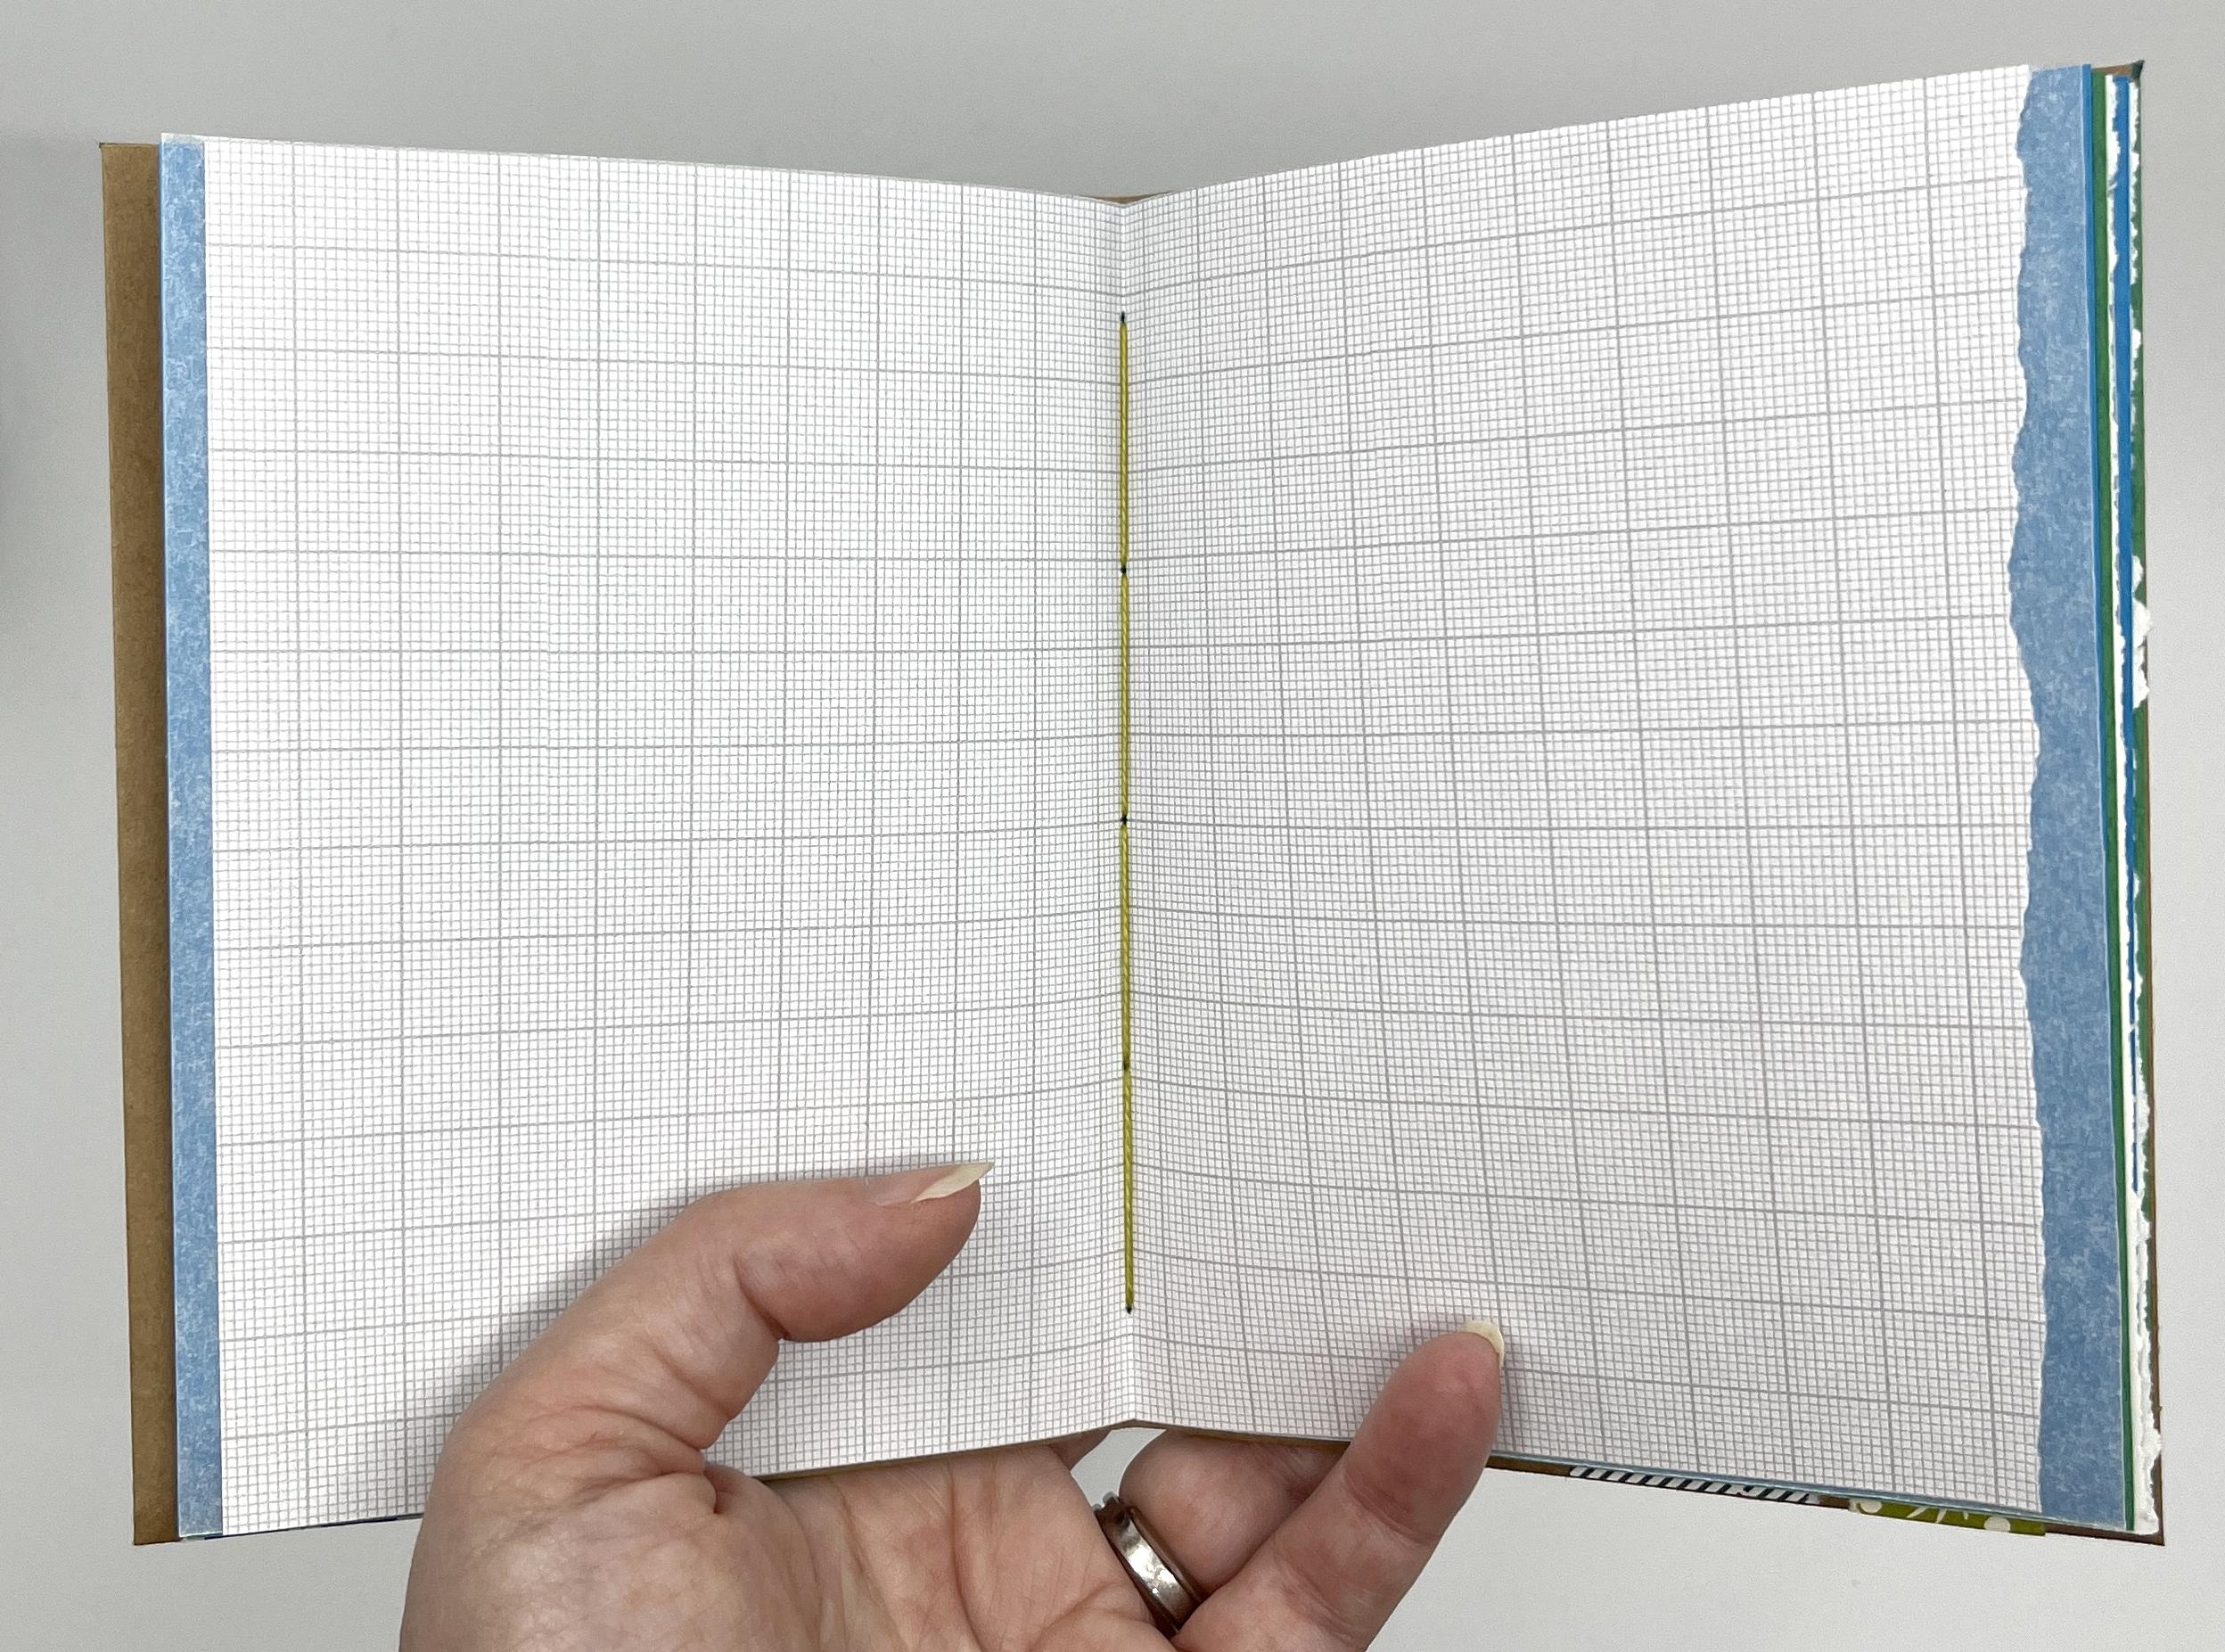
my example here, this one has some colored paper. It's got some that's
got confetti in it. It's got pieces of graph paper. Um, I think it has some other
different things in it. So I like to fill this up
with pages that are made from all different things so that as you are writing in it, you're making sketches or you're using it as
a travel journal, you have all different
papers to work with. So I grabbed a stack of paper. I found some really cool
lined notebook paper that was in colors. So that's one of my sheets. Here's a piece of really
fine graph paper. This is tracing paper, just like a translucent
kind of paper, which I think will
make great pages. I have a couple of pieces of
colored construction paper. Oh, that's the cover to
the construction paper. I don't really need
that. And finally, I have a piece of drawing paper that's left over from
another project, so you can see it's already
kind of an odd size. So you can use any size paper, any kind of paper for
the inside pages. We're going to cut them
all down to the same size. And I'm designing this book and the example we're
going to do in class is, I'm assuming that we have pages that are
roughly 8.5 by 11, and we're going to cut
them in half to make the inside pages
for the sketchbook. So lots of things
like copier paper, notebook paper are 8.5 by 11. So I'm just kind of
picking a common size, and we're going to
work from there. Okay? So that is everything you'll need to
make this sketchbook project. In the next lesson, we're going to start talking about cutting down our cover paper and how
you want to decorate it.
4. Making the Cover: Part One: Okay, we're going to start by cutting down our cover paper. Now, for this example, I'm going to use a brown paper bag. You could use any
kind of paper for this project as long as you
have a pretty big sheet. So we're going to need
a large piece of paper. You could get some art paper
from the art supply store. You could use wrapping paper. You can use a brown paper bag. And we're going to talk a
little in this lesson of how you decide how big a piece
of paper that you need. Want paper that's about the
weight of a brown paper bag. So if it's a lot
thicker or heavier, you're going to have
a lot harder time making the folds
for this project. So try to think about that when you are choosing
your cover paper. Okay. So first thing, I'm going to open up this
brown paper bag flat, and I'm just going to measure
out the size paper I need. Oh, how do I decide
what size I need? So the first thing you want to decide is how big
your pages are, and we're going
to build the book from the size of the pages. So I decided to make
this book really easy for you to find great paper is our pages are going to be half a sheet of an
8.5 by 11 paper. And so that would be 5.5 " tall and four and a quarter inches wide when you
fold it in half. We're going to make a piece
that's twice that size, so we fold them in half. But the finished size
of my book will be 5.5 by four and a quarter. Okay. So once you've figured
out what size, maybe you want to make
an even tinier journal, and you want yours
to be two by three. Whatever it is, jot it
down on a scrap of paper. Okay, there's a little bit
of math that you have to do, but I hope it's pretty simple. So we're going to base it off
of the size of the pages, and the size that we need
to cut our cover paper, we have to come up
with two numbers. So first, the height. So how tall this piece of
paper is going to be is two times the height of your book plus one
and a quarter inches, and I put that up on the screen. Two times the height of my book, that would be 5.5 plus 5.5. That gets me to 11 plus
one and a quarter inches. That would be 12 and a
quarter inches total. That's going to be the
height of my rectangle. Then the width, I just want four times the
width of my pages. My pages are four and a quarter, four times that is 17 ". 12 and a quarter high, 17 " wide is going to be the size we need for
this size sketchbook. Okay? You can plug in the numbers for whatever
size pages you want to do, but that's what I'm gonna
cut from my brown paper. No, I'm not going
to walk you through every detail of cutting
a large rectangle. You can figure out
how to do that based on the tools and
materials you have. But I will just leave
the video going, and I'm gonna speed
it up and you can watch me just cutting
out my rectangle. Okay, so there's
my cover paper cut to 12 and a quarter by 17. Now, you can see mine is kind
of folded and crumpled up. If you're using a recycled paper that's kind of
crumpled like this, you can either put it underneath some heavy weights
for a little while, a couple of hours and
let it flatten out. Or I'm going to just take
mine over to my iron, put it on low heat, and just iron the paper and get rid of some
of those crinkles before I start designing. In the next lesson, we will talk about how to design the
cover of your book, where to lay things out and kind of the techniques
you can use.
5. Making the Cover: Part Two: Okay. I've got my page cut. I have pressed it with the iron, so it's a little bit flatter. You can see it's laying a
little flatter on the table. So we're going to put some
design on this cover, and the order that you do. This depends on what kind
of a design you want to do. I folded just a little
miniature mockup so we can talk about how everything's arranged when you get all done
with this folded piece. Our cover is made from
one sheet of paper, but it's going to
make four pockets. And if we unfold it, so this is what it looks
like right now. If I unfold it, we see
the outside cover. You can see there
are four areas. We have the two
pockets and we have the two insides of the pockets. I've marked all of that out
because that's going to be the side that you see on the
outside of your sketchbook. That's these parts of it. And then if I flip this over, this is going to be what
you see on the inside. So my pages are in the way here, but this is going to
be what we see on this inside flap and on the inside flap on the back is going to be
this side of the paper. Again, you're going
to see two pockets and you're going
to see the inside. So when I unfold
this all the way, we've got two things going on. The parts of the pockets that we're going to
see both outside and inside are going to be on these left and right
edges of this flat piece. So this part and this part
are going to be my outside. These two are going to
be my inside right here, and you'll notice that they are opposite directions
from each other. So my outsides are
going to go this way, the insides are the opposite. And then when I flip this over, the parts that
we're going to see inside inside the pockets, these sections right here, those are going to
be the middle of this piece of paper, ok? On the opposite side. So you can kind of
think about that. Now, it's easiest if
you're going to do something like
painting this paper to do it while your
piece is flat. If you're going to
paint abstract design or color it with
colored pencils, whatever you want to do, you might want to do
your design right now while your piece of paper
is flat, and knowing that, you're going to see
some on this side of the paper and on the
opposite side of the paper. Right? Because I want to do
a design where things are a little bit more placed like
this one with the tomatoes. I have already picked
out, I have some words. I have those glass jars
I want to put on mine. So I'm going to do
some folds first so that we can identify what these sections are
going to look like. Then I'm going to open
it up flat and do the design and we'll
refold it again. Okay? So I want you to
take your cover sheet, and if you're going
to do an all over design with paint or
watercolor or markers, pause the video here, do that first, let it dry,
come back and join me. If you're going to do me
and design yours later, then we're going to
do our folds and get some of those lines
in place right now. Okay, I want you to be with your paper with what I'm
going to call the wrong side, the wrong side up. This part where you want to see just the center bit
on either side, I want that part to be
what's up right now. Okay? And if there's anything on your paper like this
recycled symbol that you don't want to show, we're going to make a flap
up here and basically, I'm going to fold that over and that whole thing is
going to disappear. So that's why I'm placing
that right there. Now we're going to need
the ruler and the pencil, and the first fold
we're going to make, we're going to measure down
1 " from this top edge. So I'm going to just turn the paper
because it's a little bit easier to get it on camera. I'm going to measure in 1 ", and I'm going to make
three or four little marks kind of down the paper. So I have lots of little marks to line up when I'm
making this fold. I've got three little marks
going down the paper at 1 ". We're going to use the
ruler right now as a folding tool because what I want to do is take this flap that we're going to create. I want to fold it right
along those marks, and it's really hard to do when the marks end up on the inside. So I'm going to take my ruler. I'm going to lay it down, and I've just flipped
mine over because the cork makes it stick up
off the page a little bit, so I flipped it so that the ruler is sitting
right down on the paper. I'm going to line
up with my marks. Got to find my second
mark. There it is. I'm holding the ruler down with my left hand and I'm going to
take my right hand and I'm going to start to make the fold by just picking up the edge of the paper and just pressing
my fingertips into the ruler. You can see instead of
just sliding them along, I'm making a series
of little taps. This is going to get it right up against the edge of the ruler. When I pull my ruler away, you can see I'm starting to get a line there right on my marks. Now, my paper is whiter than my ruler, so I'm just
going to move down. L line up with the marks
again and keep doing that. Tap, tap, tap, tap, tap, all the way down. So I've got the beginnings
of a fold there. All right? I'm going to grab
my bone folder, and I'm going to do kind
of the same thing again, but I'm going to use
my bone folder to kind of make that crease a
little bit stronger. So I'm lining up one more time. And now once I've
got that prefolded, I'm going to put the bone
folder right underneath there, and I'm going to slide
the bone folder kind of right along the
edge of my ruler. And I'm going to move down again and bone folder up
against the ruler. Now I've got a creased
line that is right on those marks that I made.
It's nice and straight. I'm now going to just
finish off that fold by bringing this
flap down and I'm just going to press
it with my fingertips right along that precrease
we already made. When I finish it
with my fingertips, I'm going to take my bone
folder and just reinforce it. You can see it's trying
to pop open right here. I'm just going to go along with my bone folder and press down. Okay. That is going to become
the top edge of my book. Okay, next fold we're going to make is we're going
to fold this in half. I'm going to leave
it this side up. I'm just going to
pick up one edge, and I'm going to match it over
across to the other side. Now, if you're using
a paper bag like me, you might already have
a bunch of folds. So you want to make
sure that you're making a new fold that's right in half. Once I've got it lined up, I'm holding it again
with my left hand. I'm going to take my
right hand and just sweep back towards the folds, trying not to let
anything scooch. And then I work my way up to the top and work my way down to the bottom. Same thing. I'm going to take my bone
folder and just go over that fold. All right. Once I got that done, I'm
going to open it back up and make sure that I
know that's my center fold. It's not this one.
It's not this one. Okay? Now, I'm going
to flip this over. We're going to flip it so this
little flat part is down. We're going to make
another couple of marks off of that center
line we just folded. Make sure you know which
one was your center line. Grab the ruler and
we're going to mark a quarter of an inch on
each side of the fold. I'm going to start by measuring a quarter of an
inch to the right. There is a quarter
of an inch and I'm going to make several
little marks again. They're hard to see on camera, I've got three little marks
that are one quarter of an inch to the right
of the center fold. Now I'm going to fold the
outside edge of my paper. I'm going to match
up to those little pencil marks I just made. I'm going to turn
my paper a little bit because it'll be
easier for me to see. I'm bending it back and
matching up the edge of the paper with my quarter
inch marks like that. I'm just going to press
press press the whole way, and then one more time, go over it with the bone folder. I've got a flap here and you can see there's
a quarter of an inch. Now I'm going to do the same
thing on the other side. I'm going to measure a quarter of an inch towards the left. Make some little marks. And fold the outside edge of the paper to those
marks we just made. I matched up. I
unfold fold fold. Okay. Now, we're going to open this up because we need to get rid of a little bit
of extra paper. So I'm gonna unfold both
parts that I folded. We're going to cut
away some flaps. I'm just going to
turn this around so it's a little easier
to see on camera. What I want to cut away, and I'm going to
grab a marker for this so you can see
a little better. I want to cut the topmost
little rectangle out. I'm going to cut here on this fold line and across
here on the fold line. I'm getting rid of that bit. Then I'm going to do the same
thing on the other side. There's a fold here
that I made and here, and I'm getting
rid of that part. Okay. So that was the two folds that I made coming
towards that center line. So not the ones that
were in the bag already. Okay. So I'm just gonna
grab scissors to do those. So there are the two flaps. You could also use the razor blade and ruler to
get rid of those. Now we're going to refold those folds that
we've made before. This flap comes back towards
me. Then we flip over. These two sides are going
in towards the center. They're going to
our pencil marks. One there and one here. Okay. We're almost set up with all the
folds that we need. Now, to make the pockets, we actually need to
fold a little diagonal, and that's going to be on
each part of these flaps. I'm going to start with
the right hand side one. I'm going to open it up and I'm going to measure with
my ruler from the corner, I'm going to go in 3 " and
I'm going to go down 3 ". So I'm going to
make a little mark really close to the edge. So there's 3 " and 3 ". And I want to mark it right
at the edge of the paper. Okay? Now we're going to use that same ruler trick
that we did before. I'm going to match up my ruler with those
two marks I made. Like so. And we'll
do the same trick. We pick up the flap
and tap, tap, tap. To kind of start the fold, and then I can finish it. And that's going to fold it
right on those pencil marks. Then grab my bone
folder and reinforce. We're going to do the same
thing on all four corners. I'm going to switch
down to this one. I'm going to measure
3 " from the corner. 3 " from this corner. Okay. Align my ruler
with two pencil marks. Right at the edge of the paper. Pick up the flap, tap, tap. Then I can finish folding
it over. Bone folder. Same thing on the other side. I'm just going to
spin mine around because it's the
same on every one. I and if you're making a
different size book than this, 3 " is just the amount I
decided looked good to fold. So you might only
fold down an inch. You might fold an
inch and a half. You want to make sure
that you fold down enough that it's sort of easy
to get into this pocket. So if it's really tiny up here, it's hard to put
anything in the pocket. So it's about
probably halfway up, you start that diagonal. That's a good way to kind of
judge where that should go. Alright, I did my
fold and tap tap. I'm folding this
over. Bone folder. And then my last corner. Once you've got
all four corners, you can fold these
outside flaps in again. We have one more fold, and we'll have the whole
layout for our cover. Once I've folded those in,
I'm going to flip this over. I want my flap. I
think it's easiest to fold if my little flap
goes up here at the top. And I'm just going to
open it up a little bit because what I want to do is fold the bottom edge
of the paper so that it just matches that
line of the fold. I want it just below that fold. So I'm going to just
pick up all the layers of paper. I'm folding it up. And I want to just kind of
tuck it inside that flap, so it just matches right
there, doesn't fold over. And I'm going to hold that
down and give this a fold. This is where the paper
gets kind of thick. There's a lot of
layers of paper right here. Fold, fold, fold. And one more time, give that a little reinforcement
with a bone folder. That's all the folds
we'll need for our cover. You can take a look. The side that has
this little flap, this is your inside,
inside pockets, and then the inside
here you'll see, and the pages are going
to go right here, and the other side here is going to be the outside
of your sketchbook, outside pockets and you'll see this center part right here. Okay, now it's time for
some surface design. If you're going to do
like me and make a kind of collage style book. So I'm going to grab
my recycled paper, and I am going to use
all of these folds, kind of keep this half folded together to be able to design the outside
cover of my sketchbook. So one thing to know is that you're
going to see this side, you're going to see this side. You will not see anything
that's inside the fold. So this part will all be
blank when you get done. All right. I'm going
to grab my paper. I am going to speed up the
video and just create mine. Since everybody's going to
do something different, there's no need to kind of
go through it step by step. I'm going to use glue stick
to stick all of mine down. I have some washi tape that's got some kind of fun metallic
and stuff like that. And I'm going to use
those recycled papers to create a cover
for my schedule. Okay, I'm going to say I'm done with my sketchbook design. So there's the inside, and this will be the outside. It's a great idea
if you did a lot of collage with glue and
your paper is wet to put this underneath some
weight and let it dry for an hour or so to make sure that
everything dries flat. I'm going to do
that with mine now. And in the next lesson,
we are going to get ready and prep the
pages to go inside.
6. Making the Pages: Oh Okay, we are ready to
prep the inside pages. So you want about
ten sheets total, which I'll make 20
pages in your book. And we designed this again, to be half of a sheet
of 8.5 by 11 paper. So this is 8.5 by
11 notebook paper. I can either cut this
with scissors with the razor blade with a paper cutter or I can tear
the paper, whatever works. But we want to make ten sheets, which are 8.5 wide by 5.5 tall. Okay, so ten pieces like that. So this one, I already
know it's the right size. I'm just going to
fold it in half. And I'm going to tear this one. I like torn edges on paper. I think it looks cool in books, so I'm just going to tear right
on that fold I just made. So that's one way to do it. Oh, and I messed
up. That happens. That's a reason to, uh, cut it instead of tearing it. I'm just going to trim this piece with a
pair of scissors. Okay. That's one sheet. Uh, you don't have to
have perfect sheets. If you want to keep
this piece with a little torn edge out of
it, you can totally do that. If you do like I do. These don't have to be exactly perfect. They just need to
be pretty close. Okay? So I'm going to go through the rest of my stack
of paper and just get them all to the same size
8.5 across and 5.5 tall. Okay, here are my ten sheets. So I've got these cut down. This piece wasn't
quite 8.5 " wide, so I just left this torn edge and cut it as close as I could. I like having that torn edge. I tore the edges of the
drawing paper, too, so I'm going to have a variety of clean edges and torn edges. But I've got a total here
of ten different sheets. Okay, next, we're gonna punch the sheets and get ready
to assemble our book. So I first want to put the pages in order of whatever
order I want the papers. So mine are stacked
up, so, like, the tracing paper is
right next to each other. I'm going to kind of shuffle
these so that I have different papers next to each other through
the whole thing. So there's some bloom. Maybe I'll put this
lined paper next green. Okay, so I've shuffled my pages. I'm going to do a little tap and get everything as
lined up as I can, so I'm tapping them together. I might tap them
also on one side. I want everything kind of in the stack as aligned
as I can get it. All right. Then
I'm just going to set the stack aside
for a minute. We're going to make a little
jig to punch the holes, to make sure that we
punch the holes in the same place on the pages
that we do on our cover. So you need just
a scrap of paper. Whatever you have leftover
from one of your pieces, I have some of this
drawing paper, and it should be
about this wide. This is about three fingers wide or about an
inch and a half, and it should be the same
height as your pages. So this will be
5.5 " tall. Okay? So find a scrap and
make sure that you cut it 5.5 " tall and however wide. And then take the scrap
and we're going to fold it in half the long way. We just want a crease
down the center. Okay. And then I'm going
to open that up again. Alright, so I've got this
nice line down the center. And now we're going
to make some marks that'll be where we're
going to punch the holes. And I'm going to grab
just a bright colored pen so you can see this a little
easier than the pencil. And I'm going to grab my ruler, and the first marks
I want to make, I'm going to do a mark that's a half an inch in from each end. So go one half inch
in from each side. Okay, so I'm lining up and I'm making just a little
dot right on the fold. So there's a half
an inch in from that side and a half an
inch in from that side. That'll be the top
and the bottom. Next one I want to
find is the center. And the easiest way to do that without measuring is
you can just take your piece and fold it in half and just make
a little pinch. And that's going to mark
your center right there. Okay. Then again, you can measure if you want to
or you can eyeball it. But what we want are
two more marks that are going to be in the center
between each side. I I measure it,
that is going to be there are two and
a quarter inches between my two marks here. So one and an eighth
would be right there. Same thing on the other side, I would go one and an
eighth right there. So five total are going to
be the marks that we punch. Okay. I think there's a lot
of things to hold on to, I like to get
everything organized, so I'm going to grab my
all my stack of paper, my jig, and you want to make
sure that you're punching your all into something
that you can punch into. So I've protected my
table with a cutting mat, so I'm not gouging my table. You can put a piece
of corrugated cardboard or something behind. We're not going to be
punching into the mat, but we're going to make
sure that we don't scratch anything up with the all
because they're pretty sharp. Okay, so we're going to take
this whole stack of papers. We're going to make sure that
it's still aligned nicely, and we're going to fold
it in half, right? So I'm going to fold mine. I think I'm going to fold the
graph paper to the inside. I want that to be
the very inside. So I'm holding this down
really tightly with my left hand because
this is so thick. When I start to fold
these papers over, they're going to want to shift. So I'm just pressing down with my hand on this side
while I pick this up, and I'm folding the
whole stack of papers over and lining it up
as close as I can. You can see they fan out a little bit because of the
thickness of the paper. So you just want to get close. It feels like it's aligned, and then I'm pressing down again and I'm working my fingers back, and I'm just pressing the
whole way here up and down. This is a great place to grab your bone folder and just let it help you. Press that. So you have a good crease. Okay? Now, I'm going to just put my thumb on the
inside of this stack. Ga make sure I get all
the way to the center. That was my graph paper,
and it stays lined up. I've just opened it up in the center and I'm going to take my jig and just match its fold. I'm going to set
the fold of my jig right down in the fold
that I just made. I'm tucking it right
down tight in there. I'm making sure it's aligned
at the top and the bottom. Okay. Then we're going to punch this rather than
have it up in the air, I'm going to set it down on the desk and I'm holding
it pinched together right here with my
thumb with one hand and I'm going to take my all and work my way down through
each of the holes. What I want to do
is I want to keep this closed because
I want to make sure that my hole
goes right through the fold and not through a
different part of the page. I want to make sure that
I'm guiding my all and I'm looking inside so that it's right on the
mark that we made. I'm pressing the pages
down with my left hand and I'm just going to
press the all and sometimes you get a wiggle
a little bit and I want to see the tip of the al
come out on the fold. Make sure your fingers are not behind where that's
going to punch. Please don't poke
yourself with the al. I'm just going to keep working my way down and punch
all five holes. I'm making sure my fingers are out of the way
for the next one. I'm finding the hole on the inside and just
closing the book a little bit and just
gently pressing pressing. I'm wiggling a little
bit. There it comes. You can do these in two
batches if you want to, if it's too hard to get through. It's a little bit
more challenging to line them up later
if you do that. Like if you punch them
really carefully, you should have no problem. You can do it in two batches if this is too much too hard. It all depends on the kind of paper that you've
picked for the inside. Keeping it as nicely
aligned as I can. Last one. Got one more down here. And there we go. Again, make sure that your
left hand is out of the way. Now I've got those holes. They're coming right
out on the fold. The one thing to remember
is take your jig out. I've seen lots and lots of bookbinders accidentally stitch
their jig into the book. We're going to set
the pages aside. We're going to come
back, finish up our cover in the next lesson, and then we'll be ready to
start stitching it together.
7. Finishing the Cover: Okay. Hopefully, your covers had a chance to dry
underneath some weight, so we are ready to finish it up. So I have mine sitting the
outside is up right now. I want to take it and flip
it over to the other side, so I'm looking at the inside. And the last part of this, when you've got it
all folded up again in this kind of configuration is this flap that we've
got going on at the top is going to
fold down like this. Then the corners
of it right here are actually going to
tuck inside the pockets. I like to put a little bit of glue stick on this so that it basically is going inside these pockets and then it's
gluing everything together, and that'll help keep
your cover together. I'm going to put a little
glutick on the flap, make sure that I'm just
getting it on the flap. Okay. You could also stick it down with
some washy tape or something if you're
using that in your design. And then I'm folding
it back towards me and I'm just kind of
picking up the pockets and I'm tucking
those corners inside the pocket and inside
the pocket on this side. There we go. That
didn't want to go. And then I'm just going to go over that
with my bone folder to help the glue stick kind of get into contact
with everything, reinforce that fold. Okay. Now we need to
punch the holes in the cover so that
they match the pages. Hopefully you've kept your
jig and we're going to fold the book so that the
inside cover is inside, the outside is outside. So we've made a fold
there previously. It's kind of going
the other way, so I'm just going to
reinforce that fold a little bit to the outside. All right, so now
my book is opening the way I want it to
look when I'm done. We're going to
punch the holes the same way as we did
with the pages. So I'm going to take
my jig. I'm going to set it down in the fold. And one thing you'll notice is your jig is slightly smaller. You see how it's slightly
smaller than the cover? I made this cover so that
it's about an eighth of an inch larger than your
pages on every side. So that way, the edge of the pages are protected
a little bit. So your pages are going to
be just a tiny bit smaller, and the cover will be
just a little bit bigger. Alright? So then
you want to look at your jig and just
center it so there's the same little bit of room
on the top and on the bottom. So just get it centered
top to bottom. And you can eyeball
that. And then we're going to punch
it the same way. I'm going to hold the
book kind of closed. I'm going to grab my all, and I'm going right in
those same exact holes that I made before and just punching through the
two layers of my cover. Okay. And take out the jig. So now I've got punches
that match my pages.
8. Stitching the Binding: All right. Now it's time to
stitch the book together. I've got my cover and my pages, and I've got my thread that
I'm going to stitch with. You want to cut a piece of
thread that is about three times taller than your cover is. That's just a rough
rule of thumb. One, two, three, I'm
being a little generous. Okay. I'm going to
thread my needle, but not tie a knot. So we don't need
to tie a knot in the thread like you do
when you're sewing. Okay. And let's stack these
two things together. I'm going to carefully
pick up my pages, which are still nicely aligned. Only I dropped a few. Let me realign those. Okay. I'm going to put
them inside the cover. Okay. And hopefully, my holes are going to
line up pretty close. All right. I think
the easiest way to stitch this is I'm holding
it with my left hand. I've got my thumb inside, kind of pinching all the layers together right at the fold. Okay. We're going to stitch this with what's called
a pamphlet stitch, and we're doing a five
hole pamphlet stitch. You can do three hole, you can do all kinds of
different combinations, but I like a five
hole one for this. I like to stitch mine so that the knot we're
going to have at the end ends up
on the outside. So there's a little tail of thread that you see hanging
out on the outside. I just like the way that looks. You can also start this one from the inside if you don't
want to have the knot. But I'm going to show
you from the outside. So first thing we're
going to do is come in from the outside
in the center hole. So we're going to go in the
center hole, and hopefully, if you get all your
pages aligned, you can kind of wiggle
the tip around. You should be going
through the cover and all of the pages and
come out in the inside. All right, I'm going
to pull that through. And I'm going to
leave a little tail of about, I don't know, three or 4 " of thread, and I'm just going
to pinch that with my fingers so I don't
accidentally pull it through. Okay? So my left hand is holding the fold and I'm holding
the little tail of thread. All right? We're going to
start stitching this one. I'm going to go to
the right side first. So my thread is on the inside. I'm going to go up to the next hole and I'm going
to go back out. So back through that hole
and through the cover. And I'm going to pull that
all the way through. Okay. One little rule when book
binding, a little hint for you. If you're ever pulling on
the thread to tighten it up, you always want to
pull straight away from the spine of the
book and not to the side. If you pull to the side,
you will tear the paper. It's really easy to tear it. But if you pull
straight away from you, you won't get a tear. Okay? So now we're coming
out of the second hole here. Now we're going to go back
down at the next one, so I'm going to move
over to the top hole, and I'm coming from
the outside going in. And pulling through. It looks like we have
one stitch right here. And when I look on the inside, I've got one stitch back there, and my thread is coming
out from the top. Now we're going to
make a figure eight. So we're going to
go back towards the bottom because we got to stitch the bottom
of the book now. I'm going to go back one hole and I'm going to go back
through this one a second time. Now I'm going from inside to outside, through
that hole again, and if possible, push that previous thread
out of the way. Don't put your
needle through it, but try to go around it. Move it out of the way. Okay, so now my threads coming
out of the second hole. This is the step where
everybody kind of forgets. But what we want to do
is skip the center. So we're going to skip
right over that and stitch all the way
down to the next hole. So there's going to be
this really long stitch that goes across the outside. Okay? So I'm skipping
the center hole. I'm going into what
would be the fourth one. Got to wiggle
around. There we go. Find the hole in the pages. Stitching all the
way to the inside. And again, I'm pulling
straight towards me, not towards the side, straight
towards me. All right. Now, we got to catch this
hole that's at the bottom. So we're going to go
back out to that one. Pulling straight away from me. Okay, now we're going to do kind of the same we did at the top. I'm going to come back to the
second hole and go back in. So we're kind of
doing a figure eight. Back inside, and again, push that thread out
of the way if you can. Try not to split it. All right, so now we just have one blank space
here on the inside, and we're going to end by going back out the
center hole again. Okay. And I'm done
with a needle, so I can just take that off. And to finish off, we're
going to check one thing. So we've got two ends. One's kind of coming
out on the front. One is kind of coming
out on the back, and you've got this
center string here, this thread that's going across. I want that to be in the
middle of these two. So that one's going one way, one's going the other
way, and that one is sitting right between
them right in the center. Try to hold it up close
so you can kind of see. Okay, so I don't
want both threads coming off of one
side or the other. I want that center thread to
be right down the middle. And then the last
thing we do with these two is once
we make sure that everything is nice and tight on the outside and that they're nice and smooth
and tight on the inside, is we're going to
take these two ends and we're going to
tie a square knot. So I'm just setting my book
down and a square knot, if you don't know how to do one. My way that I learned how to do it is that you take
the right thread. The one in my right hand
and I go right over left, I cross it over and then take that same thread and
go through the middle. I go underneath and through the middle and that ties 1 knot. Then the second part of the
knot, you do the opposite. Take then the left hand
one and I go left over right and then under
the loop and through. Pull that tight. If you
want to just to be safe, you can put one more knot in it. I do one going the
opposite way again. Then you can trim
those off, leave them as long or short
if you want to. That is a finished
pamphlet stitch. Now, one thing I think
this book really, really benefits from is if when you're all done
with all of these things, you take the whole book and you put it underneath
a heavy weight. You can see when I hold this up, it wants to spring open. It doesn't want to be closed, and sort of fresh folds and
fresh books always do that. So I take this. I
fold it closed, and I put a couple of big
heavy books on top of it, some cans of soup or vegetables, and I leave it overnight. And when you get done, yours will be more like
this one that I made before where it's not like popping open instantly,
just a little bit.
9. Wrap Up (& Secret Pockets): So I don't know about you, but I love this
little sketchbook that I made in class today. I like this weird little
phrase on the front. I think it's very mysterious, and I love the way
it turned out. So there are lots of
ways to use this book. Of course, you can use
it as a sketchbook. So you've got all
kinds of paper inside, whatever you decided you wanted yours to be like.
So I could sketch. I could write journal pages
on some of that lined paper. I can do all kinds of fun
stuff with the pages inside. You also have four pockets
that you can tuck things into. So these are great for sketches, but I think they also make really awesome travel journals. You can put things
like ticket stubs. Here's a little sticker or notes in the pocket on
the front or the back. You've also got two more
pockets on the inside. There's one here and
there's one here. Those are great for things like postcard stamps if you like to send postcards when
you're traveling. There are also two
more secret pockets that you can hide
other things in. If you look at one of
the covers just at the edge right here is open, so there's actually a secret
pocket inside the cover. Now, one little tip
I'll tell you is, if you've used kind of a
lighter weight paper for your cover and you feel like
it's a little too soft, a great thing you can do
with that secret pocket is to cut a piece of
lightweight cardboard, like a cereal box just slightly
smaller than the cover, and you can tuck that piece
of cardboard right inside. And so that will give
you a much stiffer, like a hardcover sort of book. And then you can
stick that opening closed with some more glosti
or double sided tape. So you could put a
harder cover inside both the front and the back
in those secret pockets. Now, I want to see what you
did with your sketchbook, so be sure to take a picture and post it in the project
section for this class. We all love to see what kind
of recycled paper you used, especially if you got
some creative ideas of things that you had around
your house or your studio. Thank you so much for
joining me for this class. Again, my name is Beca Ron. You can find me at beckon.com, and I hope to see you for
another class sometime soon.
 Becka Rahn, Artist & teacher, paper & fiber art