Transcripts
1. Neon intro: Hello everyone. My name is Ahmed result. I'm a digital artists and creative director or two
from past seven years, I've been very
lucky to work with major brands including
the United Nations. They are not dedicated me, Pepsi got rid of
Canada, Pakistan. This class I will teach you some basic techniques and procedure of treating
neon lights. It's used in different projects and different environments, streamline workflow. Making neon lights. You will learn use
of neon effect, creation of neon light, condition of style compositing, and use of advanced
Photoshop tools. The class is divided
in two parts. Basic technique, writing,
naming neon light. Neon light using in whatever
the ingredient composition, no light for the
logo class project. So let's start.
2. Basic neon Sign technique: So here I have a basic
open in Photoshop. We will select the
background color white, black will make the
background black, and we'll merge it with the background and
create a new layer. And we will select
Simple section of color it white
in a new layer. Then we will go to
Blending Options. And here we will
do all the magic to create the neon light. So let's start with
doing with the magic. So first of all, we have to select the straw
to the style of stroke, go to the field type and select gradient and gradient
style start breast. Then the gradient, we have to select any color
towards the white. You can choose. You can choose blue, any color of your choice. The color you want to
give to a neon light. Then you can change the size to see the
brightness of the neuron. Then we will go to the outer glow and give a
blow to our neuron late. We will keep the size
to twenty seven, twenty eight, thirty, and
change that color to the blue. Then we will go to
the drop shadow. And we will select the Linear Dodge blending mode and select the color over noon. And then we will play
with the distance and the size and the bread to select
the realistic. To keep the effect of
neuron-like realistic. Giving you a very
basic idea how to create the structure behind
the neon light detect. After that, we will
select our background, which is very bright, so we have to tweak
with the grown as well to make it dark and give
it a normal light effect. So we will use the brightness, will strike the explore layer. And we will load
the Explore year. Raise little. Upset. Gamma correction will
keep the offset to 0 and then gradually increase
the, excuse me, please. From the very basic
effect of neon, you can multiple this effect
to any layer or anything. So here we generated a new
altered that I will do. In the next step, we will see how we add
neon lights on the text, on the logo and the
real-life environment. So this is the basic
structure of light. We will use this structure every time we are
creating known. Both go to the layer,
select the spokes, It's the select outer
glow and play with the drop shadow basic
stroke is the word which gives us a tube
light style effect. In the numerator, we can see we can change the structure of will continue the size
of stroke and it changes the effect of light.
3. Neon Editable Text: So here I have an plane with
black background again. And we will see how we develop
neon light in that text. Text. By using Text tool. Just resize it, told
me it can be visible. And then we will use neon. I will share the text
file with you in their sources or
project as well, so you can download it. After that, we will go to the blending and we will
go to the stroke plus, and then select the fill
type gradient again. You can change the
color or the red. We can change the cycle. Stall depending
on the structure. Learning bolstered little bit, proximately. Do is fine. And loading the shadows a bit. Elect outer glow. And select the color of change the size according
to your requirement. And then select the
drop shadow of vocal. Play with the size
and opacity as well. The drop shadow. If we look more realistic
about experimenting stuff. After that, now we have neon
effect created on a text. You can change the text or anytime you can write your name. You can write anything with it. It will help you doing in
different projects and as well, I will give you
the trick as well. The end of class
in which you can save it in a style
and quickly do it. Now I resize it, will need to play
a little bit with a stroke to make it more bright. We will resize the
stroke style electron. Three or four days. It is perfect. This is how we can, we can use our neon style
Neon effect in the text. You can apply it to
not on any texts. Like you can have
different forms available, you can use them. But the perfect the more realistic loop it
will give noon. I will share it.
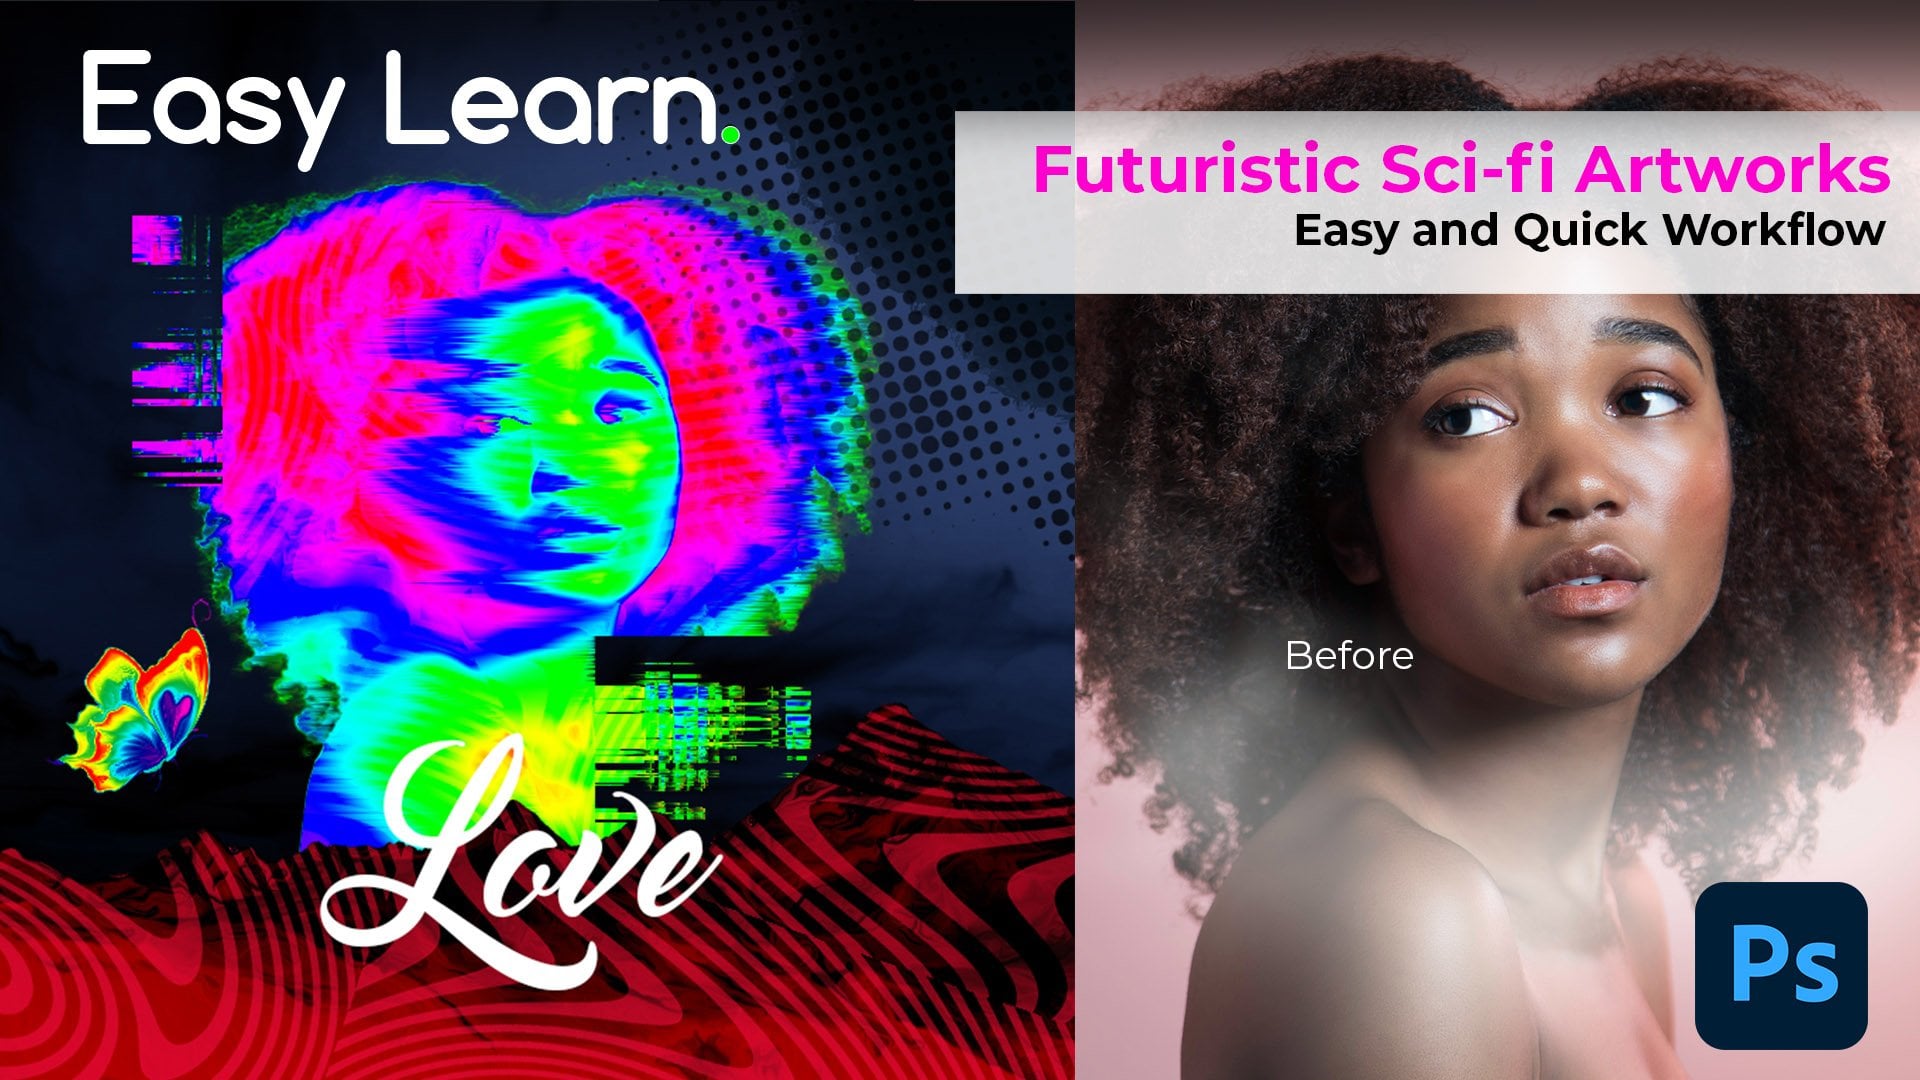
4. Neon Picture Composite: Now in this part of class
we will explore how we can use the neon effect
in a natural environment. So I have here a picture
of a woman reading a book. We have to transform
it in a night, in a dark environment first, because neural lights usually using a dark
environments so far. For this, we will go to the, our channels, will select
the channel mixer, and we will go to our red
and lower the red into 0. Then we will go to
the output channel green and we will
select it to the 0 is just a little bit
around three to four. We have to play little bit with the blue as well in
our green channel. And then we will go
to the blue channel, and then we will
select little bit of blue ratio and increase
it around 90 or maybe a 100. It depends on how much
you like the environment. And then we will go to the
brightness and contrast them. We can increase the contrast a little bit and lower
the brightness. Different result. It's a perfect night
environment right now. After that, we will
use the pen tool. Maybe we can use any shapes
available if you have any. I'm briefing to
use the pen tool. We can select this to
be for the pen tool. And then I will start
drawing a random shift. The woman. We can use it as a neon light. I just created a
random triangle. Then we will increase
the stroke off triangle. We can change the
triangle points according to our requirements. It's north of
problem. After that. Select the shape and go
to the blending options. Select the stroke. A stroke is. The same thing. Go to the gradient and select
the style share brush. Style is very important or
it will load looked view. Give you a look for neon
effect source, chip. Brush. Select the outer glow so it will start giving up glow effect. If we can increase the glow and degrees
that blue as well. And then drop shadow to
shadow is really important. To give it realistic field. You can change the size of drop shadow and direction
of drop shadow as well. With the angle tool. Distance of the shadow. I'm doing it too
little away from the original lights to
deal with realistic feel. Just a little lower the
size. And you spoke right? After that. If you want to
use spoke of the light, you can change it anytime. Just change it in your shapes by selecting the
shape and pressing the U. You can change it from here. Then after finalizing it, display with the strokes
and it will lead to the effect of Leon. After that, just
rasterize the layer. It will look bent
shape into the layer. And you can make some
corrections here I see the eraser to less than it will give us. Our environment are
more realistic feel. After that. Just enjoy
your environment. You can use this picture
as a album cover, are in different projects.
5. Save Neon as style ( Trick ) (Time Saver): So here is a quick trick
to save this as a style and you want to get away
from all these process. So creating strokes and playing with glow
and drop shadows. Here is a quick trick. You can go to your styles and select the layer which you
already develop a style. And just click create a
new style, name it neon. Include layer effects and can include layer blending options. It will add to your current
library you can see, and you can use it anytime on different forms
like differently. I use it right now
in front of you. Diaper newName in a text. And then I will go to my
styles and select Neon, and it's constantly
forward our two. This is how we can save
over time and save it as a style for the speedy
streamline workflow.
6. Neon Logo Sign: Now, I will teach you how we can apply a Neon effect
on different logos. I'll create a new own style
logo. Here is a background. We will first loaded brightness to give it with the
effect and select, merge it with the
background, create a layer. Make it black multiplied and lower its opacity
to around 8084. It is perfect. We can use it as a background. And then here I'm using
my personal logo. The testing purpose is my logo, and then we will do
the same procedure. Go to the blending option. Select the stroke, increase the stroke a
little bit to around 12. Use the outer glow and keep
blending mode on screen. User drop shadow and p bar drop shadow mode
and do linear tones. And then lower the opacity and resize it according
to your needs. After it, I just load the
vestiges of 61 and size to 27. After the select some shapes, a circle, create a circle. Give it a little stroke. Around seven. I'm using the second
technique in which we can save our time,
which is great. You didn't get that style
of neon and applied directly, applied tone layer, I will go to the stroke, change the stroke size. I will just see the drop
shadow and afterglow. You need to load the size
of it a little to it. This is perfect. And just a
little after that we will duplicate our circle layer
and resize it a little bit. This is perfect. This is how we can apply Neon effect on the
logos as well. Finally, we will save
our project files. Click Save, and Save. We don't have maximum quality, so you can use it in the
future for different projects.
7. Final result and class project: So here is the final result
of our neon effect clause. If you have any question
regarding the class, you can start it in a discussion panel OF
our class section. For the class project, create a new sign
in environments with chair and apply
Neon font over root. For editorial or commercial use. You have to create
it by developing your own ideas to the research, by following my
procedures and techniques and approach it in a project
section of my clock. So I can review you and see bags you about
your technique. You have to follow
these procedures. We at your idea first, get photograph it and then apply neon techniques and neon
effects in the Photoshop and upload the final result
in the form of poor reject in my project
section and get a chance to win an Amazon gift
card or Instagram foot ship preset for photo
editing for more details, visit the project section
of my class. Thank you.
 M Amir Naseem, Graphic Designer / Creative Director