Transcripts
1. About the Class: Want to paint a cosy autumn
bouquet in just one sitting. Let's keep it simple and paint this vintage inspired
bouquet together. Hi, my name is Joly, and I'm a watercolor artist, Skillshare top teacher,
and the author of the book called 15 Minute
Watercolor Florals. First, we'll start
with the materials, then swatch and mix
our autumn palette. And don't worry
because you don't need to buy new colors
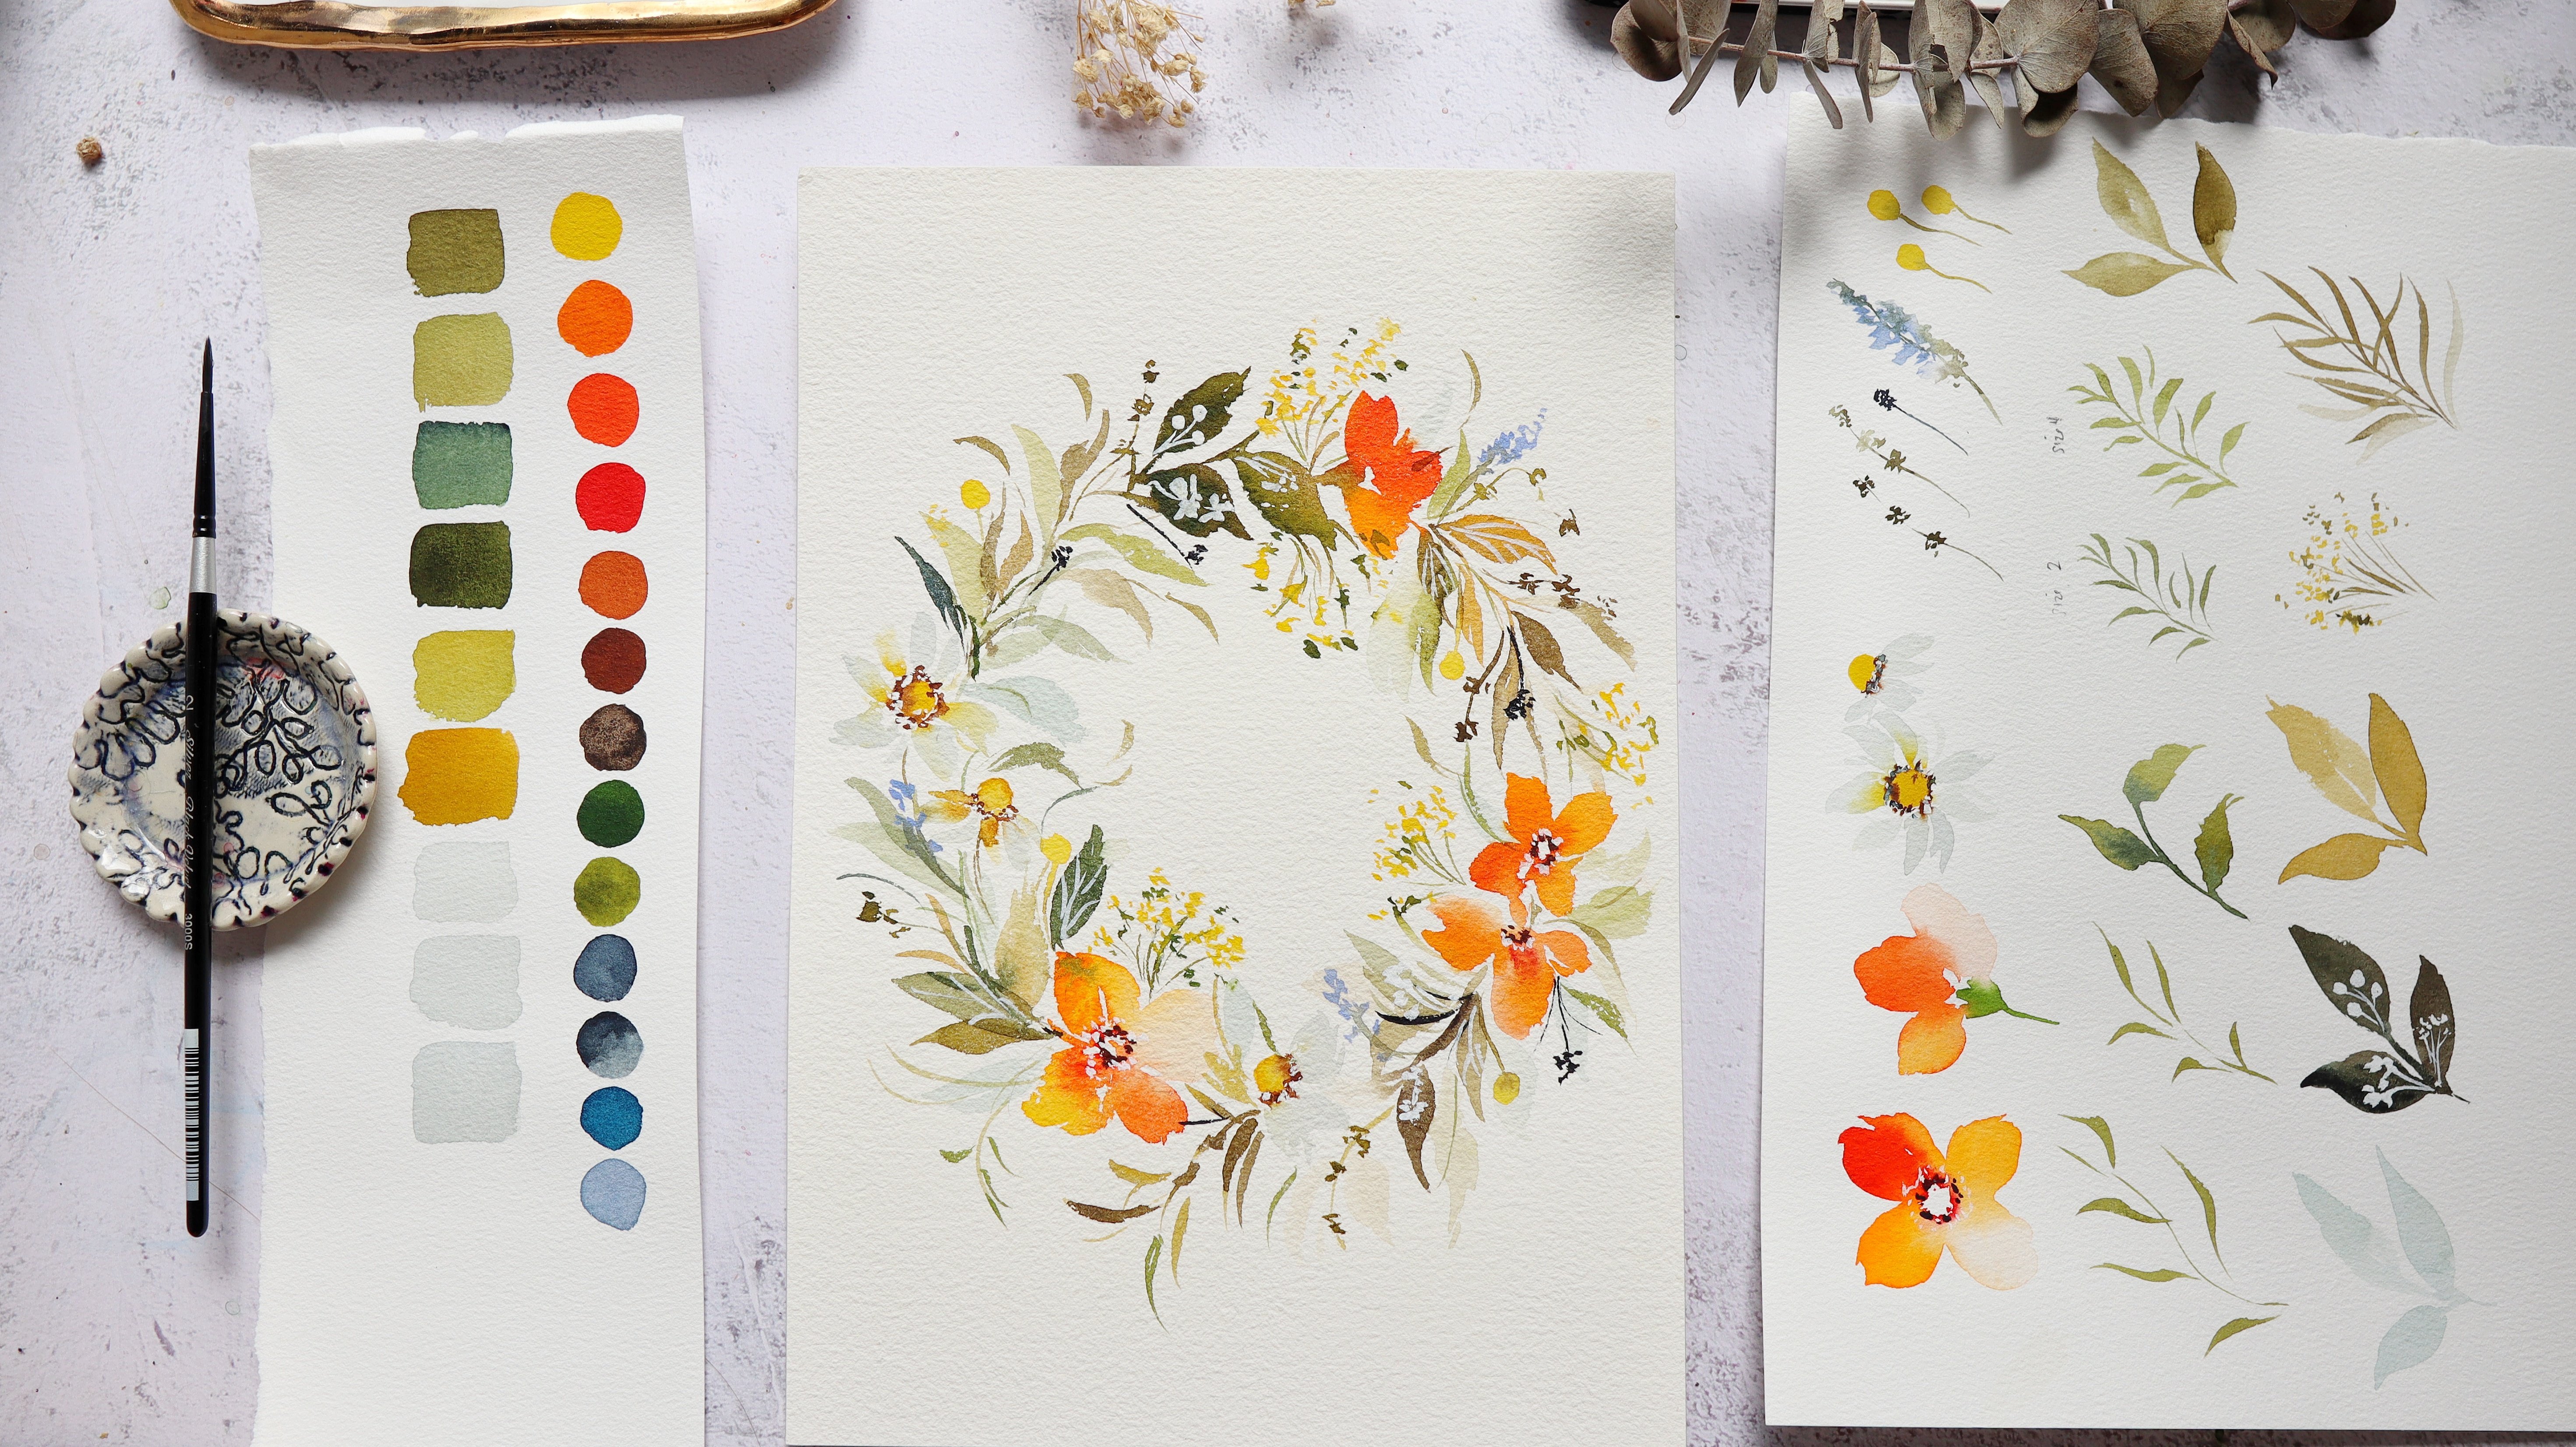
for this class. I will show you how to mix beautiful autumn shades using the colors you already have. Then we'll practice
a few simple strokes to create the petals, leaves, and fillers
before bringing everything together in
a step by step bouquet. If you're already comfortable
with watercolor and looking for a fun little project you can finish in one sitting, then this class is for you. So grab your brushes, and let's get started.
2. Materials: Mm. Let's talk
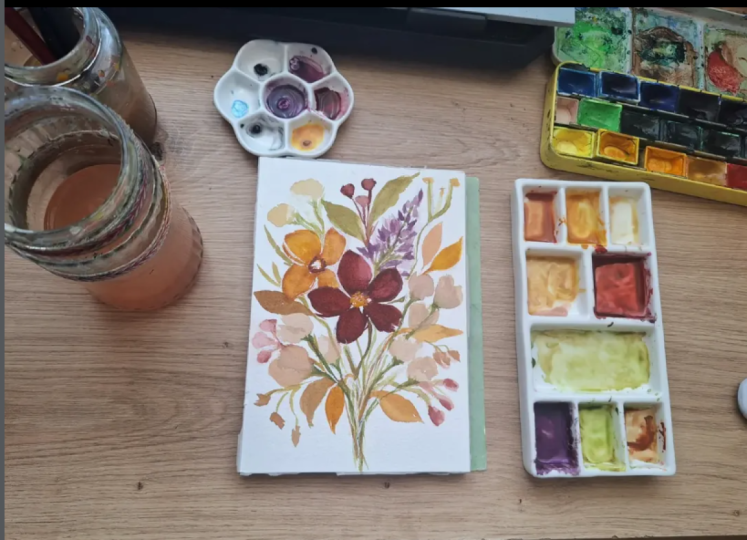
about the material. So because we are going
to do a quick painting, we also want a smaller
sheet of paper. This is just five by 7 ". And I'm using the brand
Bao Hong Academy. This is a watercolor block, so all the sides are glued
except for this part. So we can use a palette
knife to take off the sheet. I'm going to quickly
show you how I do this, so I just slide it
under the sheet of paper and just make sure
that when you do this, the painting is already dry so that it stays nice and flat. Next we need some brushes. I am using the brand silver
brush, black velvet. So the size is size eight
for the big flowers. I'm also using a size four for the stems
and for the fillers. So we want a brush
that can hold a lot of water and still
keep its point. For the paints, I am using
the brand Shinhan PWC. It's a Korean
artist grade paint. So I've been using this
for so many years. I just pour them into
little half pants like this so that it's
more convenient to use. Then we also need
a mixing palette. This is just the cover
of my watercolor tin, but you can also
use some plates, ceramic plates or
plastic palettes. Lastly, we need some tissue
paper or paper towel, just to dab off the excess
water in our brush, and also we need a
clean jar of water. Okay, that's it. We only need a few things
for this project. I hope that you will
enjoy this class. Now let's move on to
the next video as we talk about the
color swatches.
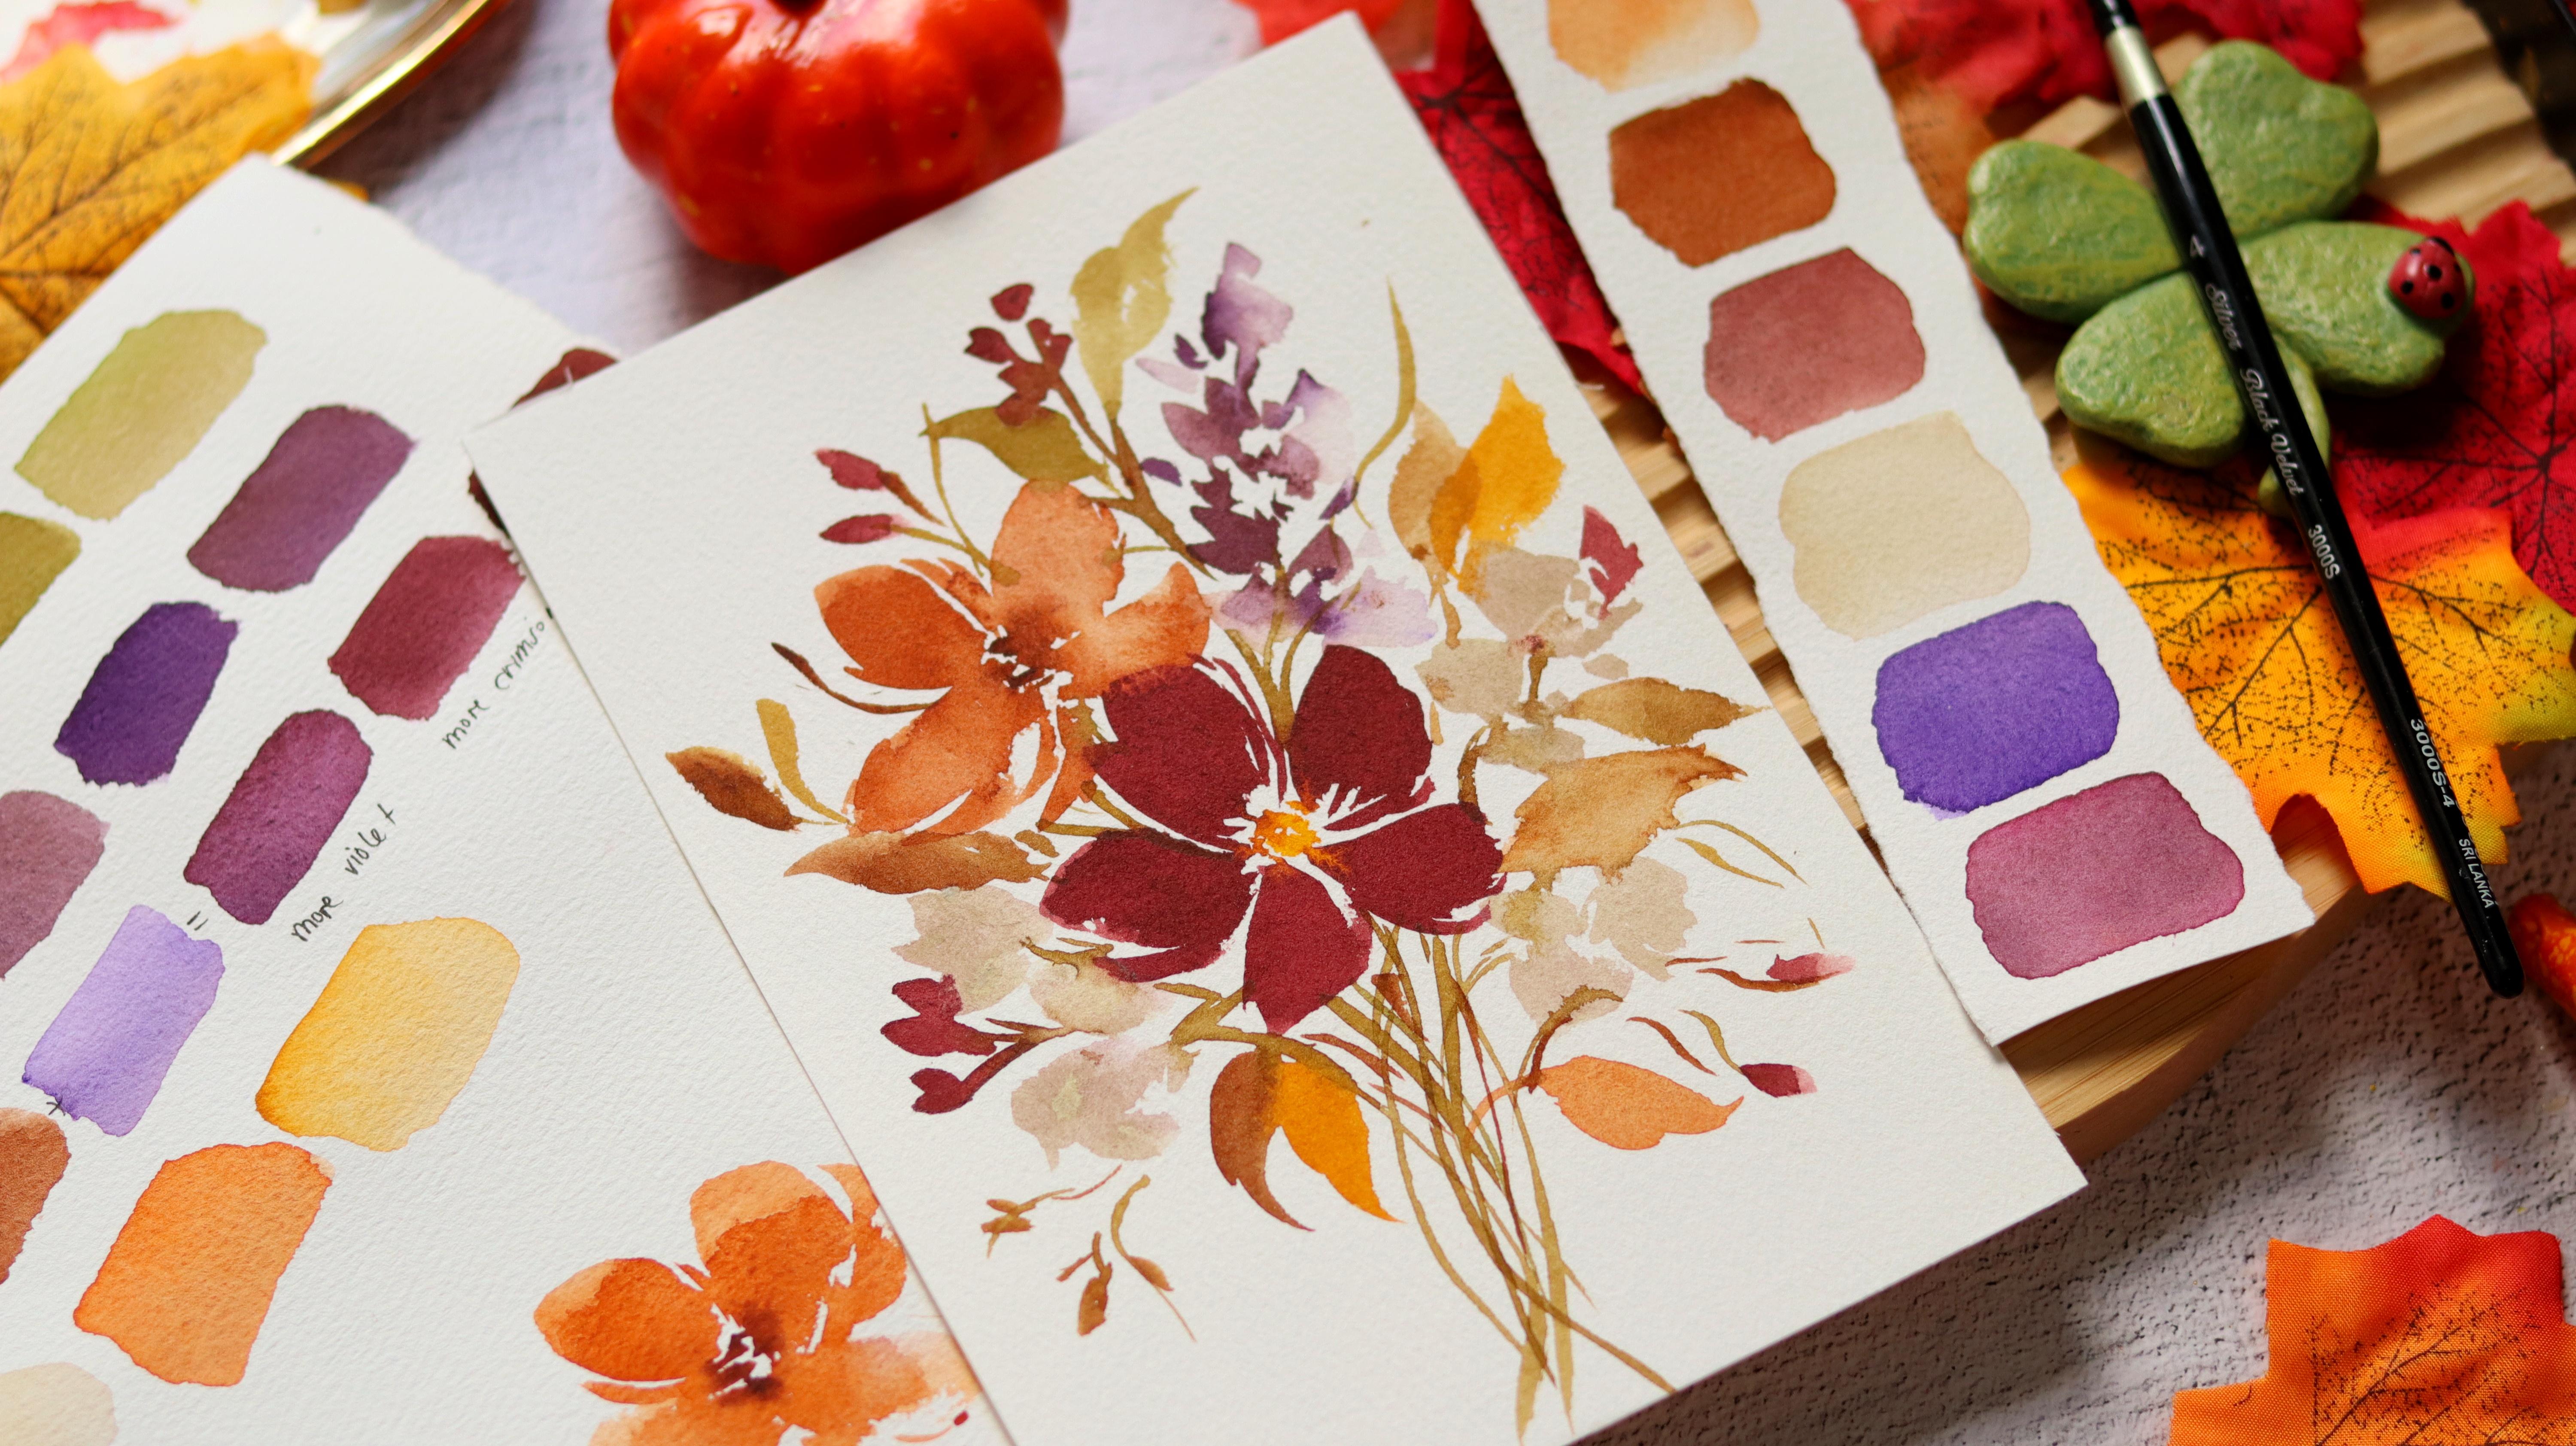
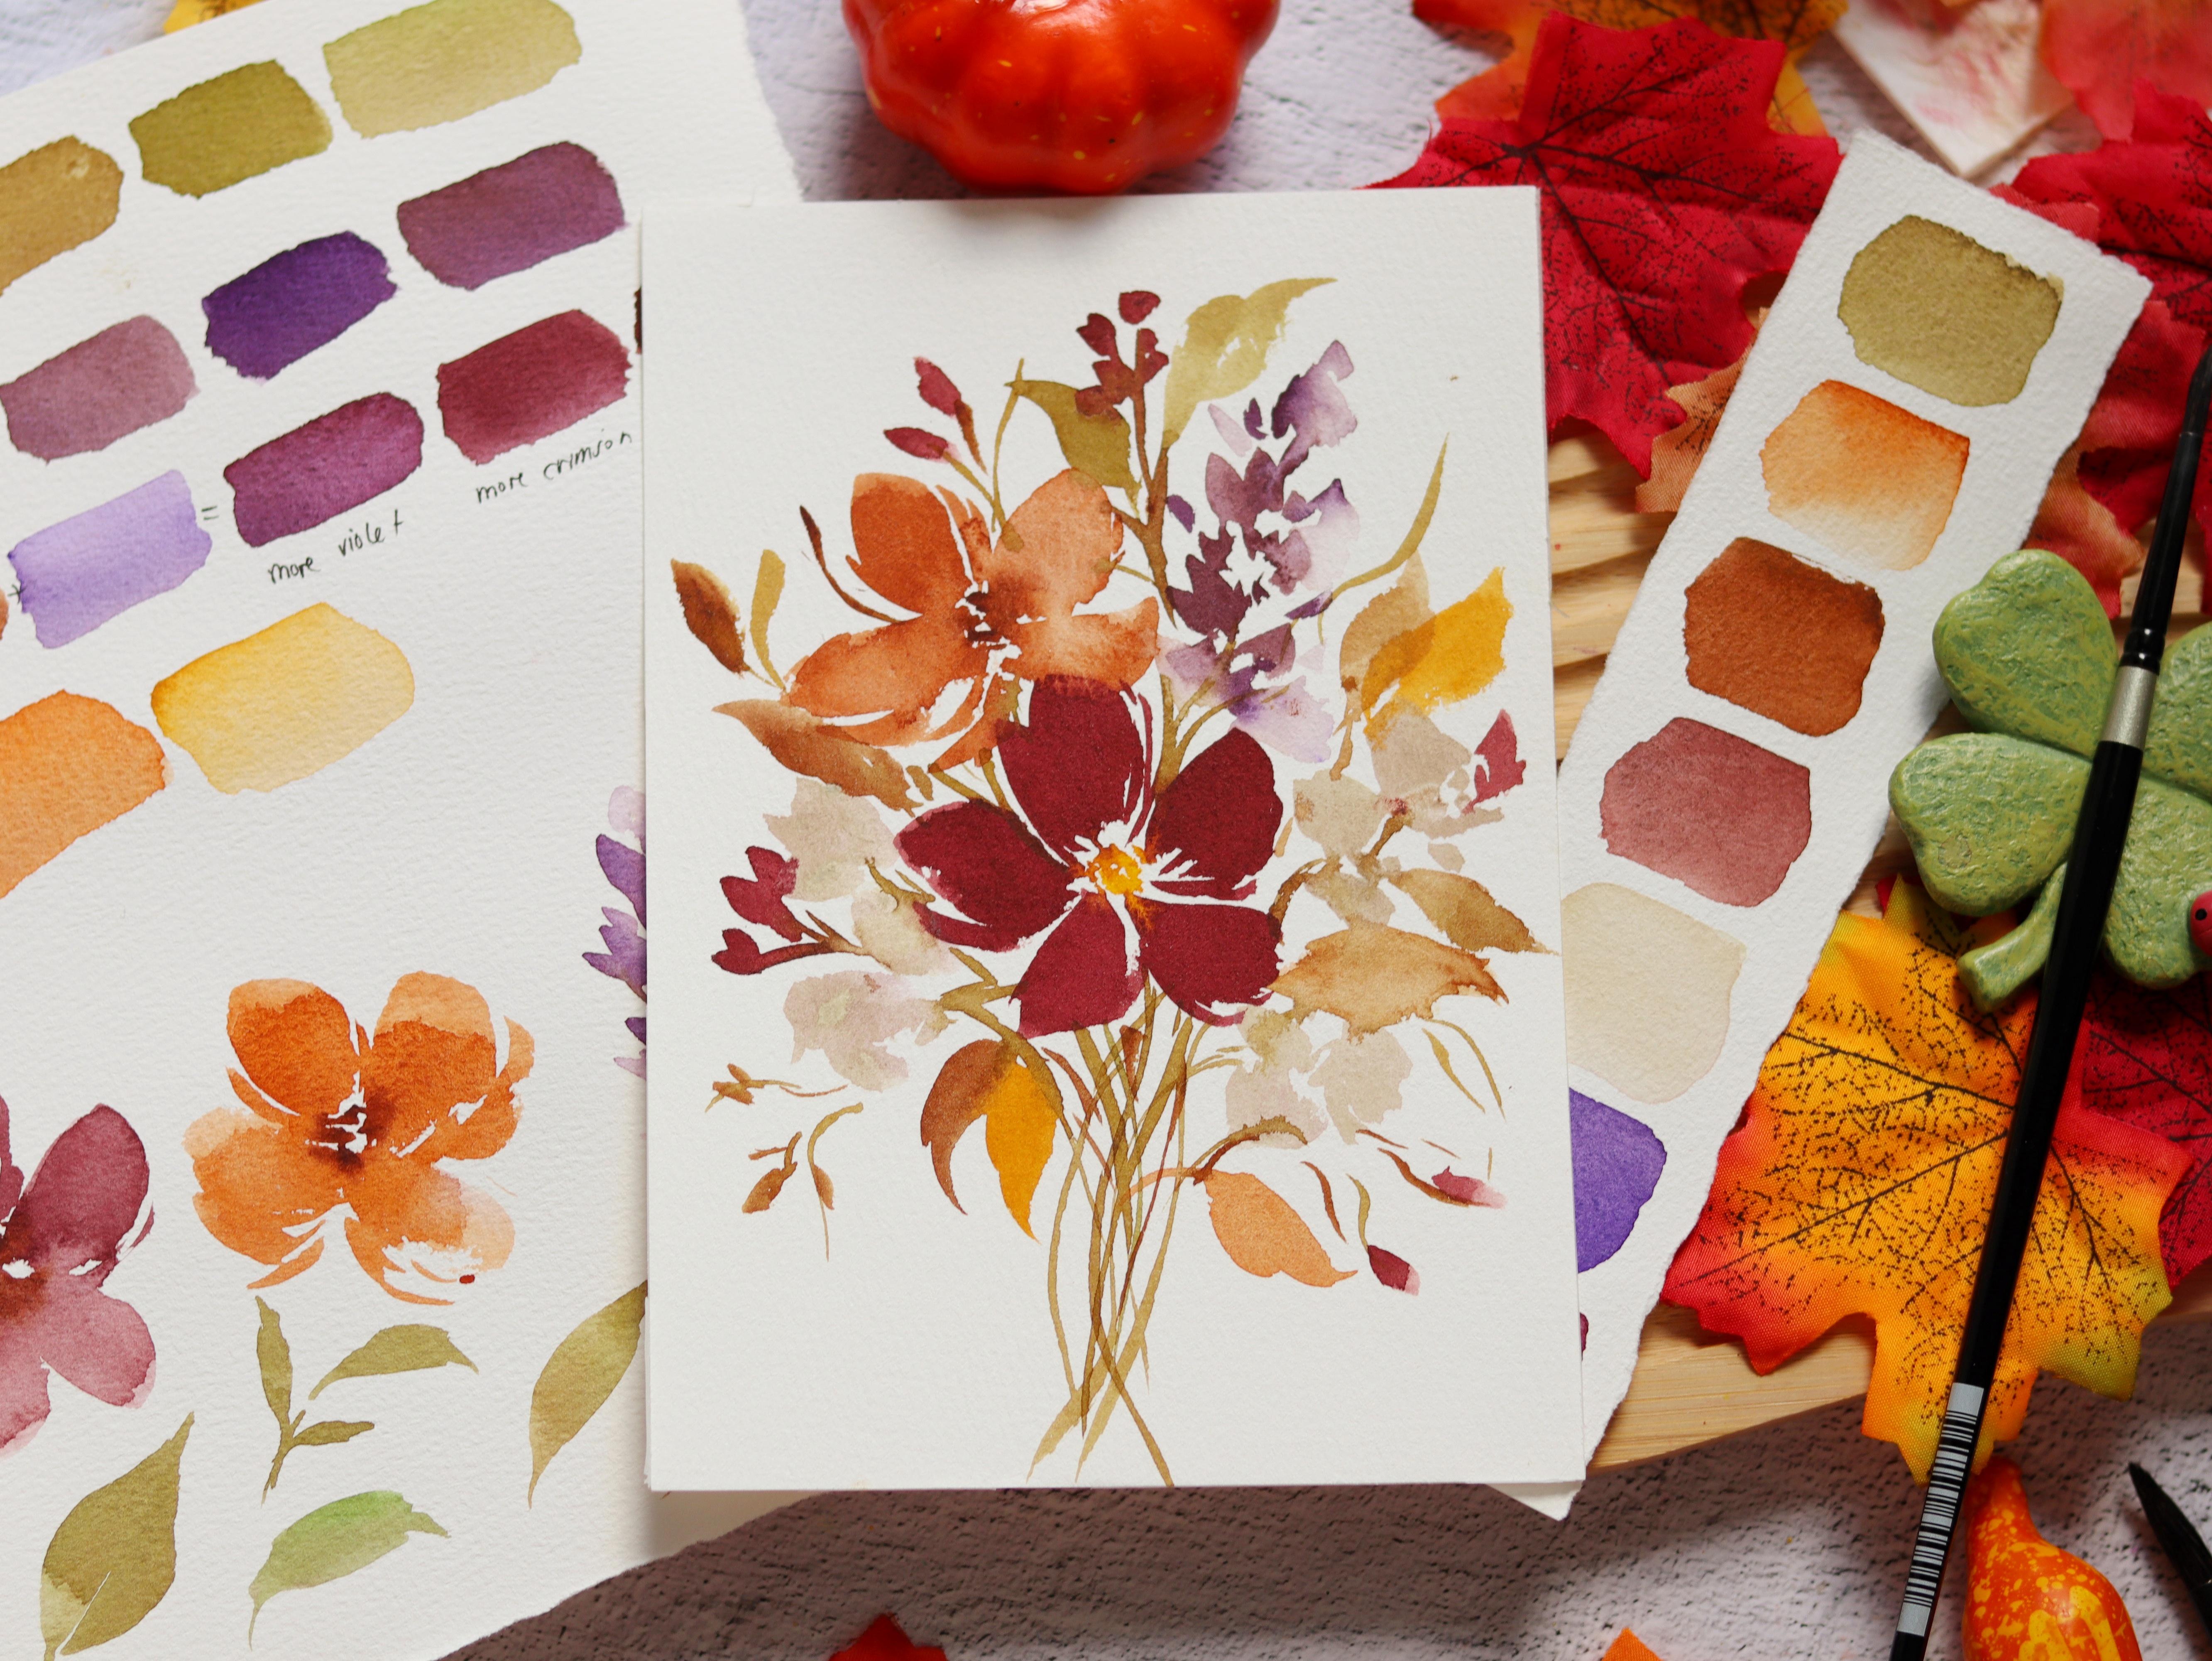
3. Mixing Colors: Et's talk about how
to mix the colors for this vintage moody
autumn bouquet. You don't need to
buy new colors. All you need is to
add a little bit of brown to your usual colors. So let's start with the
leaves that we will use. So usually we use the color
sap green or any green. But here, I'm just going to add a little bit of
this burnt umber. Though this is a
nice brown color. You can also use other browns
like burnt sienna or sepia. So I'm just going to
mix these two colors, and I'll get to create
this earthy brown color. And I can add some
more green if I want the shade to lean more
on the green side. And I can also rinse my brush if I want a lighter green color. In this bouquet, we have
this dusty violet filler. So we just need some violet. This is permanent violet, and you just need to grab some paint and mix
it on the palette. Just going to smotch it for you. It's a nice, rich color. And then, of course,
we're going to paint some burnt umber. I'm going to mix
these two colors. The mix is roughly 50% violet
and 50% of the burnt umber. Now we can add a
little bit more violet and see what happens. You can see it leans
more on the violet, and you can add some
more burnt umber so that you get a
more vintage look. For this beautiful
burgundy flower, we are going to
mix three colors. We need some crimson lake. So if we don't have this, you can also use some red or
a dark pink in your palette. And we also need burnt umber. So I'm just going
to mix these two. And we can also add
some permanent violet. So this one leans
more on the violet, and I'm just going to
grab a little bit more of the crimson lake and
just mix another color. So this one leans more on the
reddish brown side. Okay? We can add some more brown and you get an
entirely new color. So it's really fun to mix
the ratio of the colors. Okay, so let me just label this. So this color has
more violet in it. Then the second one
has more crimson. So again, you can use
some other pinks or red. And this one has
more brown in it. You can also use other browns
like Benciena or sepia. Next, I'm going to
show you some of the colors that I also
use in the bouquet. So I use buff titanium. The brand is from core. So you can also find this
color from Daniel Smith. So I also use burnt sienna. It's a nice bright, orangey brown color that
I use for this flower. For an autumn bouquet, you can also add
some yellow ochre. So this one looks like a more muted yellow,
a warmer yellow. Alright, that's
it. So now we have this moody vintage
autumn palette, and you can mix and match the colors and create
your own bouquet. Now for the leaves, I
suggest that you add some of the colors from the flowers and mix it with the
greens that you have. Alright, now let's move
on to the next video.
4. Painting Botanical Elements: In this video, let's talk about the botanical elements that
we will use for this project. If you have taken any
of my classes before, you probably know about
these flowers already. So this is going to be
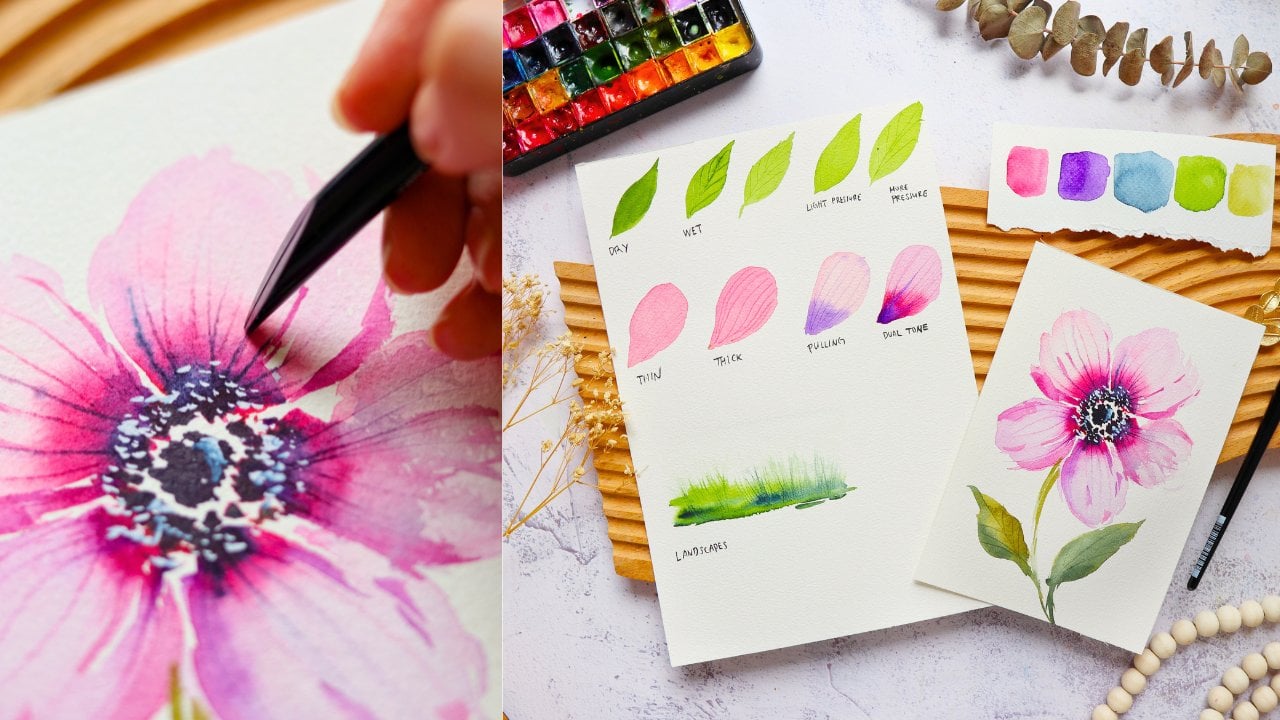
like a refresher for you. So I'm using a size eight brush, and you can load
it with any color that you want to use
for these exercises. Alright, so we want
a nice juicy brush. Just going to hold my
brush right here and gently press and then
slowly pull it down. We're going to paint
a simple petal. This is a five petal flower. Then you can use the tip
of the brush to create some thin strokes to
form the flower petal. I'm going to start from
the right and go to the center and then just lit towards the
end of the stroke. To another one on the
left, press and lift, and then you can see the bristles fan out as
you press your brush. Then use the tip of the brush to create some nice thin strokes. For the bottom petals, I start from the bottom
and press my brush, push it towards the center. And you'll notice
that I'm leaving some white spaces within the
petals and also beside it. I'm going to grab a
dark color and just add it in the center while
the flour is still wet. So this is going to
give a nice contrast. Let's practice another one. So again, I start by just
pressing the side of my brush and just move towards
the center and then live. If you have some
imperfect shapes, that's completely fine. It's going to look very organic. And I sometimes just
leave those white spaces, and it's going to
look more natural. You can use the tip of
your brush to create some nice curvy strokes just to fix some of
the petal shapes. So again, I'm
adding a dark color for the center while the
flower is still wet. Okay, so that's it
for our main flowers. Now let's paint
this filler flower, and I'm using just
the shape of my brush to stamp it on the paper to
create these petal shapes. And you can move your brush
around in different angles, and you're going to form this elongated shape you can rinse your brush to
create a lighter violet, and just barely touching
some of the strokes that I did to blur it out and
make it look more loose. Then you can add some green stem and just attach
the petals to it. So this is an easy way to create a filler flower and you
can use different colors. Next, we'll try to
paint some leaves. So use any green color
in your palette and start with the tip of your
brush and then press and drag, then lift towards the end. So you can do this in
a different angle. You can also try to
wiggle your brush. Make sure that you slowly lift your brush as you
end the stroke. So here you can see I
did a more curvy stroke. You can also do a double
stroke for your brush. So one on the top, and another one on the
bottom part of the leaf. So it's like combining two
strokes to make one leaf. You can apply
lighter pressure to your brush so that you can
paint these smaller leaves. So these fillers right here
are very easy to paint. We just need to grab any color and then just press your
brush and wiggle it, and you'll be able to create
these ruffled petals that will look like
flowers when you just attach a stem at the bottom. So this is a nice way
to add more fillers, some more botanical
elements in your bouquet. Alright, so these are the botanical elements that we will be using for
our final project. So using these simple
brush strokes can also help you paint
different flower shapes. Alright, so now let's move on to painting our
final project.
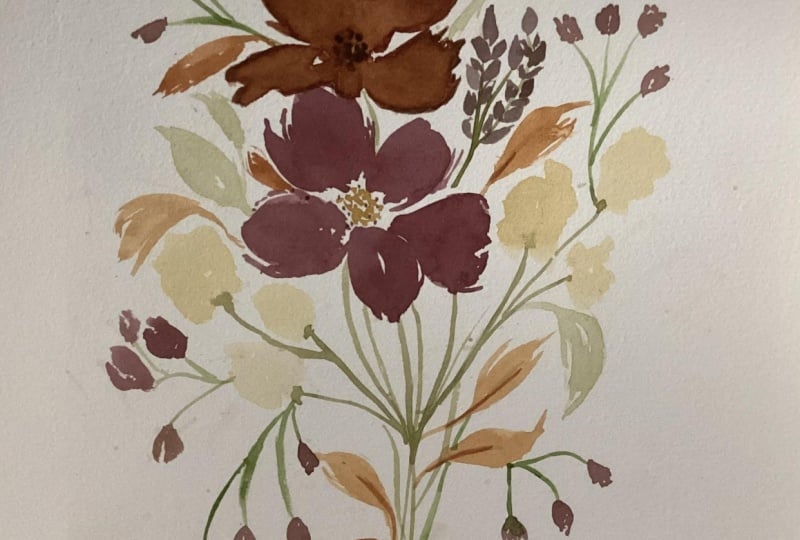
5. Moody Vintage Floral Bouquet: So every bouquet needs that one hero flower or bold flower
that anchors the painting, and it tells where your
eyes to look first. In this simple bouquet, the focal flower is this
beautiful burgundy flower. So we're going to start with this pi peta flower
that is front facing. Let's do a quick
overview of how to paint this project so that
you will feel more prepared. So after painting
the main flower, we're going to add this
side facing brown flower. So what we want is to add
different angles of flower so that it's more
interesting and it doesn't look flat on the bouquet. Next, we're going to add a
dark center to add contrast. Using an earthy green
color and a smaller brush, we're going to paint
thin dancing stems. And then we're going to
add some more fillers, and we want to add a
variety of shapes. This one is a more
elongated floral filler, which we practiced earlier. So because we have
these bold colors, we also want to
add some contrast to our floral composition. That's why I added some
soft and muted color. This is just buff titanium. You can also add a
little bit of brown. It's a nice way to
add some fillers to the white spaces without making it feel like
it's overcrowded. Next we're going to paint
some autumn leaves, so you can add some brown, some yellows, some
olive green leaves. And then to add some
finishing touches, you can use the color
of the main flower and add some tiny buds
all around the bouquet. Okay, so it's that
quick and simple. I hope that you will enjoy painting this project.
So now let's start. So let's start with
the first flour. I'm going to mix the
burgundy color first. So I have here crimson lake
and just grab some paint, and then we can add a
little bit of brown. I'm going to use burnt umber. And you can just mix
these two colors. You can definitely
play around with the ratio if you
want it more purple, more brown, or more red. So here I am just watching it on a scrap paper to make sure that it's the color that I want. Starting at the
center of the paper, we are going to pay
this vibe petal flour. I'm going to start
with the top petal. So just gently
press your brush on the paper and move to the
center part of the flour. Use the side of your brush to create a broad stroke and then gently lift your brush
towards the end of your stroke to get
a more pointed tip. Right, so you can
also use the tip of the brush to create some
thin curvy strokes. You can go back and fix
the shape of the petals, and you'll notice
that we're leaving some white spaces in
between the petals. Next, for a pop of color, we're going to use
permanent yellow light and just gently add some
small dots in the center. If some of the colors bleed
into the petal, that's fine. For the second flower, let's use burnt sienna. You can also add a little
bit of burnt umber or a darker brown to make it look
more like a vintage color. This flower is going
to be at an angle. So we want the overall
shape to look like a fan. I'm gonna start with
the first petal. This is the top petal. Next, you go to the
left and just gently press your brush and move it towards the center
of the flower. So again, just press
and then glide on the paper and then live so that you'll get
a nice pointy tip. To make it more expressive, you can use different
parts of the brush. You can use the tip to
create some thinner strokes. And then now I'm just adding some darker paint in
different areas of the flour. For the center, we can add some bunt umber for
a nice contrast. Now let's prepare the stems. I'm going to mix sap
green and bun number for an earthy green color. Now, this is one of my
favorite color combinations for a more natural green. So using a size
four round brush, we're just going to paint
some thin curvy stems. I'm going to extend some towards the upper right side because we're going to add
some floral fillers. Let's switch back to a
size eight round brush. I'm going to mix
permanent violet with a little bit of bunt umber. So if you want it more brown, you add more burnt umber. If you want it more violet, you add more permanent violet. Now we can try to
swatch it again on a scrap paper just to see
if we want the color. Alright, so we're going to take advantage of the
shape of the brush. I'm going to stamp my brush
to create these small petal like shapes and
going to vary the stroke. So are smaller, some are bigger. And now let's just rinse our brush to get
a lighter color. So we can play around
with the values. You can see some areas of the flour are darker,
some are lighter. As you add more strokes, just make sure that
you're leaving white spaces in
between the petals. We can also grab a little
bit of water and lightly smudge some of the petals
to make it look softer. Alright, so the main
flowers are done. Now let's add some more fillers. I'm using the color
buff titanium. It's a nice, neutral,
creamy color, and we are just going to
stamp our brush to create these ruffled petals that
will look like flowers. I'm just going to add it near these bold flowers because
I like some contrasts. Now, you can also
add some brown or some crimson to buff titanium if you want a variety of
colors in your bouquet. Next, I'm going to switch to a smaller brush and
just paint some stems and attach it to these
buff titanium flowers. So we want the stems to be quite thin so that it
looks more dainty. Now to add a more autumn vibe, I'm going to grab
some burnt sienna and just add some leaves in
between some of the flowers. You're just going to
look for small gaps and make sure that the leaves are facing in different directions. You can also use some
olive green leaves. Alright, so this is
looking very good. Now I'm going to use a
small brush and grab the same burgundy color and add some small buds by lightly
stamping my brush. So what I'm doing
is I'm trying to scatter the colors to make
it look more balanced. So we want to distribute the color of the main flowers
all over the bouquet. But at the same time, we don't
want it to be overcrowded, so we are going to
add just small buds. Then we can add some small
twigs and thin stems. Usually like to use
a smaller brush and just try to wiggle my brush so that I can create
some more organic strokes. Now you can look at
your painting from afar and add some more
finishing touches, such as adding some more buds, or you can add some
berries or more twigs. Now, if you're
feeling adventurous, you can add a second
layer to the flowers, or you can even add
some sparkle by adding some gold embellishments
on this bouquet. Alright, I hope you enjoyed
painting this simple, moody vintage floral bouquet. Now let's move on to
the next video. O.
6. Final Thoughts: Congratulations on
finishing the class. Today, we learned how to mix a beautiful autumn
color palette. We practice simple strokes
for the botanical elements, and we brought everything
together to create this moody vintage bouquet.
Now it's your turn. Grab your favorite autumn colors and paint your own bouquet. Don't worry about making
it exactly like mine. Have fun with the colors, shapes and little details
and make it your own. I would love to see
what you create, so don't forget to share your painting in the project gallery
section of the class. Don't forget to follow
me on skill shares to receive updates on new
classes and giveaways. Happy painting, and I'll see
you in the next class. Bye.
 Joly Poa, Watercolor Artist