Monstera Magic: Quick & Impressive Watercolor | Natalia Nikitiuk | Skillshare

Playback Speed


1.0x


  • 0.5x
  • 0.75x
  • 1x (Normal)
  • 1.25x
  • 1.5x
  • 1.75x
  • 2x

Monstera Magic: Quick & Impressive Watercolor

teacher avatar Natalia Nikitiuk, Capturing Life's Beauty

Watch this class and thousands more

Get unlimited access to every class
Taught by industry leaders & working professionals
Topics include illustration, design, photography, and more

Watch this class and thousands more

Get unlimited access to every class
Taught by industry leaders & working professionals
Topics include illustration, design, photography, and more

Lessons in This Class

    • 1.

      Introduction

      0:28

    • 2.

      Materials

      1:01

    • 3.

      Pencil drawing

      2:46

    • 4.

      Watercalor drawing

      9:04

    • 5.

      Adding details

      1:57

    • 6.

      Conclusion

      0:16

  • --
  • Beginner level
  • Intermediate level
  • Advanced level
  • All levels

Community Generated

The level is determined by a majority opinion of students who have reviewed this class. The teacher's recommendation is shown until at least 5 student responses are collected.

91

Students

4

Projects

About This Class

Dive into the world of watercolors with me in this engaging lesson. Learn how to easily create a stunning monstera leaf painting.

No prior experience needed! Uncover the joy and magic of watercolor artistry, and walk away with a bright masterpiece of your own.

The reference for the class is below, but you are welcome to use your own!

Meet Your Teacher

Teacher Profile Image

Natalia Nikitiuk

Capturing Life's Beauty

Teacher

Hello there! I am a passionate watercolour artist, and I'm here to share the magic of this versatile medium with you. Contrary to popular belief, watercolour is easier than it seems, and I truly believe that everyone has the potential to create beautiful art.

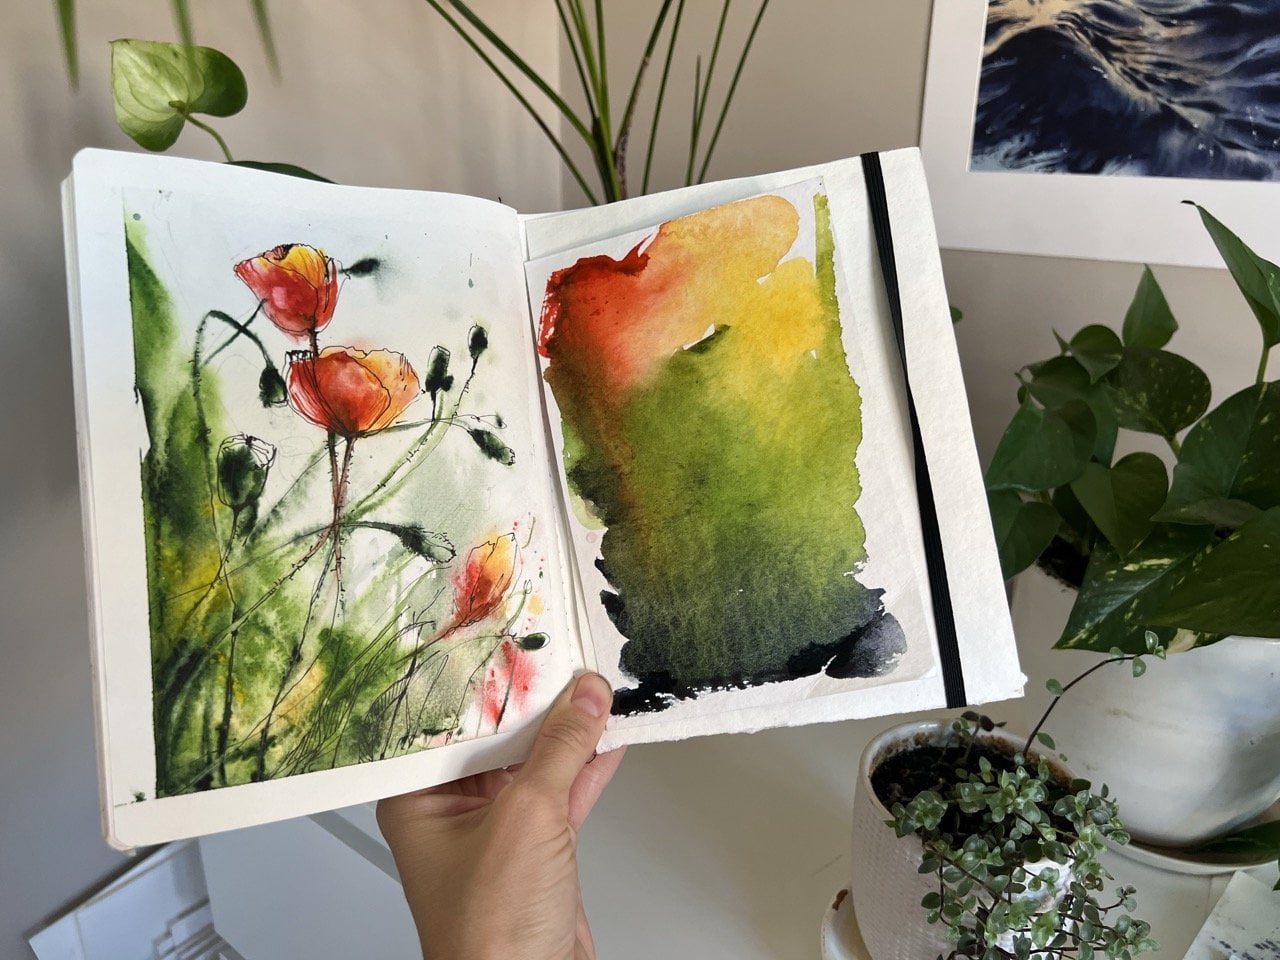
My love for watercolour is deeply rooted in the joy of capturing life's most memorable moments in my ever-present sketchbook. Alongside these cherished sketches, I also take great pleasure in creating full-size watercolour paintings that bring vibrancy and depth to the canvas.

As a mother, I've discovered the delight of sharing my passion for watercolour with my daughter. It's not only a wonderful way to bond with children, but also a creative outlet that nurtures their artistic growth.

Let me guide you on this... See full profile

Level: Beginner

Class Ratings

Expectations Met?
    Exceeded!
  • 0%
  • Yes
  • 0%
  • Somewhat
  • 0%
  • Not really
  • 0%

Why Join Skillshare?

Take award-winning Skillshare Original Classes

Each class has short lessons, hands-on projects

Your membership supports Skillshare teachers

Learn From Anywhere

Take classes on the go with the Skillshare app. Stream or download to watch on the plane, the subway, or wherever you learn best.

Transcripts

1. Introduction: Hello everyone and welcome to our online watercolor drawing lesson. My name is Natalie, and today I will be focusing on creating a bright and beautiful monstera leaf using a simple approach. These snowflakes lesson, we'll guide you through the essential steps while emphasizing the joy of drawing. So let's dive in and unleash our great detail with watercolor. 2. Materials: Today I suggest taking a photograph of monstera leaf as a reference. Ideally, don't use it exactly as it is. It's only needed for us to rely on it and understand the structure of the leaf. To understand the arrangement of light and shadow. We will need the following materials today. First of all, watercolor paper, preferably a rather seek one. Watercolor paints, a napkin, a container with water and eraser and the bands, so liner and two brushes. One is softer and larger, you can use as query one. Another brush is a final synthetic one, definitely with this t to conveniently draw details. 3. Pencil drawing: First two among the position of the leaf. I want to place it diagonally. Now we draw a no, well, this will be the boundaries of the leaf. Plays a leaf so that it is not too cramped on the paper and not too lonely. The central axis doesn't need to be brought to the end. Because some way here and leave begins. And these plays is characterized by a beautiful curve. Next to you can begin to outline the division solved leaves live in different distances between them. Make some parts are the leaves larger and some smaller. The deep of the leaf resembles a fish tail. Pay attention to that. Try not to draw too much because they're free of the line. The more attractive it will look. Just relax and enjoy the drawing. Look at what you've got. You can carry out the moments that you don't like quite as much. I slightly change the shape Somewhere. I want to leave more space. I slightly change the shape somewhere. I want to leave more space. Now let's draw wins in the middle of each part of the leaf. They're arranged in a checkerboard pattern. One of the one. And now you can draw holes are located between the wins. Let them be of different sizes. I've seen five will be enough. Now, let's use the eraser to remove unnecessary details so that nothing interferes with our walk. If you raise too much, you can add it back. Let's make fine lines with pencil. 4. Watercalor drawing: Before starting with watercolors, Let's let our sheet with clean water by passing the holes. Do everything carefully. It is better to leave the edges dry Zan to go beyond the border because it will be more difficult to remove later. Fill in all the main places in the middle, there was a little pigment left in my brush from the previous drawing. So the water is not completely transparent, but it doesn't vote at this time. If you went into a whole, it can be fixed, loaded with a napkin. Look carefully. If something has already dried, go over it a second time. You can tell the shoe to look will be glare and it will be better seen dry areas. Now it's time for watercolors. I don't want to take a very bright and saturated green for light areas. I suggested to Rollin to the green to slightly muted. Look at the photos and you will understand where such a light shade is located. It is on this side and in the middle there a main light paths. It's okay if you paint over shadow areas with light paint, dark paint, colors, everything. We add a darker shade to the mix and feeling the midtone. You can add blue or indigo to make it less track and really bright. If the mixture is too dark, you can dilute it with water. So let's start. If you go over this line, you can slightly improvise and change the initial shape. Try tilting the shear to let the paints mix. Now, let's go to the darkest places. You can emphasize the edges of the leaf who is darker shades. I also want to go over the dark is terriers. Carefully outline the whole luke, where's the dark areas are in the photo? And apply dark paint to similar areas in your drawing. You can tell the brush sideways. It has a larger contact area with a ****. And the paints means beta. Mu to fully draw shapes. Boldly apply paint, especially on the edges. So whereas rest shadow areas. I tension to the edges of the leaf. Don't forget to dark on one half of the leaf along the axis cell by emphasizing the structure of the leaf. If you don't like some areas are ugly streaks. You can bluer or correct them while the surface is wet. Now we'll show you how to use a scene brush for detailing. A synthetic brush doesn't absorb and release as much water and pigment. So it's more manageable. Small size and sharp D will help draw a clear and beautiful silhouette and add details. Details, syntax and Terriers that will add unnecessary term TO the walk. These are the places that will attract attention. This place there she, it seems childish because there is a rounded edge left from the thick brush. And pay special attention to the edges and holds. Carefully outline the wanes with a thin line. Using an almost dry brush. It means that it should have minimal water and maximum pigment. We also can show some wanes by removing excess paint from the drawing. Rinse our brush, remove excess water and run it in the right place. Now, rinse and when it out again and use a dry brush to draw the veins. I really love this moment one by one, but don't draw them everywhere. You also can do this alone. The dark wins. But the light Stripe, who will be most visible on the dark part of the leaf. So if you have one, use it. Look at the drawing. Are there any places you would like to walk on or fix? But remember that it's better to leave a slide on the statement then to overwork the drawing. Moreover, we will slightly and live and our drawing with a liner. But first let's dry it. You can wait for the paint to dry naturally, but to speed up the process, you can use a hairdryer. 5. Adding details: Now we start outlining. If you don't have a liner, you can use a black gel pen, but be sure to get a liner in the future. Z colon, different types. When walk in with an outline, don't trace it one-to-one. Let's learn. Be bold and unpredictable. Sometimes it goes beyond damage and sometimes it goes on the drawing. It's okay. This will make the drawing look more alive. Also slightly emphasize a wins and don't overdo lines. Outline part of the house. And in some places make lines seeker. It will be more interesting. Take your time and enjoy the final touches. Adsorb where a last edits and don't miss a moment when it's worth stopping. That eat our beautiful monstera leaf is ready. 6. Conclusion: Thank you for joining me today and I hope to see you in our next two watercolor in winter. Keep painting and enjoying the process. And don't forget to share your artwork. And does this lesson. Goodbye.