Transcripts
1. Intro: Hello buddy Artists. My name is Natalie, and today we're diving into
the vibrant world of puppies. Whether you're a seasoned artist or just pick up a brush
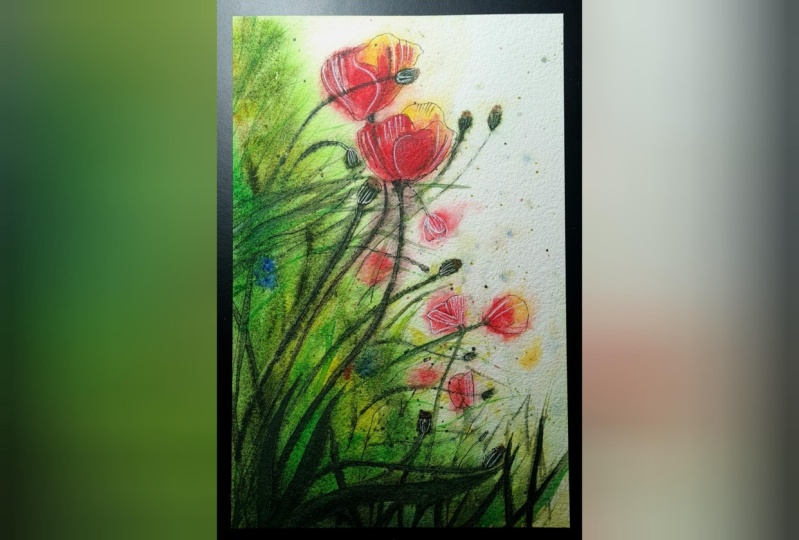
for the first time, the simple yet captivating red and green sketch
is perfect for you. Let's bloom together as we're bringing these beautiful
flowers to life on the paper. Ready? Let's get started.
2. Materials overview: Hello, everyone. Today I suggest we
sketch some poppies. We will need the same materials that we used in
previous lessons. Of course, you'll need a sketchbook or a sheet
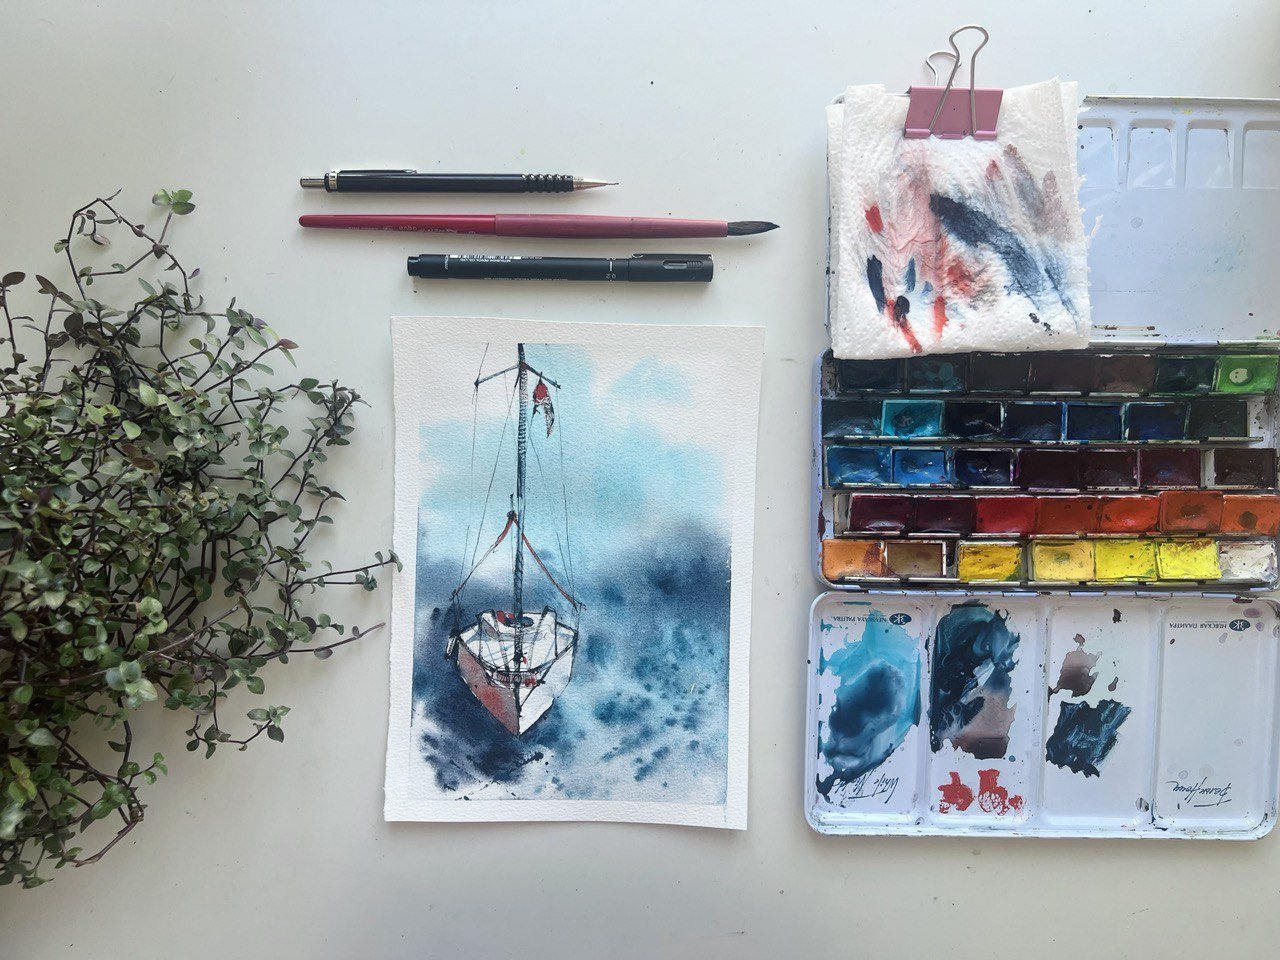
of watercolor paper, paint palette napkins, and
a container for water. To secure the paper, you can use a clip or paint a tape for a tighter
grip. What else? A pencil eraser
or needed eraser? Liner and brushes. I'll talk about the
most common brushes, but you can just use 21 medium sized brush with soft bristles and a
sin one for detailing. You can either use a brush with long bristles for drawing lines, or calligraphy
brush, which creates very beautiful and
unpredictable strokes due to the length
of its bristles. If you don't have such brushes, a regular sin synthetic
brush with a sharp tip will do. Let's get started.
3. Pencil drawing and choosing the colours: First, I want to secure the
paper by attaching this wave. The paper won't we bend, it will be very
comfortable to walk on. You can also secure
it in the middle to prevent the paint from
accumulating in that spot. Plus as a bonus, you'll get a beautiful frame
around your illustration. Another helpful tip. I covered the adjacent page with a plinthet so that any
splatters wouldn't ruin it. Now let's make a very
simple pencil sketch. Here is a diagonal line, but note it doesn't go from
one corner to another, otherwise it wouldn't
look very nice. It captures a part here, and don't treat the end there. Let's draw it and mark
the green area this way. Don't forget to make
red spots here. And place the main flowers
not exactly in the center. I suggest of setting them to make it look
more interesting. The first poppy will
be somewhere here. The second one here, they create beautiful curves. Draw some poppy seed pods, the intersections of the
lines look very beautiful, and draw some buds over here. Don't forget to
indicate the grass. I'll make the line
brighter here. It's clear how it will go. With that, our pencil
sketch is ready. You can color in the top area, but I suggest
leaving it white and only coloring this section
and the flowers themselves. What colors will we use? Before diving into a
watercolor painting, I always do a color test to colors and check
the compatibility. I do this to be able
to walk boldly on the main piece naturally
will take the red color. In reality, the choice of
Ts is darker or lighter. Warmer or cooler. I suggest going on
with geranium red. It's warm enough
and suits poppies. Well, I have another container of water here to keep the
water clean for the sketch. Next we'll take the yellow
color, cadmium yellow. This results in a beautiful
orange that will also need, the next color is green. We'll see how it pairs with red. I've chosen grass green for darkening. I want to take indiga instead
of the usual black. Indiga is a dark blue color. It will look stunning
in the shadows. I think we've got a
beautiful combination. So let's get started.
4. Watercolor washing: First I suggest we create the background blurred
silhouettes as it dries. We'll detail it first. Just dump in the paper. You can use an even bigger brush if you want to do this quickly, wet it and wait half a minute for the moisture to
be slightly absorbed. We'll start with the basics. Lay down beautiful
red spots of poppies. Make the paint a bit sicker so it doesn't
spread too much. The smarts are strawn. Since the paper is
still quite dumb, you can immediately
create a few splashes. The edges of the
poppy are luminous, so immediately mixing some yellow to get a
beautiful color blend, I add here right away. Next, I lay down green spots
adding yellow as well. The edges dry faster, so dampen them if necessary. After that, add dark details, I suggest to draw blades of grass in this brush
with long bristles. If you don't have one, I recommend getting it. You can draw very fine and
beautiful lines with it. The background
should be blurred, so if the paper is dry, you can wet it carefully
or blur the edges. Now we'll take and
not so dark paint and with confident quick
motions, draw the lines. You can follow the plant sketch or let your
imagination run a bit. Ensure you don't
abruptly cut off lines, if possible, lead most of them directly to the
edge of the paper. Now, with careful strokes
of Russian prints, mark the poppy hats. I'm pondering where to
place the largest bat. Perhaps I'll join it here. Now let's add some yellow
paint in the green area. I want to dilute the
background a bit more. I've prepared a weak
solution of green and I'm it onto the background
in the section. I want this area to be slightly
blurred and understated. Now I'm introducing drawing
lines with a clean, the pigment will spread due to the water forming the
light stem of the flower. These light lines will also diversify the drawing
and add a peal. I'm adding a few more splashes. Now I want to add a bit more detail to
the poppies themselves. I'll show you how to do it
with a calligraphic brush. Take the pen out the brush, and create a few of these parallel lines
characteristic of poppies. You can emphasize one of the
petals more than the others. Pay more attention to it. And here you can
depict the reflections of the greenery on
the flower from below Blue. The learning
bit over here, if you really want, you can slightly
accentratelo'ttail too much because it's in the background, but
lightly outlines if you want some color gradient so you can play around
and add some water, the paint will blend well. The watercolor
part is done now. And I suggest we
dry the sheet a bit and add some details
with a liner. It will diversify the piece
and add bright accents.
5. Details with a liner: All right, now we take the liner and beautifully
outline the poppies. You can detail not
only the counters, but also the wins. Showcase the background
of the flower. Please don't
replicate every scene exactly as in the photo. Rely on the drawing and
create your unique lines. Watercolor is quite
capricious by nature and deviations from the plan and its adjustments are
characteristic of it. Also, you can add some
graphic qualities with lines. If you notice Papa
stems are fury. Incorporate this texture to better convey the
essence of the flower. Decide which flowers so bad sea will detail more and
which ones less. Here I want to
detail this cap on top to resemble more
of a poppy seed pot. The main theme is not to
detail all parts uniformly, because in the picture there should be both
main characters. Secondary ones is that
attract less attention. Here less attention is given will merely hint
at the stems and bats only a bit remains. You can indicate a few blades of grass to convey the
overall character. If you wish, you can add
hatching to mark some leaves. At this point,
it's best to stop. Let's remove the tape
to make it clear. And before removing the tape, ensure the paper has dried so as not to accidentally
tear a part of it. The result will be such a
light and unclouded sketch, we used only four colors, which helped convey the plot and tell the viewer a
story about puppies.
6. Outro: All right, artist
that brings us to the end of our delightful
poppy sketch lesson. I'm generously excited to see all your
beautiful renditions. Remember each stroke you make adds your unique touch
to their artwork. Please share your
sketches with me. I'll be more than happy to
provide feedback on each one. If you're eager to
further hone your skills, don't hesitate to dive into other lessons
available on my channel. Keep sketching, keep growing, and until our next statistic
adventure. Happy Painting.
 Natalia Nikitiuk, Capturing Life's Beauty