Transcripts
1. Welcome & Intro: Have you been wanting
to try hand embroidery or maybe start a mindful hobby? If so, I hope you'll join me
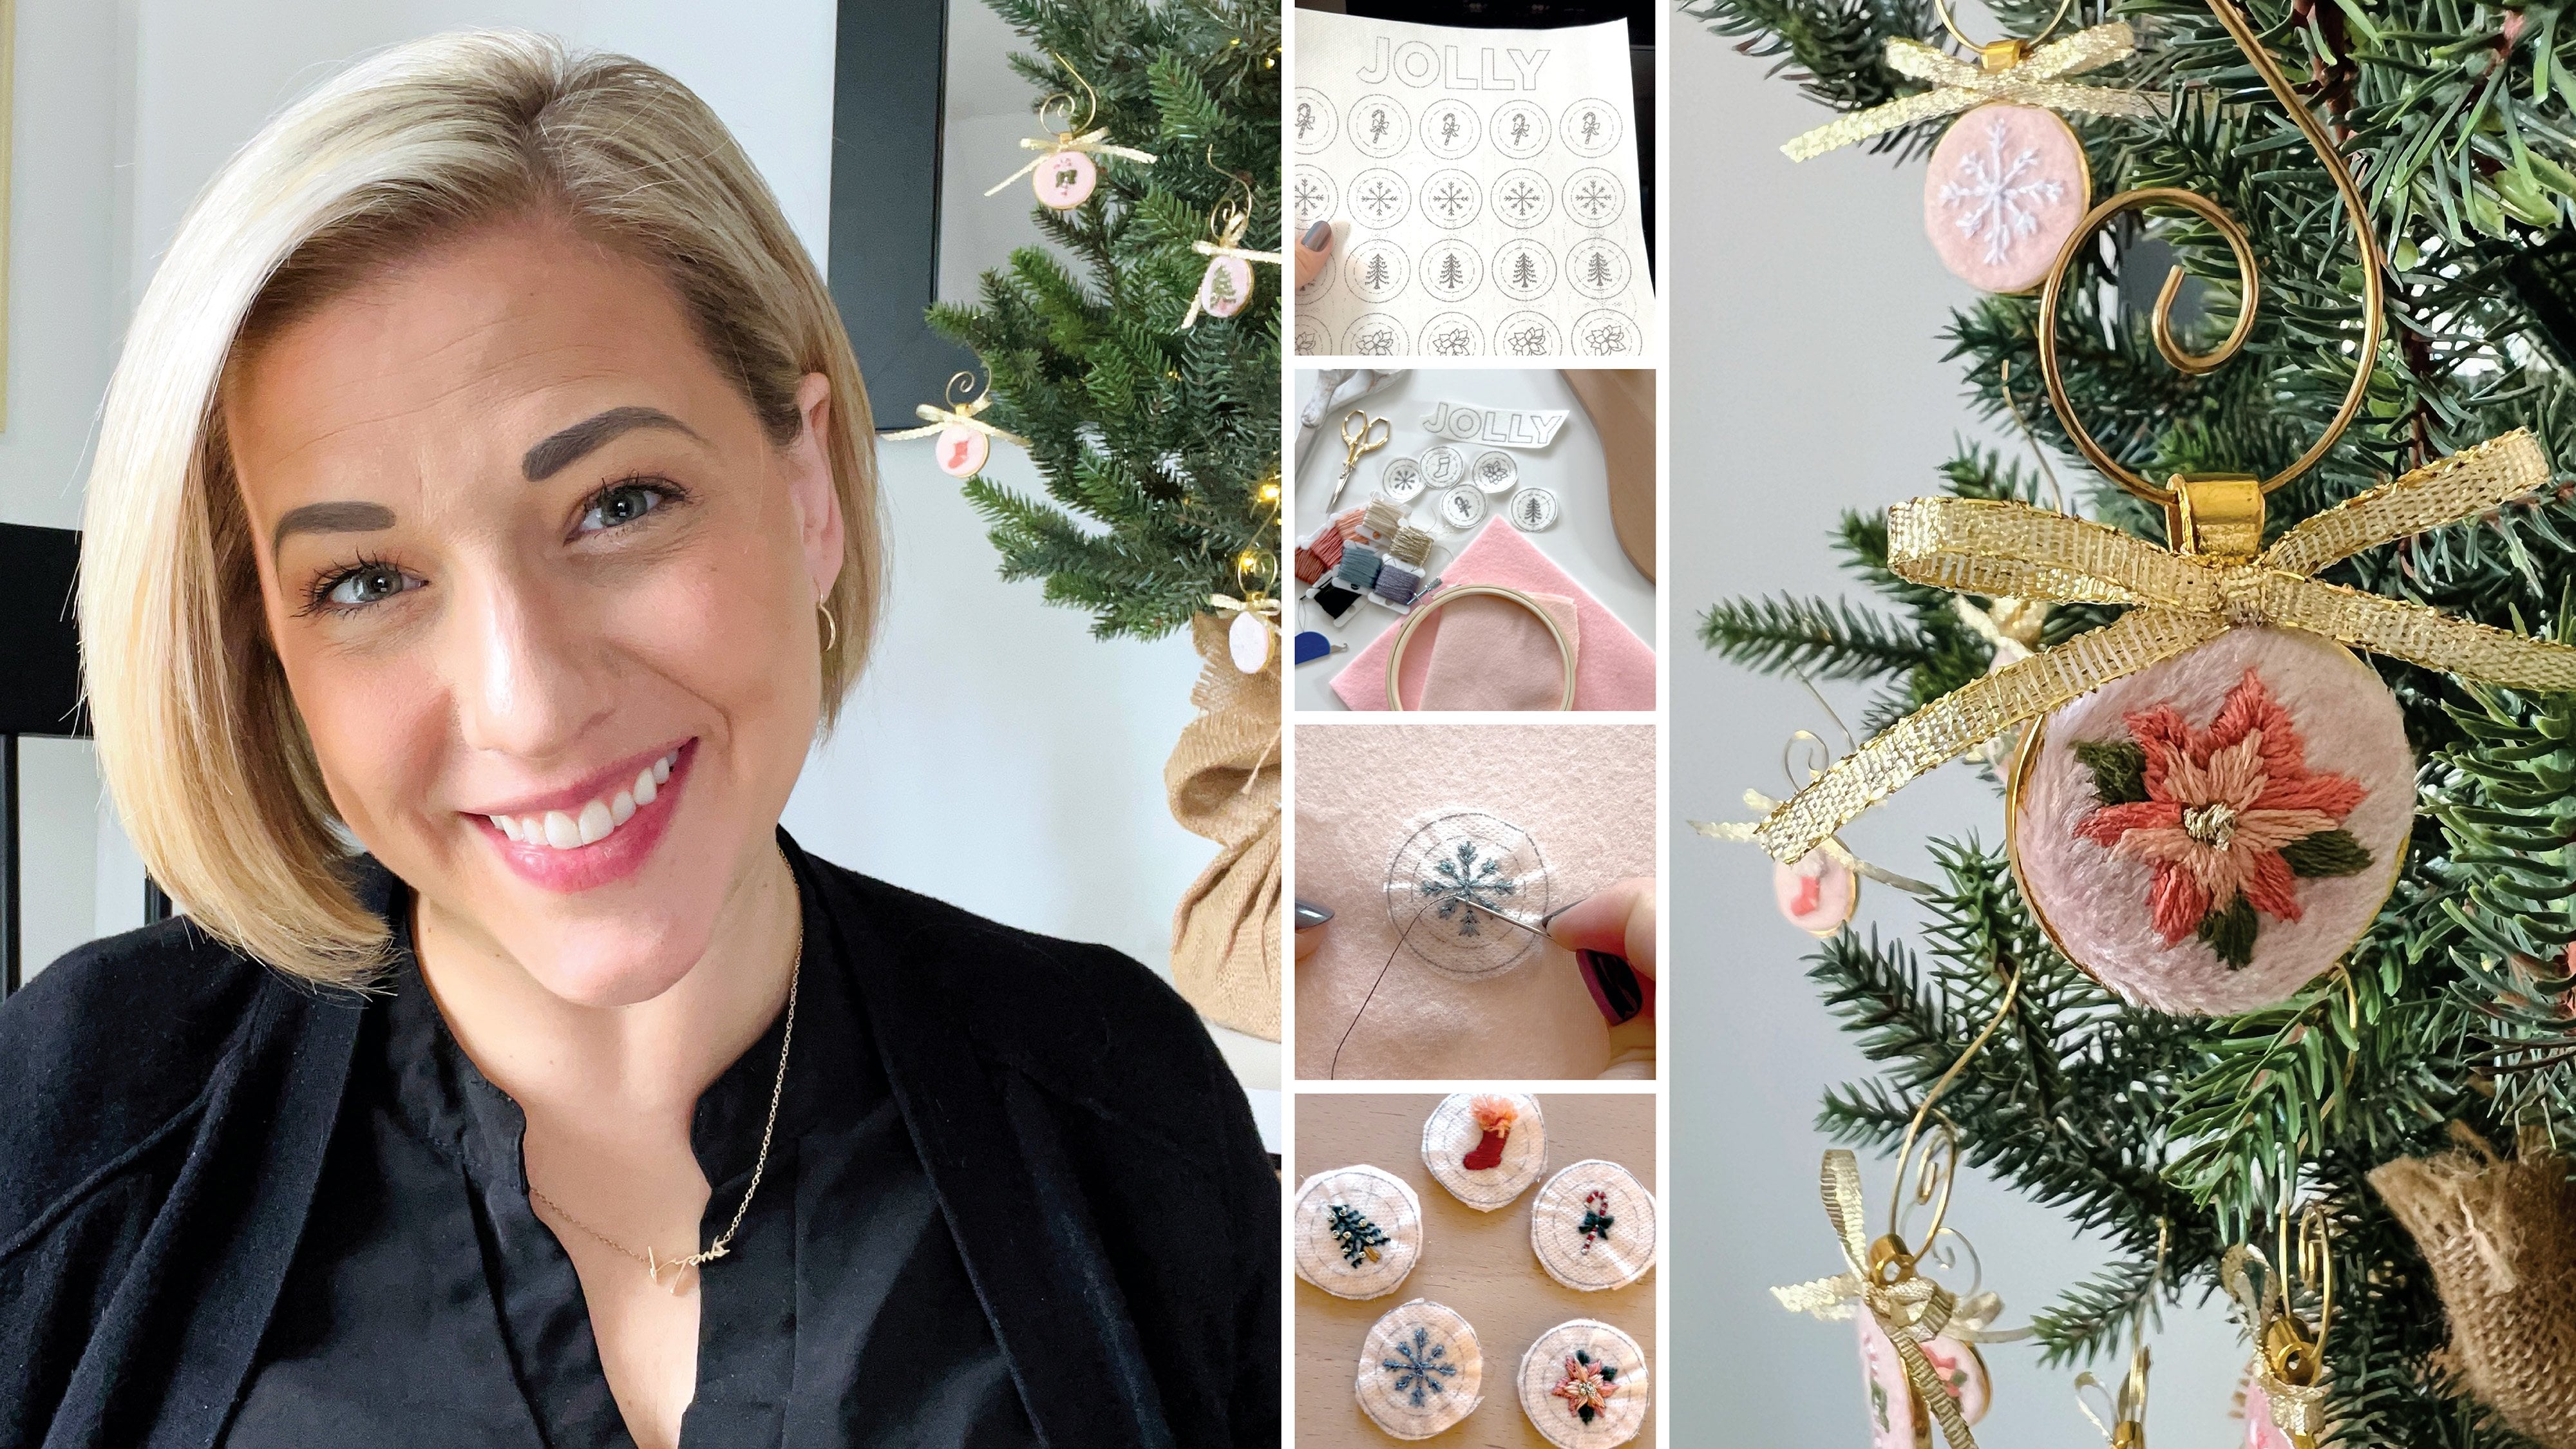
today and start stitching. Hi, I'm Kathleen Lions. I'm an artist and
digital marketer based in Nashville, Tennessee. I graduated from Audubn
University with a BA in art and started my career as a graphic designer working
outside of Chicago. Today, you'll find
me working by day in the digital marketing space and pursuing my creative career
on nights and weekends. So I work in the digital
marketing space, graduate with a BA in Art. How did I get into
Hanna Broidery? Well, it actually started during my pregnancy with
our daughter Ella. We had a ton of gender
neutral clothes from my son, Cayden and I wanted to find a way to make
them uniquely hers. So I got a book
on Hanna Broidery and it turned out to be
easier than I thought and self satisfying to take these little gray sweaters
and make them girly with something pink and
her very favorite purple. Adding embroidery breathe
new life into fabrics, whether it's your traditional
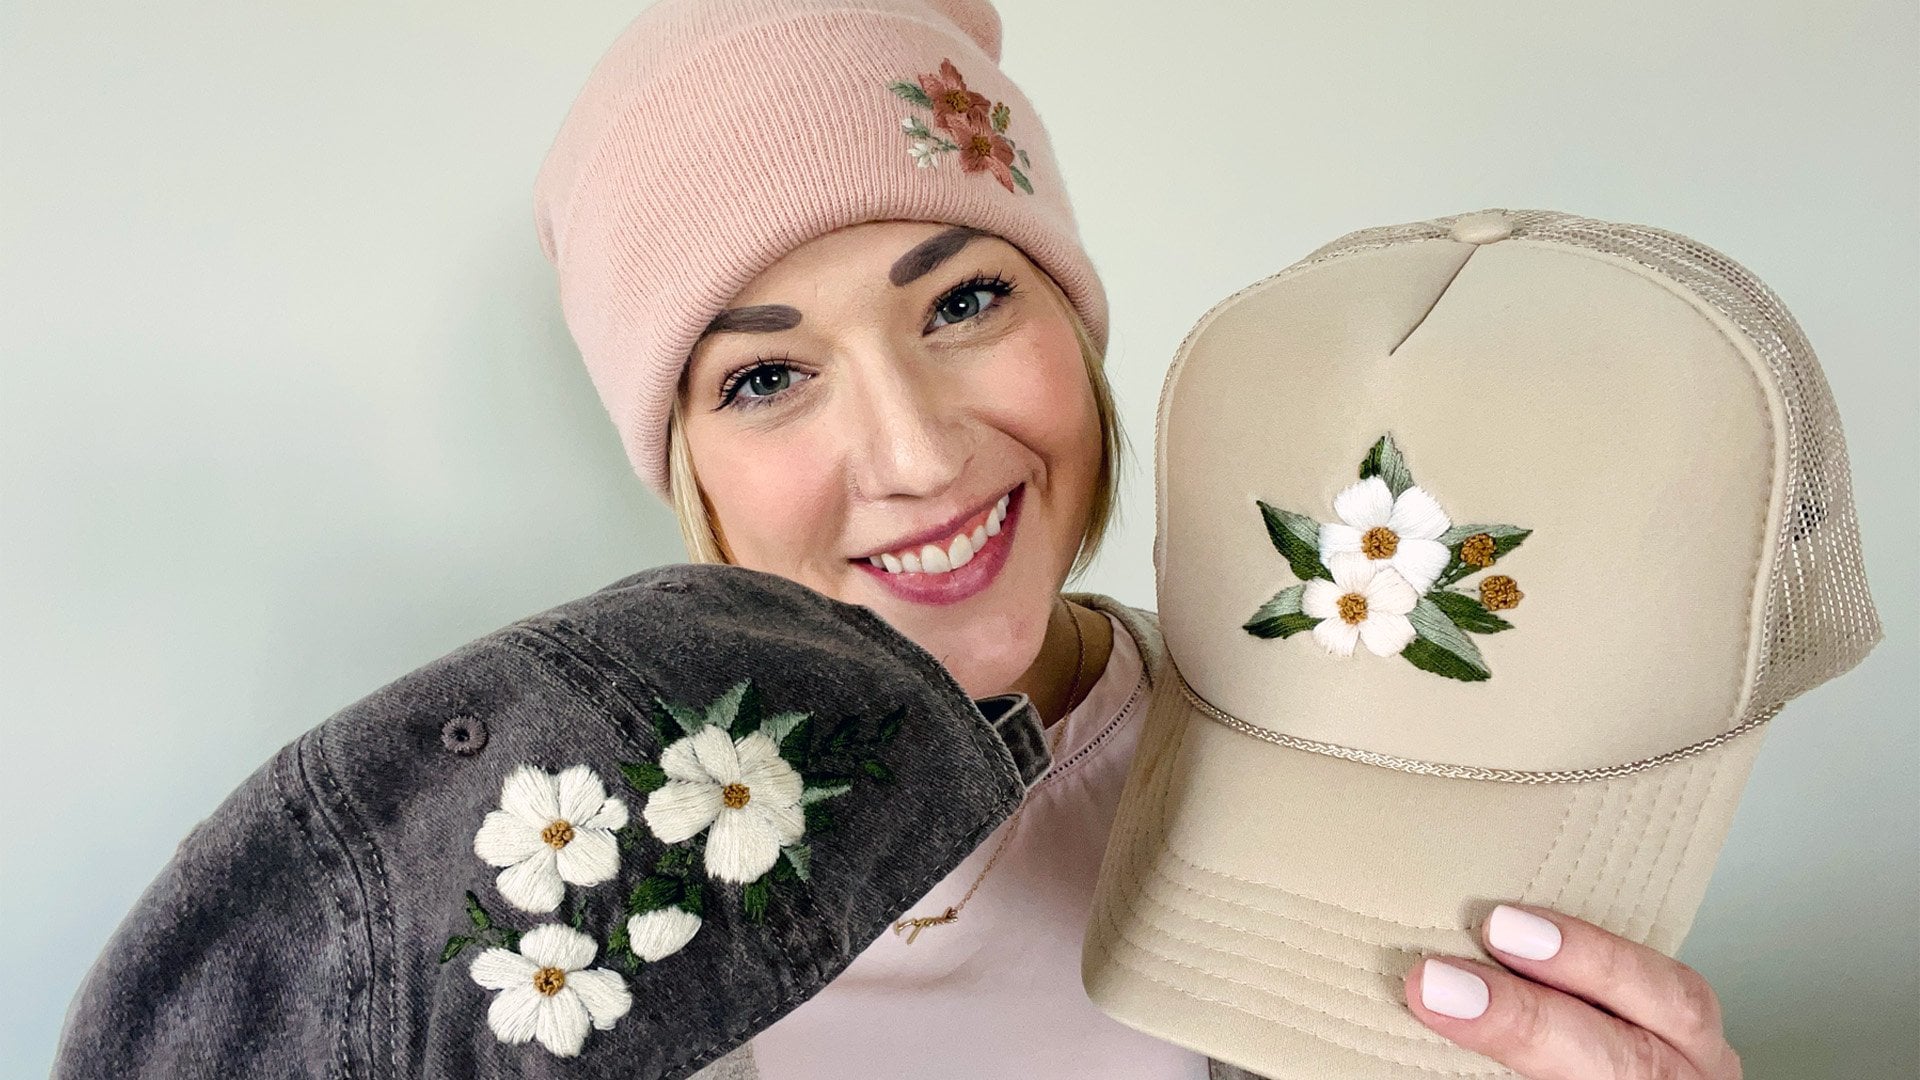
artwork at a hoop or you're putting it on your clothes or accessories and
personalizing them. It's such a fun and unique
way to express your taste. So to get you started,
in this class, we're going to learn 15 of the essential hand
embroidery stitches. We'll start out easy and
we'll work our way up. So what are we waiting for?
Let's start stitching.
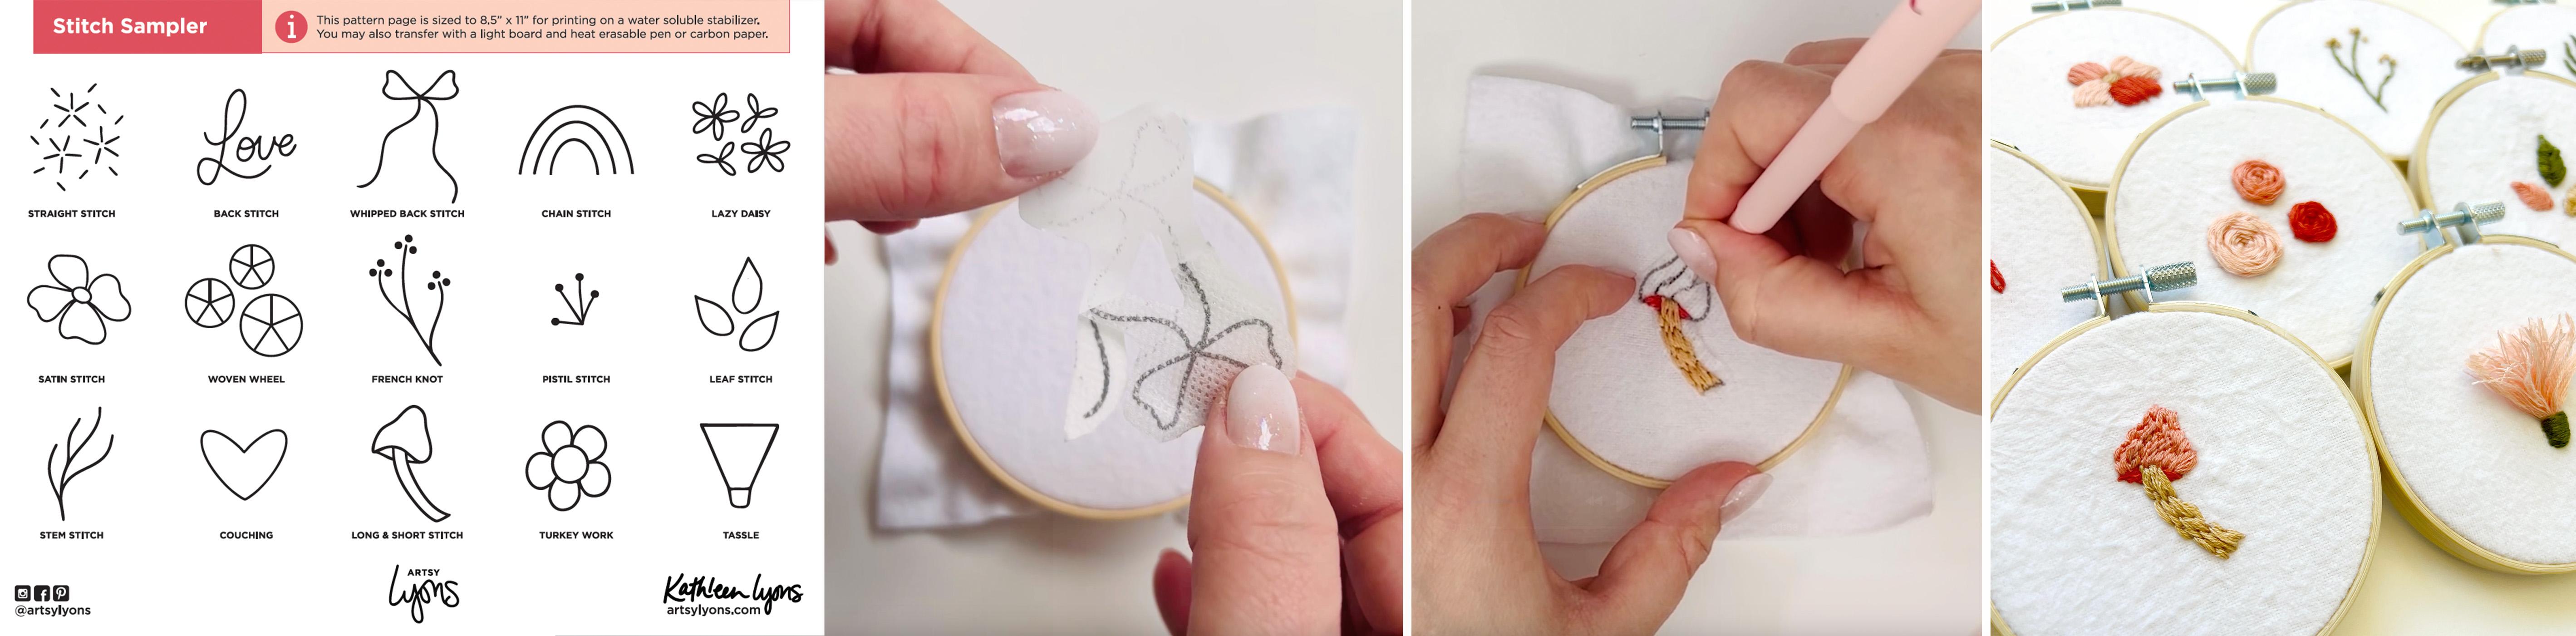
2. Class Project: For this class, you'll download the sampler pattern and then you will simply stitch each
with its own unique stitch, but your choice of colors. So go ahead and download that. You'll need a few of the
materials and supplies listed. Obviously, fabric, hoop,
your needle and thread. And if you're wanting to use a water soluble, make
sure you get that, but you can always
trace and just use a heat erasable pen.
Steps are pretty easy. You'll print out or draw onto your fabric
with the pattern, and then you'll
stitch each one as we go step by step through
each of the stitches. Once you're done, you'll
want to share your work. Feel free to add images
of your final sampler, or if you're putting
it on clothing, feel free to go ahead
and dive right in. We can put these sampler
patterns on anything, include some behind the scenes, whatever it is you
want to share. Just share your favorite
stitch or your favorite piece. Whatever you like,
I'd love to see it. If you're sharing on social, make sure you hashtag
arts stitches. Please please always
feel free to reach out. I am happy to help.
I'll see you in there.
3. Supplies: I've included some resources. You'll see those links
below and then I'm going to walk through each
piece that we'll be using. Again, not a lot for this round. We're just going to
be doing the basics so we can learn the stitches. Now, I use a water
soluble stabilizer and you'll see that in my
videos. That is right here. I'll link it as well. Super easy. I have
an ink jet printer. I print onto it, so really
just download the PDF, print it out, cut it
out, and stick it on. You can stitch right
over this, and then you just wash it away. You got let it soak overnight. You can use a
sprayer in the sink. It comes off pretty easily, and then you're ready to go. Alternatively, you
can draw on fabric. You can also use a
heat erasable pen. Those are really fun if
you want a free hand or if you just want to trace. You'll also need a hoop. So Hoop, and then you don't need
fabric to go in the hoop. I would encourage you to start with scraps if
you're just learning, but you can also dive right in. If there's a piece
of clothing on a collar or on a sleeve, where you want to start, do it. Grab the fabric, go
ahead and start. There's lots of cute little there's flowers and
there's mushrooms and things that would
actually be really nice to add to a jacket
or to a shirt. So feel free to
pick your fabric, whether you're doing scraps
or a piece of clothing or even a bag or accessory,
a tilt would be great. And you'll sandwich
that into your hoop. This always seems silly,
but you also need scissors. Now, any scissors will
do, but I love these. These are tiny little
embroidery scissors. You can also travel with these. Yes, I have stitched on a plane. They're really great
to be able to pop into your purse and stitch
while you're on the go. You also need needles. Now, there are several
types of needles. These are embroidery needles.
There's cruel needles. I would suggest getting a few different and seeing what actually feels
good in your hand. It's also going to
depend on the weight. If you're using embroidery
floss, embroidery is better. If you're going
to be using yarn, you're going to need more of anele just make sure that whatever yarn you're using
matches your needle. If it doesn't fit through
the eye of the hole, it's too big or your
needles too small. If you're having a
hard time, there are threaders that's additional. I'm trying to keep
this as minimal supply list as possible, but threaders are also awesome. Lastly, you will need you
were embroidery floss. I have I have a few here. Pick some of your
favorite colors. It really doesn't matter
what color you use just as long as you're
enjoying it. That's it. If you have questions, please
feel free to reach out, but we're ready to get started.
4. Straight Stitch: Hello, my artsy friends. Today, we're gonna be
learning the straight stitch. So let's dive in. We're starting with the adhesive water
soluble stabilizer. I'll have that linked. I use this a lot. You can
stitch right over it. So as you can see,
I just stuck it on. I'm gonna come up
through the back. And then straight down
through the front. And that is our straight stitch. So in a nutshell, that's
a straight stitch. Up through the
back, down through the front for that
stitch length. So here I'm making
some floral elements, and I'm just going
to go around here. I'm going to finish this flour. So up through the back down through the front, that's
a straight stitch. You'll also hear it called a seed stitch, a running stitch. These are all variations. A single stitch. I've
seen it, as well. They're all variations of this very simple technique where you're just coming up through the back and down
through the front. So again, with this water
soluble stabilizer, I'm able to print this out. I use an ink gent printer, and then I just cut it out and stick it straight
onto my fabric. You could be putting
this on a toe. You can put it on a jacket. Here I'm just using
a scrap piece of fabric to demonstrate this. And I'm going to go
ahead and speed around, do these flowers, and then we'll do some of the leaf elements. So, again, this is
a straight stitch. This is the most
basic of the stitches that you'll use in
your hand embroidery, and it's super easy
to get started. Again, if you don't want to use the water soluble stabilizer, you can also draw
on your fabric. Just make sure you
cover your lines. Or you can look at
heat erasable pens and markers. They're awesome. Just Google it. There's
plenty on Amazon. You just use heat.
You can use an iron. You can use hair dryer, and it will erase
those lines for you. So here where I'm doing
these leaf elements, this is what I would consider
more of a seed stitch. So think of filling more like sprinkles in a
cupcake or something. You'd see it there. It's just another variation
of this straight stitch. And we're about done.
And there you have it. Straight stitch. Thank you
for stitching with me today. Be sure to download
your free pattern sampler and guide wherever
you're watching this lesson. I'll see you next
time. Happy stitching.
5. Back Stitch: Hello, my art friends. Today we're going to be
learning the backstitch. Let's dipe in. So we're starting with a
water soluble stabilizer. I'm sticking that on, and then I'm just going to come
up through the mac with my needle and straight back down to start that
initial straight stitch. Now for the backstitch, I'm going to come ahead
one stitch length. And then when I come back
down through the front, I'm going to be going into the same hole as my last stitch. So that ending hole of the initial stitch, I'm
going to go into that. And then I'm going to repeat
that all the way around. So that is the pattern
for the backstitch, going up a stitch length and
then coming back down and sharing that same hole
from my previous stitch. This is a great way to outline. It's great for hand lettering. Just keep in mind
as you have curves, you might need to go
a little bit smaller, as you're determining
your stitch length, be sure to note that. Again, it doesn't
have to be perfect. Sometimes those little
imperfections are what make our work unique.
That's the backstitch. Thank you for stitching
with me today. Be sure to download
your free pattern sampler and guide wherever
you're watching this lesson. I'll see you next
time. Happy stitching.
6. Whipped Back Stitch: Hello, my artsy friends. Today we're going to be learning the whipped backstitch.
So let's dive in. So we're starting with our
water soluble stabilizer. I'm going to stick
this on, and I'm going to go ahead and
get my backstitch done. So go ahead and
outline this with a backstitch, and then
we're going to come back. And for the whipped backstitch, we're going to come up at the beginning of our backstitch, and we're actually just
going to be wrapping it. So I'm going to pull
this all the way through and then just go under
my first stitch, pull that through, and then I'm going to continue
wrapping in that motion. So I'll come back over
under the next stitch. Pull that through. And you can see here with the
two different colors, it's going to start creating
this rope like look. So that's the
whipped backstitch. Lay down the foundation
with your backstitch, and then you come back through, and you're just going
to simply wrap stitch by stitch around your piece. So I'm going to go ahead
and speed this up so you can see it the
finished product. Again, you can do this
with two different colors. It's really nice
at the holidays. You do canny canes. But it also just creates
this really cool, like, rope like texture. And that's it. That's our whipped
backstitch. Check it out. Thank you for stitching
with me today. Be sure to download
your free pattern sampler and guide wherever
you're watching this lesson. I'll see you next
time. Happy stitching.
7. Satin Stitch: Hello, my arty friends,
in this video, we'll be learning the satin
stitch. Let's jump in. Starting with a water
soluble stabilizer, I printed on this,
and I cut it out, so I'm just sticking
that on my fabric. I'm gonna come up through the back, down
through the front. I'm splitting this
centerpiece here. I do a lot with satin
stitches just to help keep me a little
more even as I'm working. And I'm gonna come up
again through the back, down through the front, right
next to Matt first stitch. So these are essentially
straight stitches that are side by side by side, and I'm going to keep
them as close as possible because my goal here
is to fill the shape. So the satin stitch is
great for filling shapes. I would advise keeping them on the smaller side if you
have some larger areas, maybe explore the long
and short stitch. But the satin stitch
is great for filling in small areas and doing
it fairly quickly. So I'm gonna speed this up here. Again, I do like to split my shapes just to help keep it a little more consistent and keep my stitches from
getting too wonky. And that's it. Quickly
filling this in, this is our satin
stitch. Check it out. Thank you for stitching
with me today. Be sure to download
your free pattern sampler and guide wherever
you're watching this lesson. I'll see you next
time. Happy stitching.
8. Couching Technique: Hello, my RC friends. And this video we'll be covering the couching stitch and
technique. So let's get started. We're starting with a
water soluble stabilizer. I'm gonna stick this on. And then I am going
to secure that I'm gonna come up through
the back and back down. You don't have to do this. You could let your
thread be loose. I just want to keep
this a little bit secure while I'm showing
you this technique. So now that I have
that in place, I'm going to move it
around a little bit just so I can get
some of the shape. I don't want to have
too much extra thread. And now for the
couching technique, I'm going to come up
through the back and straight back down just
over my initial thread. So I'm gonna be locking
that thread in place. And that is our couching stitch. So this comes in handy, especially you've
seen the holidays. You have those
really chunky yarns. This is a good way
that if you want to do hand lettering
on a sweater, but, you know, that chunky yarns not going through a yarn needle. You can actually attach it to something using this technique. So I'm coming up through the
back, straight back down, and I am just locking
this other thread in place to create the
outline of this shape. It could be a shape.
It could be letters. It has so many different ways that you can use this accent. So again, up through the
mac and straight back down. This is the couching technique. You're just adding accents
or locking in a shape. You're using over
another thread to either create a
shape or a letter. It could be so many
different things. It's just a great way to add
some texture too if you're wanting to just add a little
variety to your piece. I'm going to speed this
up and finish it up so you can see the final product. But this is our couching
technique. Check it out. Thank you for stitching
with me today. Be sure to download
your free pattern sampler and guide wherever
you're watching this lesson. I'll see you next
time. Happy stitching.
9. Stem Stitch: Hello, my artsy friends. In this video, we'll be learning the stem stitch.
So let's dive in. We're starting with a
water soluble stabilizer, so I've printed on
that, I cut it out, and I'm just sticking it
straight onto my fabric. I'm going to come
up through the back and down through the front
like a straight stitch. But instead of letting that
stitch go all the way down, I'm actually going
to keep it off to the side and create a loop. And once I have that loop, I'm going to come back up. So I'm going to
create this loop. I'm going to a it off
to the left here. And I'm going to come
back up through the back about halfway
through that stitch. And this is what's
going to create this kind of overlapping effect. So now I can let that
go all the way tight. I'm going to pull it, and then I'm going to go up
another stitch length. Now, when I come up this time, I'm going to be sharing
that last stitch with my initial stitch. So the same hole of that last
hole of the initial stitch. So it's similar to the
backstitch, if you're familiar. And then it's just
going to create this really nice overlapping effect as I continue to go one forward, come back, come up
through the middle, and tighten it, and
then repeat that. So it's the same
pattern going go down. G to create a little loop. So a little too tight there. I'm going to create
a loop and then I'm going to come up
through the center of that. And then once I come up through the center, I'll
let that tighten. Again, this is a stem stitch, so it's creating this really
nice botanical type element, but it can be used for
outlining and hand lettering, but you just continue to
repeat that coming up through the center and fill
out the rest of it. And that's the stem stitch. Thank you for stitching
with me today. Be sure to download
your free pattern sampler and guide wherever
you're watching this lesson. I'll see you next
time. Happy stitching.
10. Long and Short Stitch: Hello, my Aarti friends. Today, we're gonna be learning
belong in short Stitch. It is also known as the
brick stitch. Let's jump in. I'm starting with a water
soluble stabilizer. I print it on this
and cut it out. I'm just sticking it
onto my fabric here, and I'm going to come
up through the back down through the front
with a straight stitch. And I'm gonna get
this started with a shorter stitch and then I'm going to come up
through the back. And down through the front,
and I'm going to make this stitch maybe twice as
long as that stitch. Now, you can make these any
length that you'd like. This is long and short. It's
also called a brick stitch. So if you want to give it
more of a brick layer, you could stay a
little more uniform. I like mixing these up a
little bit and kind of following the shape of
whatever I'm stitching. So my next stitch here is
going to be short again. So I'm going to
come up through the back down through the front, and this is essentially
a backstitch. We're just varying our lengths instead of having a uniform, like you typically would with
a backstitch this is really great for filling in shapes and giving a little
more texture. I'm using the full floss here. But you can play around with
that as well and create some different levels
along with your textures. So I'm going to speed
this up a little bit, and then I'm going
to show you I like to also use a heat erasable pen, especially when I'm doing
this type of stitch as a filler to help guide me as
I'm filling in the shape, a little satin stitch
here for the shadow. And then on top,
I'm going to create these kind of wave marks
with my heat erasable pen, and again, that is
going to help guide me as I'm filling in the
top of this mushroom. I'm going to speed
this up, and this is our long and short
stitch. Check it out. Thank you for stitching
with me today. Be sure to download
your free pattern sampler and guide wherever
you're watching this lesson. I'll see you next
time. Happy stitching.
11. Tassel Technique: Hello, my arts friends. And this video
we'll be going over the tassel technique.
Let's jump in. We're gonna start with our
water soluble stabilizer, so I printed on
that and I'm just gonna cut it out and
stick it on here. And then I'm gonna
start wrapping the floss around my fingers. I'm using the full floss,
so all six strands, and I'm going to get it to a point where I like
how full it is. Then I'm just going to
take a piece of that. I'm going to tie it around
the bottom and knot that, make sure it's really tight. And then I'm going to secure it. So I'm securing this with a satin stitch coming
up through the back, down through the front
side by side by side, and making sure that that's
secured really well. Then I'm just going to be
cutting to create my tassel. All those loops, we're just
going to cut those apart, and then I'm going to give it
a little bit of a haircut, and it creates this really
cool textured effect, and that's the tassel technique. Thank you for stitching
with me today. Be sure to download
your free pattern sampler and guide wherever
you're watching this lesson. I'll see you next
time. Happy stitching.
12. Chain Stitch: Hello, my Rz friends. And this video, we'll be
learning the chain stitch. Let's dive in. Starting with
a water soluble stabilizer, I printed that and cut it out. I'm just sticking that
onto my fabric here and I'm going to come up through the back down through the front, and I'm actually gonna be coming down in the same hole
where I came up. And I'm gonna allow
a loop to form. So I'm not going
to go all the way through that would just
take out my thread. And instead, I'm
going to come up a stitch length and come
up through the back again. And I'm going to kind
of hook that loop onto my needle and
then pull it through. And that is our chain stitch. We're gonna repeat
that I'm going to go down through that same hole. Up through the back, and again, about a stitch length and
allow my loop to hook onto my needle and go
ahead and pull that through and secure it
by pulling that tight. And I'm just going
to continue this. All the way around,
I'm going to secure it at the end with a
little straight stitch, which is similar to the lazy
daisy, if you're familiar. And we're gonna
keep going around. So once I finish
here at the end, I'm just going to come
up and then write back down to secure
it to end that line. So I'm going to fill in
the other two lines. I'm going to speed this up. But again, it's up
through the back, down through the
front, create a loop, and then secure that loop coming up through the center
and back down. And that's it. That's
our chain stitch. Thank you for stitching
with me today. Be sure to download
your free pattern sampler and guide wherever
you're watching this lesson. I'll see you next
time. Happy stitching.
13. Lazy Daisy Stitch: Hello, my artsy friends. And this video we'll be learning the Lazy Daisy. Let's jump in. Starting with a water
soluble stabilizer. I printed this out, cut it, and now I'm just gonna
stick it onto my fabric. I'm gonna come up
through the back. I'm gonna go through the center, and then I come back
down in that same home. If you're familiar
with the chain stitch, this is the same thing.
They're just detached. So I'm going to come up through the middle there at
the end of my petal, and I'm going to hook that loop onto my needle and
pull that tot. Now, to secure it,
I'm going to go right back down just over that floss, and that creates
one of my petals. I'm gonna repeat this. This is, again, the lazy daisy. It can be used for
obviously, daisies. But it's also a great
stitch for leaves. So if you want to have a
couple of different leaves, I'm going to do some of these here to look more like leaves. But you could
actually make a stem and then have these
shooting off of it, and that creates more of
a greenery type effect, or you can use it as
small flower accents. It's a really nice stitch to add some floral elements to your work. So I'm
gonna speed this up. And like I said, I will
go ahead and fill in a couple of these so we
get that greenery effect. And this is our lazy
daisy. Check it out. Thank you for stitching
with me today. Be sure to download
your free pattern sampler and guide wherever
you're watching this lesson. I'll see you next
time. Happy stitching.
14. Leaf Stitch: Hello, my untie friends. Today, we're gonna be
learning the leaf stitch. Let's dive in. Starting with a water soluble
stabilizer, I printed this, cut it out, and I'm
just gonna stick it here onto my fabric
and get started. It's gonna come up
through the back, down through the
front, and I'm gonna come up at the top of my leaf, and then I'm going to come about three quarters of the way down in the center and
push that back through. Now when I come back
up, I'm going to the left of my initial stitch. And then I'm going
to go back down just over to the right
of that first line. So I'm going to
be crossing over. And that's the most
important part of this is to make sure that you're getting that crossover so that you're getting
the leaf effect. It's going to create this
seam down the middle. So I'm going to come up on
the other opposite side, so on the right side, and then back over and cross
over to the left. So I'm going to keep doing
this down the edge of my leaf. I'm gonna come up
and then cross over my center and just back
down to the opposite side. So again, I'm going to continue doing this through the leaf, and I'm going to go
all the way down until I hit the bottom and
I run out of space to fill, and I'm gonna do that
for all three of these. So I'll speed this up so you
can see the final effect. But it's just up
down, crossover, and the crossover is the most important
piece to make sure that you're going to get that
seam for the leaf stitch. And we're all done.
Check it out. Thank you for stitching
with me today. Be sure to download
your free pattern sampler and guide wherever
you're watching this lesson. I'll see you next
time. Happy stitching.
15. Woven Wheel Technique: Hello, my artsy friends. In this video, we'll be covering the woven wheel
technique. Let's jump in. Starting with a water
soluble stabilizer, I print it on this
and cut it out, just sticking it here to the fabric and going to get started. So I'm gonna come up through the back, down
through the front, and I'm going to create these five straight
stitches that are going to be the base
of my woven wheel. Just gonna do that quickly and just go around circle again, up through the back,
down through the front. They are all going to
share that center hole, so they'll all be touching. So I'm going to finish this up, and then we'll start
the woven technique. So the woven wheel, I think it's also called
the spider stitch. I think of it as a rose. It really creates this
nice floral element. And we do that by coming
up near that center. We're going to go over our
first stitch under the next, and then over and
under, that is it. We just continue to weave over and under around
the entire circle. Once we get to the point
where that's filled, then you just go straight
back down through your fabric and knot
it to secure it. So again, this is the
woven wheel technique, and it really is mostly weaving. So you'll do your five foundational stitches
and then you'll continue to weave going over and under each stitch until
you fill the shape. So I'm going to speed
this up so you can see how it looks once we've gotten it filled and give you a couple examples
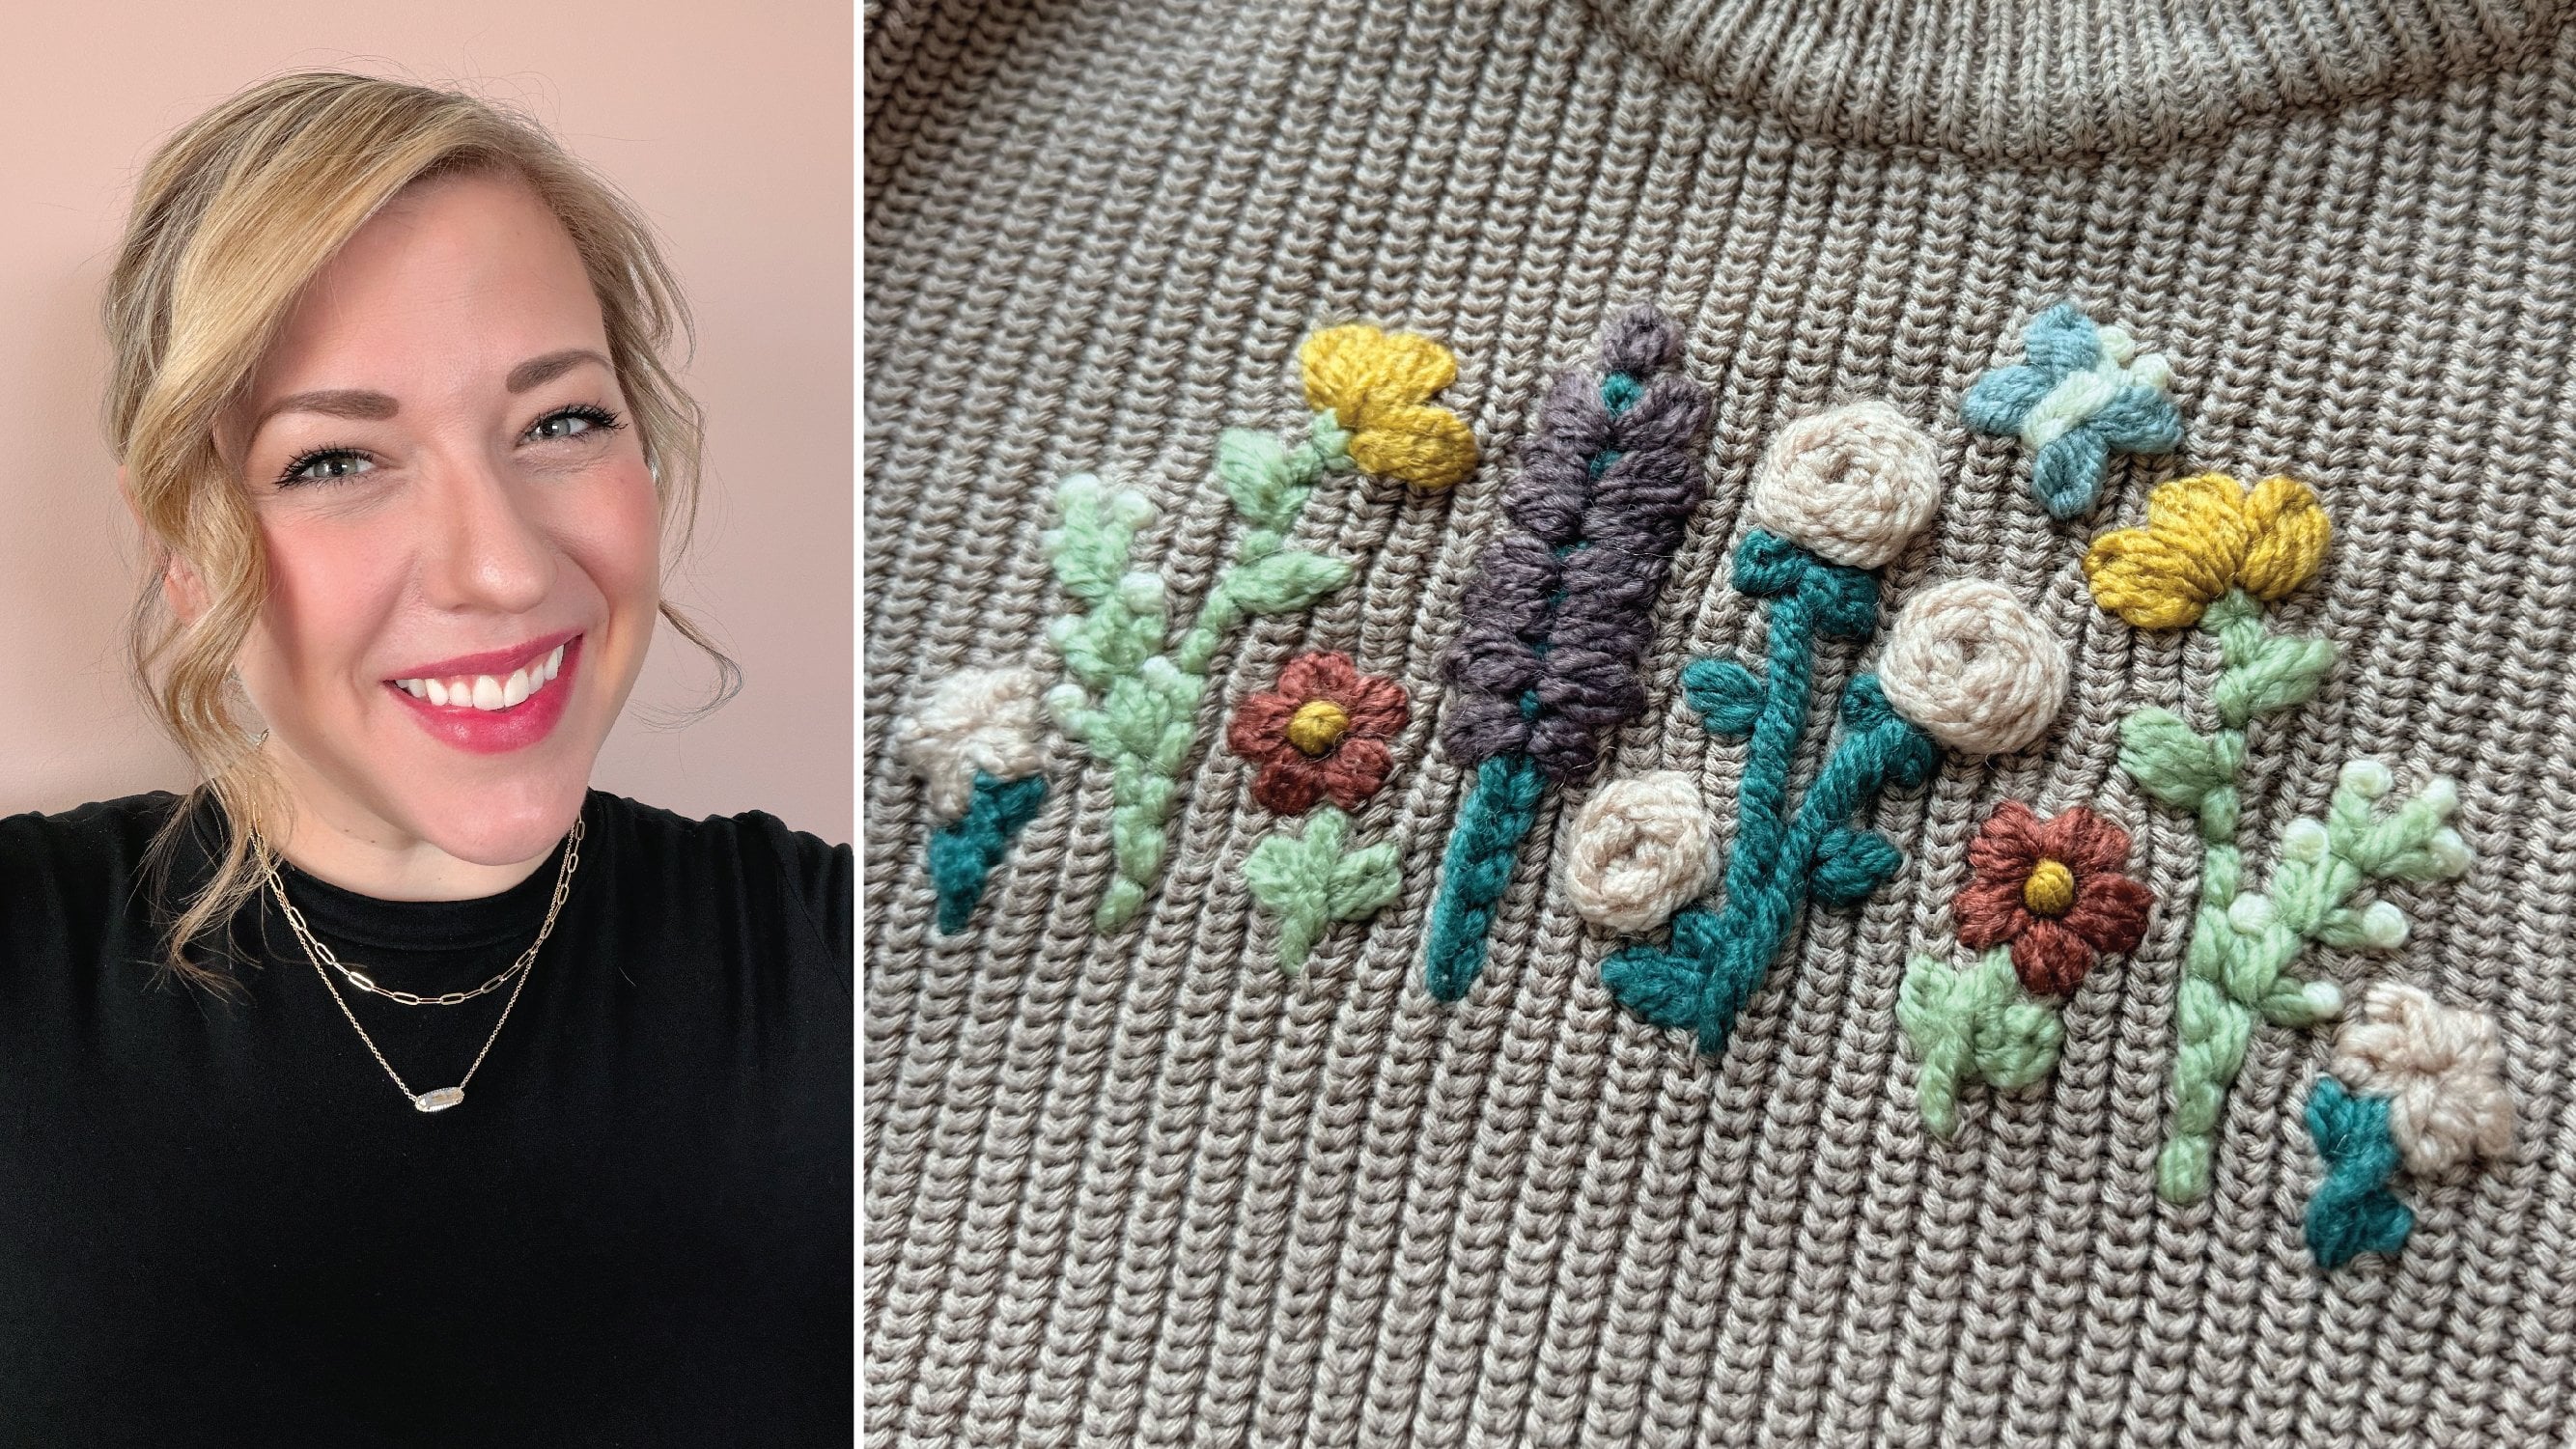
with the other two. Now, depending on what thread and fabric you're working with, you may go bigger or smaller. Yarn roses are so
much fun to make, so I highly recommend
experimenting with those. But again, it's the same
idea where you're laying your five foundational stitches and then weaving over and under. And that is our woven wheel
stitch. Checking out. Thank you for stitching
with me today. Be sure to download
your free pattern sampler and guide wherever
you're watching this lesson. I'll see you next
time. Happy stitching.
16. French Knot Technique: Hello, my RS friends. And this video we'll be covering the French knot. Let's jump in. Starting with a water
soluble stabilizer. I printed on this, cut it
out. Going to attach it here. And I'm going to go ahead and do a backstitch for these stems, and then we'll get started
with the French knot. It's going to come
up through the back. I go to wrap it two
to three times and then push it down right
next to where I came out. So this is going
to create a knot. I'm going to keep this
parallel to my hoop. Sorry, it's getting
stuck. And then I'm just going to pull
that right on through. So we'll do that a
couple more times. Now, be patient with yourself. French knots are
notoriously difficult. So up through the back, go
to wrap it two to three times and then come back down right next
to where I came up. Go ahead and keep the
other side taut with my other hand and let
that slide on through. Okay, one more time. You notice I did goof up a
little bit there. So be kind to yourself
as you're wrapping. Sometimes it gets
a little tricky. So wrap two to three times and then back down right next
to that initial stitch, Hold it out to the side and let that start going
through, and then let it go. There's your French knot. So I'm going to finish this up so
you can see it all completed. But again, please be
kind to yourself. These are difficult
to get the hang of, but once you get
some wraps, they start coming a little
more naturally. Wrapping it up here, and this is our French knot. Check it out. Thank you for stitching
with me today. Be sure to download
your free pattern sampler and guide wherever
you're watching this lesson. I'll see you next
time. Happy stitching.
17. Pistil Stitch: Hello, my artsy friends. And this video will
be covering how to do a pistol stitch.
Let's jump in. Starting with a water
soluble stabilizer, I printed on this
and cut it out, just sticking it onto my fabric
here and getting started. It's coming up through the back. And much like the French knot, we're gonna wrap
two to three times, but instead of going right
next to where I came out, I'm actually going to extend it. So this is going
to create a knot. And this is called
the pistol stitch. So I'm going to come up again. I'm gonna be using
the same center for each of these
pistol stitches. This creates the
center of a flower. It's a really great way to
create that center element. So again, I'm going to
come up through the back, wrap two to three times, and just go back down
a little bit further away from my initial stitch than we do with the French knot. So do a couple more times so you can see the
finished piece, but this is our pistol stitch. Okay, check it out. Thank you for stitching
with me today. Be sure to download
your free pattern sampler and guide wherever
you're watching this lesson. I'll see you next
time. Happy stitching.
18. Turkey Work Technique: Hello, Artie friends.
In this video, we're gonna be covering
some turkey work. So let's jump in. Starting with a water soluble stabilizer.
I printed on this. I'm just attaching it here to my fabric, and I'm
gonna jump in. So for our first
turkey work technique. We're going to come
up through the back, down through the front, and I'm be creating essentially
a straight stitch. I'm going to keep a
little loop here, and then I'm going to come
up right in the middle. Now, the goal of this is
that that first stitch is going to lock in this piece
that we're pulling up. So I'll continue referring
to those as lock stitch. So we're going to do that,
pull it all the way through, and then we're going
to make this loop. We're going to foul the curve of this flower here and I'm
going to go back down. And then when I
come up, I'm going to be creating that
lock stitch again. So I'm going to come
up on either side of this stitch and lock it in. So I'm going to come
up through the back. And again, this is
just a straight stitch so we're coming up and then right back down
to secure that petal. Okay, now for the next one, this is where it becomes a
little tricky but important. You're going to come
up in that same hole that created that petal line. So not the lock stitch, but the other stitch with the hole. So you're going to
come up and share that to make your next petal. So we're going to
curve this around, go back down and repeat it again where we're going
to lock this in place. So pull that through. We'll come back up
on either side of this and lock it in with
that straight stitch. Now, I'm going to end
up speeding this up so that I continue around,
and then we'll come back in. We're gonna do a
different version where we're going to create
a little more texture. So we're going to
leave the loops here. So I'm going to lock
that in, and then I'm going to go around and
finish the other petals. So for the center, we're actually going
to come from the top. So we're going from
front to back, and I'm going to leave
that little tassel there. So this is going
to create loops, but we're eventually
going to cut it to make some texture. So same idea. We're going to come
up on either side of this and lock it in. So up from the back
down through the front, we're going to lock that
little piece in place. Now, as you continue to build
these and you do layers, you want to do kind
of a brick effect where you're layering up against your last row
or your last round. So I'm going to come up again in that same hole where my fringe
piece is and back down. And then we're going to
lock this in place too. This is going to create the
same loops that we just did. The difference
will be at the end when we cut it to
create some texture. Now, the idea of this
is the more that you use and the more
rows that you do, the larger your pile
is going to be and the fluffier and more texture
you're going to have. So again, that's why the
brick layer is important. So I'm trying to offset my initial layer of the
pink with the petals, and I'm going kind of opposite
with this round in here. So I'm going to come up through again where that
line came through. And then back down
and lock it in place. We're going to repeat
that all the way around, and then I will meet you
back here in a little bit to cut and give it a
little bit of style. So one more. We'll
lock this in place, and then I'll speed around. So as I'm filling this, you can see how much more
volume we have. Now imagine if you
go more layers, you could totally fill in this centerpiece,
that would be so fun. I'm just going to do this on. We're cutting the
loops to give it a little more of that fringe and then I'll show
you once it's done, how that creates a center versus the loops for the petals. Check it out. There's our
turkey work. Two variations. Again, you could pile this on as much as you want to
get as much volume. It's a really fun stitch. Thank you for stitching
with me today. Be sure to download
your free pattern sampler and guide wherever
you're watching this lesson. I'll see you next
time. Happy stitching.
19. Final Thoughts: Thank you so much for
joining me in class today. Remember to post your
projects or any of the behind scenes images you want in the project section
and keep on stitching. If you share on social, please use the hash tag artsy stitches so I can
follow along there as well. Embroidery is a
great way to unwind, create artwork or even personalize your wardrobe
and accessories. Speaking of which,
if you're ready, go ahead and check out my other skill share class
about spicing up your wardrobe with just a few of the stitches we've
already covered today. You'll be able to
dive right into the project section
of that class. Also, if you have
a moment, please review and follow
me on skill share. I would love to hear
the feedback and any suggestions for
future classes. I'll see you next
time. Happy stitching.
 Kat Lyons, Artist + Educator + Entrepreneur