Transcripts
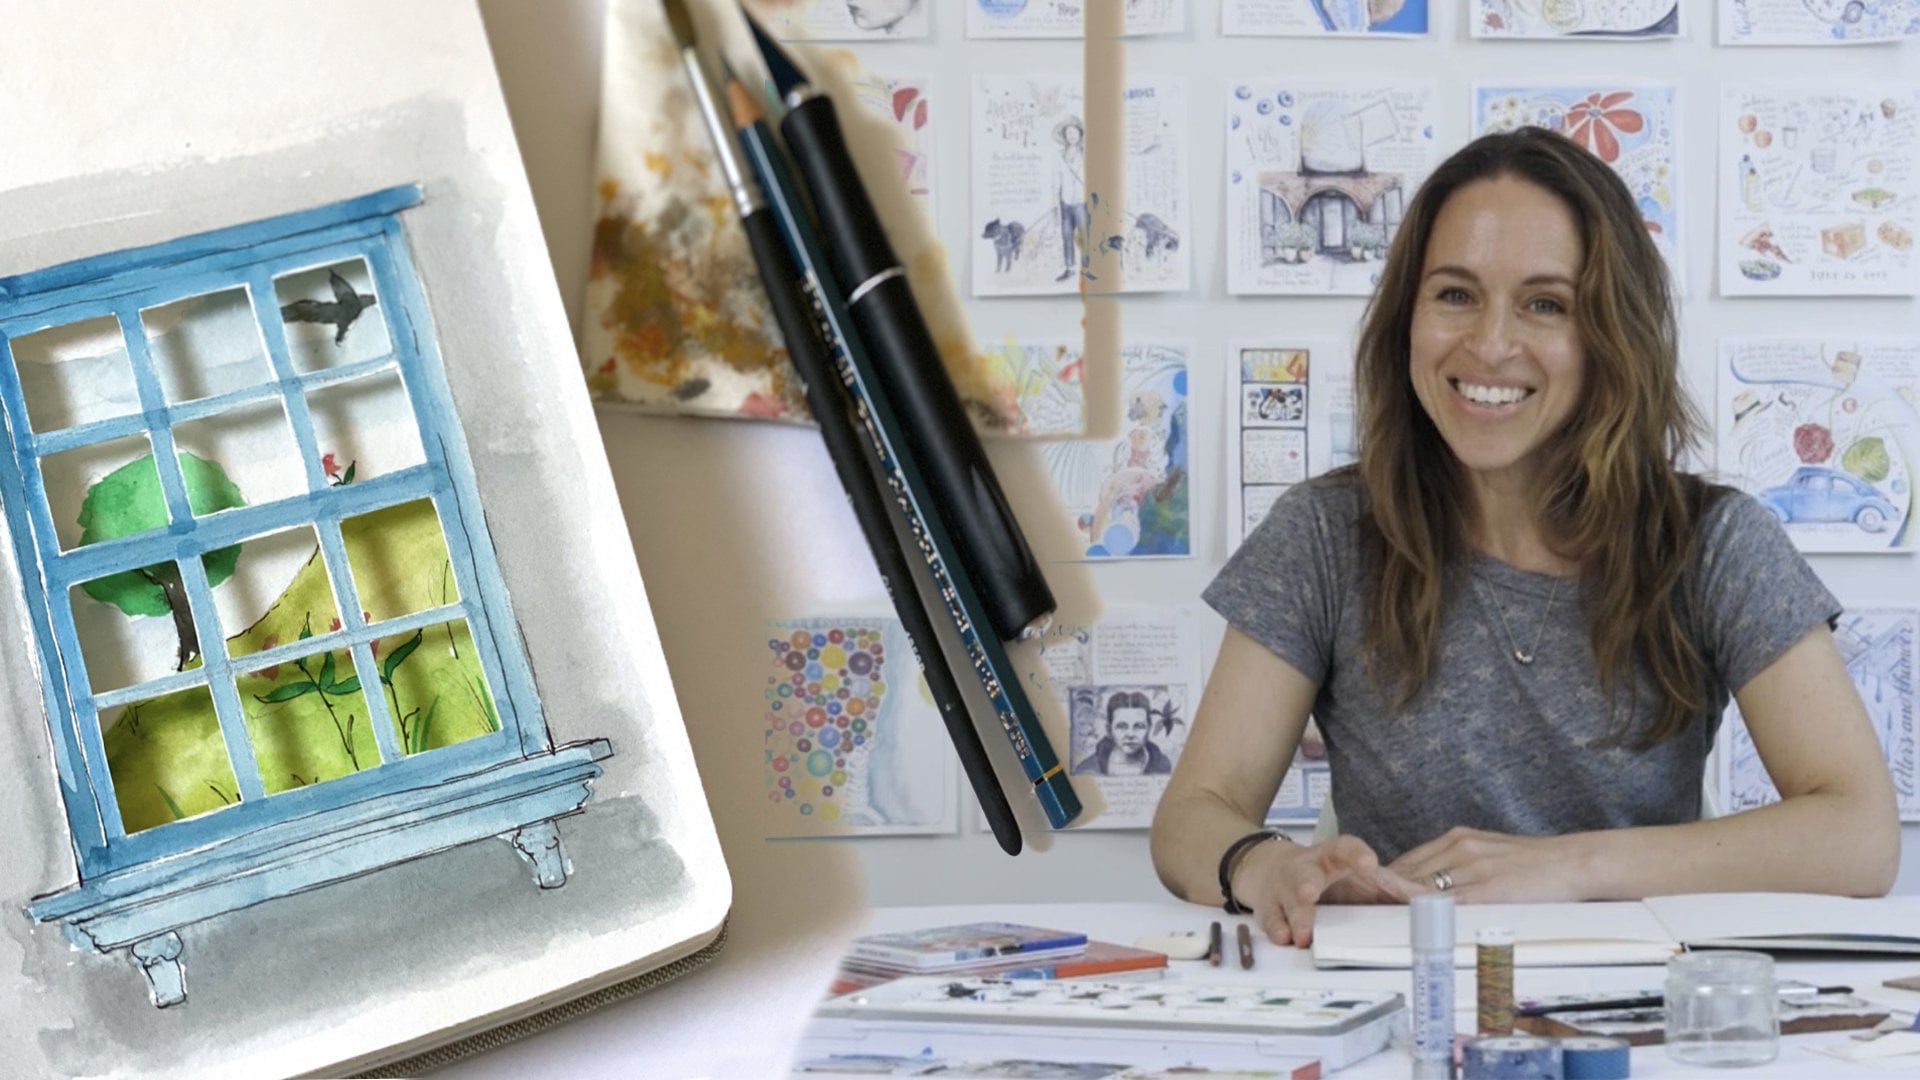
1. Intro: Hi, I'm Vivian Edgar, a mixed media artist
from Scotland. And I would love to
have you in this class. I'm going to be teaching
you how to meet handcrafted paper and to make it from things like organic
and reusable materials. And this is a brilliant
way of creating some really beautiful and
textured works of art. And you can also make
things like artisans, stationary paper for
watercolor paintings, and also things
like collage papers for future art projects. My work has been
exhibited in many, many galleries and
a half to see that using textured materials like handmade paper to be really valuable no matter what the
subject is that in painting. So by experimenting with all these different
materials and techniques, you'll come up
with your own type of paper, your own method. And that's really
exciting to discover. So I can't wait to see what you come up with Him in
the project gallery. So just go for it and have fun.
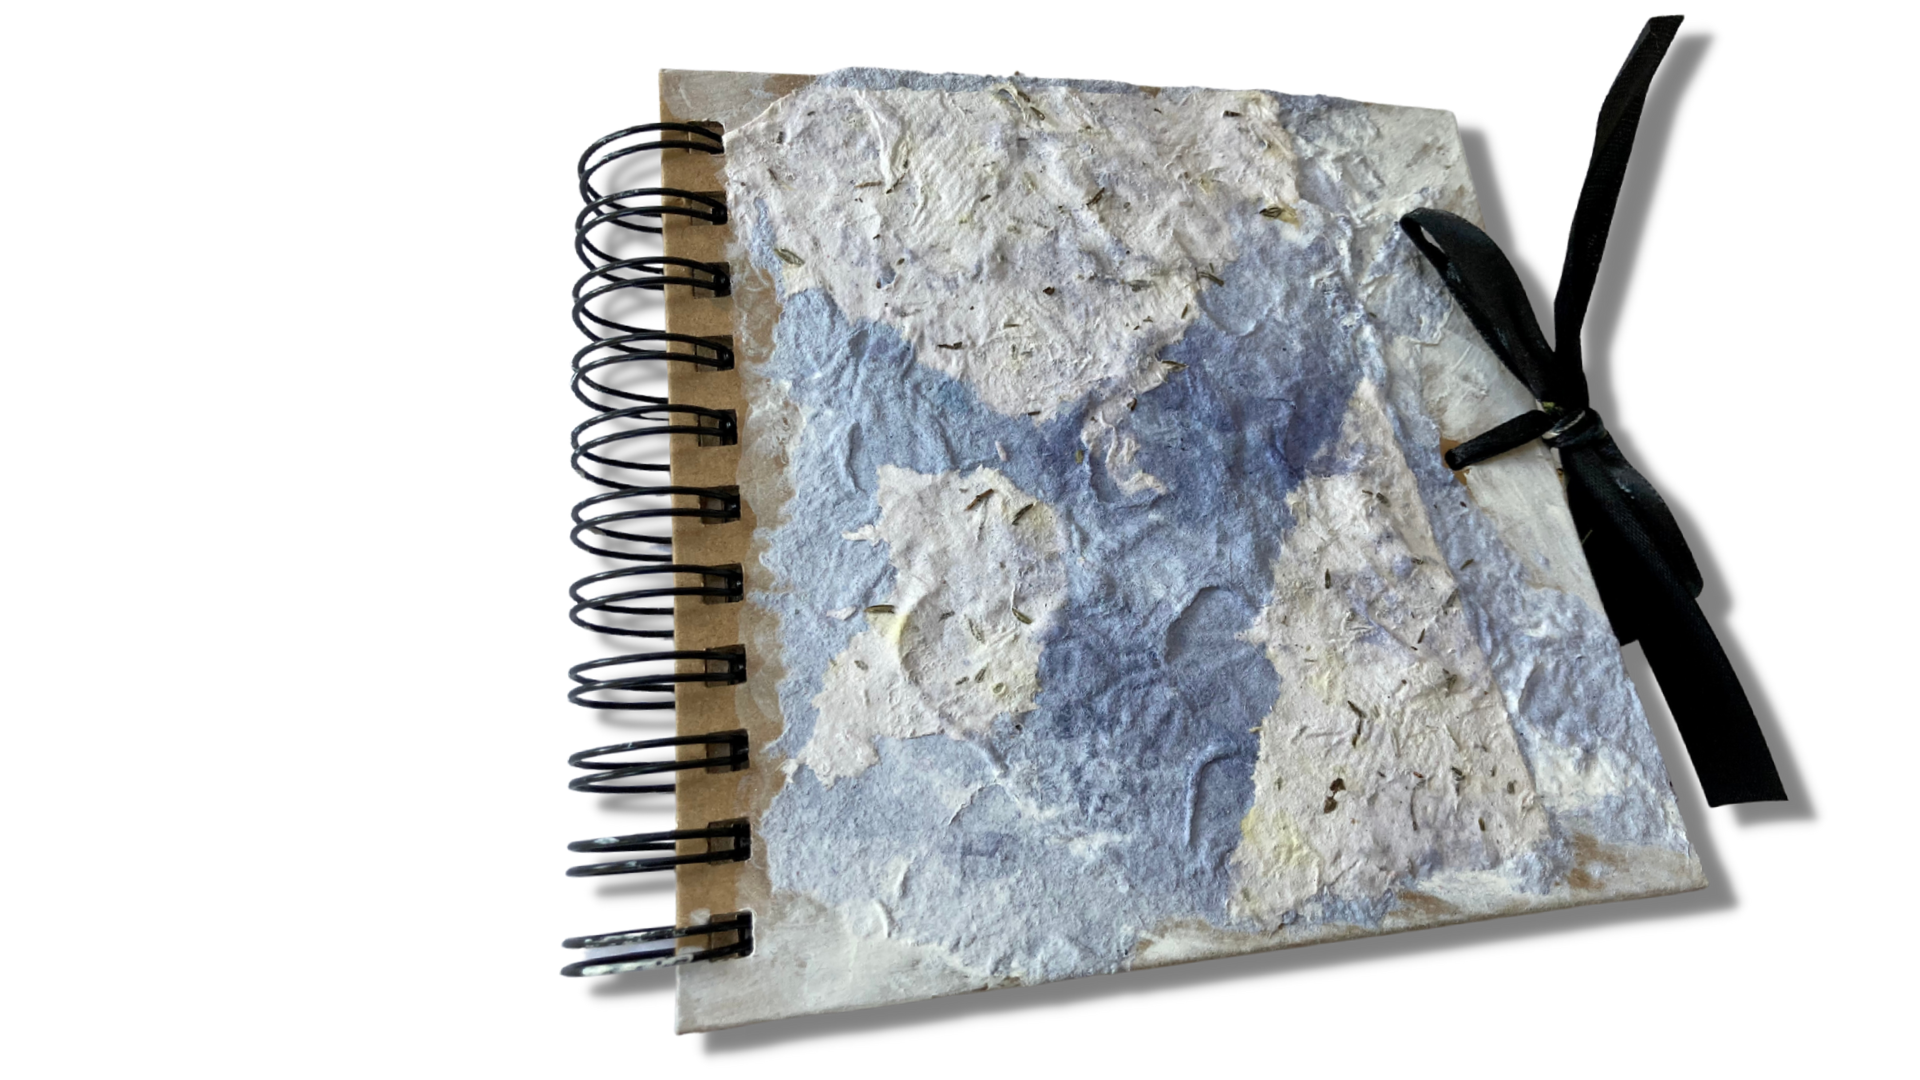
2. Class Project: For this project, we will take your favorite pieces and
create a front cover there. Well, not only fill you with inspiration every
time you open it, but also others desperate
to see what is inside. We'll start by scavenging for suitable materials and
soaking them in water. Blending them together to
make a paper pulp using a molten decal to create sheets and then move on
to drawing the paper. Your aim is to discover which
paper creations like best, and glue them onto
your sketch book or journal when they're dry. The beauty of handmade
paper is that not only is it stunning
in its own right, but it can also
be really useful. Look how uninteresting the sketchbook books
from the outside. You would have no idea
that there is bright, cheery and inspiring
are on the inside. I chose to use our
handmade paper in this way as our members and our
students being totally stuck, as told to get my sketch
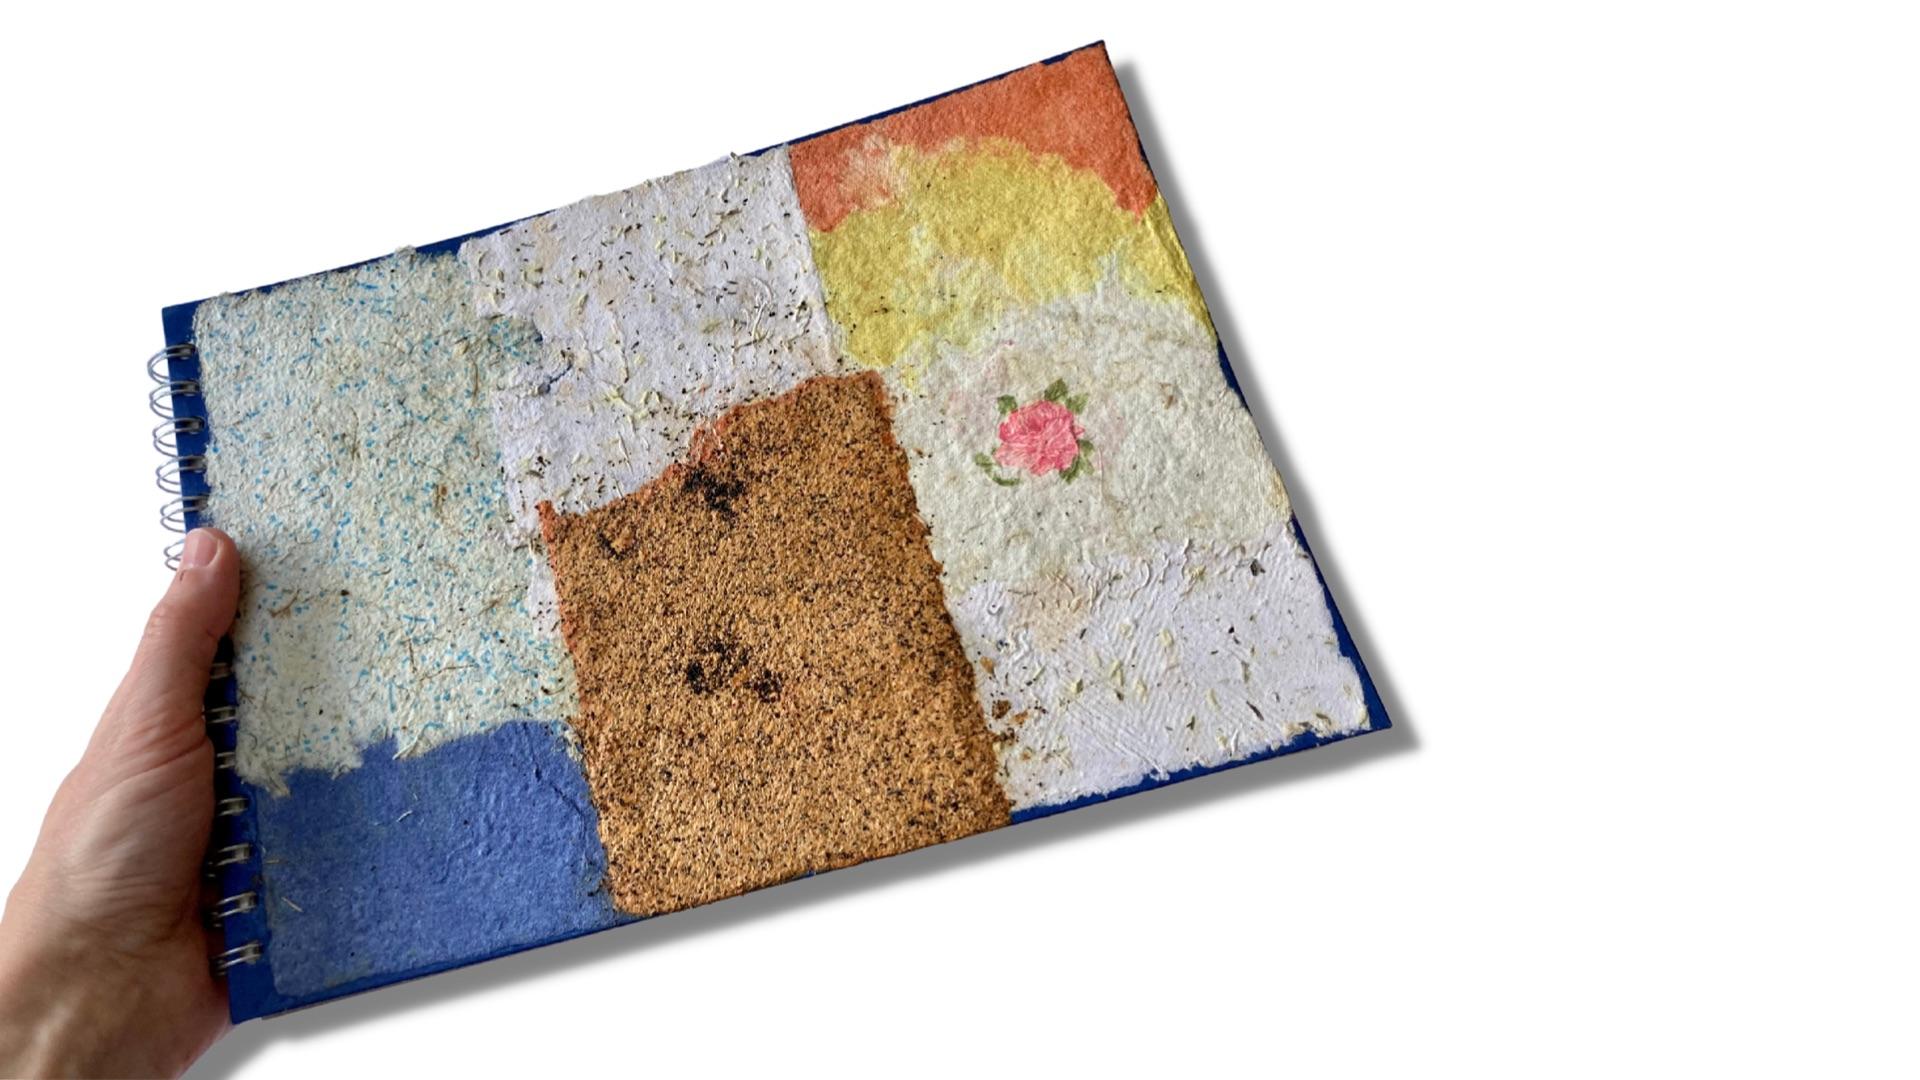
book covers to stand out. You can create the image on
top by tearing up your paper and pasting it down and
bits kind of collage style, or simply pick your favorite and glue them down as Whole
sheets side-by-side. I really encourage you
to experiment with different materials and to let
yourself create messy art. Have fun scavenging
for supplies. And I'll see you
in the next video.
3. Gathering Your Supplies: Hi, This video will give
you a quick introduction to the tools and supplies that you need to make your
handmade paper. Firstly, we need lots of paper that was on its
way to the recycle bin. All types of scrap paper or any plastic free paper is fine. Just bear in mind this stronger scrap paper like printer paper, will produce stronger
handmade paper in the end, but also takes longer to dry. Here's a good idea
to have lots of weight and cream paper
in your mixture. If you want to alter
the color later on, it is much easier to do that
with light colored paper. Next, we need some tools. Firstly, you need
a food blender, handheld or tabletop
ones are both fine. Secondly, we need what's
called a molten Deco. You can buy one online
from a specialist shop where you can make your own
from using frames and mesh. But I'm just using one, the
small one they go online. They can get much larger ones. They create really large
sheets of paper hairdryers handy to have when
it comes to drawing the paper, but it's
not essential. We also need a bowl and a larger container for
the paper making process. Next, we need to gather
our organic materials. You can see from this video that I sometimes
like to scavenge for things like dry leaves
or most in the countryside. But things like
herbs, tea leaves, and coffee grains
from your kitchen cupboard or just as good. The reason I started using
organic materials and my mixed media art start with because they were
cheap, are often free. They're great for
experimenting with under perfect for
nature-inspired art, which is what I do a lot of the customize your
handmade paper even more. Having some art supplies such as watercolor paints or
inks, common very useful. So to recap, to make
basic handmade paper, or you needed some scrap
paper, food blender, a large container to hold water, and the molten deco to add
more texture color in detail. You add in the mixed media.
4. Soak Recycled Paper: Hi. Now that we've
gathered our supplies, we'll move on to the first stage of our paper making process. Swat done here is I've
just torn up lots of bits of scrap paper
into bits about this size. You don't really need to
make it very complicated. Just tear up your
paper and put it in. So I'm putting in some brown now and that was like
packaging paper. It just keeps enforced
and some tearing that up. Have to say it is good
to have lots of white in there because it's easier
to alter it later. You don't have to be
too precise about this. You can cut it up into
smaller pieces if you like. I like to taste it
because it gives us like a softer edge and
that makes it more natural if you blend it and
there's still a wee bit left of paper, it
looks much better. It's already soft. Let's pour some
water into the bowl. Soap for at least 2 h, preferably overnight if
your scrap paper is really thick or you want to make
some really smooth paper, we're going to make
one big batch. We're going to put that
into different balls so we can use them for
different experiments. This is a much better
system than repeating the same process over and over
with different materials. Now that we've torn
off our scrap paper and has been soaking
for at least 2 h. We can move on to
the next stage, blending our scraps
with mixed media.
5. Blending Scrap Paper with Mixed Media: It is now time to blend all our materials together
to make a paper pulp. This is a second stage of
the paper making process. My paper has been
soaking overnight. You can see that
the paper has kept its shape but feels very soggy, is no suitable for
using a blender. You can use a hand-held
blender or tabletop one. The tabletop one is much more powerful and it works faster. But I used the hand-held blender because it takes up
a lot whitespace. Never going to add
the mixed media, the organic mixed media, but I personally find this
the most exciting bit. So we have as an option
that some rose Marie, I have some garlic
kind of bold leaves, so I don't want to go in and already we can blast them up. I have some tea leaves, I'll split open the bag and poor that and
I could do that. And also some moss that I can found on a forest block
that was quite cool. And they're bidding in mind, these are all dry ingredients. You can see how
after I've blended the scrap paper together
for a few seconds, I've poured some of the
mixture into a separate bowl. I will do a different mix
media experiment for each. So for this batch, I'm going to use
some tea leaves. Yeah, but before I do that, I'm going to split
my mixture into two. So I can do to lots of
mixed media experiments. I'll do one with tea leaves. I think. I'll do the other
one with Moss, right? So first of all, by
a split our mixture. Now I'll add my tea
leaves to this. So I'm just going to break
this up for this in. That should be enough. Why not? I'll put in some garlic
salt leaves as well. See how that comes out. See what kind of
texture I'll get. I'm just splitting
out with my fingers. That will make it easier
to blend with the whisk. Alright, I'll get my blender. I'll now show you a video
of my second experiment. And for that one is most that
I found in a forest walk. And I'm mixing it with my
paper pulp of got some moss here that I picked
up on a forest walk. So I'm just going to
split some of that up. I'm going to put it in the
second batch of paper pulp, so we'll just do that. I need to break up
too much because the blender will do that
and that's its job. Just use the blender. One tip is, if you want
to make smooth paper, then blend it until you can
hardly see any paper edges. But if you want a
more textured look, which is what I often like, then stop blending a
bit sooner than that. I hope you enjoy mixing your scrap paper with
your mixed media. And I'll see you in the
next video where we turn our paper pulp into paper
sheets using our molten deck.
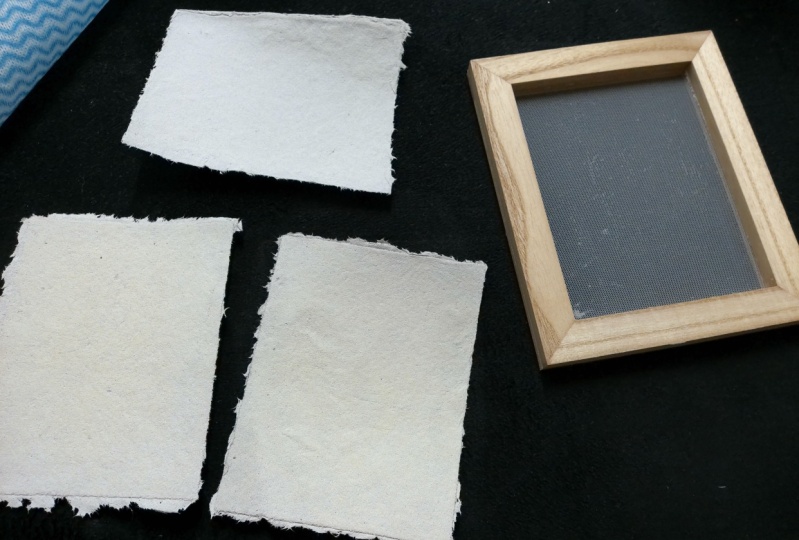
6. Using a Mould and Deckle: Now that we have our
paper pulp made, we will now use our main
tool is a mold and deco. This is made up of two parts. An essential tool for
paper-making as a mold, which is a frame with
a mesh attached to it. And there's the decal, and that's the frame
of the same size. Alongside your mold and Deco, you will need a large
container filled with water for your pulp into the
water and give it a swirl. Next, take your molten
deco with the two frames, press tightly together and lift up your first
sheet of paper. Now I'm thinking here, yeah, my sheet looks good, but I would like it
to be a bit thicker. Let us use our molten decal note and see what the
sheets look like. Takeoff the Deco layer sheet down onto an absorbent cloth. Gently use a cloth to absorb any excess water and lift off the mold to
reveal the sheet. Handmade paper can take
one to three days to dry properly depending
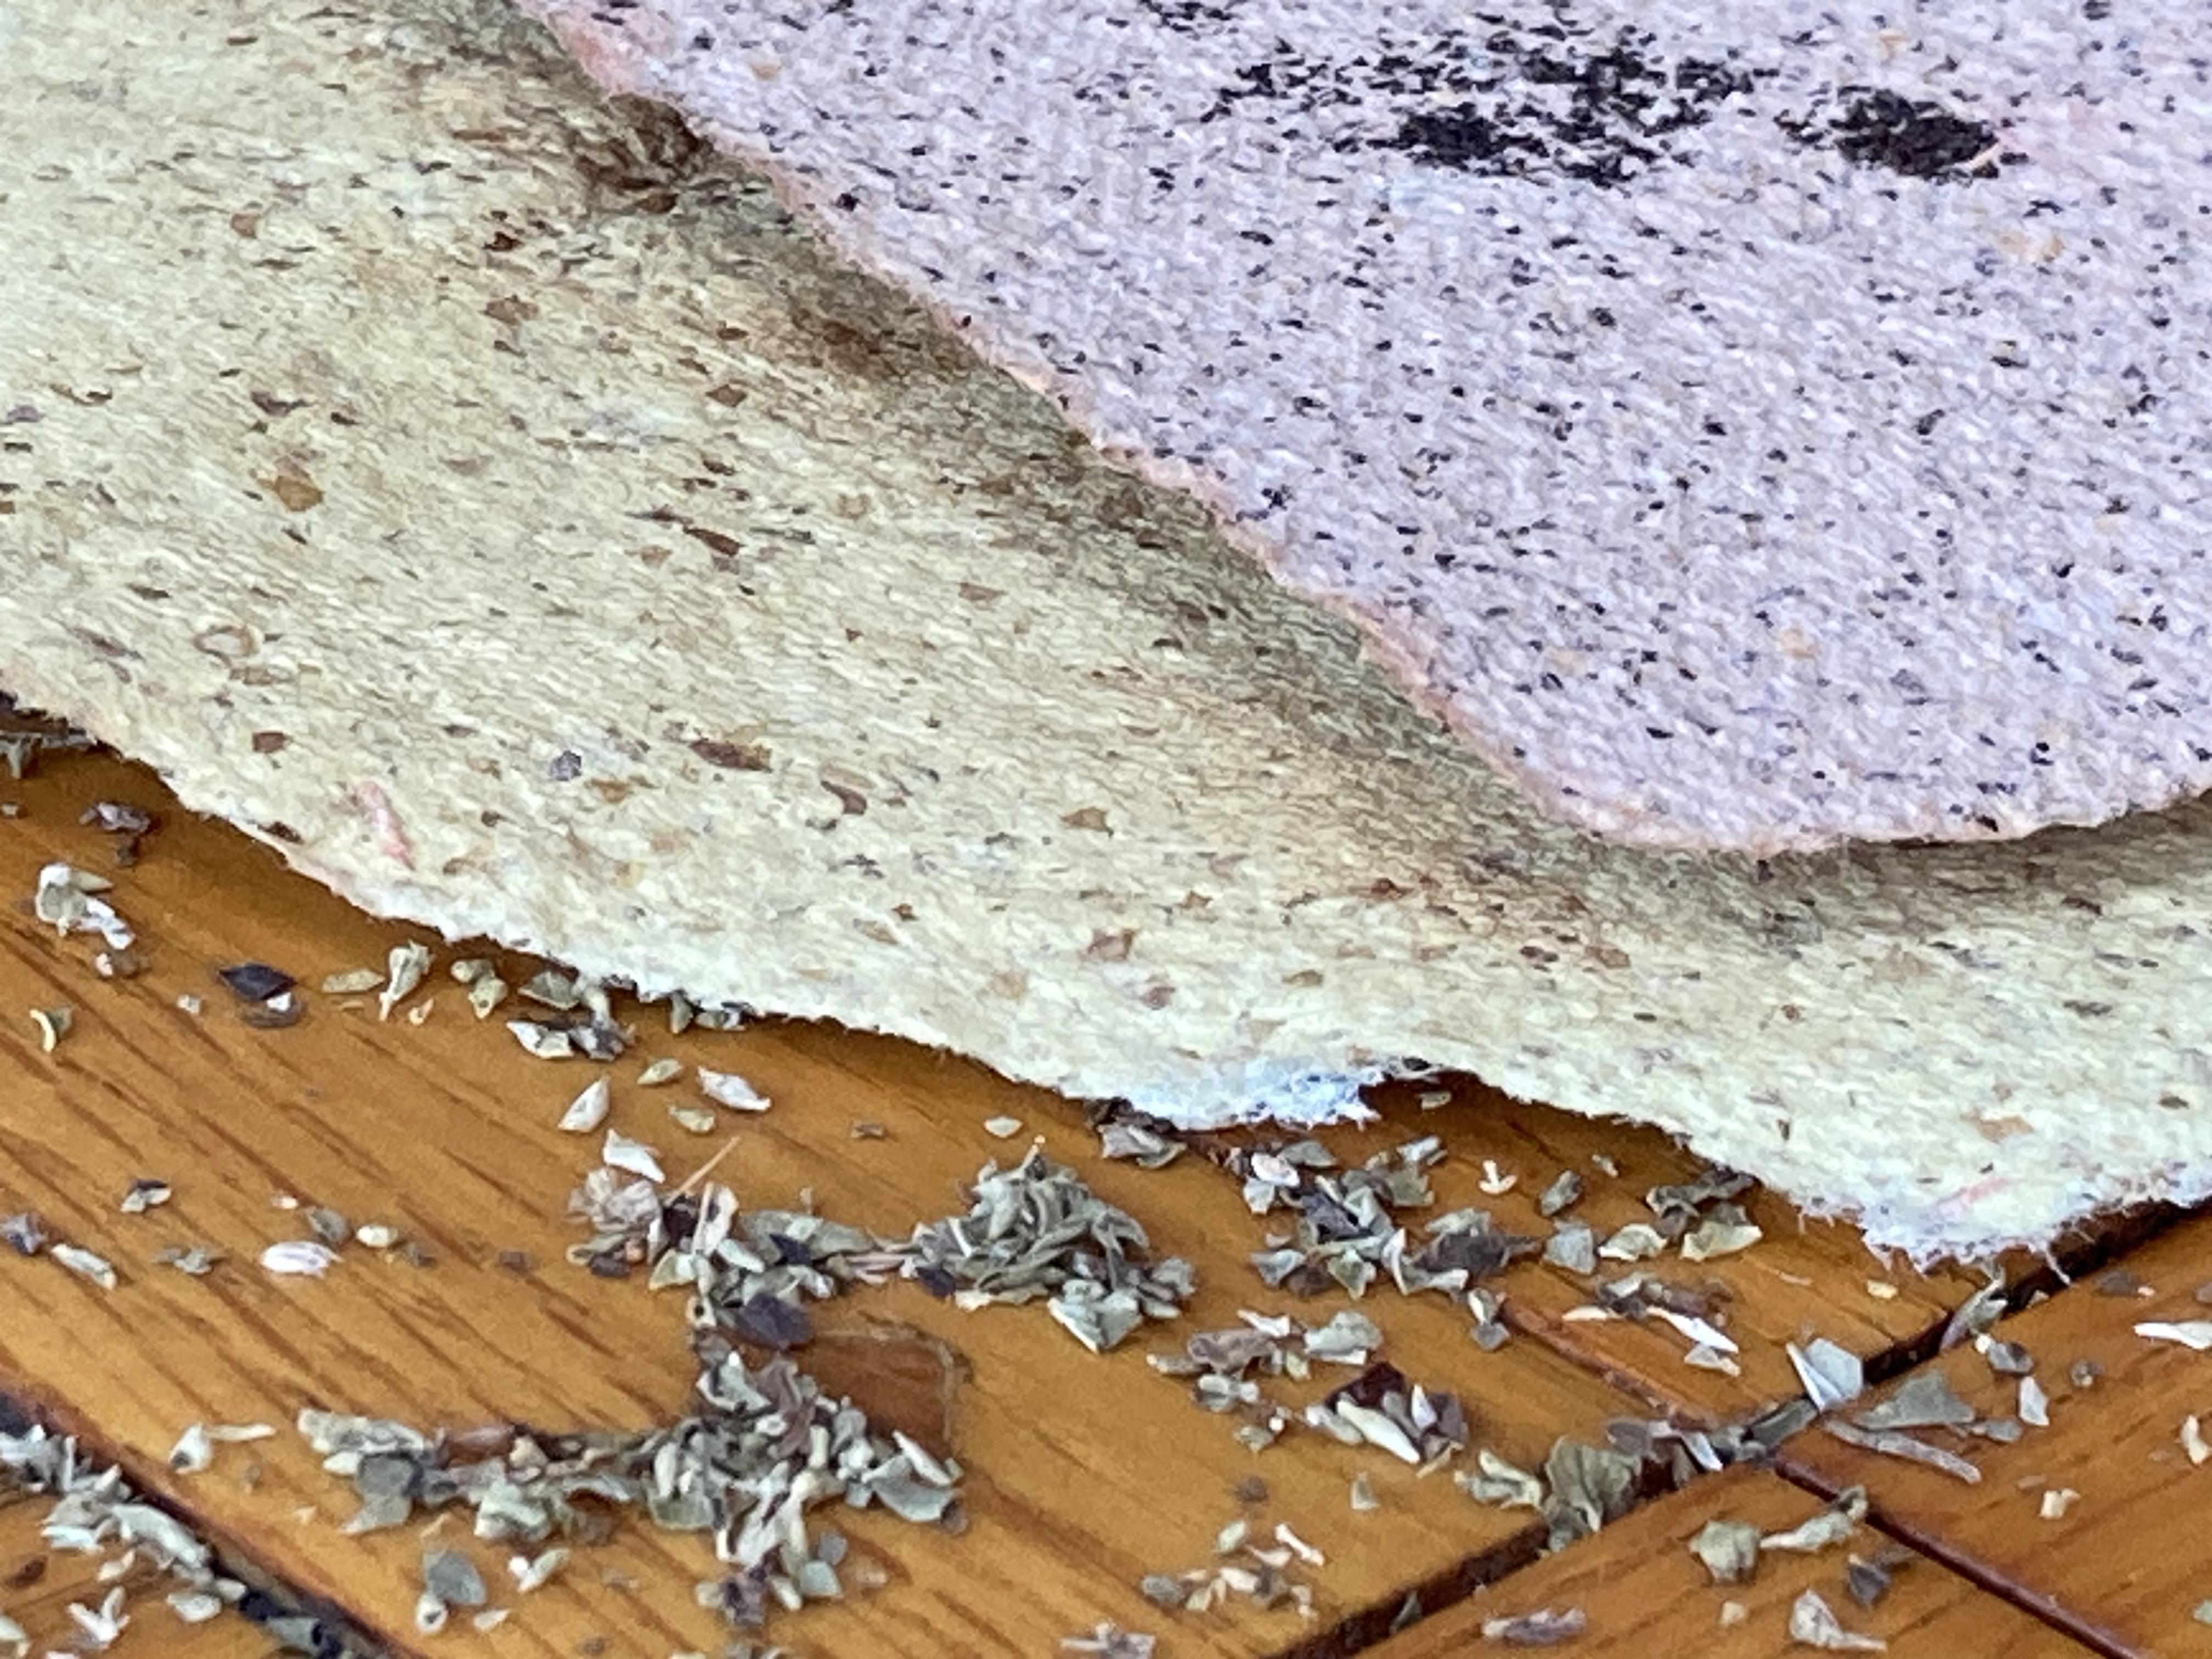
on where you put it. This is how my tea leaves
paper-making experiment went. It was all going so well
until I lifted off the deck or some paper pulp didn't stick to the pink
fabric as I'd hoped. So the sheet didn't
turn out too well. If this happens, just scraped
the pub off the fabric and put it back in the bowl or keep the paper sheet as is, and use it and collages later. I'll see you in the next video. We're over-learned
to dry, customize and to shape our handmade paper.
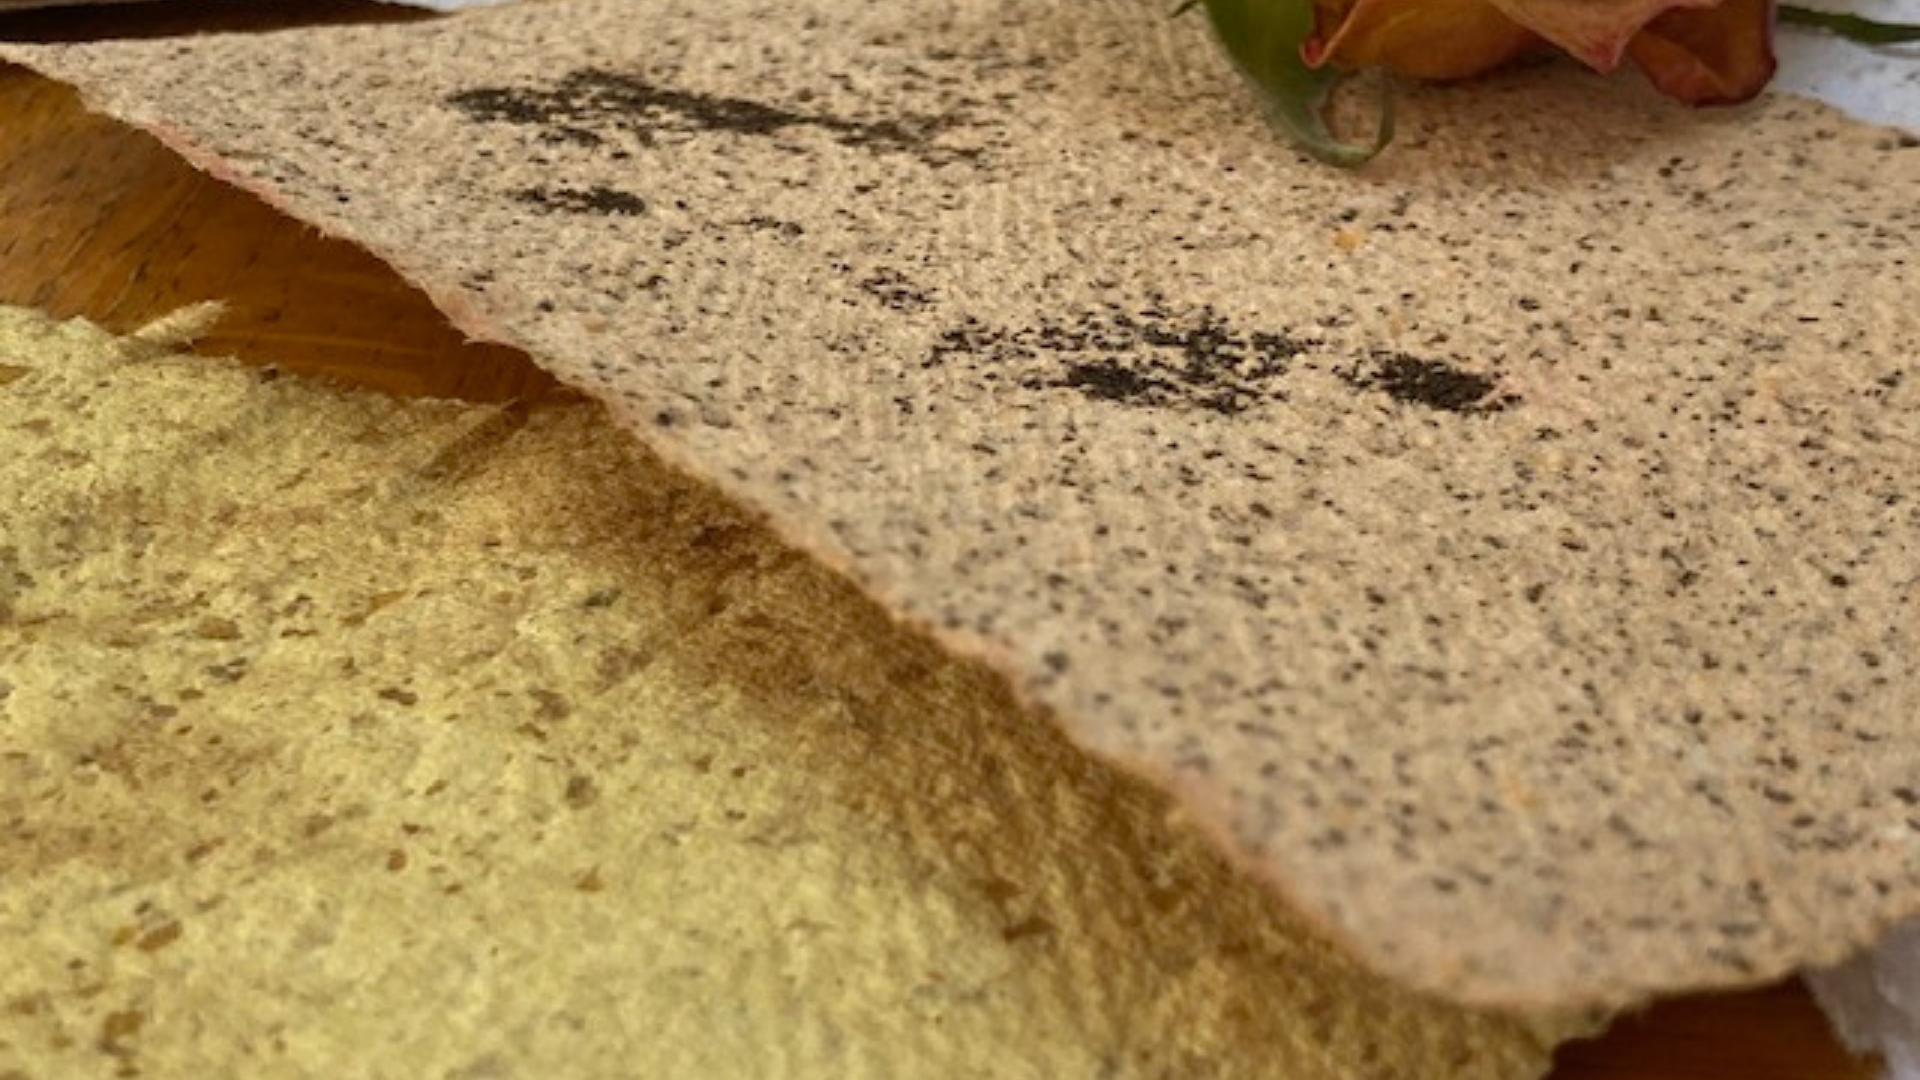
7. Dry, Shape and Embellish Your Paper: Now that we've laid out
our wet handmade sheets of paper onto absorbent cloth, will now look at the different
ways to dry your paper. My preferred method is
to lay them flat to dry and to use close to
absorb any excess water. This will one is fine and it's perfect as it provides the heat, but no much power. So it doesn't blast your
lovely handmade paper to bits. While your paper is
drying flat on the table, you can paste small images
onto the surface of it. Uses the same principles
they can bash. Choose an image of
fin paper, e.g. tissue paper or rice paper. And it will stick
to the surface, just spread water over it
gently while the paper dries and it will
adhere to the surface. And love doing that.
It looks really cool. Can even mold your paper into different shapes while it dries. You can print it with
different textures, surfaces to create
cool patterns. Have fun experimenting with
lots of different techniques. And I'd love to see your
work in the project gallery.
8. Seal and Protect Your Paper: Hi, We're now ready
to think about and to seal and protect
our handmade paper. If we want to keep our beautiful handmade paper the way it is. If we don't want to
embellish it any further, then we'll use egg whites to seal the surface
of the paper. We do that on both sides
so it doesn't curl up. If we've used lots
of mixed media and the surface is really
textured than its best. Use a watery PVA colors
to see what papers. This is especially
important when we use our handmade paper to embellish
our sketch book covers. Just like we're going to
do for the class project. Join me in the next
video where she or some final
thoughts and ideas.
9. Final Thoughts and Ideas: I would love to see your
experiments and to learn which combinations of mixed media paper
pulp worked for you. Do you prefer thick or thin? How many paper do you like? Bolder texture paper or do you
go for a more subtle look? I would love to know that or to printable guides to help
you with paper-making. One includes lots of
mixed media ideas and the other one's summarizes the
paper making process for you. If you've got any
questions to do with anything but that we've
covered in the class, I'll do my very best
to answer them.
 Vivienne Edgar, Mixed Media Artist