Transcripts
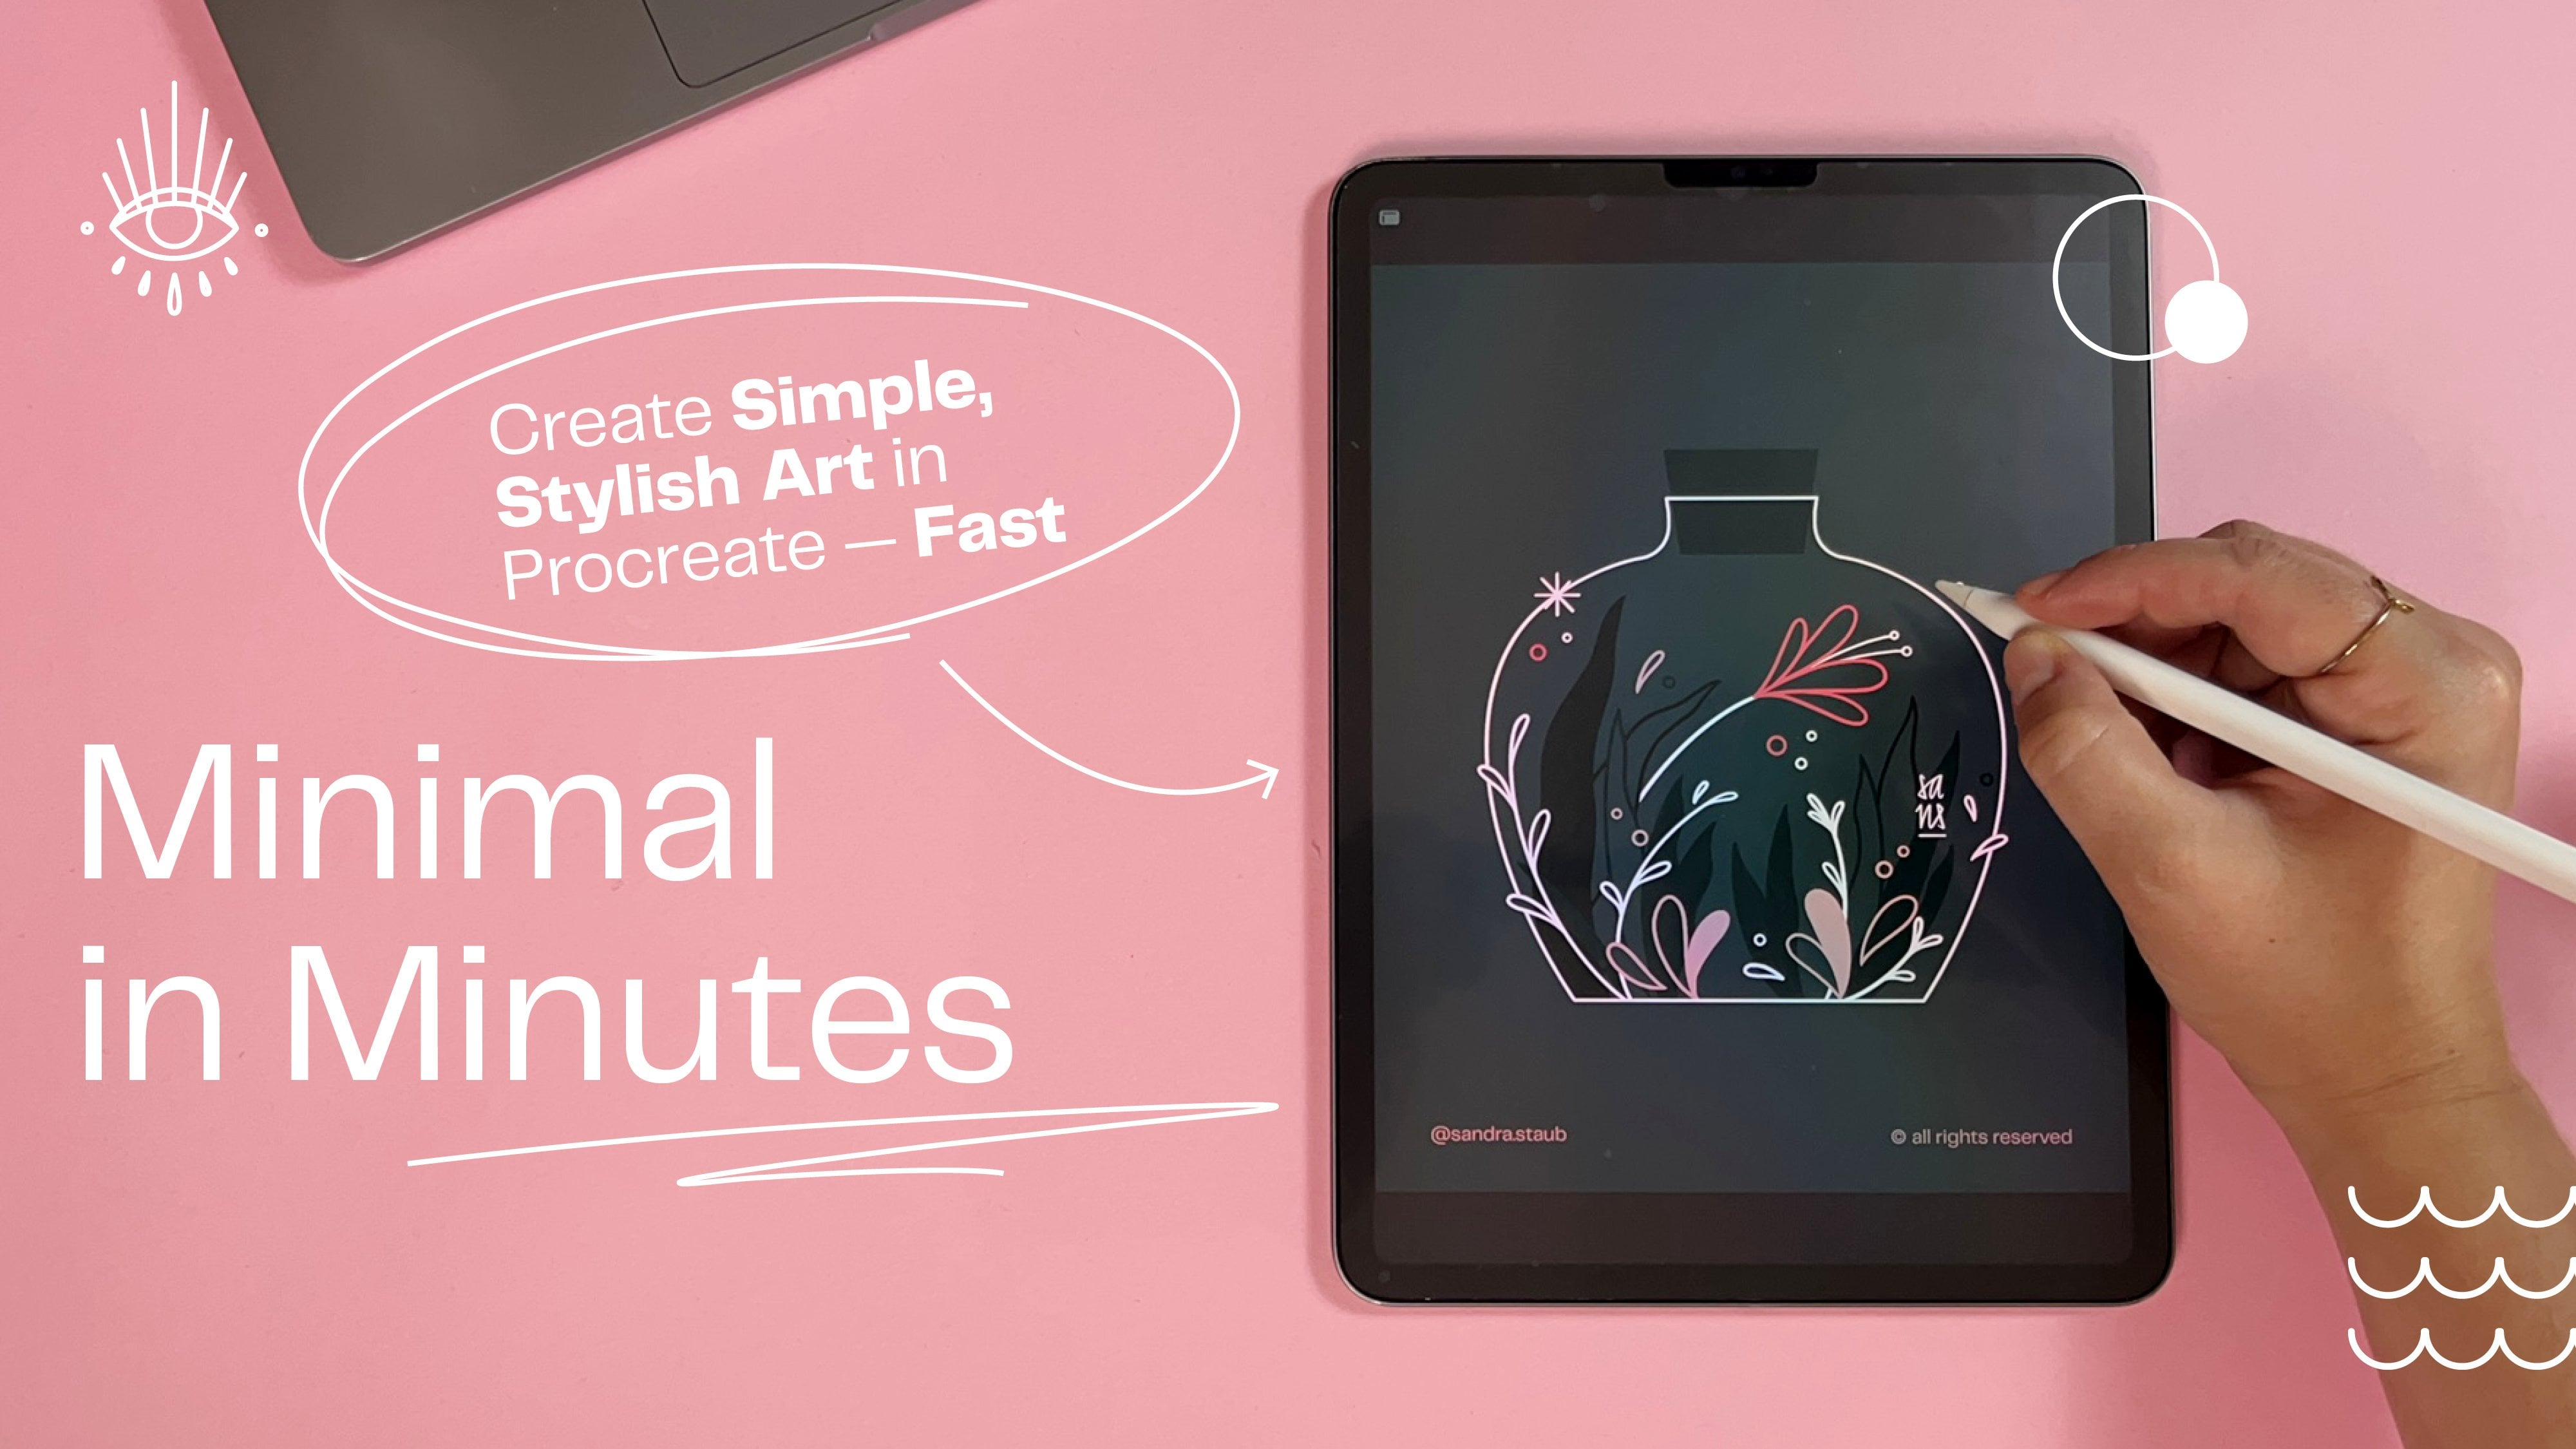
1. Setting the Stage: Class Breakdown & Project: How would you like
to create a fun, minimalist illustration
without the overthinking drama in less than 30 minutes? If you're looking
for something to relax while still
learning and creating, join me for this snack sized
minimal in minute session, and let's draw this
witch portrait together. Hello, and welcome to another
Minimal in Minutes session. I create these sessions every month with the goal
to provide you with a quick and easy guide
every month with a different topic that you get to follow
along in real time. I thought this month, it could
be fun to provide you with insights on how I draw a portrait. I hope
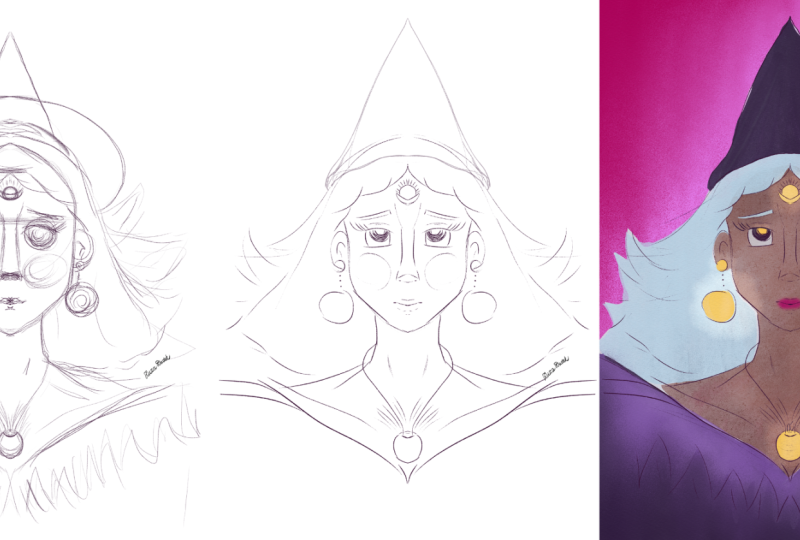
you like that idea. After the first lesson, you
will already have created a beautiful sketch that might
look something like this. During the second
lesson, we will finalize our artwork
and add some color. So you'll end up with your
own minimalist portrait. I filmed this class
using Procreate, but if you want to use a different program,
that's perfectly fine. Now, before we start, here is
a little bit about myself. My name is Sandra Staub
and I'm an illustrator, graphic designer, muralist,
but also a beer some elier. I guess I just love turning
my passions into my job. I've worked for over ten years
in the design industry for clients from all over the world and of all kinds of types. I'm also raising teacher
here on Skillshare. But instead of listing
all my clients, I'd rather jump right into the creation part and get
started with our sketch. Join me in the next lesson.
2. From Idea to Sketch: Create Your Minimalist Design — Fast & Easy: Hello, and welcome to another
Minimal in Minutes session. I will start by toggling on
the symmetry tool first. With this function on, I can basically only draw one
side of the portrait, and the program perqut will
just duplicate it for me. I quite like this function
for frontal portraits. I usually start by sketching
out the face and then usually continue with the neck and shoulders just to
give me a first idea. Face might be a
little bit too big. So let's just see
how it behaves. I would then also sketch
quickly the hairline, maybe the ears, just so
I have a rough idea. Now I can already see that the neck is a little
bit too narrow. I would like it to be
a little bit wider, and so should the shoulders be. Today, I feel kind of like playing around with
geometric shape, so I've been thinking of
giving her straight hair. I think it's kind of cool. This could definitely
go somewhere. Let me fix the
ears a little bit. There might be a tattoo
big. Maybe, like so. Maybe it's actually
kind of cool that there is big. We'll see. My next step would
usually be the eyes, which I would just
start with, like, two kind of creepy
circles. Whoa. That went south fast. Yeah, no. Usually, I would just
start with drawing two circles and then
adding the eyelid. Then I just erase the top part and see
what it looks like. I kind of like it. Maybe
they're a little bit too big, but we can fix that later. I always love to
add kind of fierce flame lashes, if possible. So let's try that here as well. You don't have to
do that. You can just create any kind of
lashes that you want. I find them really
fun and they have started to define my style
a little bit as well, so that's usually
why I go for that. Sometimes I like to
add maybe a cheek here or I could also add some drops, something that I
usually also like to do. Something like this. Well, let's see for the nose. I think it should
be somewhere here. I just roughly sketching it to see if the
proportions are okay. Well, it looks pretty okay. I think they need to come
down a little bit further. Maybe they can be a bit
thicker. We shall see. Maybe I'm actually bringing this part down a little bit as well and kind of
give her more of a mysterious vibe.
Kind of like this. Okay. Sometimes I connect the nose and the
eyebrows as well. That's also personal
style choice. You don't necessarily
have to do that. And then for the mouth, I
usually start with, like, a line for the middle, and then I can add the
lower and upper lip. Not quite like this. This is too big,
but just to give you any idea how I would start. Usually quite a bit of struggle involved for me when I'm drawing lips because that's usually the last part that I
draw for a portrait, and it tells me if everything
is proportional or not. So the lips are
kind of too small, the eyes are too
big, too far apart. Now I have to start
fixing all these things. I just decided to give the
eyes complete do over. Yeah, this looks definitely
more proportionate. But I will narrow
down the face a little bit more and bring
the ears a bit further in. Okay, this I quite
like. This looks good. Now I want to give
her a bit more of personality and
expression because she's still super symmetrical, and that is kind of, like, not very interesting, let's say. I'll fix her eyebrows
a little bit, and I would actually
love for her if she had, like, a little moon here. For the wichy vibes, of course. Sometimes I also draw a drop here or any other fun element. Again, you just do whatever
feels right to you. You can also leave
it completely out. That's actually too big for me, so I'll try this again. There we go. Now, let's
revisit the flame eyelashes, see if they look good. Yeah, I quite love them,
so let's keep them. Maybe add drops or
dots below the eyes. Then I would usually give
some detail to the ears as well by adding a couple
of lines, nothing fancy. Just to give the
viewer a couple of pointers that this is an ear. But after all, it's a
minimalist illustration, so if you don't feel like
this, no need to do it. Then I've been thinking
of giving her some cool, big earrings that
could look sort of like a sun or something
or any celestial element. Maybe like this. Maybe
a little bit smaller. Let me put them on a new layer, so I'm a bit more flexible
with moving them around. Oh, don't forget to toggle on the drawing
assist, of course. Okay, I think, I think
that might be the size. That could look good.
Maybe let's move it up a little bit so
they're a bit closer to the ear and then see how
much cheek they would cover and if it still looks good. Let's
just roll with it. I kind of like it. And I want to fix her mouth
a little bit as well. I like the upper lip, but I
don't really like lower lip, so let's see if we can
do something about that. Okay, yeah, this is
pretty nice. I like it. Now we can also think of adding maybe some cool piercings,
if you want that. Maybe a little drop
shaped septum piercing. That could be pretty cool. Let's give the
earrings some details. Again, I've been
thinking that this could be kind of like a sun, and so let's add
some rays to it. I hope it's going to look
good. Yeah, it's kind of fun. I'll keep it like
that for a minute. And if I don't like it further
on, I can just change it. Now, I kind of want her hair to be a little
bit lower as well, so her head doesn't
look this big. Something like this.
Yeah, this is good. It looks a little
bit more natural. Maybe just just some tiny, tiny details. And we're good. Now let me move everything
to the center of the canvas. And I've been thinking
of how about we make her torso and pointy, as well for once and
not in a flat line, which gives me some
mortisia Adams vibes, which I kind of like. I'll lower her lips
just a little bit to make it feel a bit more
proportional. We go. And now I just
quickly want to see if I should give
her maybe hands. So there is something more
going on with the composition. I'm usually just sketching
them out as quickly as I can just to give me an idea if
the composition works or not, and then add some details
in the next step. Oops. Now, everything
is a little bit wonky, so let me fix that quickly. Um, just, like, so, I think. Again, the proportions
aren't very perfect because drawing
hands is not super easy, even for me who has quite
a bit of experience. I still struggle sometimes. And there could be, like, some flames or whatever as a cool decorative element
to make her more witchy. You know what I mean? Hmm. Yeah, I'm kind
of liking the vibe. How about if the hands are here? But Yeah, I think I
like this better. This is kind of more
a mysterious vibe, which I'm definitely
going for here. If you're struggling
with drawing hands, I have found it
very useful to look up some references on Pinterest, for example, or just use your
own hands to position them, maybe even take a picture of
them, and then redraw them. Also, try to break them down in different geometric shapes
like this is a shape, this is a shape, and then
this is another shape. And that really helps me
to construct the hands. Now, let's just add a little
bit of the decoration that I had in mind and then
finish the sketch. In this step, I usually
focus a bit more on the composition than the
shapes in itself just yet. I can always fix them later. It's more important to me, like, where these shapes are
going to be placed and what the overall
perception is going to be. I'm actually not too
happy with these flames. Maybe I'm looking for
something different. Yeah, I think I would like that. I think I'm going to
play some flames here in the back rather than
coming out of her hands. For the flames, I basically just scribble a couple
of wiggly lines. Maybe add a second one just to make it a bit more balanced. Yeah, that's pretty
cool. I've also been wondering
what it would look like if she had closed eyes and if it would
give her a bit more of, like, a fierce expression. Maybe I'll just bring the
eyelid a little bit further down so she doesn't look too
nice. Yeah, that's better. Well, last but not least, I could obviously experiment
with the big witchy hat. However, I want to see first if I'm actually going
to like it or not. I'll just draw a
big circle and then create an ellipse from that
by lowering the top part. And then I'll just put
it in place, let's say, here, add the drawing
assist, and, of course, erase all this and add a bit more of a curve
here because a hat, obviously, you won't
see this anymore. And then let's see if
we like it or not. It's kind of cute,
actually. I don't mind it. So this is without the
hat. With the hat. Yeah, I think I'll
stick with this. Maybe make it just a little bit smaller so the flames can
be a bit more interesting. Alright, our sketch is ready. Please share it
in class project, so we all get to see it
before heading over to the next lesson where we'll
add color to our sketch. I'll see you in a minute.
3. From Sketch to Artwork: Polishing Your Minimalist Design: Welcome back to part two
of Minimal in Minutes. In this part, we will
color our sketch from the previous session and
add some final details. I grouped all my sketching
layers in one folder, so I can easily toggle it
on and off if I need to. I personally like to start with the face and the body
and then go from there. Don't forget to toggle on
the drawing assistant. For now, I picked a darker
red for the skin color, but I might change this later. I'm placing the hands
on a new layer because I might need them to
be separate later on. I always find the sketching
part much harder than the coloring part
because there it's all about composition
and what works. And in the coloring part, I can basically just relax and
redraw all the lines. When I draw a
portrait, I usually redraw everything as
outline only first. I haven't settled on
any of the colors yet. I'm basically just using these colors so I can tell
all the shapes apart. Maybe I do a little bit of cosmetics already by
adjusting some of these tips. Okay, now I have
everything in outline, so I can start dragging
and dropping the colors, so the areas will be filled. Let's start with the
body and the hands. Maybe also the hair.
Yeah, that looks nice. Okay, so I already have
some different weights here going on,
which I quite like. Now, I will redraw her
face by adding a layer on top of her skin and then making it a
clipping mask like this. So that's her layer of her body. I'll add a new layer and I'll
just select clipping mask. And now, whatever I draw
on this layer will be only visible in the shape
that has the layer below. So in this case, the face. So now I just redraw everything. But Now, let me put the lashes on a
separate layer just in case. The same goes for the piercing. Now I'll do the same thing
for the hands where I simply add the lines that
separate the fingers. This is what I got so far. Now, of course, I
have to separate the hands from the
body in some way, maybe I use a slightly
different color or maybe I just dress her, let's say, in a way that
I can see the difference. I also have to give
this a slight touch up. I'll also fix these
lashes a little bit. Perfect. I've actually been thinking of coloring
the hair white. That could be pretty cool. Yeah, I like it. And then
the hat can be dark. Maybe we'll add a little
detail to the hair, as well. Now, let me change the
color of the earrings. And let's see what we do with the hands. I'm not
quite sure yet. I could do full outline so we can distinguish
them from the body, or I could give her something to wear in order to
create a contrast. Let me see if that would work. Yeah, I think this is
my preferred version. Yeah, I definitely like this. Now I'll just fix
some tiny details, maybe place the hands
a little bit lower. Here we go. Love it. Now, let's fix
this a little bit. Now, last but not least, I will fix tiny details
like here in the fingers, the line, make them
align that look nice. If you want, you can also add some tiny details
to the fingers. That's something that
I usually like to do. And I like them to
be asymmetrical. B maybe like this. Now, last but not least, you could also play
around seeing if you want to have the flames filled, for example, if you want
the earrings filled. You might notice that
I actually went for a different design
than previously, but I just liked it better. You can also play
around, of course, a little bit with the colors. I kind of like this dark, bright and then dark contrast, but you can do
whatever you like. Or you can also experiment
with adding a bit more makeup, for example, here in the lips. I personally would
really like to add a little bit of
texture to the lashes. So I picked a fat nozzle brush from the spray paint
brush set by Procreate, but you can pick any other
texture brush you want. Tap a little bit. I put
the layer in alpha lock, so it will only apply the color
to the drawn area itself. If I want to balance it out, I just pick white and I add a little bit of white back
again to the blushes. Now you'll see it also added a little bit of sprinkles
here in the moon. If I don't want this, I can just recover it with the
original color. But be careful to pick
the studio pen for this one or any other brush that
is not quite as white. Last but not least,
I'm deciding if I want to apply full color
for the earrings, and I think the answer is yes. You want to have
some additional fun, you can always think
of maybe adding somewhat something
like this to the fire, which I think looks pretty cool. So I think I'm going
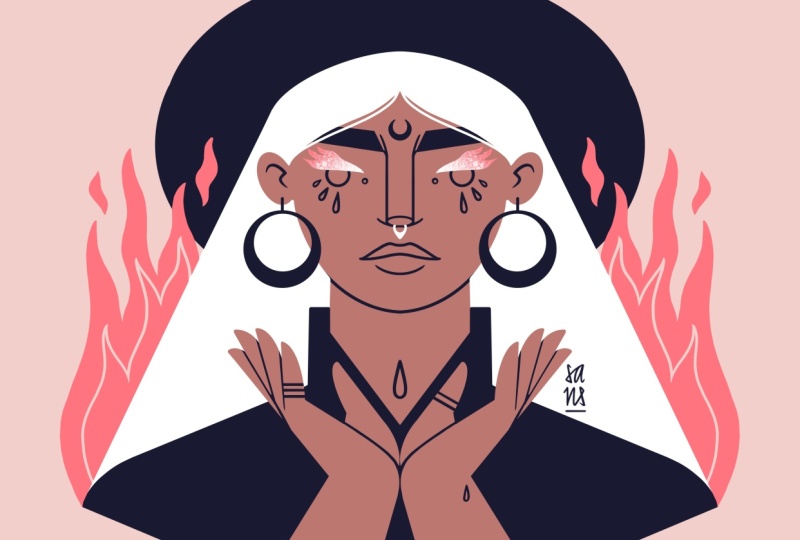
to do that. All right, and I'd say that's a wrap. You see, we created
a portrait with basically only three colors plus the background color,
if you want to count that. But we have one dark
color, one bright color, one accent color, and
the background color, which is sort of like
a neutral color. Alright, I'd say we're
pretty much done. Please don't forget to add your signature because that's
always super important. And when you're ready, join me in the wrap up in
the next lesson.
4. Course Recap: Wrapping Up Your Minimal in Minutes Experience: And it's a wrap. We finished our minimalist
portrait together. I hope you had fun,
learn some new tricks and feel relaxed and inspired
for the rest of your day. Before we wrap it up, I'd
love for you to share your sketch and final artwork
in the class project. As always, don't forget
to add your signature. If you'd like me to share your class project on Instagram, make sure to add your socials
or tag me in your post. If you like this
session, you can get early access on my patron, where you'll also find
the wallpaper pack of this illustration and, of course, some other goodies
and exclusive content. You want to learn more about
minimalist illustration, make sure to check out
my other classes here on Skillshare and follow me so you won't miss
out on new releases. I hope you'll join me next
month for another session. Let me know in the comments what you want me to draw then. Thanks for joining me today. I'll see you next month. Bye.
 Sandra Staub, illustration & design