Transcripts
1. Setting the Stage: Class Breakdown & Project: Illustrated patterns can be so much fun and very versatile, but creating them can sometimes
be a bit of a headache. In this class, I made
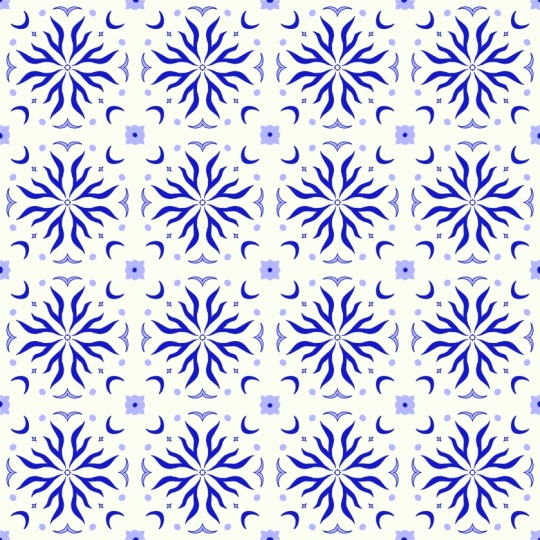
pattern creation easy. In less than 30 minutes, you will create your own tile inspired pattern like this one. If this sounds exactly what
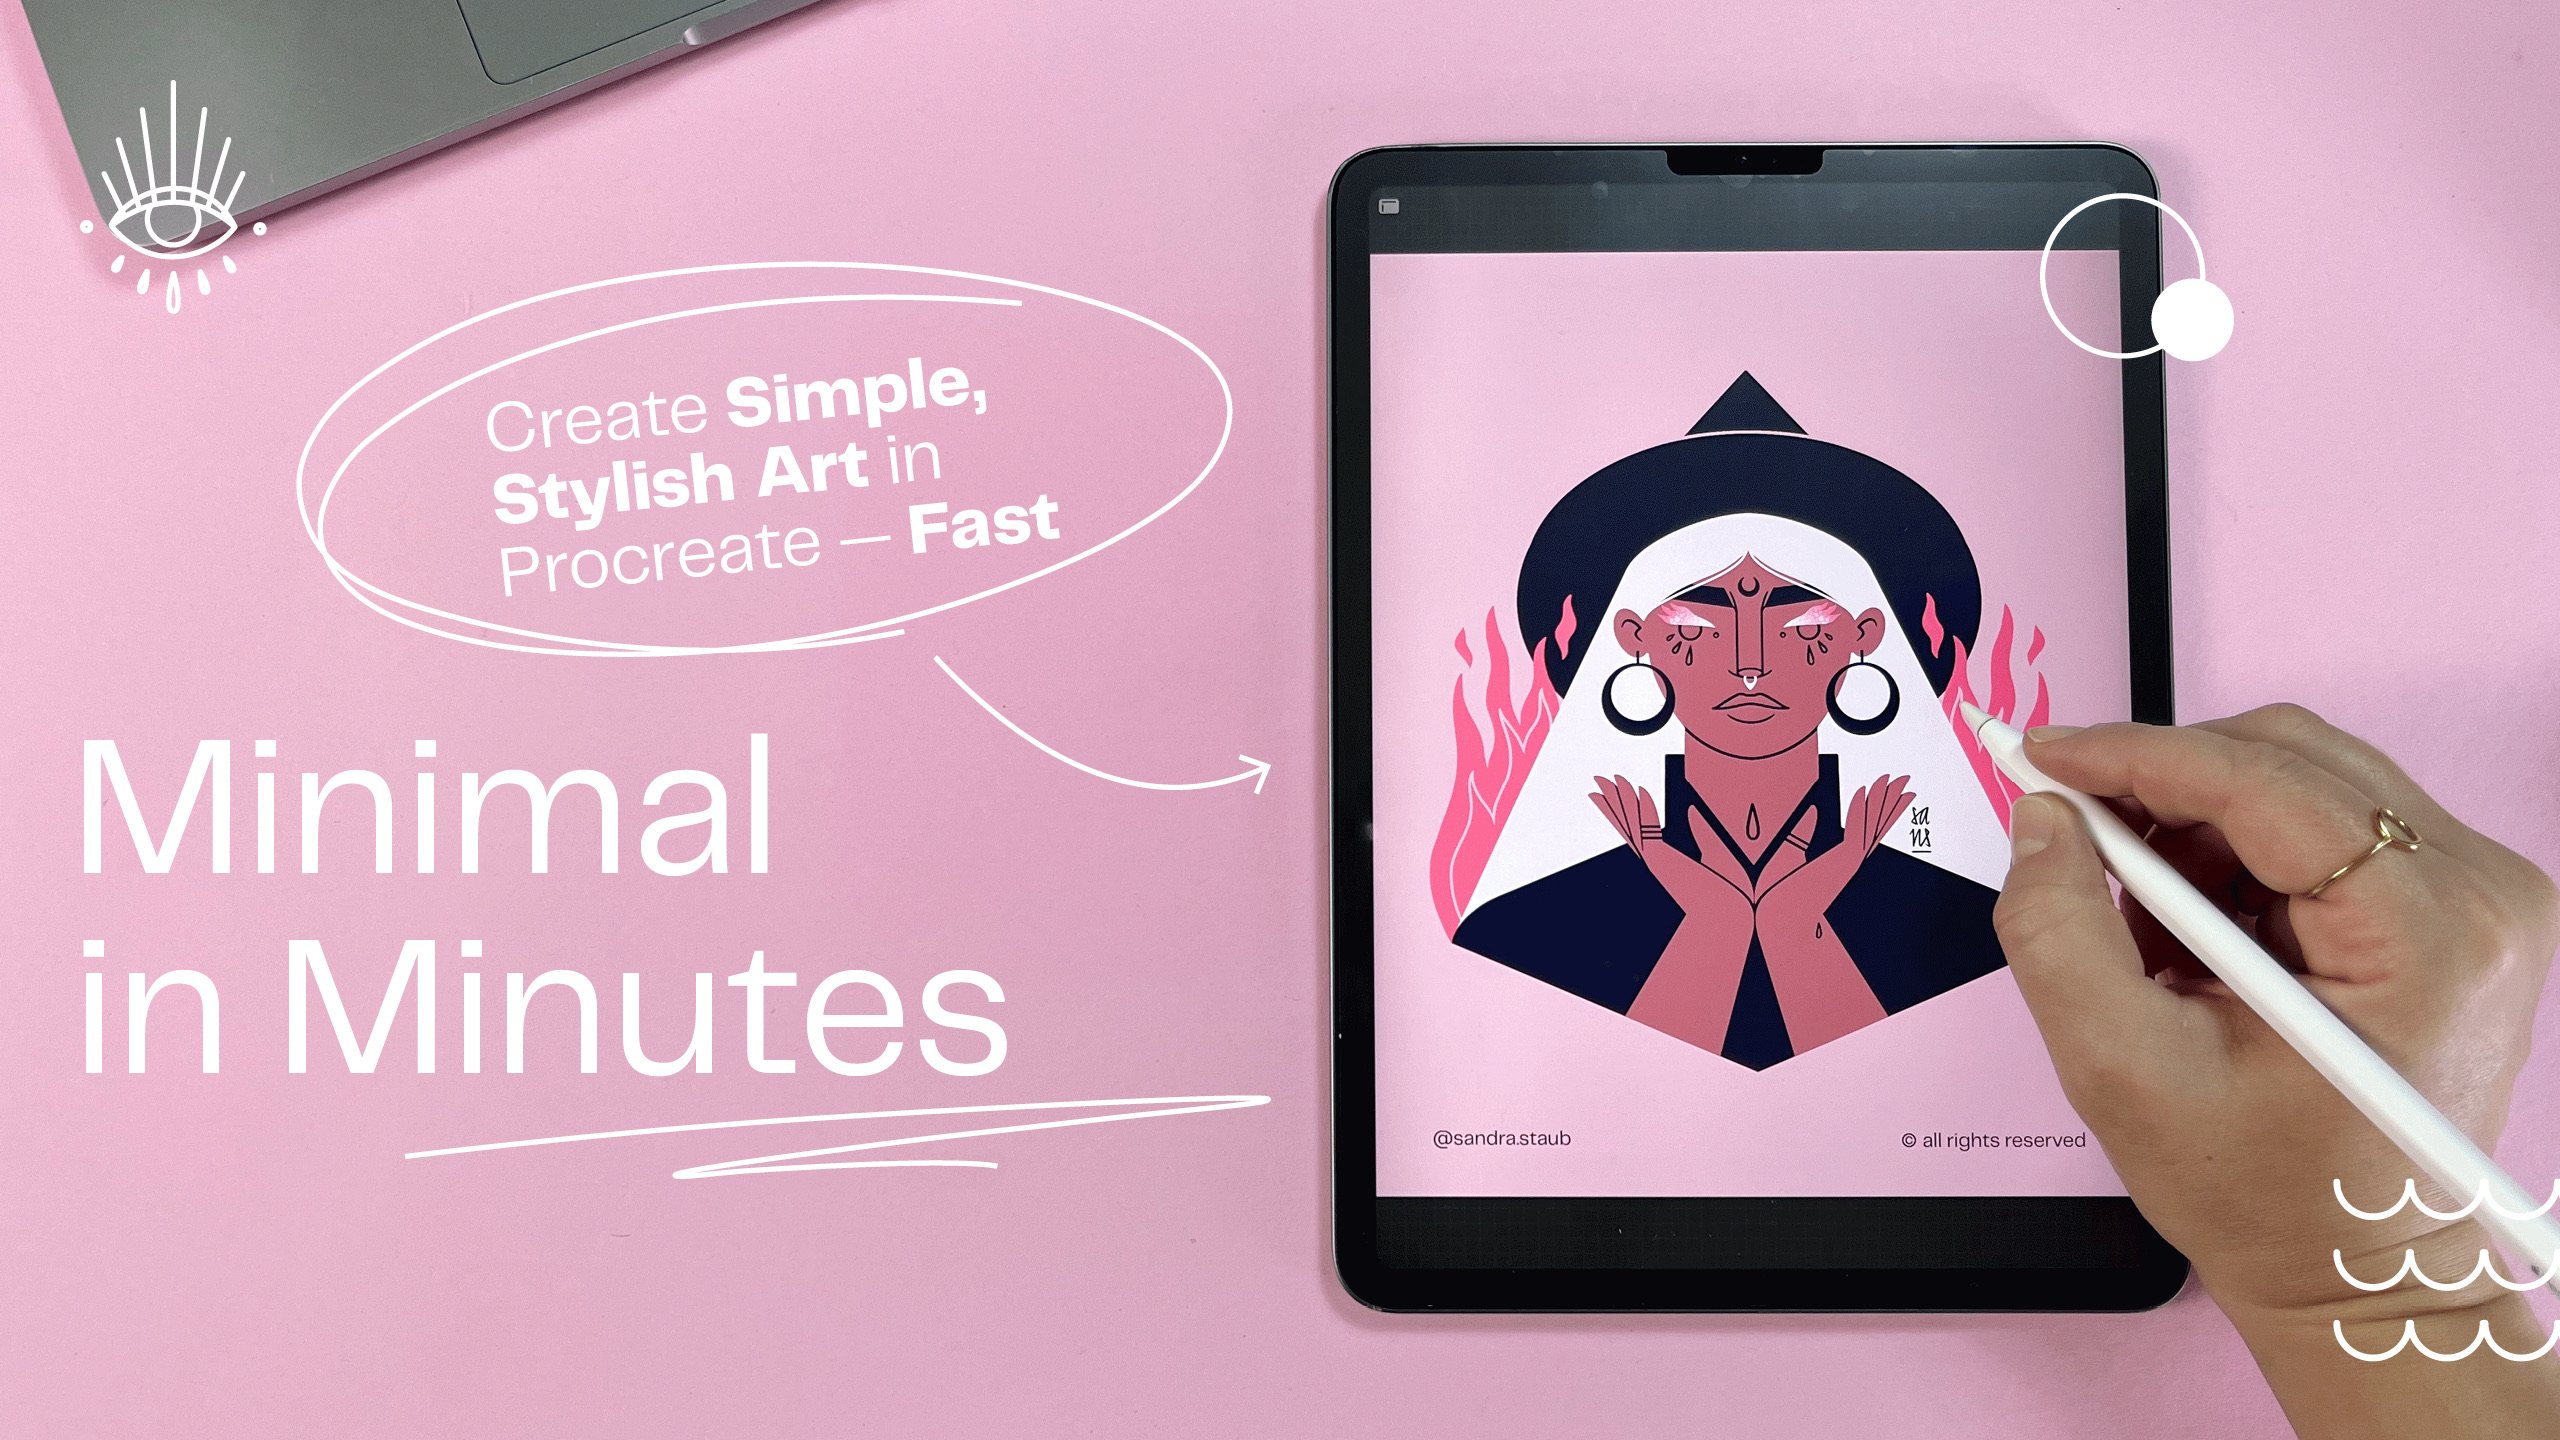
you could use right now, then this class is for you. Hello, and welcome, everyone to another minimal in
minutes session. Every month, I publish a new, simple and fun class
where we together create a beautiful minimalist
illustration in less than 30 minutes. This month, I felt like creating a tile inspired pattern with you because patterns
are fun, right? I hope you'll stick around
for this experiment. Believe me, it's
going to be worth it. In the first lesson,
we'll create a sketch together that might
look something like this, and I'll show you what you pay special attention to
when creating a pattern. In the second lesson,
we'll experiment with colors until we find
something that works best. I always work in Procreate, but you can use
whichever program you feel most comfortable with. Now, let me say a few things about myself before
we get started. For over ten years, I've
worked as an illustrator, graphic designer, and muralist. A few years back, I also became a teacher here on Skillshare, and I just love to
share my passion for minimalist illustration
with the world. I've experience working
for clients of all kinds, small, local businesses and
multinational companies. I just love the diversity and
challenges they all bring. But let's keep this short and get to what
we're all here for. Let's create our minimalist
pattern together. If you're ready, join
me in the next session.
2. From Idea to Sketch: Create Your Minimalist Design — Fast & Easy: For the purpose of
convenience and because it creates
better video results, I decided to tint my background in a light pink. You
don't have to do that. You can use any color that you want as a background color. My canvas is a four
by five format, which is basically very
easy to use on Instagram. And also, if I want
to scale it down, it's quite close to
the common din format. How today, I'm going to base my illustration on
a square because then it's just easier to create a pattern from that.
Let's get started. I will first toggle
on the symmetry tool, which is located up here
in the little wrench icon. Then I tap on drawing guide
here and Edit Drawing Guide. Now for this one, I want
actually to use the radial tool, the radial symmetry, you
will see in a second why. I picked a bright
color for this, so it creates a lot
of contrast with my background and I
can see my guides. But I can also toggle it
on and off if needed. Now I just draw a
line from a corner, and it will create
automatically a square. This feels pretty good
to me because I usually don't go up into the corners
to create something, so I will just leave
it at that and I will start creating my
illustration from there. Next up is adding a new layer that is
going to be my sketch. I pick a different color. I will go usually with this dark purple or this dark blue, and I will select the
six B pencil brush, which is my go to
sketching brush. Again, you can pick
any brush you want. Make sure to also activate your drawing assist
on this layer, on your sketch layer, and
then let's get started. I've been thinking of creating
something floral inspired. Maybe we have a couple
of flowers here. So I'm just drawing
some wiggly lines in order to get an understanding
for the composition. I already quite like
this, actually, but obviously it needs something here and it needs
something here, maybe even something
little here. So I could either create a little wiggly
flower over here, which could look pretty cute, or I could also
create a little moon, which is something
that I very much like. And then I just
add another circle and overlap it a little bit. And erase these bits, and I get a pretty good idea
of what it might look like. I think I'm going
to stick with this, but before I commit to this, I will see how it will
behave as a pattern. Now, this is a
super rough sketch, but you see how easy
it is to create a lovely pattern with just a
sketch of, like, 10 seconds. So in order to figure out if this might work as a pattern, I will actually create a
duplicate of my sketch and a duplicate this my area that
I marked, like my guides. I will toggle off
everything else, and I will only work with
these two layers that I will group here because then it's a little bit easier for
me to move around. I'll make it smaller
so now I can get a feel of what the
pattern will look like. And now I duplicate it and I basically just keep
dragging and dropping this. By placing my
sketch like a tile, I can figure out where
the composition still needs some elements and where it's already
pretty much working. I feel like definitely here, it needs something and
probably also here. Now I return to my bigger tile and I add a couple of elements. Let's say maybe a drop
here because I love drops, and maybe a little flower here. I make this a
little bit smaller, so I'm going to redraw it. And I don't worry too
much about the lines yet. As you can see here in the moon, it's not very nicely done, but it will change
anyway in a bit. I decided to go for a
little more subtle flower, not too wiggly because
it's quite attention grabbing with all those lines, which is what I don't want. I also want to adjust these a little bit so they are
not that horizontal, which will give a bit of a more interesting and
dynamic composition. I was thinking maybe
something like this, but I'm genuinely feeling
a little bit unsure about the wiggly lines and the
more clear lines over here. So I will give this another try. But but I feel like this leaf shape is already working much
better in a pattern. It brings in a certain calmness, which is what I'm looking for. All that there is left to
do is there is clearly something missing about here that brings the
pattern together. So let's add that and then let's get started with
the coloring part. But B. So I added a little circle here that is about the same
size than the moon. It could be something
like the moon and the sun or something
cute, if you want. I placed it exactly
on this line, that is like my guide
because then it's easier to pattern it together,
and it will look great. I also decided to swap out this element up
here with another drop, so it kind of, like,
connects to this part. Now, this is a moment where you can add way more elements like maybe little dots
or other petals or something like that to
round out to composition. And of course, you can use completely different objects
than what I placed in here. All I wanted to
show you is how I make minimalist
pattern in Procreate. Personally prefer these
tile compositions to be a little bit more
on the reduced side. Well, I'm a minimalist
illustrator, so what can you say? Well, I'm pretty happy
with this composition. So let's move on to
the final artwork, and I'll see you
in the next video.
3. From Sketch to Artwork: Polishing Your Minimalist Design: Hello, and welcome back to the second part of this
making of session where we are together creating an illustrated
minimalist pattern. This is our sketch from
the previous lesson. Yours might look completely different because
hopefully you were experimenting a little bit with different shapes and
different elements. Now, how I proceed from
here is pretty simple. I pick my trusty studio pen
from a preset Procreate pack, and I just redraw
all these shapes. For that, I also
created a new layer. I named it tile, but you can
name it whatever you want. Now, let me put the sketch into an opacity and
let's get started. Don't forget to toggle on the drawing assist on
the tile layer as well. This is now my sketch redrawn. You might notice that I took
some liberties like here, but that's totally okay
because we already confirmed previously that
the composition works. Now, we'll toggle
of the guides and also the sketch because we don't really
need them anymore. However, I like to keep
them around just in case. Now let's keep the
outline version of this one because
now you're deciding which parts we're
going to fill and which one we are going
to keep in outline only. For that, I will
duplicate my tile, and then I place it four
times next to each other. I also put all four
tiles on the same layer. And now I can start adding colors to the individual parts. Of course, this takes
a little while, but it's definitely
worth it in order to figure out if the composition
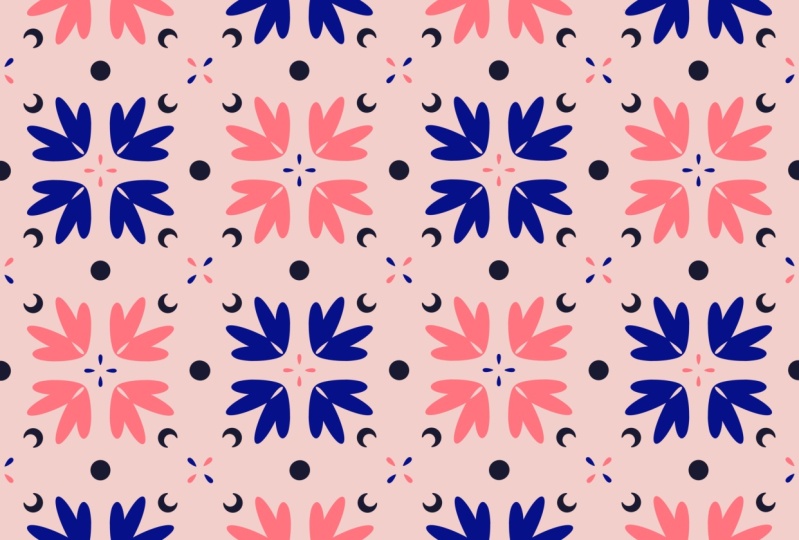
is still working. I actually decided that
I liked it best if all the elements had
a solid color fill. So I'm just going to do that and play around a
little bit with a different color just to see if I can break
it up a little bit. We could also do something
like this, for example, where one tile has a little bit of a different color
than the other one. You can, of course,
also play around with two colors that are a
bit more contrasting. I quite like it, so now I'm
just going to duplicate these four tiles
as many times as I need them until I
fill up my canvas. And here we go. We have our
final minimalist pattern. I hope you like this
little session. Please share your results in the class projects because
I can't wait to see them.
4. Course Recap: Wrapping Up Your Minimal in Minutes Experience: Alright, it's a rap. You
finished your pattern. Congratulations, and thank you for watching until the end. I hope you had fun and you feel energized and inspired
for the rest of your day. Don't forget to upload
your sketch and your finished artwork to the class project because I
would sure love to see it. If you like the session, I
create a new one every month, and you can get early
access on my Patroon. There you will also find
a new wallpaper pack of the very
illustration we create in these sessions as well as other goodies and
exclusive content. If you caught the
minimalist bug, you can check out my other
classes here on Skillshare and follow me if you want to be the first to know
about new releases. Hope you'll join me next month for another minimal
in minute session, and feel free to
pop your ideas of what to draw next right here
in the comment section. Thank you so much for
joining me today. I'm so excited to see
you next month. Bye.
 Sandra Staub, illustration & design