Transcripts
1. Class Introduction: Hello, I'm Donna. I'm first Filipino
impressionist, currently residing in Spain. And in this class, I'm
going to teach you how to paint a simple
cityscape of my three. This short course
will help you gain confidence in loose
technique and in painting. A cityscape will focus on wet-on-wet technique,
water control, and simplifying a
composition for this lesson was designed for beginners to intermediate level. Although advanced students can also have fun practicing more. I traveled the world
as an educator, sold over 200
paintings worldwide, collaborated with
galleries and many more. Through my odds, I'd like to give awareness in taking care of our planet as celebrate cultural heritage
at the same time, each and inspire other
artists like me. For many years, I
taught myself to paint so I understand the
challenges in this medium. Grateful to share some tips to overcome them in this class. So without further ado, let me invite you to
join me in this class. And together we explore
the world of watercolors. Instead, escape.
2. Materials & Tips: Hello, massive. Oh cool. Thank you so much for
joining me in this class. And I couldn't wait to
start painting with you this beautiful
cityscape out my treat. These are the
materials that we are going to use for this painting. I am using the tube up cut
mine watercolor paints. So that's a second
grade paint I buy into abusively because I find them cheaper and the
last longer in the end. So we have Sap,
Green, burnt sienna, cadmium orange, cadmium
yellow, yellow arc. And of course, Van **** brown. And I were in war rather. And Silurian blue,
the Van **** brown. So we will be using a
lot of Van **** brown. And I usually use a lot of Van **** brown in
all my paintings. And of course the Chinese white. All the materials are made available for you to
download in the reference, so please download them
before you start painting. For the paper, I'm
using five piano. And this is not
really caught on, but it's heavy enough
to take all the washes. And this is the flat
watercolor brush that I use. It's old. We'll be using is
Skoda number eight, and it's called a
number 12 brush. And these are quite new, so they still look fine to me. And then the Vinci
number to mop brush, you can use actually any brush that you
have in these sizes. The brands are not
really important. And then I have this ballet. So I had two pilots and one is bigger and
data one in woods. I would usually use
to transport them. And then we have the Gore's, a jug of water, clean water, and tissue paper. Then of course,
your water spray. So these are the materials
that we are going to use for these simple cityscape
painting of my tweets. So I'll see you in
the painting process.
3. Sketching & Composition: Hello, Welcome everyone to the sketching part
of this project, and I'm so happy
to have you here. So let's begin the
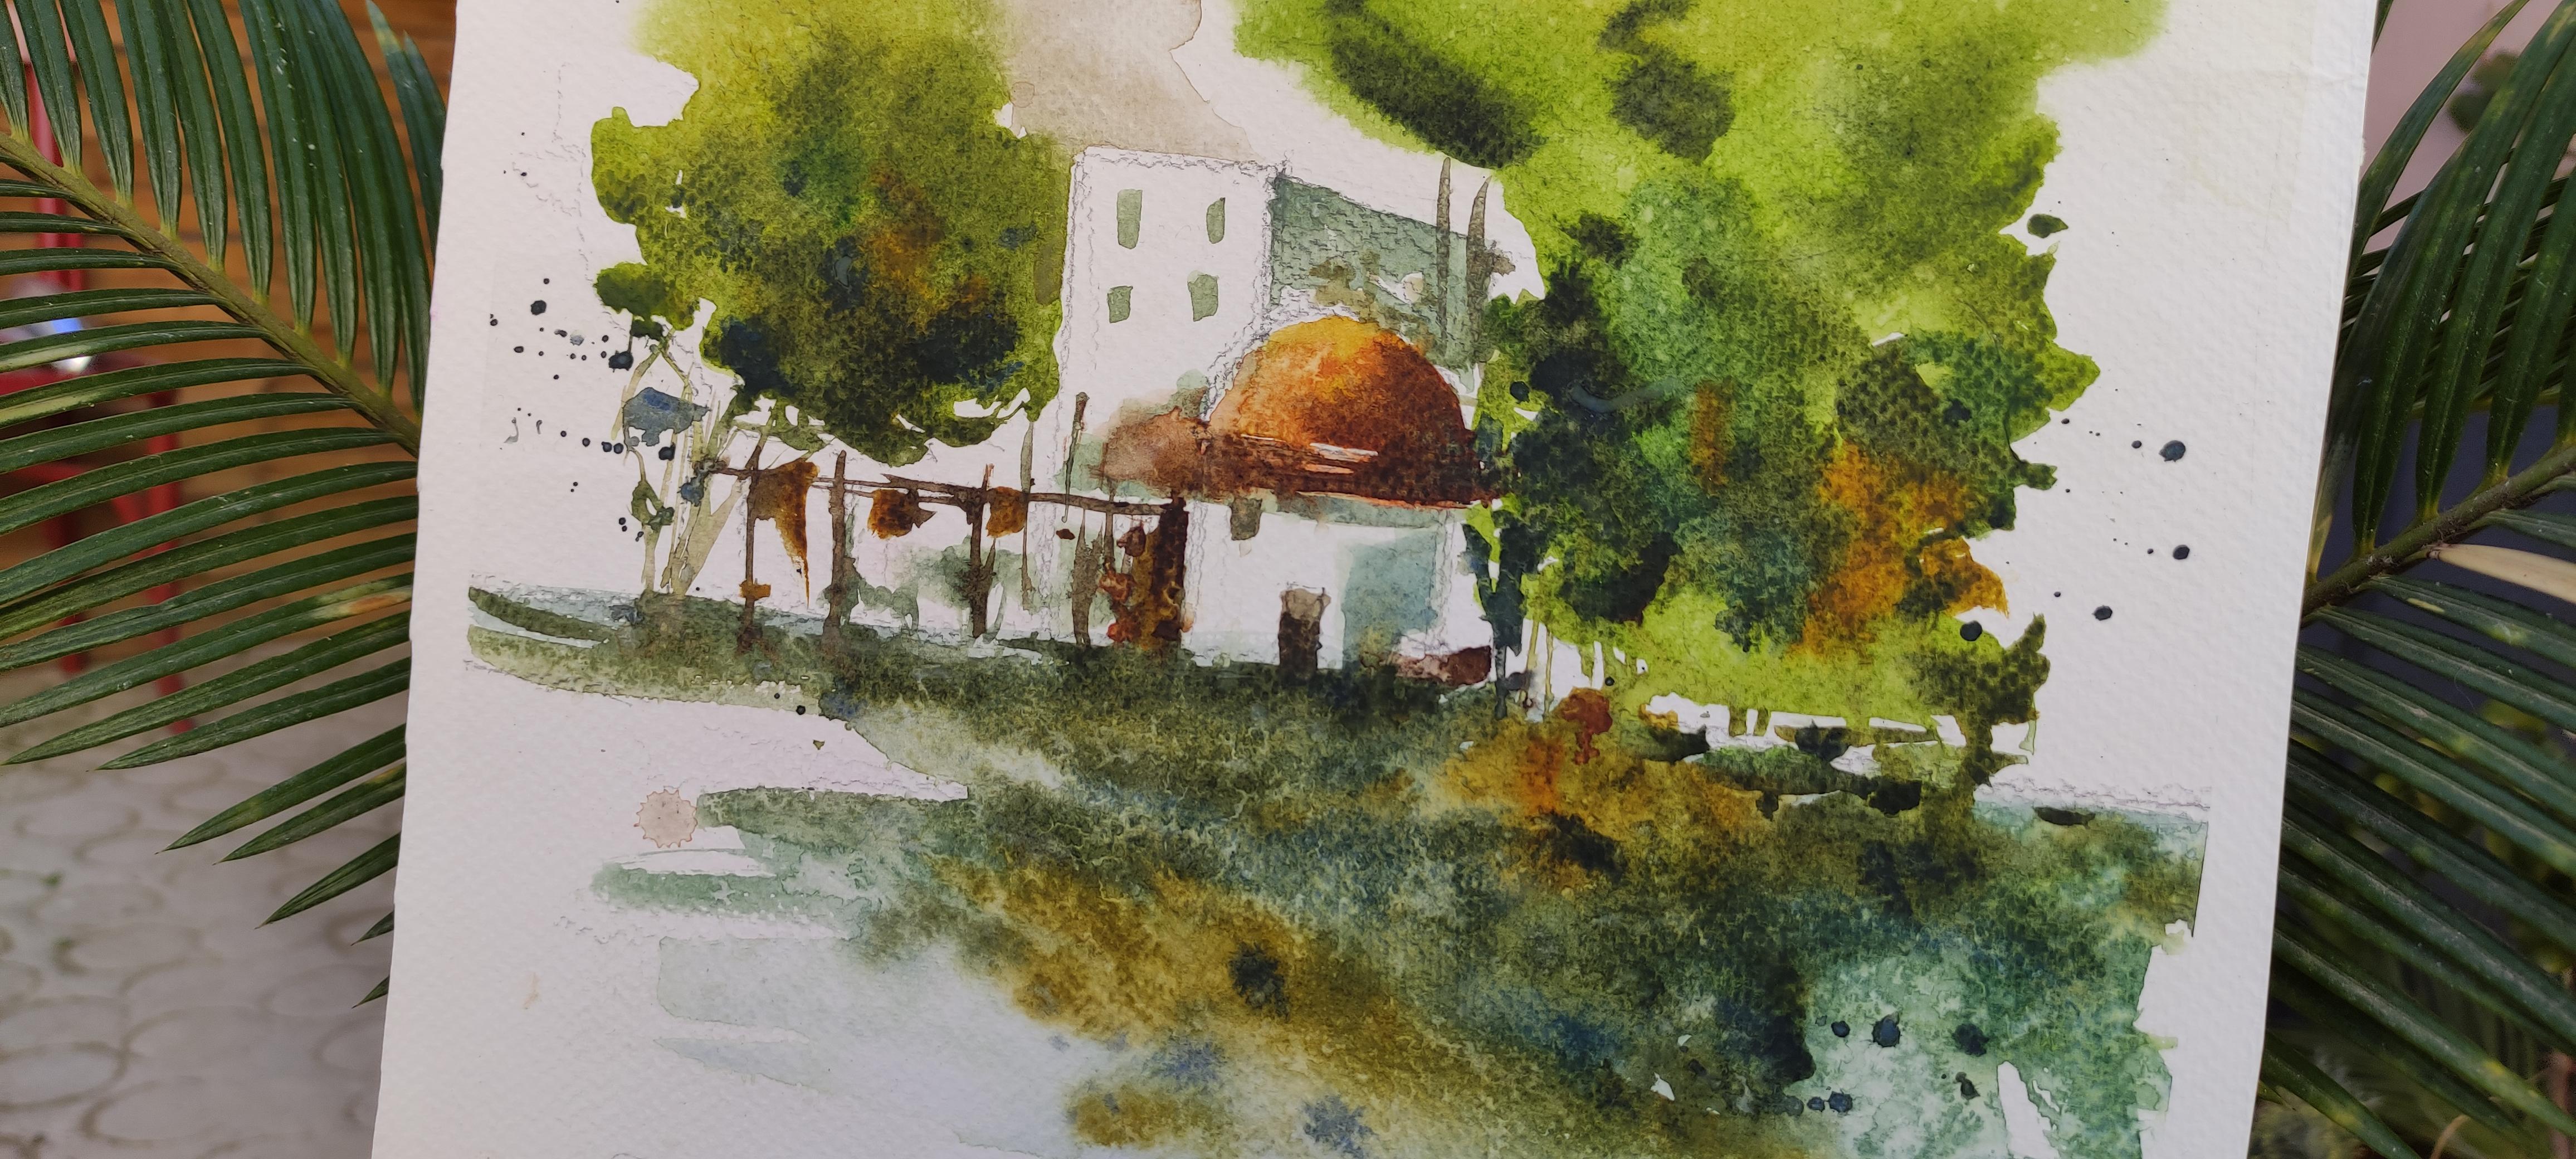
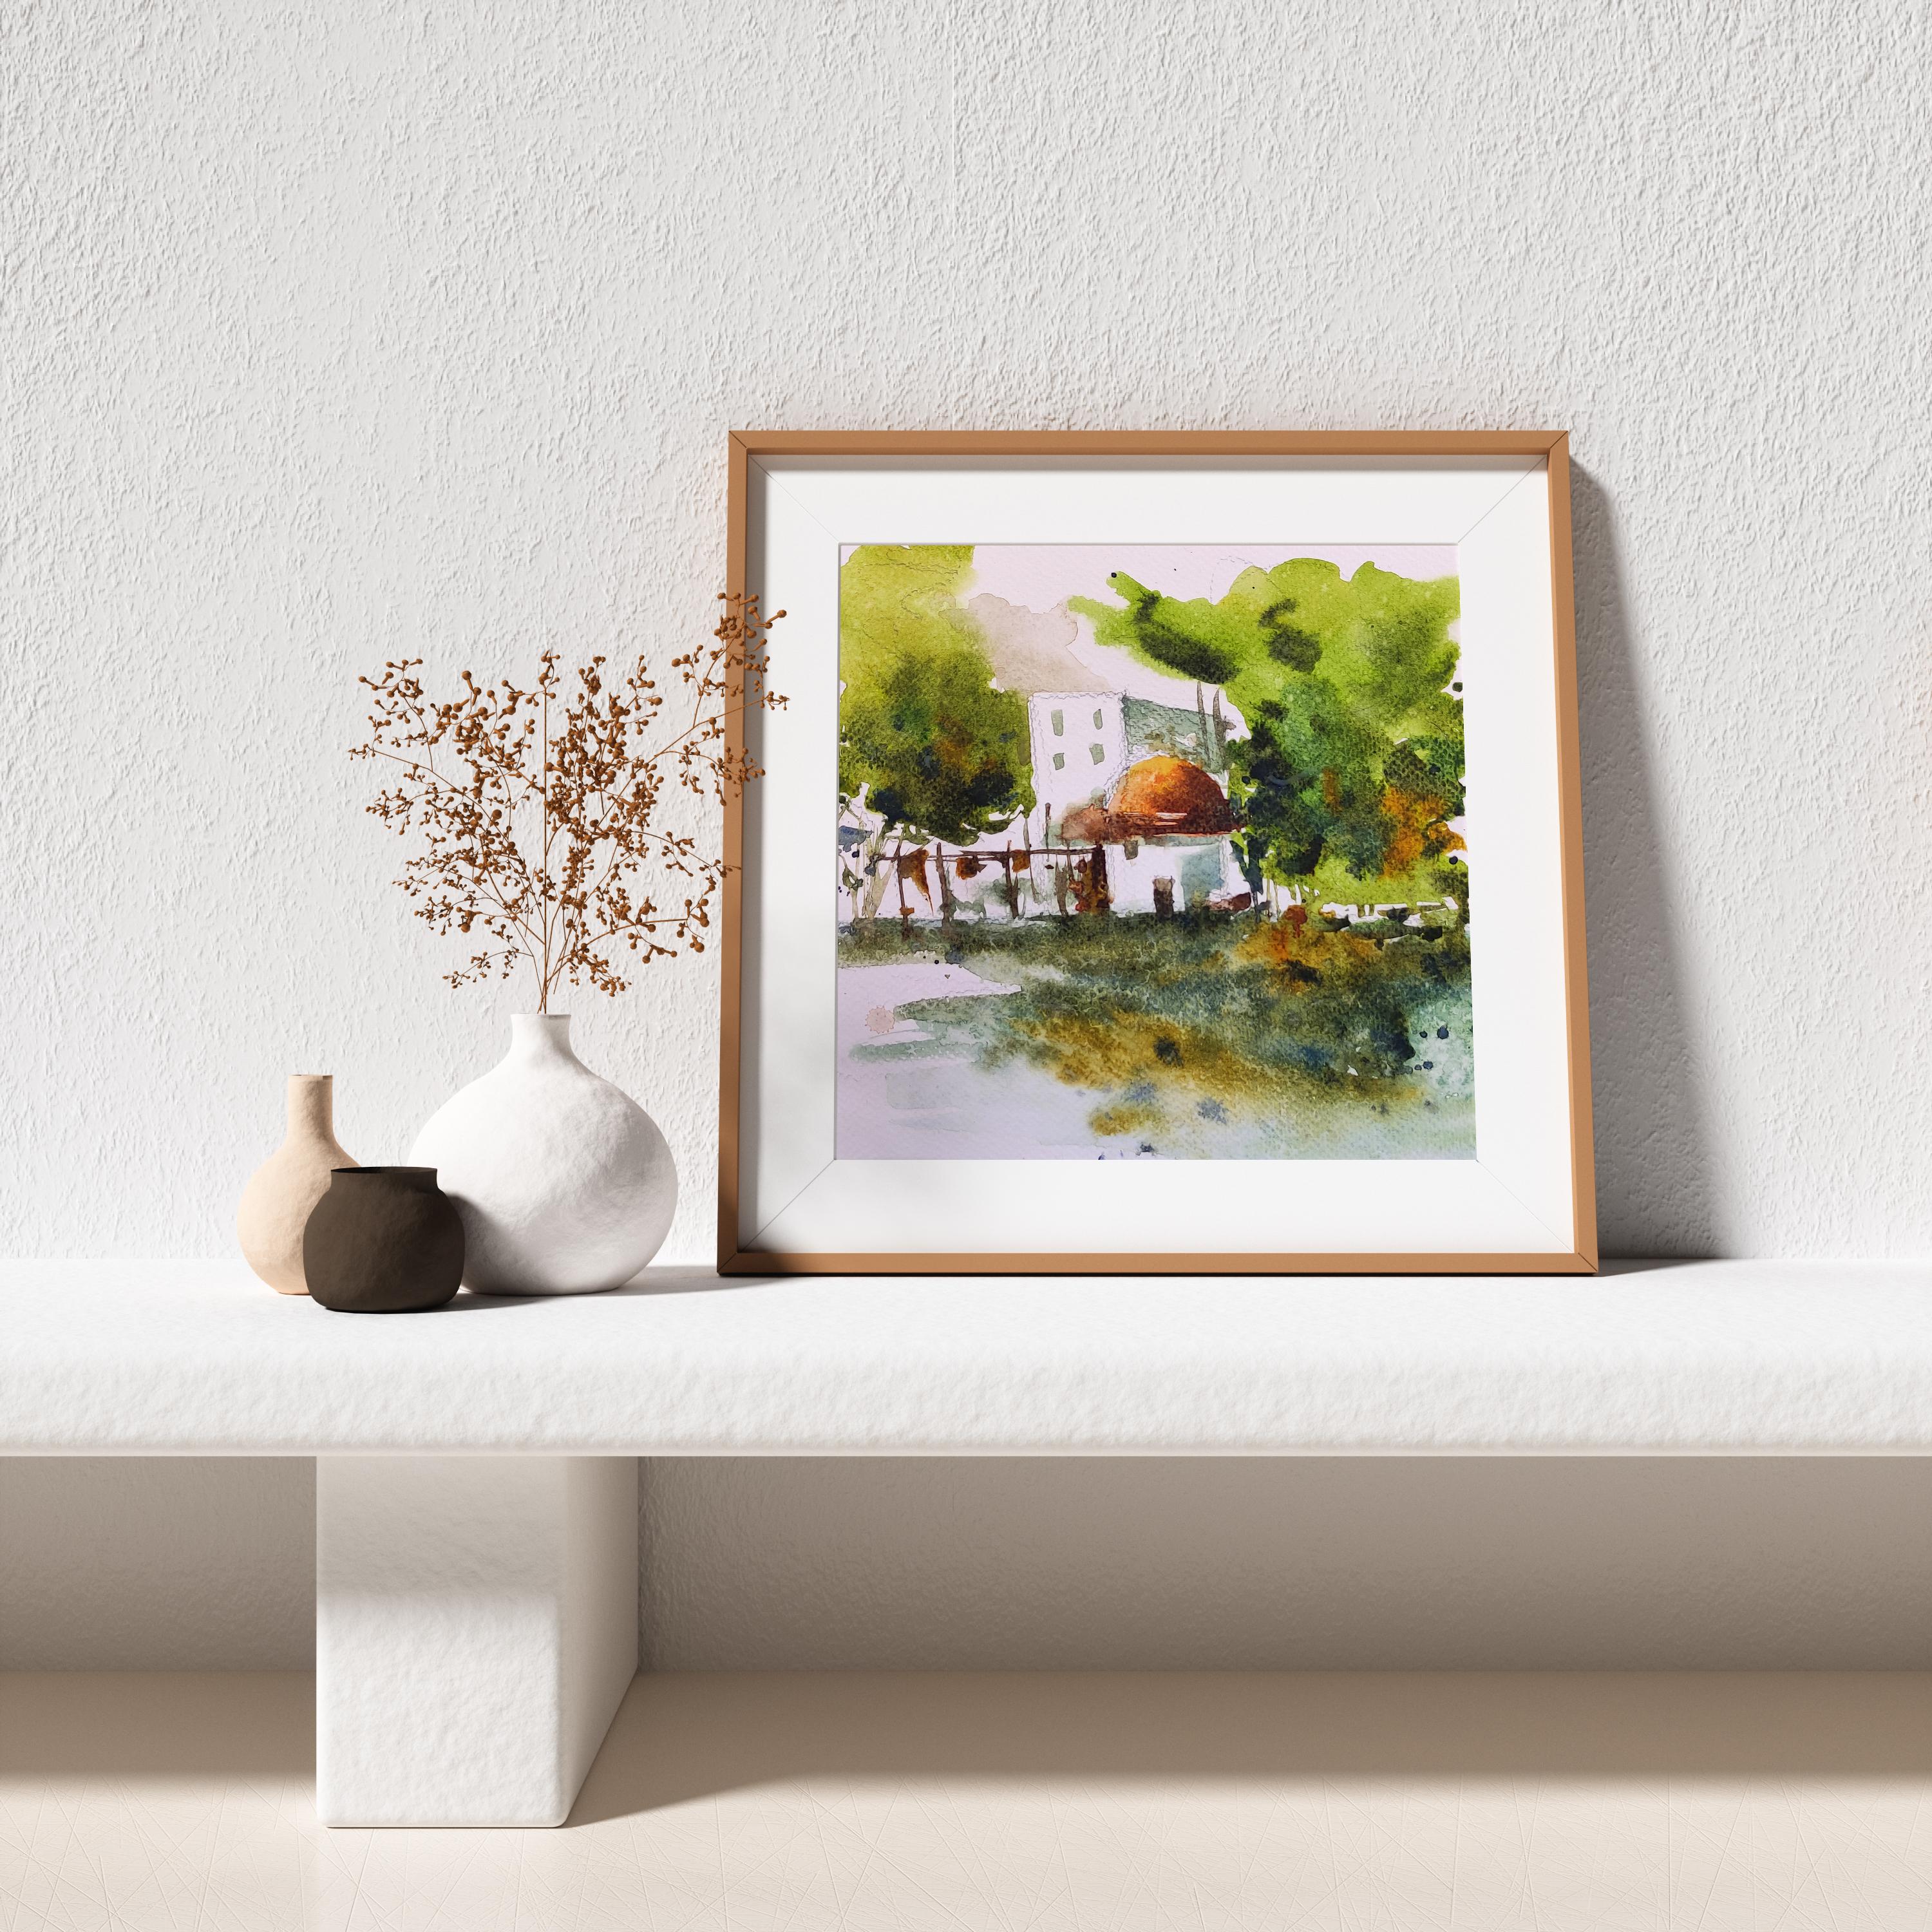
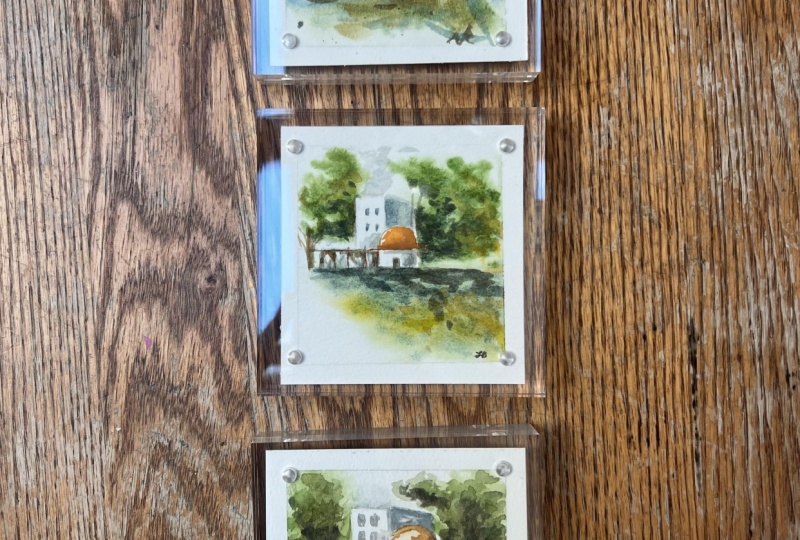
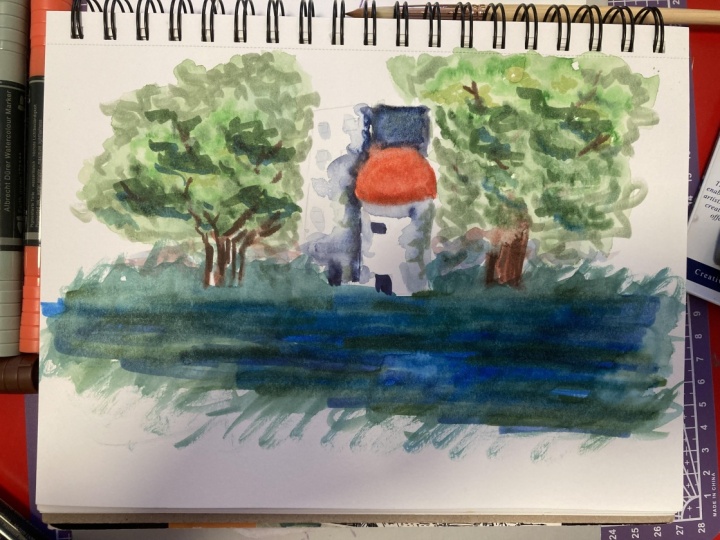
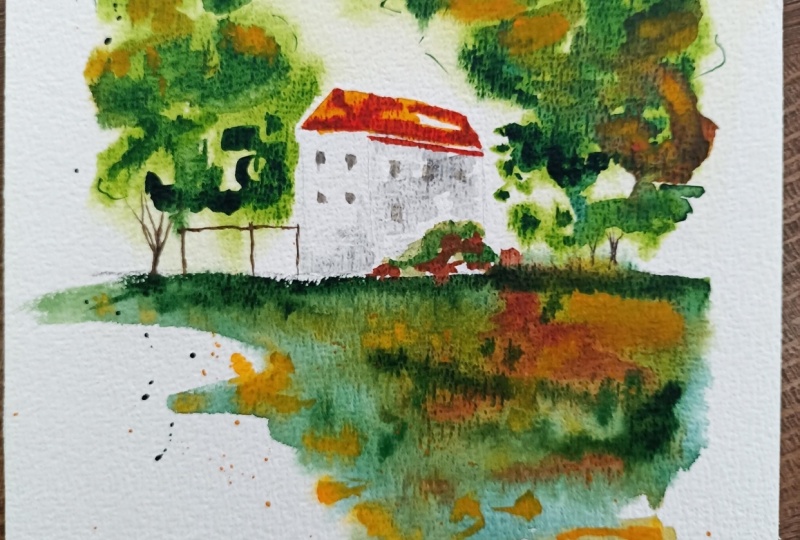
cityscape Madrid painting. And this is the final
results of this project. And we are going to start. So I'm using a pencil five. And I'm making a straight
line to indicate the middle of the painting, and it's between your
background and your foreground. Please notice the
position of my, of my hands while I'm sketching. So we are really close
to the tip of the pencil so that we will
have more control on maybe straight lines. We can, we will be able
to make straight lines. Although I would suggest that
you those sketch that dark. I am doing it dark here so that it's easier for you
to see in the camera. But before I paint this, then I will have to erase
a bit before I paint. So one of the best thing maybe that I could
give you as a tip is to really sketch daily and practice as much as possible. You don't have to
paint it right away, but you can, whenever you are outside with
your sketch book, you can bring your
materials and in now just your pencil and your
sketchbook and paint, anything that you see, even those that, even those that you don't
want the sketch. So give yourself a challenge
and give it a try. So here I decided
to change the line because I feel like it
was a bit too too low. And if there are some
changes that you feel that you need to
do, Well, go ahead. You can erase it, but
very slightly so that we don't damage the
watercolor paper. And just adding some
darker sketches on the shadows as well. And those parts like these, these are going to be the
trees than that so important. So I don't need to sketch it. Very, very dark. Here. There are some bench
and this is the door. Only sketch those lines and shapes that you
are going to paint. So there's no point
of sketching them if you are going to cover it
with paints in the end. So composition is very
important for your results. It will determine the
success and the failure. I mean, there's no failure, but probably less successful
painting our result. So here our focal point
is in the middle. And of course, the sun
is coming from the back. On the left side. We are painting my dream. And just to give you
another bit of story, why I decided to paint this one. This has been probably the most successful
YouTube video I did in a very quick manner. So I decided to give a
former class on this one. And I also went there
last Christmas, and it was a beautiful city. And it has given me
an idea to paint this cityscape and share
it in this platform. So I really wish see you in the painting process with this beautiful
cityscape painting.
4. Background & Foreground - First Wash: Hello everyone. Thank you so much for joining
me in this class. I'm so happy to have you here. And let's begin painting this simple cityscape
or Madrid painting. You saying my water spray, I'm going to splash one
or twice on a paper, avoiding the buildings, which is the focal
point of our painting. So before you begin painting, you have to recognize
which is the focal point of your painting and where
the light is coming from. So in this painting, the light is coming from the left and the focal point are the main
focus of this painting, are the buildings in the middle. So we avoid too, wet them and paint them. At the moment. I am mixing Using the biggest brush that
we have, sap green. And we are going to paint
this painting as the result. All the reference,
you have to download them and you have
to have it at hand. The reference photo of
our painting before painting because that
will help you a lot. I added yellow or onto the sap green and try
to mix it very well. So I have enough
water to mix them so that they are smooth and tiki. So always try to mix your watercolor paint
well as much as possible. I've also added yellow on the paint k. So this is the result that we're going to attain at the end
of this painting. And seeing the biggest flat
brush that we have to paint, the background or
the building to give this warm atmospheric effect by the end of our painting process. So always remember that at this stage we are
trying to avoid the middle part or the focal
point of our painting, which are the buildings. Now I'm wetting the
background of our painting. And I'm doing all this brush strokes really fast and quick. I'm going to use the second
largest brush that we have. So that's the Vinci
brush number two. And this area, the
background, they are wet. So as you can see, wrapping thing flat and the watercolor
pigment just spreads and the watercolor
works on its own. So that's beautiful because
they are moving on its own and it's really free. So there's like an
amount of control and at the same time and amount of freedom in our painting process. Right now. We are being careful
avoiding the buildings. So now of course, we are painting the trees. This watercolor or a cityscape is very different from the
other paintings that I did. Because this is simple, this is simple way to
create a cityscape. Because I know cityscape
could be intimidating. But I hope that these
lands, the, I mean, the cityscape
painting, will make you realize that it's not
as complicated as it is. So we are making round brush strokes and
vertical for the trees. So this is the mix
of sap, green, yellow or yellow who went very, very thick pigment and just enough water to give freedom to our
watercolor washes. So as you can see, you are also leaving some white. And of our uncles
avoiding the focal point, the buildings in the middle. So hold your brushes like this, but just be careful to
hold it tightly to avoid some accidents because you
are a watercolor brush can, though, a flying movement. Sometimes. When I started watercolor, I've always been found
with cityscapes. Is probably, it's probably
because I want to challenge, and I really found them. The collision between God
and human to be beautiful. The buildings, architectures, and of course
surrounded by trees. They are so. Wonderful for me. So cityscape has always been something that I
wanted to paint. Here. I've added more warm color. I've added some
borders, sienna here. I've added sap green, burnt sienna, cerulean, blue, and some Van **** brown. You can, of course, do your own mixture
and experiments, but, but we are actually adding more dark pigment on our
watercolor painting. So as you can see, we're adding darker pigment
on the trees while the paper is still wet so that
the watercolor washes, we'll move on its
own and they will have this natural flow. So I've changed my brush and I'm using the biggest
brush you can actually alternate the brushes that we have for this painting. The rule in general is that if you have
bigger painting paper, watercolor paper, then you have bigger brushes
and a smaller, it is the smaller
brushes that you use. So now I'm adding
some cerulean blue. I'm just mixing it with the
greens that we already have. For the foreground. I'm still using the biggest
brush that we have. But go ahead and alternated with the second and third
biggest brush that we have. So as you remember, we've already splash color here. So I'm just flashing
blue everywhere to the trees and to the
foreground as well. The watercolor paint, they are just flowing freely
onto the paper. Part of them is
probably a little bit already and part
of them are still wet. So it's just kinda enjoying
and I'm playing around making big brush strokes
to the foreground. So this will indicate like plants and flowers
on the foreground. Or earth. Here, I'm adding warmer
color of yellow arc. I'm adding, I'm actually
adding on the trees and the foreground as
well, some yellows. So the purpose of this is that we are trying to
unify the painting. You seem the same
pigment and colors. So you don't just
paint the tree is green and the water is blue, and the houses are black
or brown or white. So we are trying to unify the painting through the watercolor pigment
that we're dropping. I'll see you in
the next process.
5. Light & Shadow - Second Wash: Welcome. Thank you so
much for joining me in the second part of the
cityscape painting of Madrid. And we are still using the same brush size is the
biggest brush that we have. The same watercolor mixture, watercolor paint
mixture that we had, where I'm just adding darker paint that
is Van **** brown. And I really would like you to relax and this process
and hopefully enjoy it. Because painting,
they look better when we are more confident
and stress-free. Here I've added a darker
pigment of Van **** brown. And it's just a
mixture of Delhi, actually of our previous
watercolor paints. To add more darker tonal value. We're adding more
shadows on our trees and onto the background
and foreground as well. So we will have
more contrast this time and that your building, your focal point will
be more visible. So some parts of the paper is still wet and
some parts are still dry. Okay, So we're just
seeing the colors. What are the best
advice I could give you to improve your
watercolor skills, your painting scales is that
please do sketch daily, practice as often as you can because this will
improve your end result. I think I've learned more
through watching and observing other artists work
such as Shanshan way and Joseph, Emma inspiration. And when you look at this work, I think what the works
that you really like. I think they're
really inspire you and help you to keep improving. So here we are adding shadow. And when we are adding shadow, I am actually using a very thick pigment
of Chinese white. And I'm mixing it
to cerulean blue. So just the tip is that if
you want to add shadows on your buildings or
whatever architecture it is, you have, you can use, I think you can use a lot of Chinese white and just mix it with any desired watercolor
paints of your choice. So I'm using the tip of my watercolor brush to
give shapes on the shadow. And I'm painting indoor. But I think if the
winner is not too cold and it's a bit
warmer outside, then I really encourage you to your paint outside
because there are things that you can see better when you are
out in the sunlight. So here I'm just actually
dragging some colors and working on the small garden
in front of this building. So I'm using the tip of my watercolor brush and just
dragging some pigment and some paints to add more leaves
and twigs and branches. So as you can see, the focal point of the
building of this painting, which is the building is
getting more and more visible. And that's thanks to the
contrast that we are adding. One. The biggest painter, escape painter I've ever seen
is albino destiny of Spain. And he is very good
with contrast. And he said that it is one of the most important
parts of the painting, a landscape or cityscape. I'm adding more branches and just dragging color
using a smaller brush, and that's brush
number, number eight. So in principle, you can
actually use small ****, smaller brushes that
you have a home. Here. I'm just really adding a thick pigment of Van **** brown to add lines
and pulls on the building. I mean, on the
other little garden in front of the building. And also, I would like to ask
that when you are painting, tried to just enjoy the
process and relaxed. And if you feel that something happened
that you don't like, then you can always have
a rest and post and had time to get out from your store you and
then get back later, come back later and
you will see that you see different things
when you come back. I always do that too, when I feel like I'm
already exhausted painting. And sometimes I would get
really upset with the process. I will go out and take a
walk and take a breath. And then when I come back, I have a different view or
perspective on what I'm doing. Here. I'm just flushing darker pigment to
add more movements. We are doing
impressionist style and that ArrayList
style of paintings. So it doesn't matter if you splash color almost
everywhere in your paper. Just don't overdo it. If you feel like you are not too confident with splashing, then you can paper
a cupboard and middle parts with paper. Here, I've added a very
thick pigment within Apple, water of the orange,
the cadmium orange. Who? You see that the
Vinci brush number two. And if there is some accidents that will
happen and always will, and that the watercolor will get out from your sketch,
then no worry, I think you can always use tissue paper to clean it up and dry it up to control
it a little bit. So while the paint is
still the first paint, the orange cadmium is wet. I've added policy
and on top of it. So it will have these loose and very nice
granulation on the roof. I would like to congratulate
you on taking this far and we're getting very
close to our end goal. So congratulation and you know, and keep doing well. So here I'm using the small, smaller brush that we have. So that's the brush
number eight. Add more highlights
and detail on the roof of the building. And whenever there's exists watercolor paints
that I didn't like, I would use lifting, I would lift the
color using my brush and dry it with
the tissue paper. Now where I'll be
adding windows. And that's Chinese
white mix with the sap green and cerulean blue. So I'm adding really carefully
with one confident stroke. Here is one straight
stroke for the shadow. And try not to overdo
this part as well. Here is an excess, this is an excess paint, so I'm lifting it to take
it out with tissue paper. On this part, I feel like
there's too many whites. It's taking away the
focus on our painting. So I'm just dragging some colors from our shadow to
cover it a little bit. So composition, as I've
said in most of my videos, if you said most of my
videos is really important. So we will try to pay attention
with our composition. So we're almost there. And I really can't wait to
finish this painting with you. So I'll see you at well done.
6. Final Details & Project: Congratulations, well done for going this
far and for finishing this wonderful cityscape
painting of my kids with me. And I really hope that you enjoyed the process
and that of course you learn something from it using the paint watercolor brush that we have and the
tip of the brush, we are going to
add some details. And this is the combination of darker paints that we have. Now, we're going to work on
the roof of this building. One, long and quick brushstroke to add more contrast while the roof is
a little bit wet. So always remember that we are going to add
more pigment and less water to add more darker tonal
values to indicate the shadow on the painting. We're adding the door. So we have really liked the watercolor
paints that we have. I'm on the first
and second process and then we're just
adding Van **** brown. So in general, in watercolor, of course, as you
probably already know, we are always starting with light color and then it's
getting darker and darker. So one quick tip. When you are adding
the final details. Tried to do your
best to just use the tip of your small
brush to add twigs and branches or wires so that
they are not that visible. Here. I'm adding a background
for this guy so that the building will pop up a little bit to add a
little bit of contrast. And this is just a
really light pigment of Chinese white and water. So we are finished
painting the cityscape. And I would really love to see the result of your painting. I'm really looking
forward to eat, so please try to
tag me in Instagram and you can also share
it in this platform. So I also encourage
you to, you know, you have to do your
own experiments with watercolors and with
different shades that you like. Especially in the foreground
of this painting, you can add any
colors that you want. Here. I'm adding Van **** brown, a very thick pigment, or Van **** brown to
add more contrast on the building because
the building is white. So the more you add contrast, the mortar white building. Well Papa, I'm just adding
blue as well on the trees. So that's Van **** brown and cerulean blue and
a little bit of ivory, black ivory in war. So one thing I can also add, if you are just
starting watercolors, you just really have to also pay attention and read
your materials and tried to clean them up as
soon as you're finished? Because I was a bit lazy whenever I'm
still is a little bit lazy Most of the
time to clean it and then I would damage
my materials. So materials they
are worth the money. So if you don't want
to spend a lot, then you have to pay attention
to your materials as well and clean them up properly. So you can splash it with water
just like your palate and do I'm doing now and clean it
up with your tissue paper. Here. I'm just flushing a
little bit of water on the foreground
and the background, trying to avoid the focal point. So there you go. The
finished product of our wonderful city
scape of my treat. And if you still feel
that you need to add more contrast a little bit, feel free to do so. Just don't exaggerate. Because I think when watercolor granulation is
fresh, they look better. They always look better. And of course, don't forget
to sign your masterpiece. So now, as you can see, this is the result. And now you understand how composition is really
important in every painting. And if you want to see
more of my classes, I got a few already
in this platform, so feel free to do them as well. Here after looking at
it some a few hours, I decided to add the last details onto the paper after a
few minutes rather, and add more shadow that will be a little
bit more visible. So, thank you. Thank you so much for
finishing with me this class, and I really look forward to
seeing you in my next class. So I'll see you. Bye.
 Dawna Mae, Author-Illustrator