Loose Watercolour Landscape - Autumn | Dawna Mae | Skillshare

Playback Speed


1.0x


  • 0.5x
  • 0.75x
  • 1x (Normal)
  • 1.25x
  • 1.5x
  • 1.75x
  • 2x

Loose Watercolour Landscape - Autumn

teacher avatar Dawna Mae, Watercolor Artist & Illustrator

Watch this class and thousands more

Get unlimited access to every class
Taught by industry leaders & working professionals
Topics include illustration, design, photography, and more

Watch this class and thousands more

Get unlimited access to every class
Taught by industry leaders & working professionals
Topics include illustration, design, photography, and more

Lessons in This Class

    • 1.

      Introduction

      0:43

    • 2.

      About this project

      0:21

    • 3.

      Materials

      0:30

    • 4.

      Sketching

      0:56

    • 5.

      Background and Foreground

      5:32

    • 6.

      Middle ground and Details

      4:39

    • 7.

      Last Touches and your Masterpiece

      2:51

  • --
  • Beginner level
  • Intermediate level
  • Advanced level
  • All levels

Community Generated

The level is determined by a majority opinion of students who have reviewed this class. The teacher's recommendation is shown until at least 5 student responses are collected.

202

Students

12

Projects

About This Class

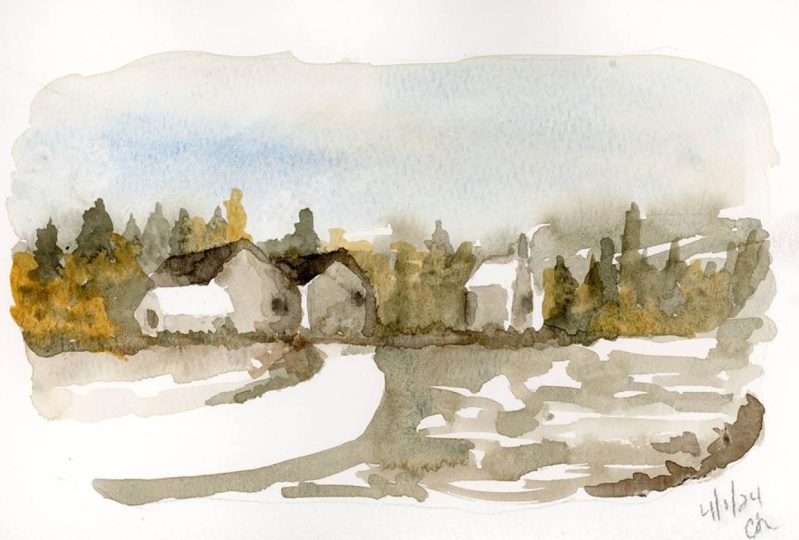
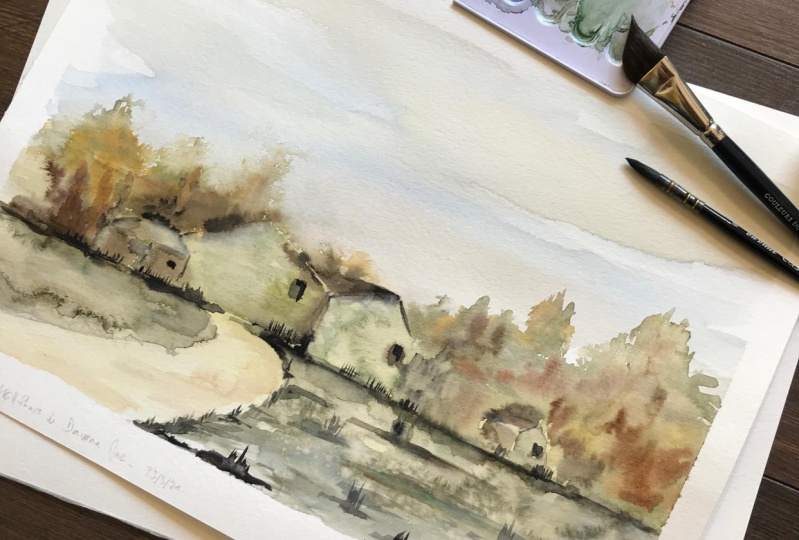
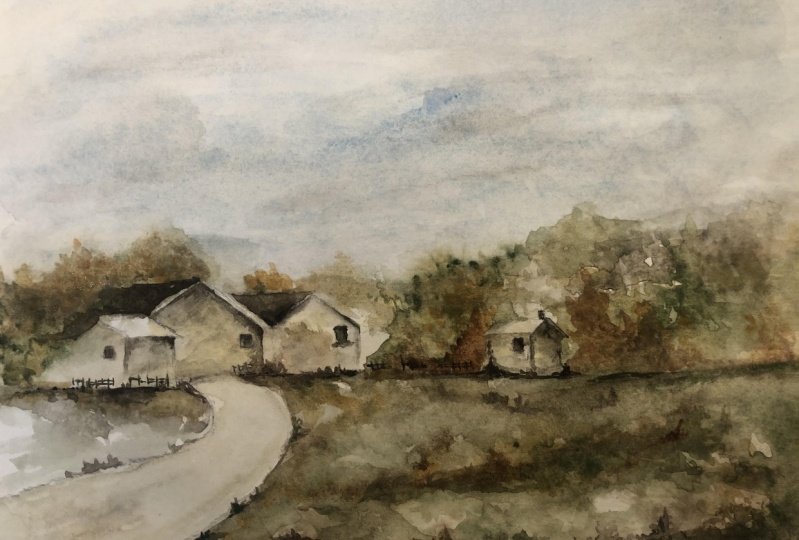
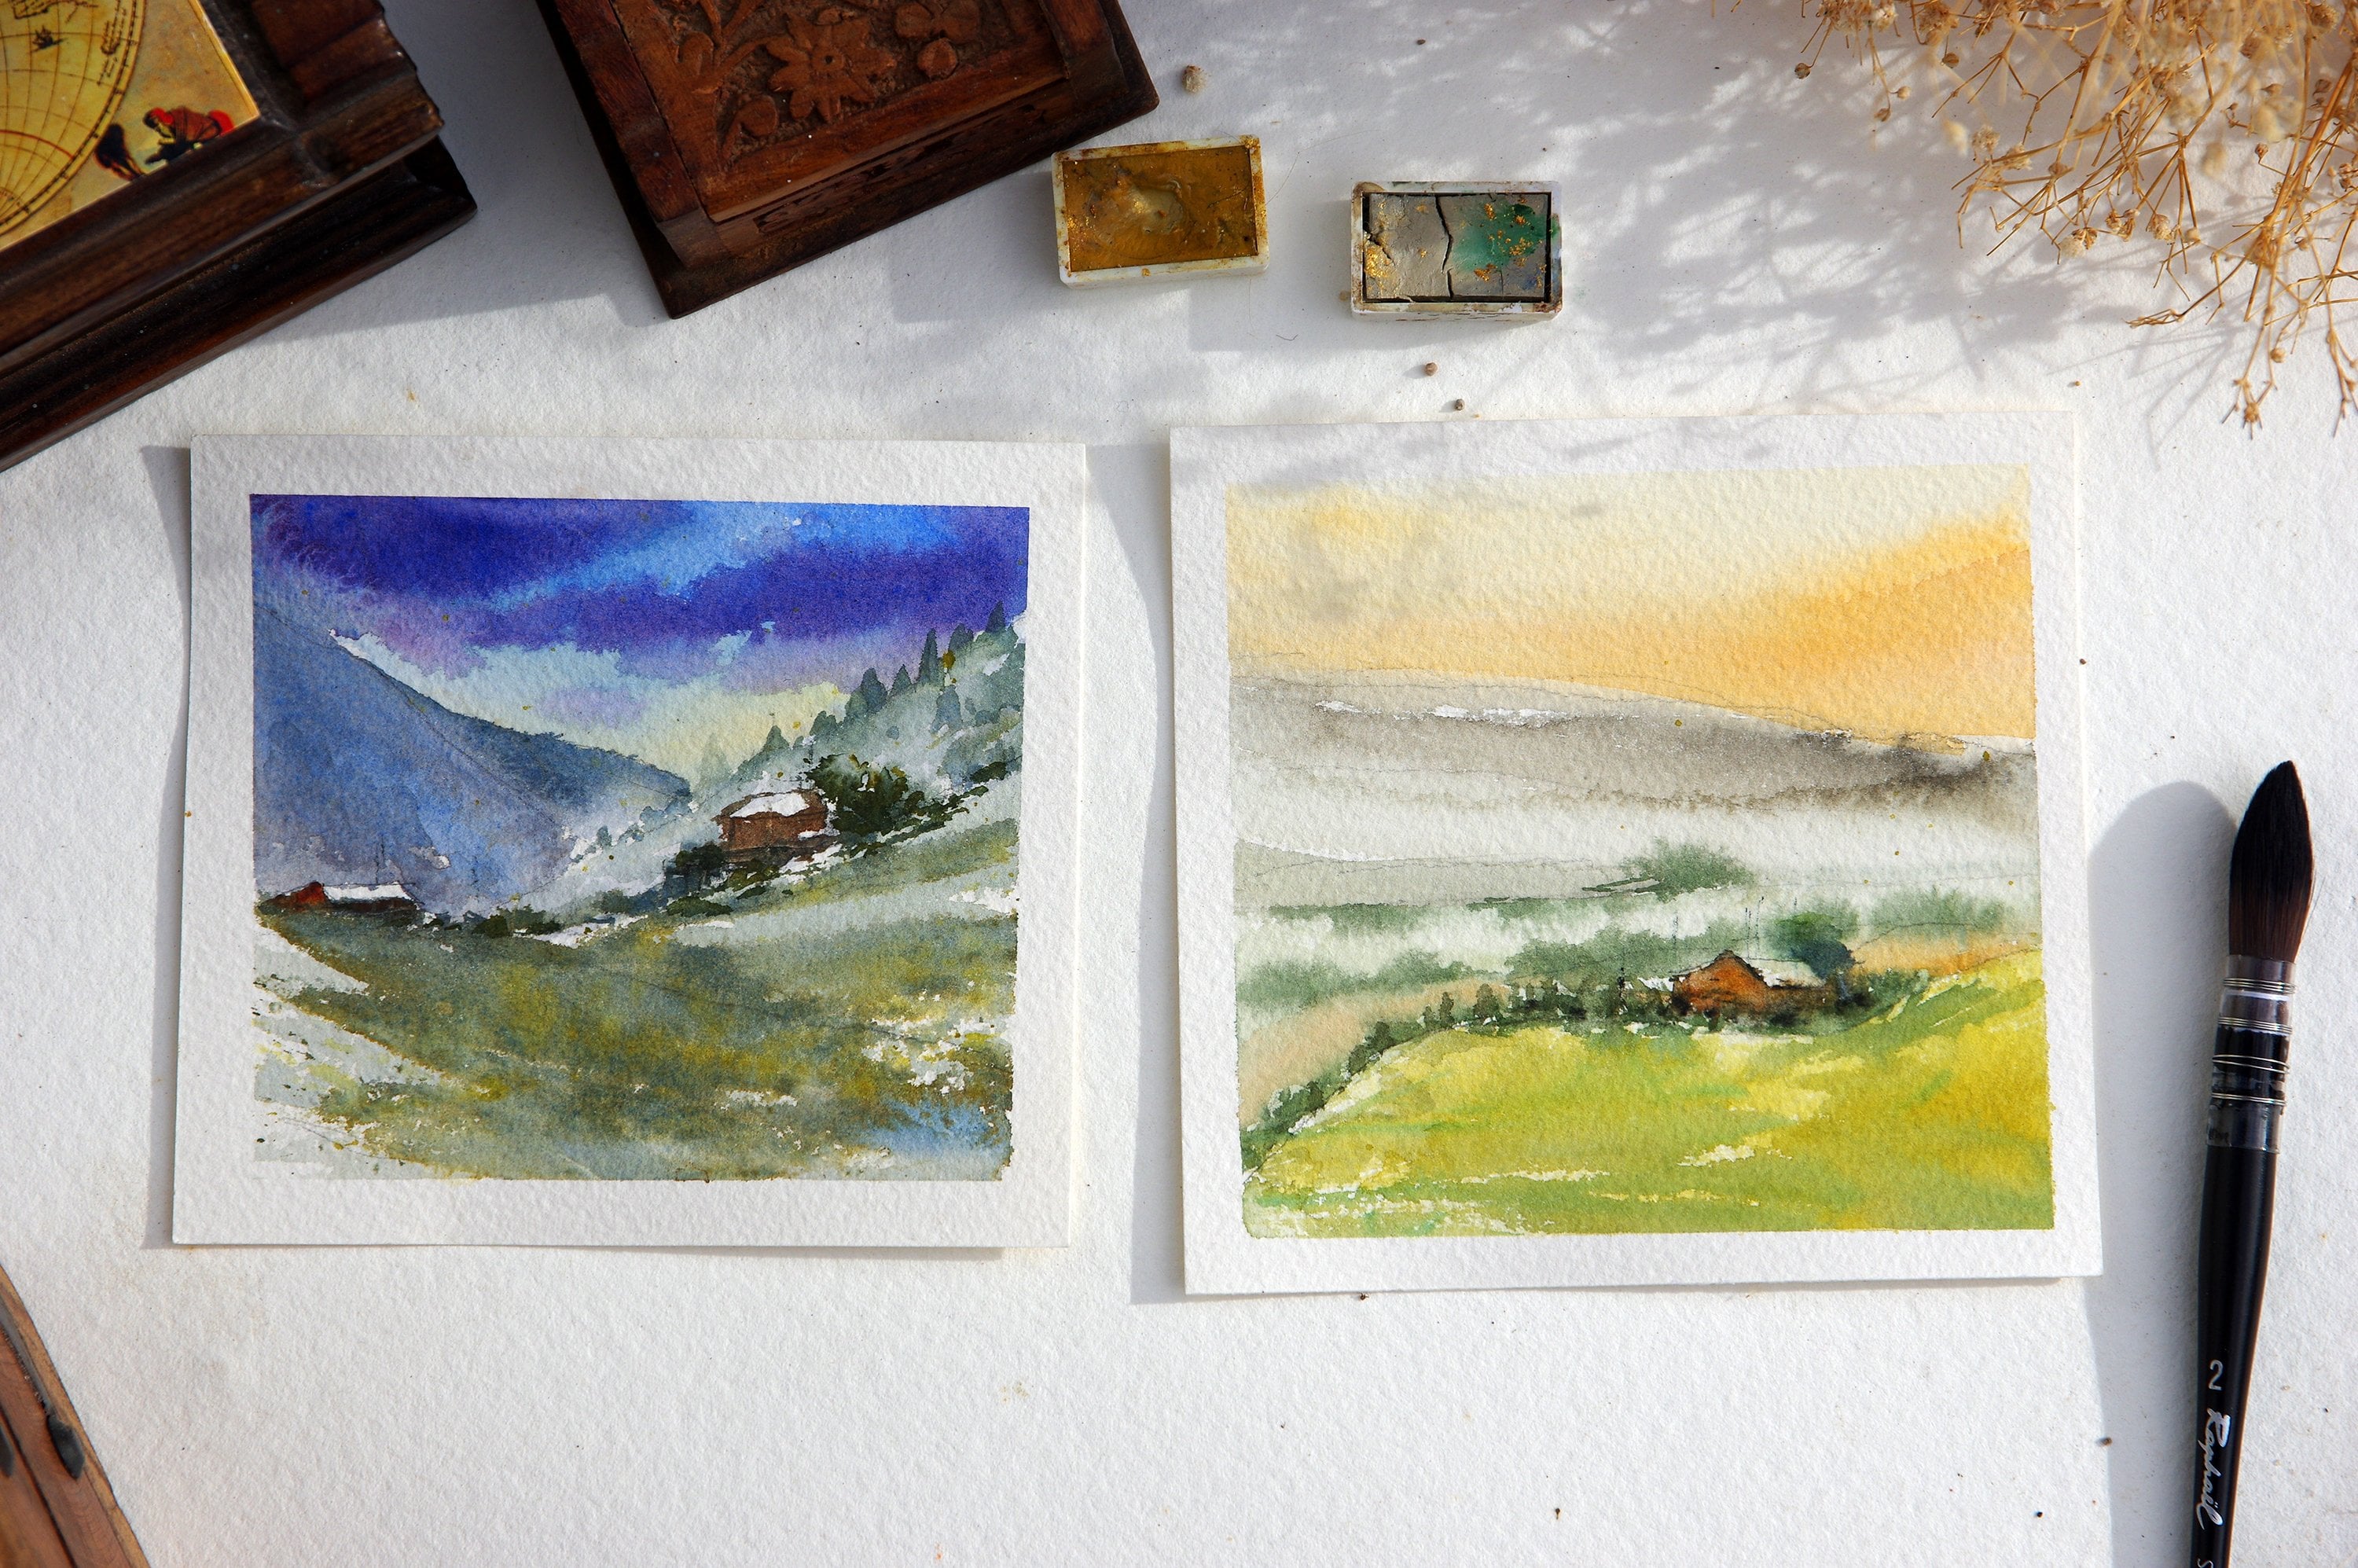
This is a simple watercolor landscape painting in autumn perfect for beginners and intermediate level! A step-by-step class that will help you gain that self-confidence and love in watercolors! You will appreciate that loose and free style while enjoying the process! As an experienced teacher I try to keep it simple, straight forward and fun!

Meet Your Teacher
Teacher Profile Image

Dawna Mae

Watercolor Artist & Illustrator

Teacher

WELCOME!

I'm a Filipino-French artist and illustrator living by the beach in a charming old fisherman's village, deeply inspired by God's creations, grace, and love. Artist, illustrator, and certified ESL teacher, I work mainly in pencil and watercolor--my first love--before exploring the digital world with Procreate.

I currently create:

Children's book illustrationsFaith-based, Bible-inspired stories and charactersEducational and fun coloring booksArt prints for families and collectorsI blend storytelling, faith, and a playful artistic style to bring hope, beauty, and joy to young learners and families.

Along the way, I've exhibited in galleries, worked on private commissions, and collaborated with in... See full profile

Level: All Levels

Class Ratings

Expectations Met?
    Exceeded!
  • 0%
  • Yes
  • 0%
  • Somewhat
  • 0%
  • Not really
  • 0%

Why Join Skillshare?

Take award-winning Skillshare Original Classes

Each class has short lessons, hands-on projects

Your membership supports Skillshare teachers

Learn From Anywhere

Take classes on the go with the Skillshare app. Stream or download to watch on the plane, the subway, or wherever you learn best.

Transcripts

1. Introduction: Hello, I'm Donna, I'm Filipino French artists and ESL teacher in spades. For the last five years, I've traveled and painted different places in the world. This has inspired me to showcase there was beauty through my artworks. I hope to inspire people and spread awareness and how to preserve the nature. In my onlys always, I believed that the best paintings in the world are the ones that could, takes us to places and touches our heart. So let me invite you to take this journey together with me with lots of money and clients. 2. About this project: In this project, we are going to learn how to paint a very simple watercolor landscape ATA, step-by-step and going to guide you through forums, get changed to materials that link saying, we are going to build up that self-confidence in using watercolors and just have fun. 3. Materials : Brush number 12, brush number aid, rational reseller. Water color called print strategies and what a spray at glass, cleaner water, tissue paper. And of course, your watercolor paintings. And these are the different colors of things. 4. Sketching: Let's begin with our sketching and composition part. So we're going to do that houses the ropes. And do your best not to make it dark. Just slight touch because this watercolor people are very sensitive. Ok, so if you notice here are the three major shapes, the small, medium and large. Yeah, the back of their mountains. The clouds are roads. If you make a mistake, planet to erase it too hard. And we have this small windows. And that's it. 5. Background and Foreground: So now let's start there fine and start painting. So we're going to start with a big brush that we have. The biggest ones turn brilliant for warmer tone. We're going to put that in our houses system. The middle now are going to start with our sky will be diverted or blue and fund Dyke brown that's wet on dry work and spread it everywhere. Horizontal motion. We're gonna make. Whereas evenly. We're gonna spread it everywhere for our sky. There you go. So just let the colors Flow says Let it freed, Let it Loose. So we're going to add a little bit of violet light bar, as I've said, to add a little bit of sellers for our sky. Now, please pay attention to the edges of the paper. Food or even colors, so that it looks nicer when it's time. Again, green, gray and funding round. This is wet or dry for our mountains. So makes your colors very well. To add more pigment. So just observe and follow. For you see a green gray here. Add more pigment. Water, just let the water flow. And please do not color everything. We are going to lead some whites and you're gonna appreciate that later. So the edge of their mountains will be mixing some parts of our spy, but that's okay, uses liveness. This is limited and let it flow. The fading effect, such as this dance. Mix the paint well and what more pigment? Clean gray run the graph. And enough water, of course, for again, add some highlights before it dries. So those highlights indicates some trees or a background. As I've said, some edge of their motives are loose and they're going to suggest this dance. Try not to call our charity and these lives are white. Okay, so the foreground has letrec tonal values. And please observe the direction, our brush, the movements. So there are, the colors, is lighter and now we're going to add a bit more colors, darker tones using the Van Dyke brown. Ok, there you go. So for now this is wet and dry. Are going down to our foreground. Amber, when they brand green gray goes. As for our background, please leave some whites for our background. So probably here it just have to have enough water to let the colors flow naturally. So go ahead and spray, but make sure that you're spraying far away not to destroy our painting. So Ben, type, Brown or number and green gray again in darker tones. Foreground. Sorry about the position or tried to adjust it. There you go. Now wet and dry. Please leave some whites and lead toward Transpolar flows naturally. So notice are paying attention again to the edges of our painting. So those green dots indicates bashes and grass. And now it's time for our middle grounds. Now you can take three minutes, break captive. You're doing great. 6. Middle ground and Details: So we are going to do the Middleground shadow and details. Weight and dry green and gray and fund Dyke brown on lighter tones. And notice the movements of the brush we're using the biggest brush we have so far. These observe and leave some roof whites. So to let color everything lives have whites. Green, gray for trees. Wet and wet. This mix. Please spray just a little. If you think you need it so cleanly from the ground again and again, you will need to spray. It gets so try yellow or and we're mixing the color very well. More pigment. Notice the improvement. Crash. Those are trees. We're going to add more colors. Knife to our paintings. So we're done with adding details. So those are Bosch's grass, just like touch. So just let the water flow and freed. We are adding trees and bushes, grasslands upset. And so where are you seeing? Green gray, a little bit of more number and fun Dyke brown, those three colors, once again, now more darker doors and we are adding a little bit. Ivory black. Makes your colors very well. Now. Brush movement. And we are still working on wet, on wet to water flow freely. We're trying to define the edges of our houses. Say p. Notice the water just spread, so try to touch lightly. Now or at a little bit, yellow or for our autumn trees. So more pigment, darker tones are yellow and then green gray. So if cholera spreads alone, so just let it, the darker or more pigment you have, the better. Notice we're trying to color the edges of the paper as well, and you will appreciate that later. So we're gonna put the yellow org everywhere. Green, gray, funding brown. And a little bit about umber. Of course, more details. And we're gonna add a little bit of ivory black as well. So light touch, just the tip of your brush. Gay, more details, Persian's, grass, and more pigments on our program. So our focal point is at house at the end of the road. So notice that I am putting in more details and highlights from outside this house. K now I'm doing some lifting. Okay, now idling, There you go. Well that now we can continue to our next part. 7. Last Touches and your Masterpiece: Okay, so let's continue to get more details will be seeing on the smallest branch we have, they go. We're done. Using gray and gray and fun day proud, makes your colors very well to achieve a darker tone and more pigment. Now please observe and file. I'm using the tip of my brushes and using it lights excitedly as possible to create that details. Under rule. Allowing their water too. That means to flow with the water. Using ivory black and fantasies brown. So wet and dry for organic create the fences without brush tip with a very light touch. Some parts of your houses is Delaware, but that's fine as long as it's not the middle point or our focal points. Because the house in the middle as follow this omega and from the brushes, this can allow to water just flow naturally. Now, lighter color, the green, gray and phenotype brown with lots of water to create that shadow. Various like Dutch, allowing the water to just flow freely and loosely. When it dries, you can now add the windows. So I'm selecting the details. I feel like I still need to add darker colors and tools. So feel free to do it as long as you focus on your focal points. So let's try. We can add Domino's. Kur, sign your masterpiece. Well done. I hope you enjoyed efforts and temporary buildings save your masterpiece. Thank you so much for watching can joining me.