Mini Class: How to Paint Grass in Gouache
 Trang Chibi ❤️, Watercolor and Gouache Artist
Watch this class and thousands more
Watch this class and thousands more
Lessons in This Class
-
-
1.
Class Introduction
0:31
-
2.
Tools and Materials
1:30
-
3.
Painting the Background
4:35
-
4.
Painting the Grass
4:14
-
5.
Painting the Flowers and Final Thoughts
8:10
-
-
- --
- Beginner level
- Intermediate level
- Advanced level
- All levels
Community Generated
The level is determined by a majority opinion of students who have reviewed this class. The teacher's recommendation is shown until at least 5 student responses are collected.
42
Students
3
Projects
About This Class
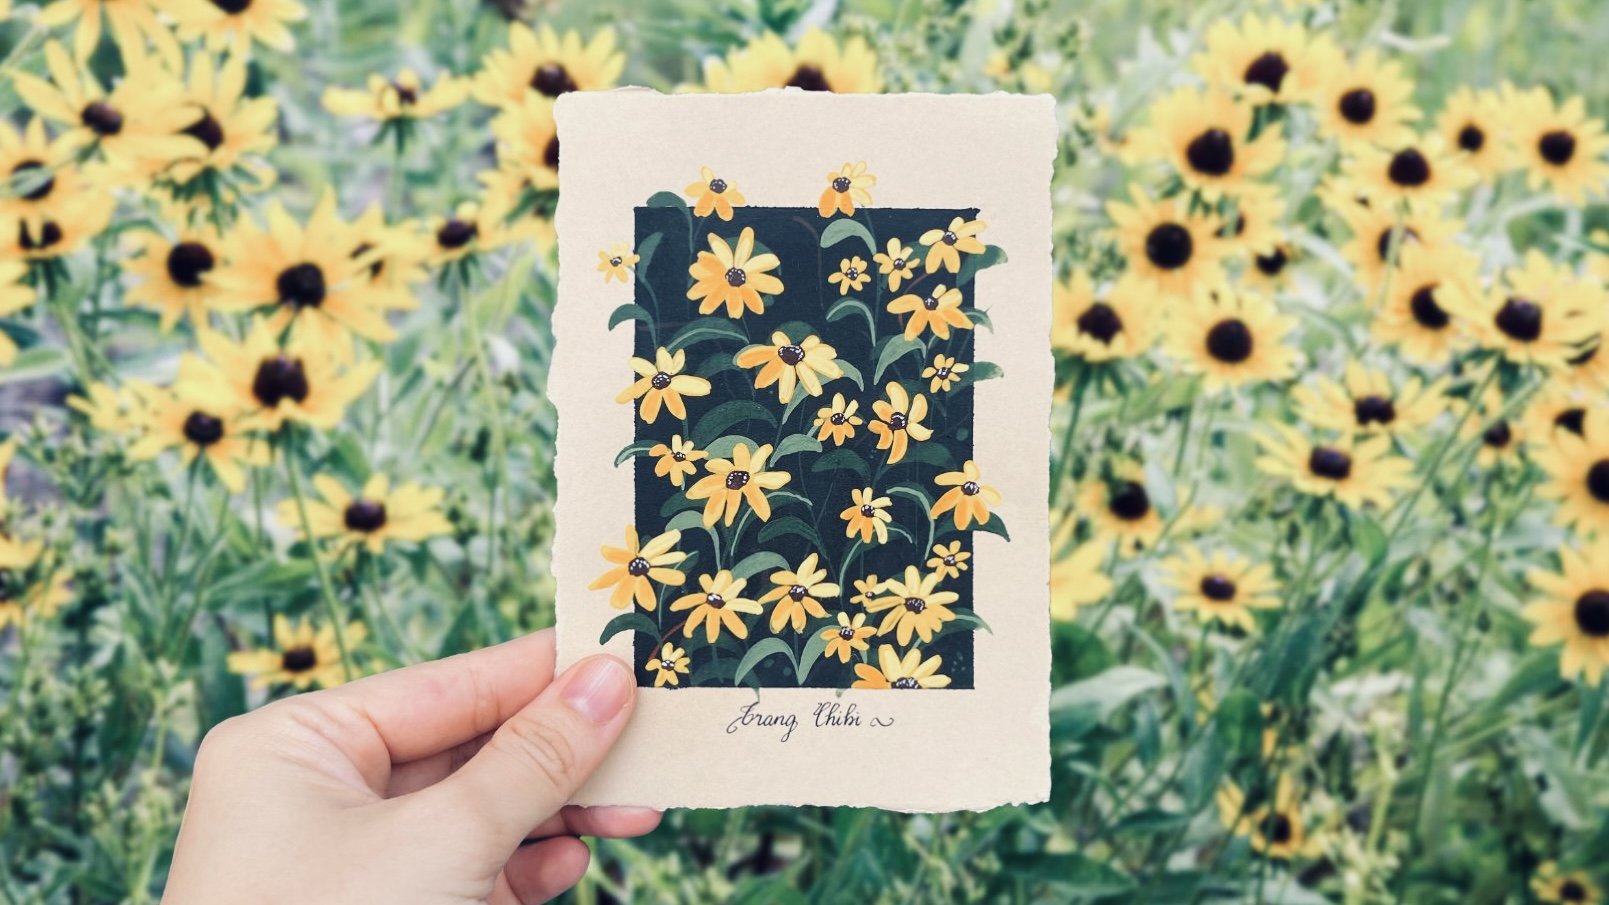
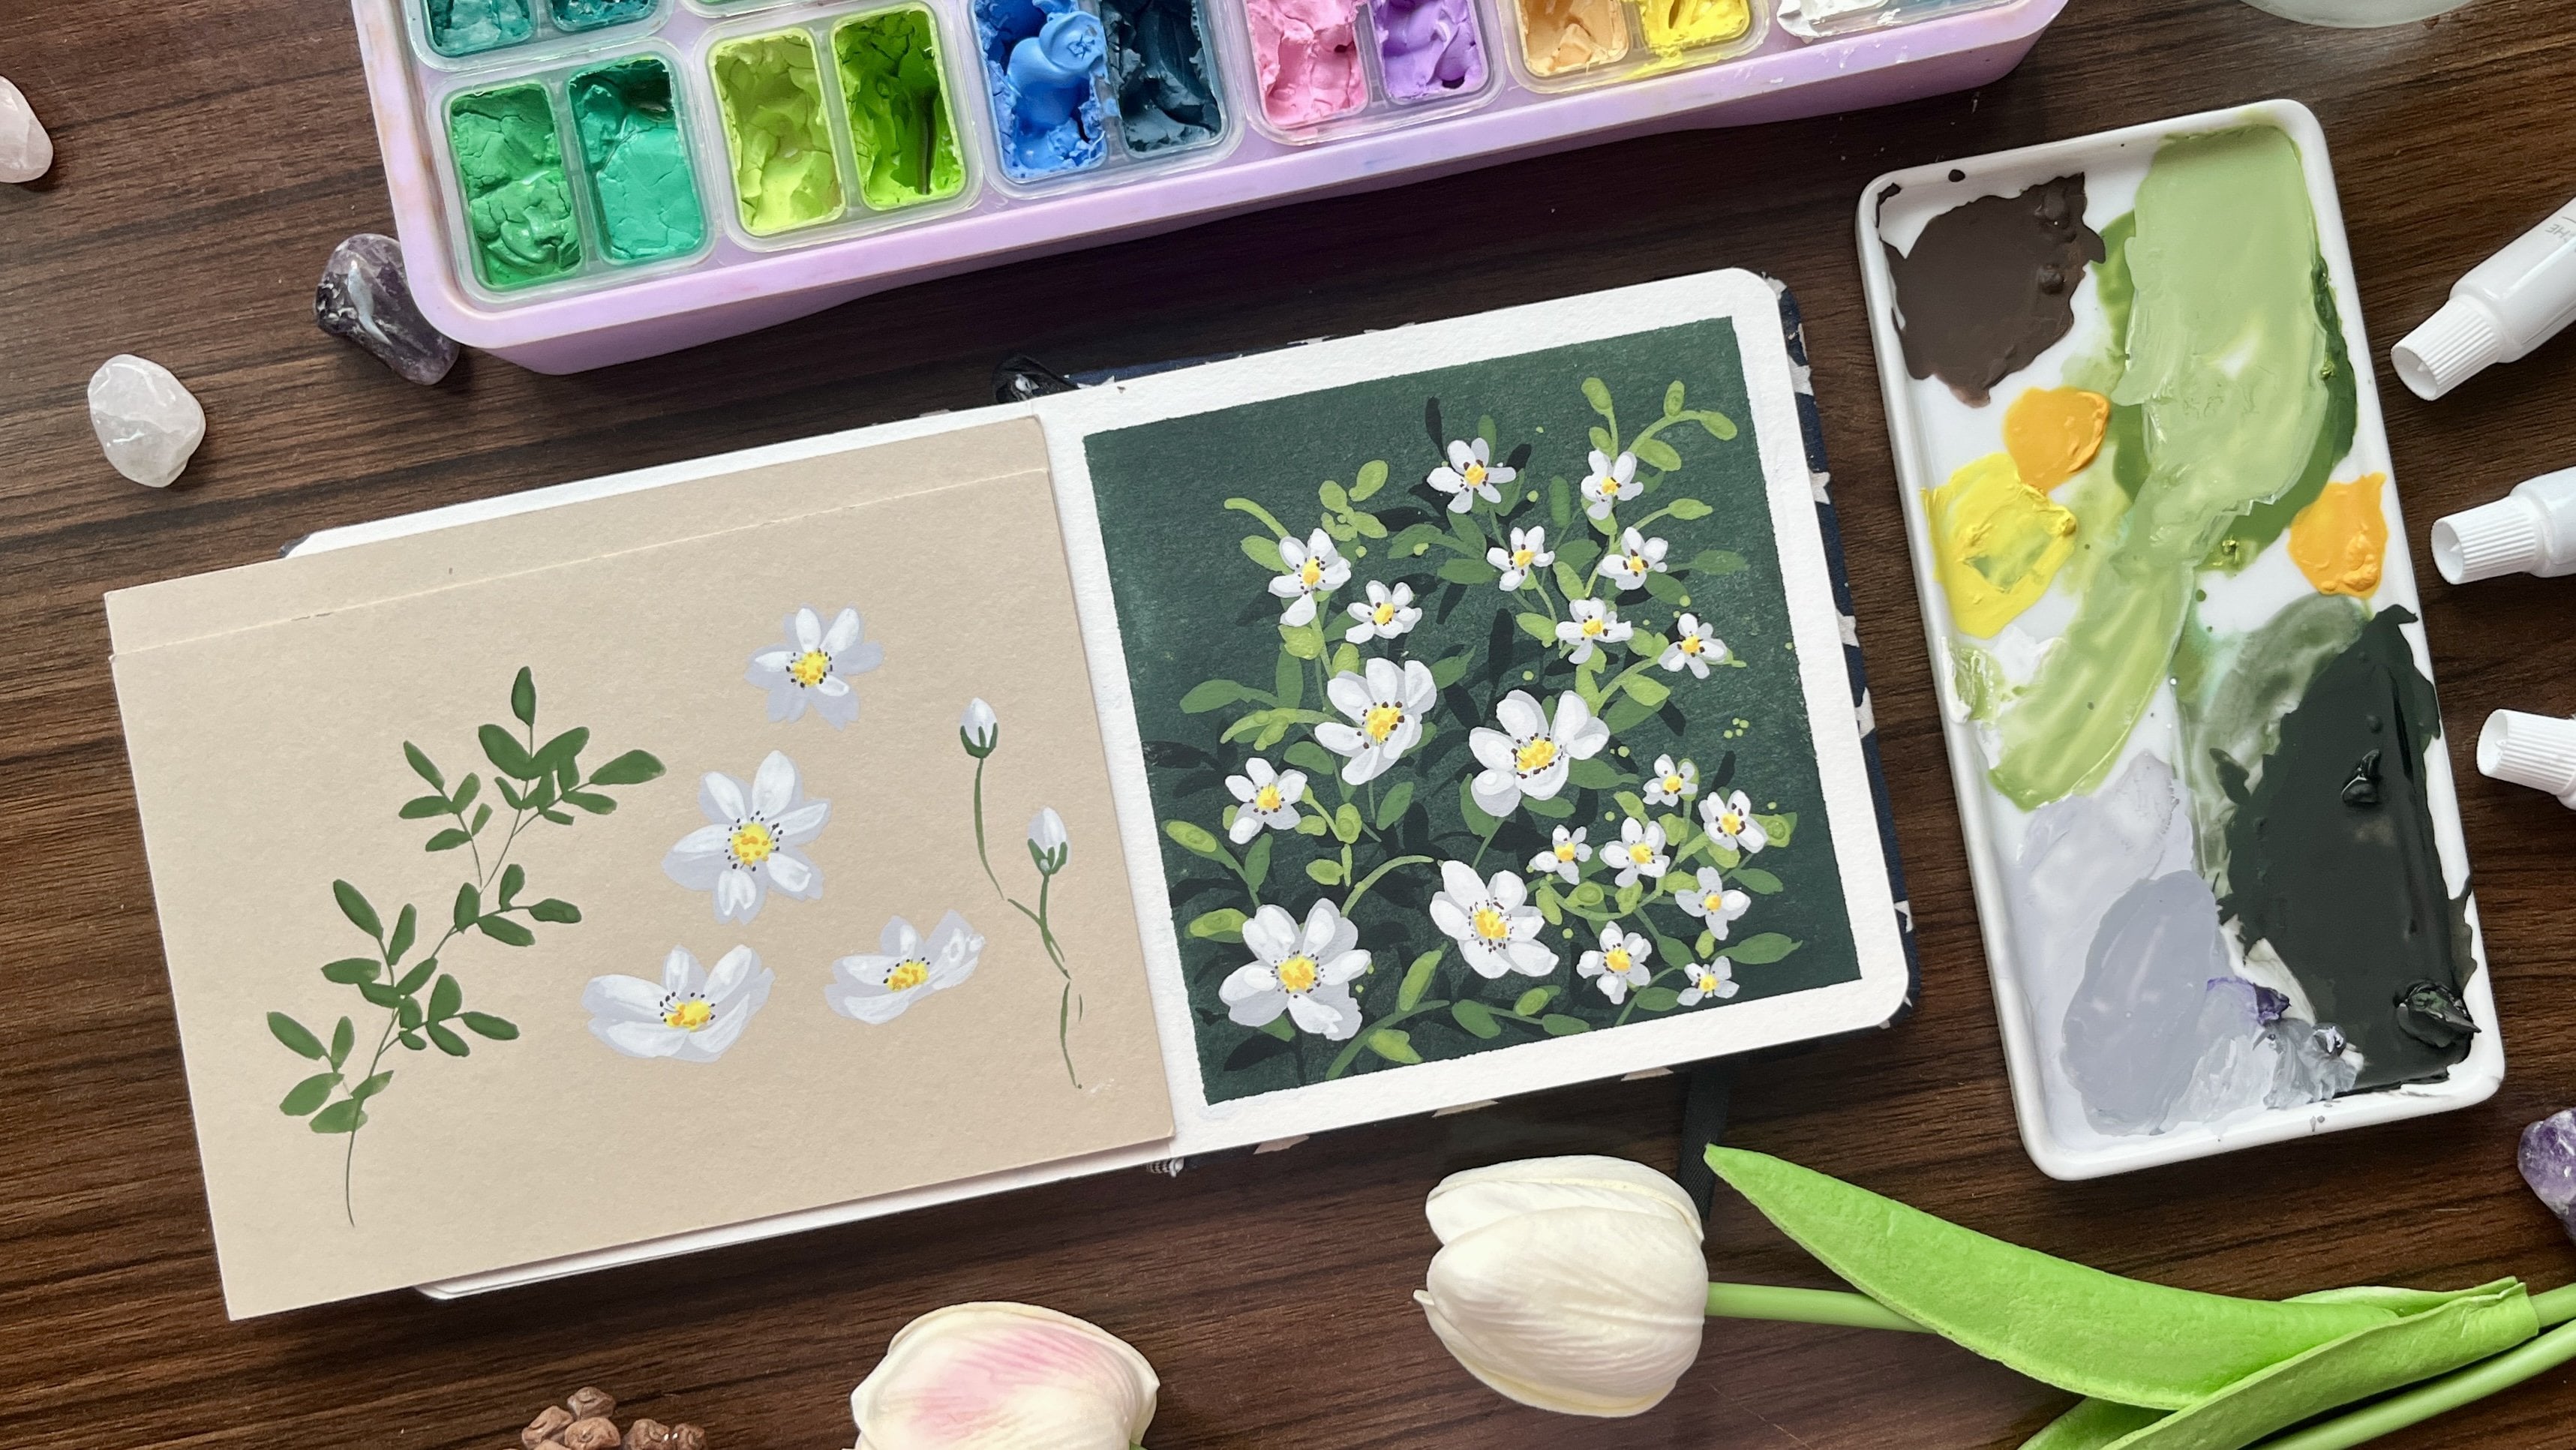
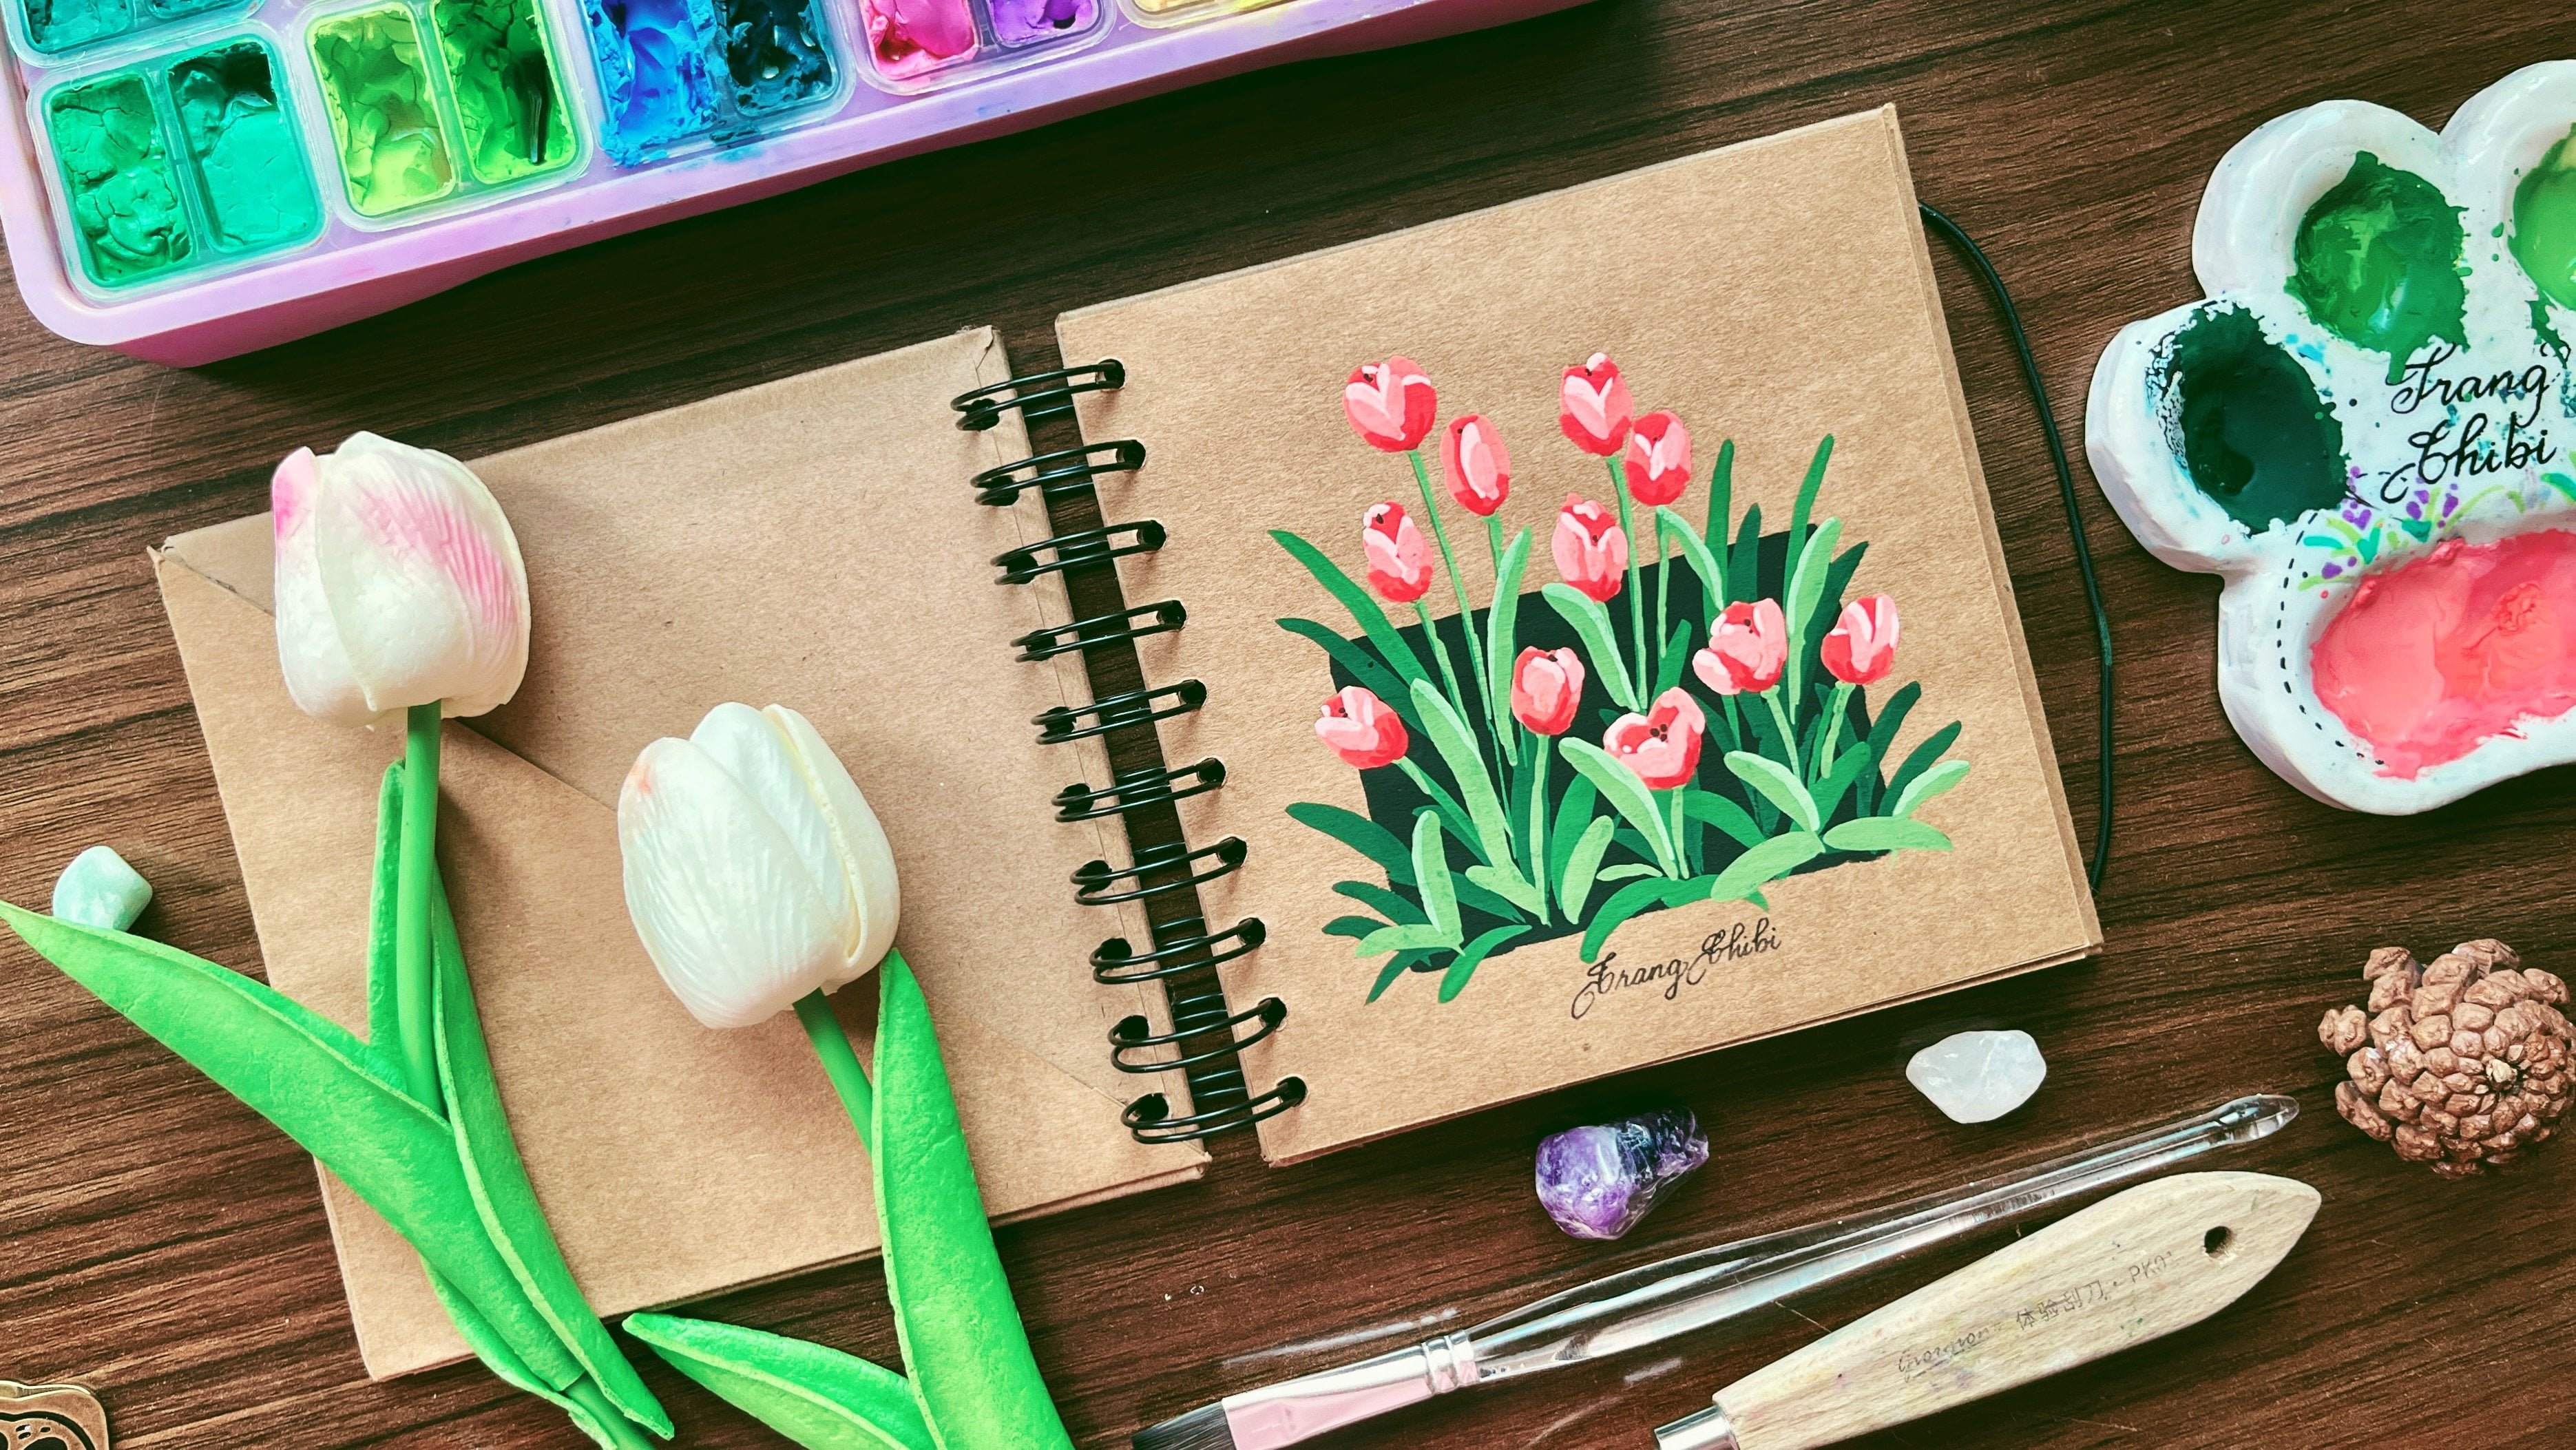
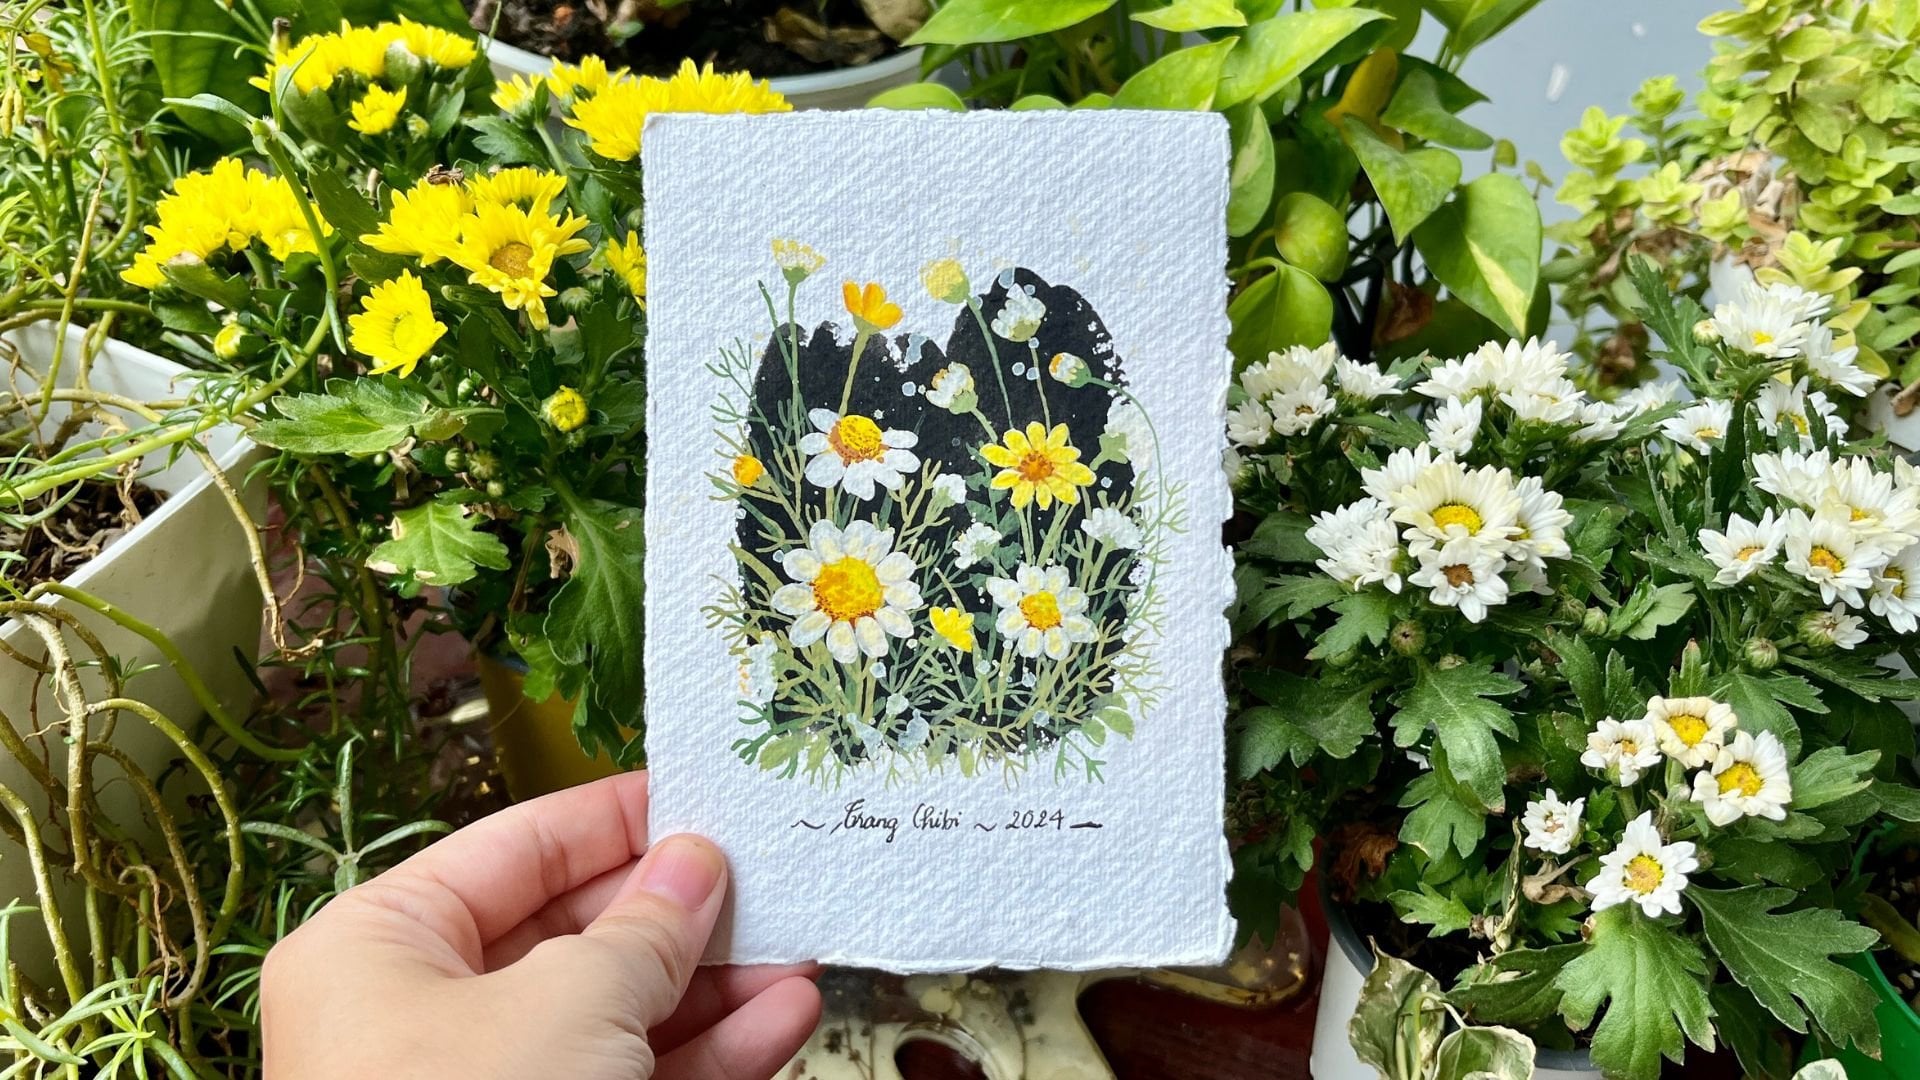
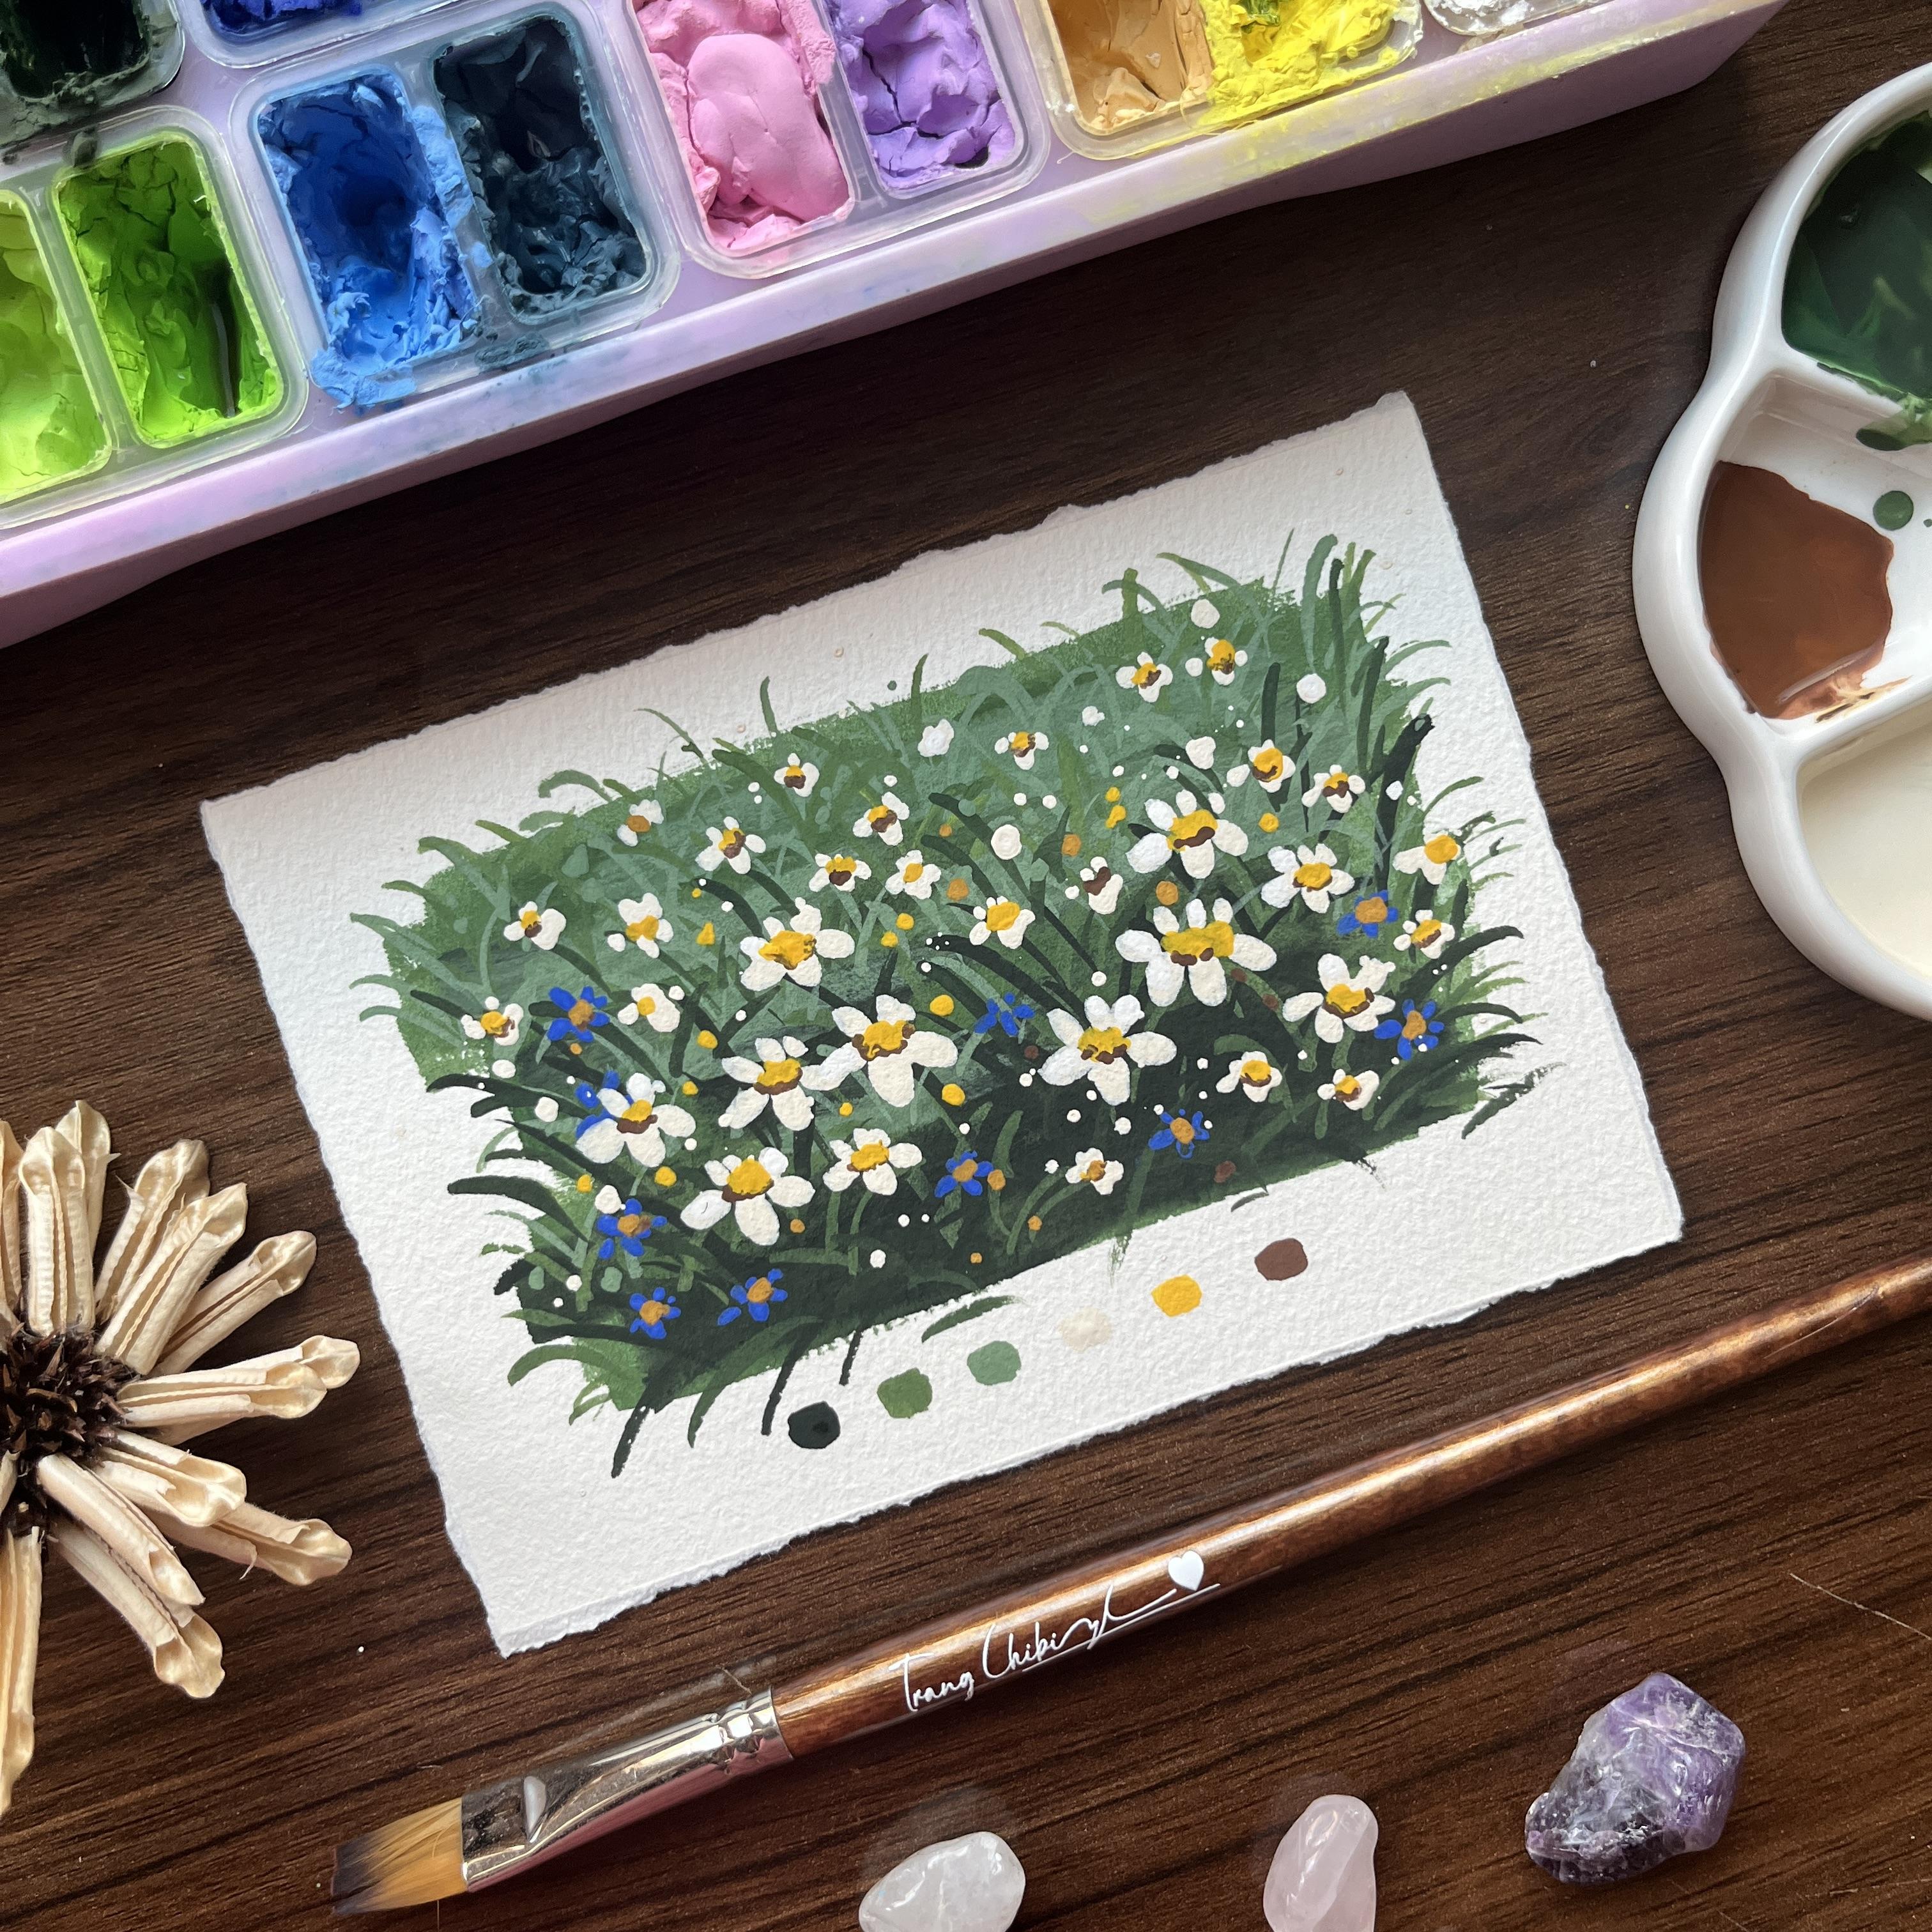
Bring a touch of spring to your day by painting a lively patch of grass filled with tiny blooming flowers. This mini-class is perfect for anyone who wants a quick, refreshing creative break. With simple strokes and soft layers of gouache, you’ll create a cheerful little artwork that feels both peaceful and full of life.
What You Will Learn:
-
Easy gouache techniques for painting natural-looking grass
-
How to layer different greens for depth and softness
-
Simple methods to add small flowers that brighten up the whole piece
-
Tips for balancing colors so your artwork stays fresh and vibrant
Why You Should Take This Class:
-
Create a cute, uplifting mini painting you can use for journaling, gifting, or decorating your workspace
-
Build confidence with gouache without feeling overwhelmed
-
Perfect as a warm-up exercise or a quick creative escape
-
Step-by-step guidance so you can enjoy the process from start to finish
Who This Class Is For:
Ideal for beginners, casual painters, journal lovers, or anyone craving a tiny dose of floral happiness in their day.
If you’re brand new to gouache, you might want to start with my earlier class, Gouache for Absolute Beginners: Black-Eyed Susan in Vintage Style, to get comfortable with basic techniques
Materials/Resources:
You’ll need:
-
Gouache paints (greens, yellow, white, plus a few accent colors like blue or brown)
-
Gouache-friendly paper (A6 or similar)
-
Brushes: one medium round/flat brush + one small detail brush
-
Palette + water container
-
Optional: white gel pen for little highlights
Join me as we paint this bright, flower-filled patch of grass together. Let’s bring a tiny garden to life on paper! 🌿💛🌼

Hands-on Class Project
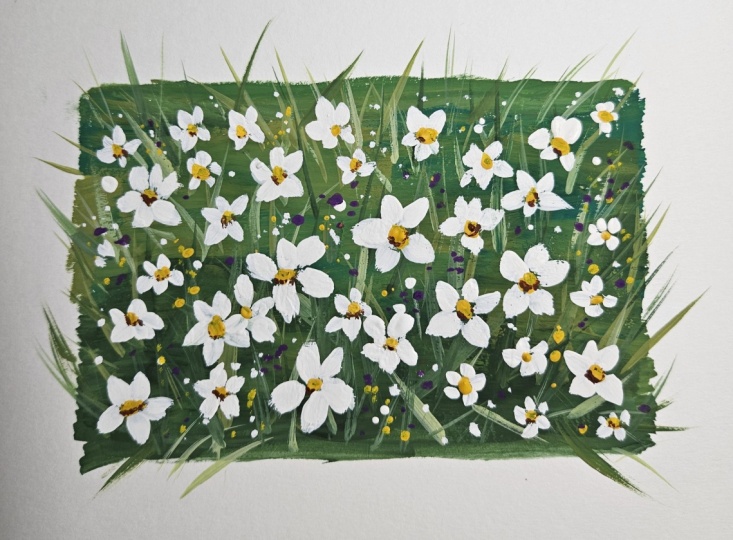
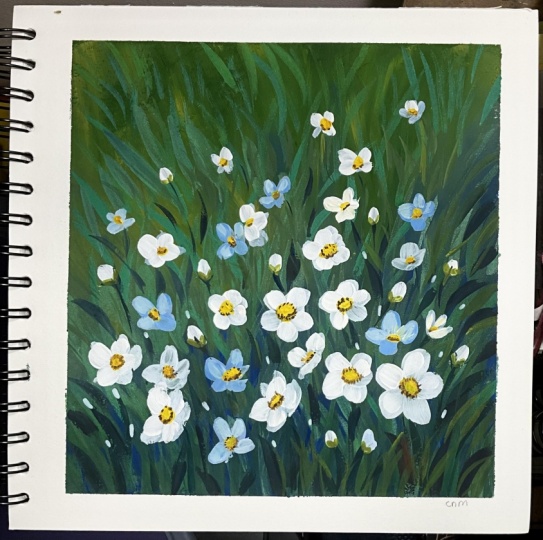
For this project, you’ll create your own little patch of grass filled with tiny blooming flowers using gouache! This mini project is perfect if you want something quick, relaxing, and cheerful. You’ll practice layering greens, painting soft blades of grass, and adding small floral accents to bring your piece to life.
Steps to Complete the Project:
1. Prepare your materials:
Tape down your paper (optional) and choose a few greens, white, yellow, and one or two accent colors.
2. Paint the grass base:
Use light strokes to create a simple patch of grass. Don’t worry about perfection—just let the shapes flow naturally.
3. Add layers and depth:
Build up darker and lighter greens to create softness and dimension. A few overlapping blades will make your piece look lively and natural.
4. Paint the flowers:
Add tiny white and yellow flowers, plus any small colorful blooms you like. Keep them loose and simple for the cutest effect.
5. Final touches:
Use white gouache or a gel pen to add highlights or tiny dots for extra charm. Sign your artwork if you’d like!
What to Upload:
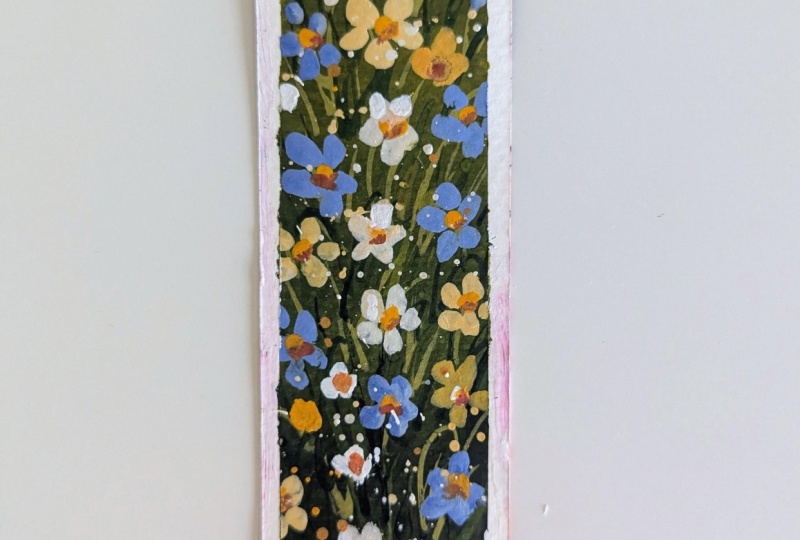
Please share a photo of your finished grass-and-flowers painting in the Project Gallery!
Include:
-
A full view of your artwork
-
Any close-up shots of details you’re proud of (flower clusters, color blends, cute highlights…)
Why Share Your Project?
Posting your artwork is a great way to receive support, spark ideas, and connect with other students. It’s always inspiring to see how each person interprets the same simple subject in their own unique style.
Class Ratings
Why Join Skillshare?
Take award-winning Skillshare Original Classes
Each class has short lessons, hands-on projects
Your membership supports Skillshare teachers
Learn From Anywhere
Take classes on the go with the Skillshare app. Stream or download to watch on the plane, the subway, or wherever you learn best.