Transcripts
1. 1 Introduction: Hi, everyone, and welcome
for this new video. In today's lesson,
we're going to see the shaping of French Baguet. We're going to see
the normal baguet and the pointed baget.
It's going to be easy. Everybody can do it. There's
no level required for this. So you're welcome to
assist to this lesson. About me, I'm French baker, professional baker for
more than 15 years now. I've worked in many
bakeries around the world, and now I'm helping
professionals and also anyone who want
to learn about bakery. Also, you can find on this
channel lessons about other types of shaping and the basics of bakeries, recipes. There's a lot to learn, and
we don't need to talk more. Let's dive into the
ison. Let's go.
2. 2 What you need to know: So for this video, we're going to start right away with shaping the baguettes. And for that, you'll obviously
need a clean work surface. And you can start by lightly
dusting it with flour. As I said before, dusting means sprinkling
some flour on top. And there you go.
Don't use too much. You just want it to be
fairly evenly distributed. That's the most important thing. And for this first
baguette shaping, we'll start simply with
the classic method.
3. 3 Academic Shaping: I have a rather
small cutting bot. You see? It's not very big. I'm going to try to
make small baguet, but it's going to be a
little tricky but doable. So to shape the baguet, you take your dough that
you've let rest before. You turn your dough
over, and there you go. There are several techniques. You can start at the top, the bottom, it
doesn't matter, okay? It's up to you. But
for this video, you'll first make a small, slightly round oval shape. Then take the top edge and
fold it down to about a third. Then take the top edge again, fold it down once more and push. Push to seal the dough and also to give a little strength. Move the dough around
a bit to help it absorb some flour and
prevent sticking everywhere. Because, as I said before, the slower you are in shaping, the more the dough will stick to the surface and on your hands. Here, in this example, I'm showing you how to do it. So obviously, my dough tends to relax more quickly and
stick to the board. And that can be very
annoying sometimes. Anyway, you folded it once. A second time, you fold it
a third time, and you push. Okay. Simple as that. And for the last fold, take your hand in this position
and place the dough here. And you see it's
sticking. 1 second. I'm going to take this out. Anyway, take your dough and
we're going to fold it. We're going to make
a rocking motion to fold the dough in half. And with your other hand, with the palm of your
hand right here, you're going to press to
stick the two part together. But I'll add a little
bit more flour here. So we'll start again. Press, and there you go. You fold it in half and press. Just look carefully. It's easy. When you go fast,
it doesn't stick. Here, mine sticks, as I
was saying, but it's okay. I'll add a little
bit more flour. Now, what I'm going to do
is I've made some very, very large baguette here because they're actually 600
gram pit of dough. So they are going
to be big baguets. And here you have the key, the seam, which
is here, exactly. You should be able to see it. From this point,
you already have a relatively elongated shape that holds its shape or idle. The faster you go, the more
it will hold its shape. And now you're simply going to lengthen your baguet and to lengthen into a baguet a
simple wand how do you do it? There's several techniques. You can start from the
middle and roll the bague. You need to feel in
your hand that you're rolling it and stretching
it a little outwards, not too hard, or it will tear. And of course, you still need
to apply a little force, otherwise, nothing will happen. So some people also use
a similar movement, but you can absolutely do this
movement by pulling on it. That's possible. It
depends. It's up to you. In this case, I'm going to make this movement so that my
surface is likely to move. And if I do it like this, well, there's a good chance
everything will move. So I'm going to do it like
this. And there you go. Actually, even like
this, it moves. Wow. And there you go. You see, I already have a wound, a baguette. The seam is here. So after that, it will
depend on what you want to do next because
next come proving. You either turn your baguette to the gray position when you place your baguette on your cush means you put the
seam on the top, and this has several advantages. The main one is that it protects the surface that will be cut when you're going
to use the blade. Because if you put the key on
the underside on your cush, there's a good chance that
the top of your baguette will crust over because
of the ambient air, which maybe can be too dry. So there you have your baguet. You can lengthen a little
bit more if you like. You can play with it.
You can put it to. I holds its shape well. You see, everything's fine. And then you simply place
it on a baking sheet.
4. 4 Improved academic shaping: So now I'm adding a
little bit more flour, actually a little bit
too much this time. There, I'll show you my dough. I've made some slightly
smaller pieces. Now, I showed you the academic
shaping method, okay? Which is fold, fold fold. That's the traditional
shaping method. You can also do this
one, for example. This one is quite similar. You fold at the top, you
fold the bottom there. You end up with the them in the middle, but it's not finish. You fold the top again,
you keep pushing. There, you end up with
something like this. And here again, you
do the same thing. You put your thumb here,
and with your hand, you grab it, you
fold it in half, and with the other
hand, you press down. You can even hear the sound of bubble popping in your hand. And you can also fill
them, of course, but don't forget be
gentle with the toe. And there, you see, I
have my sea menderns, but it doesn't matter which way. You can lengthen the baguette
or with the key on top. It doesn't matter. But I'm going to lengthen
a little bit more. I'll go slowly so my
ball doesn't move too much because we don't
want to traumatize our doe. Obviously, to lengthen it, you must not pull like a brute. If you pull like a brute, what will happen is
you'll tear your dough, and you definitely
don't want that because it will tear
the gluten network. So we just want to
guide the dough. But when we say guide, you still have to push a
little bit, too, okay? And when you're stretching, if you feel your dough
is a little too tight, that it's resisting, you stop, you relax it a little
for 3 seconds, and you start again
little by little. It will stretch.
And there you go. So that's the second academic shaping technique for a baguet.
5. 6 My methode explained: Add a little bit more flour. Always turn your dough
over, as I said. And what I obviously recommend is that every time, and I mean, every time you shape
anything, bagget, love, rolls, you should
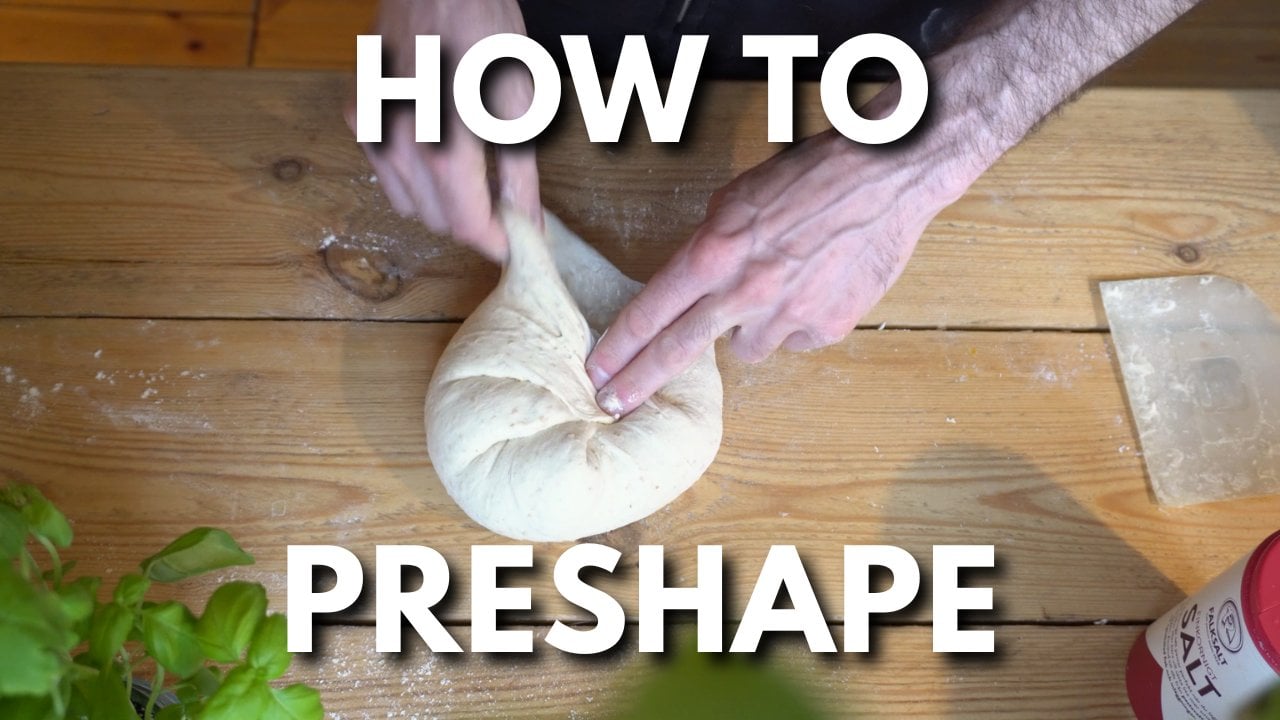
pre shape your loves. Very important. And preforming is a simple kind of shaping, like rolling, rounding
just before shaping. You do this to give
your dough pieces a little bit of
strength and structure. Then you let them rest
for about 20 minutes. And finally, you shape them. So I'm going to show you
another type of shaping. This is the shaping
I do professionally. First, I'll show you
slowly how I do it. And then for the
last piece of dough, I'll show you at full
speed because, yes, there are not 50,000 way
to shape baguettes, okay? In general, you're
going to learn the academic technique
that I showed you. And then after everyone
adapts, you know, everyone has its own
technique to shape baguettes. There are not really
any rules, though. The most important thing is to show with your hand
how to close the key. That's the academic
shaping, let's say. The most important thing is that when you shape your baguet, you have to give
strength to your baguet. You have to give structure, and at the same time, you have to feel the elasticity
of the dough. Searching it out, this is
obviously very important. Otherwise, it won't be a
bague. So there you have. So there are small
steps to know. But overall, you need to feel in your hand as you
shape it, okay? This is the
professional shaping. Now I'm going to do it slowly, but it's going to be
a little bit more delicate because at real speed, it's fast, so it doesn't
stick everywhere. Here, it might stick. So I take my dough like this
from the bottom. I fold it here for
the first time. Actually, it's the same
process as before, but then I take it here. I'll do the same thing, I
fold it over in the middle. There we already have the
beginning of something. And with my hand, I roll
it like this, okay? I'm going to do the
same thing again here. And after that, it will really depend on the
structure of the dough. If it needs more strength, I'll make sure to tie on it, but if it doesn't
need more force, I'll finish the seam
and lengthen it. And here that's where normally
in traditional shaping, you take your hand, turn it over and close it with the palm. Well, like many bakers, obviously, we're
going to continue. We're going to close
it with our fingers. We're going to roll and close
the door with our fingers. That is to say,
we're going to place our finger here in a certain way and pull them towards us so that the door structure
sticks to itself. And at the same
time as we do that, we're going to start stretching
and finish the movement. In fact, instead of making
two different movement where we close with the palm
over and and then stretch, we close the seam and
stretch at the same time. Way, we save time in a
professional setting. And that's important.
We always So the final shaping
result is quite good. There is a huge
difference after baking. So I'm going to do it again because it's
taking a little while. My dough relaxes,
and there you go. I take it, I simply
put it towards me. I pull it towards
me to loosen it, and at the same time, I'm
going to lengthen it. So this way, all that
way, however you want. For now, I'm going
to do it like this, and I lengthen it at the same time, and
there you have it. We have a baguette that's
made quickly, very quickly. And of course, you can
adjust it a little. For example, if your baguette, because it can happen,
it has a bone shape, for example, meaning
it's thin in the middle and thick at the ends,
well, you adjust it. There you go. Very simple. You have to be gentle with the
baguet and simply roll it, stretch it, lengthen it. You need to feel it in your hand in the
palm of your hand, where there's a bit more
structure in the dough, and then press on to stretch it to the left or to the right. It's simply a matter of fill. It's very easy, but of course, you need a little practice. So see, make the baguette and there you go.
So here we are.
6. 7 Real speed and Outro: Now we are at the final shaping, the one I'll do in a professional
setting, so at work. And this one that allow you to shape a lot of
baguette per minute. And generally at
work, a baguette takes three to 4
seconds to shape. What we want is to shape a maximum of baguette
as fast as possible. So what I'm going
to do is put it on this board because
otherwise it's going to move and
then I'll lose speed. It won't be perfectly even, even though here you can
see there are some gaps, which might bother me a
little, but maybe not. But it should look good anyway. So here I am starting
with my baguet. It's pre shaped, and I'm
in a professional setting. I arrive, place my
baguette and here we go. And there you have it a baguette a baguette that took
3 seconds to make. And it's pretty good,
I must say, you see, you have the seam
here, so we turn it over and we can do whatever
we want with it, obviously. Actually, I haven't made
any pointed ones here. Okay, here we go. I'm going
to make you a pointed shape. So, again, I arrive. I take my dou piece,
same process. And there you have it. You
have the pointed shape, and you see the seam,
how perfect it is. It's good all the way through. In 1 minute, you can
shape 15 bagget. So in 1 hour, well, I'll
let you do the mat. So yeah, there you have it. Look, I just make you a small
heart with the baguette. So I hope you like this
video that it helped you. And, you know,
there's no need to bed around the bush
for an hour to make a baguette making video
because, well, it's quick. I show you the technique, then you have to practice.
And just there you go. Now, of course, it can
take a little time to get the hang of it, obviously. But even at home,
you can practice. No problem. So in
a future video, we'll do the pre shaping and also shaping of the
loaves into balls. So it's not necessarily more technical and it won't
take a lot of time either, because it's easy to understand. The key is to understand
the movement and repeat it. Well, thank you for
your attention. I hope it helps, and I'll see you in the
next video and have fun. Bizo. Bye bye.
 Vincent Baker, Artisan Baker & Home Bakery Mentor