Transcripts
1. Course introduction: Hello guys. For the ones who don't know me, my name is Nico. I've been in 3D artist
for the last five years. In this course, we're going
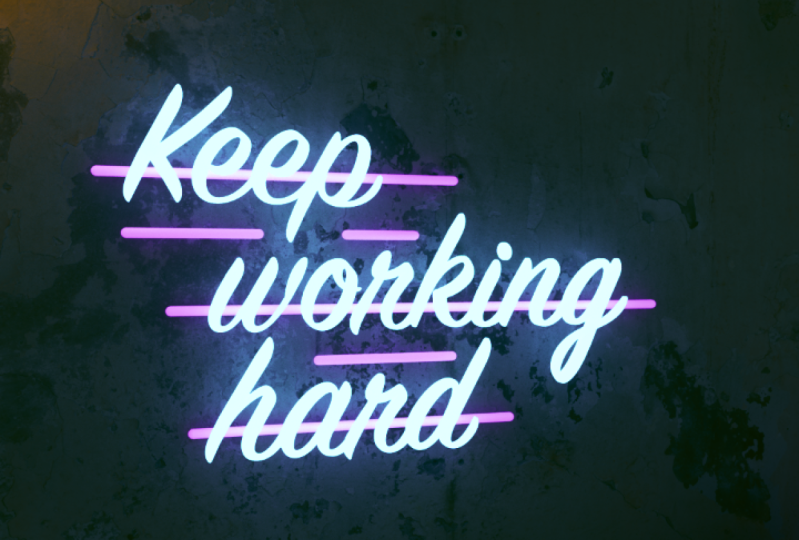
to be learning how to create this amazing neon sign, which is also animated. So we're going to be using
Cinema 4D and octane render. So keep in mind that
obtained render, It's a paid plugin, but you can access the free
version from their site. And I'm going to leave that
link in the project section. Okay? So in this course we're going
to be covering everything from how to set up
the whole scene, to start modeling, how to
create amazing 3D texts. And finally, how to
create the animation, that flickering animation, which you see in that neon sign. So stay tuned and let's
learn a lot together.
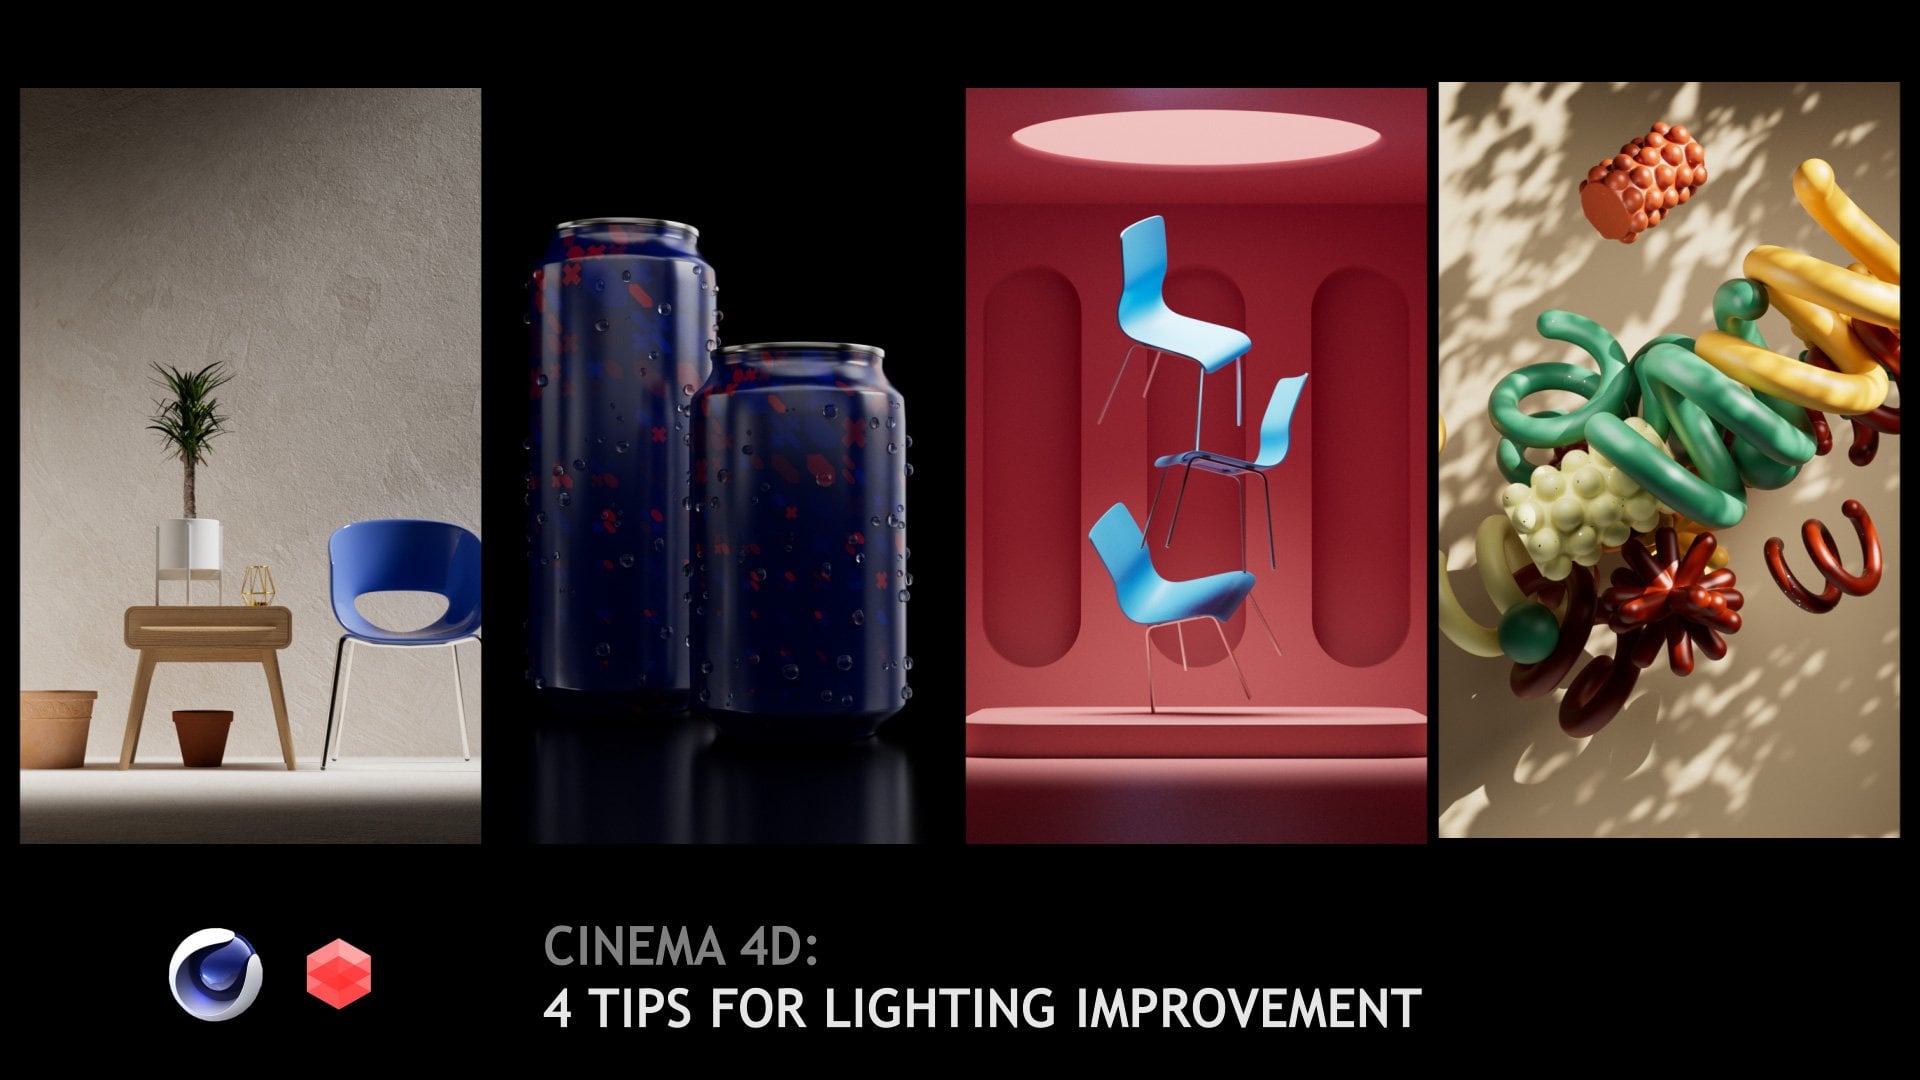
2. Explanation and context: Here we are again guys. First of all, we're
going to do is we're going to have a
little explanation of the uses and how you can
use this neon sign, right? So first of all, here you have some
of my artworks. With this new sign. You're
going to be able to use it in any kind of
firework you want, right? So for example, if you're making some landscape with the city in the back with this new
science here are going to be able to animate this
new science, for example. Okay? So we will have some more animated on live R-groups. Additionally, the material
that we're going to create, which will be flickering for
the letters, for the texts. You will be able also to apply to any kind
of thumb object. For example, if you go here
to this moon in the back, you're going to be able
to make that flicker. Or this woman here. You will be able to
use it in a lot of different environments
and types of animation. Let's head back to Cinema 4D.
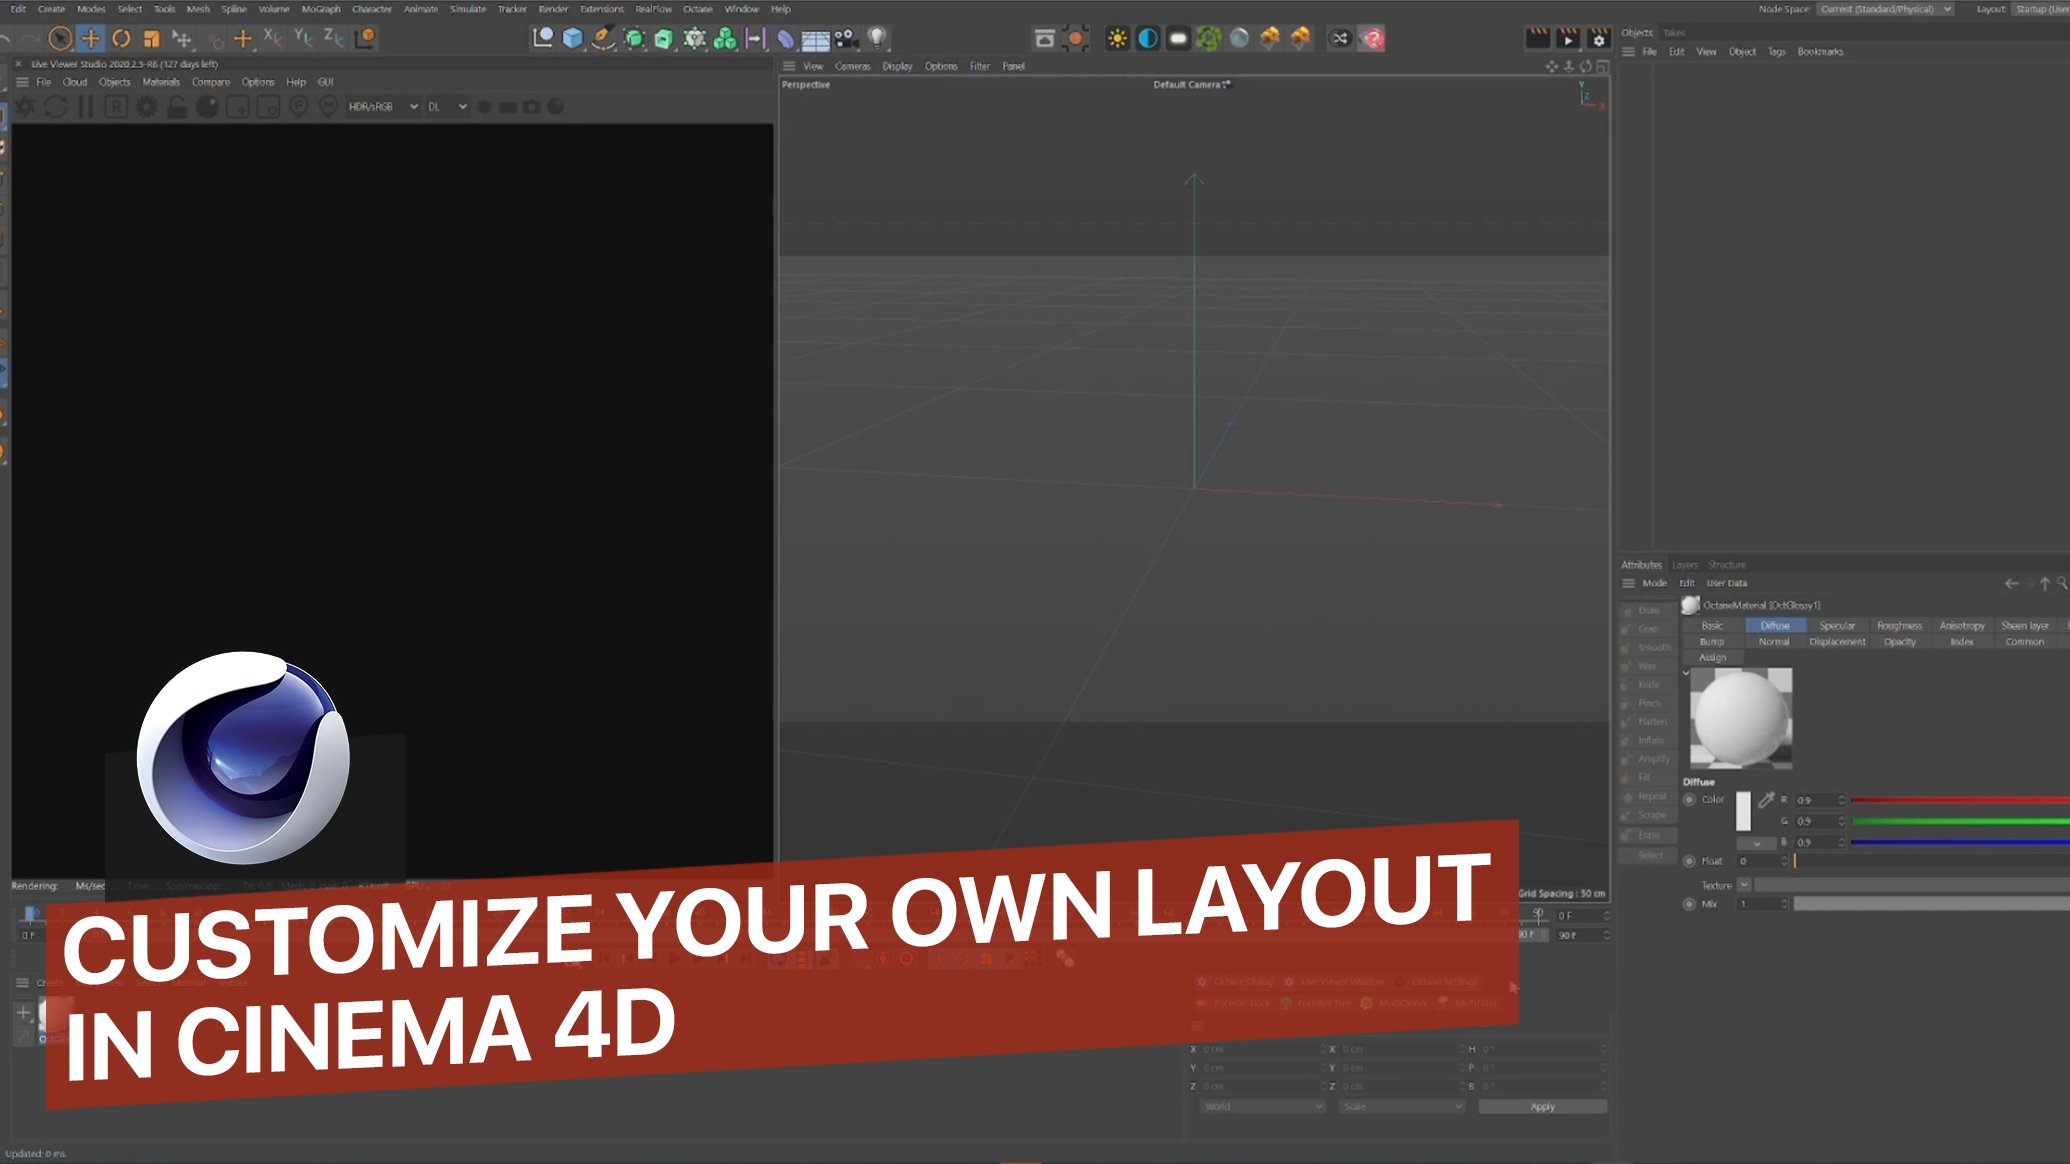
3. Setting up our scene: So here we are on when
you open Cinema 4D, what you're going to
find is this viewport. And here is where you are
going to be able to model, to set up the cameras and lights and everything
in-between. Okay. What I'd like to do first, I'm assuming that you have
obtained pre-installed. So let's go to this option
here which is obtained. And let's press
live viewer window. This slide you were window is the one where we are going to be able to see our live render
of what you are creating. So what I'd like to
do is to grab it from this free lines and grab
it and put it here. And there you go. Here we have the octane window for render. And here you have
your viewport where you're going to be able
to create your art. Let's talk about the
Render Settings. Now. I'm not going to be
talking a lot about this and I'm not going to be
talking to the appendices. But when you need to know is that let me just load my preset. Actually is the
animated present. Let's talk about
the body have to do here to get your animation. So just copy these presets. You can change obviously
the height and the width. For the sake of this course, we're going to use
1818072 pixels. And regarding,
you're going to be able to see these octane
render options here. You don't have to
press that now, since we are not gonna play
around with render passes. Let's go to Save. And here you are going
to be able to select where you want to
save your render, your render passes
for the animation. We had to go, let's say here. And here we're going to create
a folder called renders. This is just my preference. You can do whatever you want. Animated sign. And if I save, this is going to
be saving there. We also have to talk
about the settings in obtaining this VL here that you can see just
changes to be t dt is going to help you
with the reflections. The light is going to
be more realistic. And after that, we're
going to this engine here. When you dump that, this is going to pop up. Here I also have some seed, some settings presets and just copy this max samples diffuse
that spectrum damped. Just play around
with these settings to just get your GPU selected. Let's go to the nicer. Let's end up with this. As long as you have the settings are going to be pretty fine. This is really well optimized. I really tested a lot, so trust me, it's
going to be great.
4. Modeling: Let's see what we are
going to create today. This is where we are heading to. Your first animated sign. We can see here is that
there is wall texture wall. You also have the
bars in the bag, the metal bars which
is going to be support for the neon sign. And you also have the tags purchase the neon
tax flickering. So for that, let's
create a plane. You go here to this square, you've pressed the
plane, and here it is. What I like to do here is
to increase the width to 4 thousand and the
height report thousand. We're not going to play
with the segment things. We're not going to sculpt. And you tend to play and to add more segments when you
want more details, right? This is going to be just
the wall, a textured wall. We don't need to
sculpt or anything. You can see this plane in
some different ways too. For example, if we
press the letter n, you're going to be able to
see all the display options. And let's say I press D. And here you can see the
topology, right? So remember when we
talked about the segment, let us say we want to model
something in this wall. Let's say we put 300 here. So you can see that now we have more place and more typology
to play around with. But we don't need
that at the moment. What we're going to do is
we're going to position eight. You will want me to locate
the wall in that angle. So let's press the letter
R to get this change in the way we grab the wall and we are going to
set it up straight up. Then we're going to move
it up a little bit. So the fluid that's
bothered and let's move it up to the side a little bit. We have the wall. Congratulations. What we're going to do
next is we're going to make the bars. For the bar, you don't need to sculpt or anything and you go to the same square we went before
we grabbed the capsule. These are pretty
set in precreated, really basic based models. And we're going to
use the capsule. Here we have the capsule. And then grabbing that
little dot on the top, just left-click and
maintain it and just drag. You will have the bar and let's do the same
for the other one. Now, we're going to move it
to this side. To this side. Let's move in a
little bit here and let's put it closer to the wall. And here we are. Let's make it a
little bit shorter. Since we want to mimic this. Here we are at this
moment would have liked to do at this time if I
like creating a camera. So I have this locked BYU. I know what I want to see it. So let us head here
to obtain again, Let's breath objects
and obtain camera. There you have your camera, but you want to lock it so
you want to log the ambition. So let's press here. And now the camera is Slug. Let's press here
again. As you can see. There we have the camera. You can move it
around if you want. But just remember that if you
move it with it locked on, you're going to save
that BW forever. So when you move around, try to remember not to
have the camera locked. For what I do for that. If I just duplicate the
camera, for example, we say, I am here and I forget about
the low camera and say, Oh no, I just screwed up view. I can always go to
the other camera, the Lindy one that I, that I destroyed and
just get another one. Now we have the BU here. Here. I don't know why the
camera just configured. We are there. We
duplicate the camera. We can start seeing the
first result of the render. So we go here to this
icon, we press it. Then we're going to
press this log here, so the resolution is
locked in this square. We created in 184108. Here we are writing. You can see that it's
pretty flat and that is because we didn't
add any light yet. So let's unlock the
camera and see around. And as you can see, it's white. So for that, we're
going to create now if a light and a skylight, which will simulate a
real sky with the sun. And we're going to have a
basic but really cool light first started seeing shadows
and all that kind of things. Let's get again to obtain, Let's pray slides and
let's press obtain data. And as you can see, and I told you there's a
blue sky with the sun. You can move it
around, for example, if you grab it and
just move it around, you can have the pleasure. And here you can start
seeing these reflections. Reflections or shadows. So the next step is
we're going to grab the text. For the tags. We're going to hit
again to the square. We're going to grab the 3D text. There is our test. We make, put it here and
we're going to make it a little bit bigger for
that, just maintain, press the number
five and maintain press the left-click and
just move to the right. Do that again
sometimes and you will have the bigger text. So here we are. Let's move it a little bit. Here we have over test. Let's press the text
here in this panel. And we're going to
put here the phrase, let's say, Keep working hard. Working hard is going
to be our texts. Let's get away from there
and we have our text. Let's make it smaller. Yet again, the number
five, the left-click, keep pressing them and
you will have your text. Let's put this a little
bit further away. We're going to delete this
camera and create a new one, since this is the
view that I want now, we're going to duplicate
it, but not yet. We're going to duplicate it now. We're going to make the
text a little bit bigger. We want to do now is to create
and to change the font. For that, we can
go here to fund. We choose the font that we want. Let's use this one for now. We also want to make
some more of these bars. Let's make this a
little bit thinner. Again with the yellow dot. If you keep press Control, unmute, just grab this
and move it around. We're going to be able to duplicate the object
that you are selecting. So I'm doing this two times. So we have the
bars for the back. Okay. Let's go back to the text. I want this a little bit
to the left. Perfect. And this is a good time
to save the brushes. Casino. Cinema 4D
tends to crash, and we don't want that to happen to Earth because it's going to destroy the whole project
was going to be deleted. So let's press Control and f. Let's go to the folder that
we have the project on in, I'm sorry, n, Let's
save this sign. Perfect.
5. Free assets/textures resources: Now we're going to start
talking about texturing. But for that, I
wanted to recommend you some sites where
we are going to be able to get free textures
like the best quality ever. And also assets. If you didn't know this side. Side that makes real-life
scans of textures, of walls, of objects. An IQ score pixel. Quits, omegas kind of see you are going to be able to find surface industrial items,
industrial places, assets. You have a lot of
things to play with. And it's really, really good. If you see this quantity here. You can have for free this
assets at AK is a Mason. I totally recommend this guys. So after looking around
here, for example, let's write here concrete wall. Here we have a lot of surfaces. I end up choosing one that it's called maybe brick
wall we can use. Actually now, let us use
another kind of texture here. Let me see if I have it. Let's use one that is
called plaster wall. So here we have it.
6. Texturing: For creating this material. When you download the
file from big cell, you're going to get this SIP. You unzip it and you're
going to get all of this. From this. We are going to use this map, which is the Albedo
map will be color one. The displacement
map, the normal NAB, which is imperfections
on the reference map, which is going to
be the one that controls the reflections,
the displacement map. We are going to use
it at this time. But it's a really good
map when you're maybe modelling or texturing
environments, rocks. This time we're not
going to use it. So let us hear it
again to cinema for d. And we are going to start
creating our first material. For that, you just have to
breath here at materials. So you can try to find
around the material, maybe materials for this time. Let's go to Materials create. We're going to use glossy
material for the metal box. So let's press that. Double-click here. And we're going to
change the name to bars. We keep things organized. Okay? Here we just need to change the color so we have
the diffuse here. Let's go to this
car here to defuse. Let's put it to black. As you can see, it's pretty
shiny like a plastic. Let's go into roughness. These controls, the reflections, and let's put it to one. As you can see, this is
a lot of diffuse here. So we're going to grab
this material now. We're going to drag
it to the capsule. You can see the capsule
is already texture. Then pressing control. And this material here
we're going to put it in the other capsule and yet
again in yellow caps. Okay, so now let's talk
about tax rate in the wall. This is going to be
a little bit harder, but it's going to look
really, really cool. So yet again, we go
into materials, create. Let's go this time on
also to class material. Double-click new material. And let's put the name wall. And this time we're going
to do multiple node editor. This is going to pop up. This is the Node Manager for creating materials and all kinds of functions around them. Here is where we're going to
create our wall material. Here we have the base material
that we already created. We have to add the
diffuse information, the reference information,
the normal information. All those maps, which
are called maps, diffuse map, roughness
map, a normal map. We have them in
the downloaded the time that we got from quicksand. So let's grab the
Albedo map here, the normal map, and
the rough if not, just rub the three of
them and drag them here. Here we have the freest them and we're going to
start for this one. This one is, we can
see if the Albedo map, this is the name of
the, the map here. The albedo always go
with the diffuse. So to create this line, you just keep pressing
this mole here, this dot, and just drag
it to the diffuse. Let's talk about now
the roughness map, as we talk previously, the reference map
control the reflection. Yet again, Let's
put it roughness. Roughness. The normal map is
the imperfections. Let's go to normal map. We already have preview
the material here. We are going to close this. Let's closest to, and here
we have the wall material. Don't worry if you
don't see it in this icon here, it
doesn't matter. We just grab this material and put it in the plane,
which is the wall. As you can see, we have a great, great thanks to wall. For the third material
and final one, we're going to create the neon
material for the world's. Yet again, Let's
go to materials, but this time we're going to
create a diffuse material because every MVC material
is an diffuse material. Let's press the fuse. As before. We have
the material here. Let's double-click it. Let's
change the name to text. And let's go again to the node editor before you
have the base material. But now we're going to play
around with some nodes. Nodes are these things
that you can add here to this viewpoint that we're seeing now and create
different things. So in this case
we're going to use one called black body emission. This node is going
to make the color, you know, have all
that brightness like in a neon material. And we're also going to
use the RGB spectrum. This is going to be the color
of that brightness, right? So first of all, we're going to
change this color. We want to get a little
bluish color here. Let's say this one is going to define and we're going to join
it with the texture here. And after that, we're
going to join this one to the admission because
this one thing that we want to be missing material. As you can see, as
soon as we did that, this is really, really bright. And we had to change that. Let's go and press
Blackbody emission. Let's brave surface brightness. We're going to change the power. Let's say we're going
to use 20% for now. Let's maybe say 30%. We close this week closest to and we grab the materials before and we put
it in the text. As you can see, the text is
already looking at Mason, but we need the flickering
animation for this.
7. Lighting: So first of all, we wanna do here if we want
to have a better light, lights for the environment. So let's lock the camera. Let's breath. Here. Display. Let's go to options, and let's go to layer color. Options later color. You get this kind
of visuals again, and you don't see
all the objects that are texture with
the color black. That's something that
happens is pretty normal. You can see about the light. We already, we still have the fake sky we already created. Be obtained daylight. And we're going to
do now is to texture this environment to get
light and atmosphere, which is more of an indoor
place or maybe analogy. So let's lock the camera and
let's go again to obtain. But now we're going to
press HDRI Environment. Let's press it. We're going to uncheck
the octane daylight. We can see is all that. And don't worry, this
is perfectly normal. So when we're going down, we want to press this icon
here in the octane sky. Breath this square here, and press this friend dots here. This is going to take you to your file search system or PrPC. Here is actually at my
background's folder. So what do you have to do
here is to select background, you know what color, some pattern that you want
for the atmosphere lights. So at this time we're
going to use this one. As you can see. It's
kind of bluish. Unload the camera so you
can see it better that if the image that I already uploaded just a little
bit that image. And since we're not
going to use it, we don't have to
touch it anymore. One thing that you can
do though, is when here, just playing around
with the gamma, let's say you want a darker, you just make it darker. You want a lighter,
you make it lighter. And that's pretty much
for the background. We're going to create
some lights now. I know that we have this
amazing atmosphere, but we might want to
have, I don't know, some, let's say
purple light going through this right
bottom corner here. That we're going to
lock the camera. We're going to objects again. This time we're going to light. Let's press octane area light. You're going to get
this square here. This square, as you can
see, it emits light. What do I need to do is to located whenever you
want that light to be. We talked about putting some purple light,
this bottom here. Let's put it right down there. And we're going to create
also a second light, which is going to be
this corner here. Okay, So let's load
the camera again. And we can see this
is really bright. So first of all, let me move a little bit. The bottom right here. This is perfect. I'm gonna go into start
tweaking the lights. So let's press this here, and here you have the
power, temperature, but we need to change the
color for that is pretty easy. You just go to texture, press this arrow here. Go to Plugins. Cinema 4D obtained. And here we are going to
choose the RGB spectrum. That is going to
give us the option to breath this and play
around with the colors. Okay, so we talked
about purple color. There we go. We're also going to make it less bright
solids breaths here, maybe ten, but it's perfect. And regarding the other light,
we're going to the same. Let's press here
texture plug-in, Cinema 4D obtained RGB spectrum. Let's pause here and here. And we're going to
make it a little bit. Let's say maybe, all right. Let's play also with
the brightness. Lets say 20%. Maybe 30%. That's pretty cool, right? Okay. We have already
established the lights. We're going to use
the atmosphere. We already model. We already created the
materials and texture. So at this point, let us say it again, Just in case of cinema
for the trials, let's control an F. We have
already saved this project.
8. Flickering animation: So now the most
amazing and fun part, we're going to start animating this flickering,
this neon material. For that, we're
going to play with a tag that Let's go here. Let's press the text. Select it. And now we're going to
use right-click and we're going to programming tags. Here. We're going to
left-click the express one. As you saw before in
the materials here we have another node viewport, but definitely
different because this just control the functions. The functions that we
need here is a noise. So you go here to this
icon and just press noise. You're going to drag the
noise and put it here. This noise is going to create that flicker infection function. So what we need now is the what, where it's going to on to what is going to create this
fund, this function, right? So we need the missing material, but not just the
amazing materials. So for this next part, we're going to put this here. We going to breath
this text material. We're going to go to this
bottom right corner. Here you have all the
settings of the material. And what we need is to
control the emission. So let's approximation. We're going to grab the
black body emission, which is the node,
if you remember, that controls the brightness and we're going to drag it here. Here we have our black
body emission and the noise will create the
function of flickering. As we join nodes before, we're going to grab this here, and we're going to put it in this little corner here, right? When you just put it there, something is going to happen. This appears when disappears, goes to shader here and power. We are telling the
noise to control the power of the
black body emission. And as you can see already, this is turned off. So let's press noise. On here you have all the
settings of the noise node. For this, we're going
to control the scale. Let's put in ten. The frequency is how fast we
want this to be flickering, let's say 15 for now. And the amplitude is how bright we want this
solid press 20. Regarding the seed
is the pattern, you know, you have
different patterns on how it's going
to be flickering. Here you have all the frames, which is going to be the
animation of default project. Here you have the controls
for the animation. If you play around here, we have the timeline that
you can play around. But for now we're just going to see how this animation,
I'm flickering goals, so we're going to
press Play circuit. As you can see, it's
working predefined. But we might need a little
bit more of amplitude here, so we want this to be brighter. Let's go here and
press may be 40. Let's say that see how it goes. I believe it's
working predefine. Going to see this noise
because remember, this is real time, so
don't worry about it. The final project is going to
look exactly like this one.
9. Camera & final render: It's time to make
the final render. Let's go again through
the render the cameras. So we have the camera
already created. Let's go to the
render one more time. Remember the output in
this case when 8418072. This is the, this is the place where the render is
going to be saved. You already have your path here. A big channel. Don't touch octane, render. Keep that in mind. Regarding octane. Remember this is not an EL, is a PT, and it is better to have a more
realistic results. In this icon here, remember about the
settings and we're imager post general settings. We're going to learn about one little trick of this
camera and that we added here. Let's press the red icon here. And this camera has a lot
of different settings. You can change. For example, the lens that you're
going to use. But at this time we're going to use the post-processing setting. This thin controls the loan
power and the glare power. We need a little
bit of glare here. So let's go to a frame
where this is turned on. Let me see here for example, let's say we want bloom, you know, already
see the difference. I'm going to put a
really high bloom. Let's put 50. You see the
Bloom where die, right? So we can make a
cutoff here so we regulate the amount of bloomed and we want,
you know, the spread. This is the cutoff
and this 50 body. We are going to live in a debt. But the categorical
imperative, five. So look at this difference
here is actually nothing. Let's put here number
two. Let's see. Nothing yet, the number one, and now we have a difference. There. We have the non-power, which is so characteristic
of neon signs. Now what we have
left is to render. For rendering this point, you have just to press
Shift and the letter R. This is going to appear. Here, are going to be
able to be listed. You're going to be able to
see all the listed frames. Let's render this.
10. Outro: So there you have it guys. I hope you learned
something today in this course and I love
to see your projects, so don't forget to upload and download in
the project section. So I can give you my feedback, please, if you upload it to, for example, Instagram, just tag me because I would love to
check out whether you create. See you in the next one. Cheers.
 Nico Fernandez, Digital Artist